A Deeper Exploration of Vision, Tools, and the Weight of Story
In essence: If a picture is truly good—if it resonates emotionally, tells a story, or lingers in memory—most viewers don’t care what camera or lens was used. But the conversation is richer than that: gear doesn’t determine meaning, yet it shapes possibility. The real artistry lies in how vision and tools meet.
The phrase “If the picture is good, nobody cares what camera it was taken with” has become a kind of mantra in photography circles. It’s both liberating and provocative. On one hand, it frees us from the consumerist treadmill of chasing specs. On the other, it risks oversimplifying the relationship between vision and tools. Let’s expand the discussion.

🧠 Why the Statement Rings True
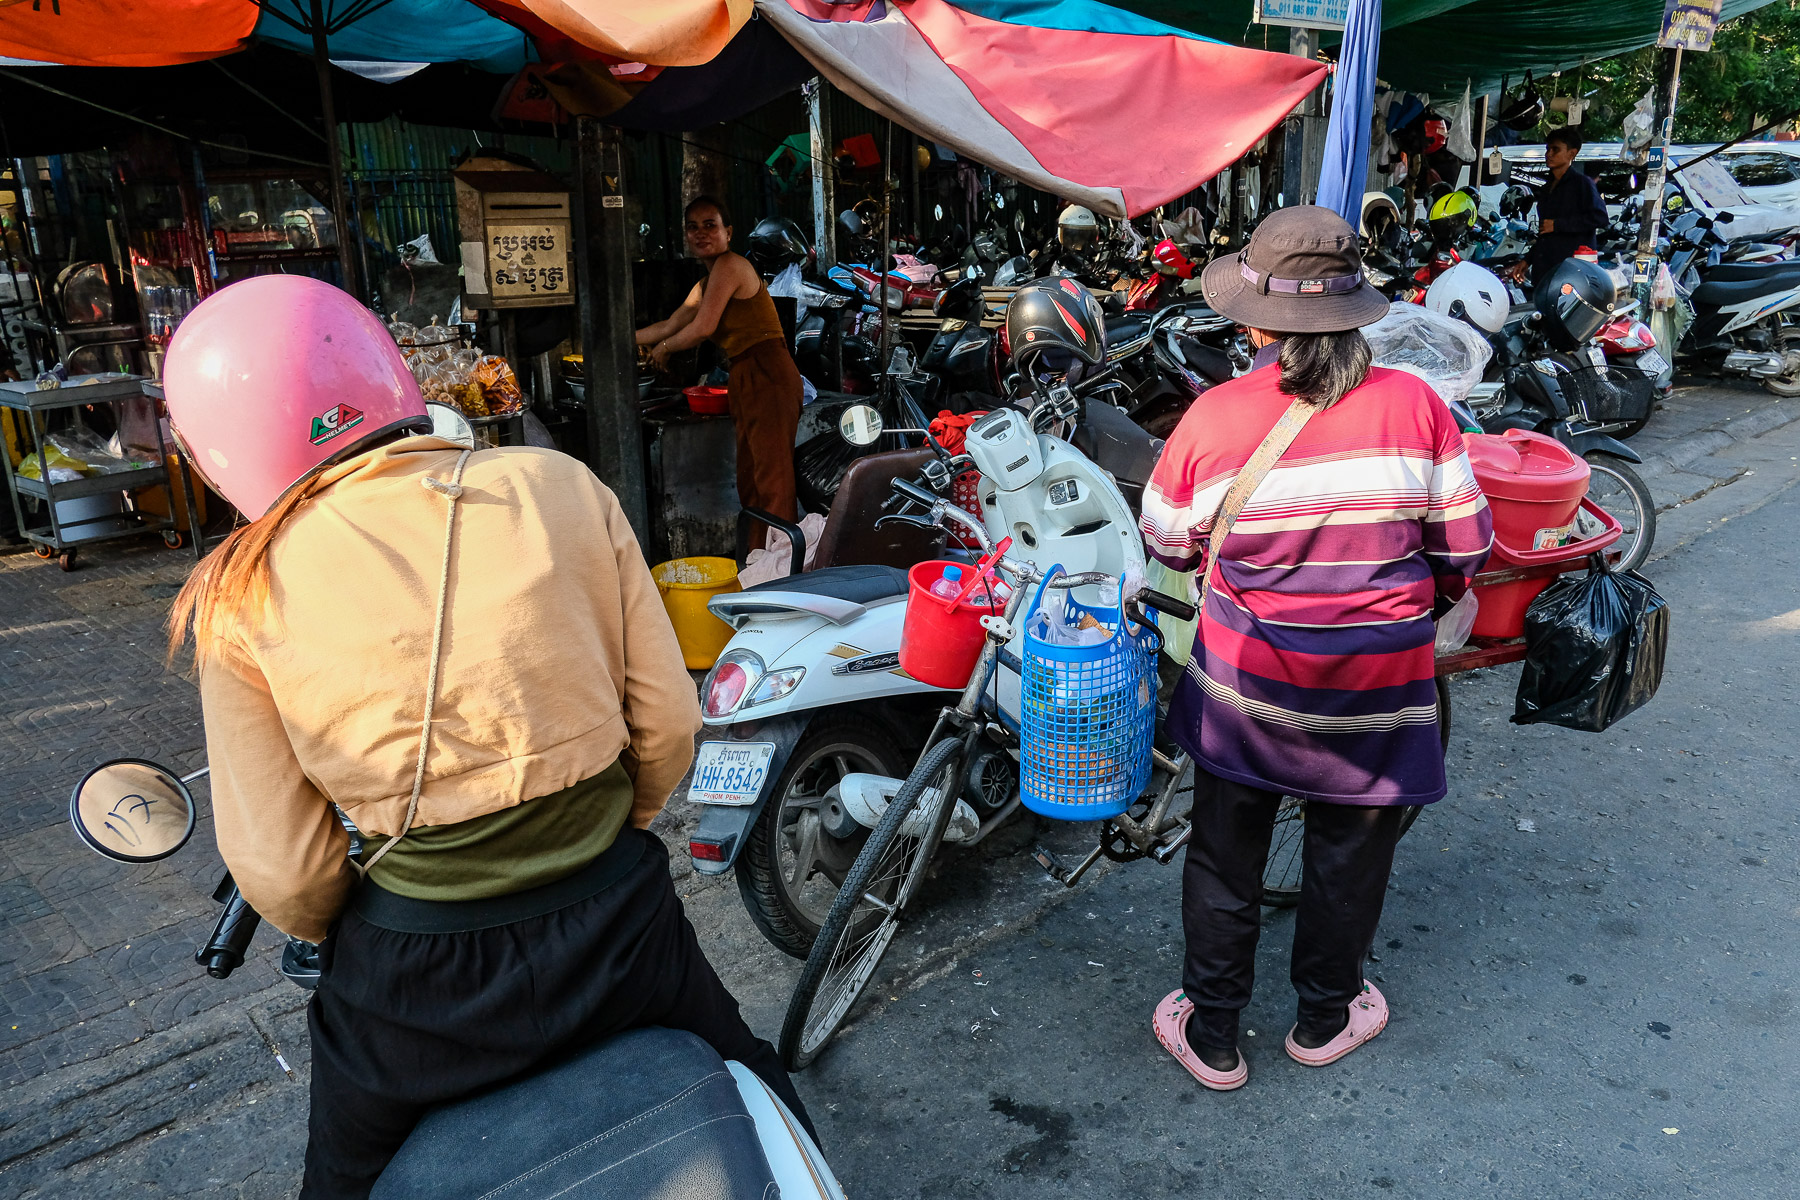
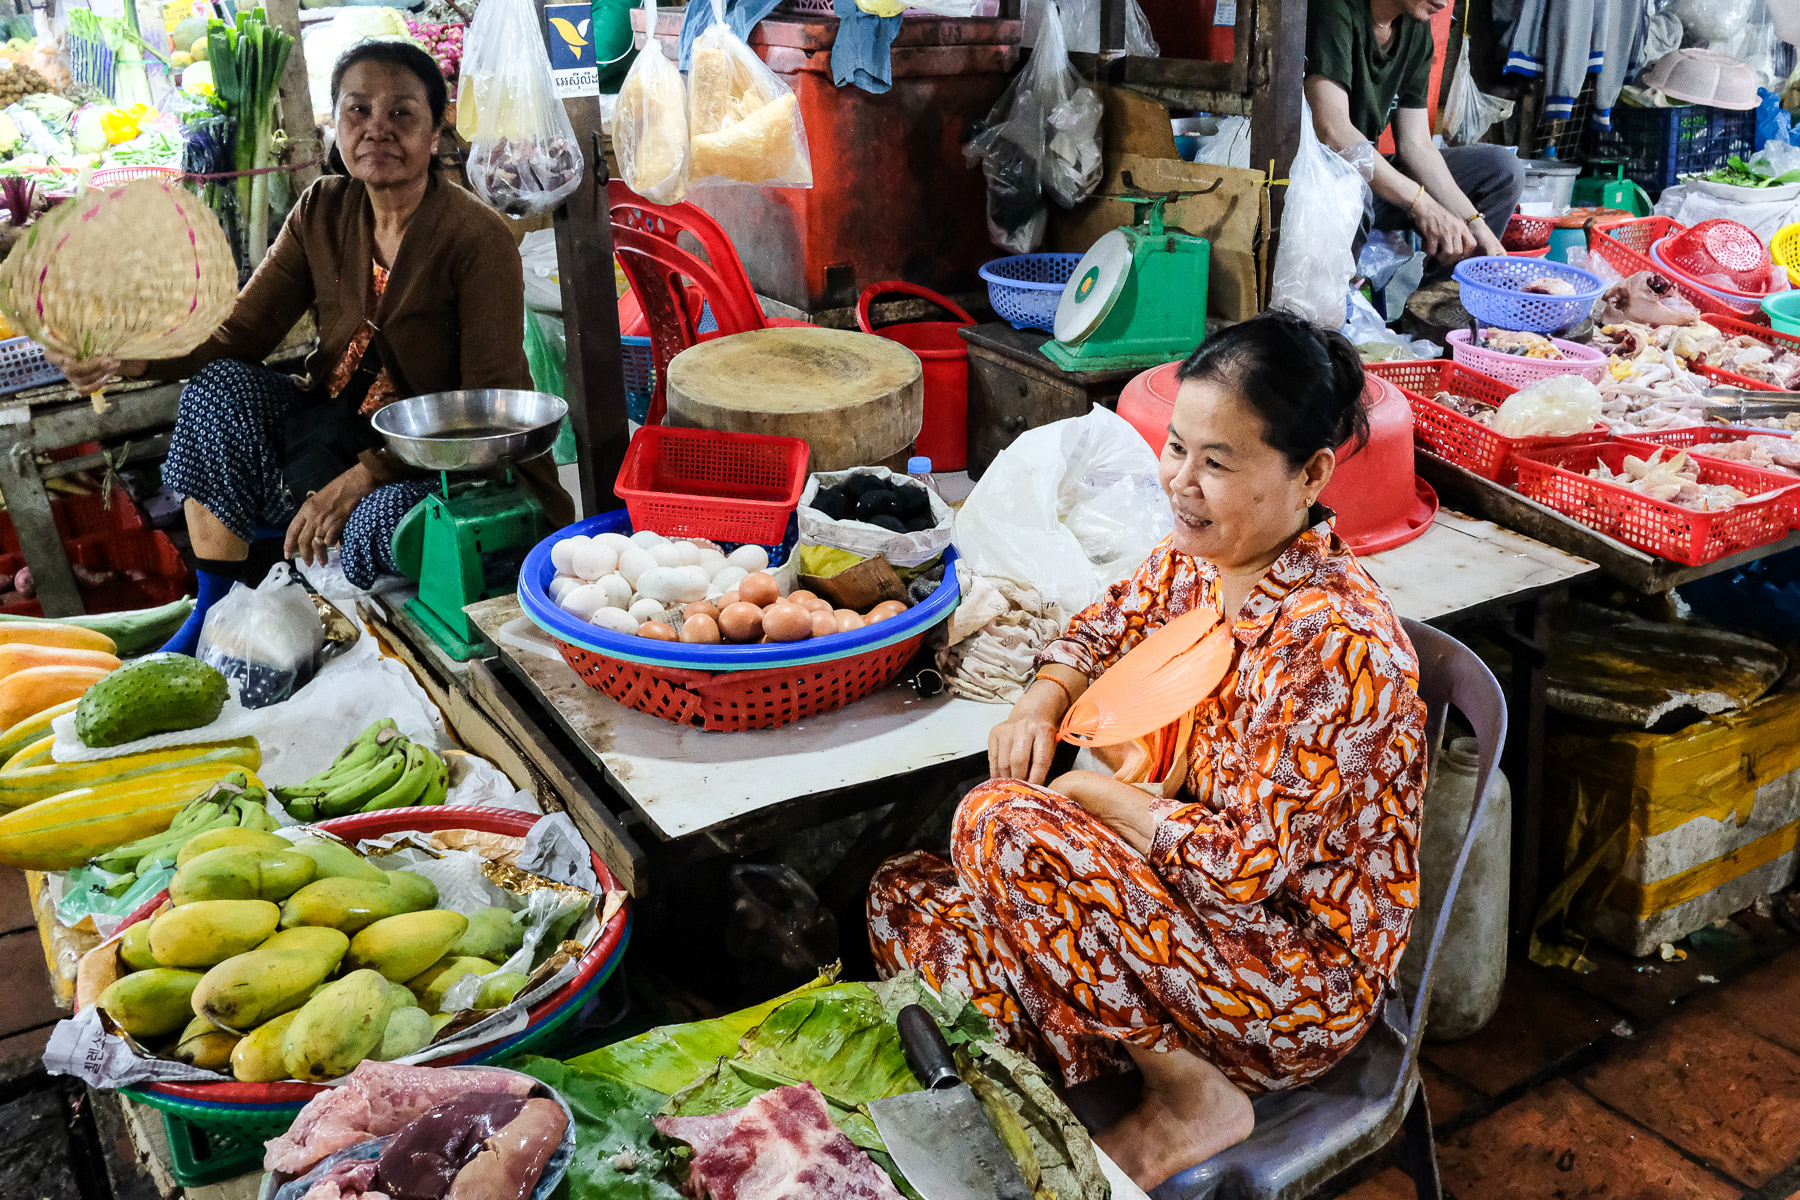
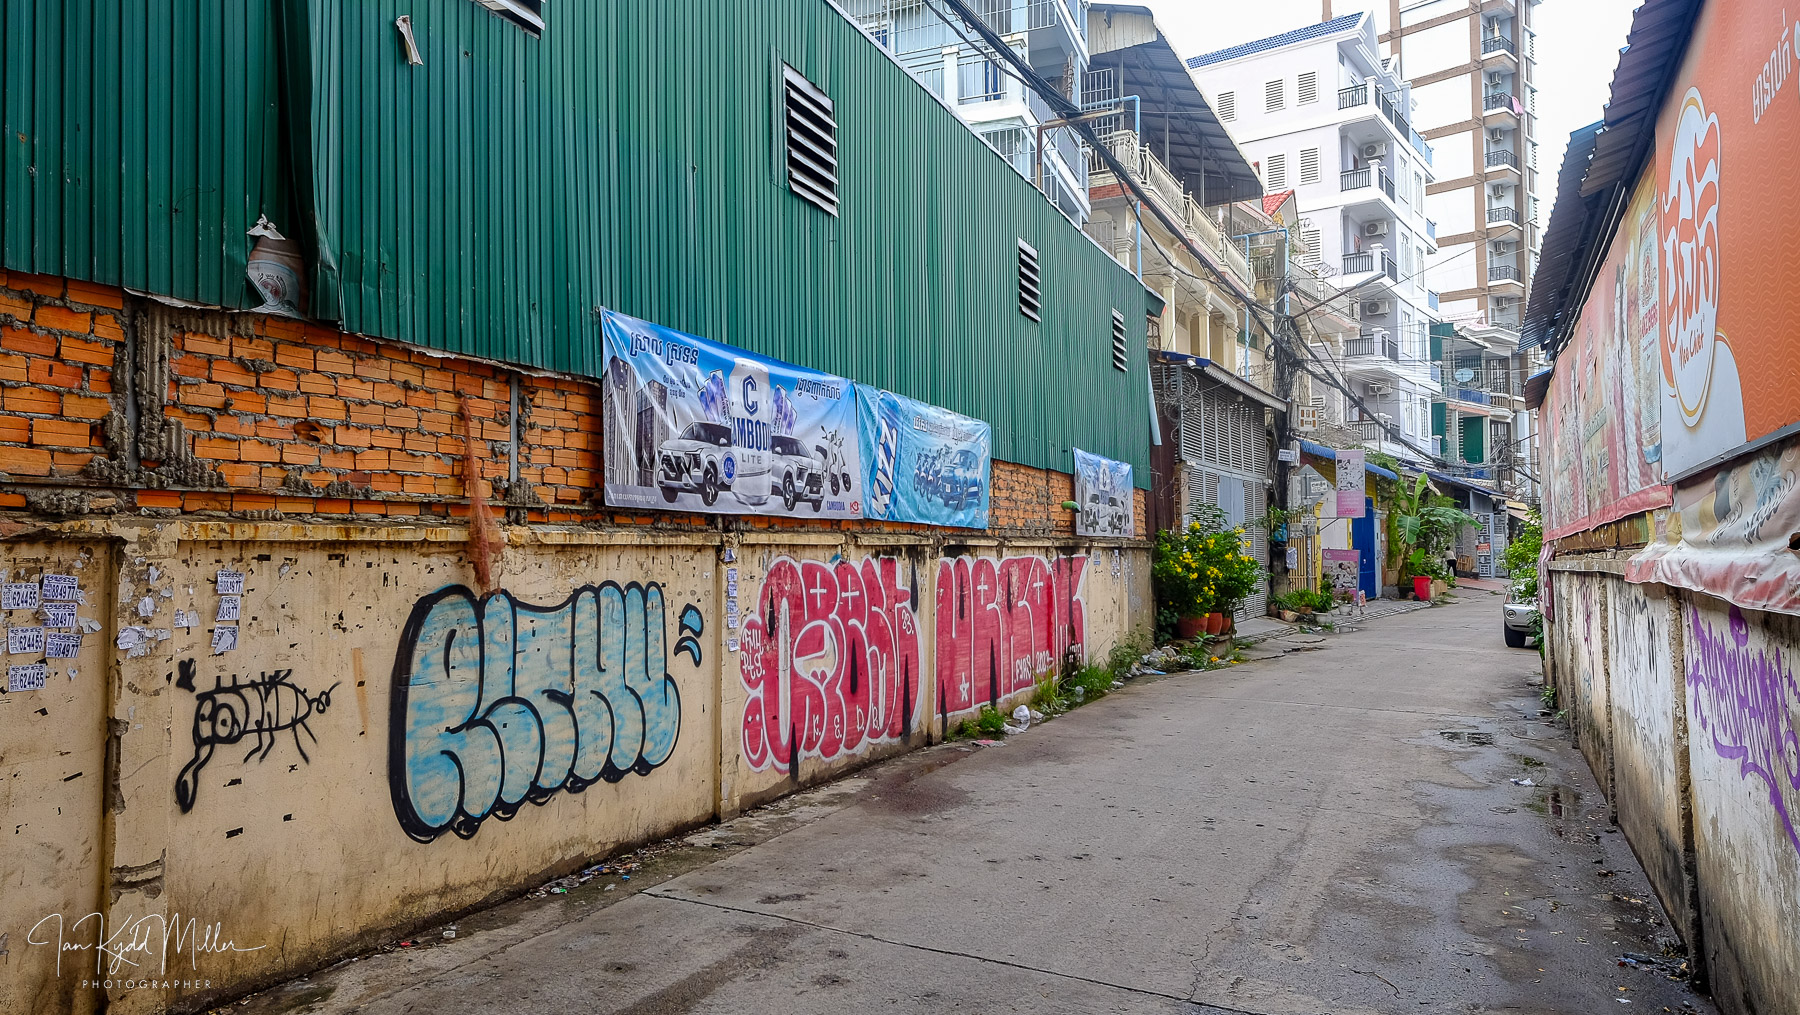
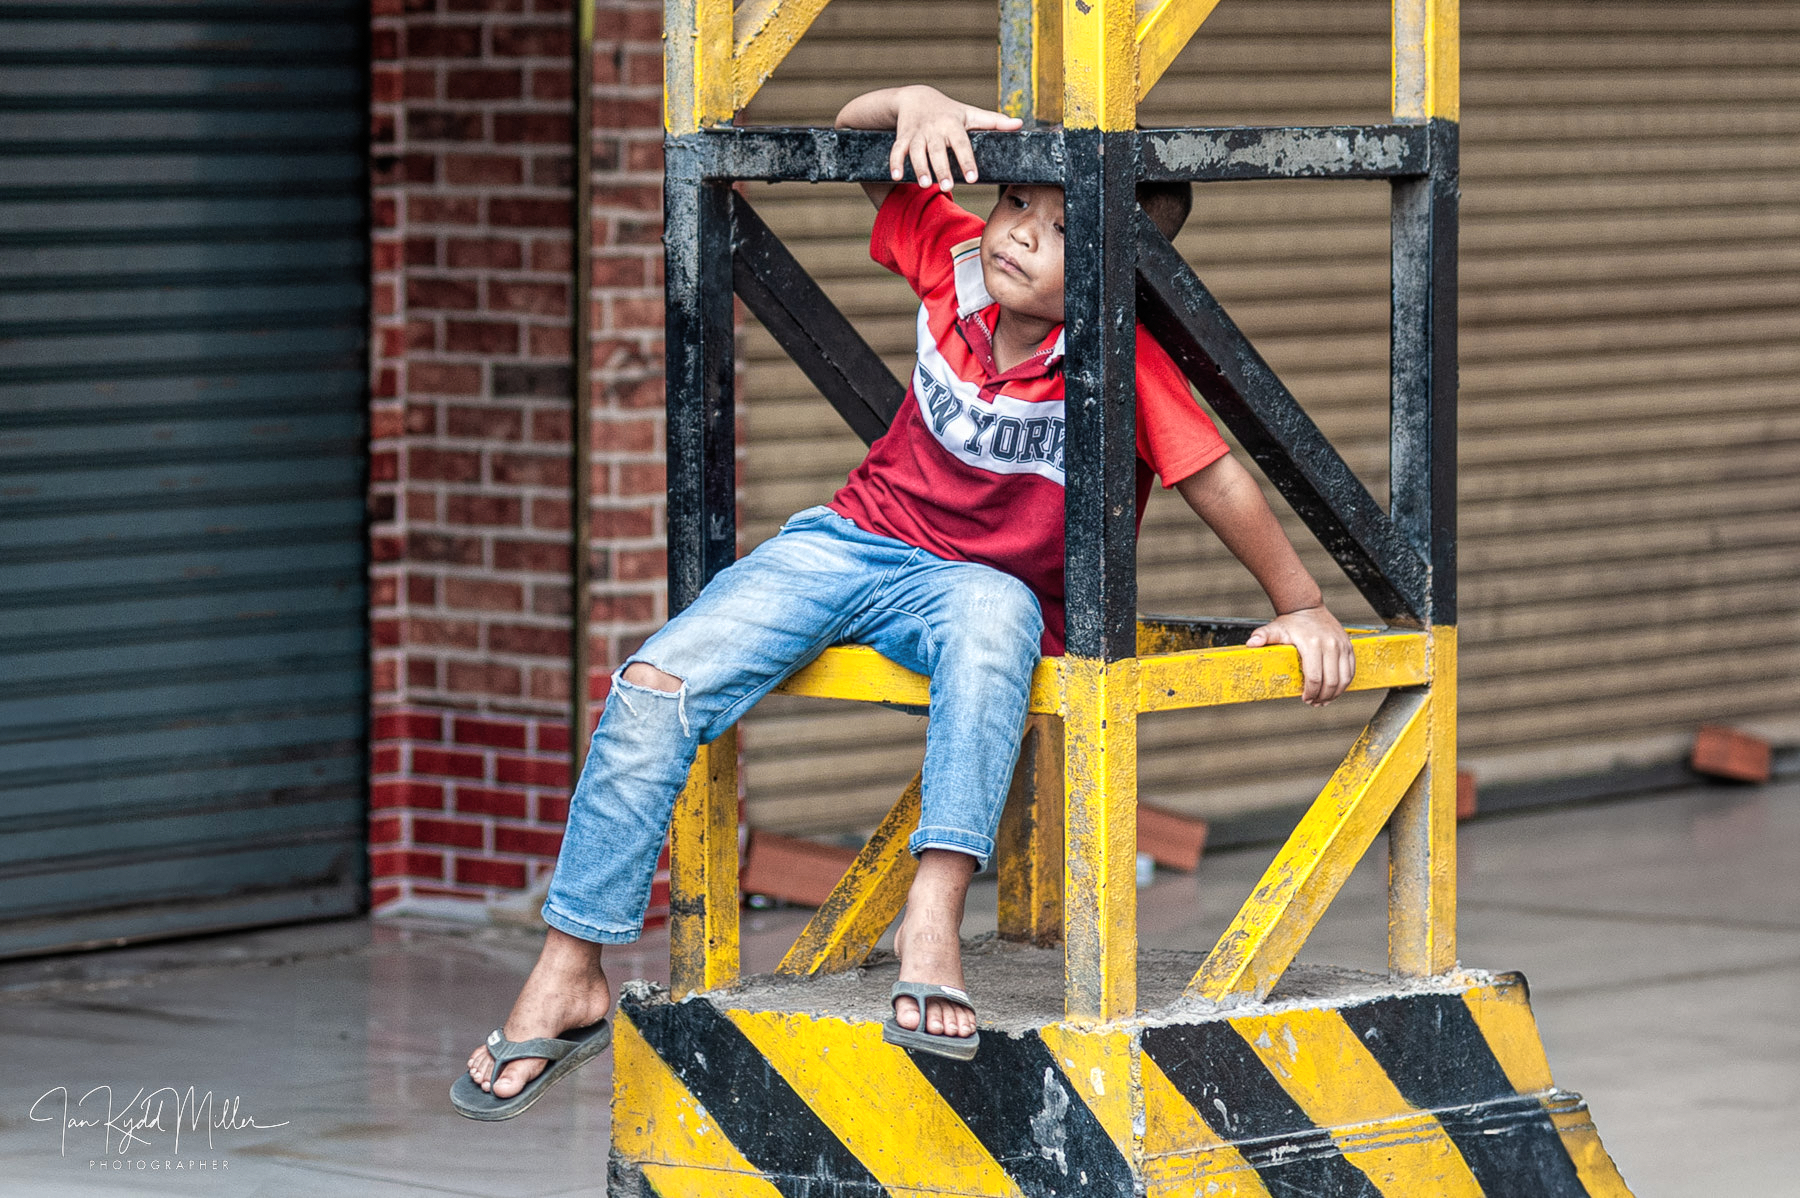
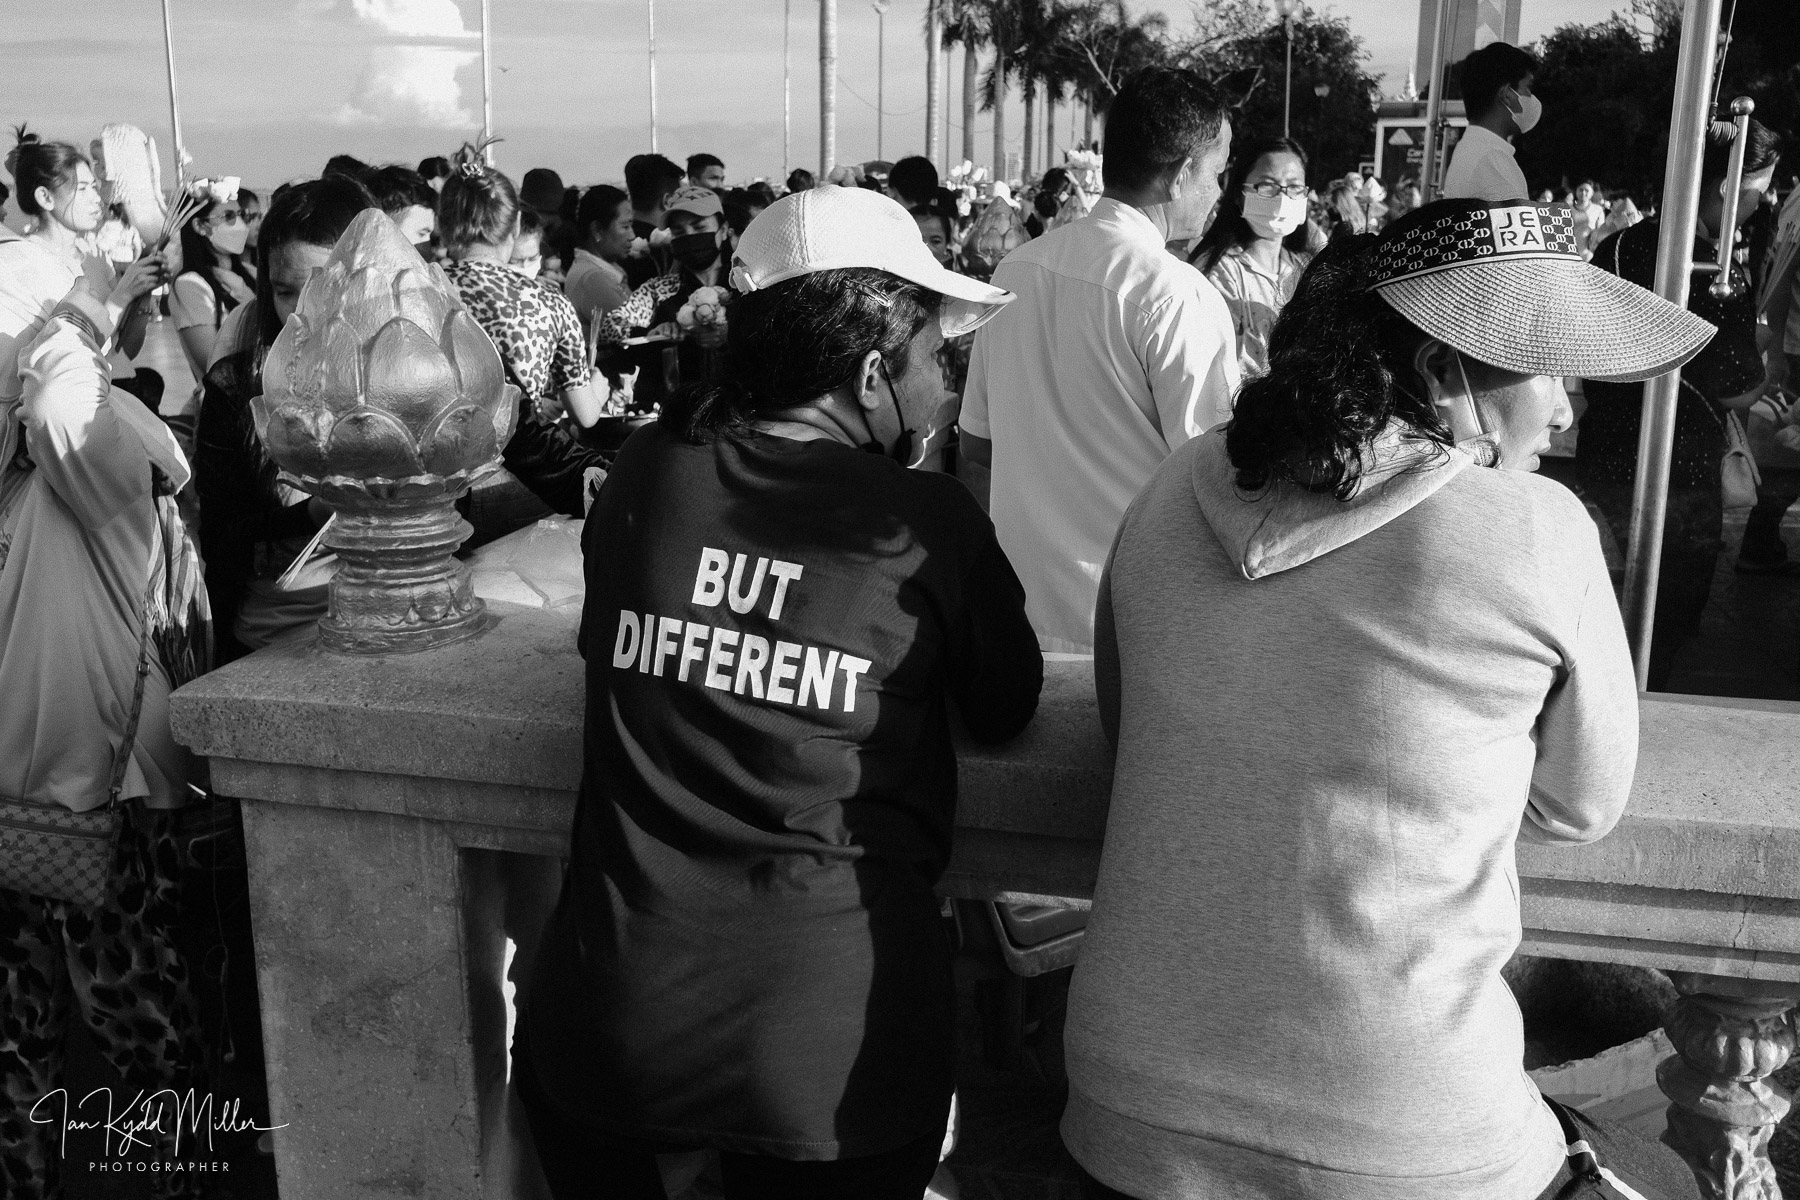
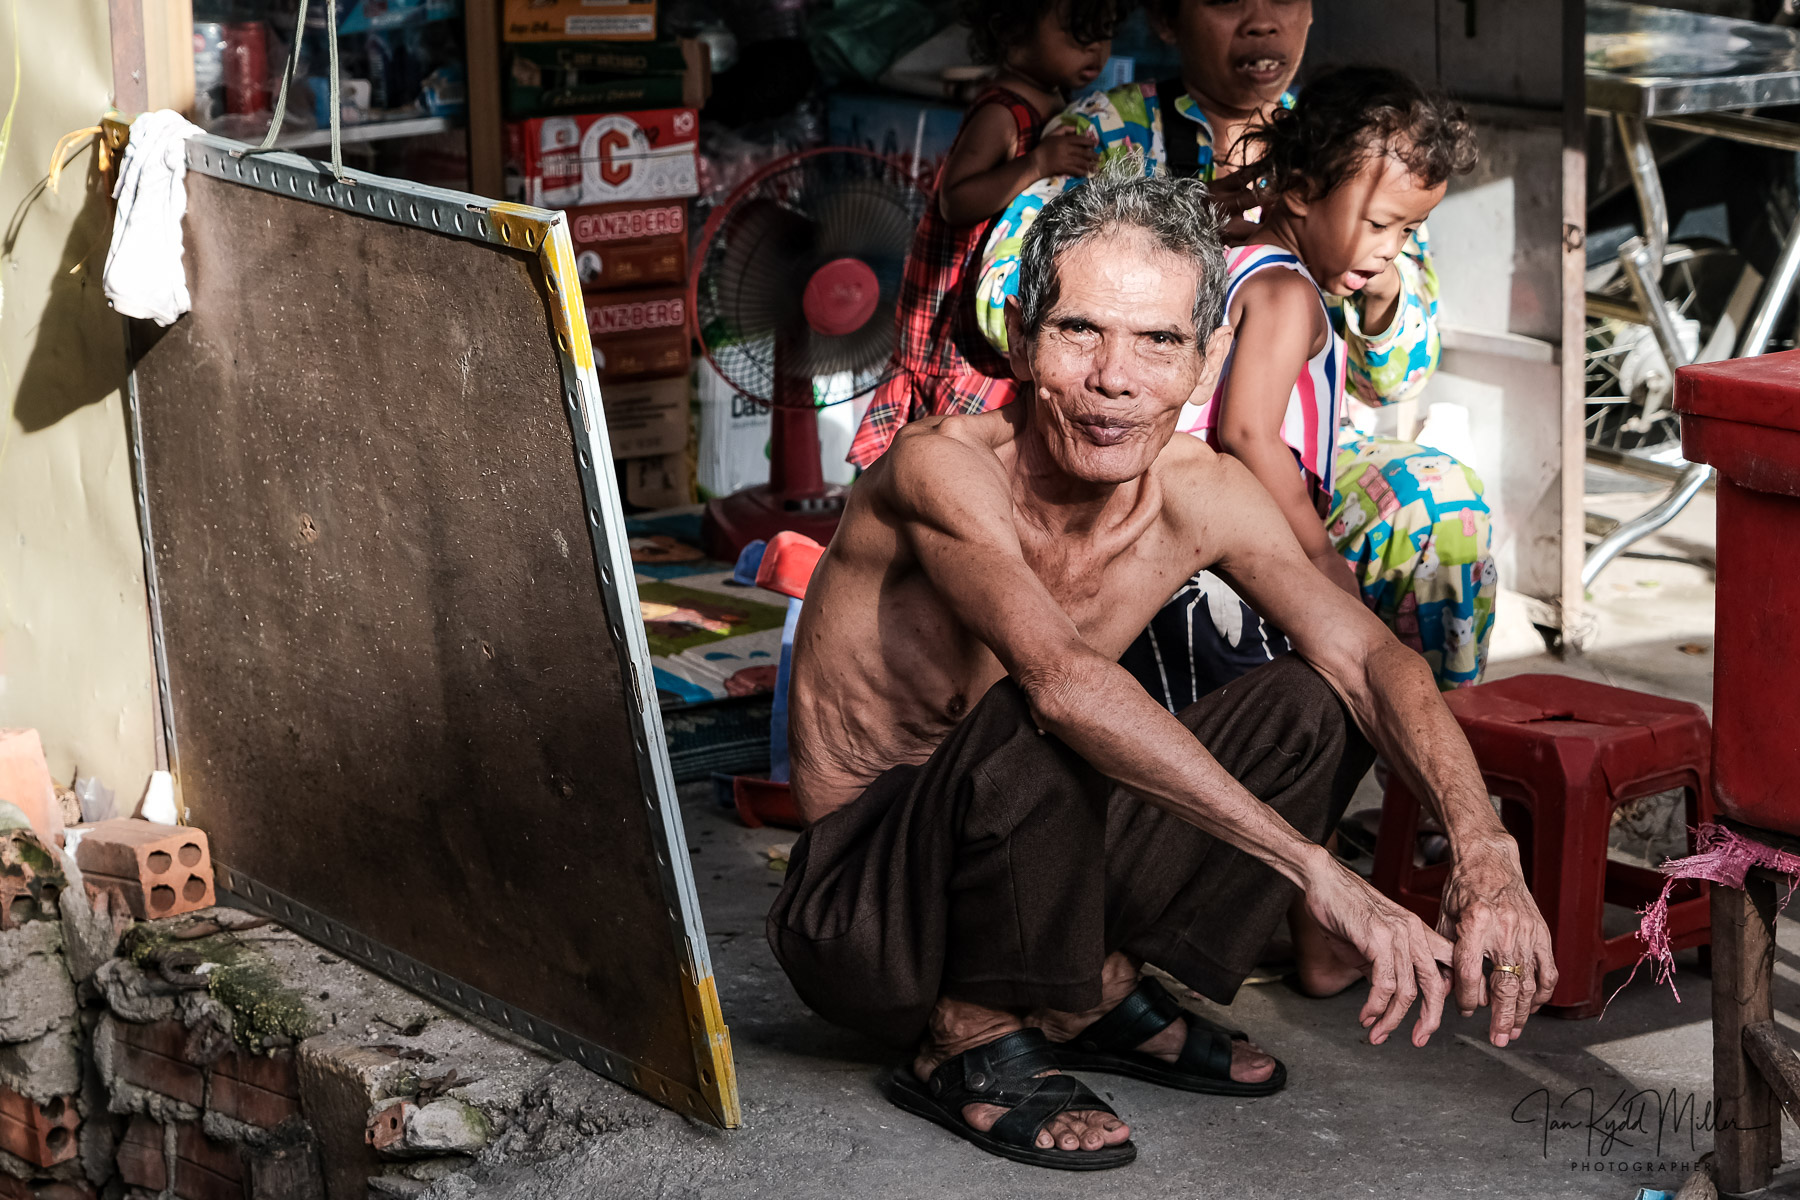
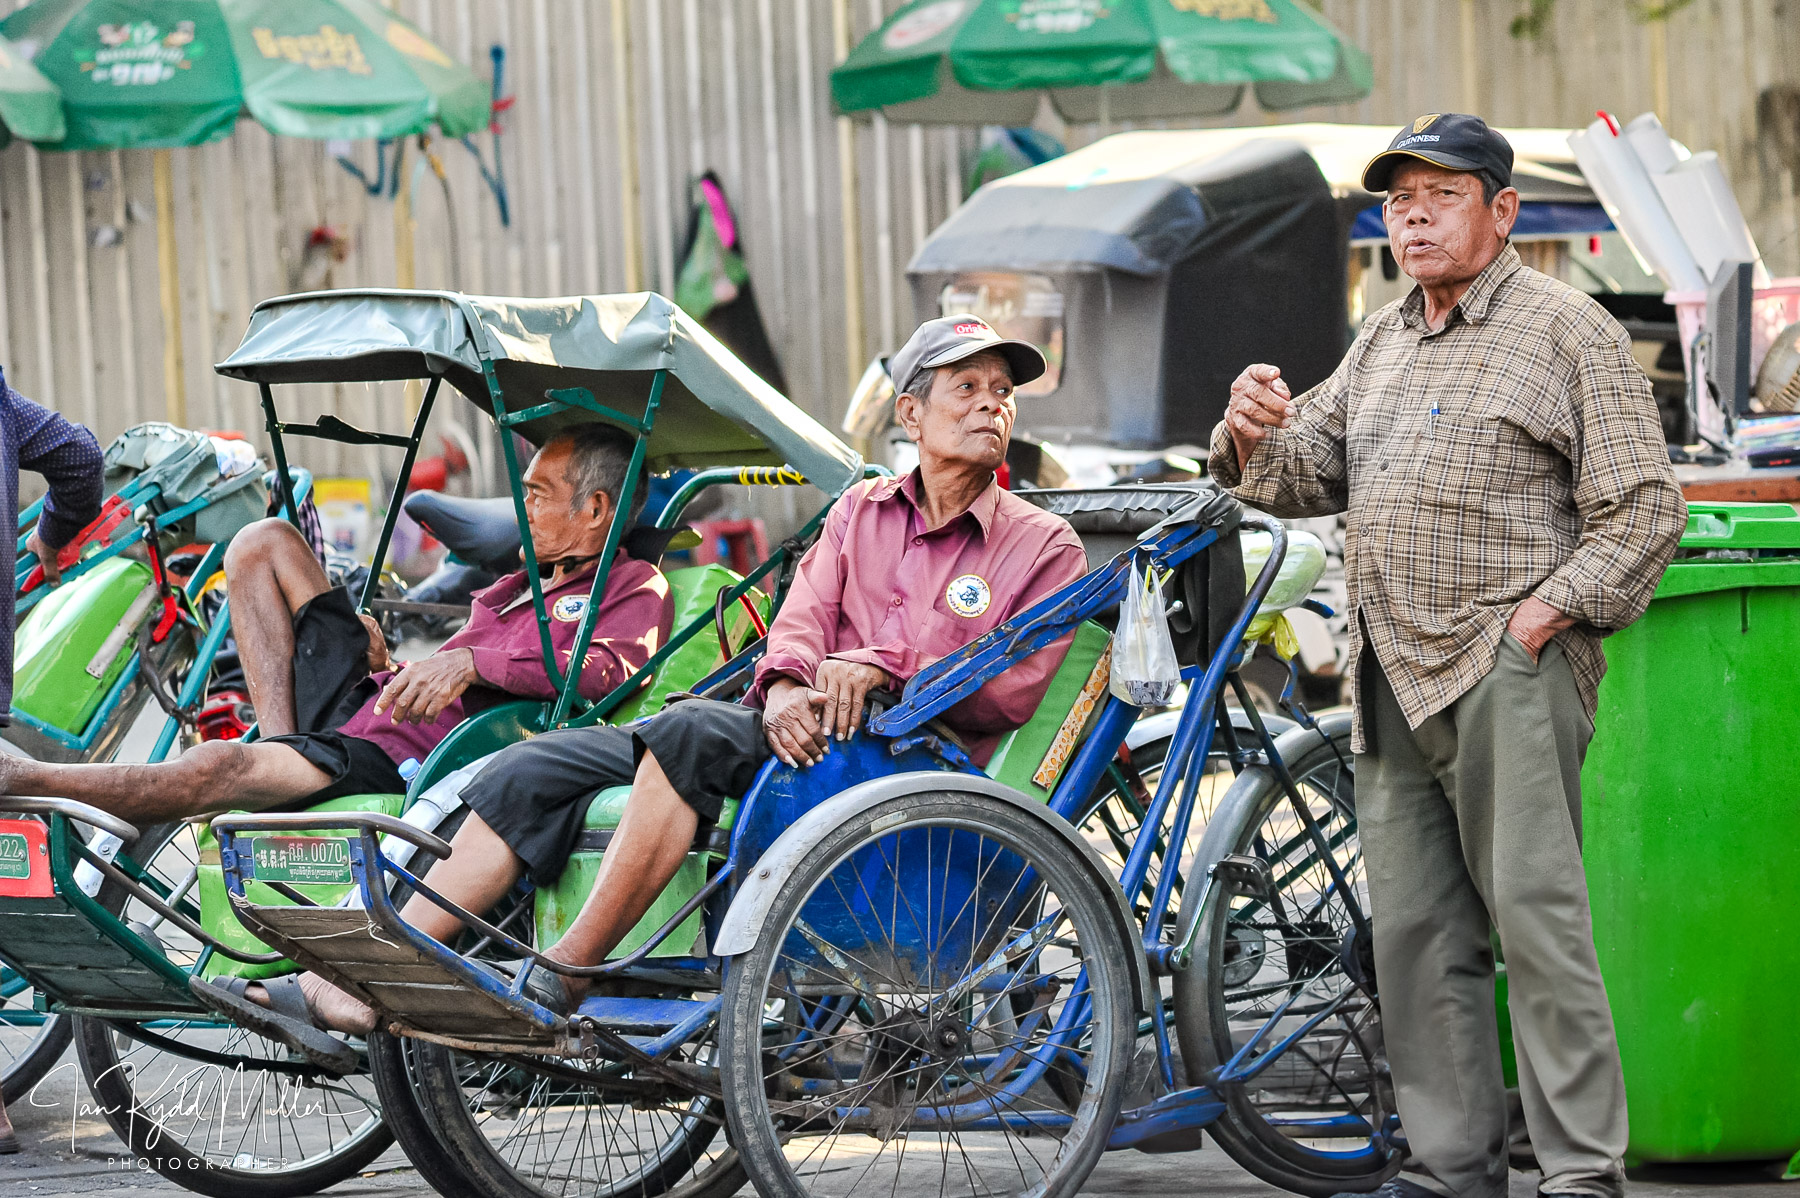
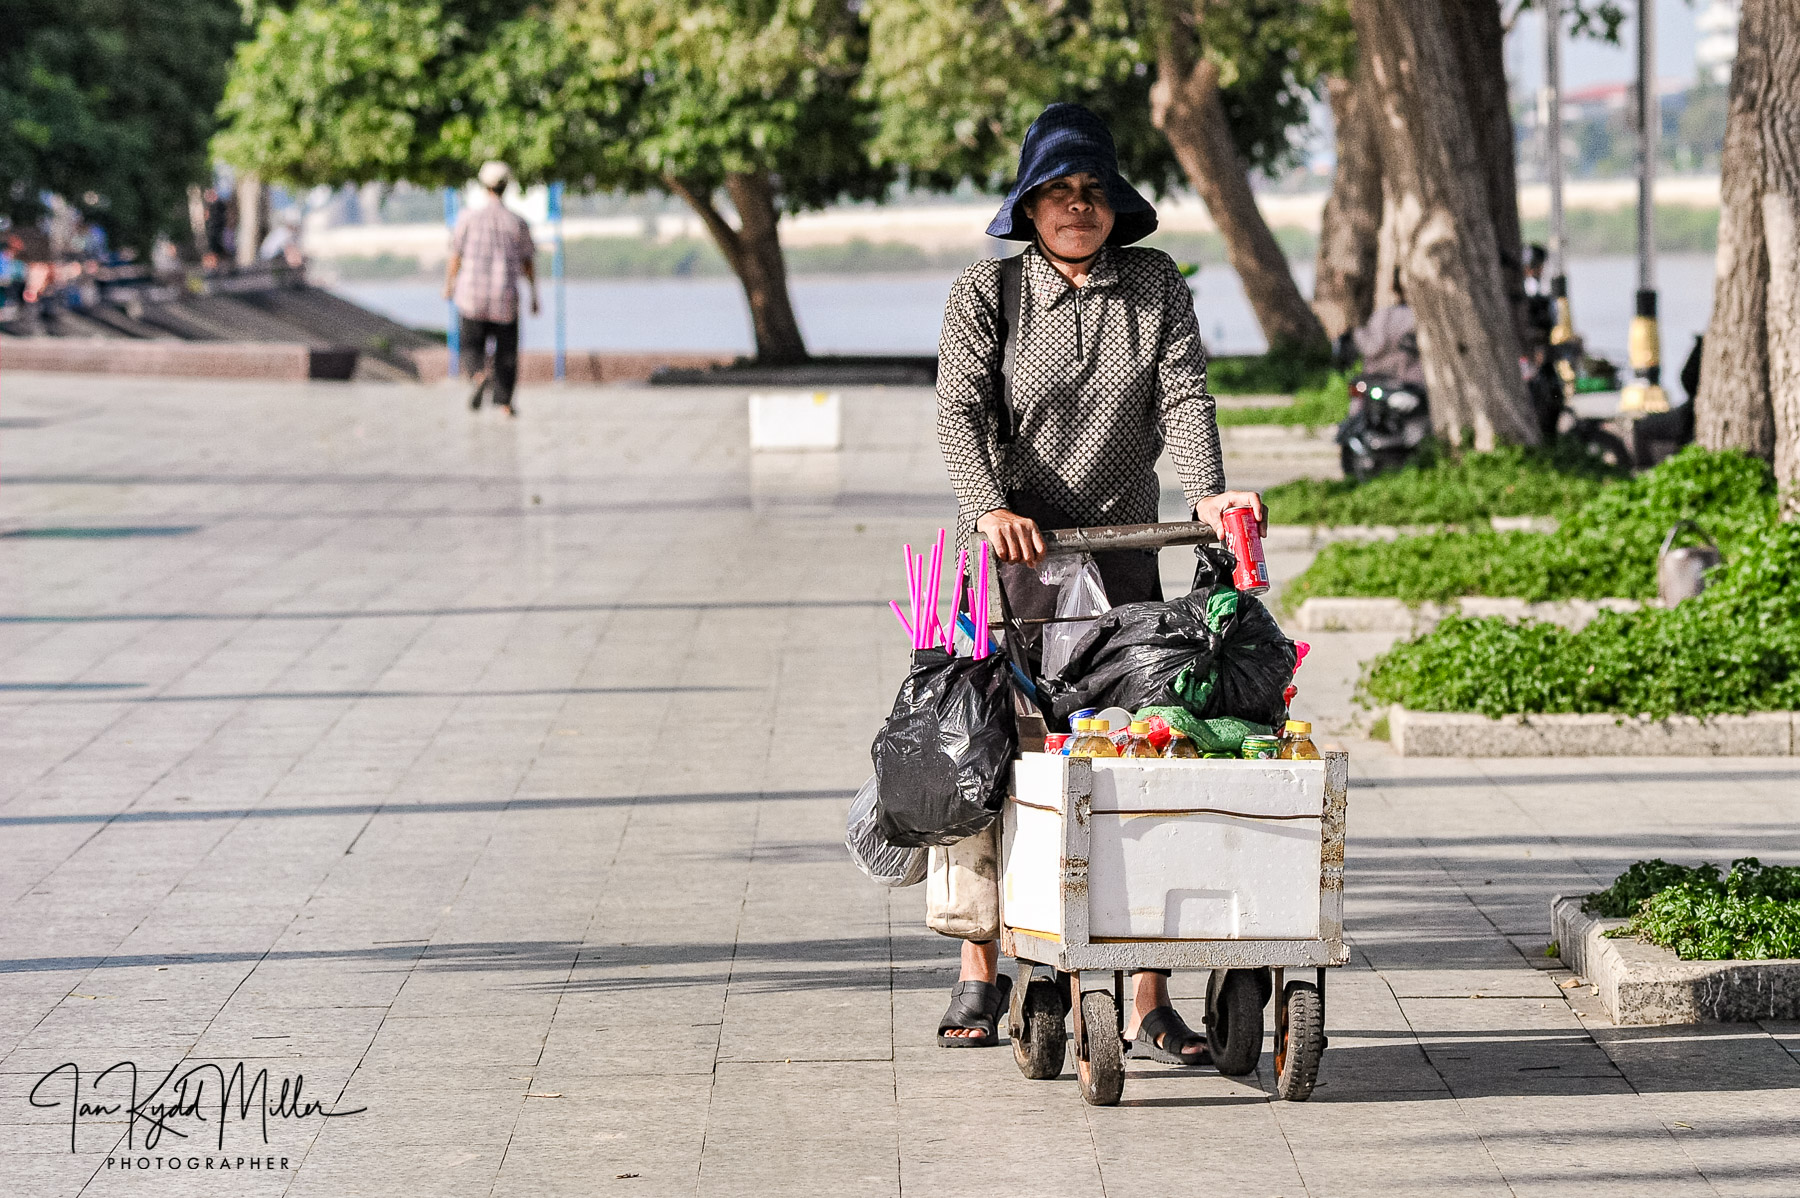
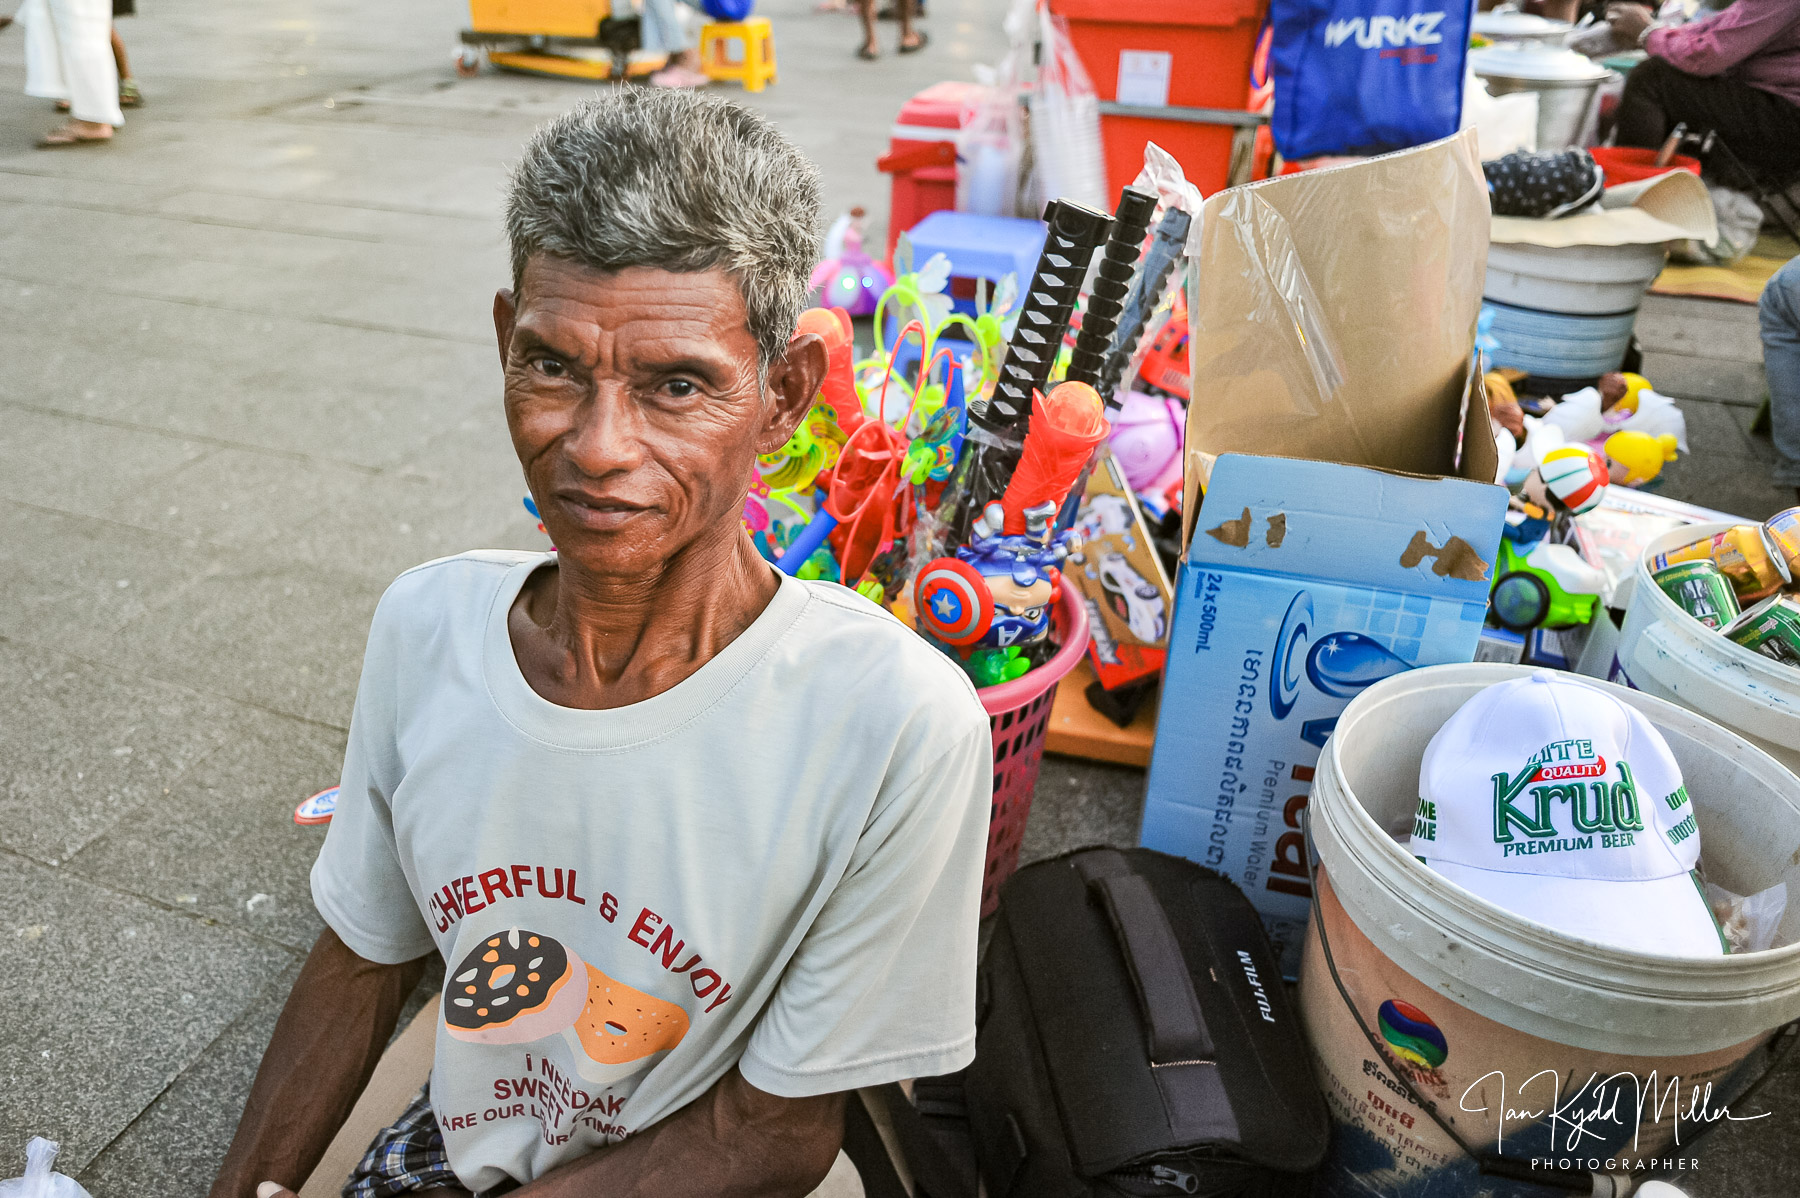
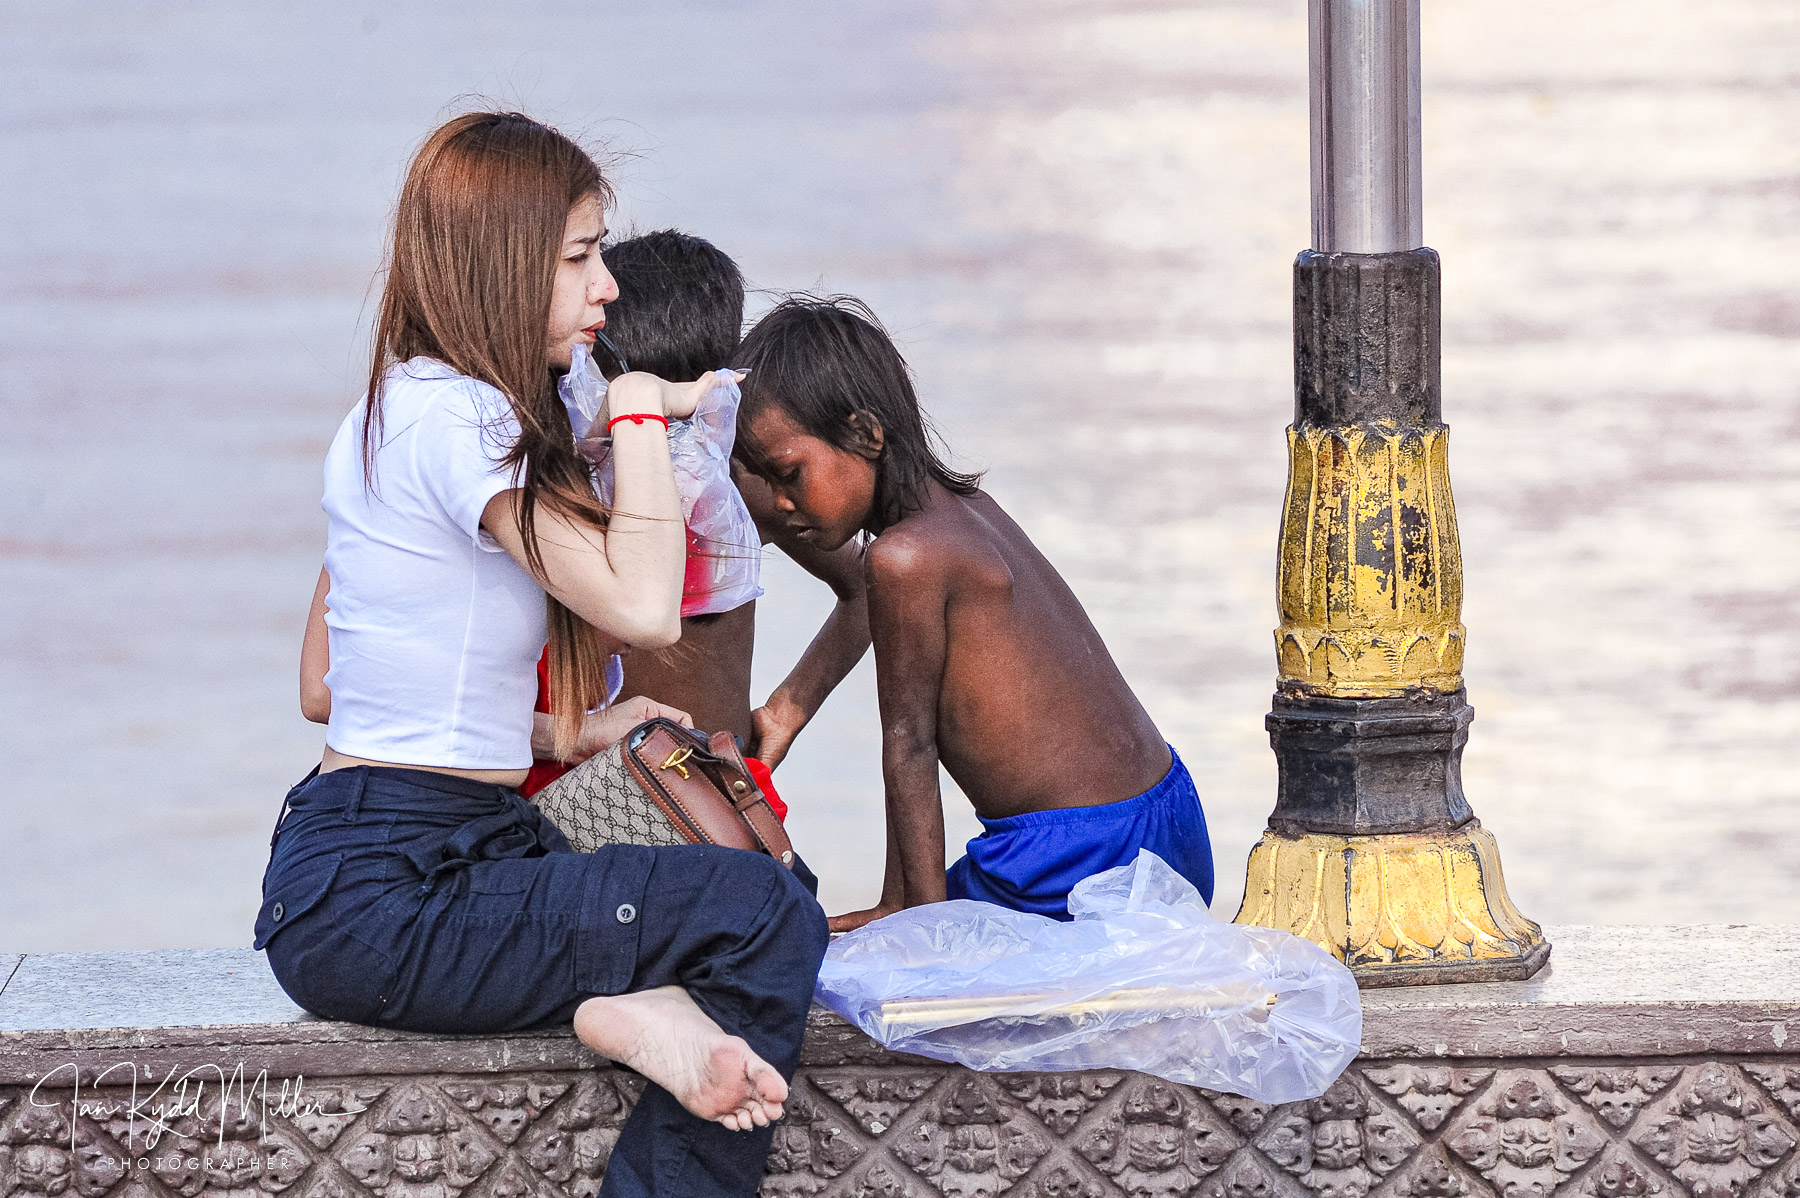
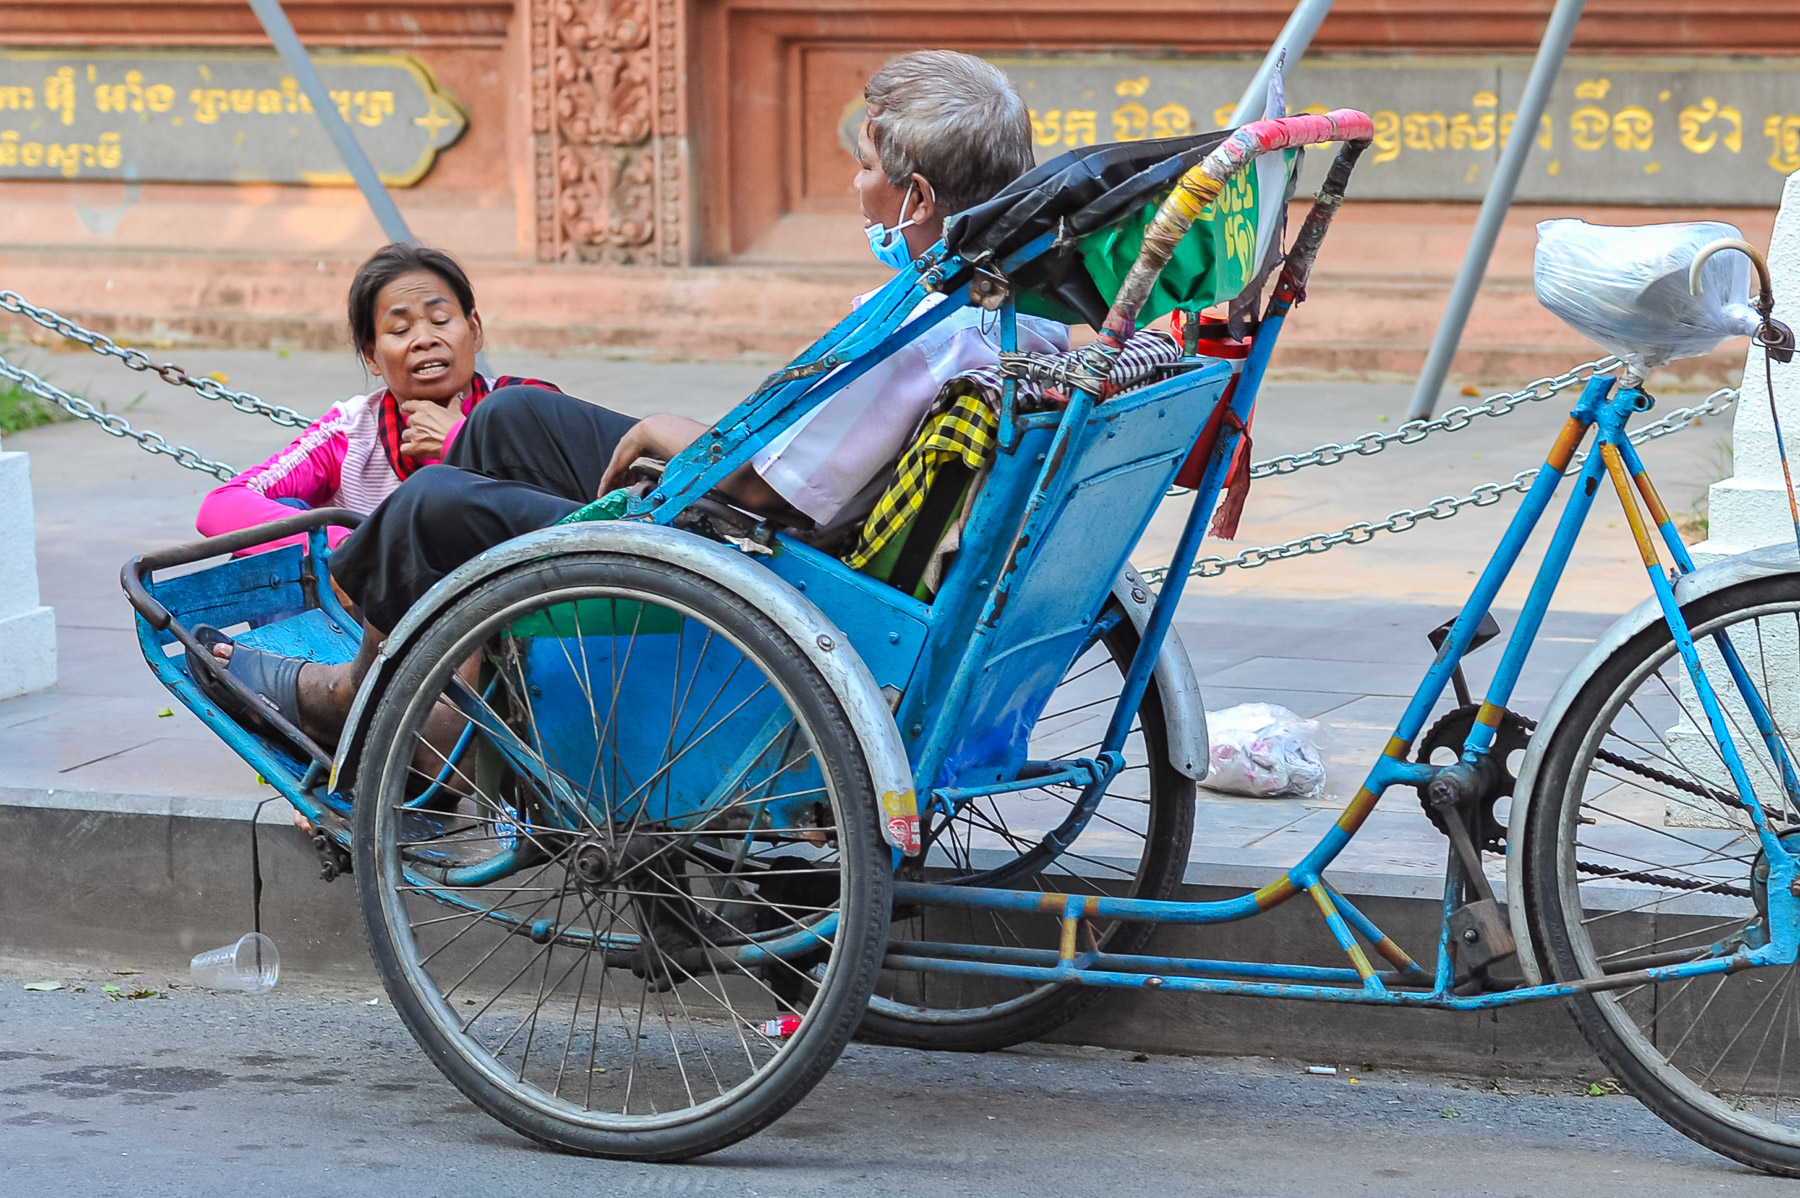
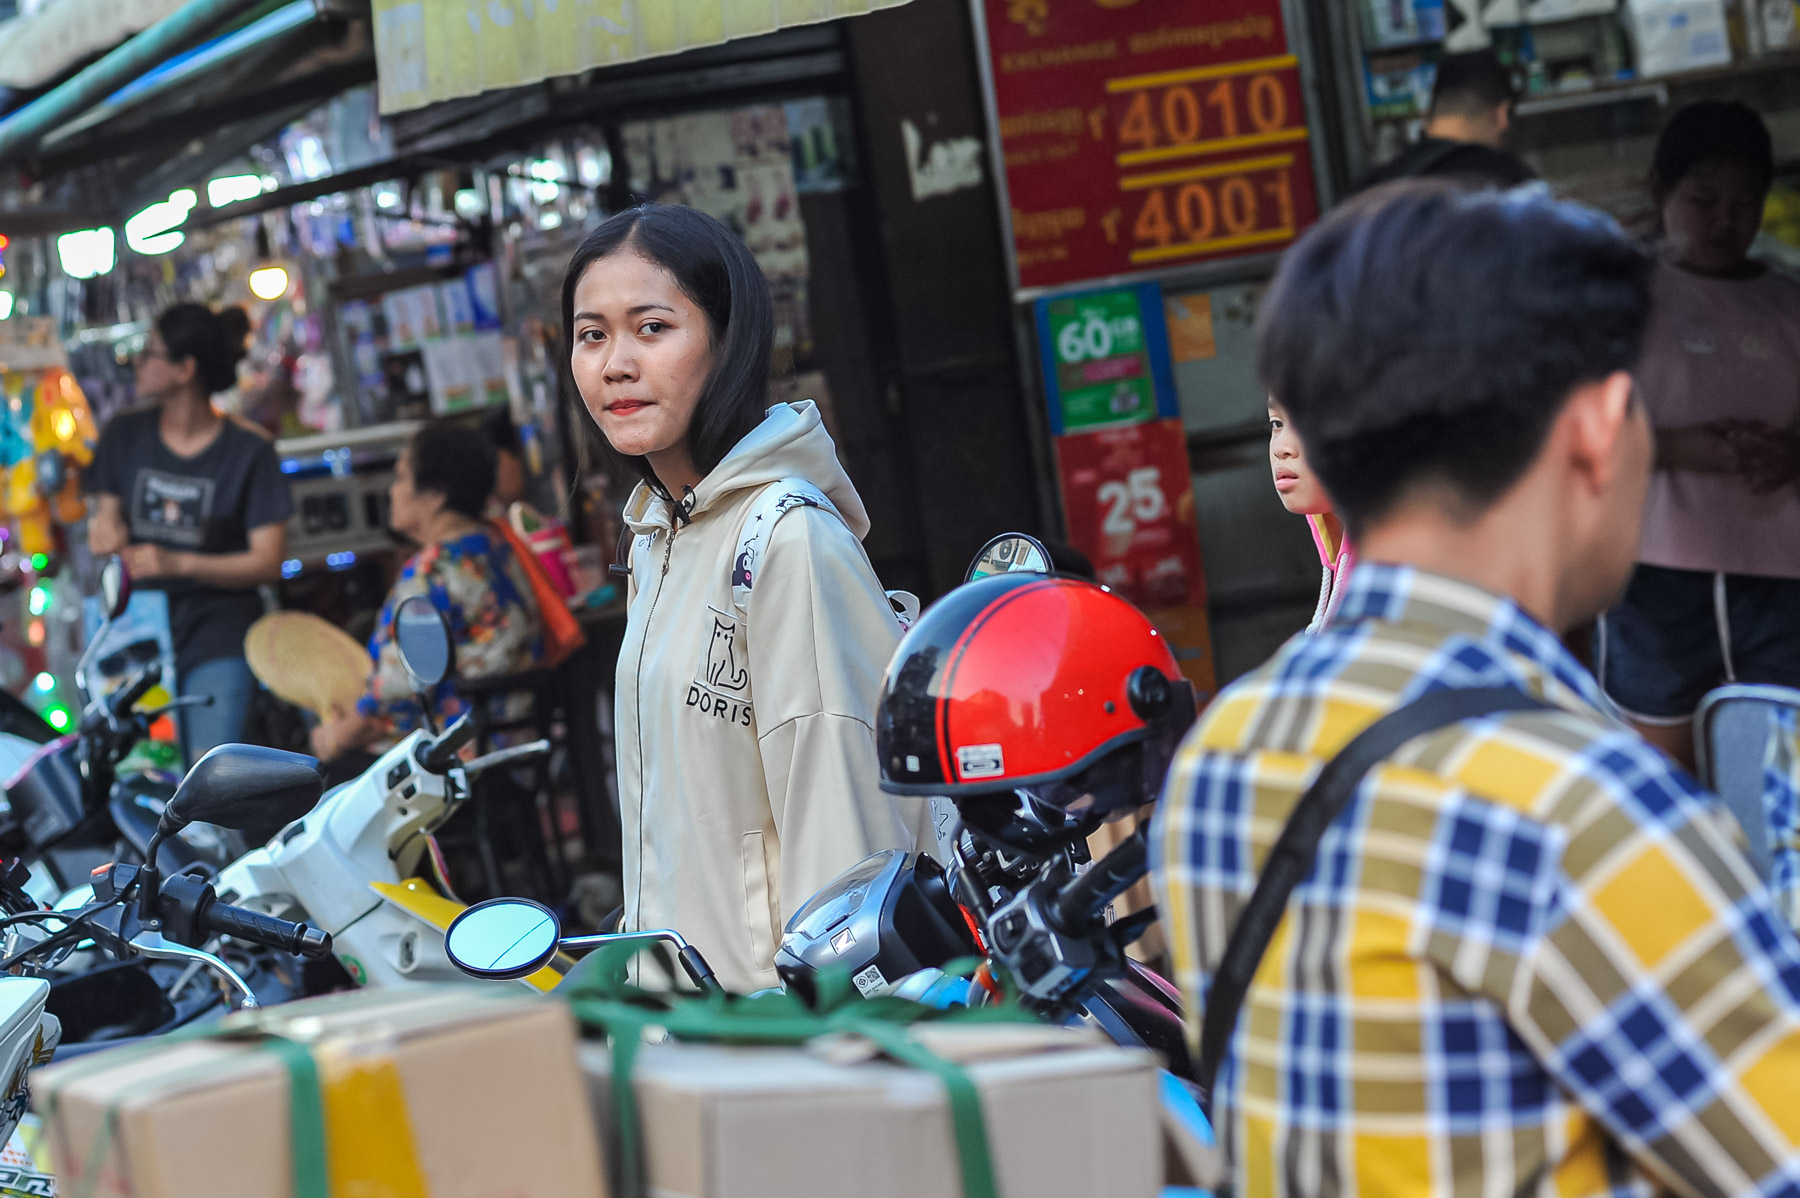
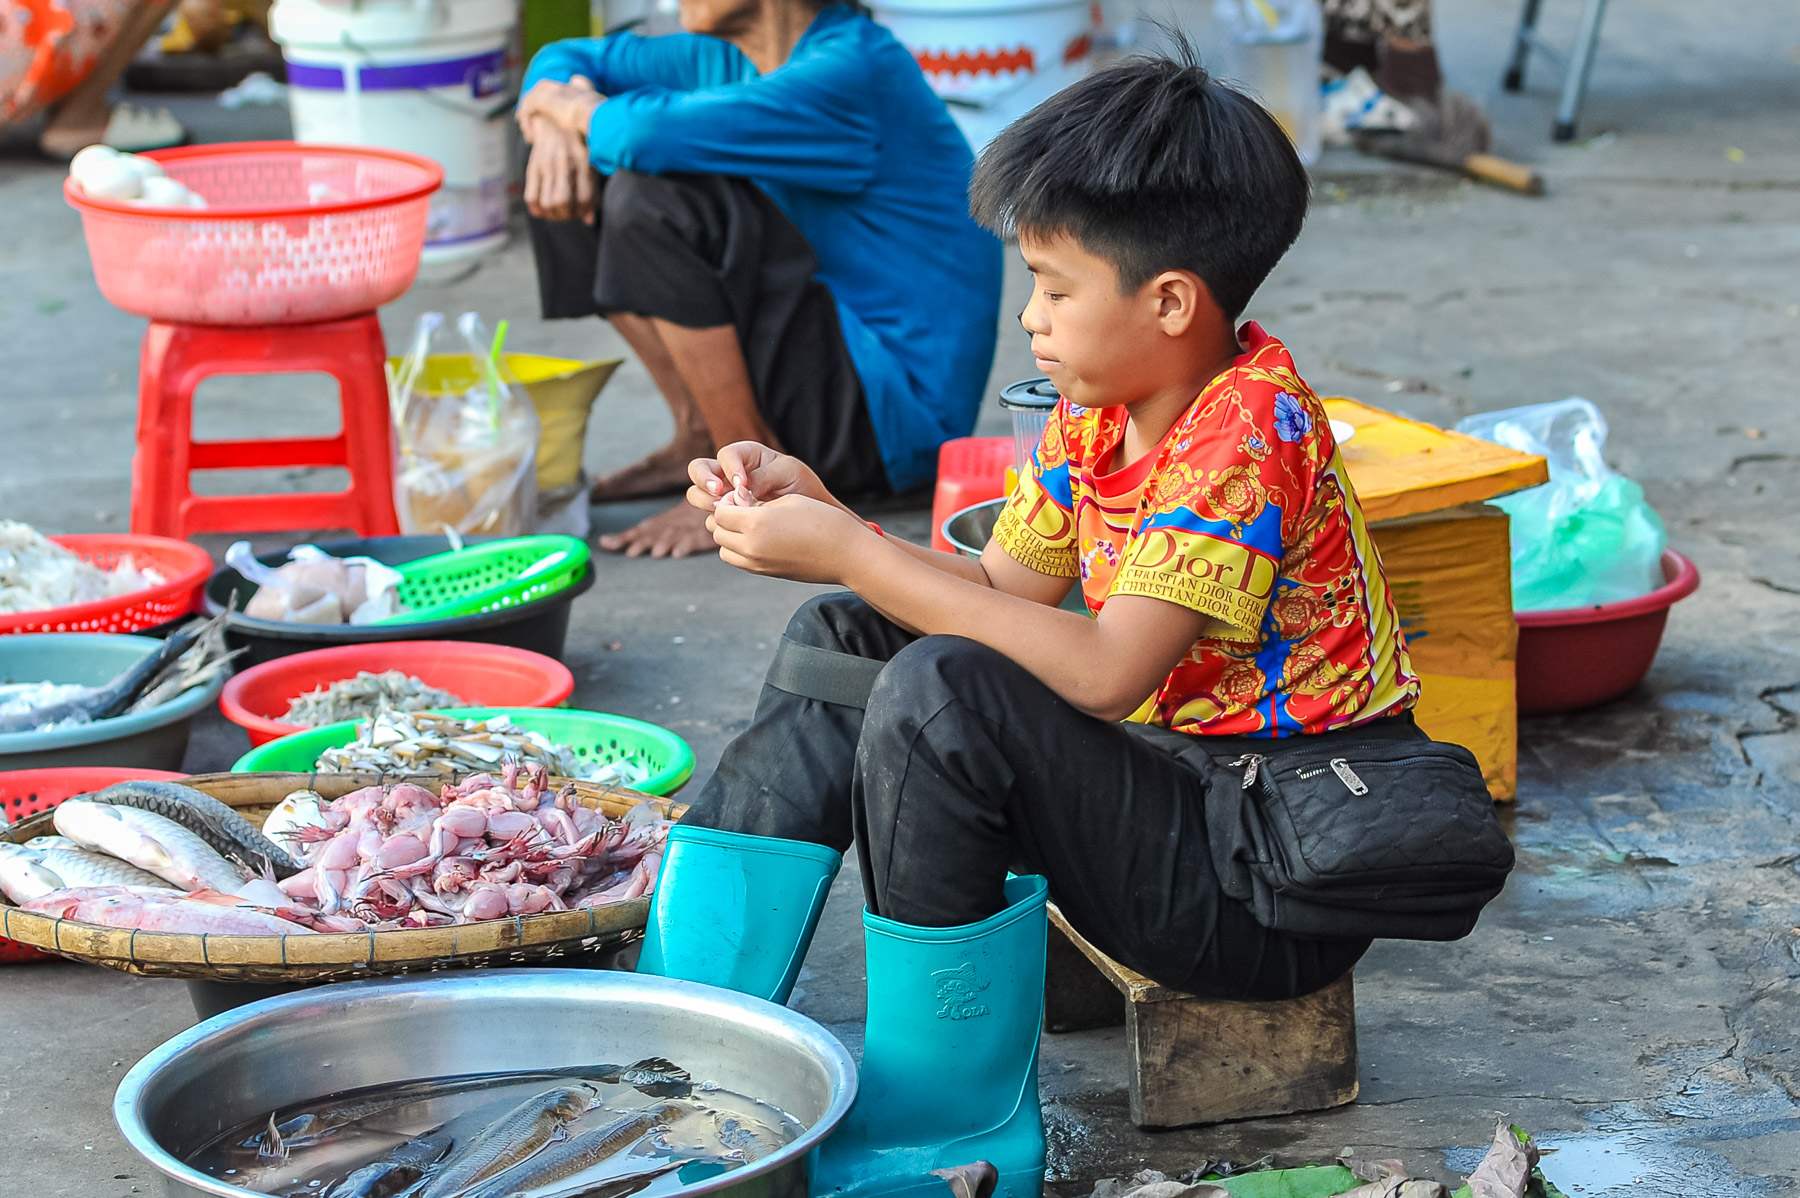
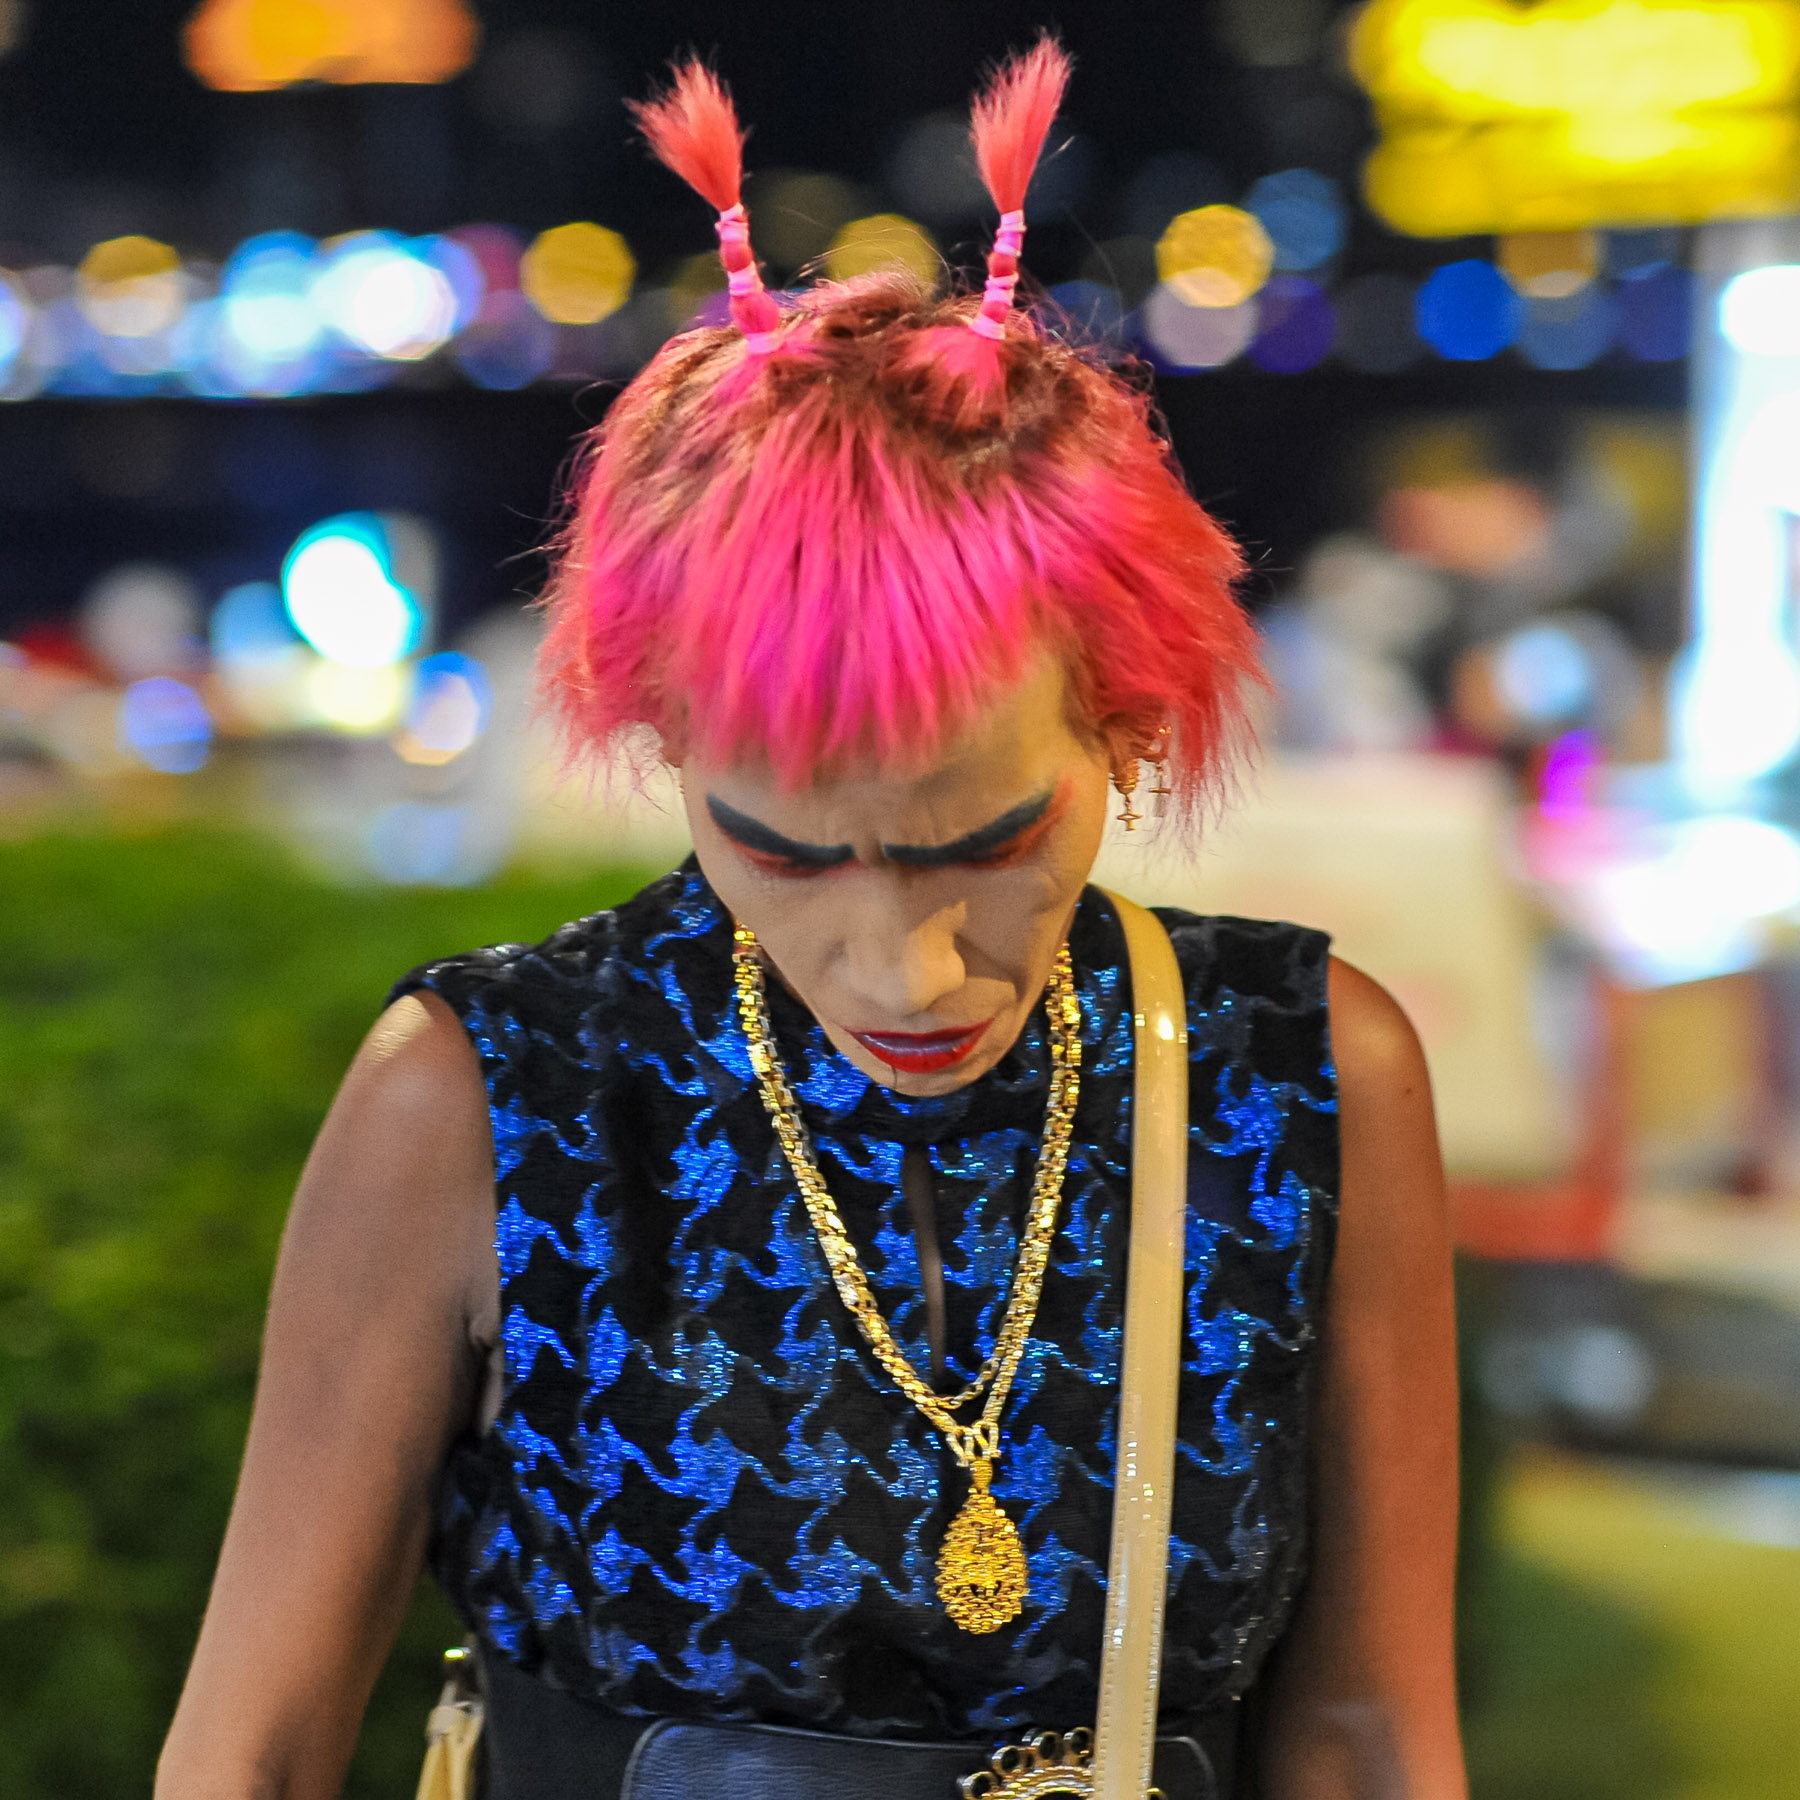
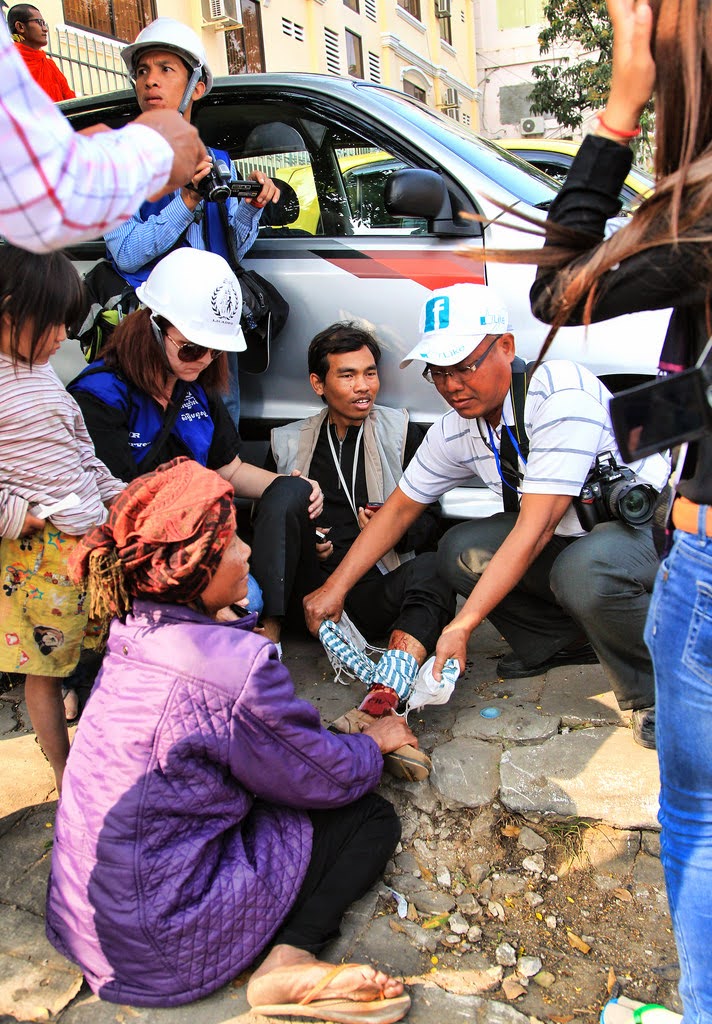
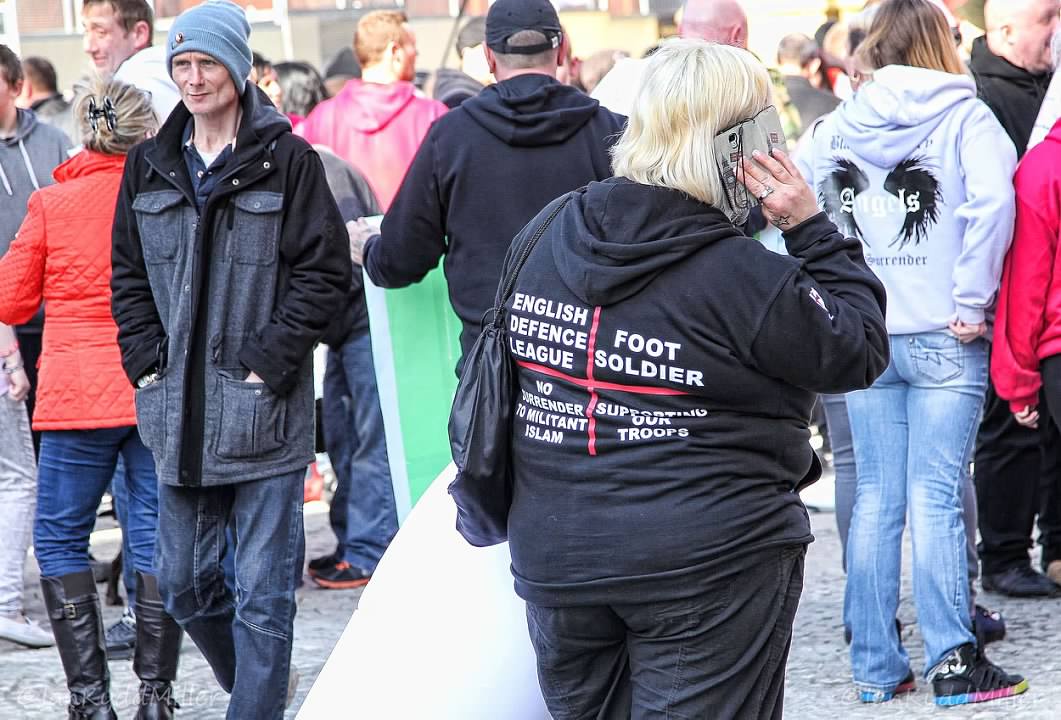
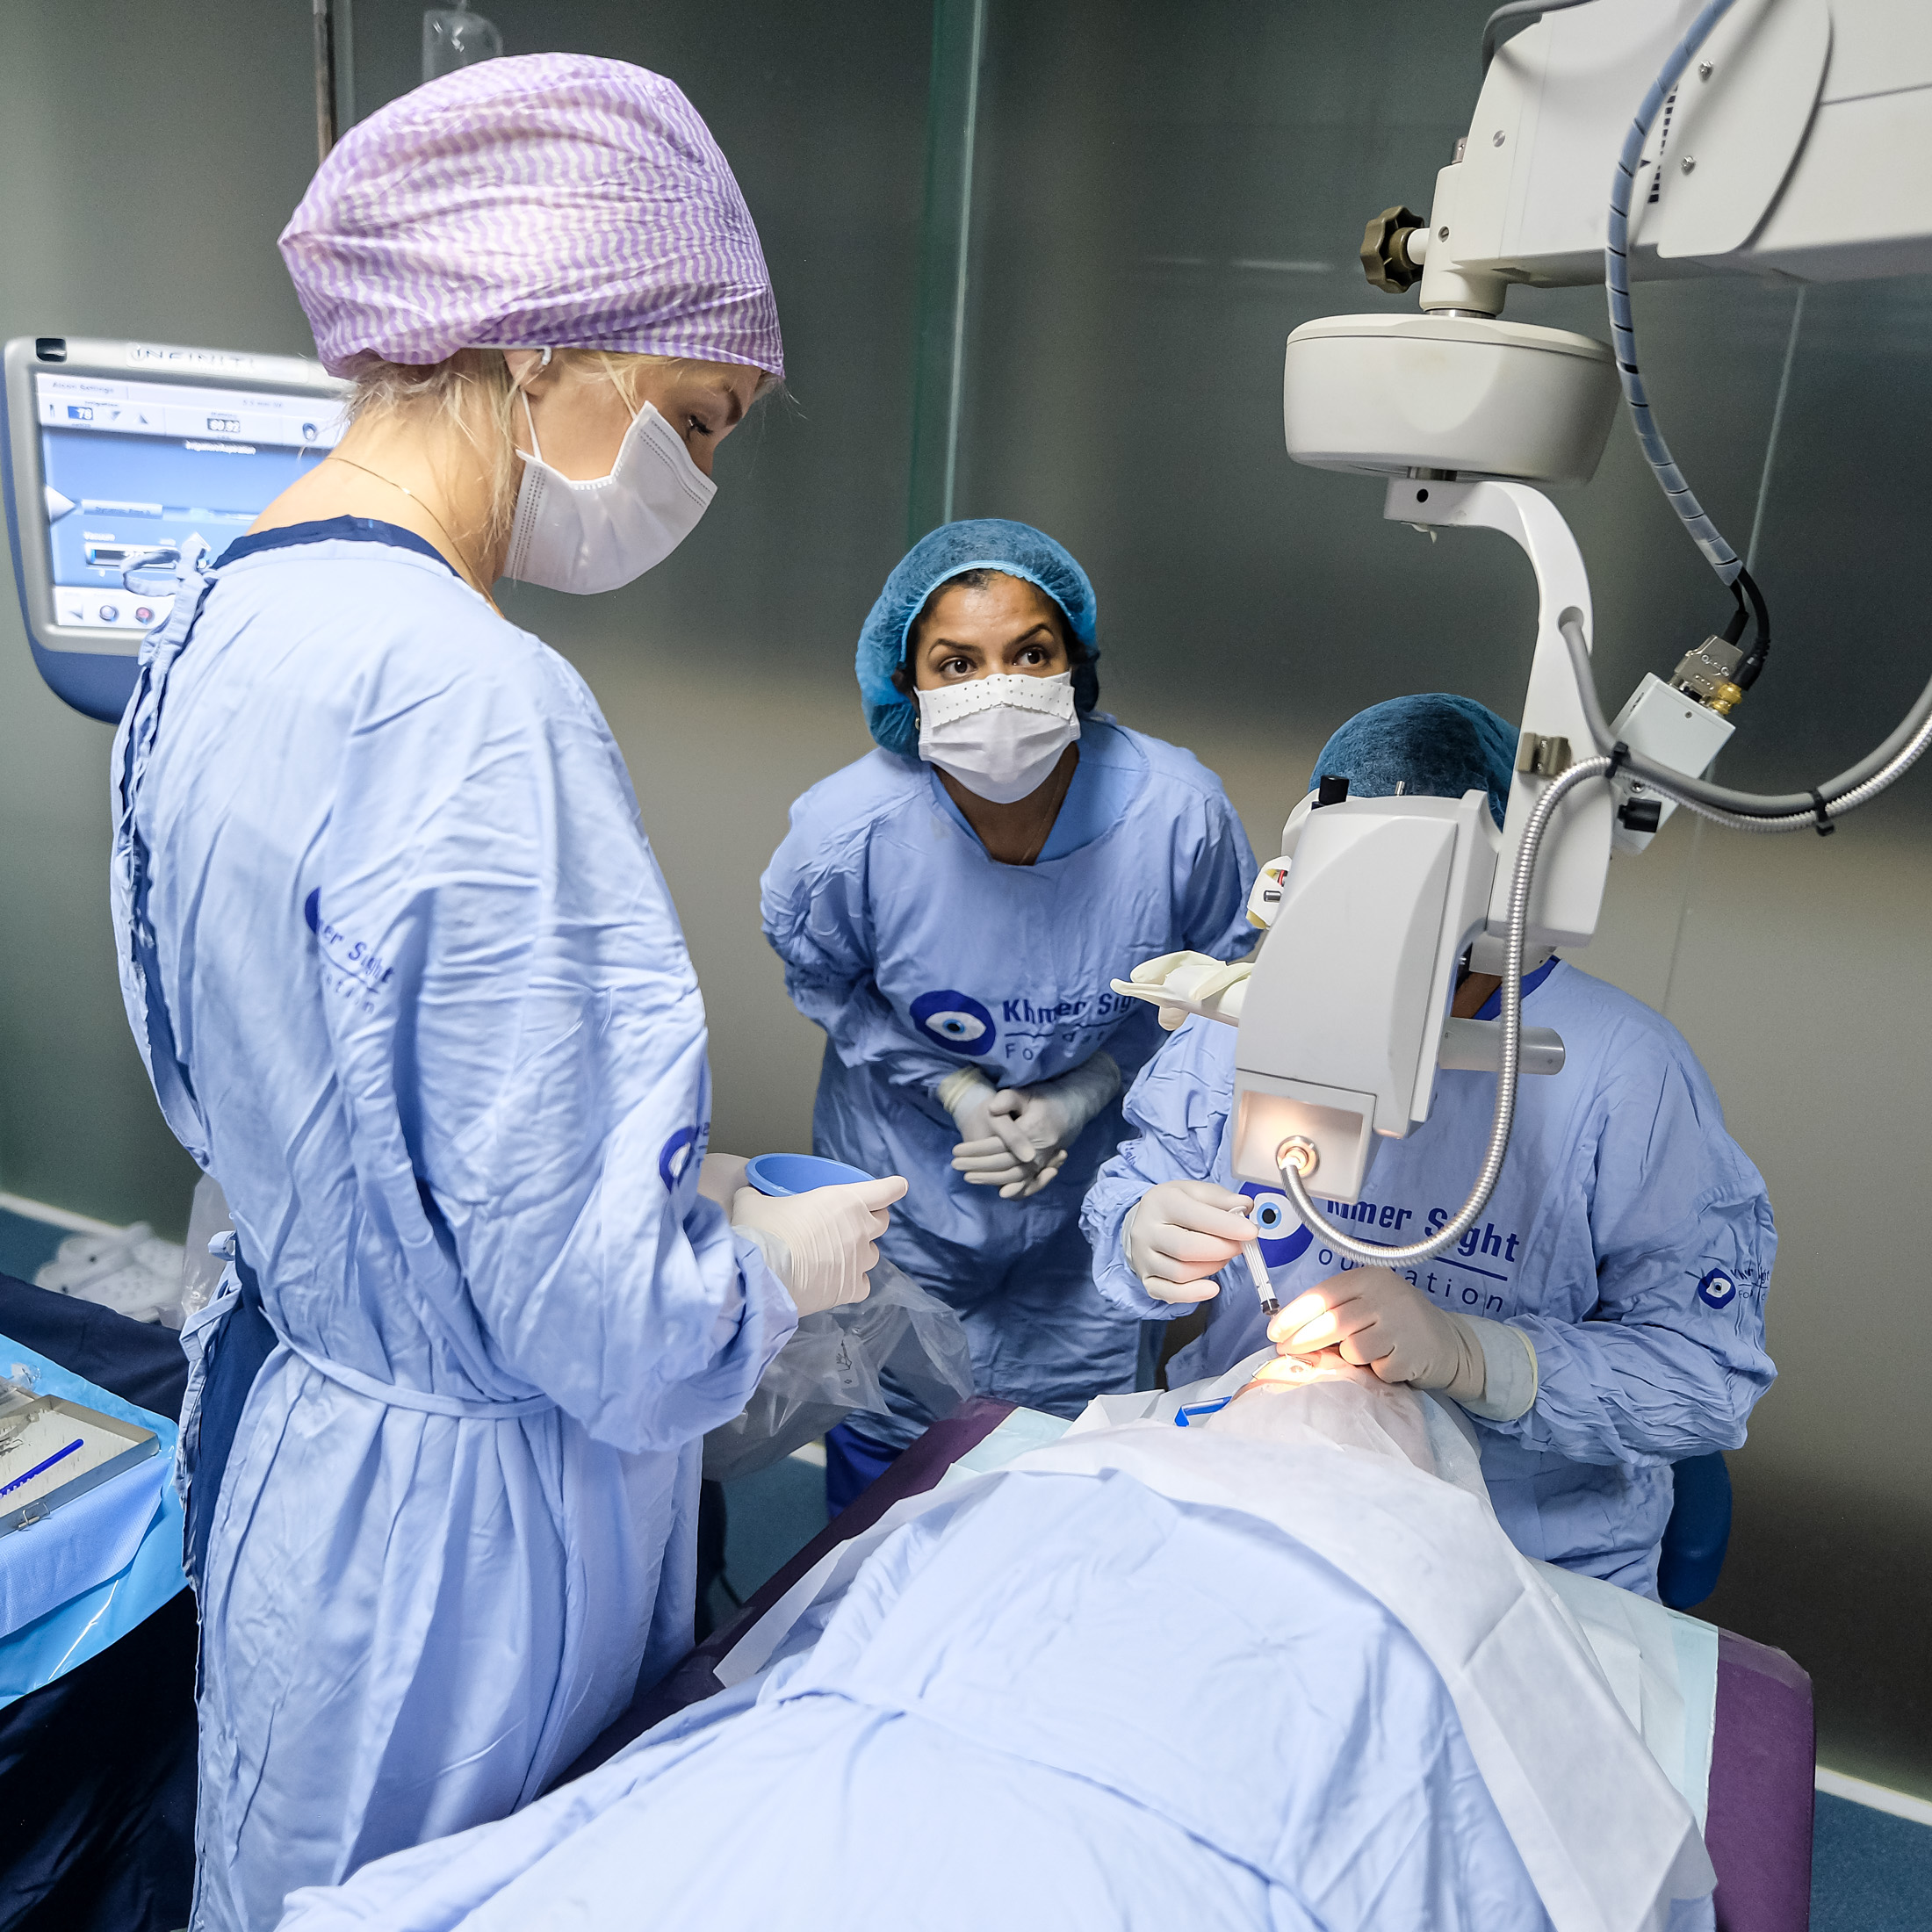
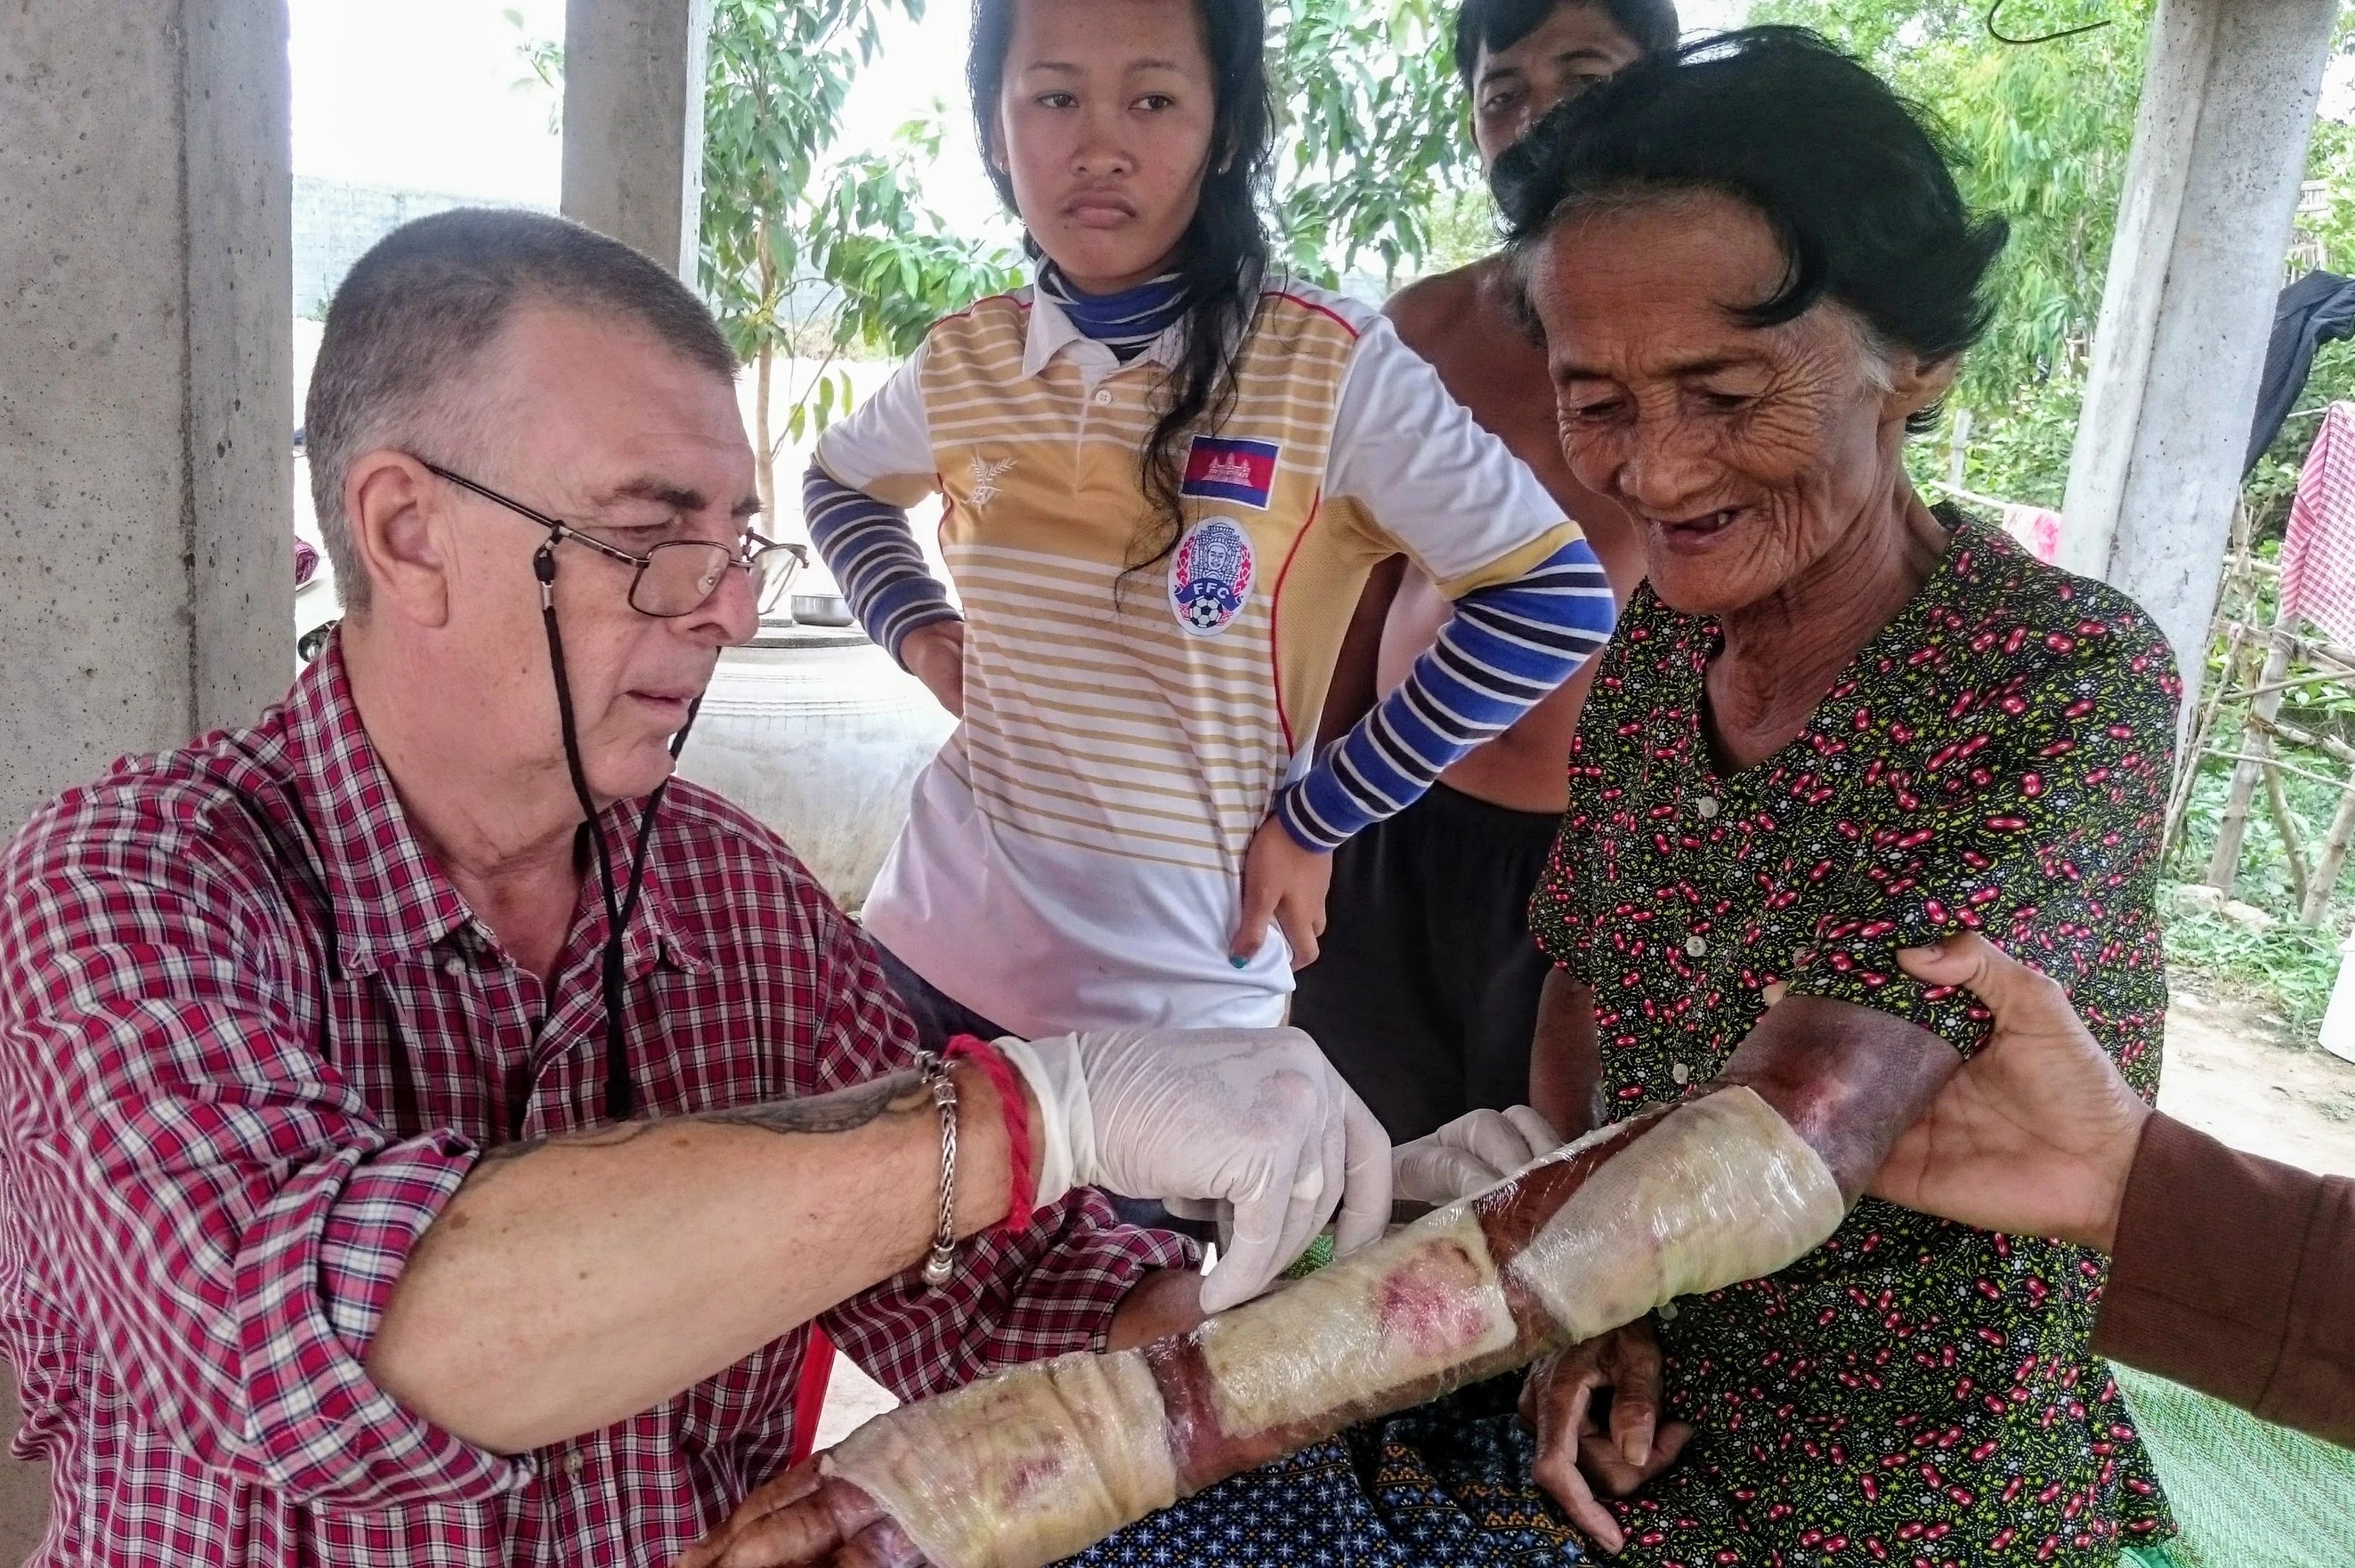
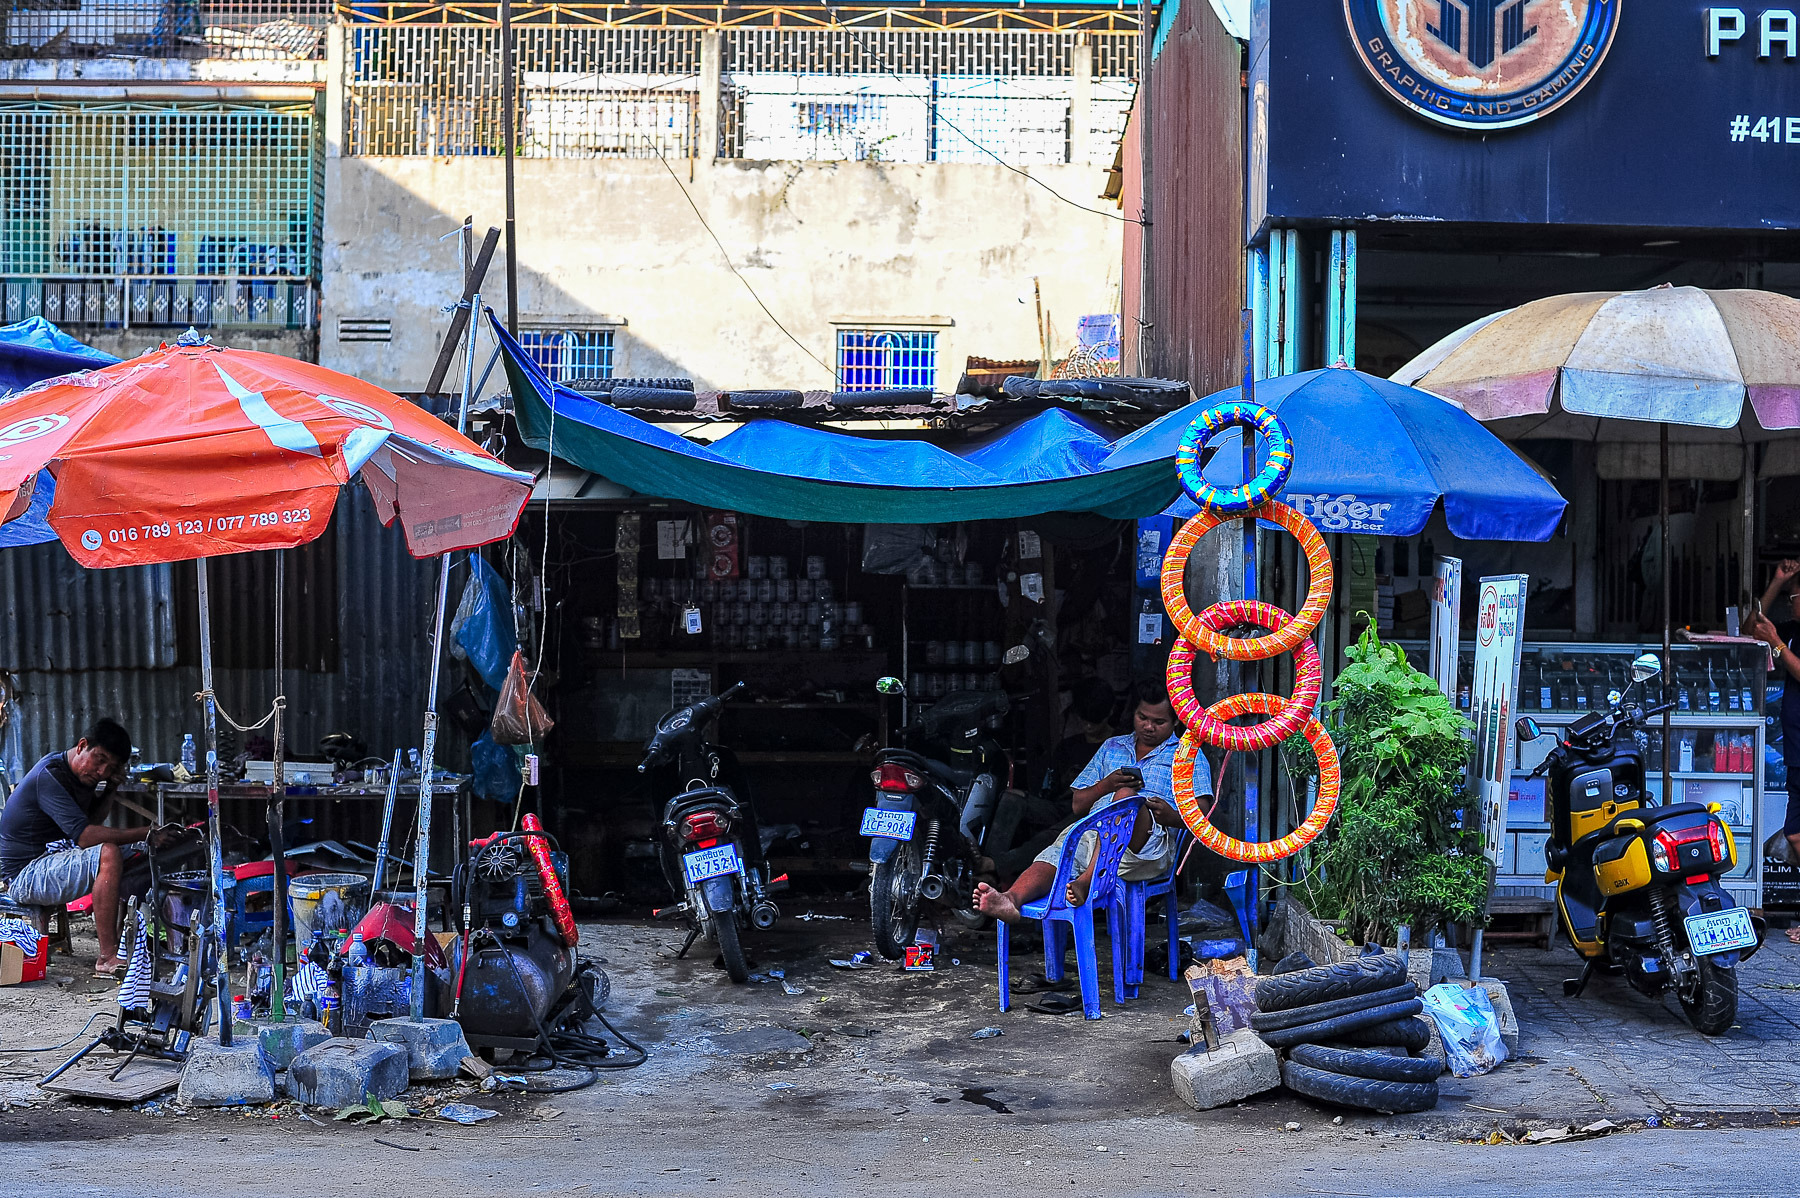
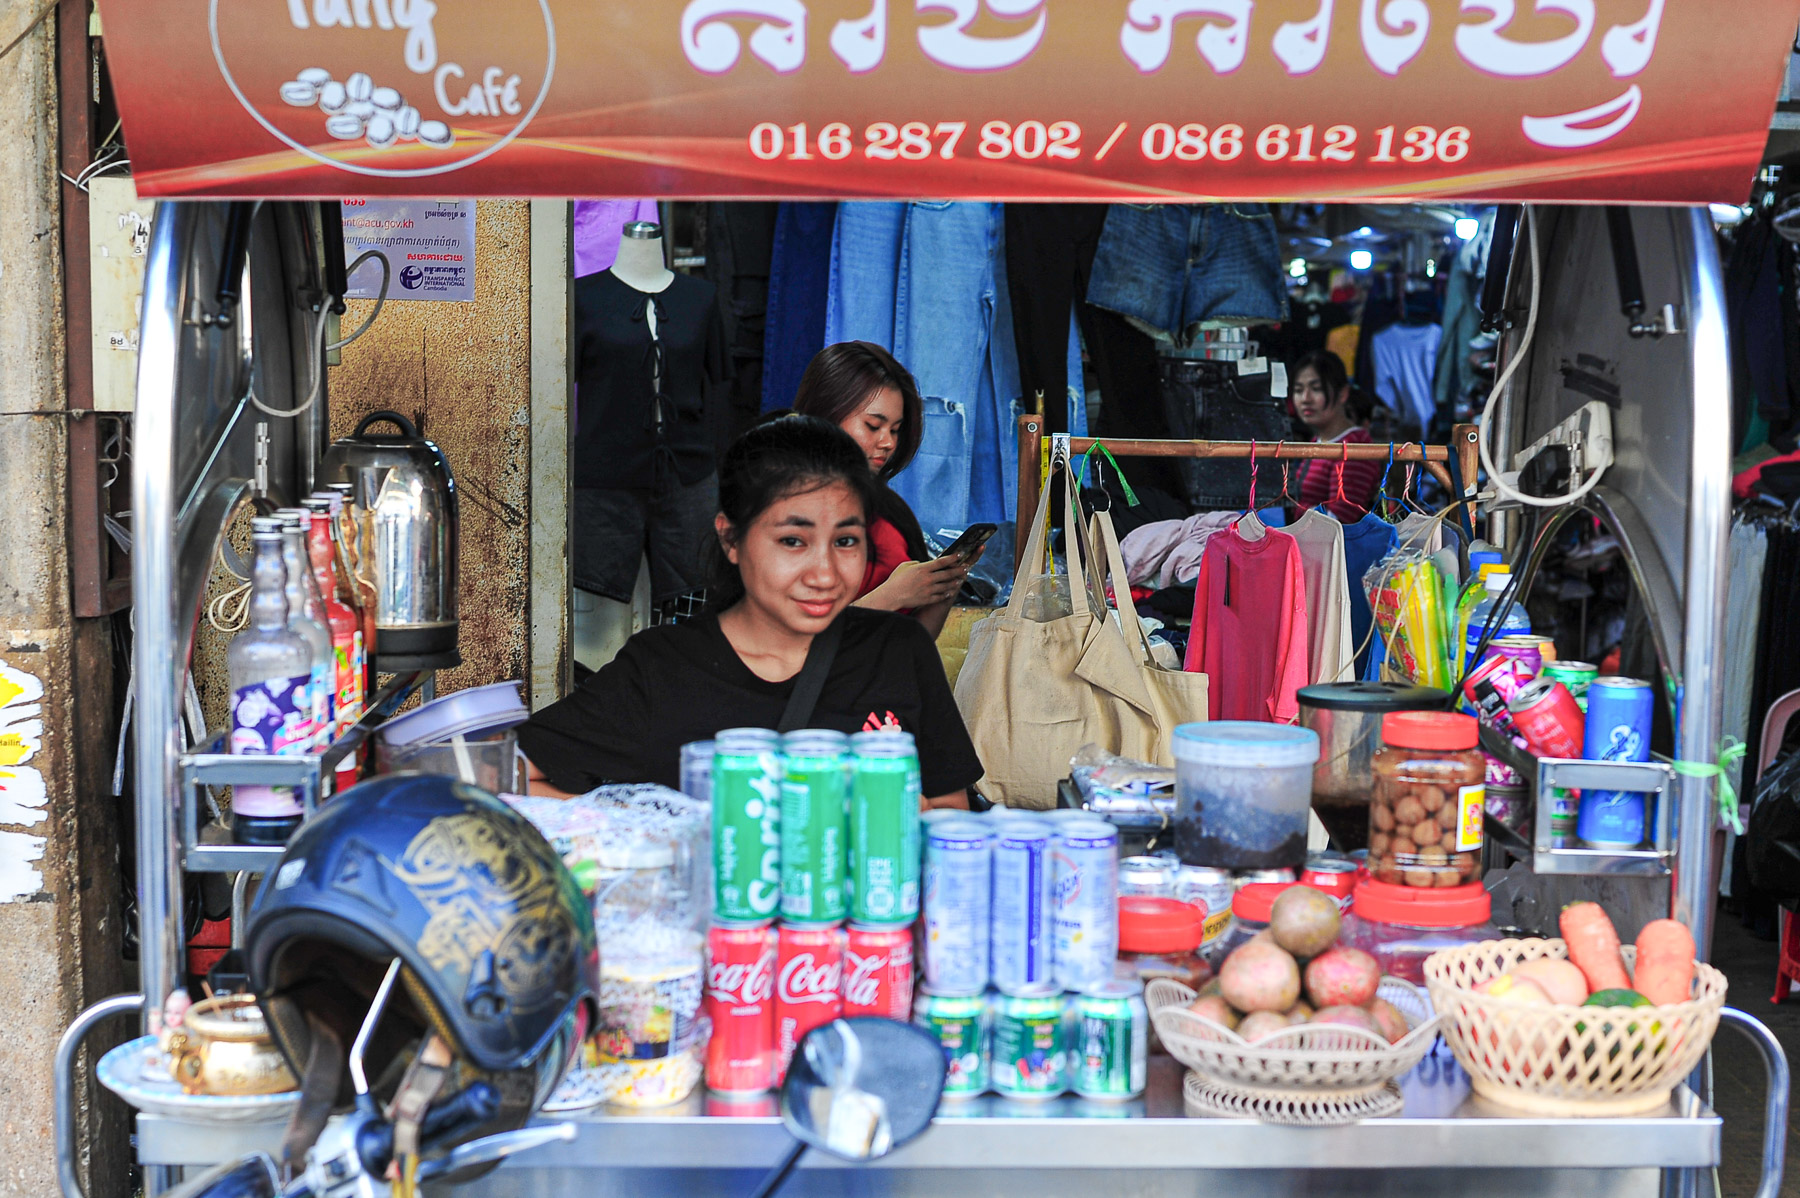
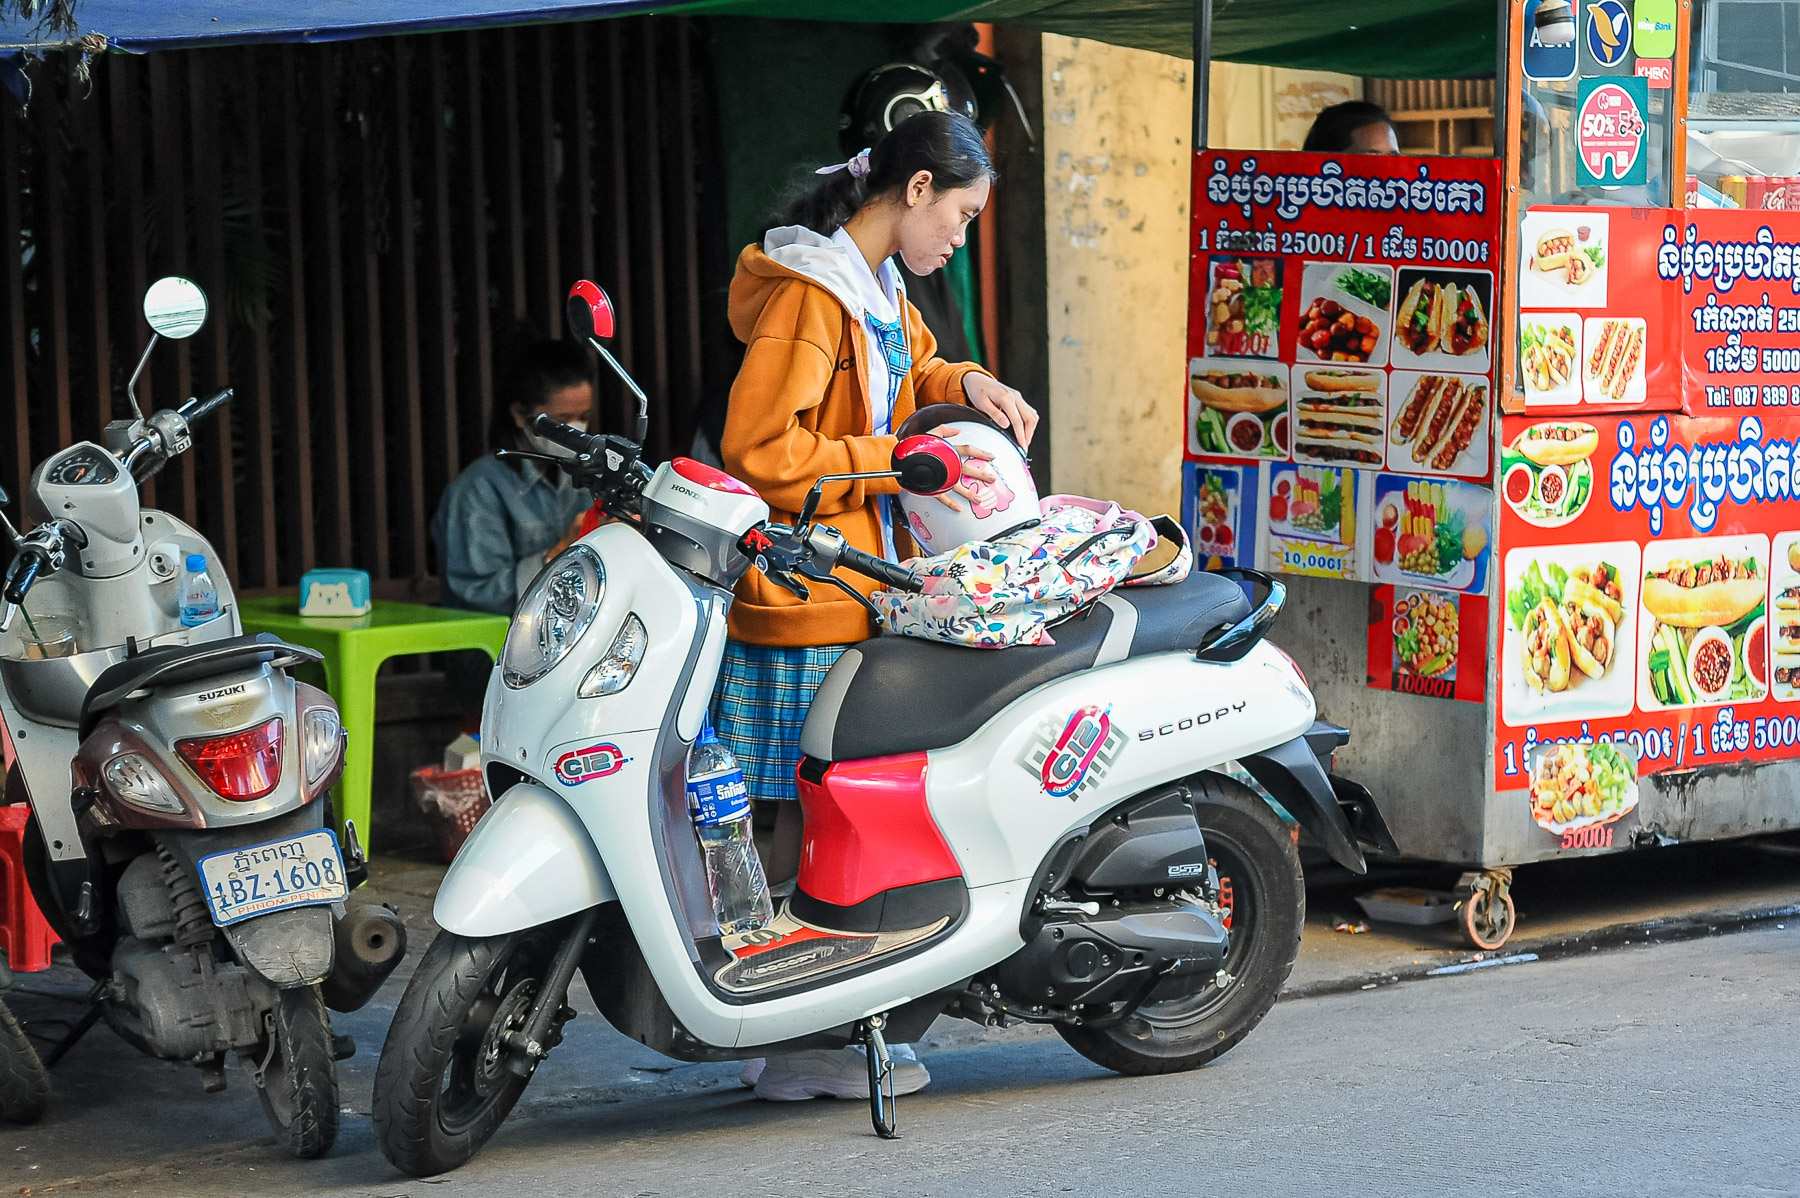
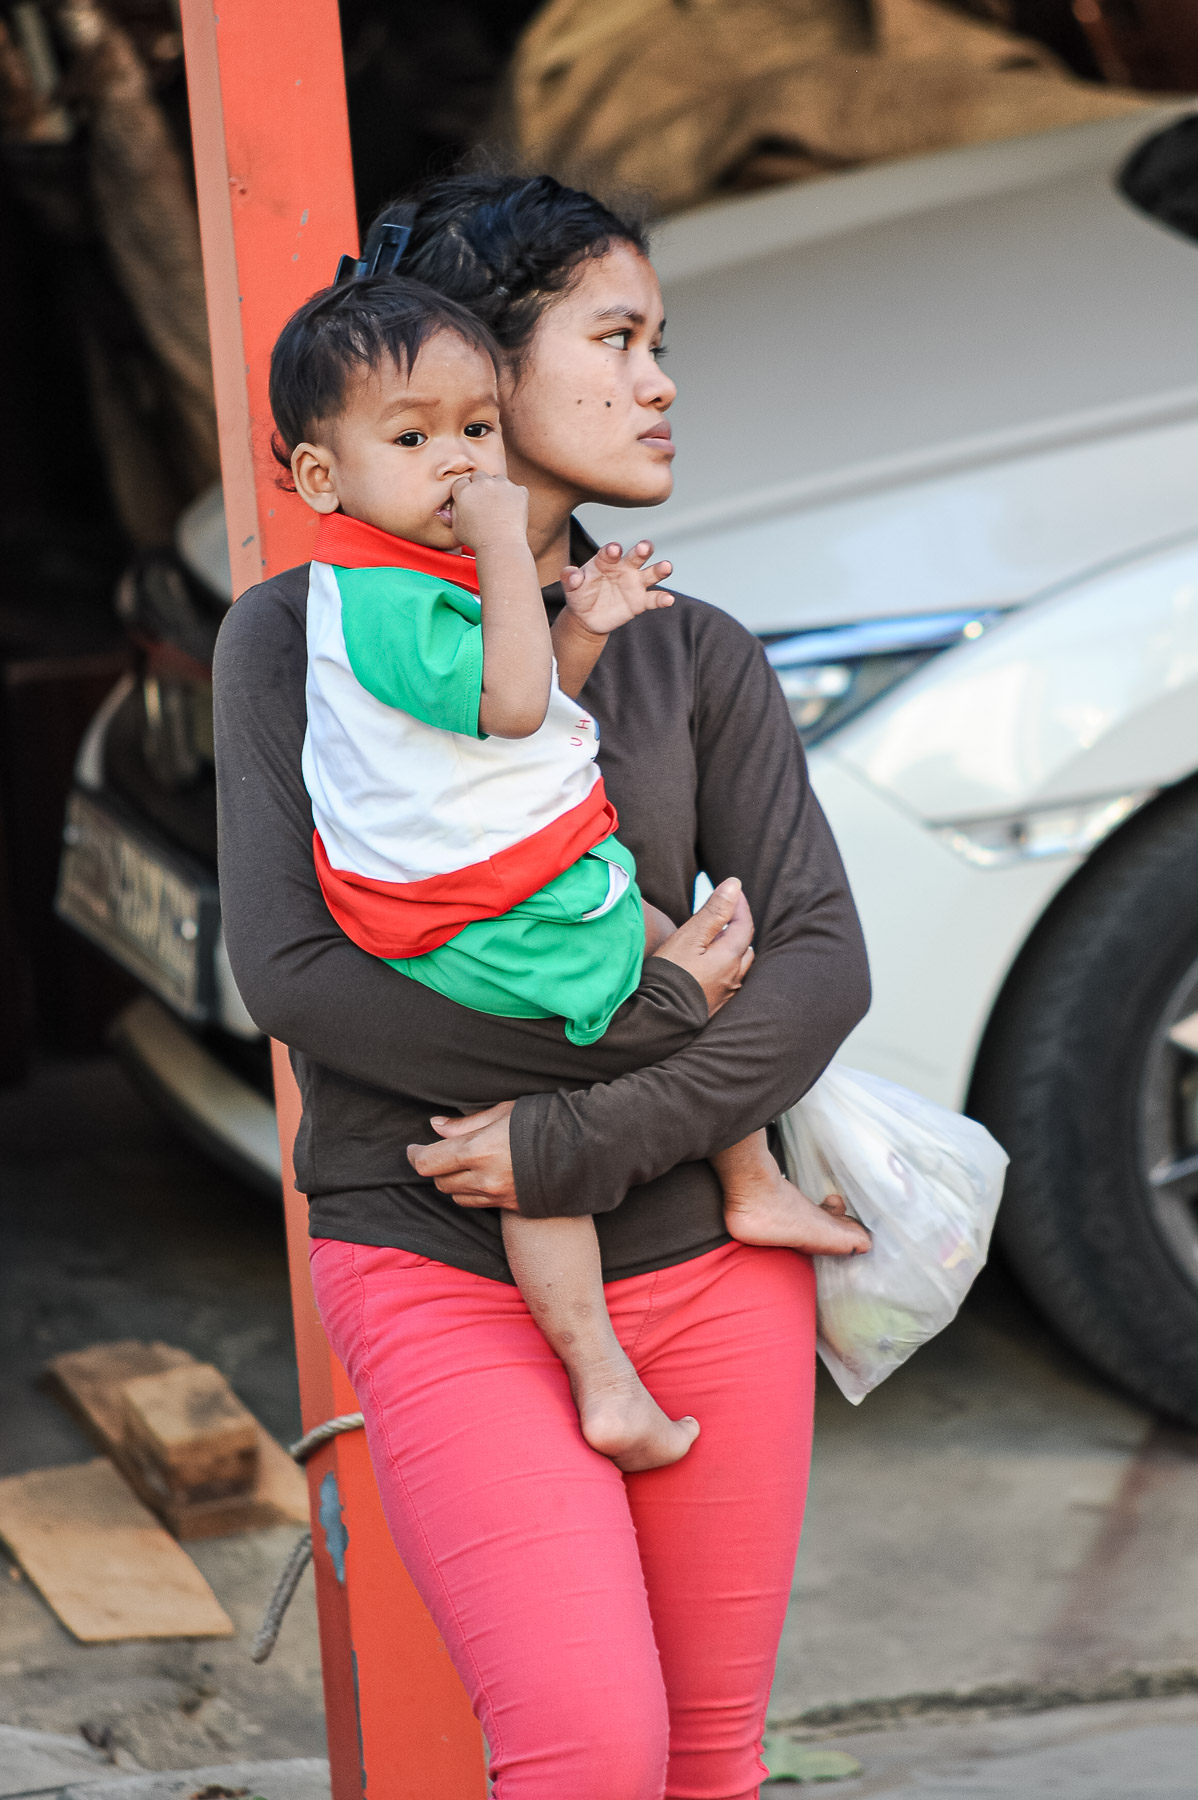
- Emotional impact trumps technical trivia. A photograph that moves people—whether it’s a war image, a street portrait, or a tender family moment—doesn’t invite questions about megapixels. It invites reflection.
- History proves it. Iconic images were made with cameras that, by today’s standards, are technically limited. Yet Robert Capa’s blurred D-Day frames or Dorothea Lange’s Migrant Mother remain unforgettable.
- Viewers don’t see metadata. In galleries, books, or newsprint, the story and composition dominate. The EXIF data is invisible.
⚙️ Where Gear Still Matters
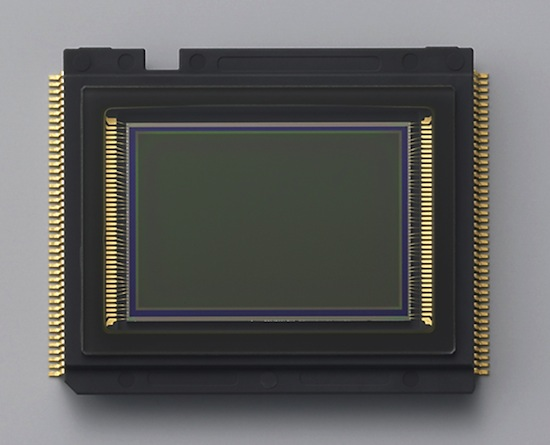
- Technical limits shape style. A slow lens forces you into bright light; a wide prime teaches you to step closer; a noisy sensor nudges you toward grainy aesthetics. Gear doesn’t dictate vision, but it channels it.
- Reliability is invisible until it fails. A weather-sealed body or dependable autofocus can mean the difference between capturing a fleeting moment and missing it.
- Certain genres demand certain tools. Sports, wildlife, and astrophotography often require specialised lenses and sensors. Without them, the image simply isn’t possible.
As Roger Clark notes in his analysis of gear’s role, “A skilled photographer can achieve great results with any camera, but not just any kind of photo”. The right tool expands what’s possible, even if it doesn’t define the artistry.
🪞 The Deeper Lesson
The real wisdom in the phrase is about prioritisation:
- Vision first. What do you want to say? What story are you telling?
- Process second. How do you approach light, timing, and presence?
- Tools last. Which camera or lens best supports that vision and process?
Gear is the brush, not the painting. The stethoscope, not the diagnosis. The pen, not the poem. It matters, but it’s not the heart.

🖼 In Practice
For educators and documentarians, this principle is liberating:
- It encourages people to trust their eyes rather than chase gear.
- It models creative restraint—using one lens, one body, and learning its rhythm.
- It re-frames gear as a partner in process, not a shortcut to artistry.
🧭 Final Thought
Yes, if a picture is good, nobody cares what lens or camera it was taken with. But the paradox is this: the right gear, chosen with intention, can help you get to that “good” picture more reliably. The danger lies in mistaking the tool for the vision.
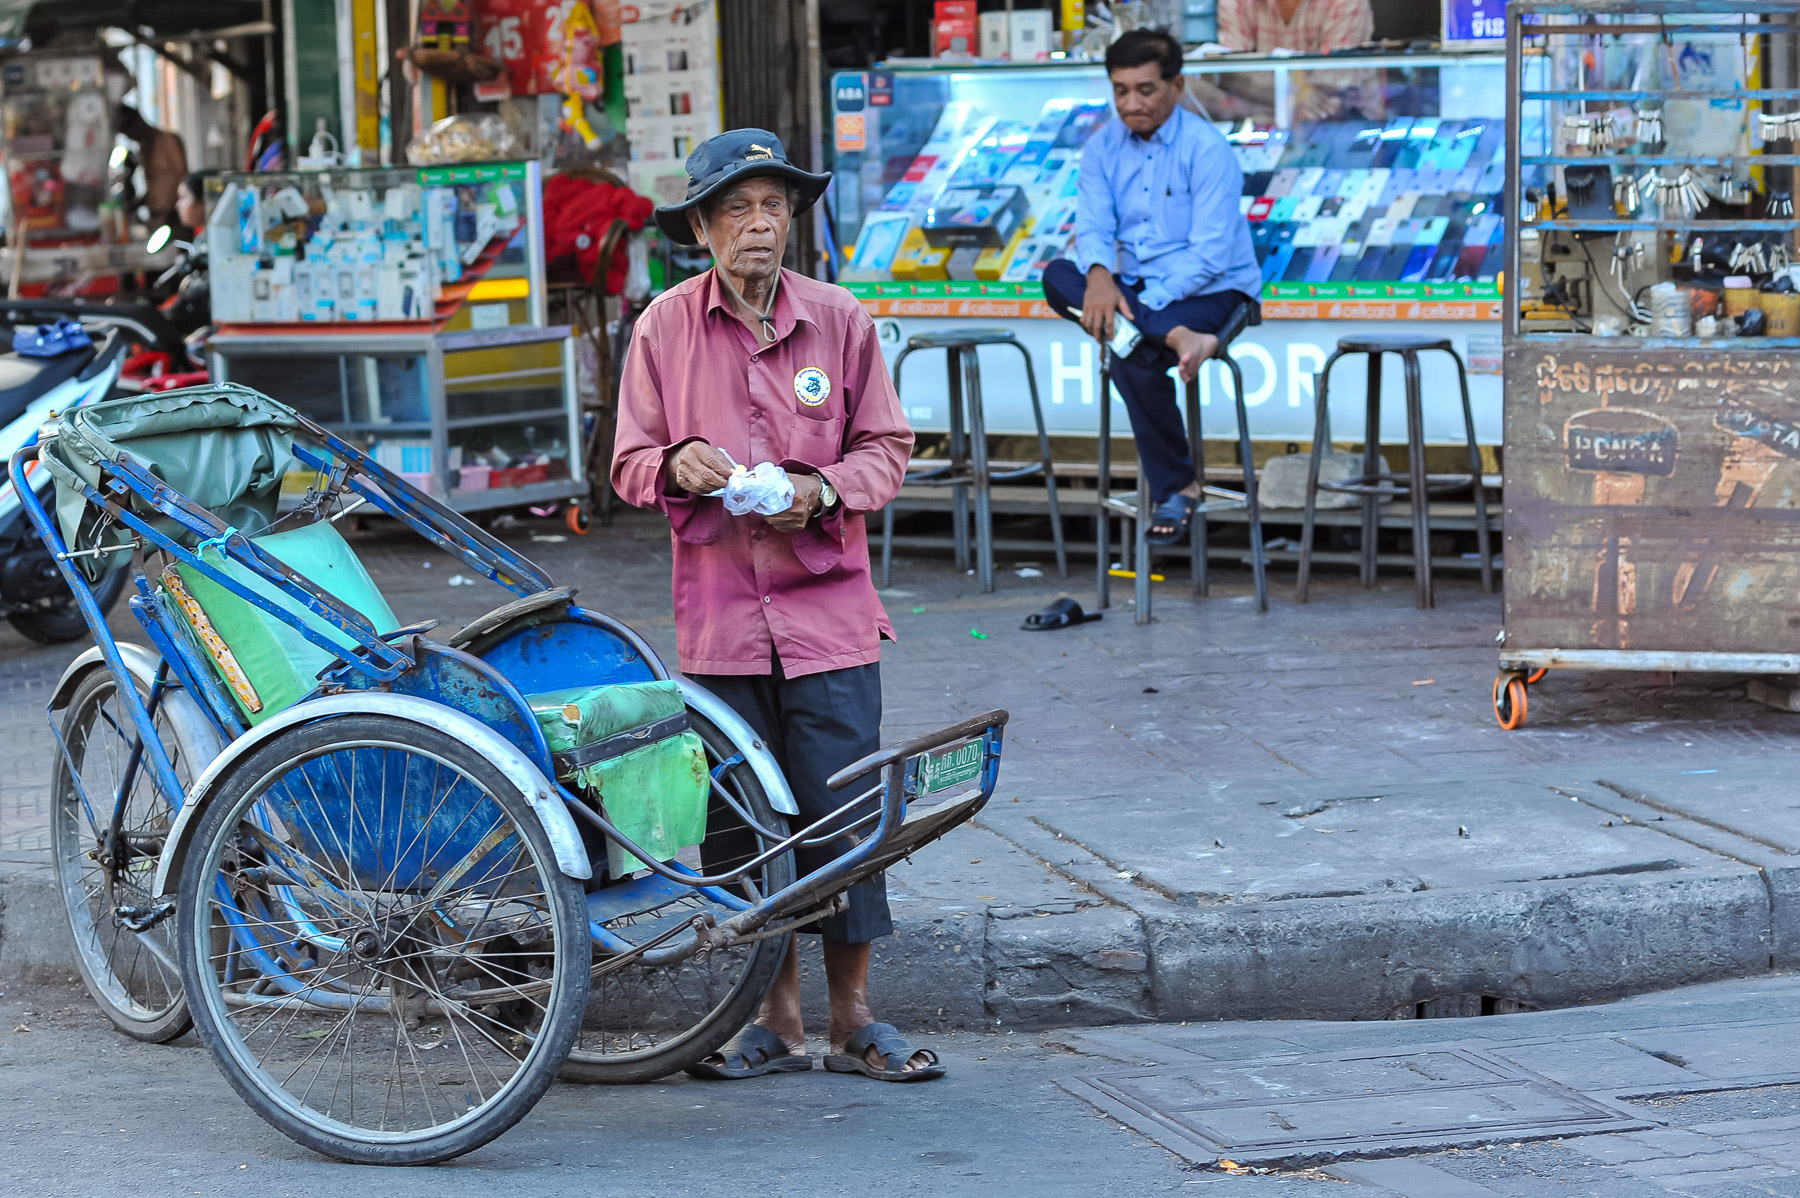
In the end, the photographs that endure are remembered not for the equipment behind them, but for the humanity within them.