
Every year the camera manufacturers tell us the same story.
The new model is faster.
The autofocus is smarter.
The sensor sees further into the shadows.
The dynamic range has improved.
Artificial intelligence now helps the camera recognise people, birds, trains, cars, aeroplanes and almost anything else that moves.
And every year, photographers ask themselves the same question.
“Do I need it?”
Sometimes the answer is yes.
Technology has transformed photography in remarkable ways. There are pictures being made today that would have been impossible when I first picked up a camera. Better equipment has opened doors, removed technical barriers and made photography accessible to more people than ever before.
I’m grateful for that.
Good engineering deserves admiration.
But somewhere along the way I began asking myself a different question.
If cameras continue to evolve every year… Shouldn’t I?
That thought has stayed with me for a long time.
It’s easy to become fascinated by technology because technology changes so visibly. New sensors arrive. Processors become faster. Specifications grow longer. Progress can be measured on a page.
Personal growth is different. It happens quietly. You don’t wake up one morning and suddenly discover you’ve become a better photographer. You simply notice that you’re waiting a little longer before pressing the shutter. You’re listening more carefully when talking to strangers. You’re seeing light that you would once have walked straight past.You’re beginning to recognise moments instead of merely reacting to them.
Those changes don’t come from firmware updates. They come from living.
A camera improves because engineers redesign it.
A photographer improves because life keeps teaching them how to see.
The older I become, the less interested I am in the camera itself.
Not because cameras have stopped fascinating me. Far from it.
I still admire beautiful engineering. I still enjoy handling a well-made camera. I still appreciate thoughtful design, whether it comes from Nikon, Canon, Fujifilm or anyone else.
But I no longer expect a camera to transform my photography. That responsibility belongs to me.
When I was younger, I believed experience came from making thousands of photographs.
Now I think experience comes from paying attention.


The two are not always the same thing.
Some photographers make a hundred thousand exposures and never really learn to see.
Others make relatively few photographs but invest themselves completely in every one.
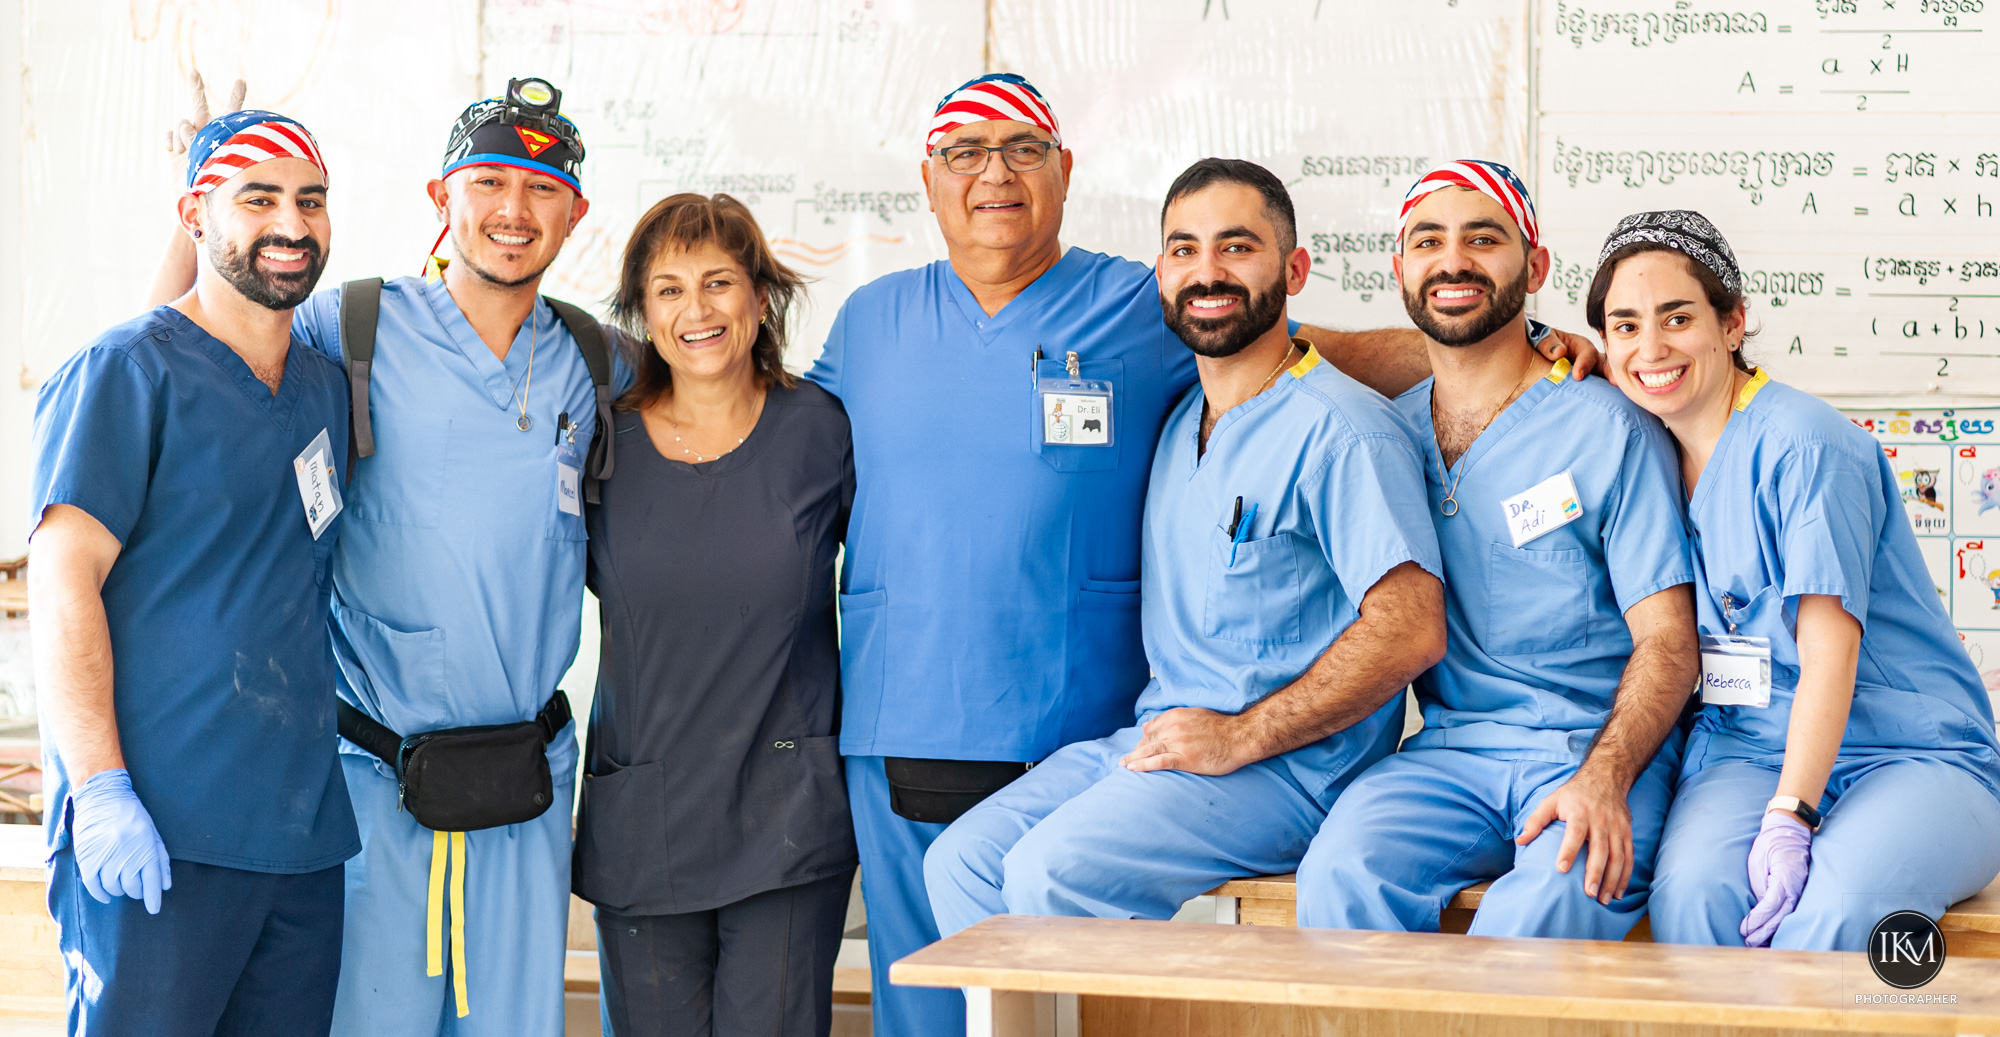
Photography has taught me patience. It has taught me empathy.
It has taught me that listening often matters more than talking.
It has taught me that conversations sometimes become more valuable than the photographs that prompted them.
No camera could ever have taught me those lessons.
Life did.
Photography simply encouraged me to notice them.
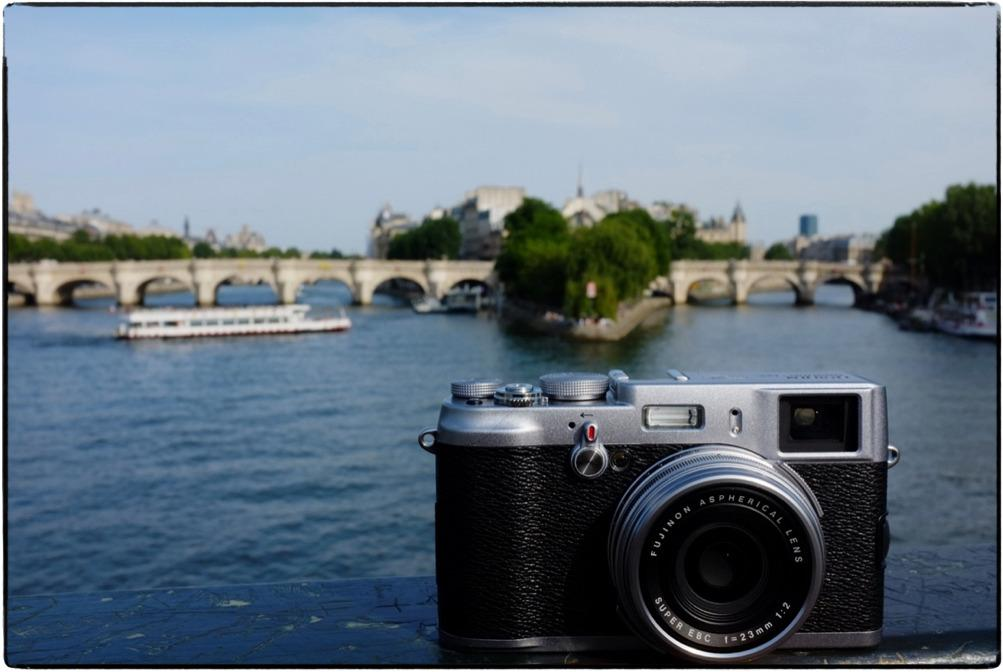
Perhaps that explains why I still enjoy using old cameras.
They’re reminders. Not of the past. Of the person I was when I carried them.
Each one represents a different chapter in my life. One reminds me of youthful enthusiasm.
Another reminds me of growing confidence. Another reminds me that slowing down isn’t the same as standing still.
The cameras haven’t changed.
I have.
That’s the real story.

I sometimes wonder whether photographers spend too much time asking, “What’s the best camera?”
Perhaps the better question is, “How can I become a better observer?”
Those are very different conversations.
The first ends in a camera shop.
The second never really ends at all.
Technology will continue to improve long after I’ve stopped buying cameras.
That’s exactly as it should be.
Innovation keeps photography moving forward.
Experience keeps photographers moving forward.
The mistake is believing they’re the same journey.
One is measured in megapixels.
The other is measured in wisdom.
One can be purchased. The other has to be earned. Slowly. Patiently. One walk at a time.
One conversation at a time. One photograph at a time.
If I could leave one thought with photographers just beginning their journey, it would be this.
Enjoy the new cameras. Celebrate the remarkable engineering. Marvel at what modern technology can do. Then put the camera to your eye and forget about it.
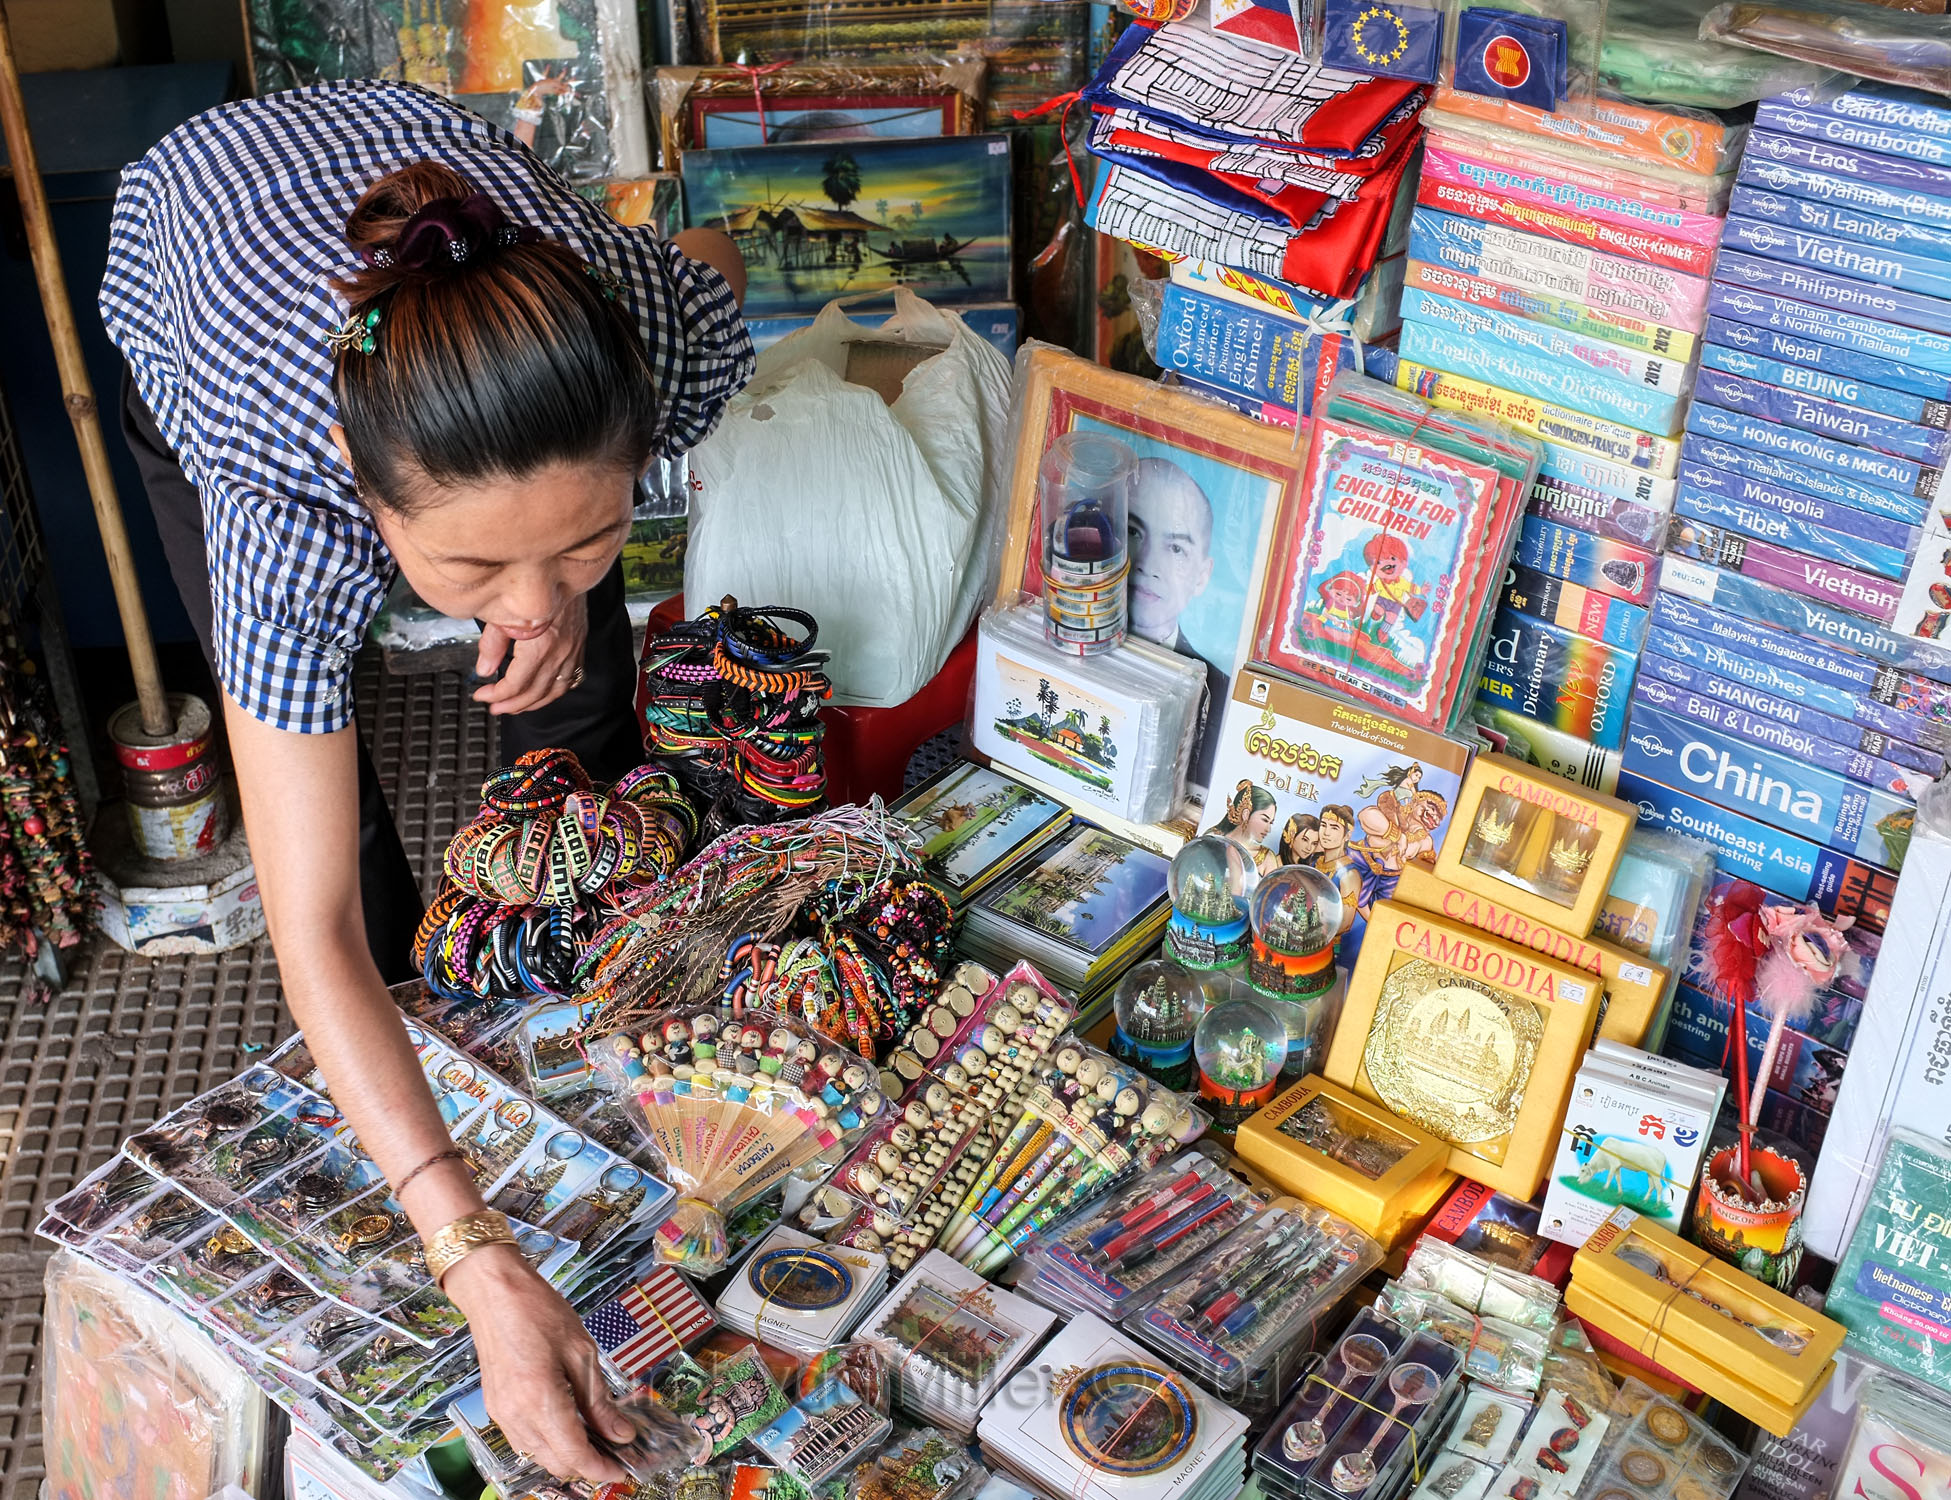
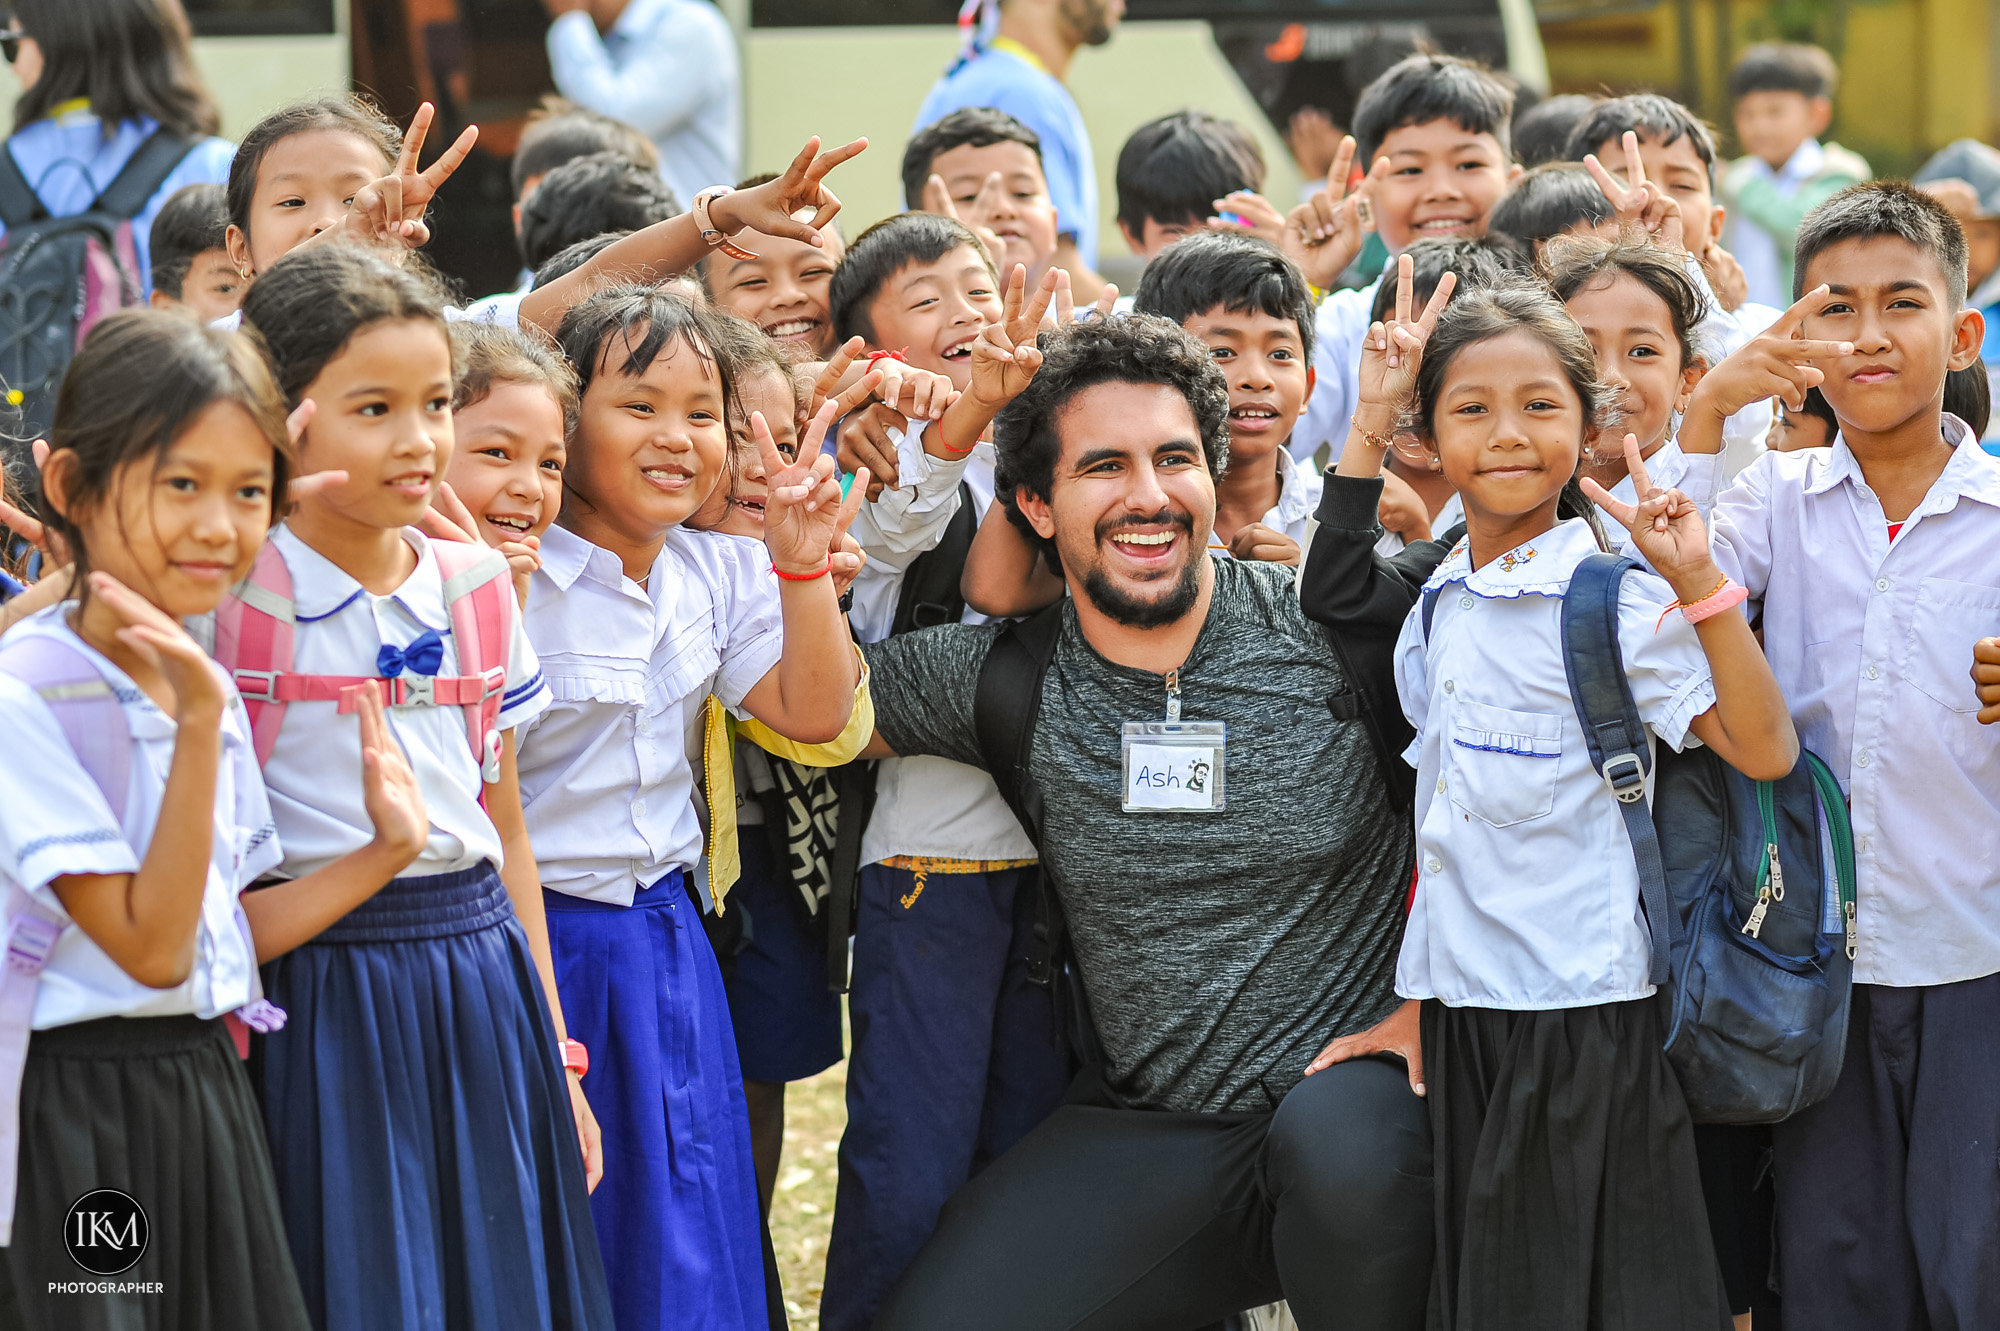
Look at the person standing in front of you. Look at the street. Look at the changing light.
Look at the ordinary moments everyone else is too busy to notice.
Because in twenty years’ time, you probably won’t remember what processor was inside your camera.
You won’t remember how many autofocus points it had.
You may not even remember how many megapixels it recorded.
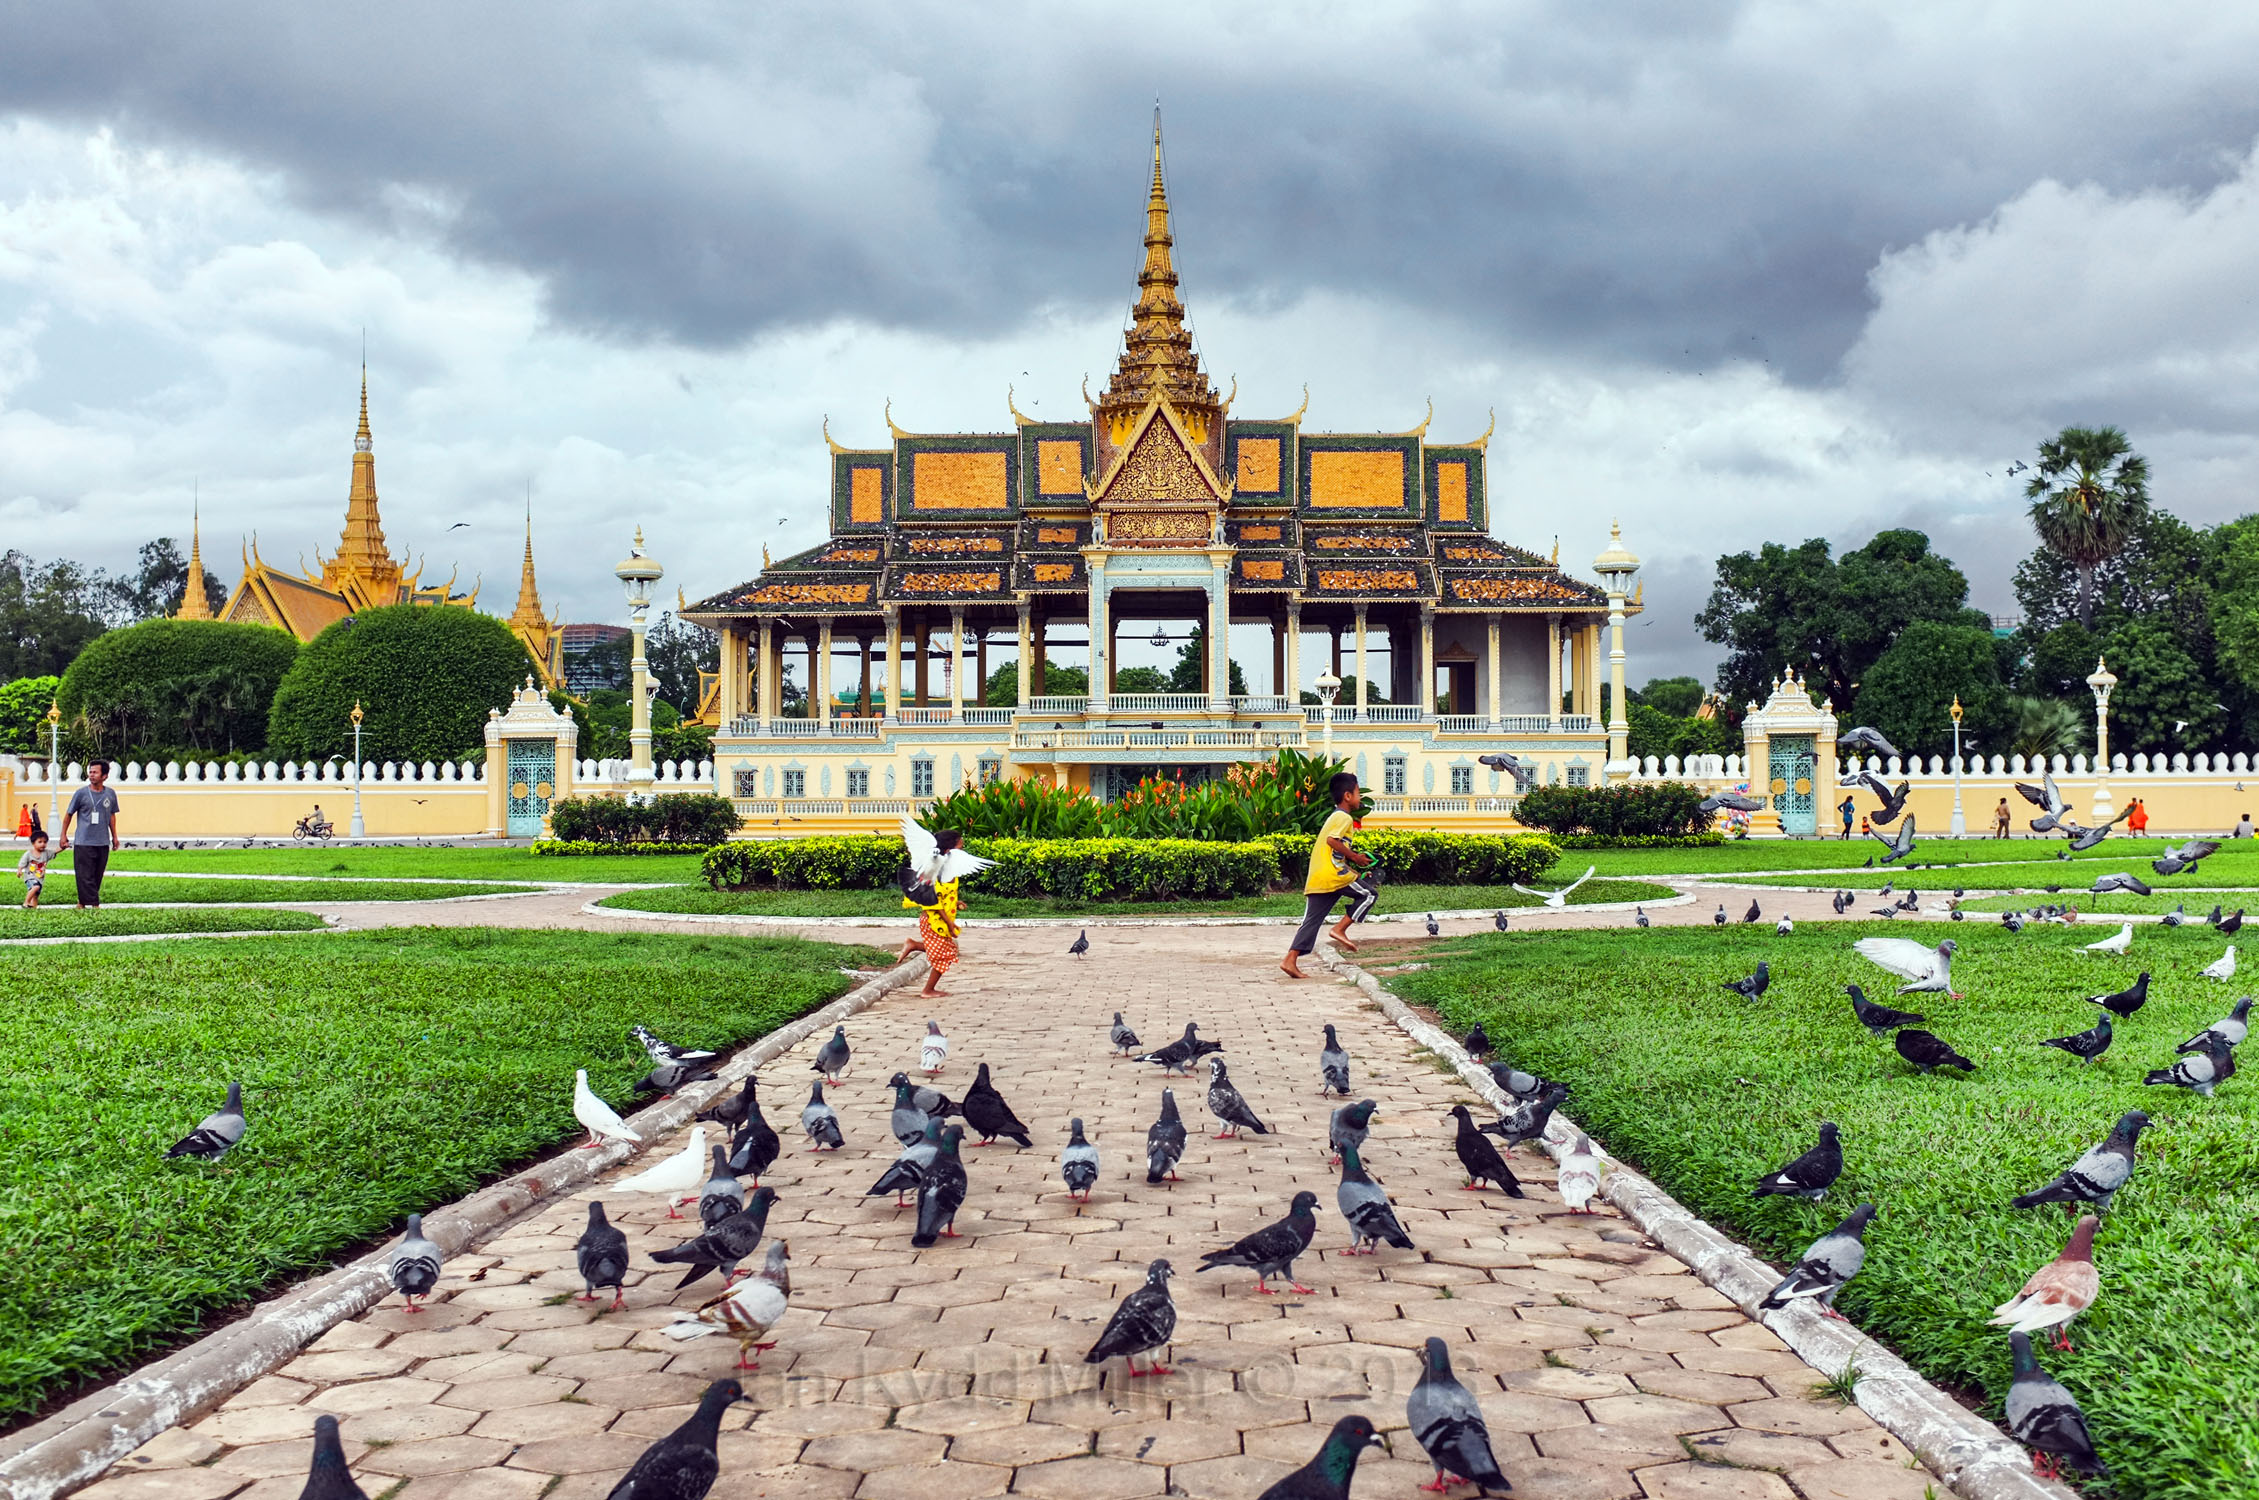
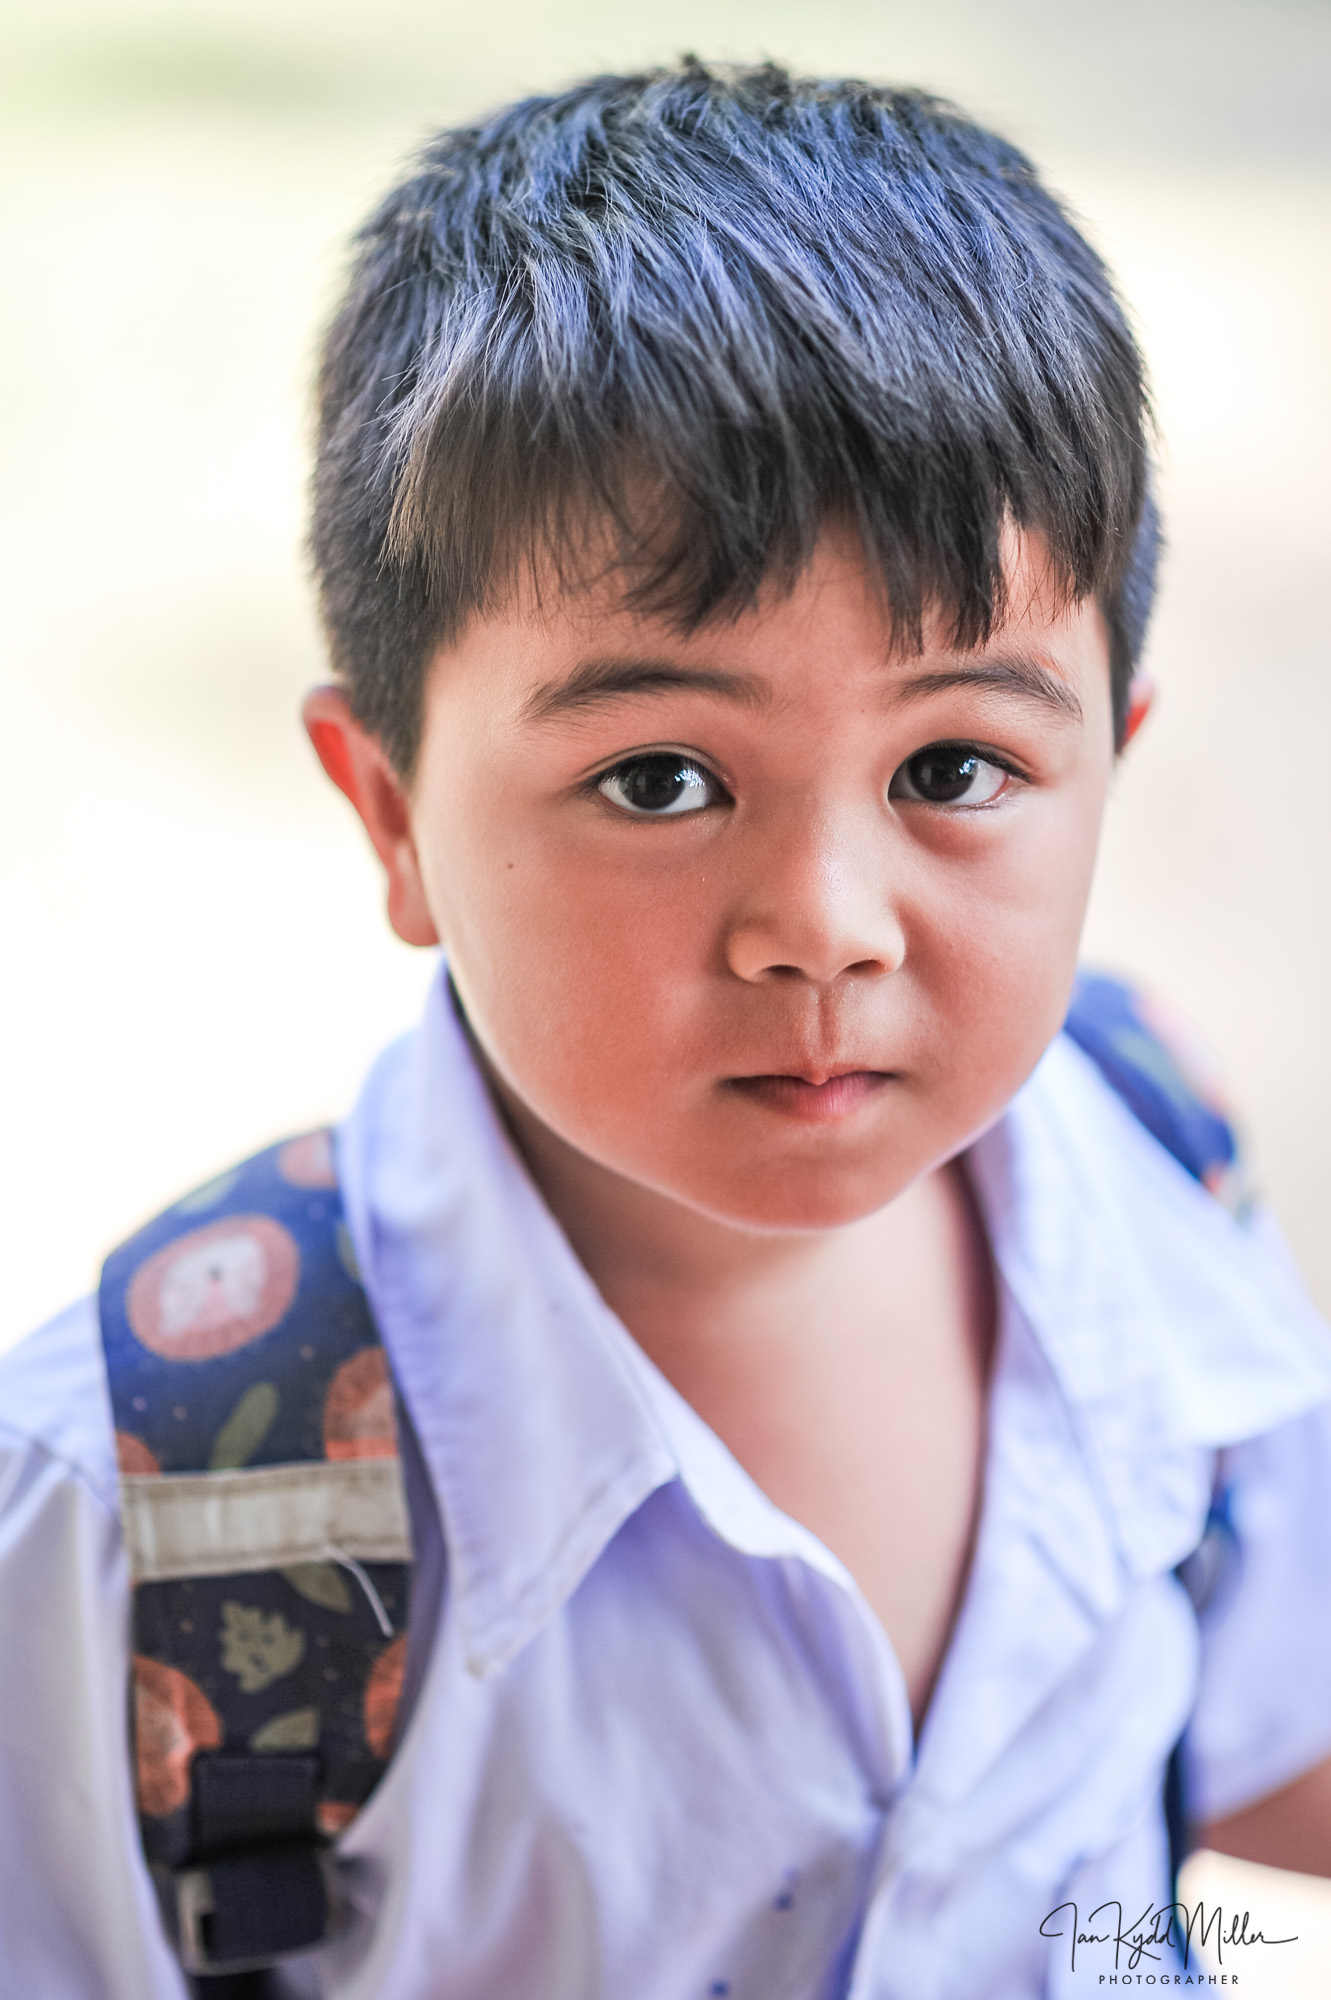
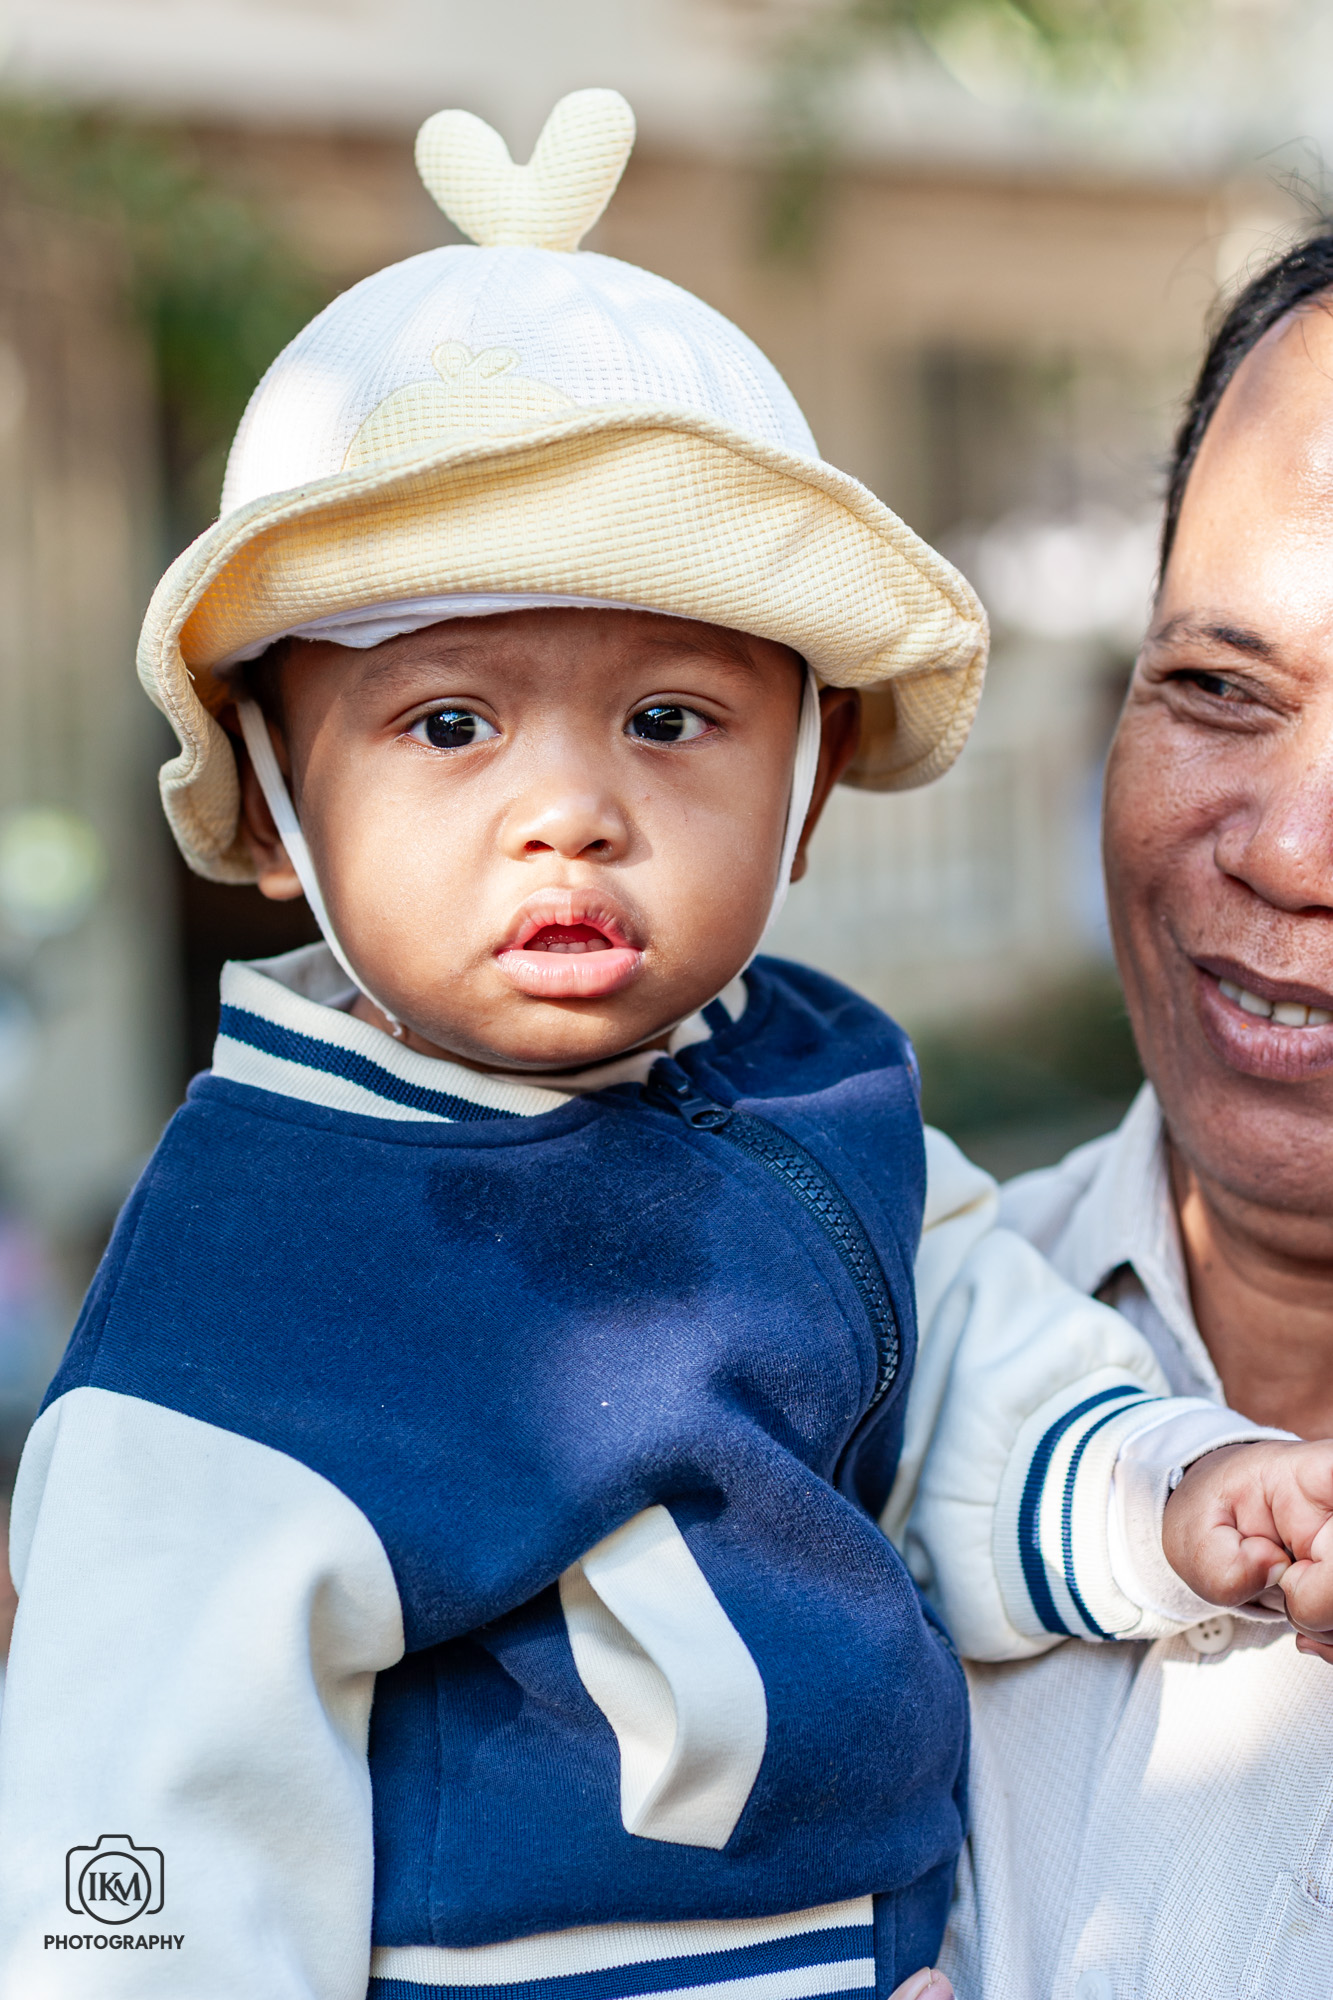
But you will remember the people. You will remember the places.
You will remember how photography quietly changed the way you looked at the world.
Technology never stops evolving. Neither should you.
The difference is that cameras improve because someone invents a better sensor.
Photographers improve because life never stops teaching them how to see.
And in the end, I think that’s the only evolution that really matters.