Photography has always had its share of myths. One of the most persistent is the belief that the more control you exercise over your camera, the better photographer you become. Somewhere along the way, Manual mode became a badge of honour. If you weren’t adjusting shutter speed, aperture and ISO yourself, some would have you believe you weren’t taking photography seriously.
I have never bought into that idea. The camera is a tool. Nothing more. If it helps me make the picture I saw in my mind before the moment disappears, then it has done its job. The photograph is what matters—not the mode dial.
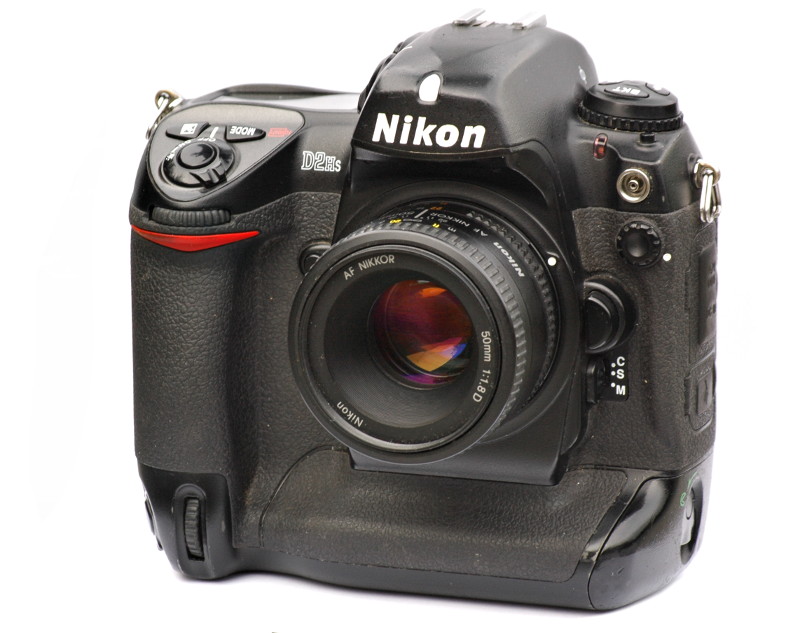
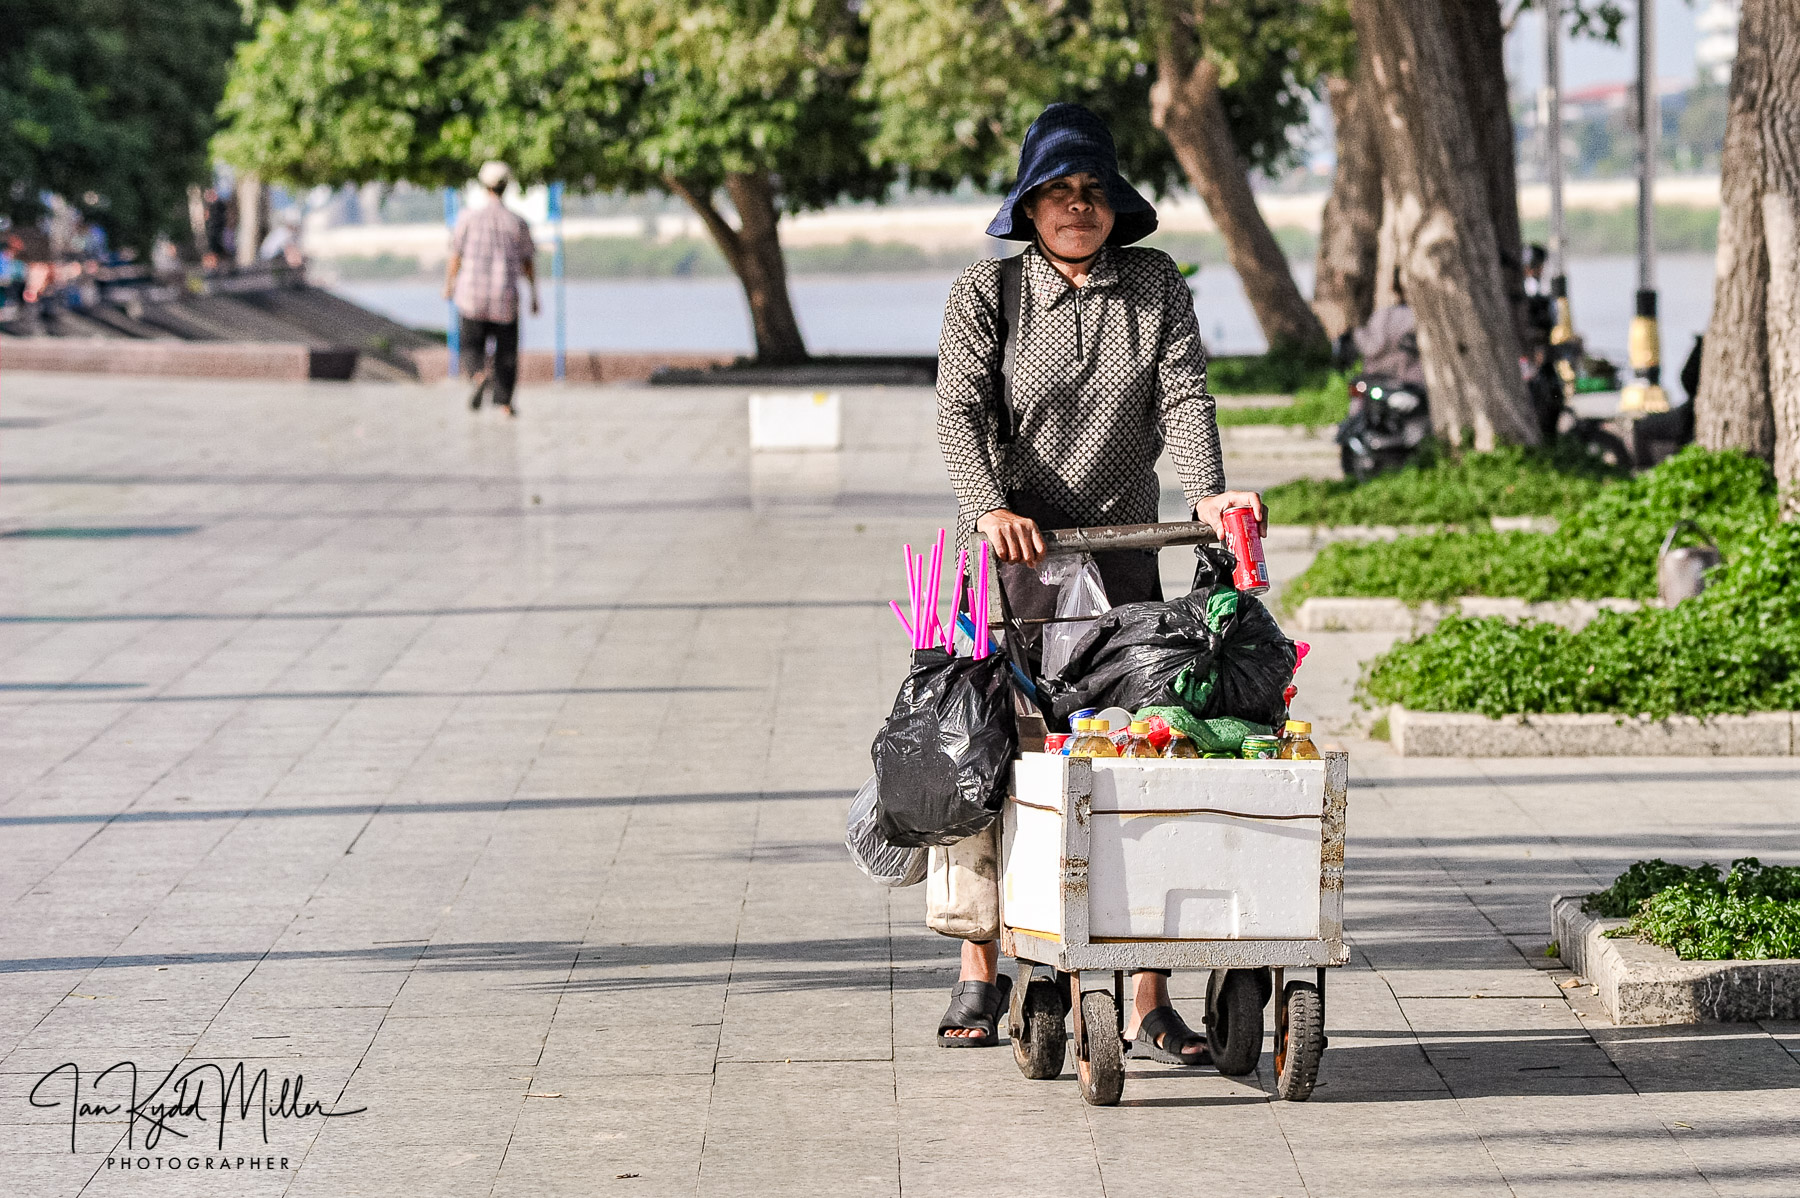
For years I have walked the streets with cameras ranging from old Nikon D2Hs bodies to the D700, D300S and D810. They are cameras I know almost instinctively. Yet one of the settings I return to time and again is Program mode. Yes, Program mode.
Mention it in some photography circles and you’ll almost hear the sharp intake of breath. “That’s for beginners,” they’ll say. It isn’t. It’s for photographers who understand that timing often matters more than technical perfection.

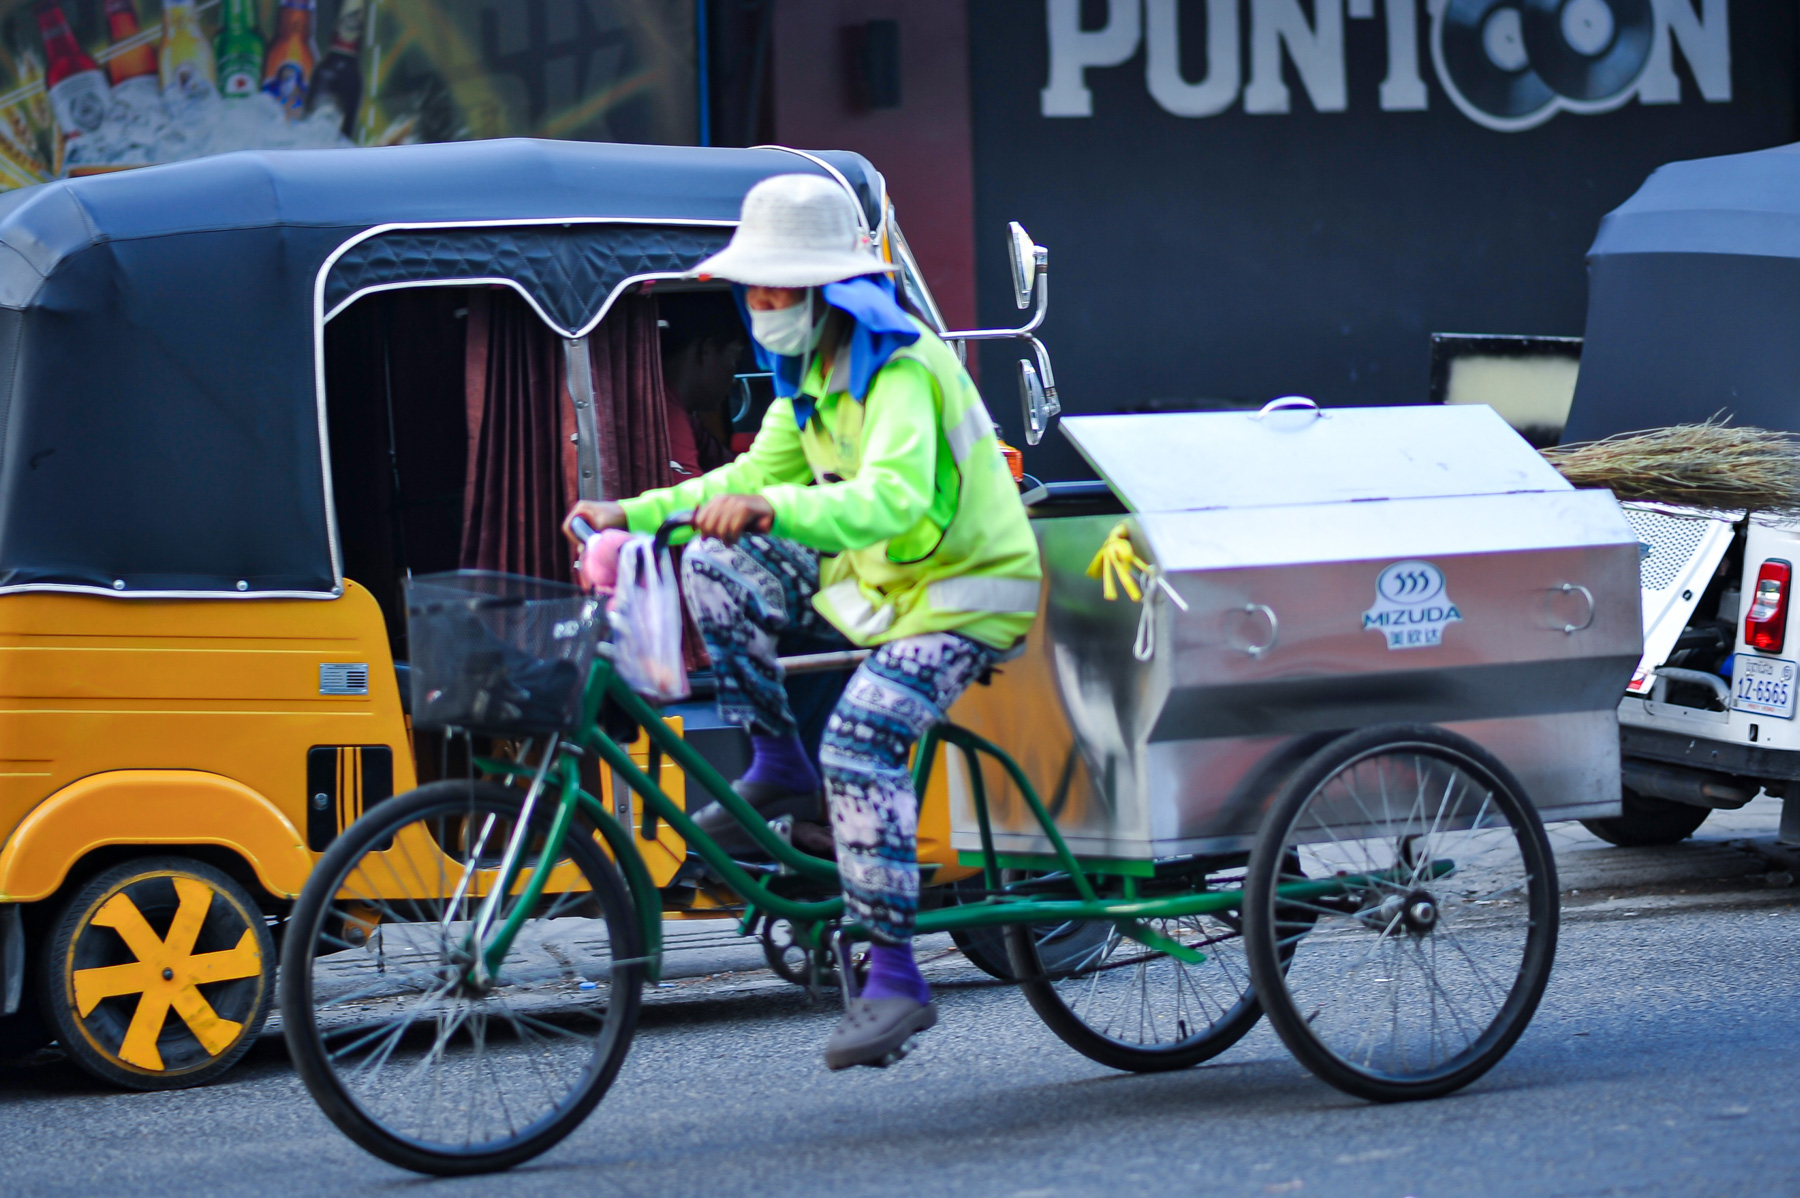


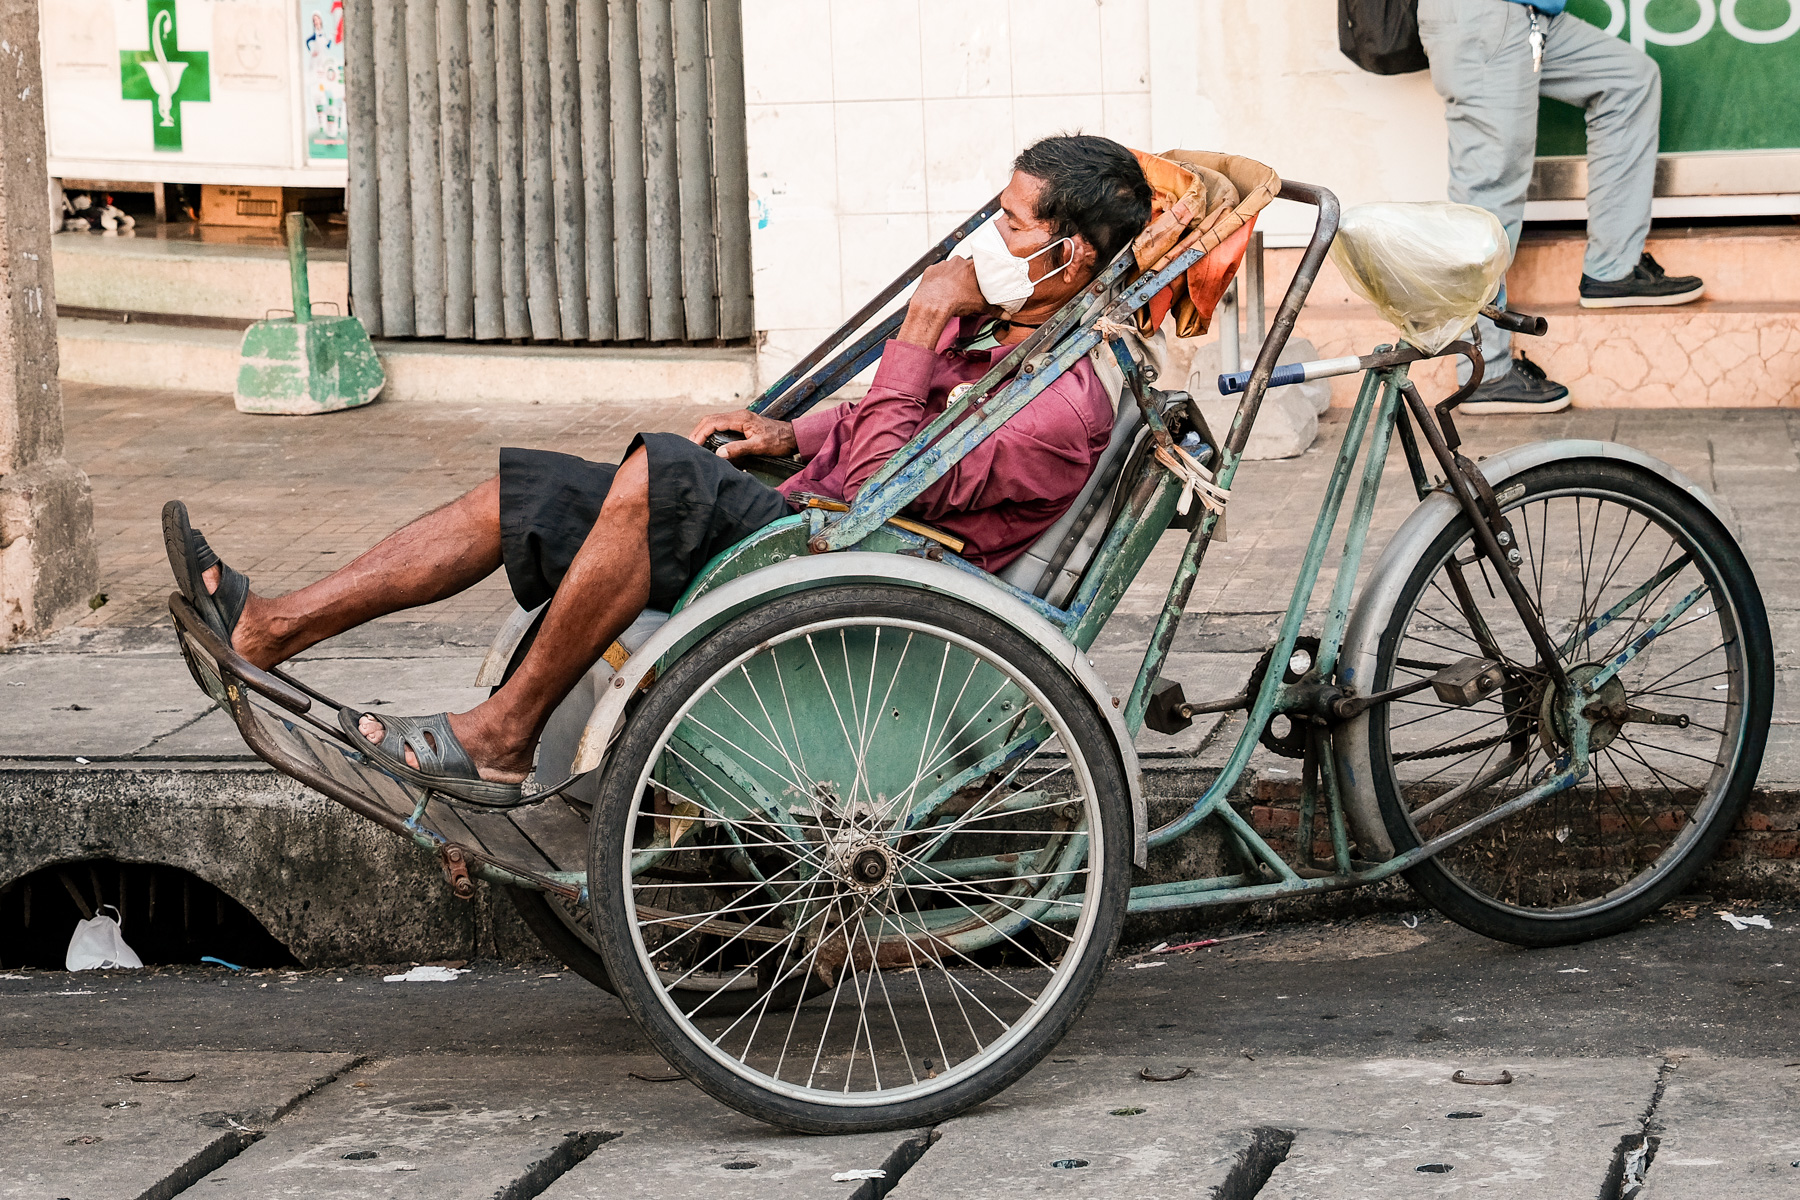
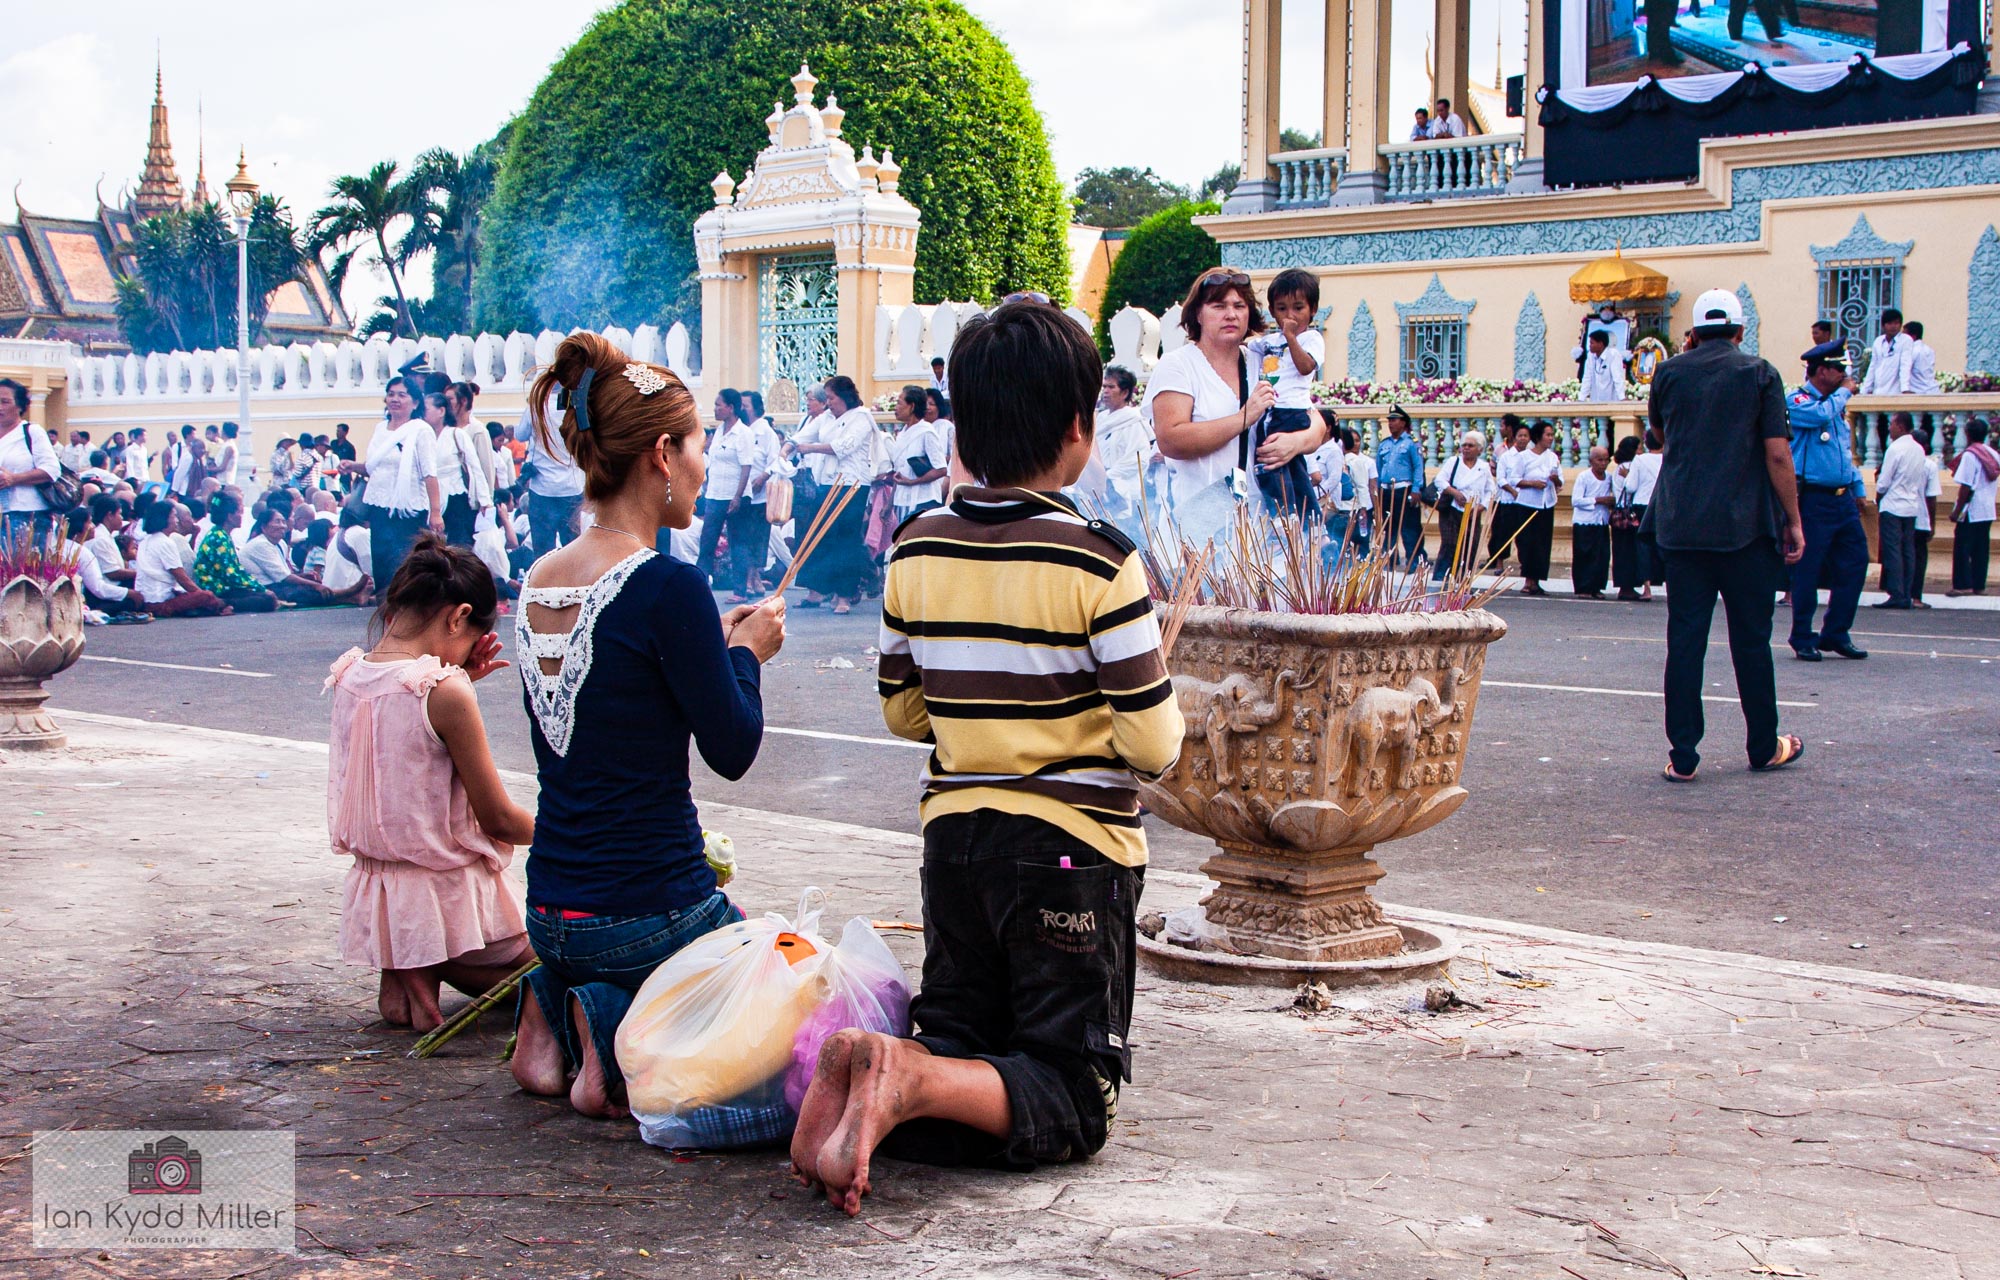
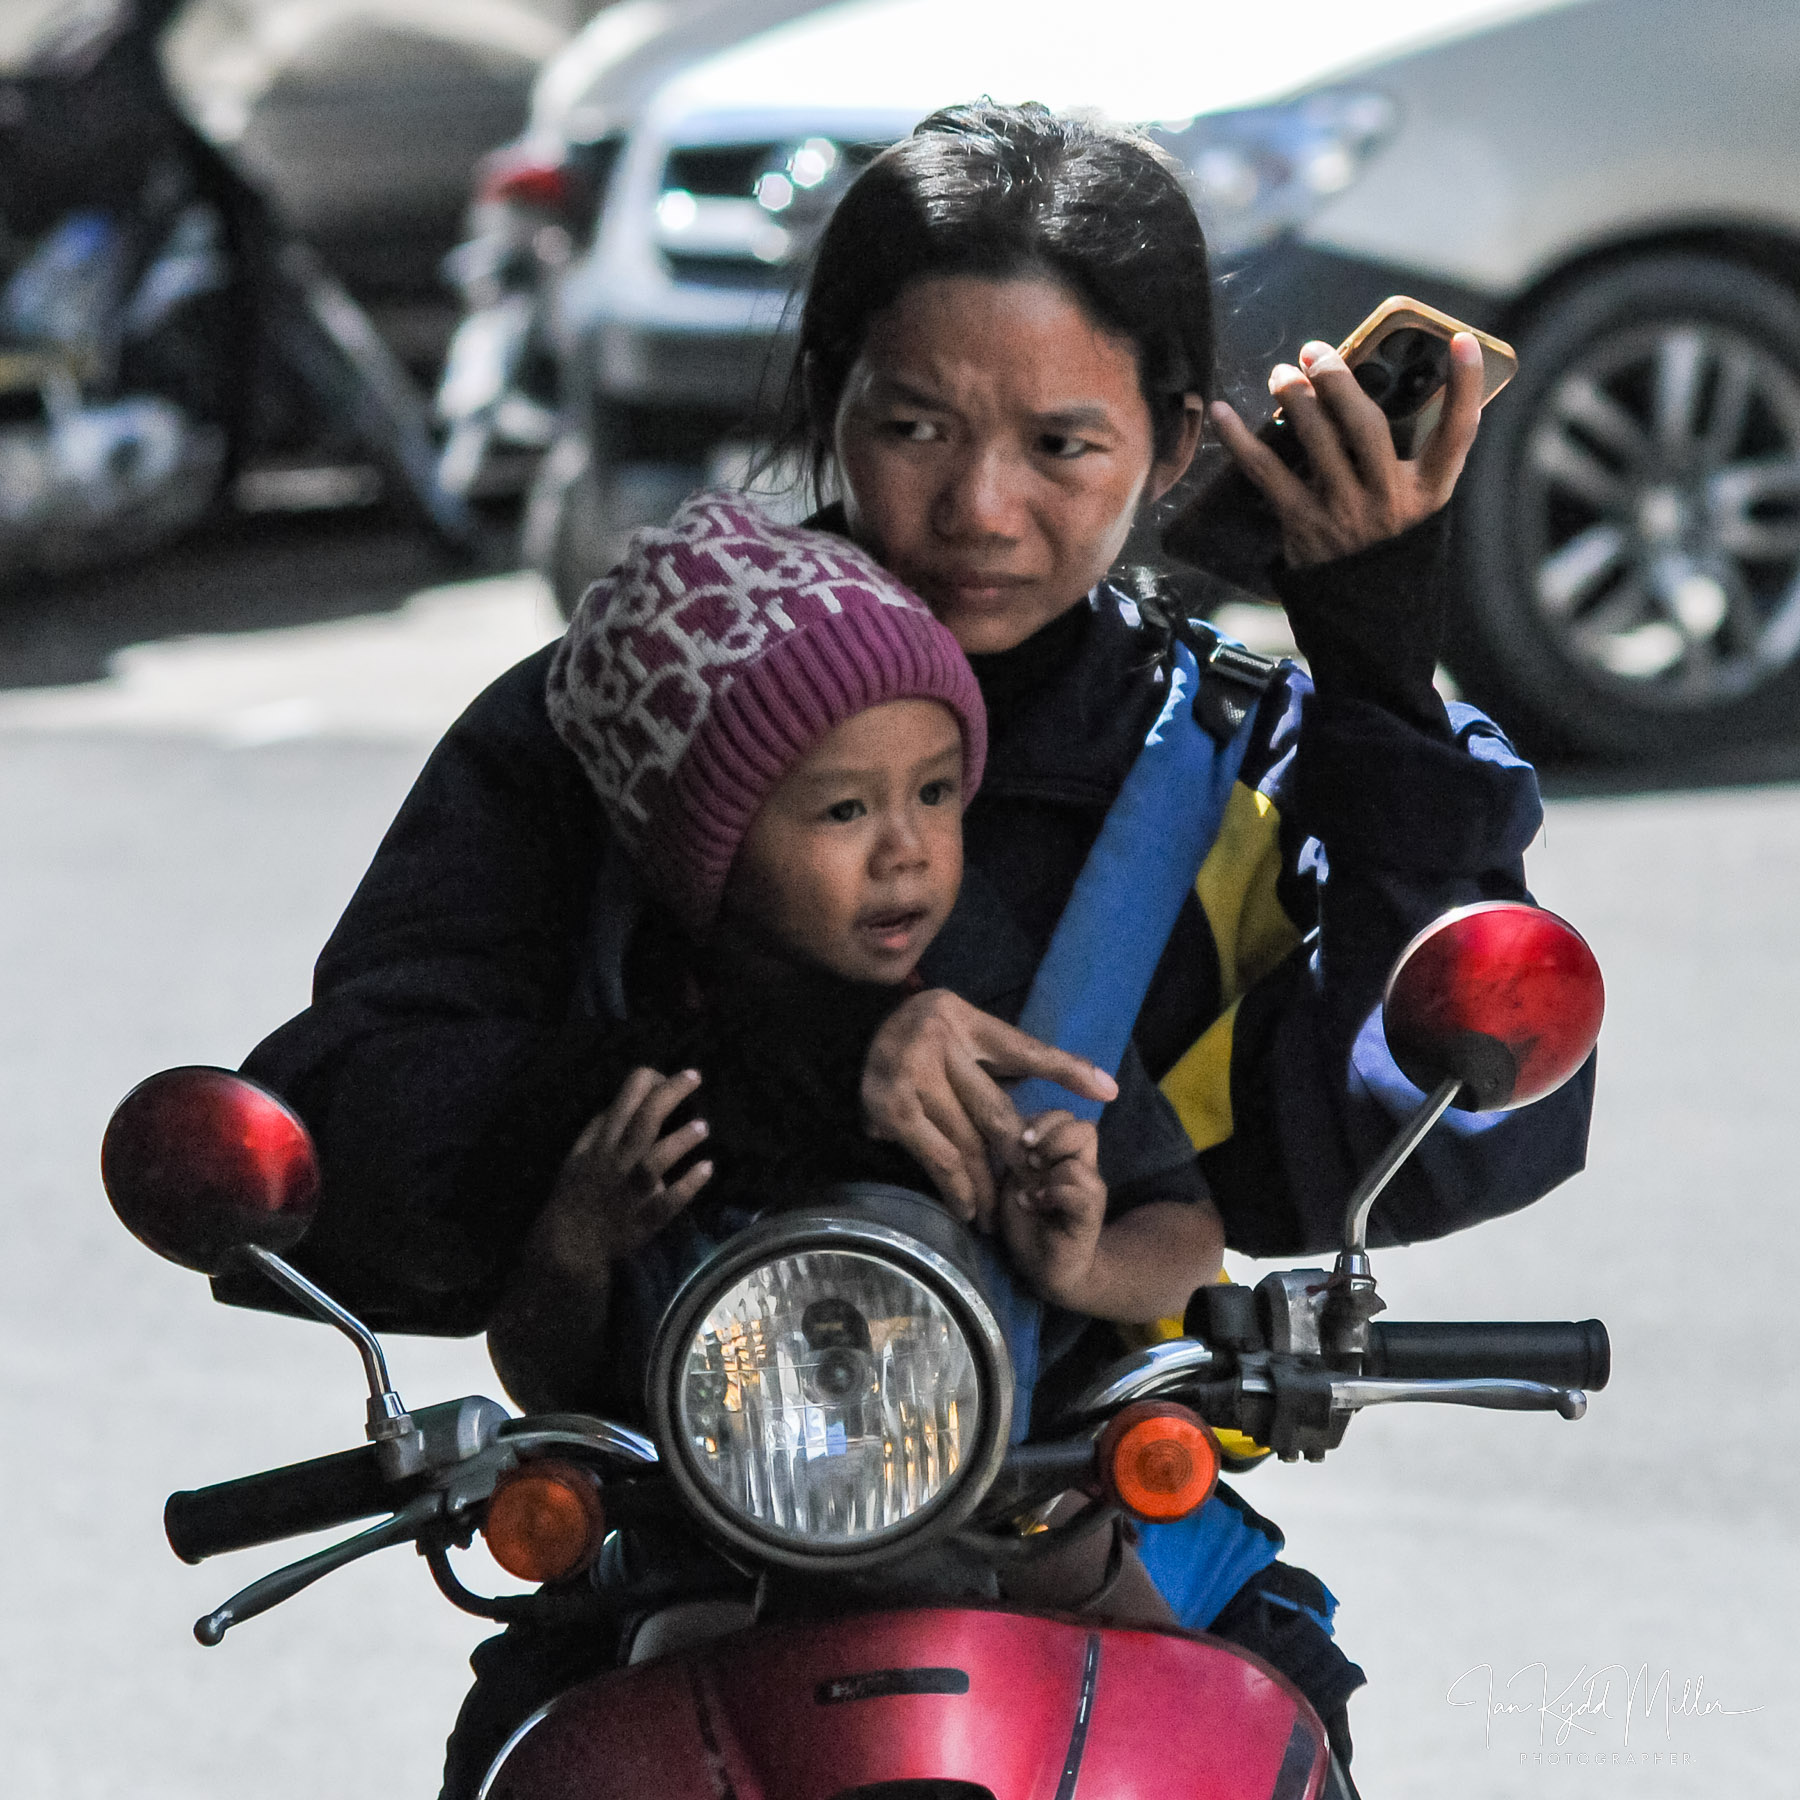
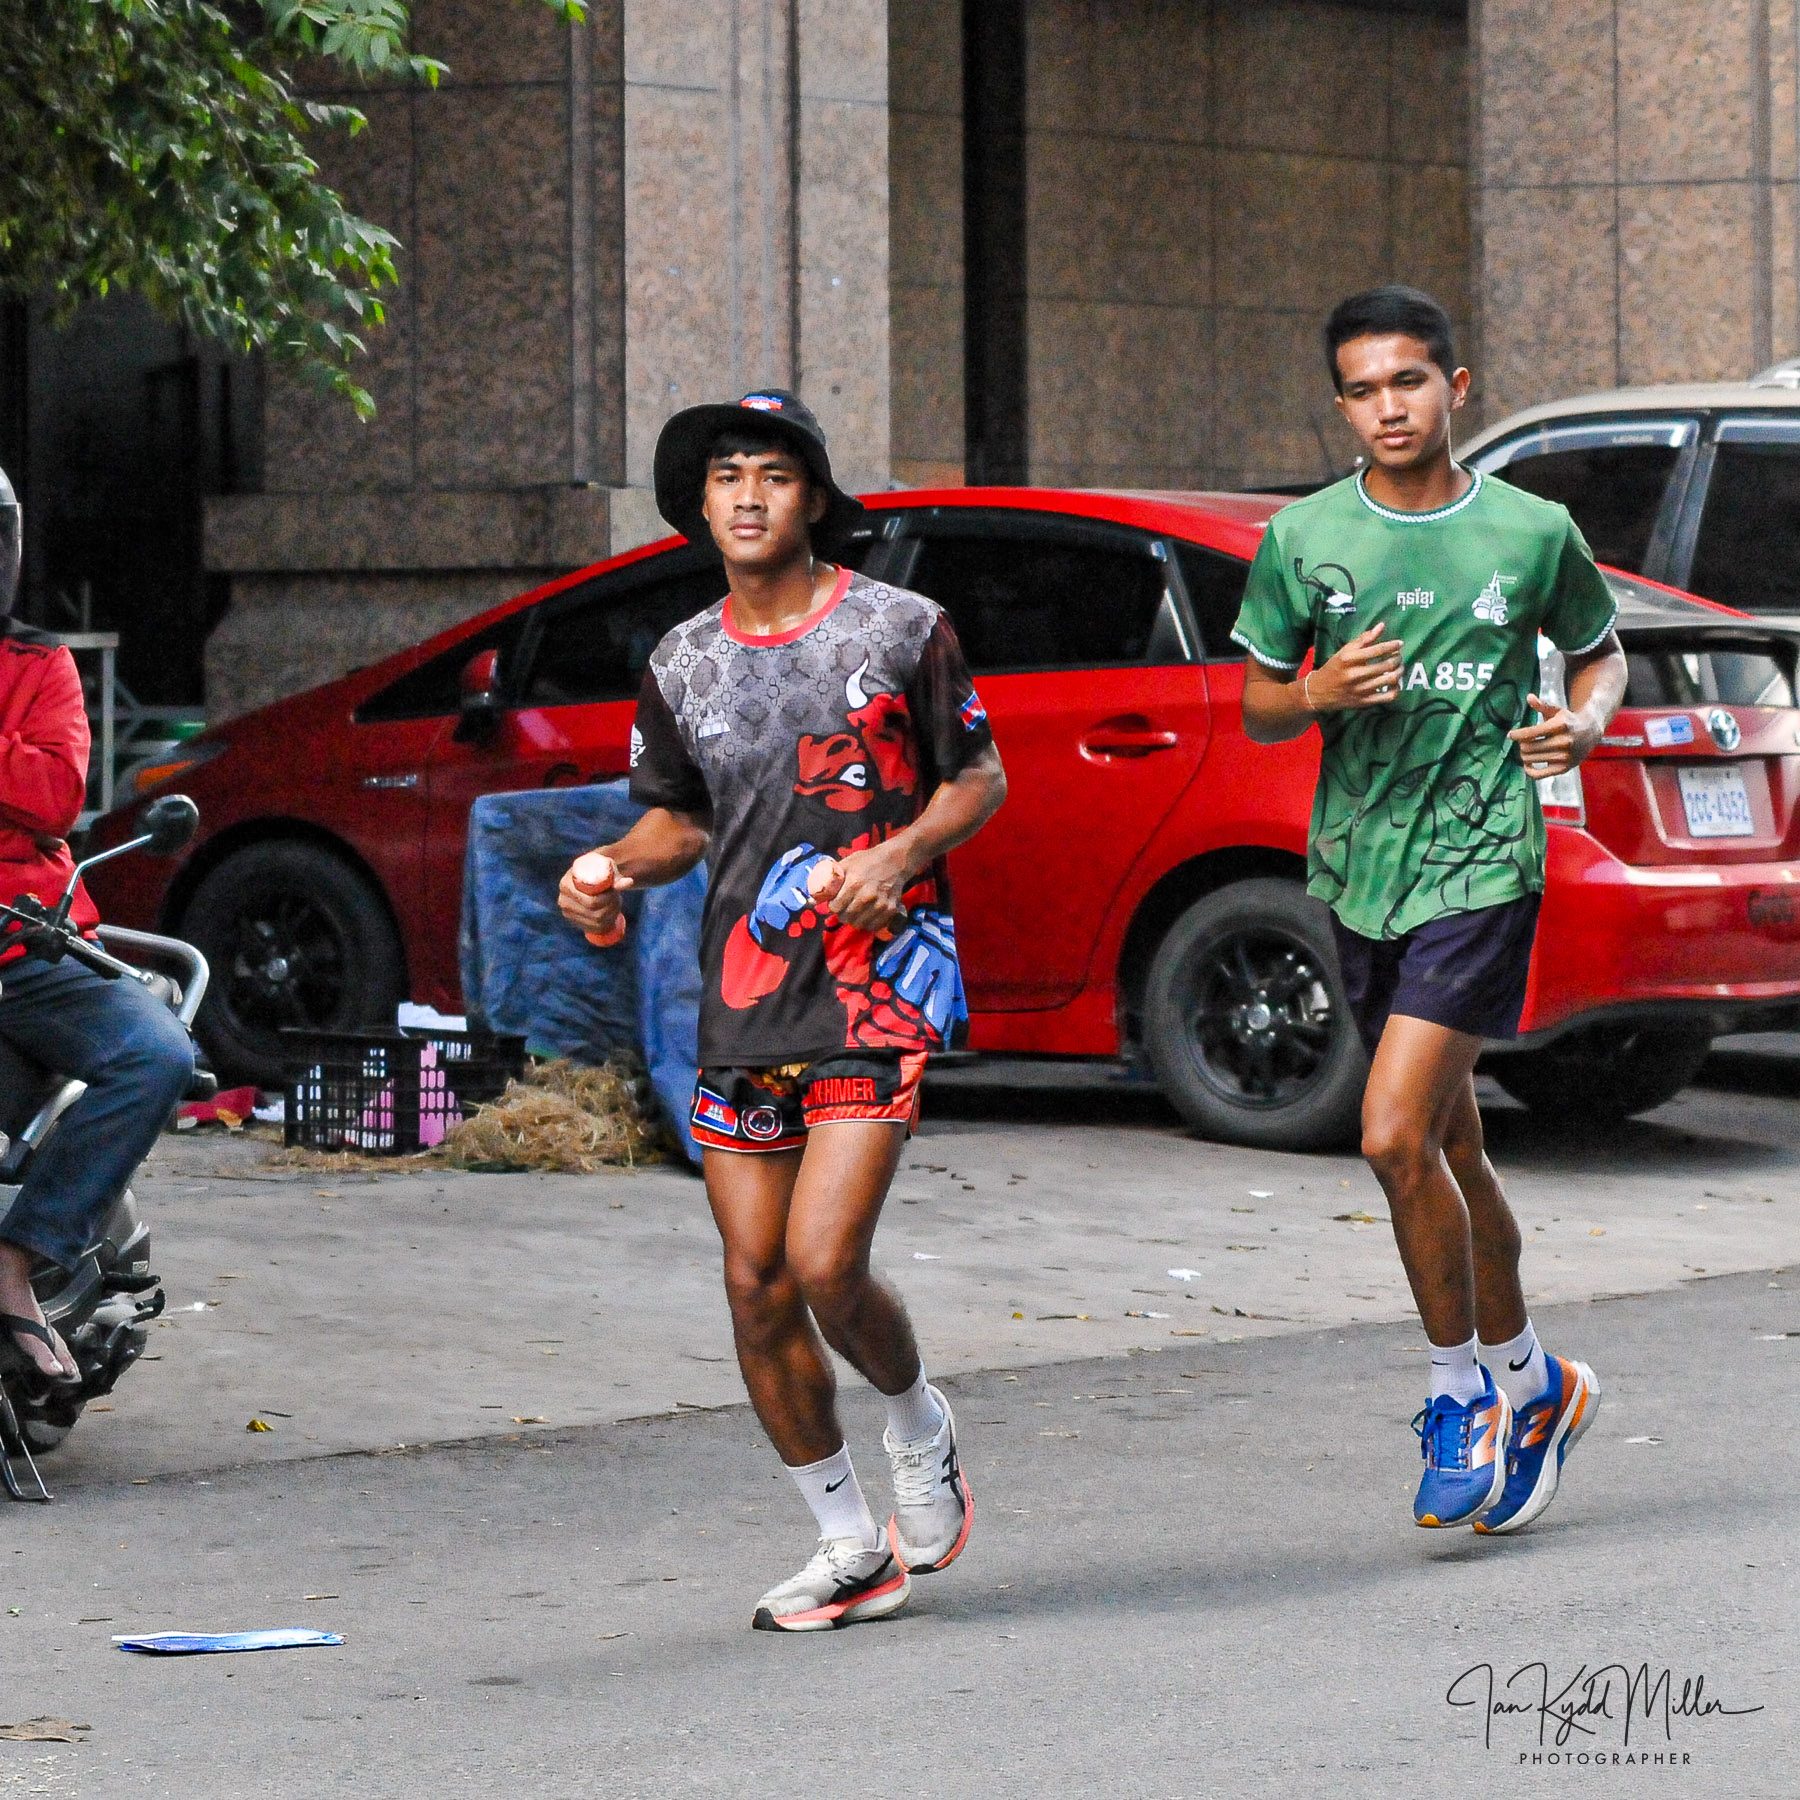
Street photography rarely gives you a second chance.
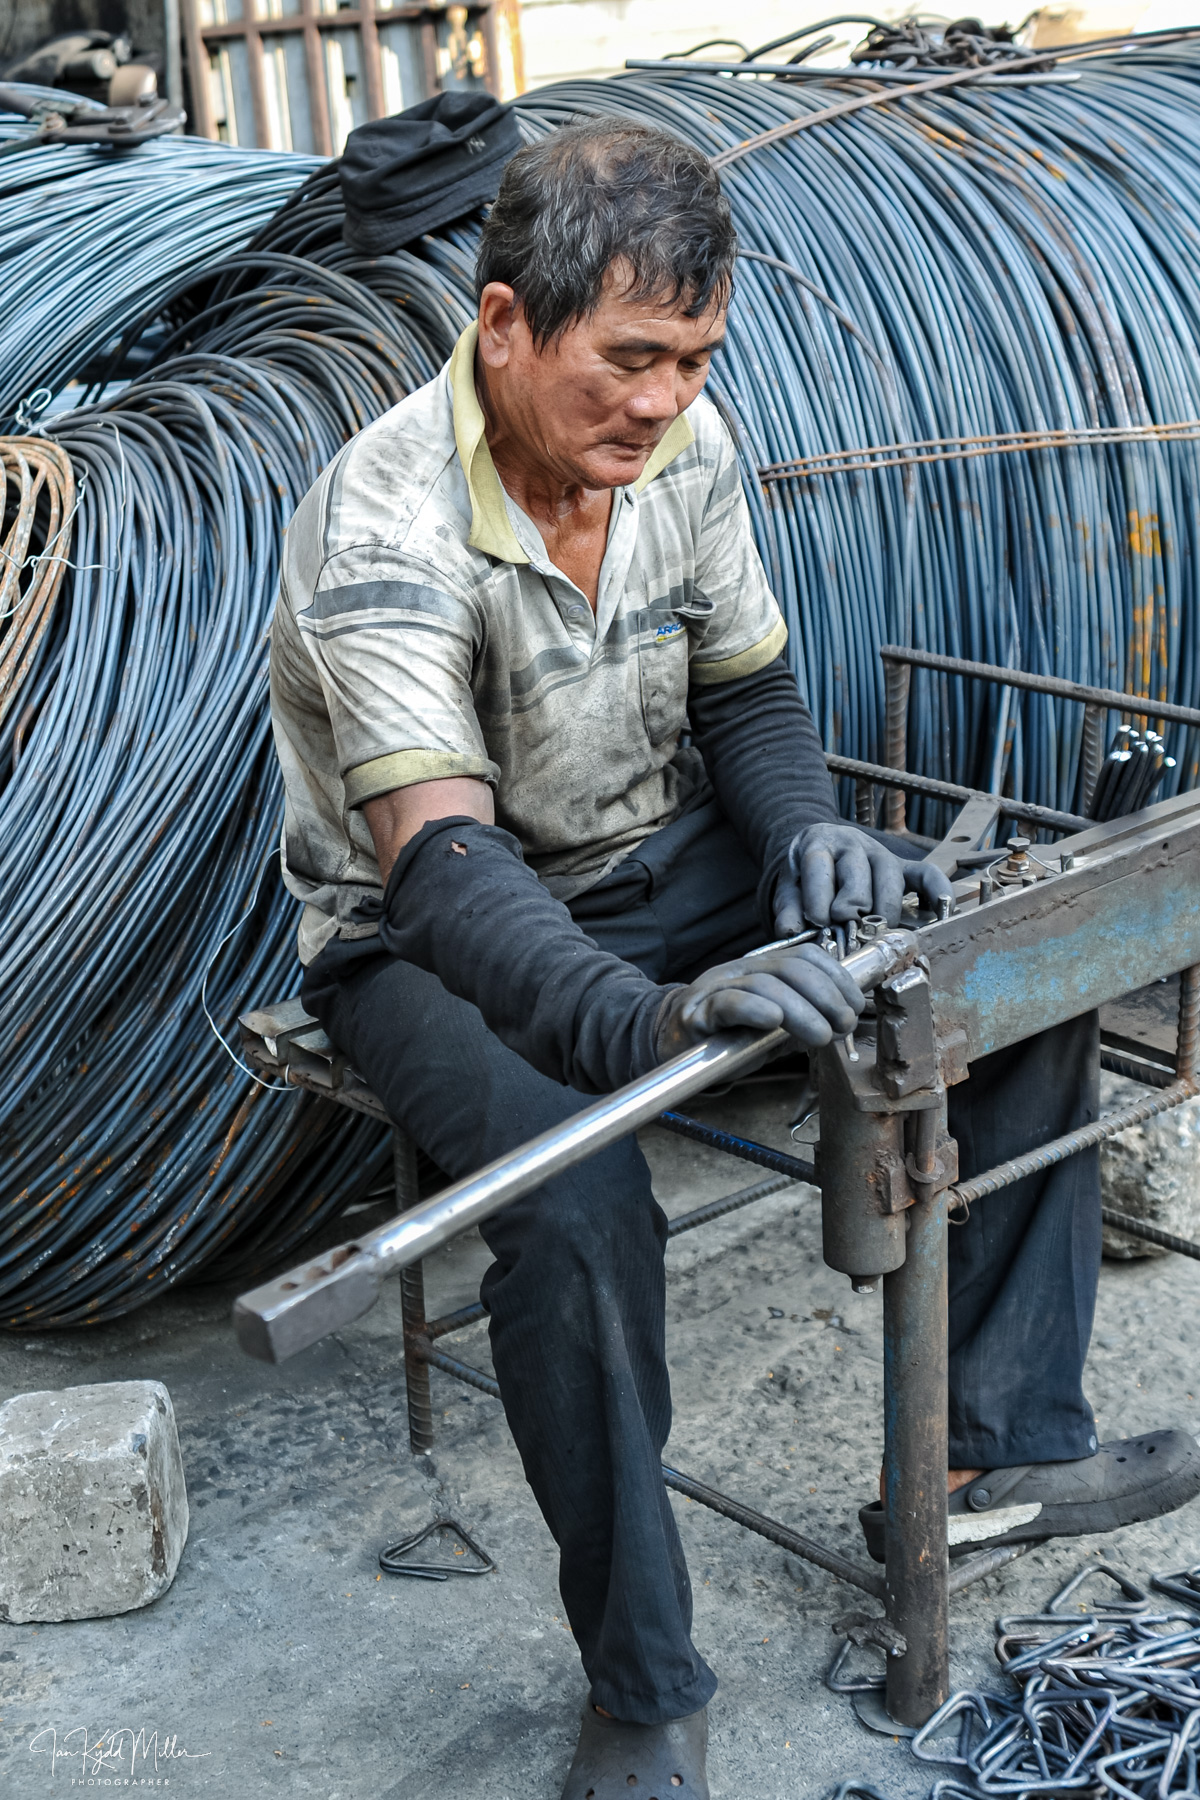
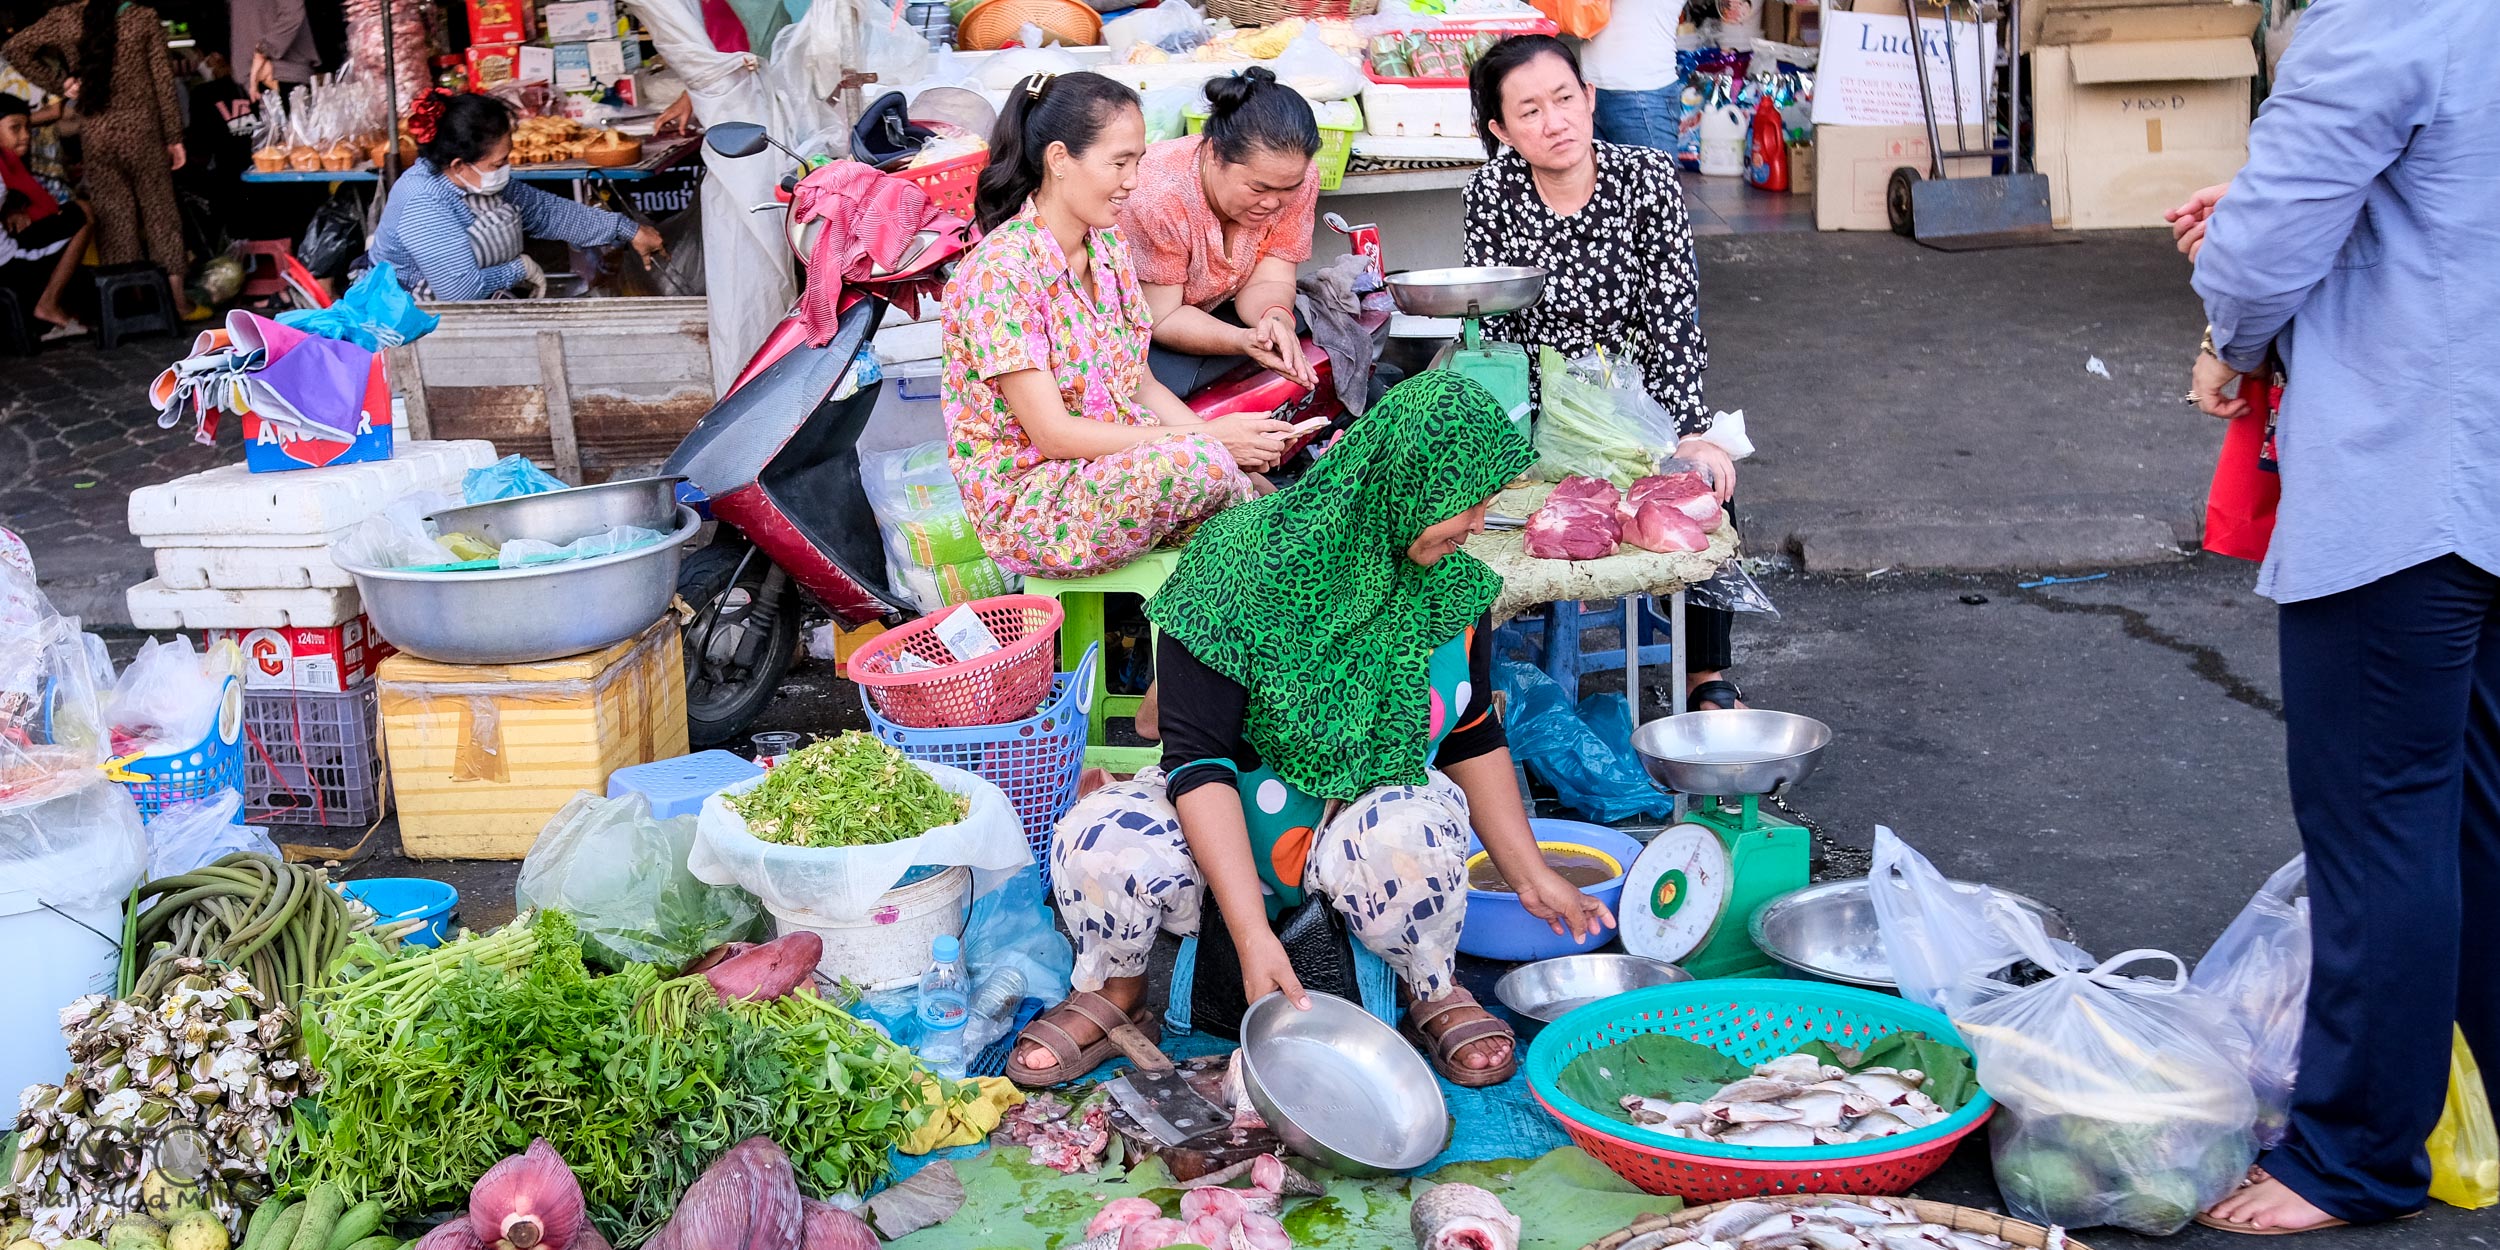
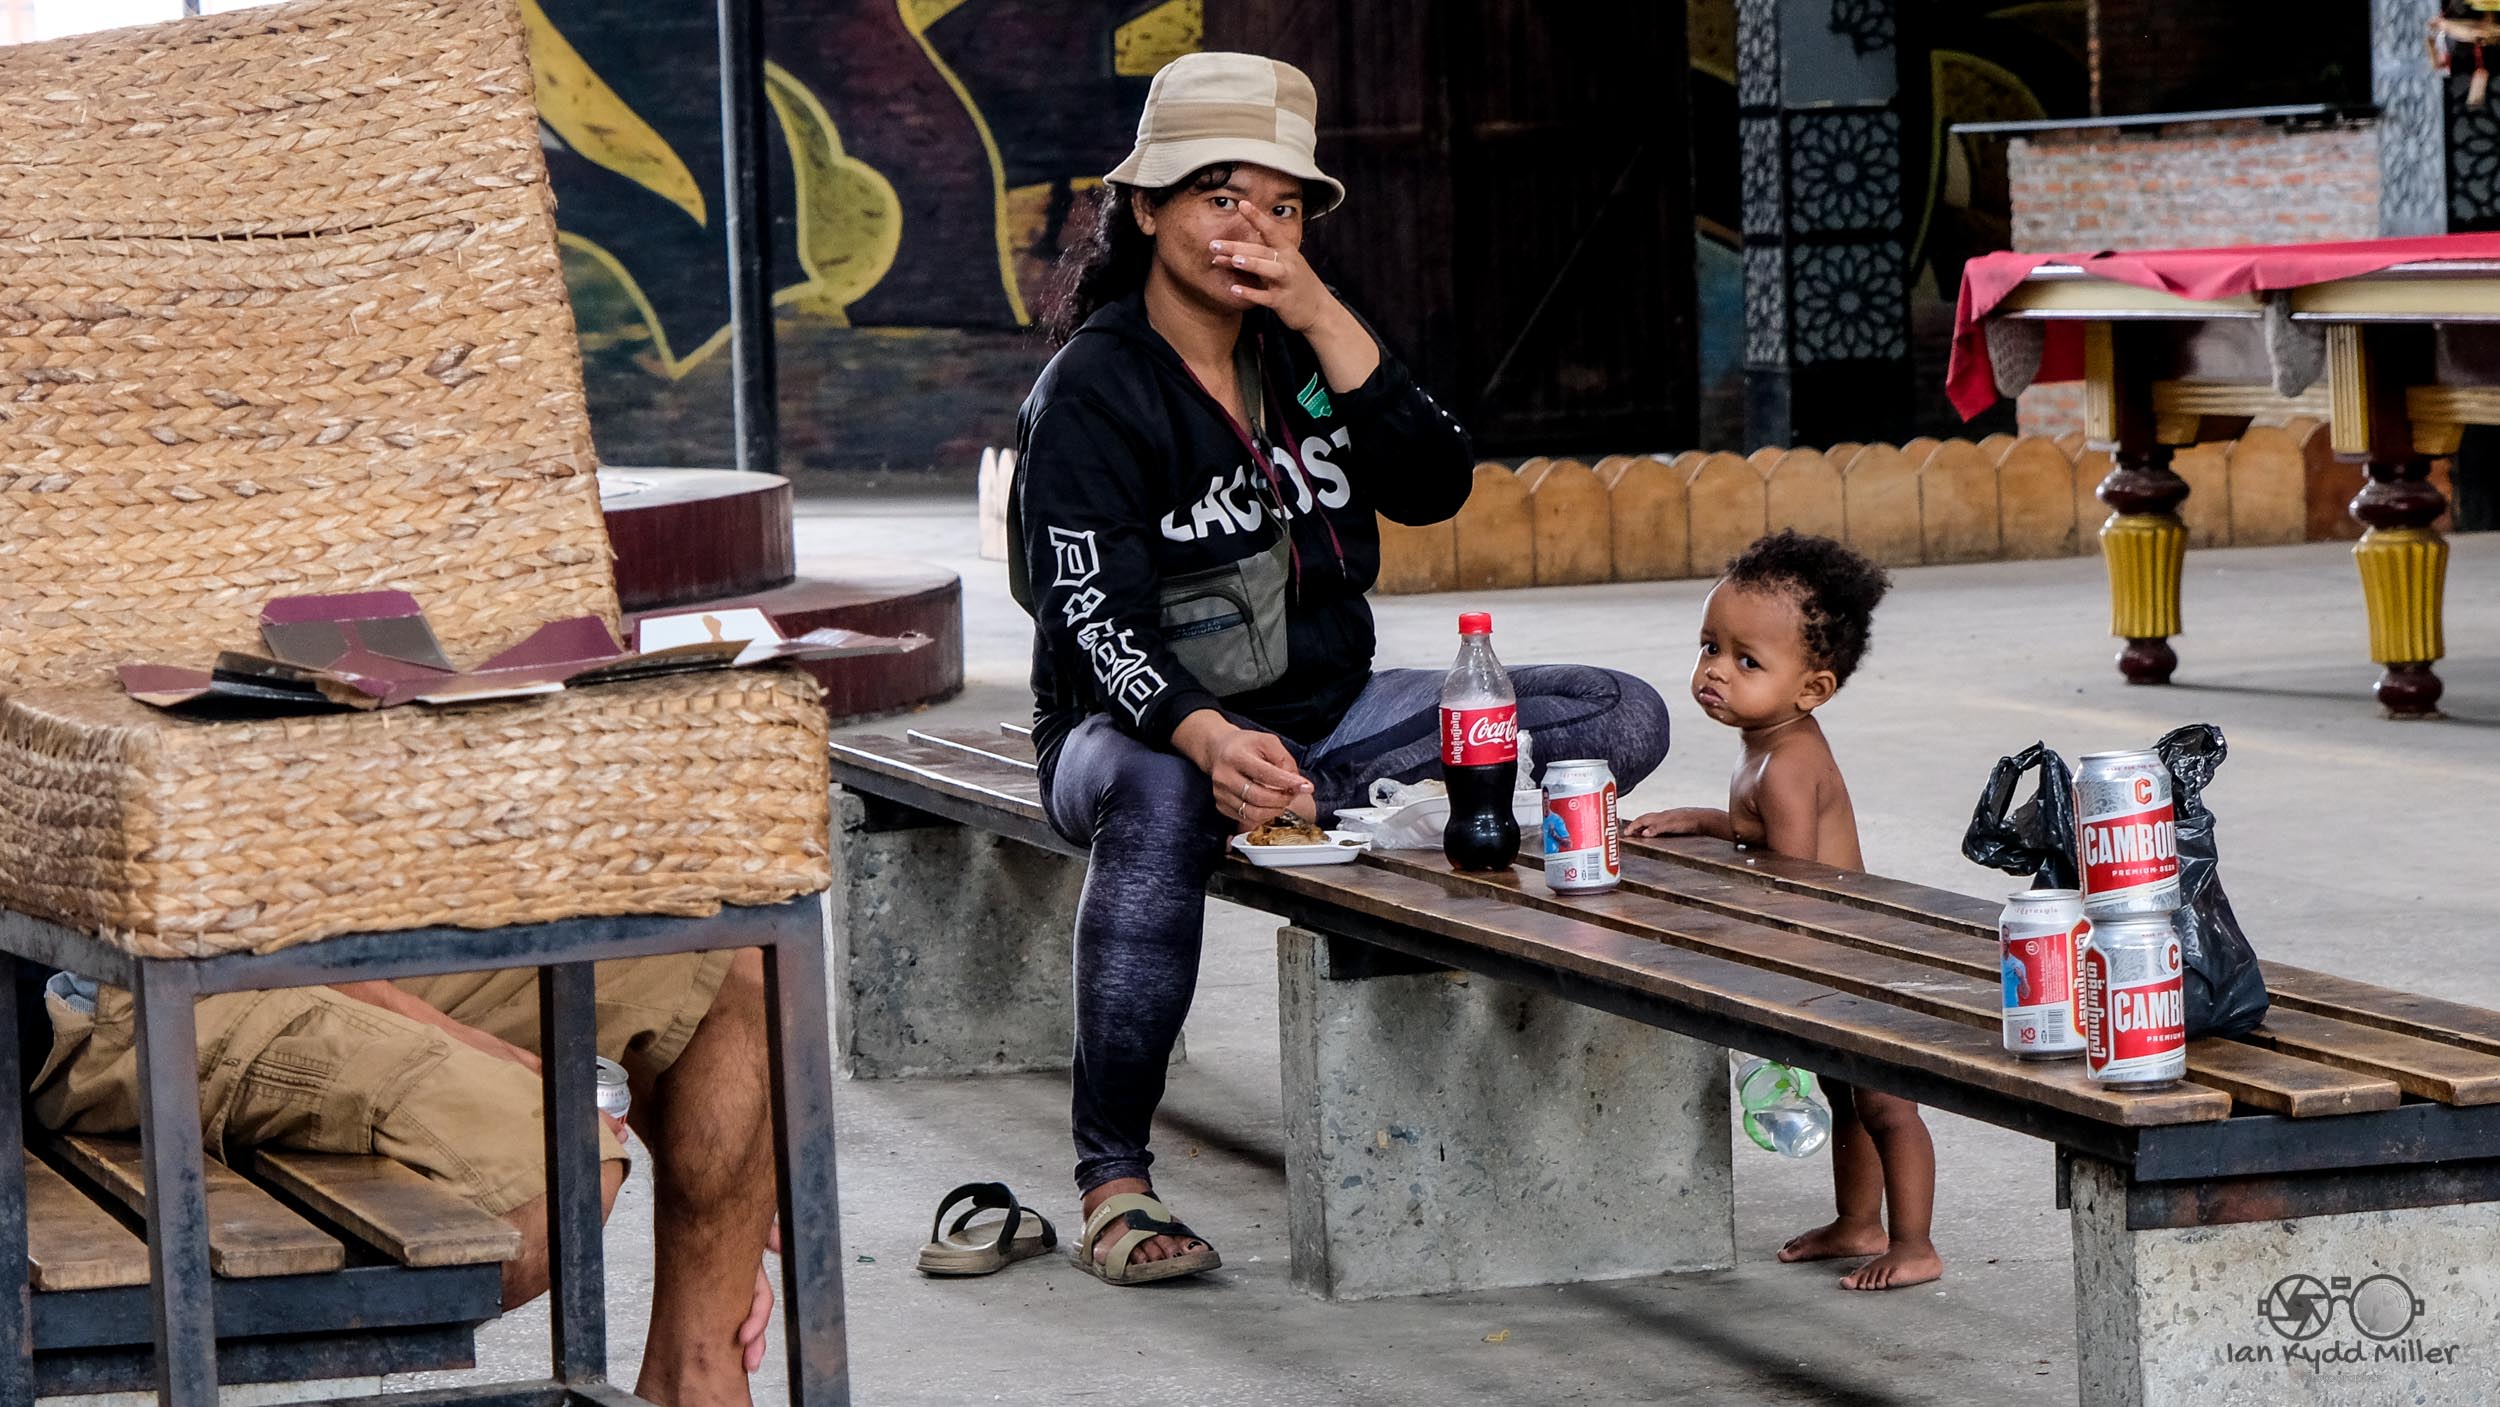
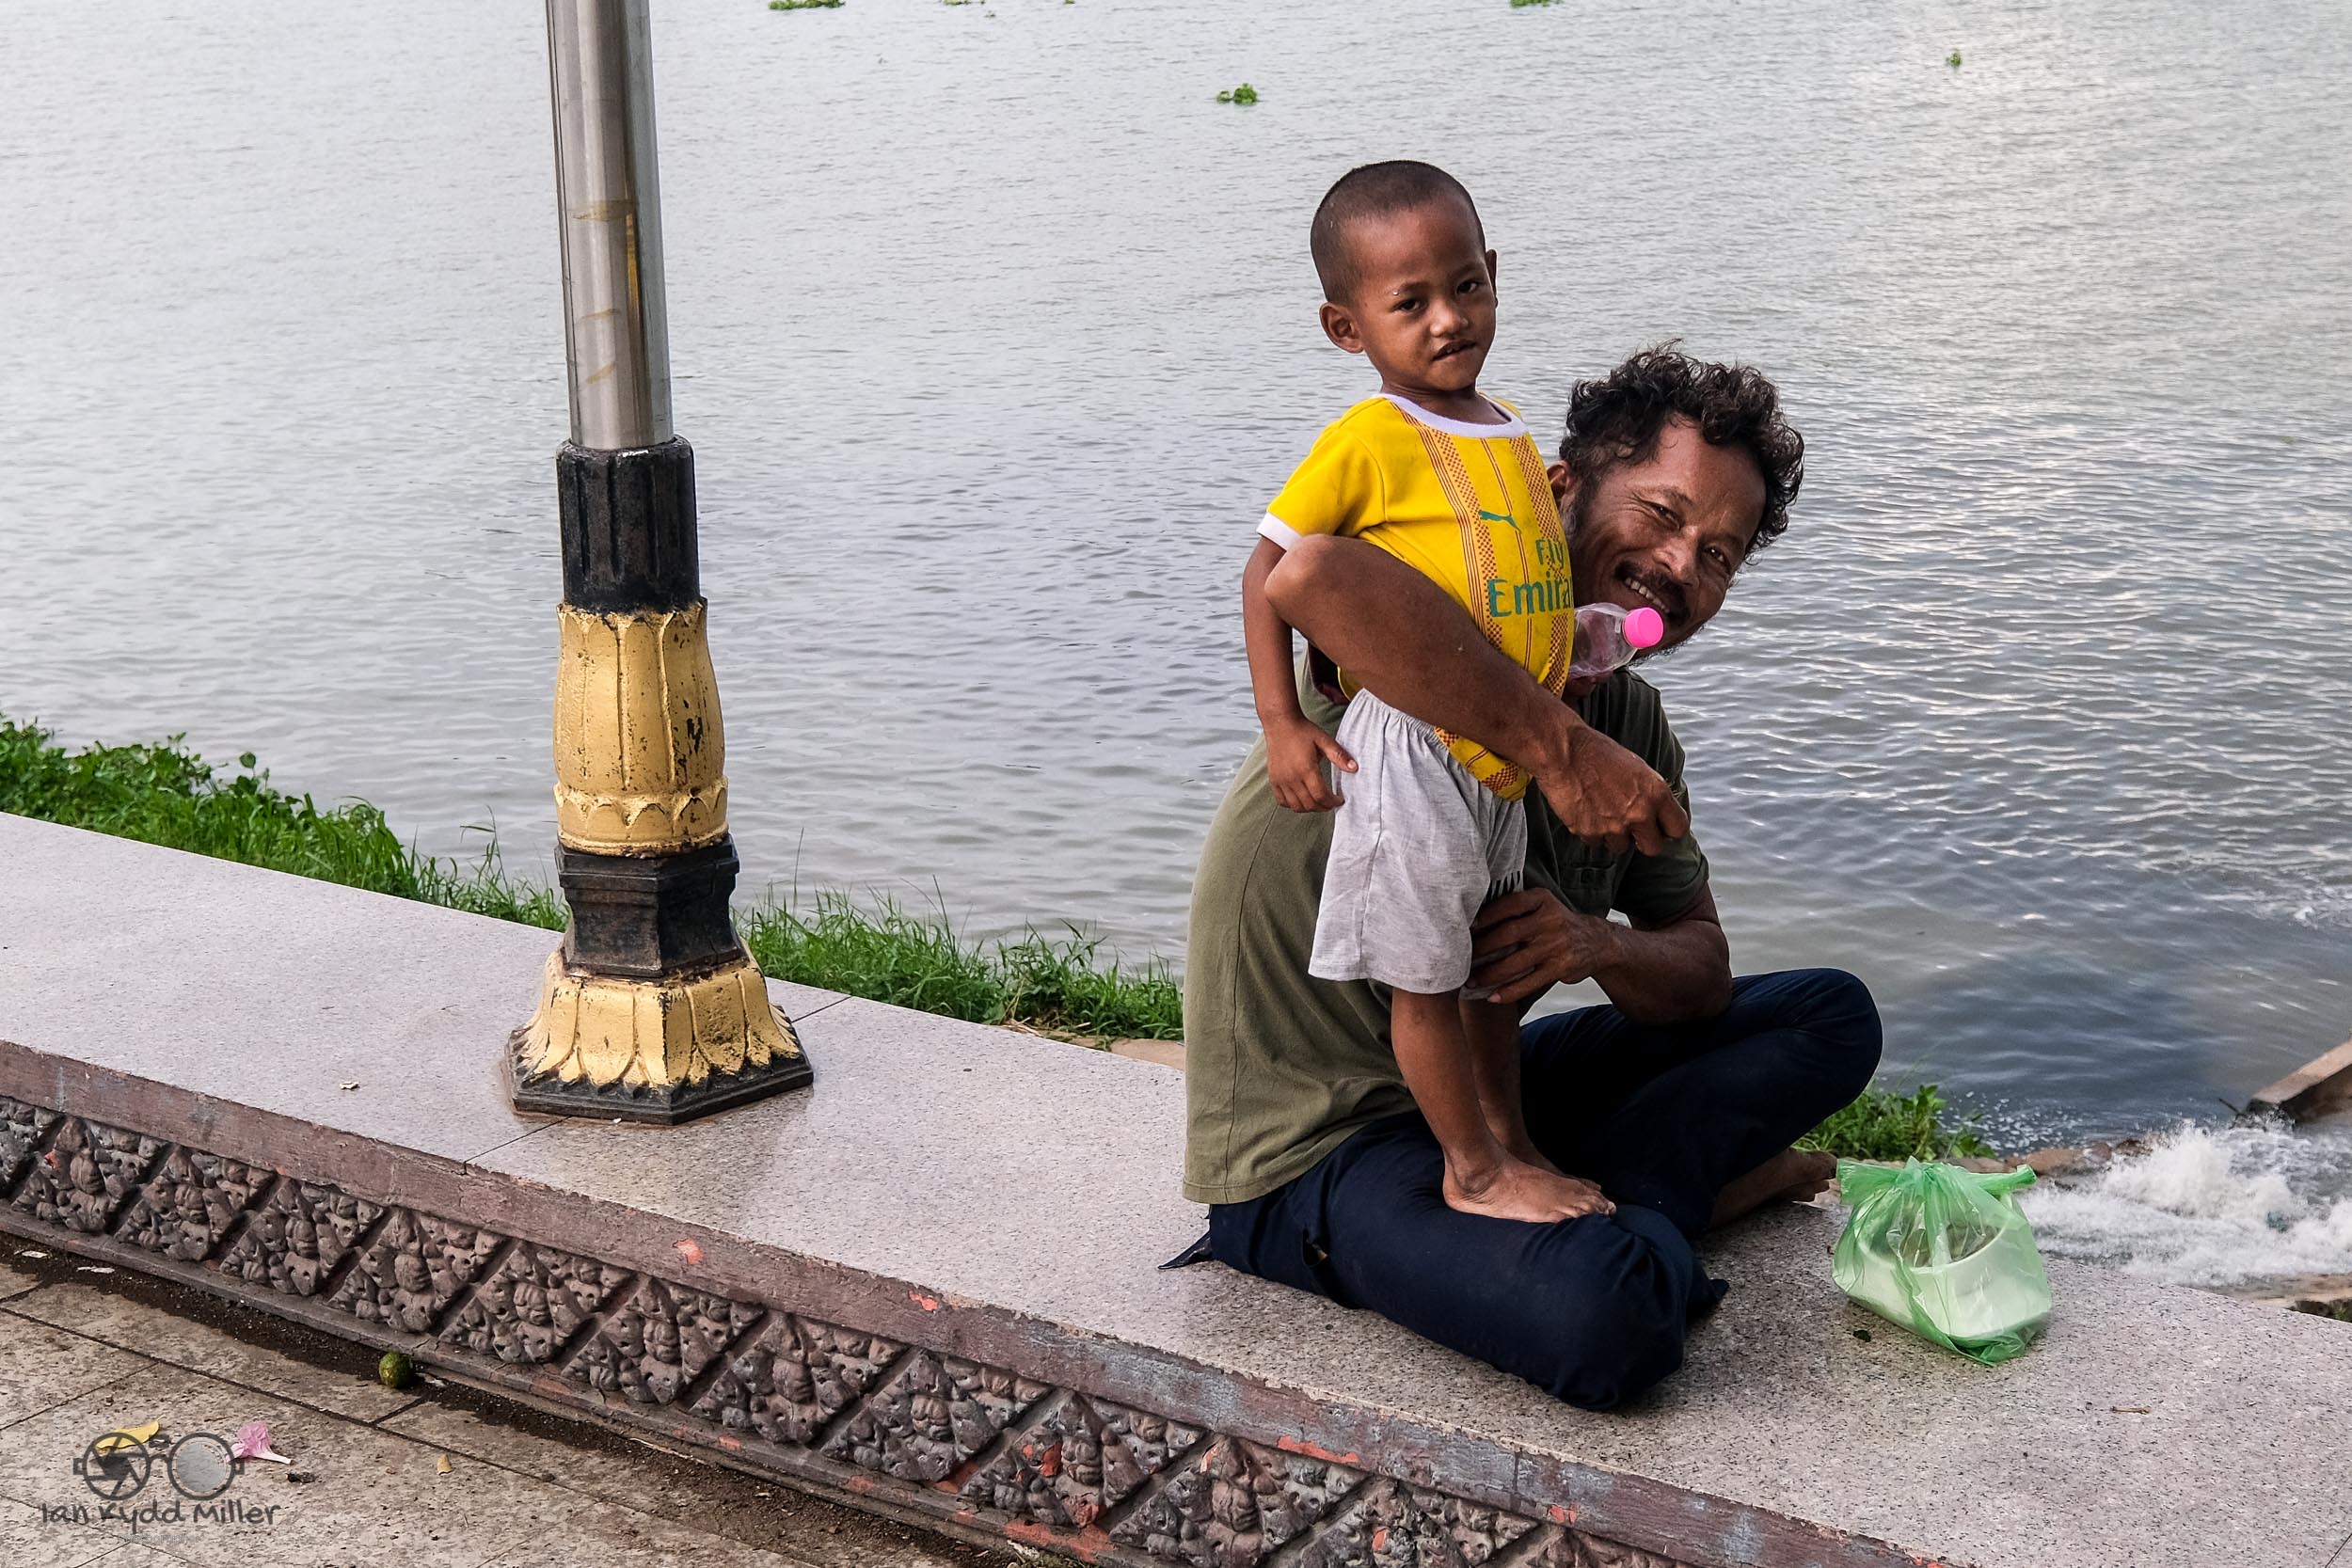
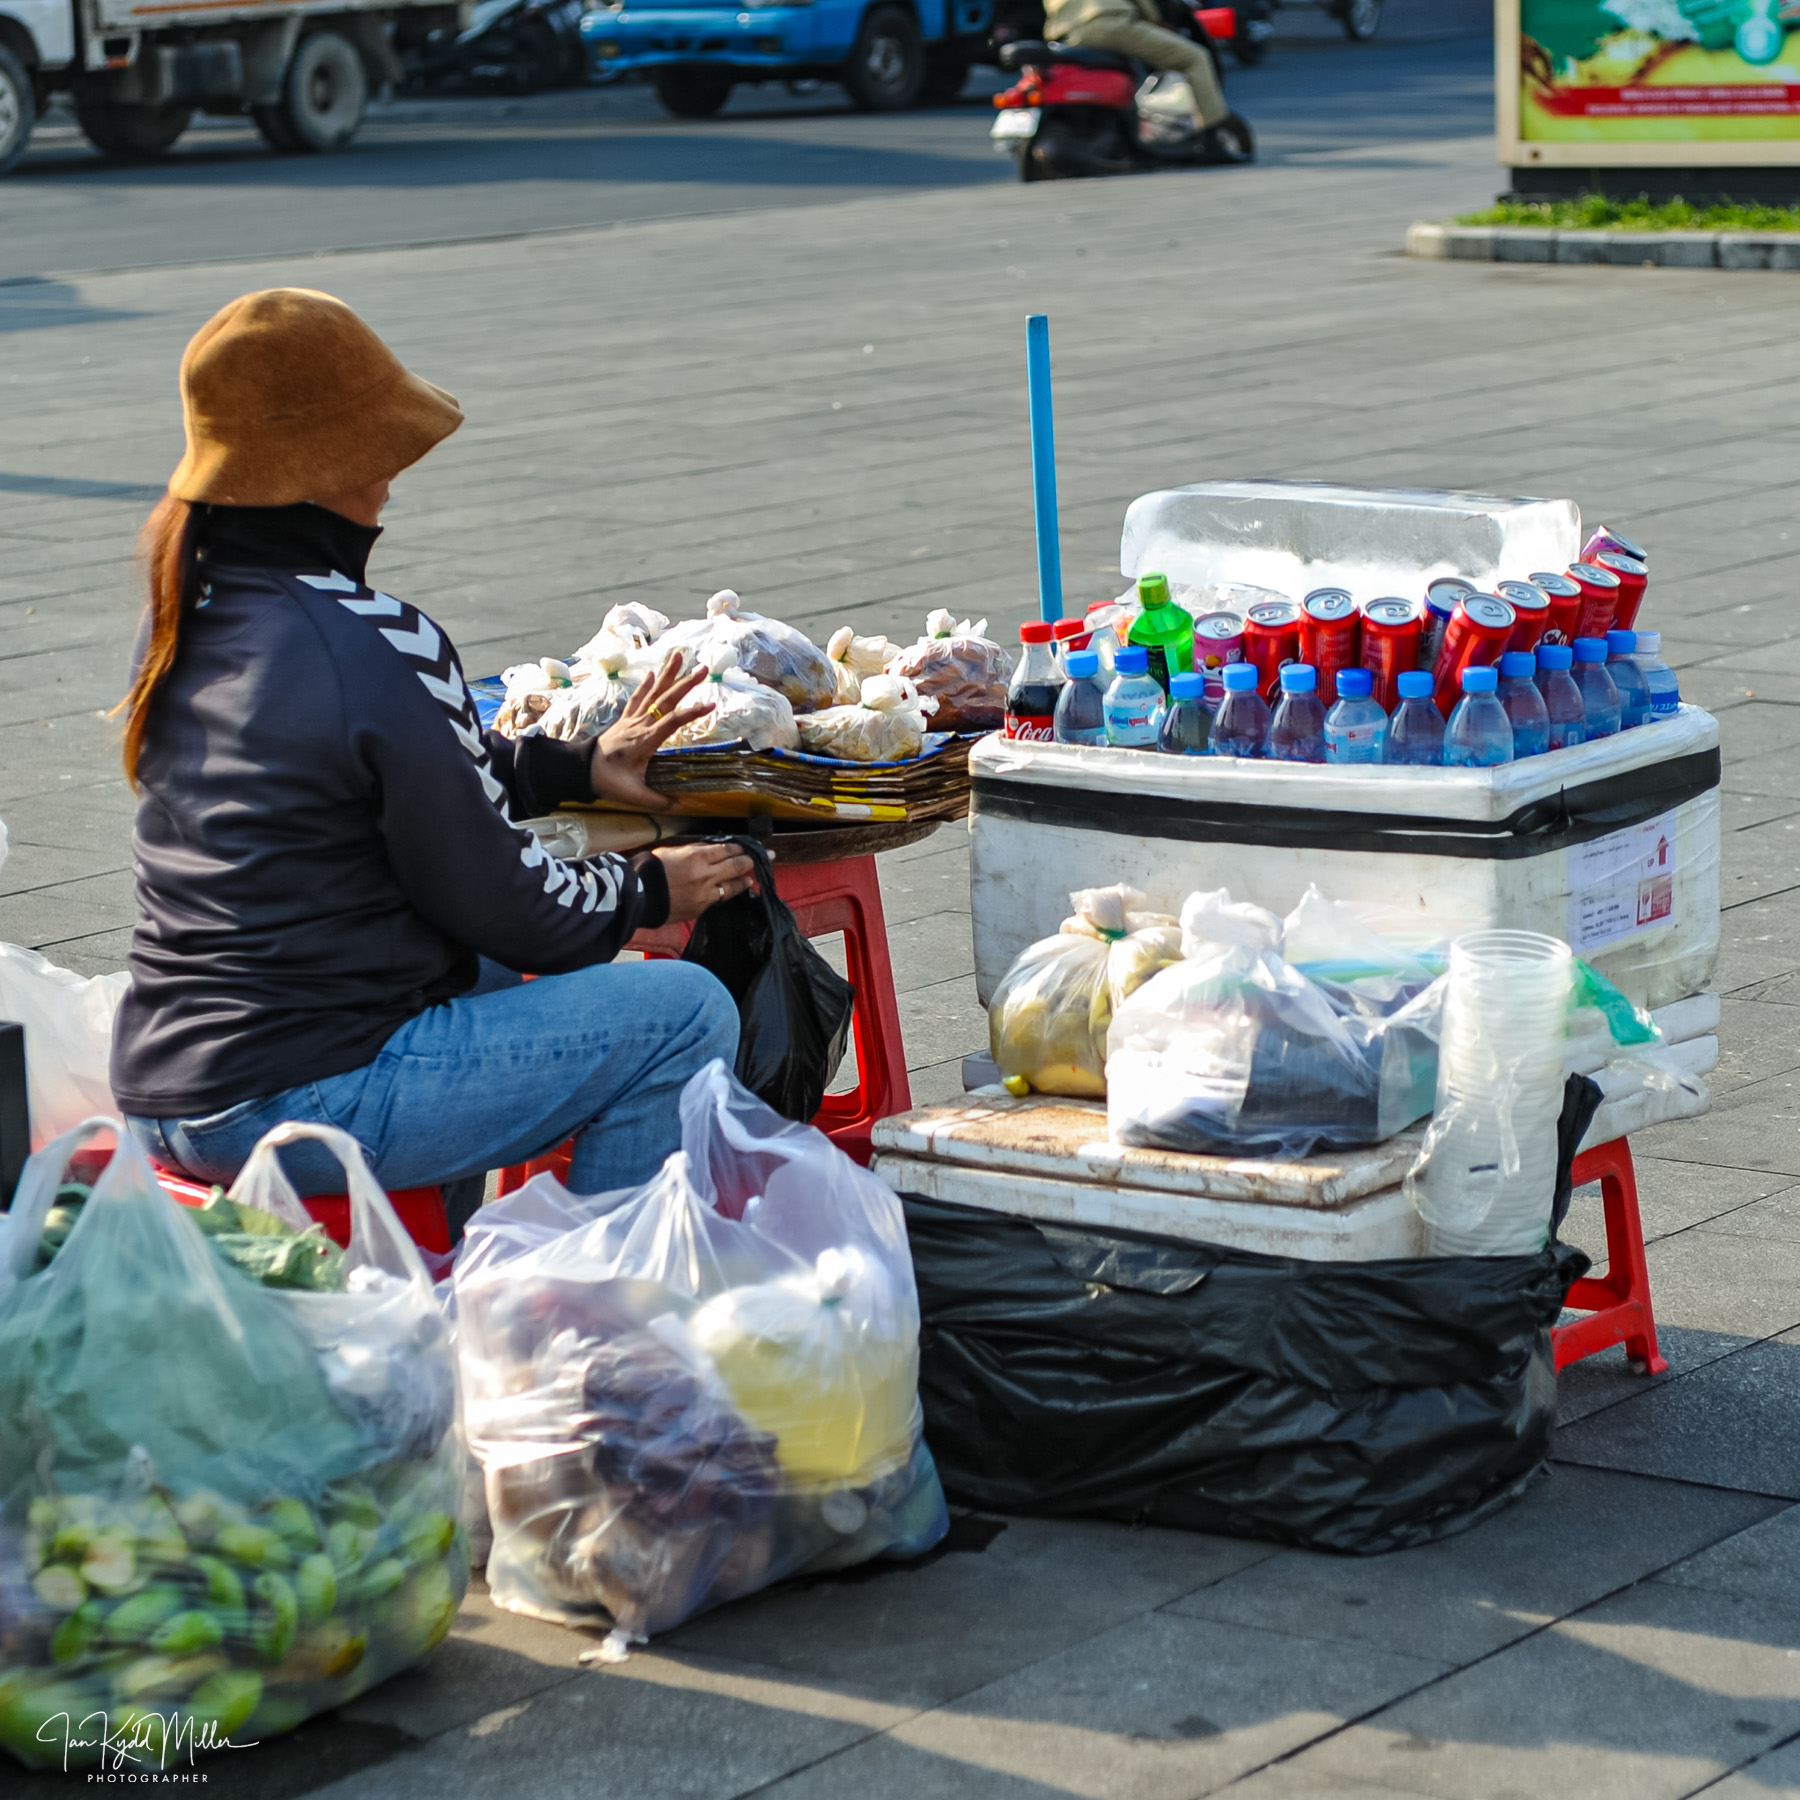
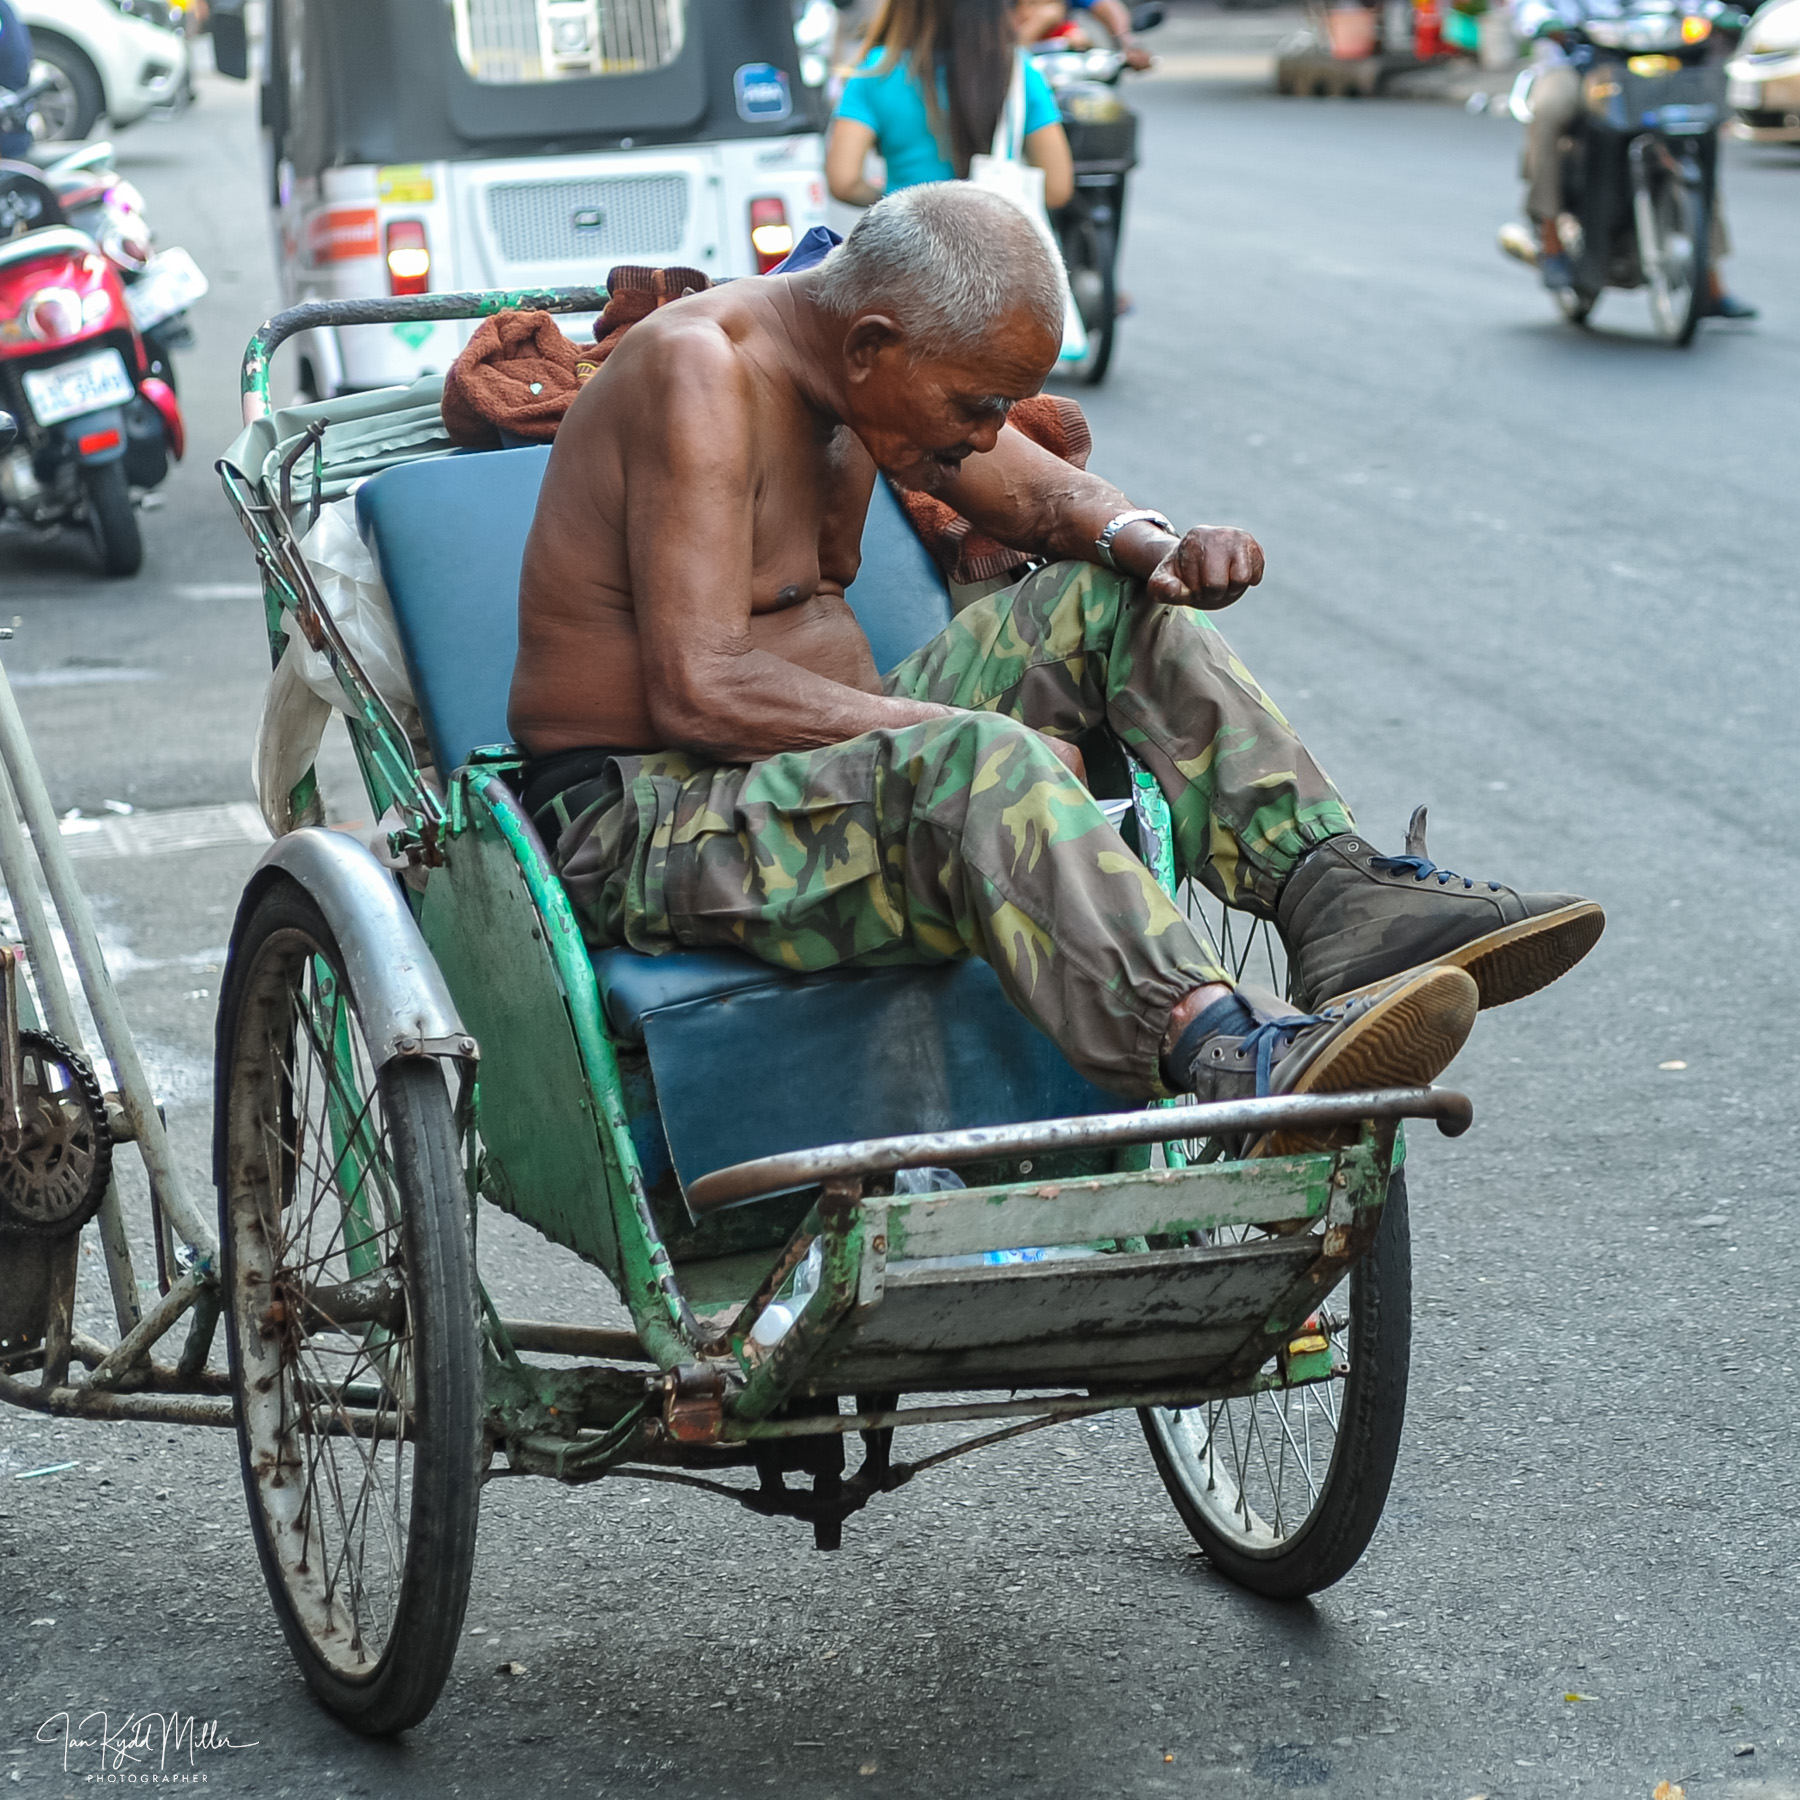
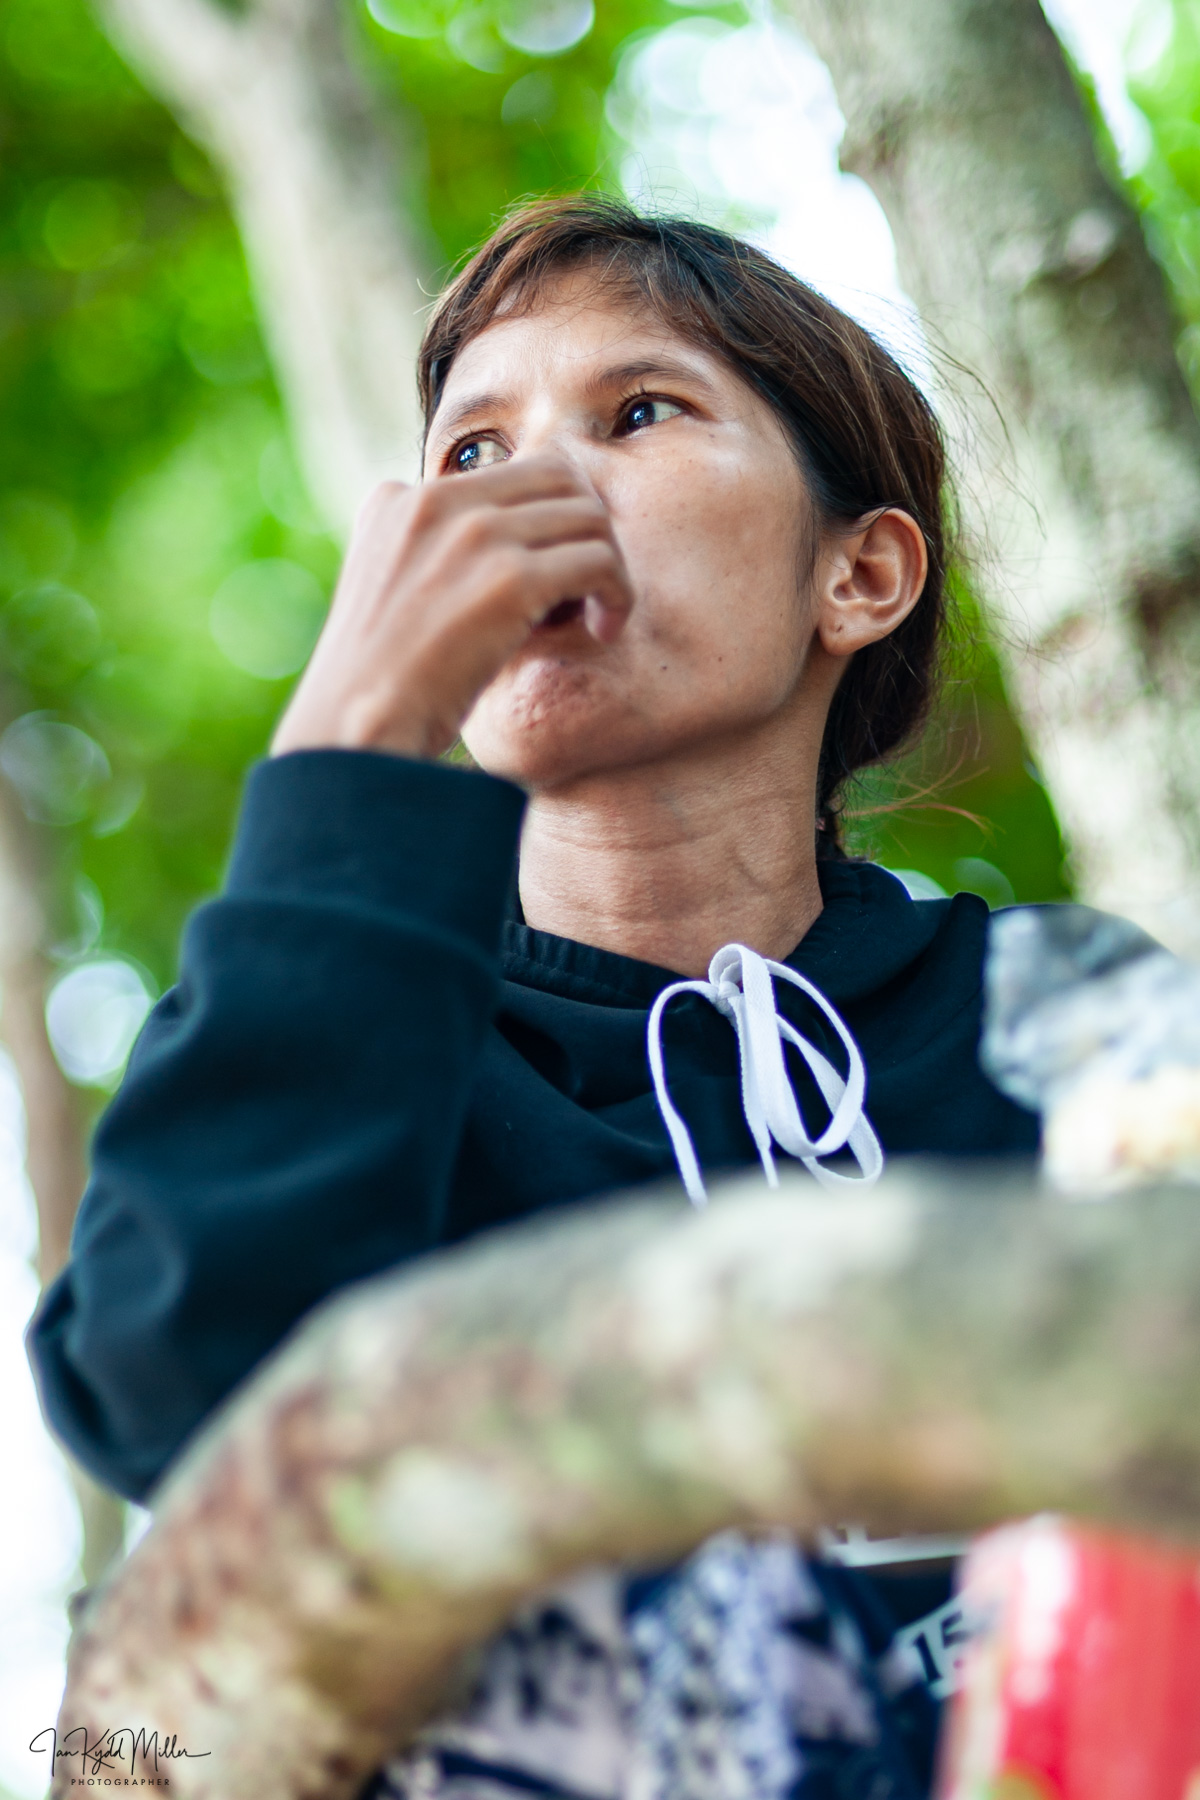
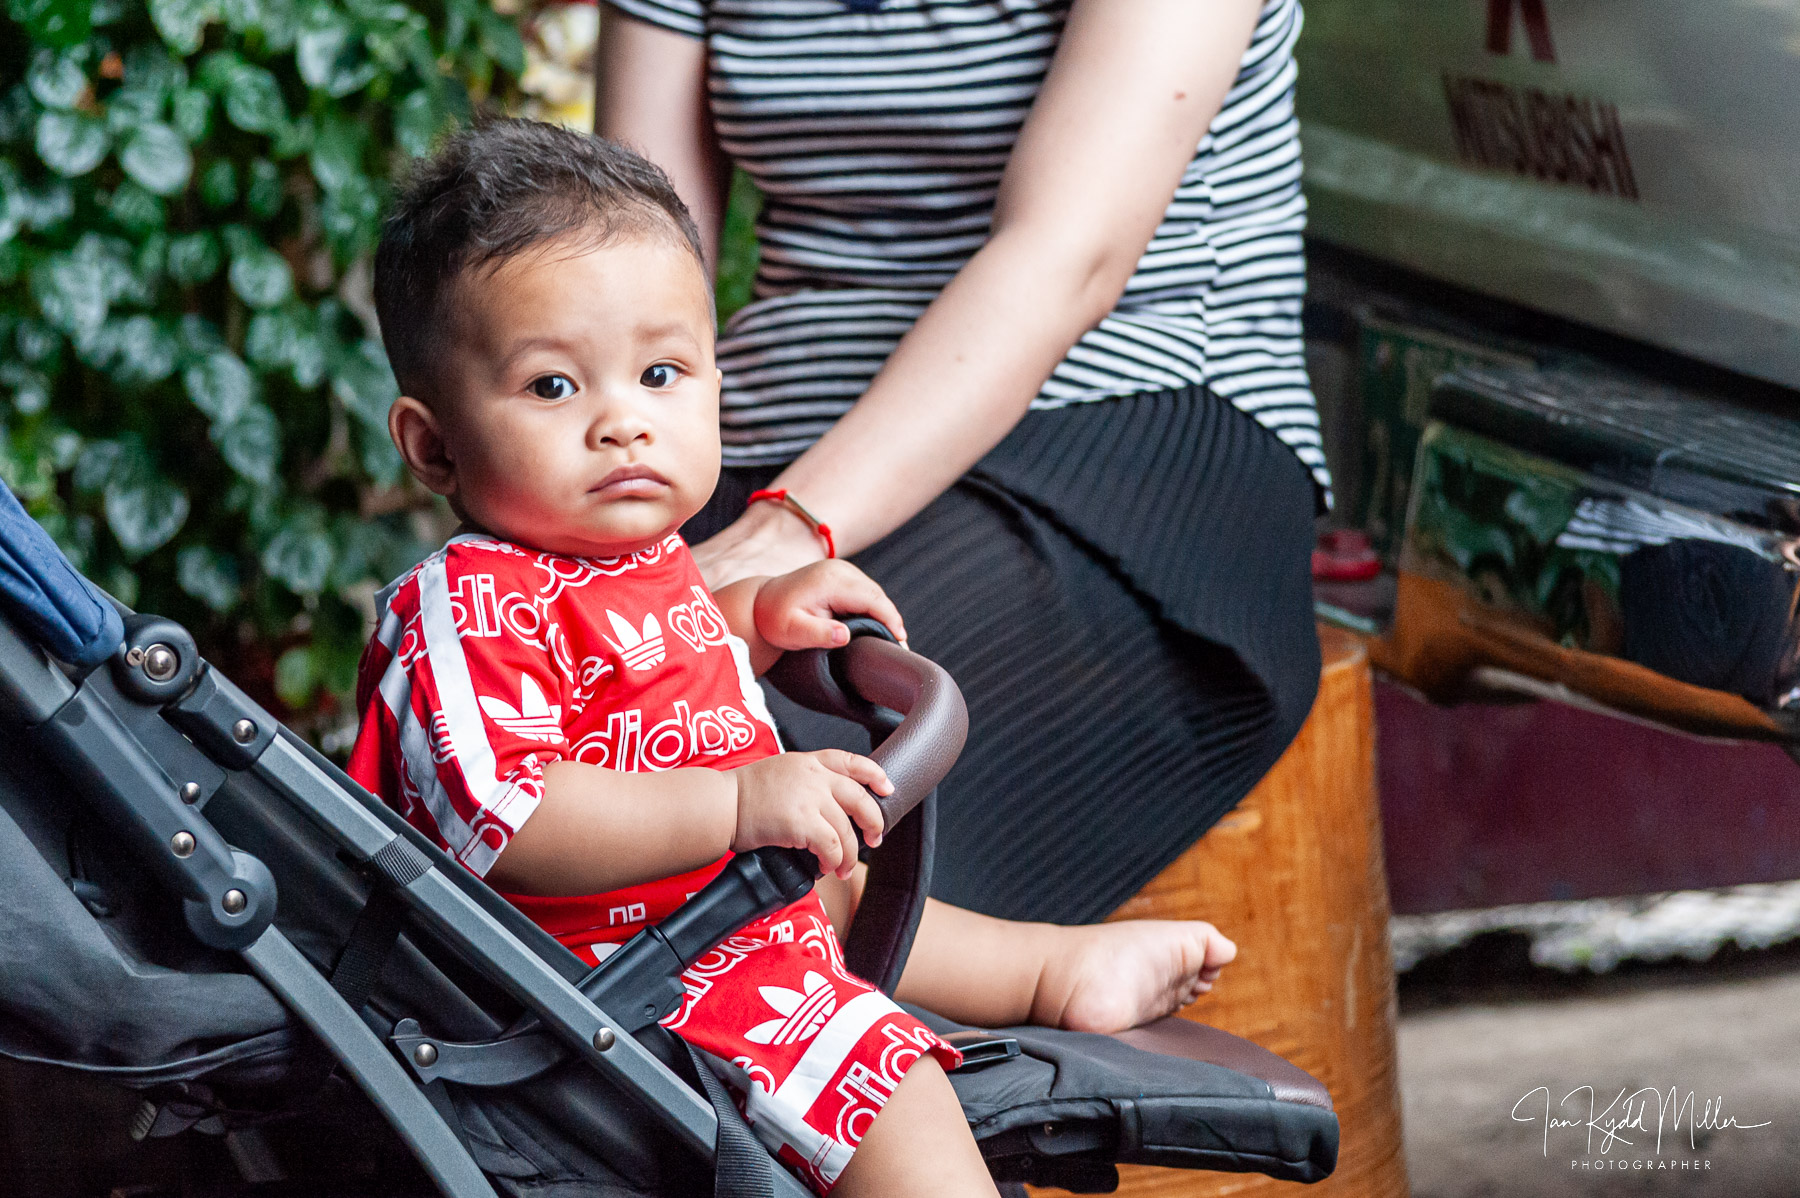
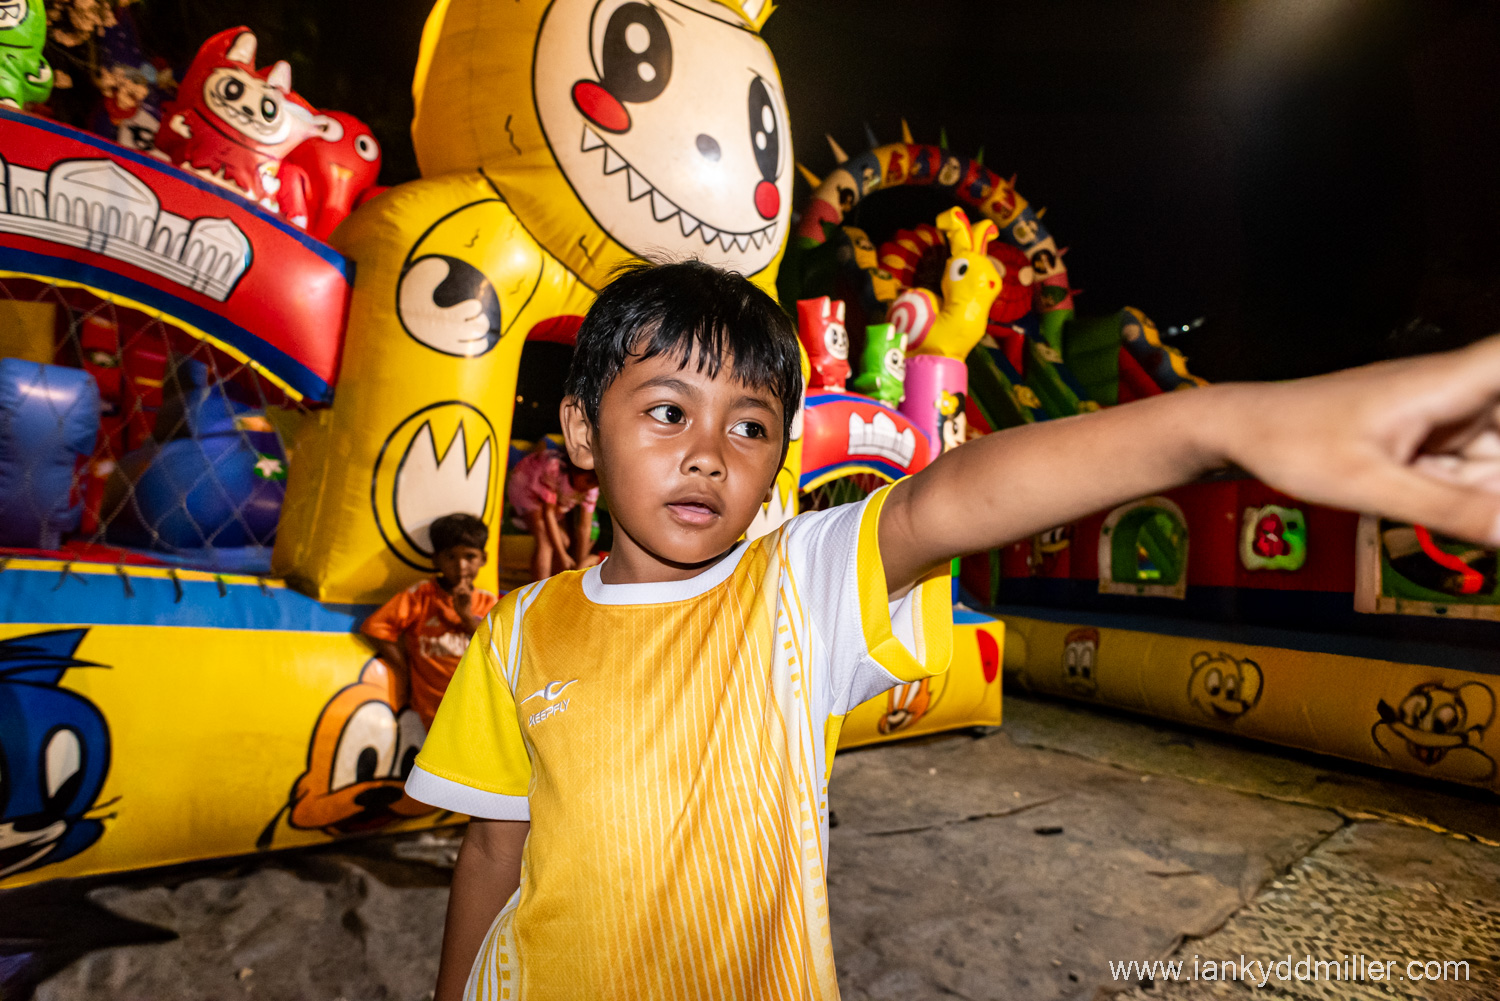
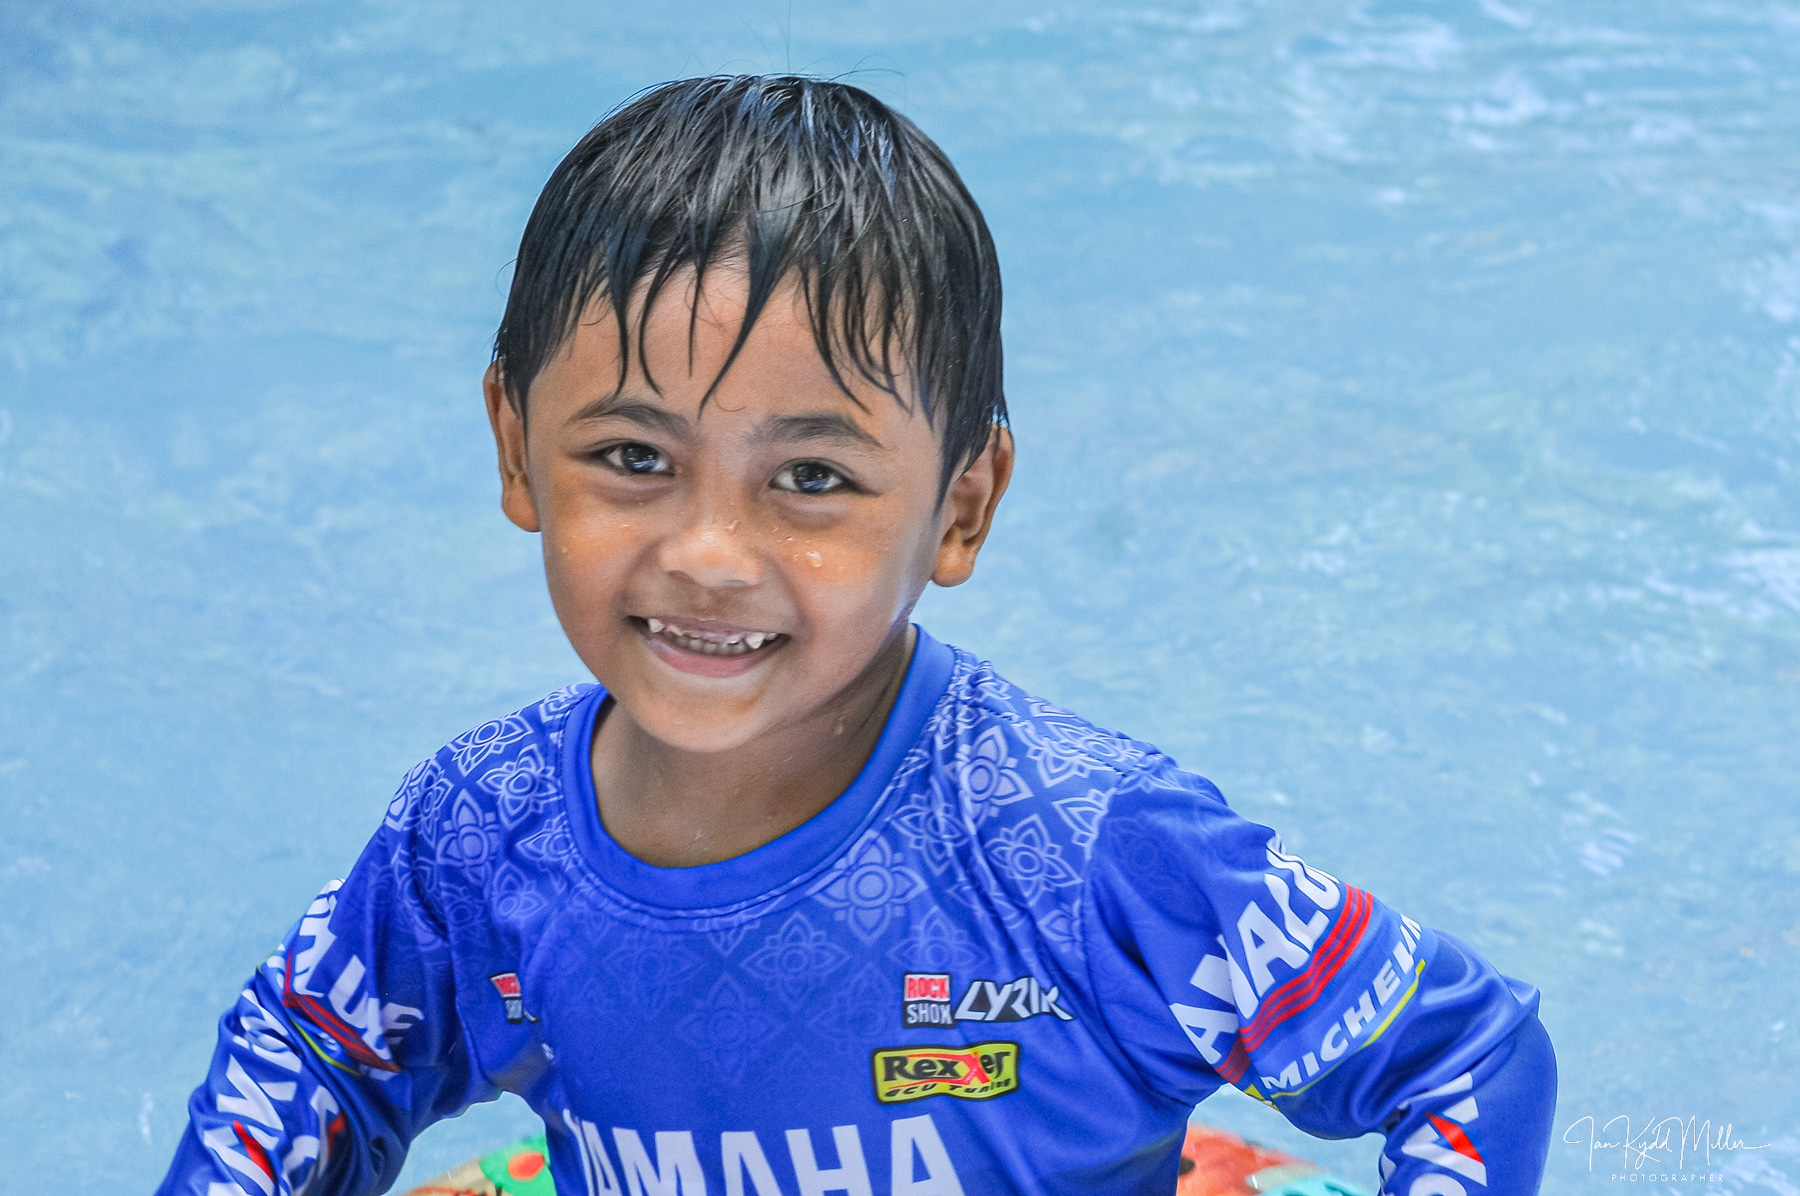
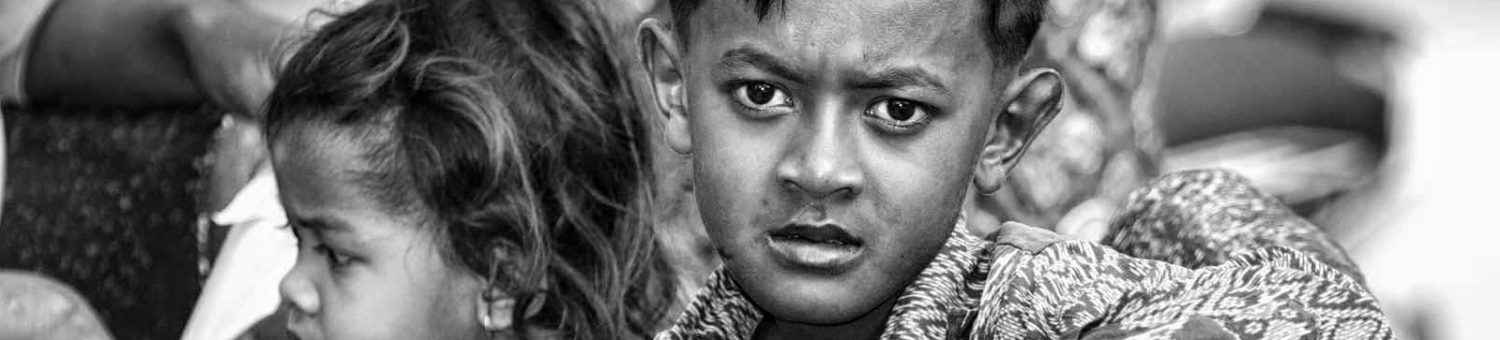
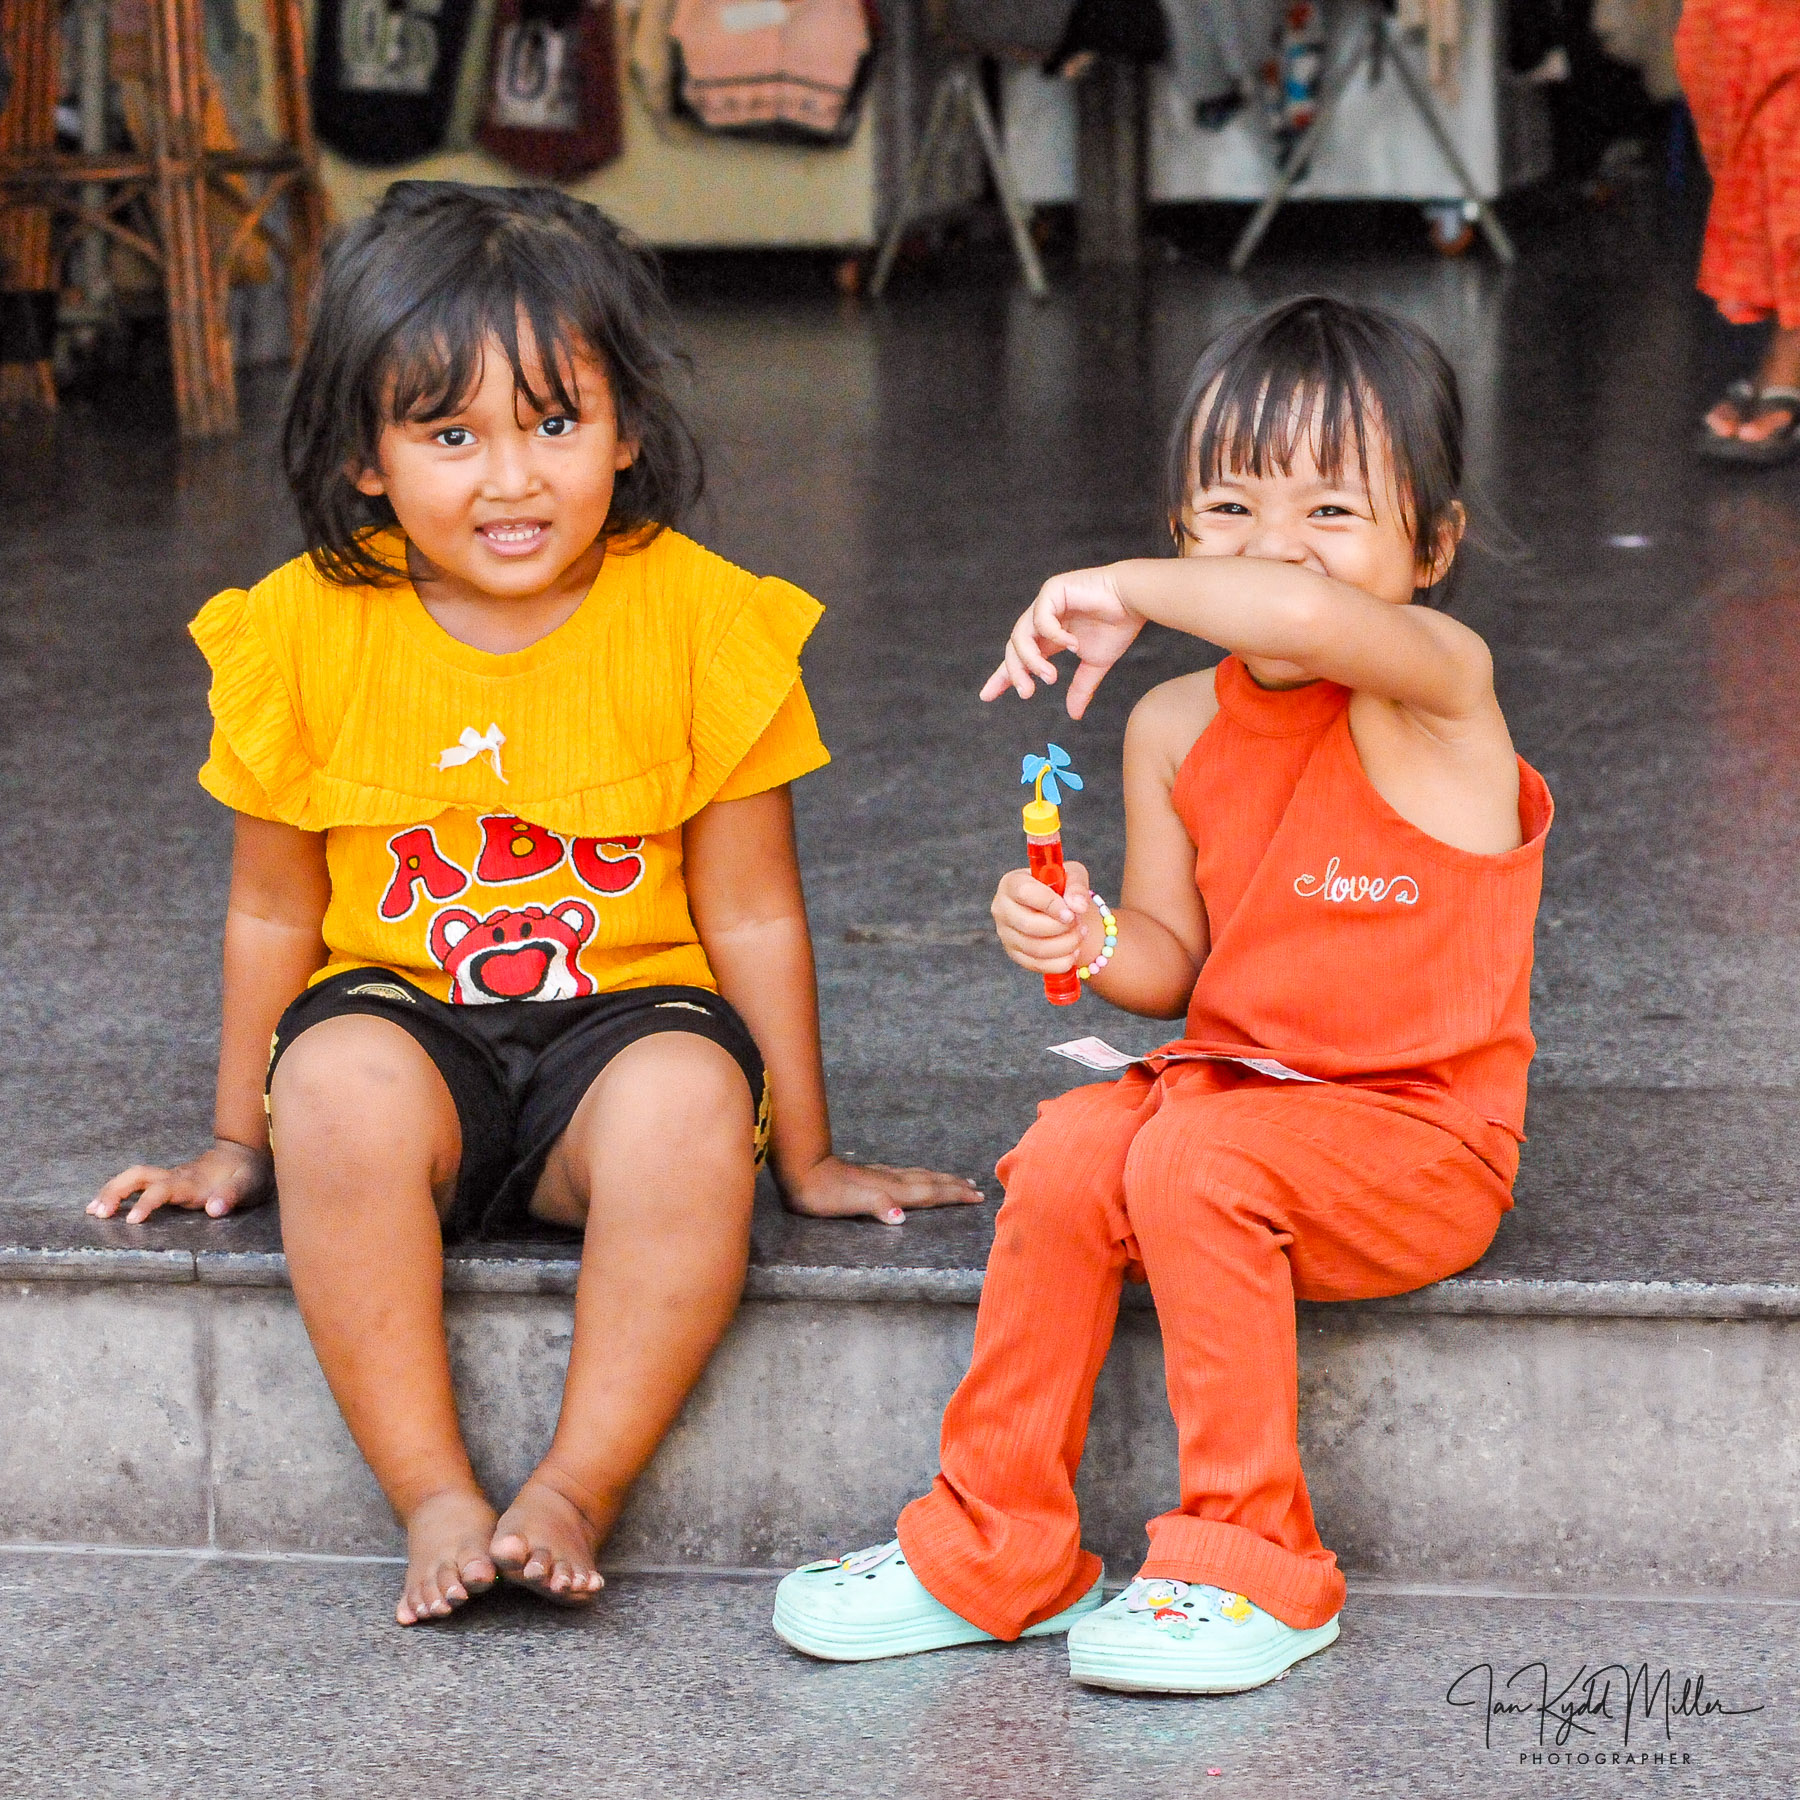
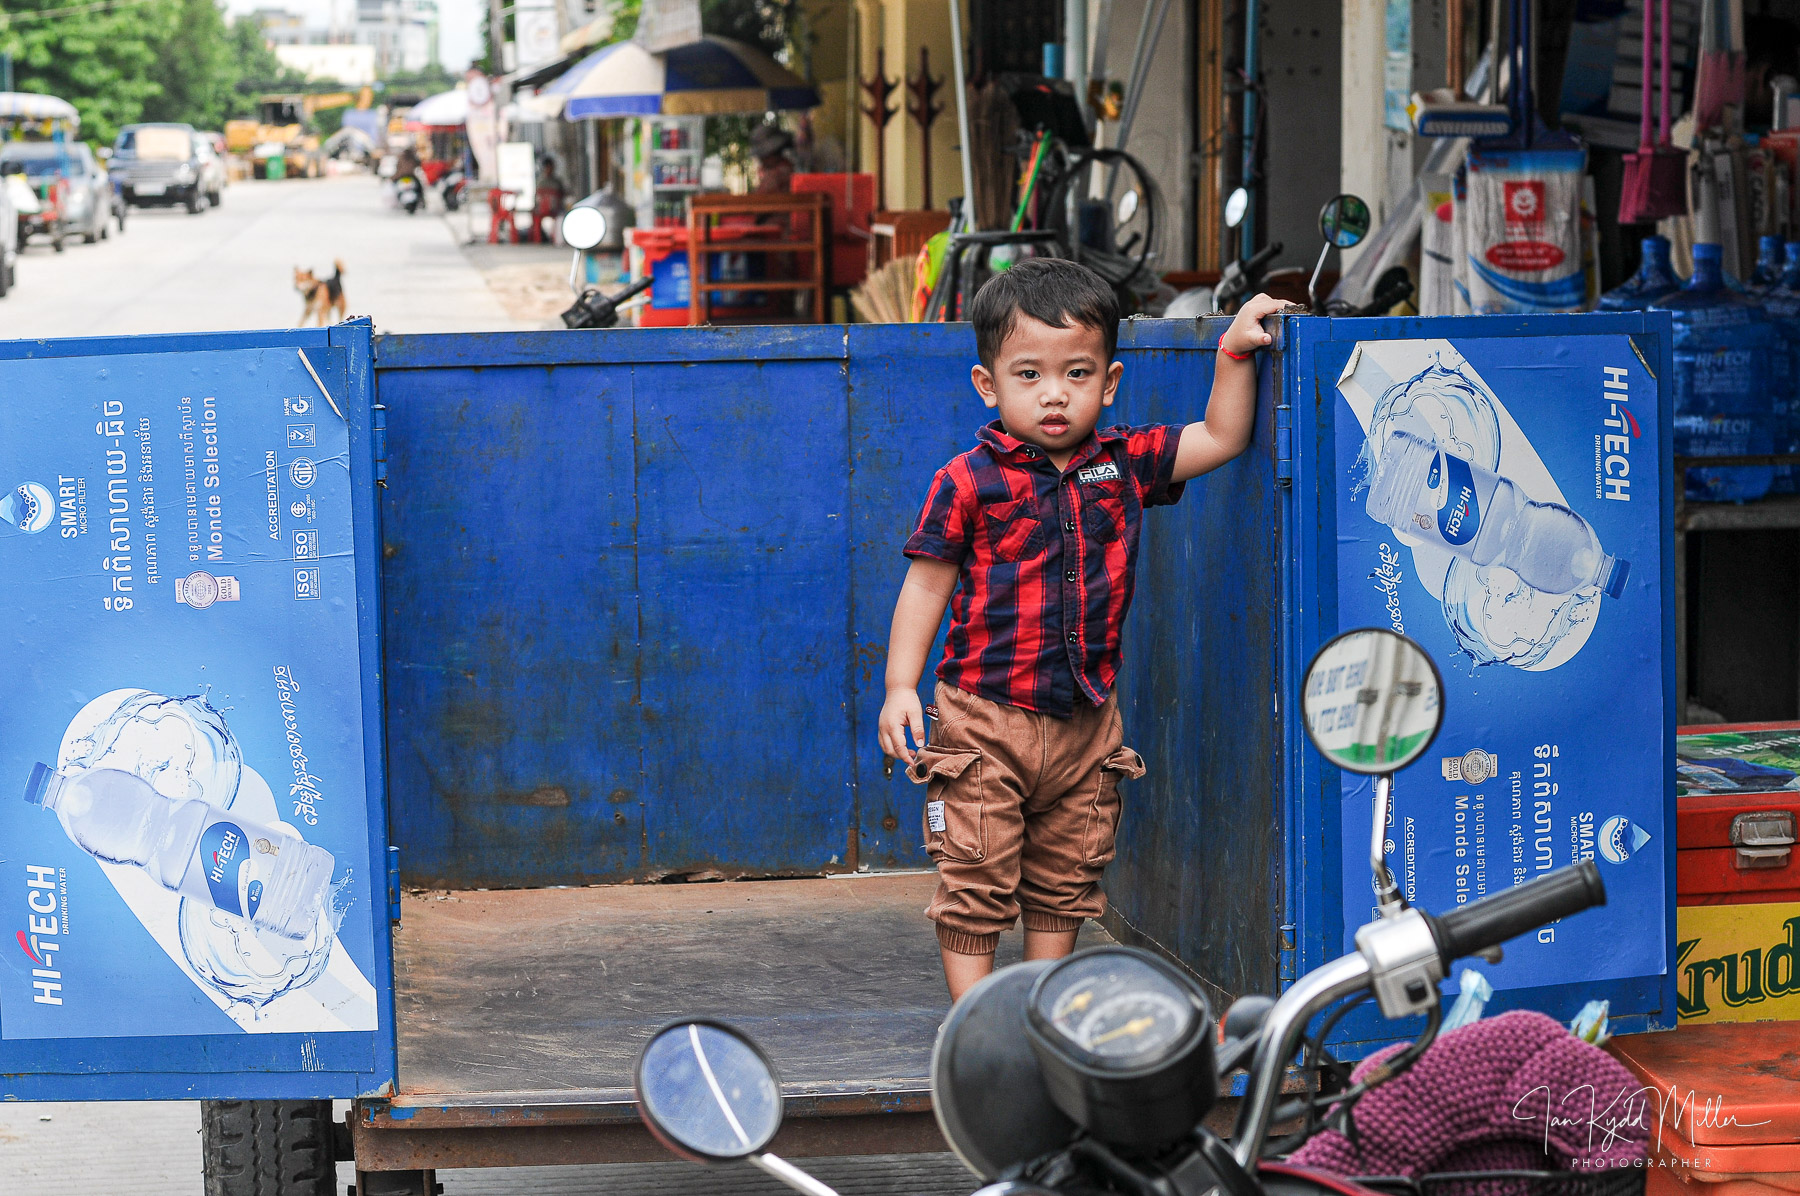
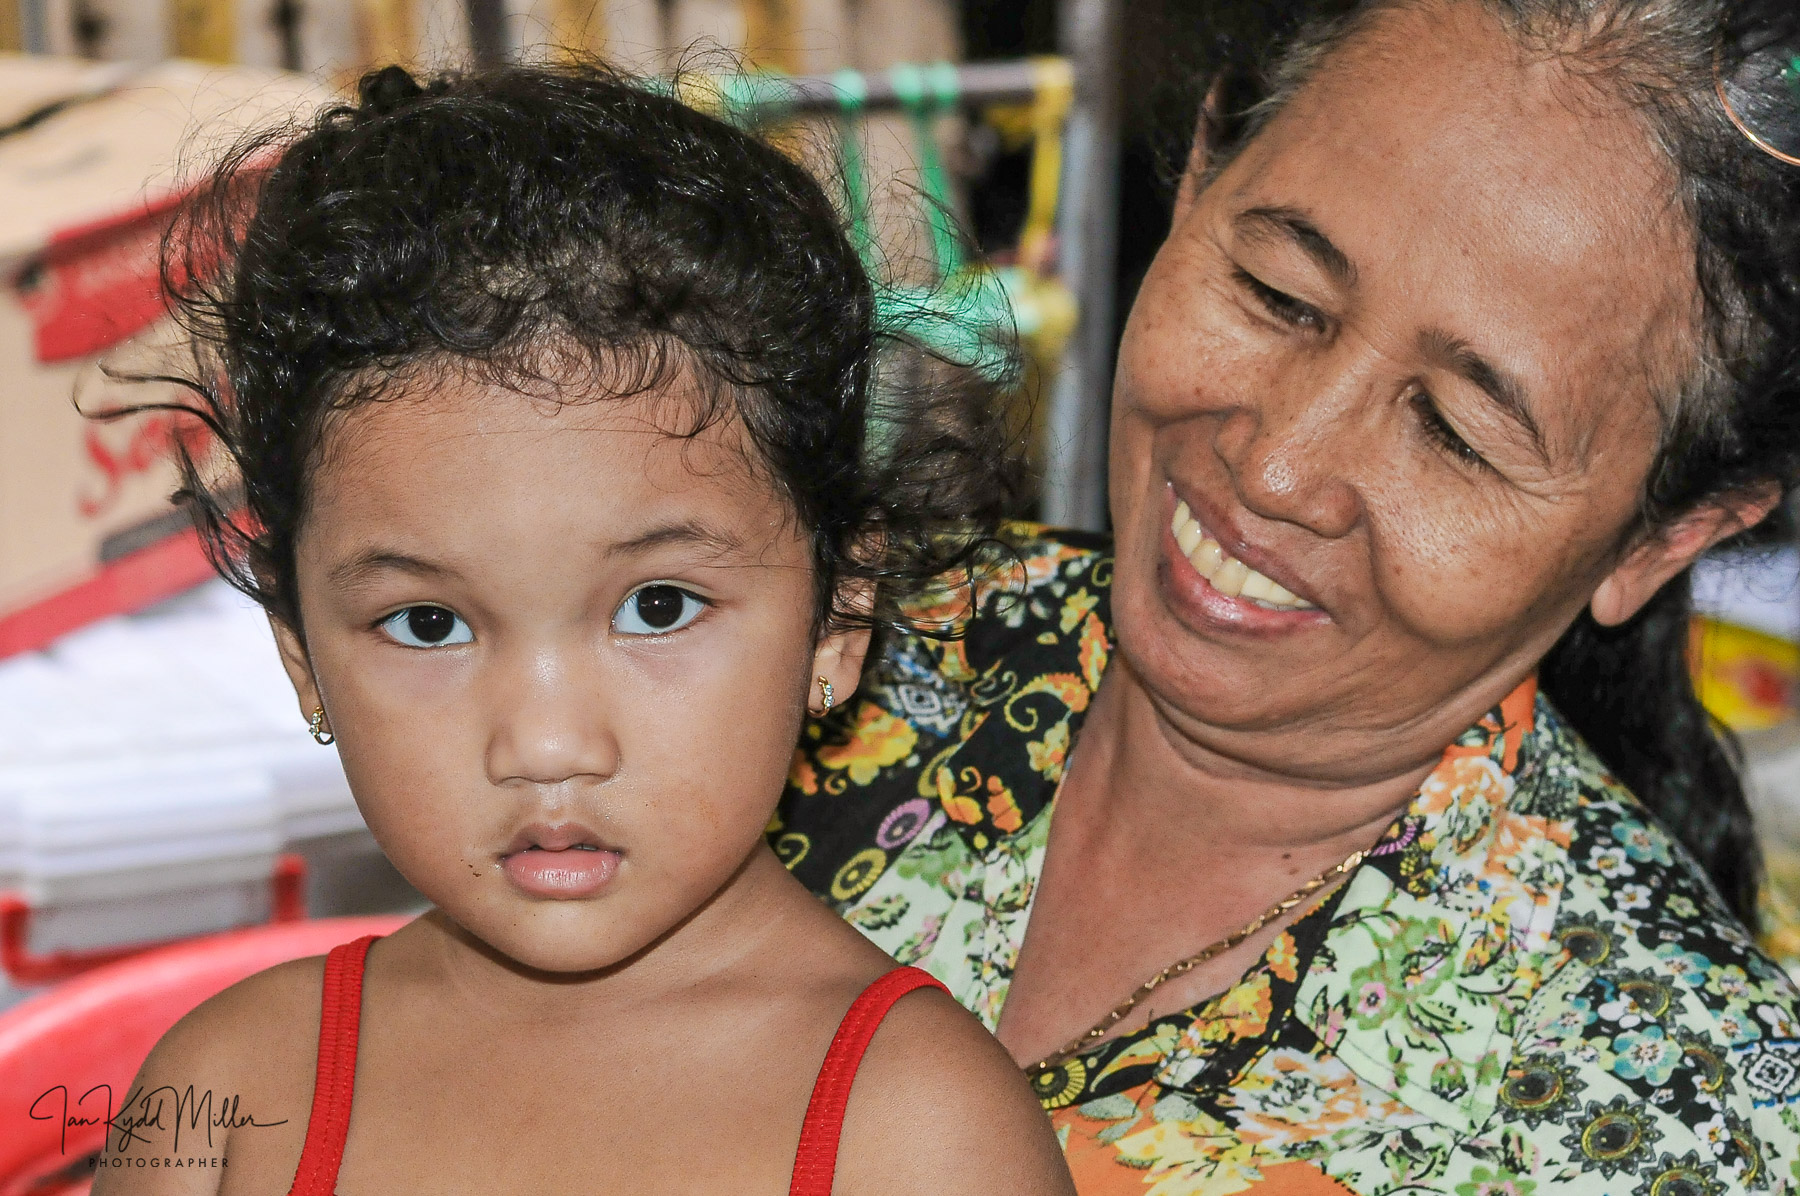
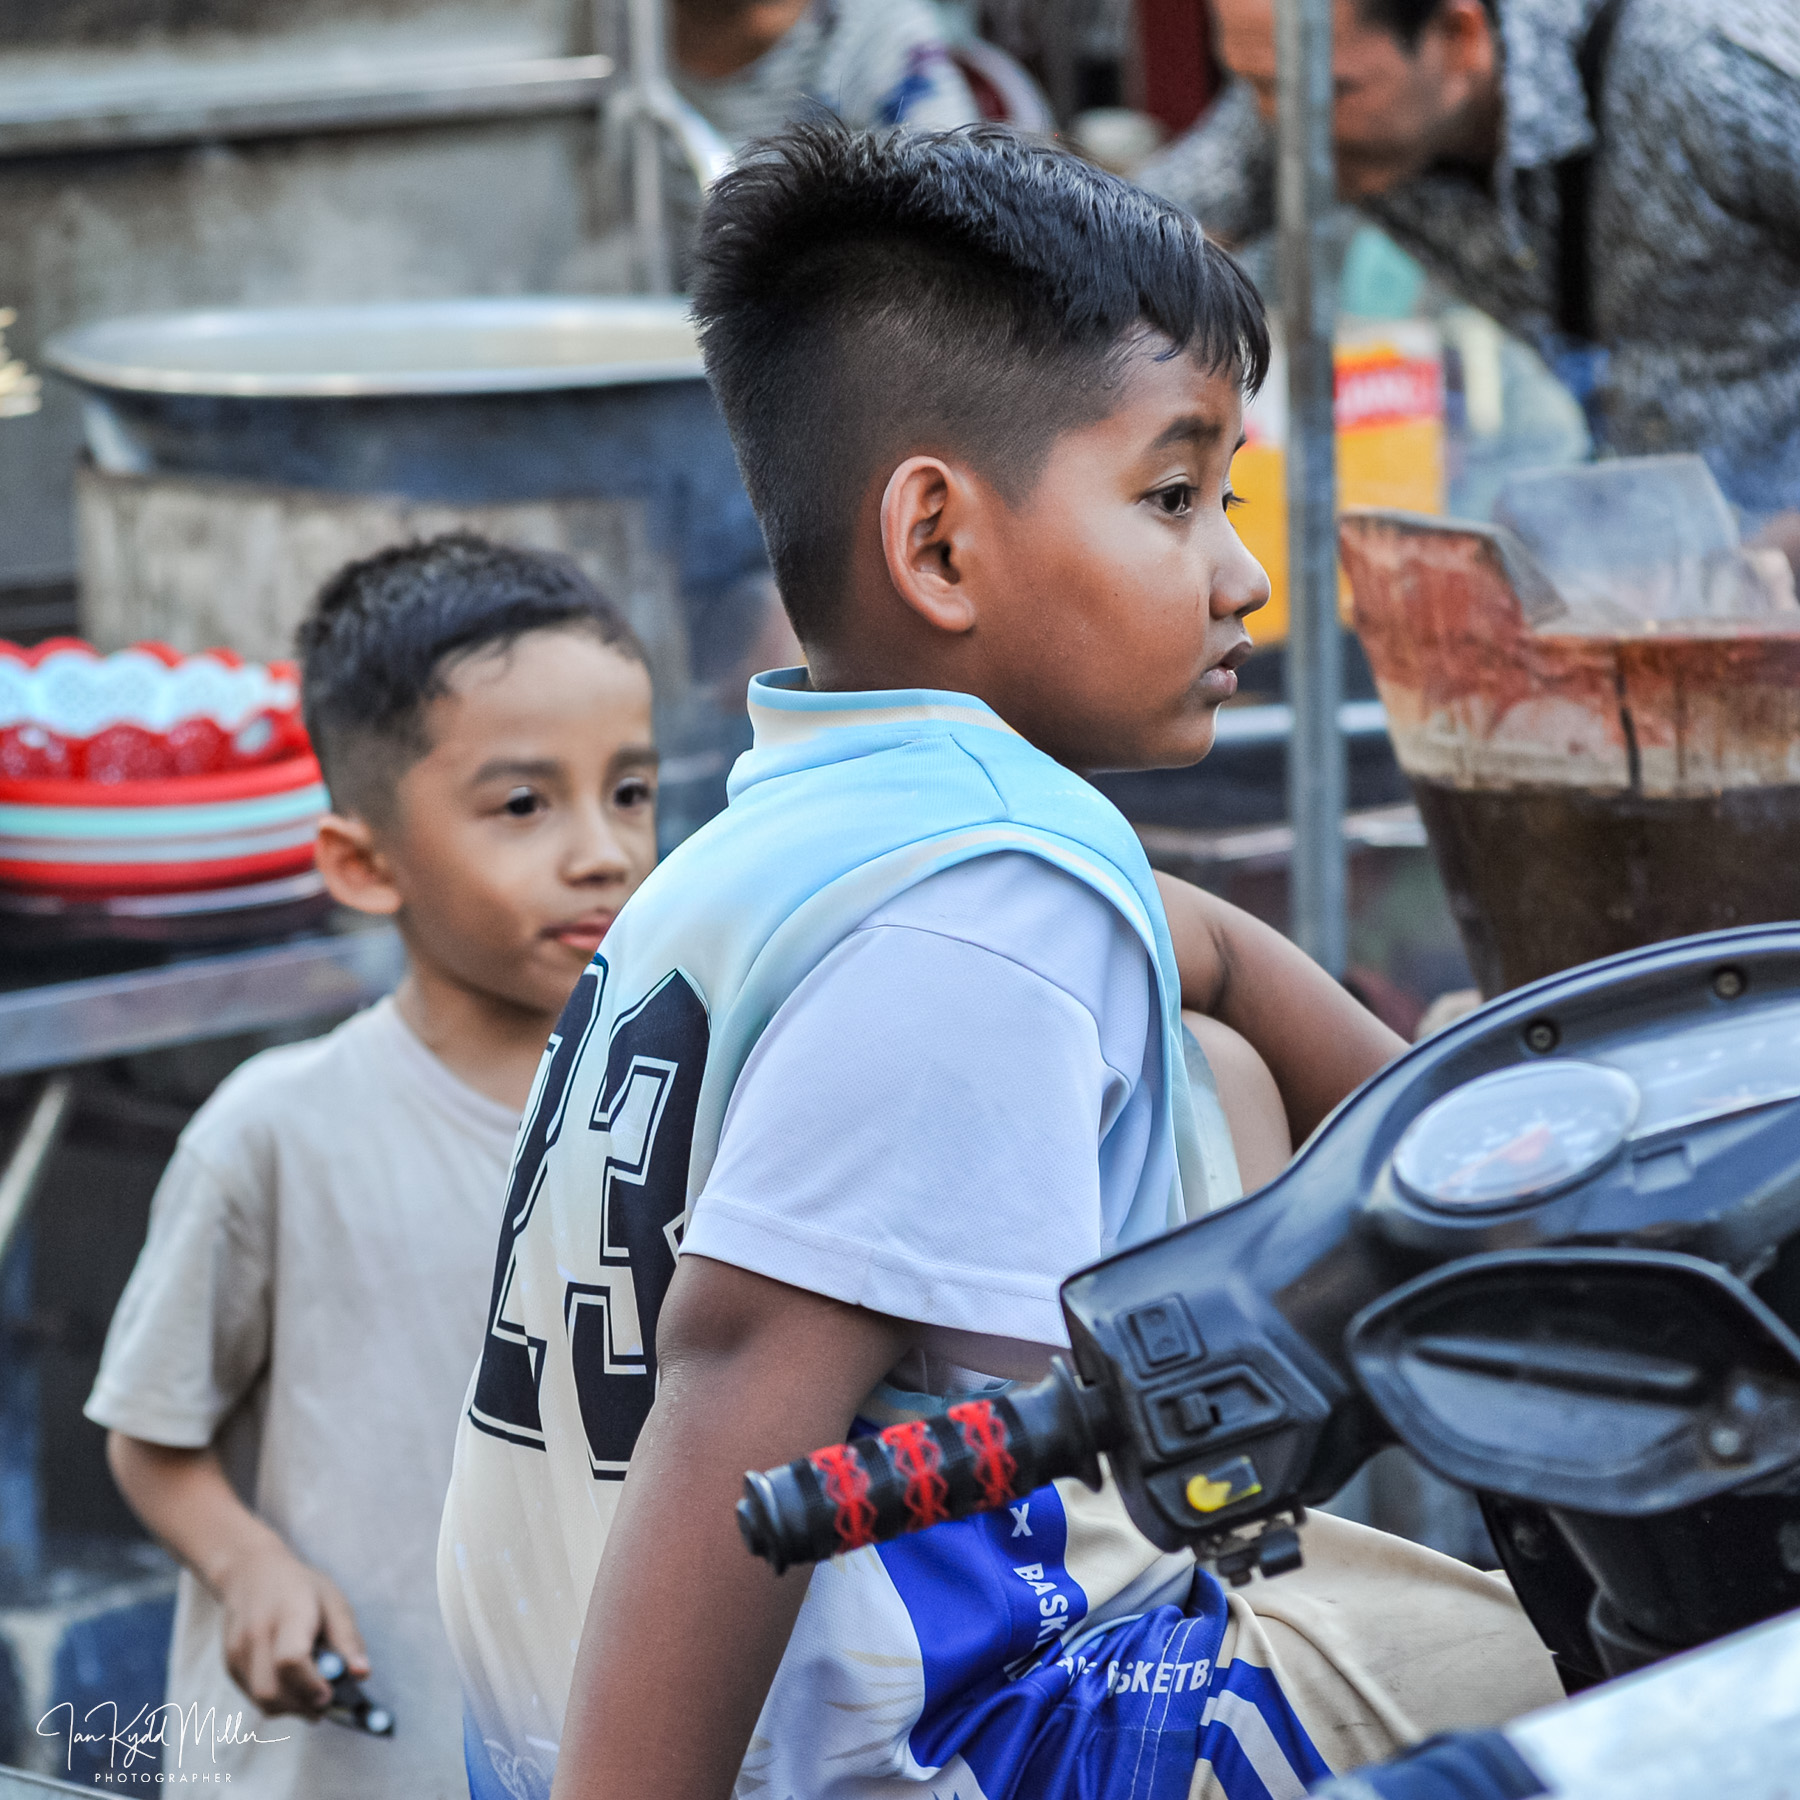
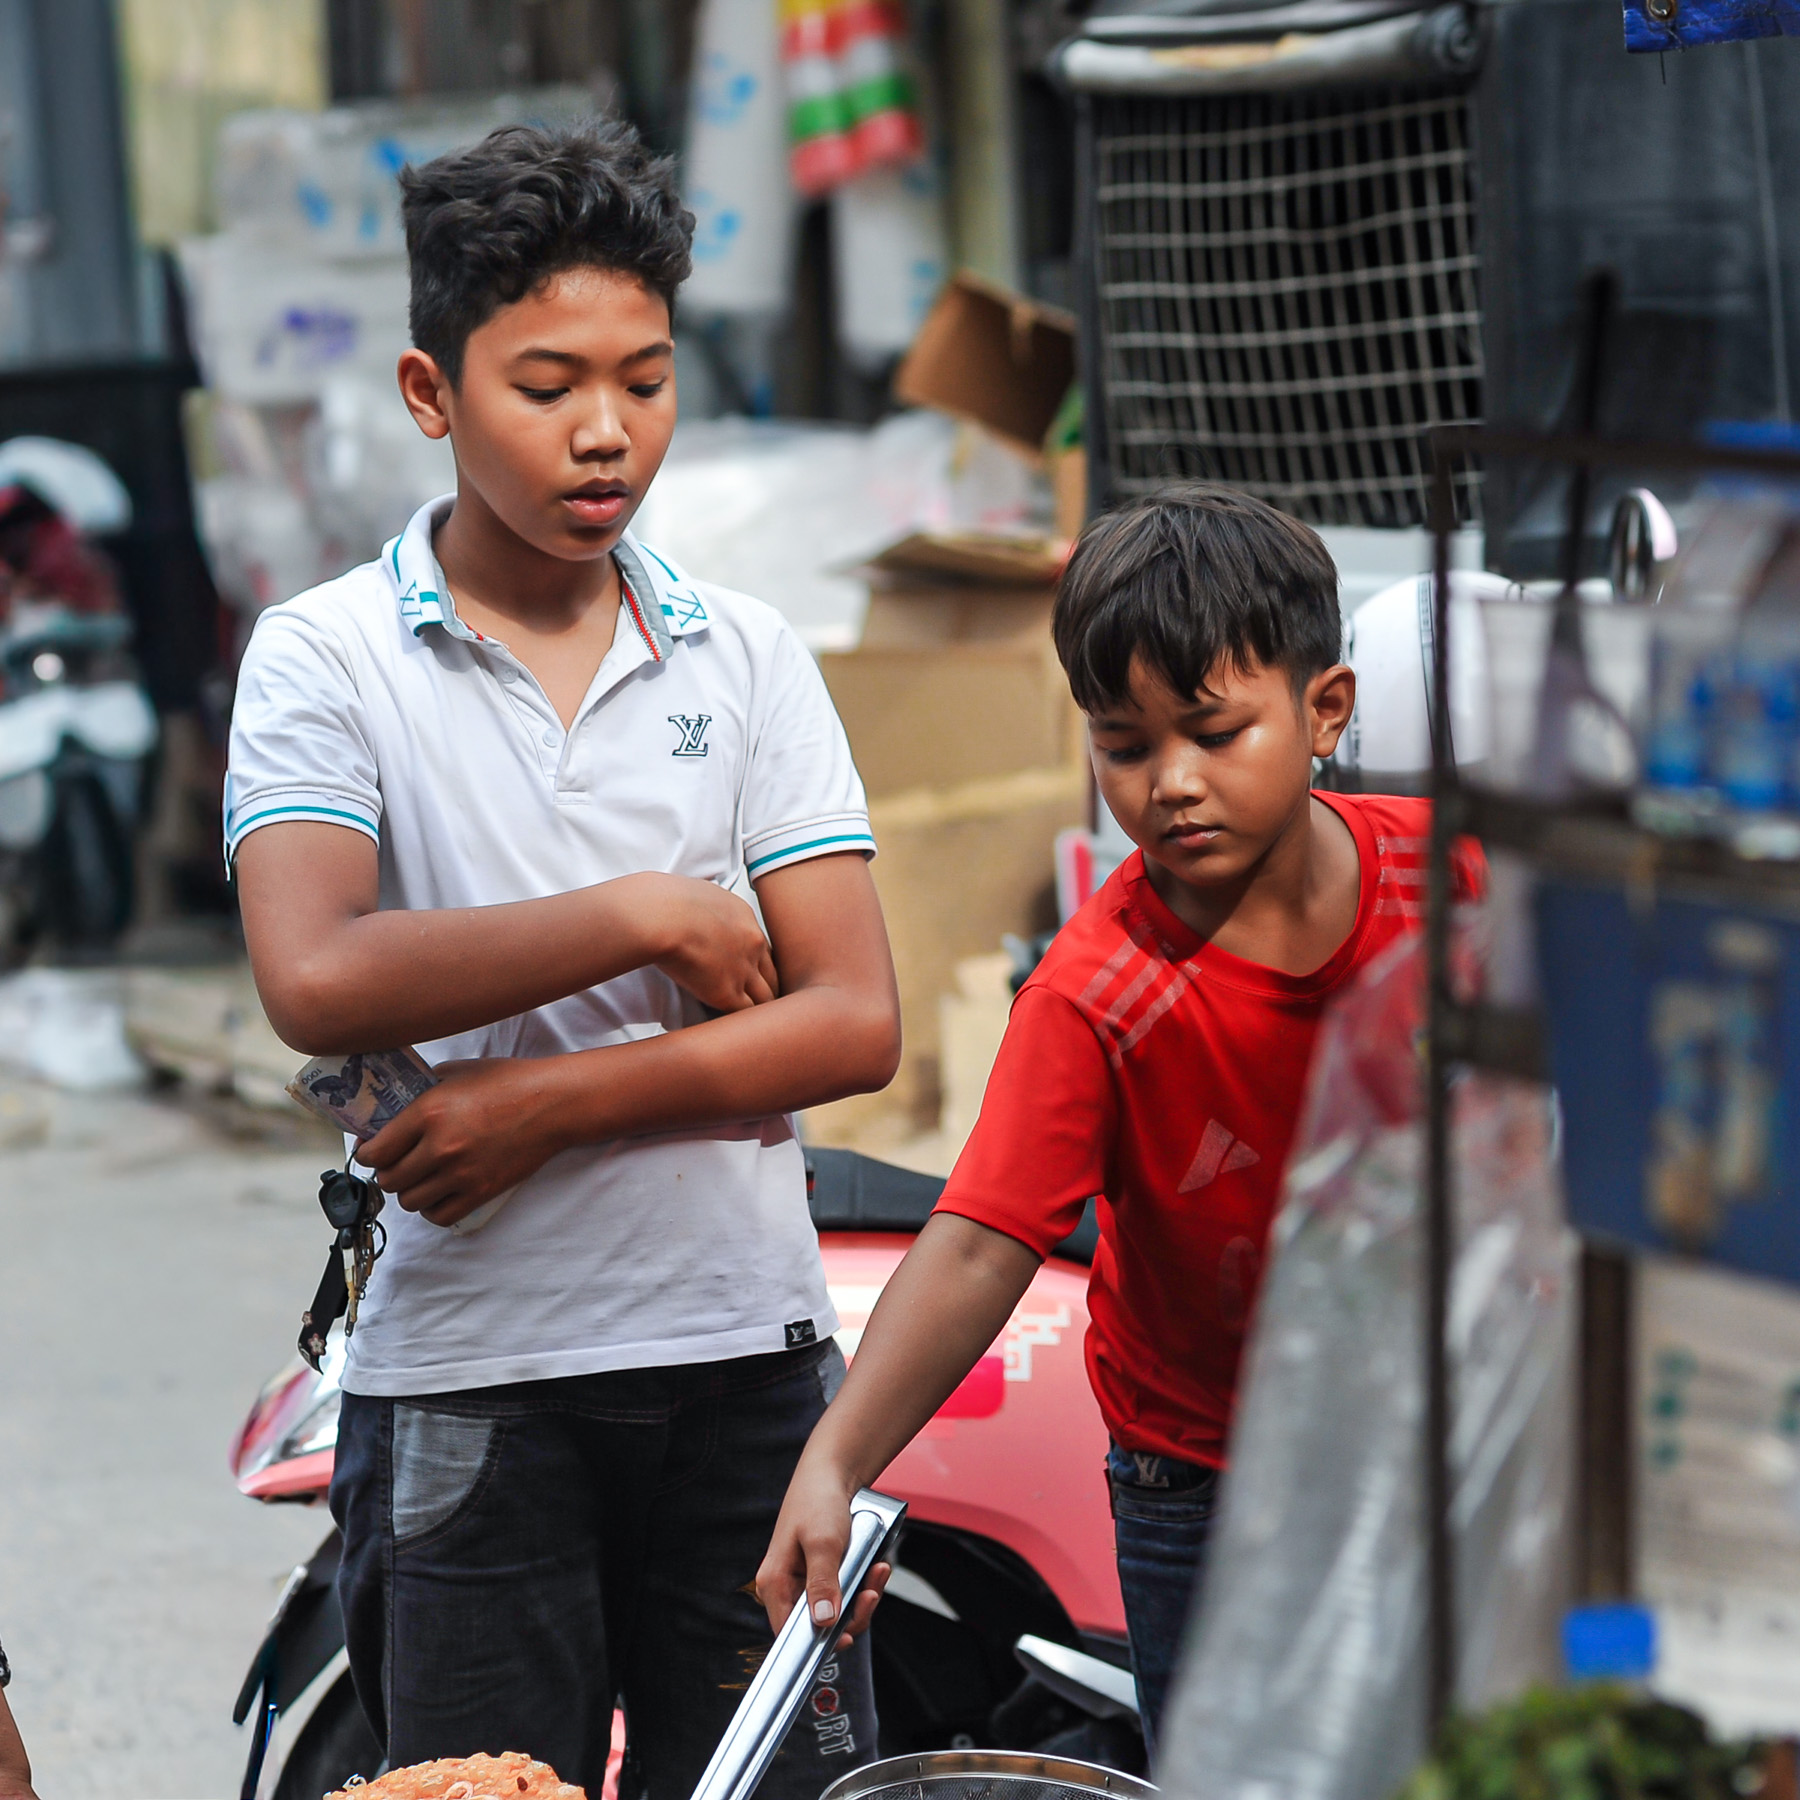
The woman laughing with her friend won’t repeat the gesture because your shutter speed was set too low. The child looking directly into your lens won’t wait while you decide whether f/5.6 or f/8 is the better artistic choice. The old man stepping into the shaft of afternoon light certainly won’t freeze the moment while you adjust your exposure.

Life moves. Your camera should move with it.
Program mode is often misunderstood. People assume the camera makes every decision. It doesn’t. It simply chooses a sensible combination of shutter speed and aperture based on the available light. You still decide almost everything else.
You choose the ISO. You choose the autofocus mode. You choose the metering pattern. You choose white balance. You choose exposure compensation. Most importantly, you choose where to stand, when to press the shutter and why the picture matters in the first place. Those decisions are infinitely more important than whether the aperture happened to be f/4 or f/5.6
One of the great strengths of Nikon’s implementation is Program Shift. Turn the command dial and the camera cycles through different shutter speed and aperture combinations while maintaining exactly the same exposure.
Need a faster shutter speed because someone has started running across the street? One click. Want a wider aperture to soften a distracting background? Another click. The exposure remains correct, but you influence the way the image is made. It is an elegant compromise between automation and creative control.
For street photography, I often pair Program mode with Auto ISO. I set a sensible upper limit—usually ISO 3200 or 6400 depending on the camera—and specify a minimum shutter speed around 1/250 second. If people are moving quickly, I may increase that to 1/500 second.
The result is a camera that quietly manages changing light while I remain focused on people. And people are why I carry a camera.
I have never gone into the street hoping to photograph an aperture.
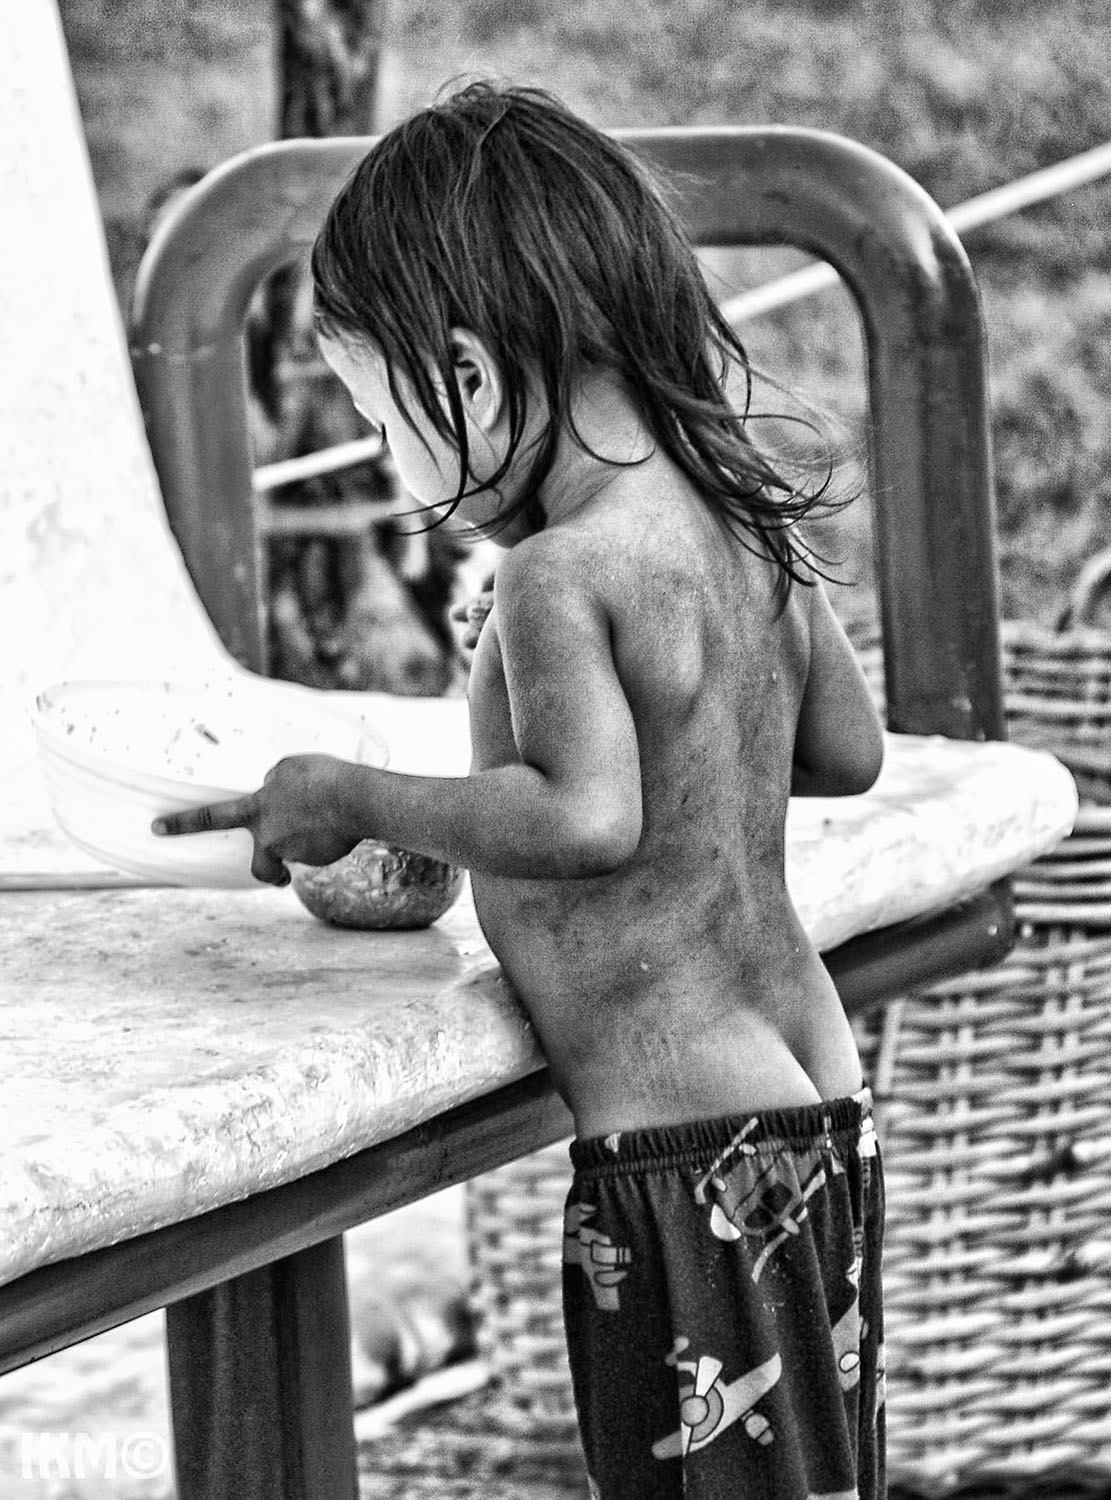
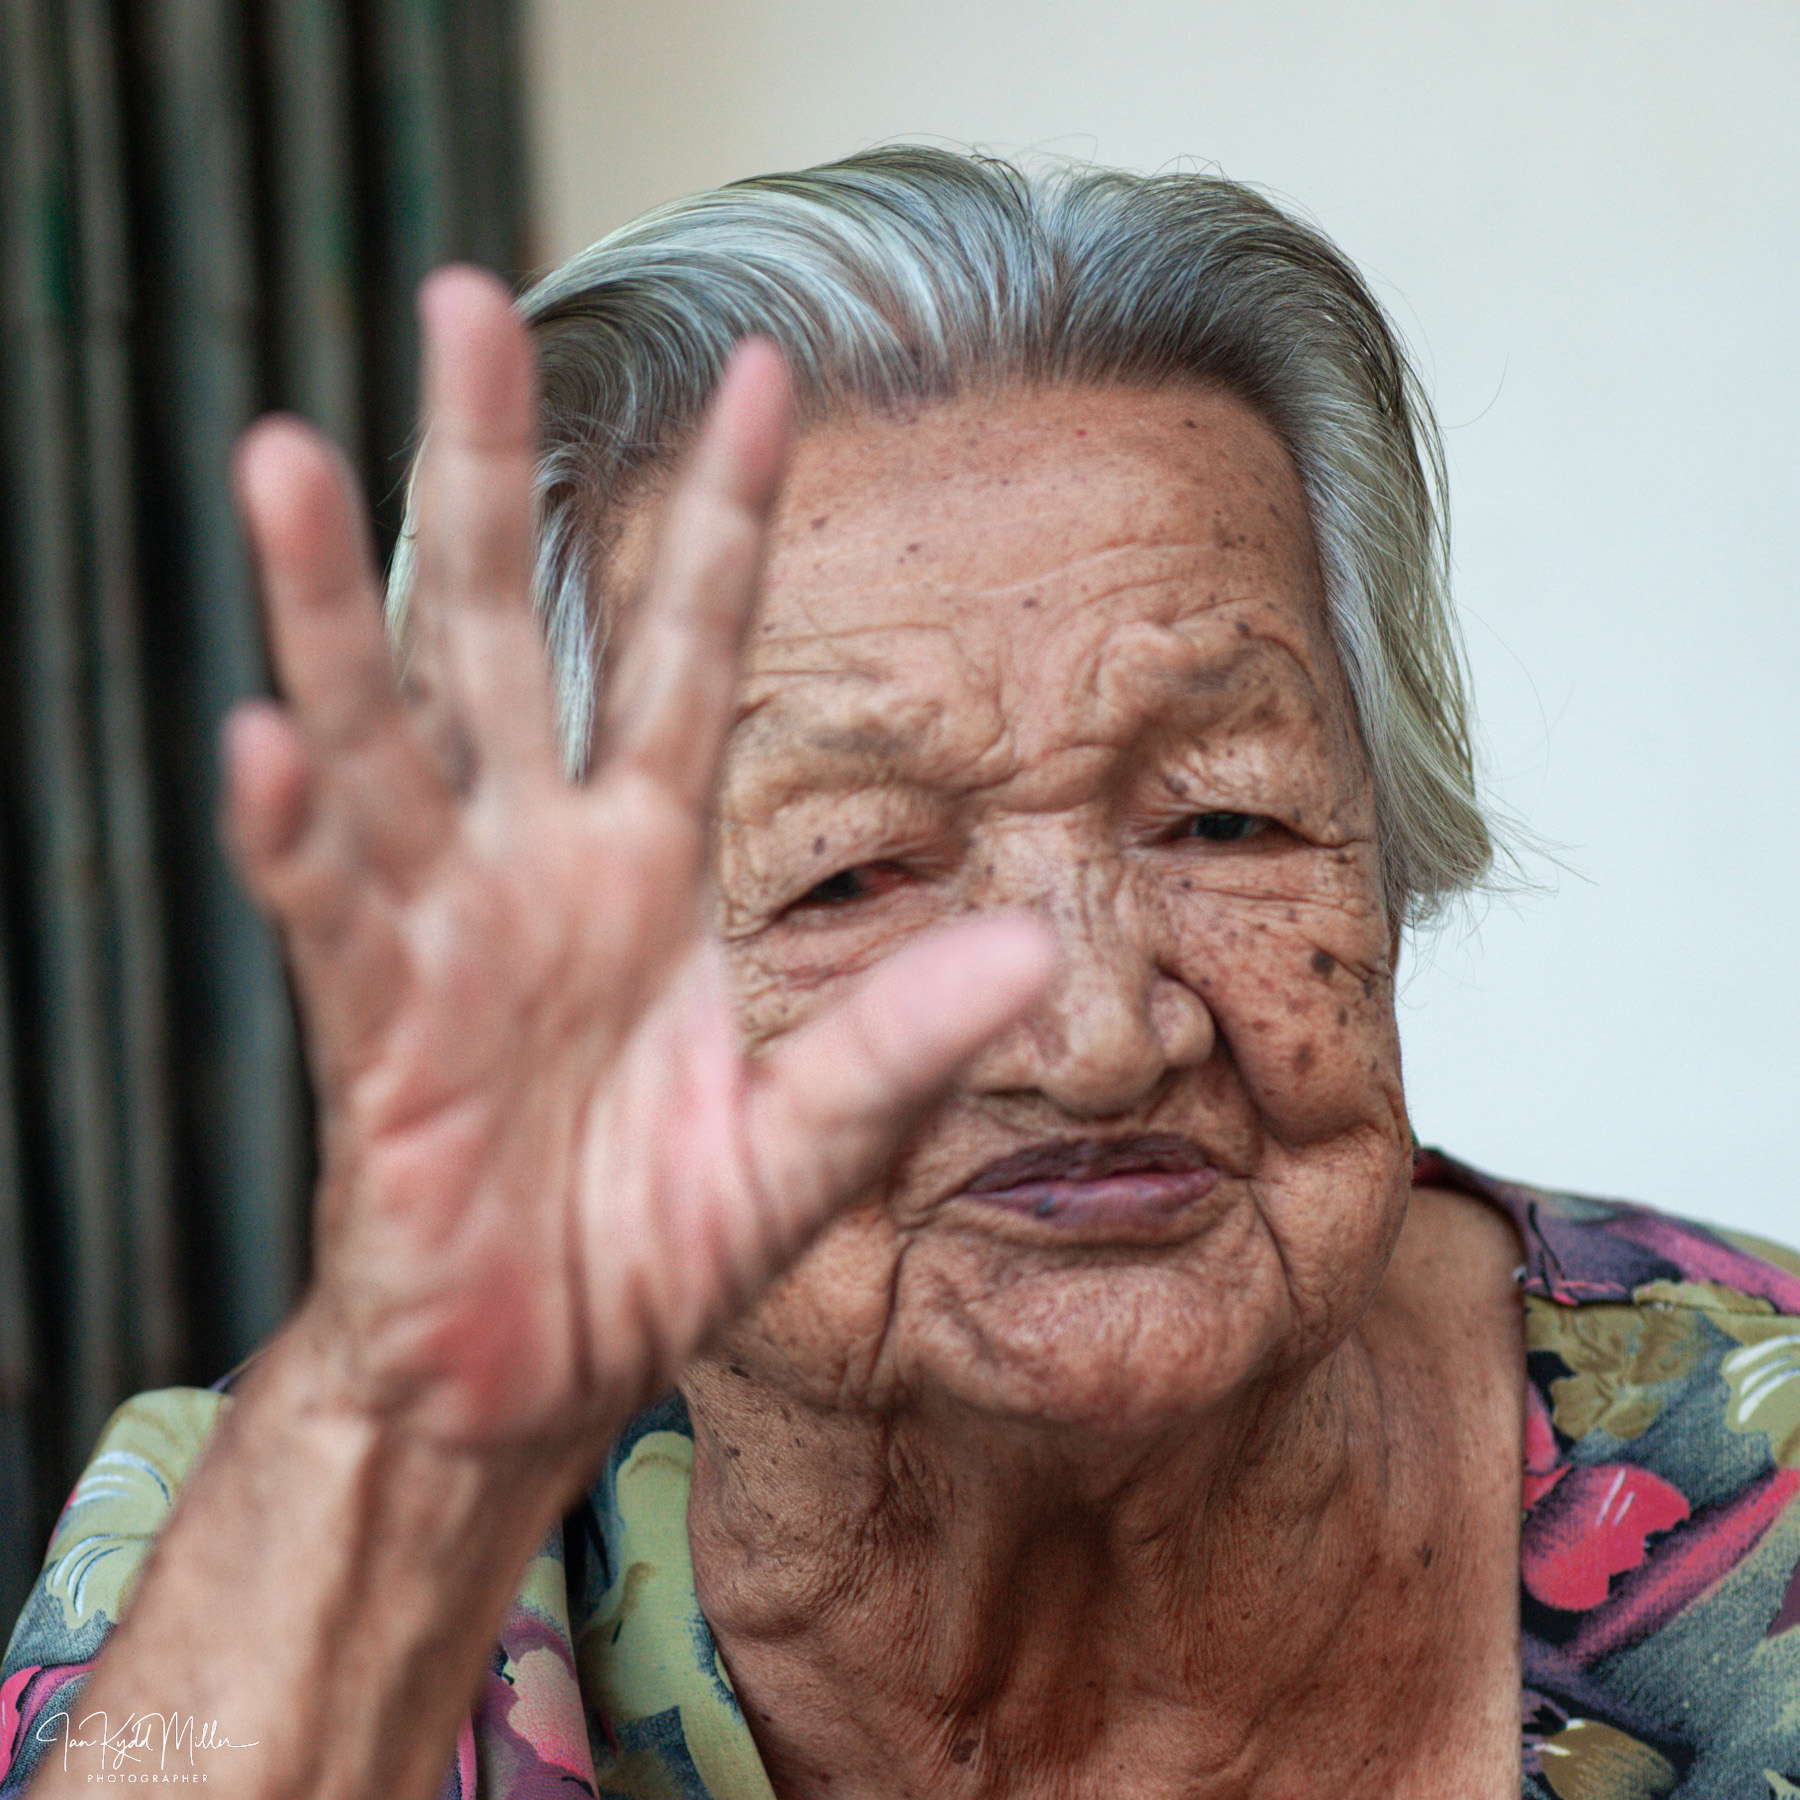
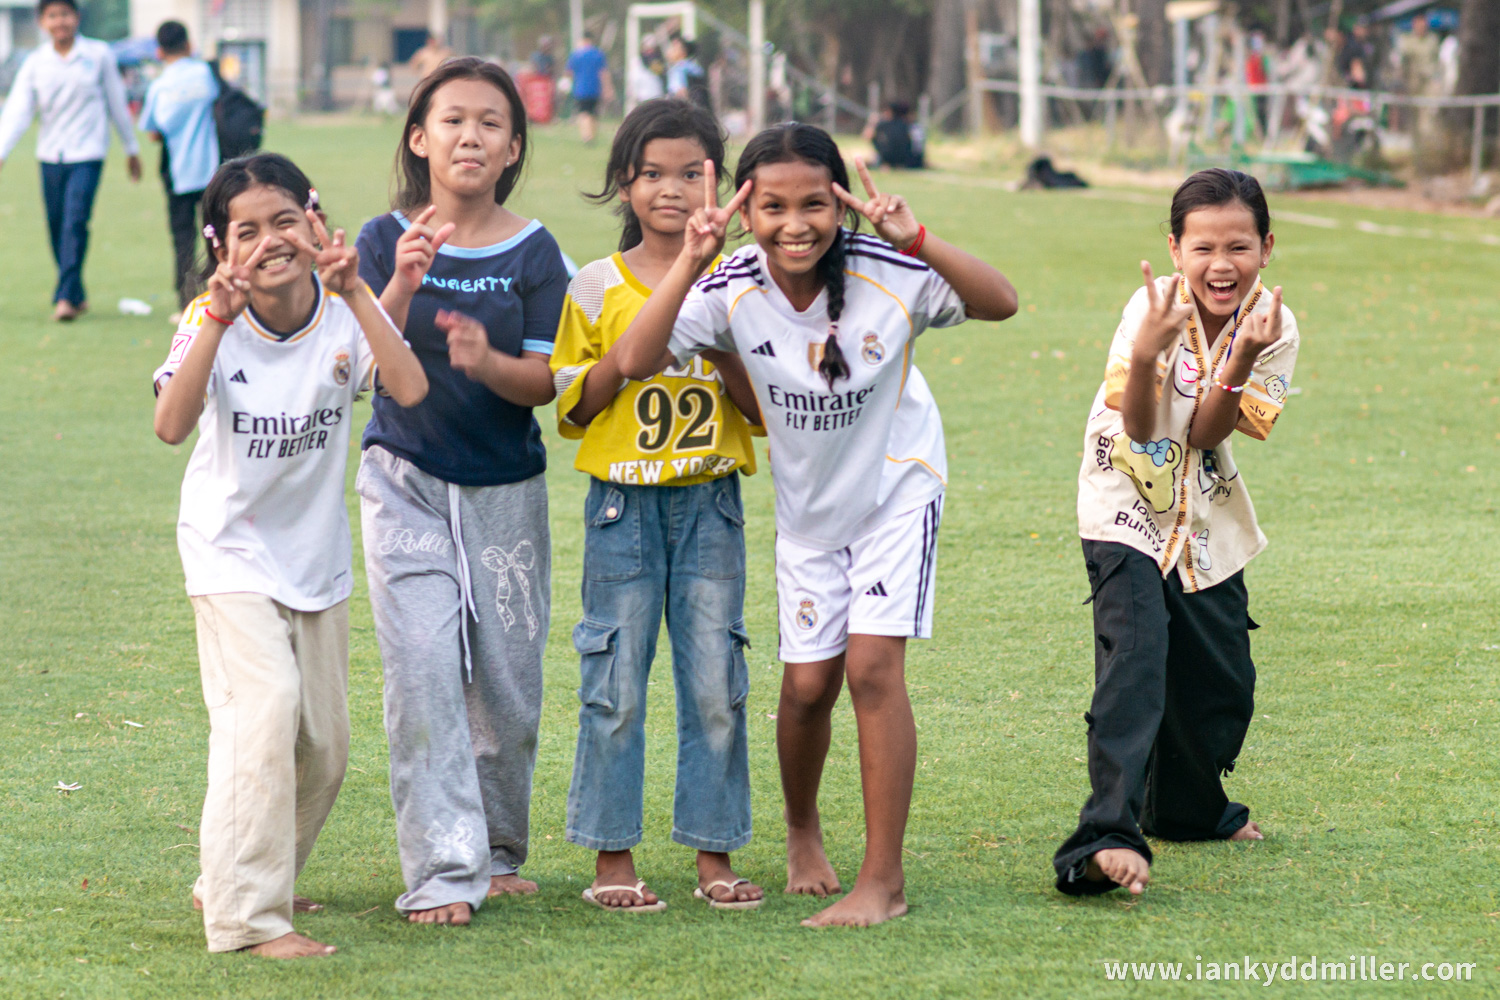
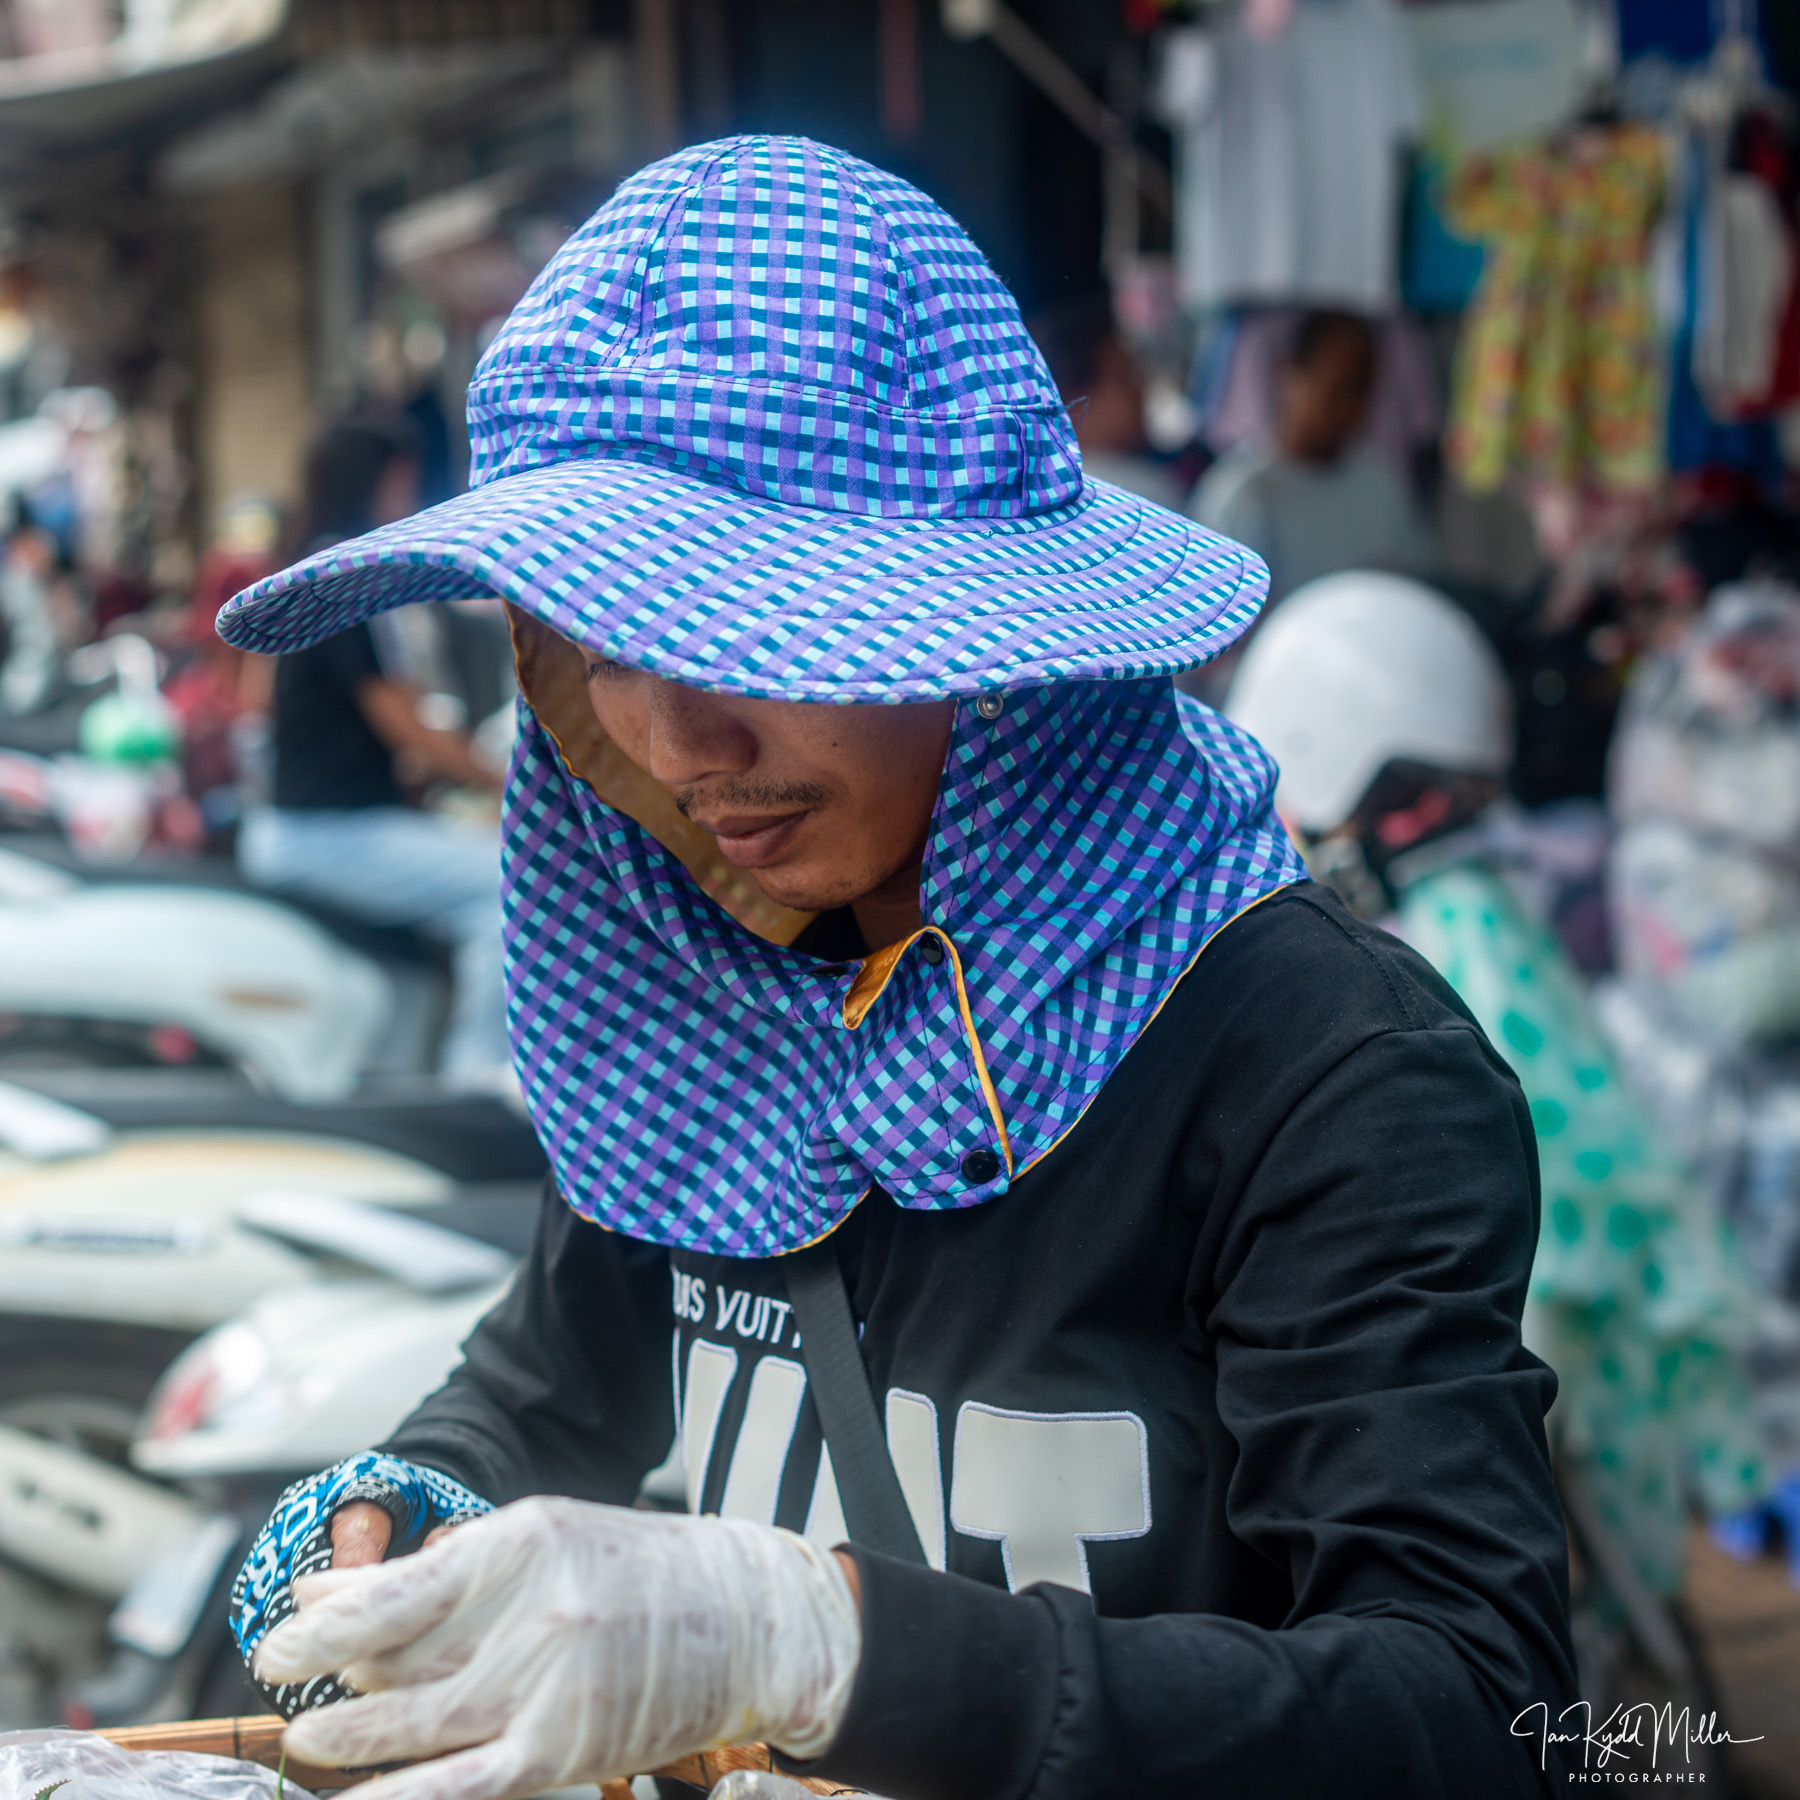
Photography isn’t a competition to see who can remember the exposure triangle under pressure. It is an attempt to notice something that everyone else walked past.
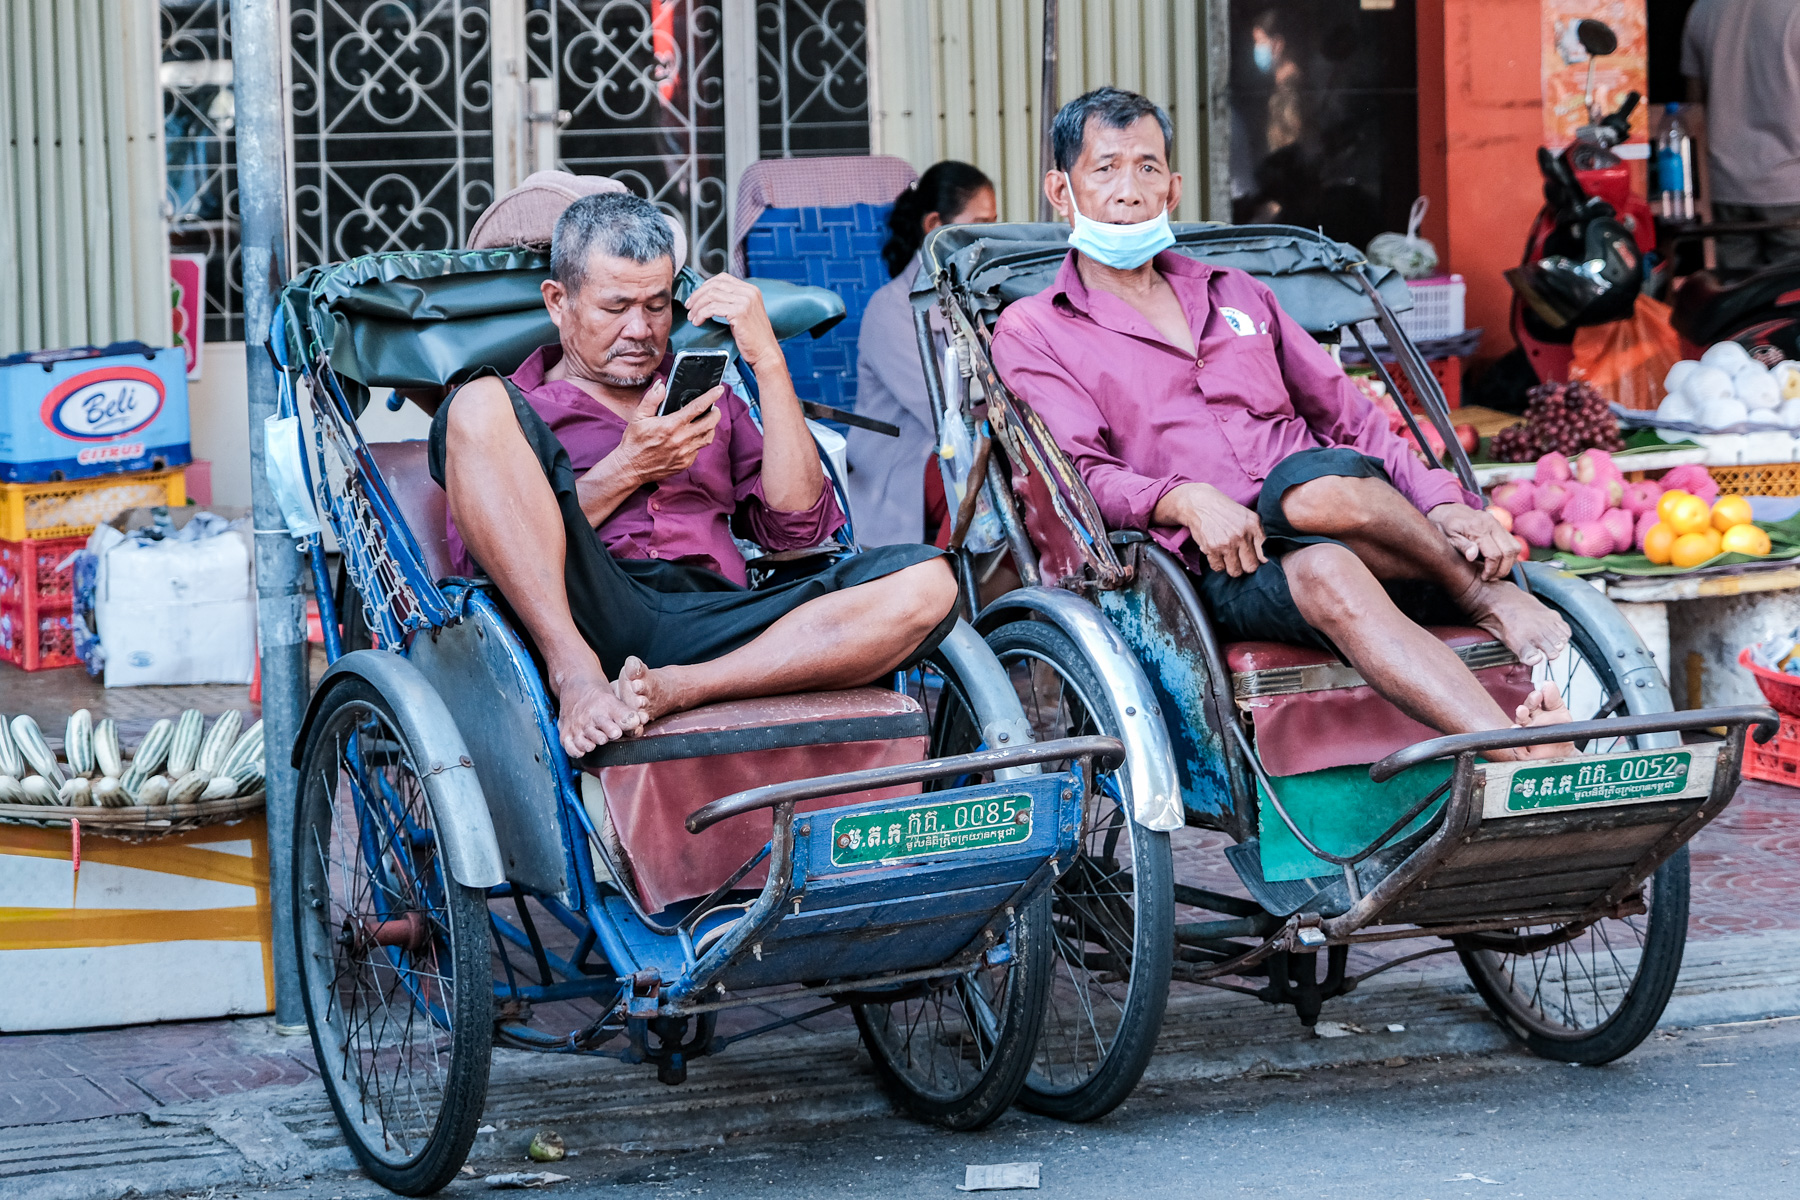
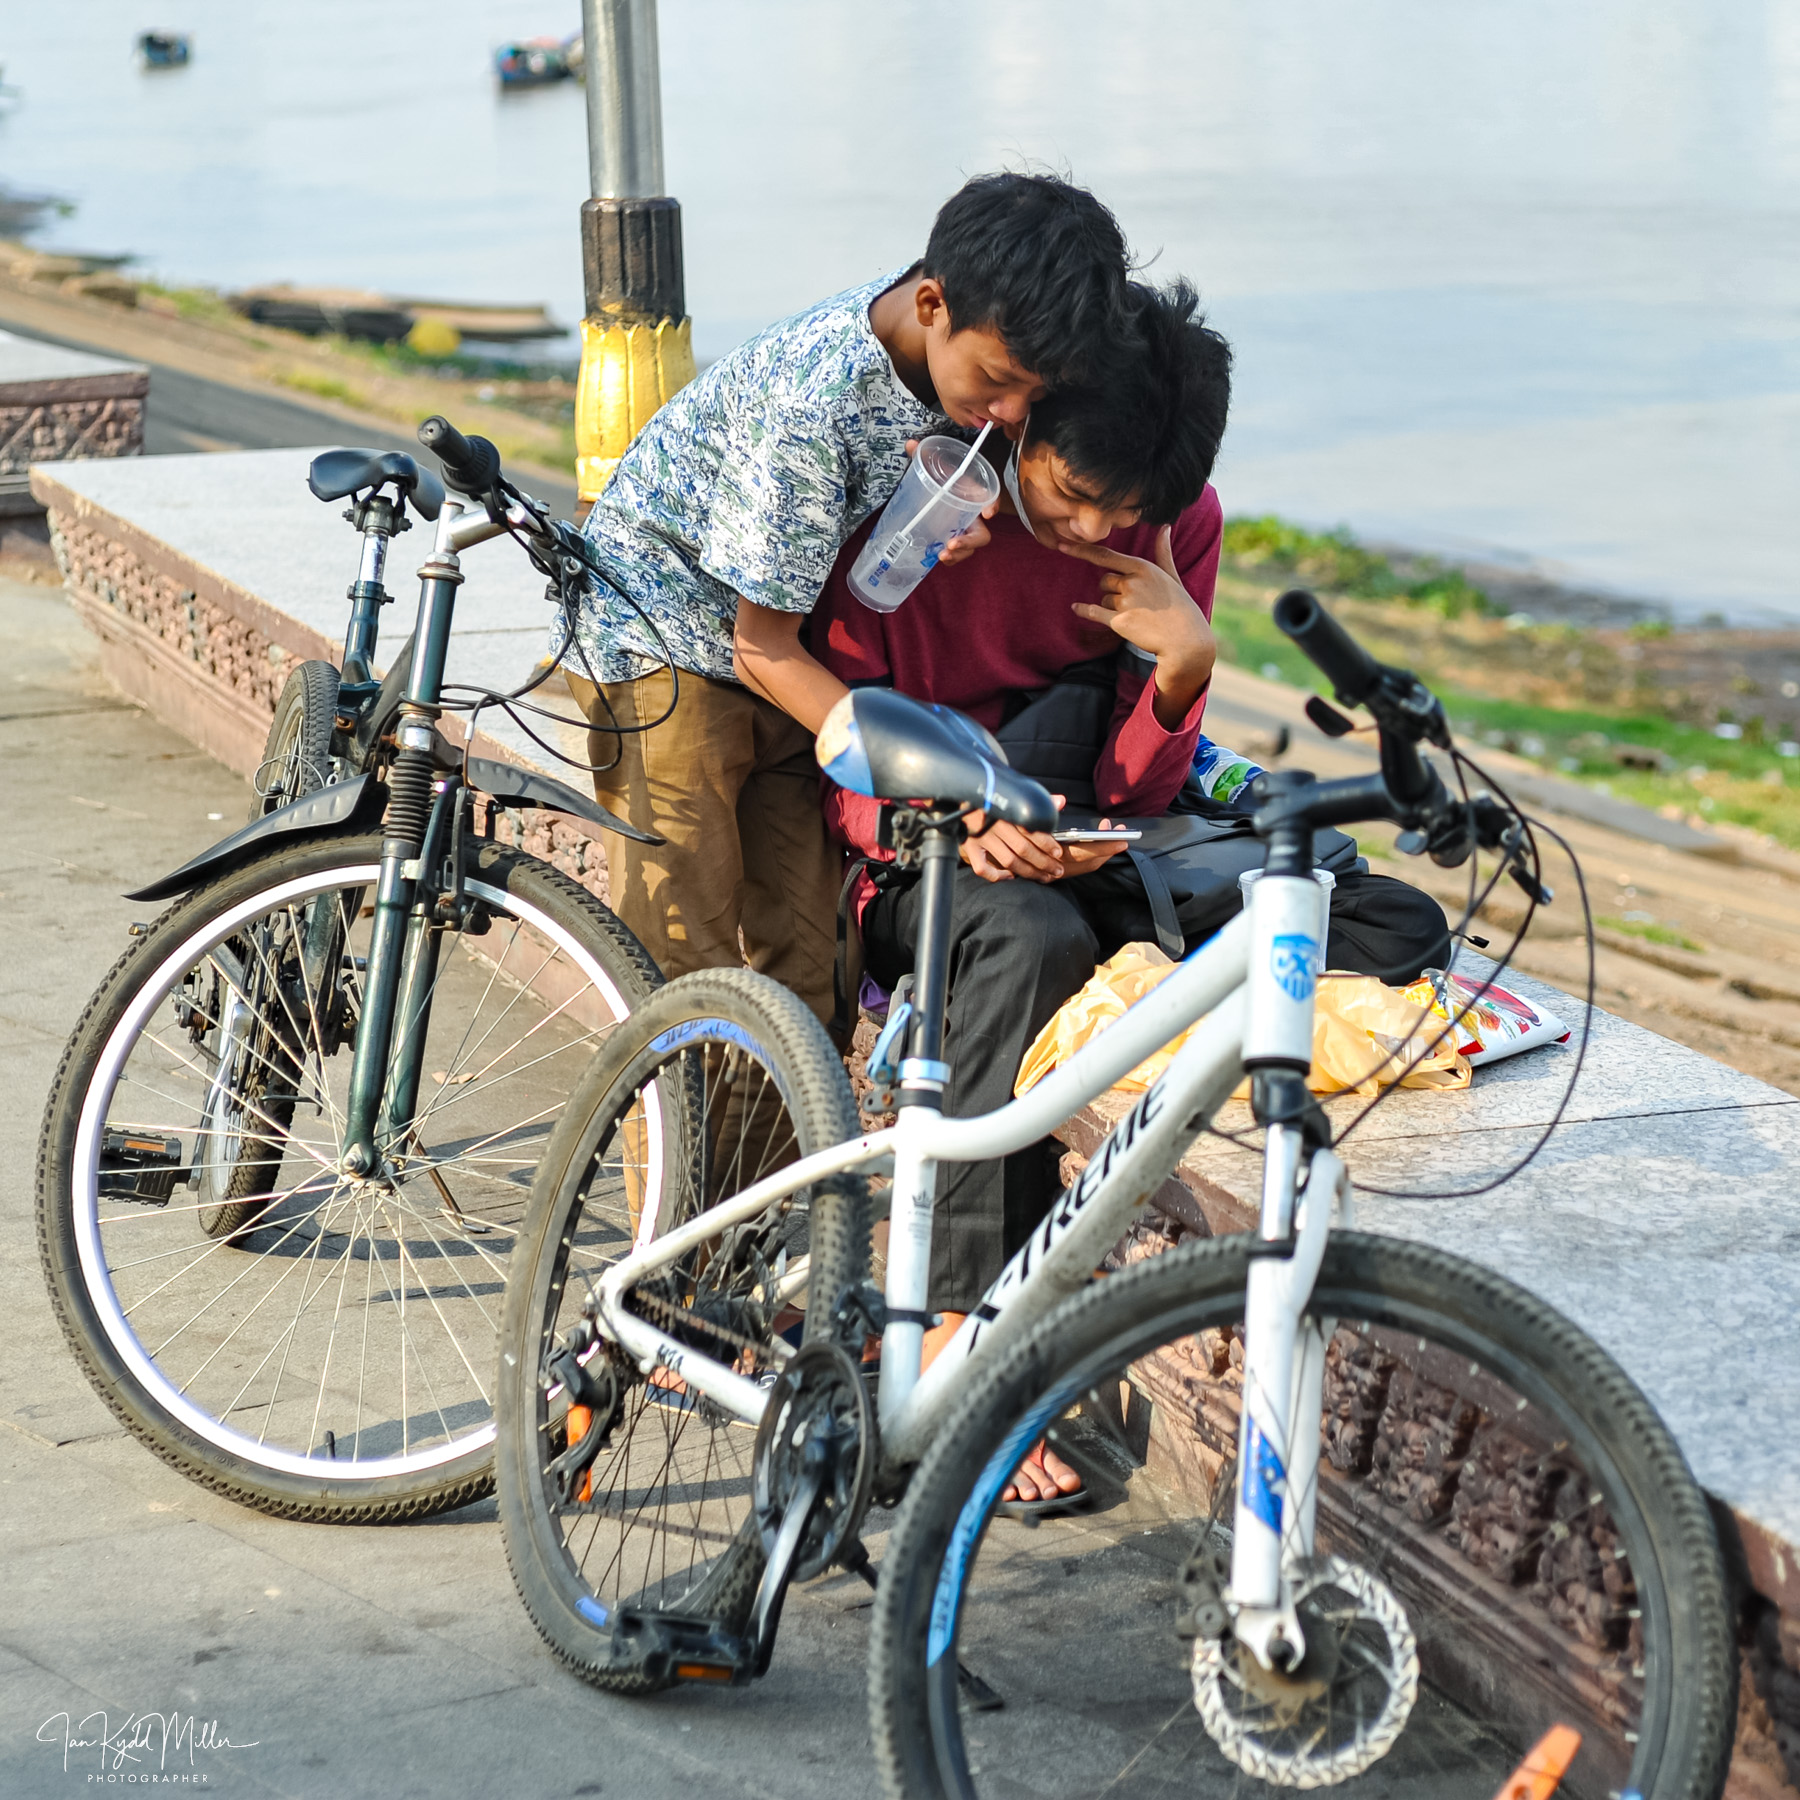
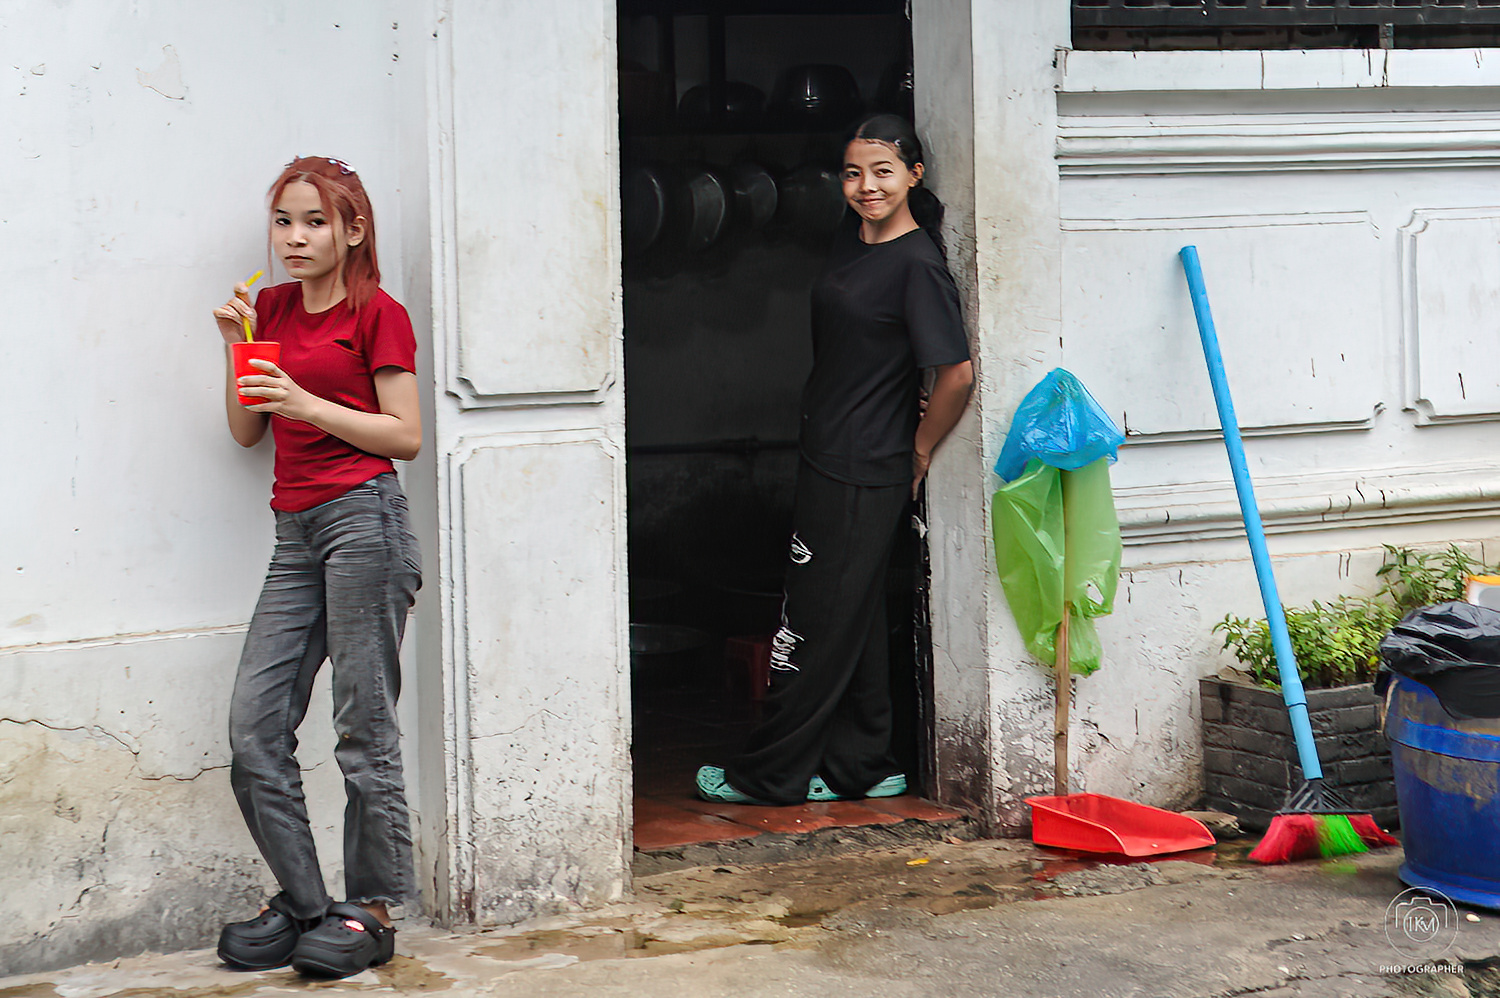
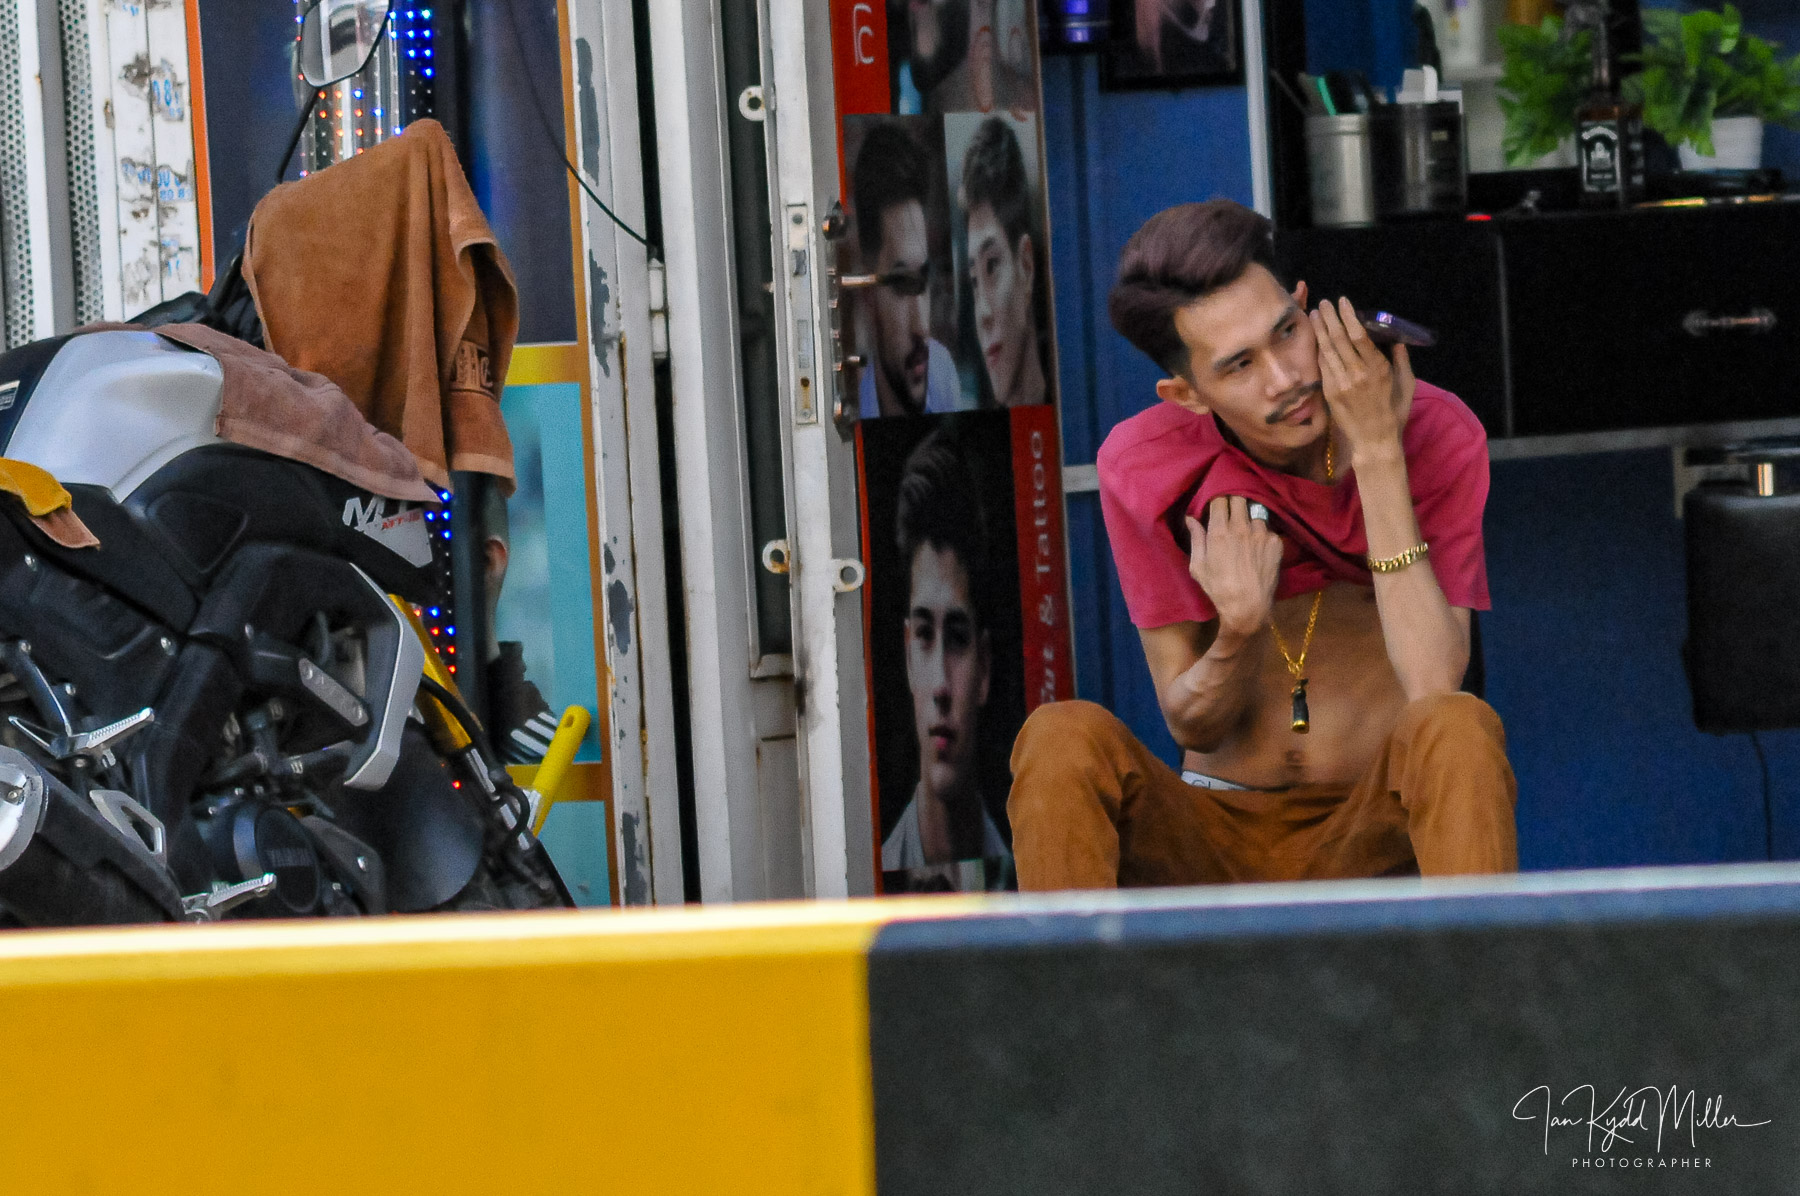
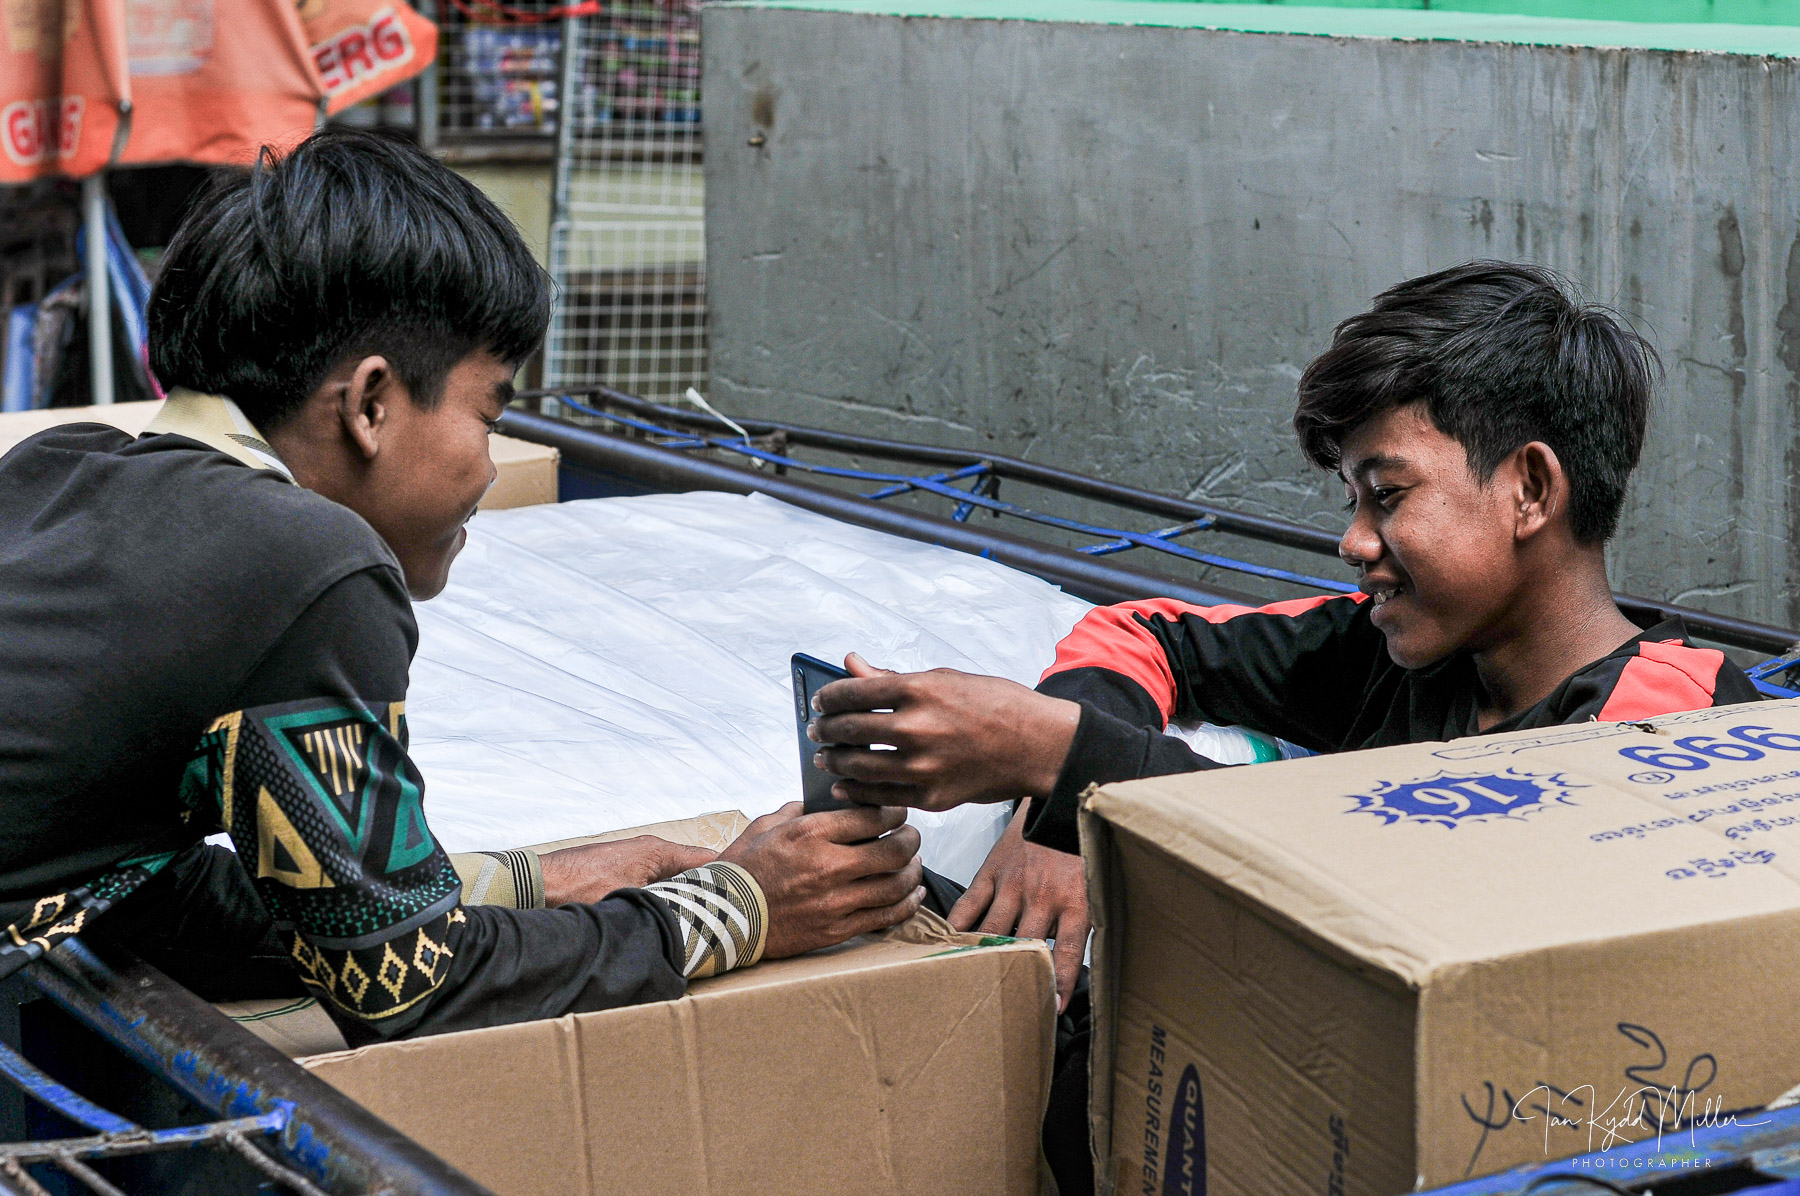
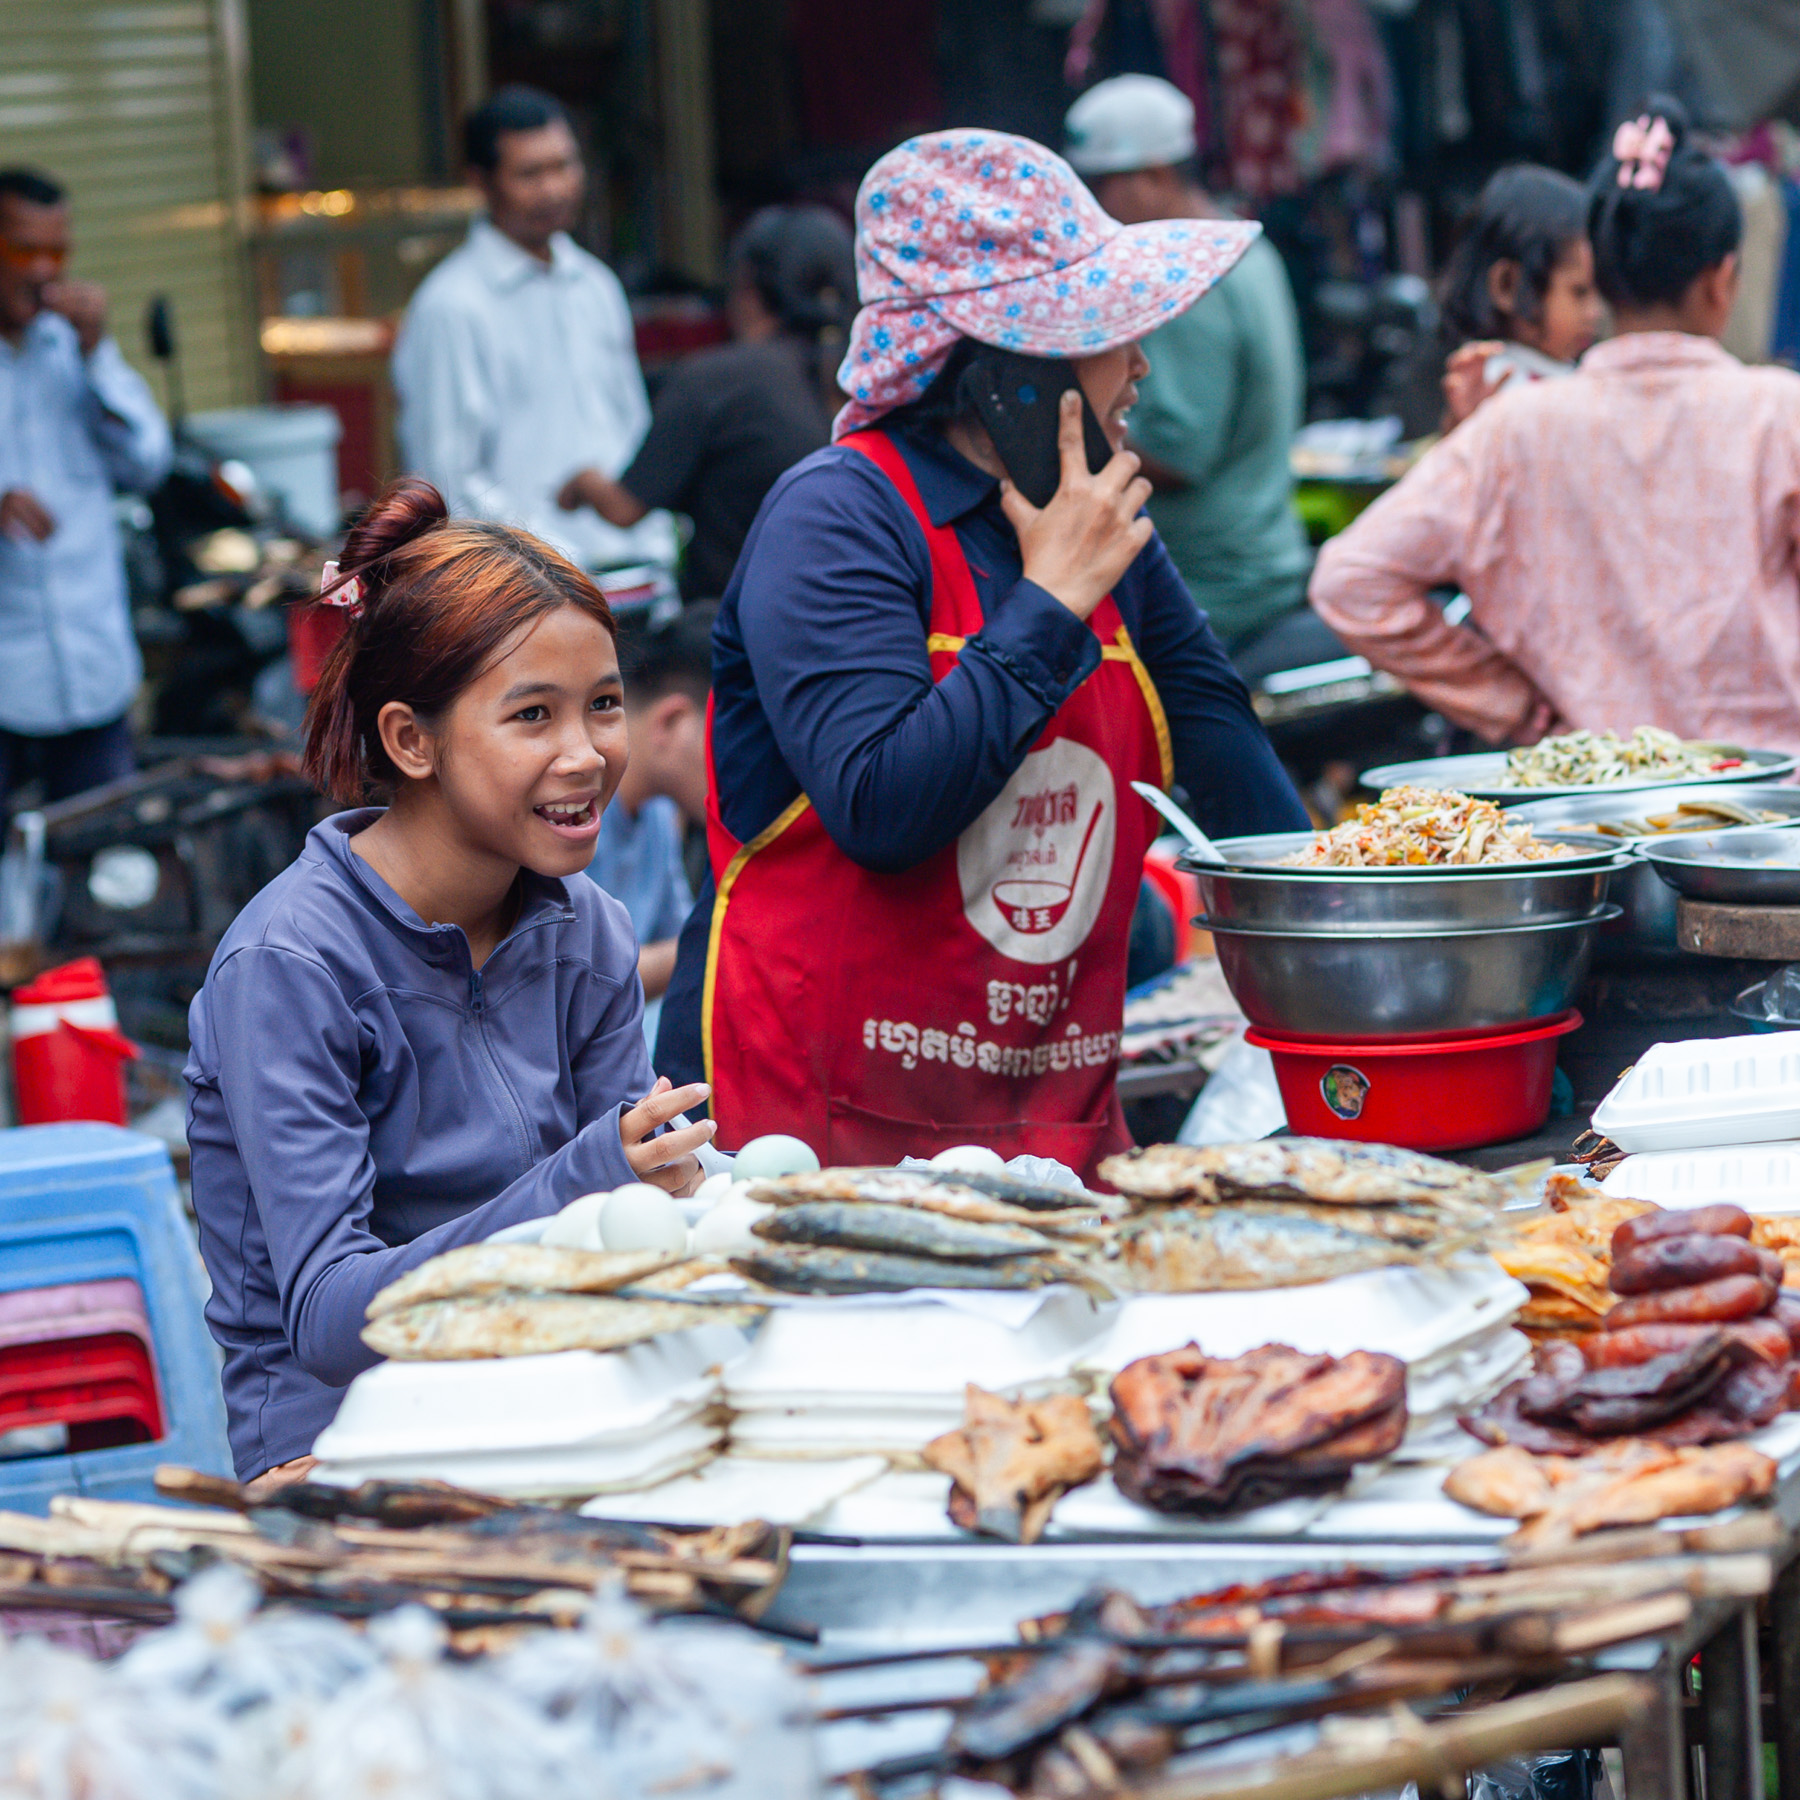
The expression. The gesture. The hesitation. The connection between strangers.
These moments last fractions of a second. Miss them, and no amount of technical brilliance can bring them back.
Some photographers will argue that Manual mode offers complete consistency. They are absolutely right—in situations where the light remains constant. In a studio, during portrait sessions, or while photographing landscapes at sunrise, Manual mode can be the perfect choice.
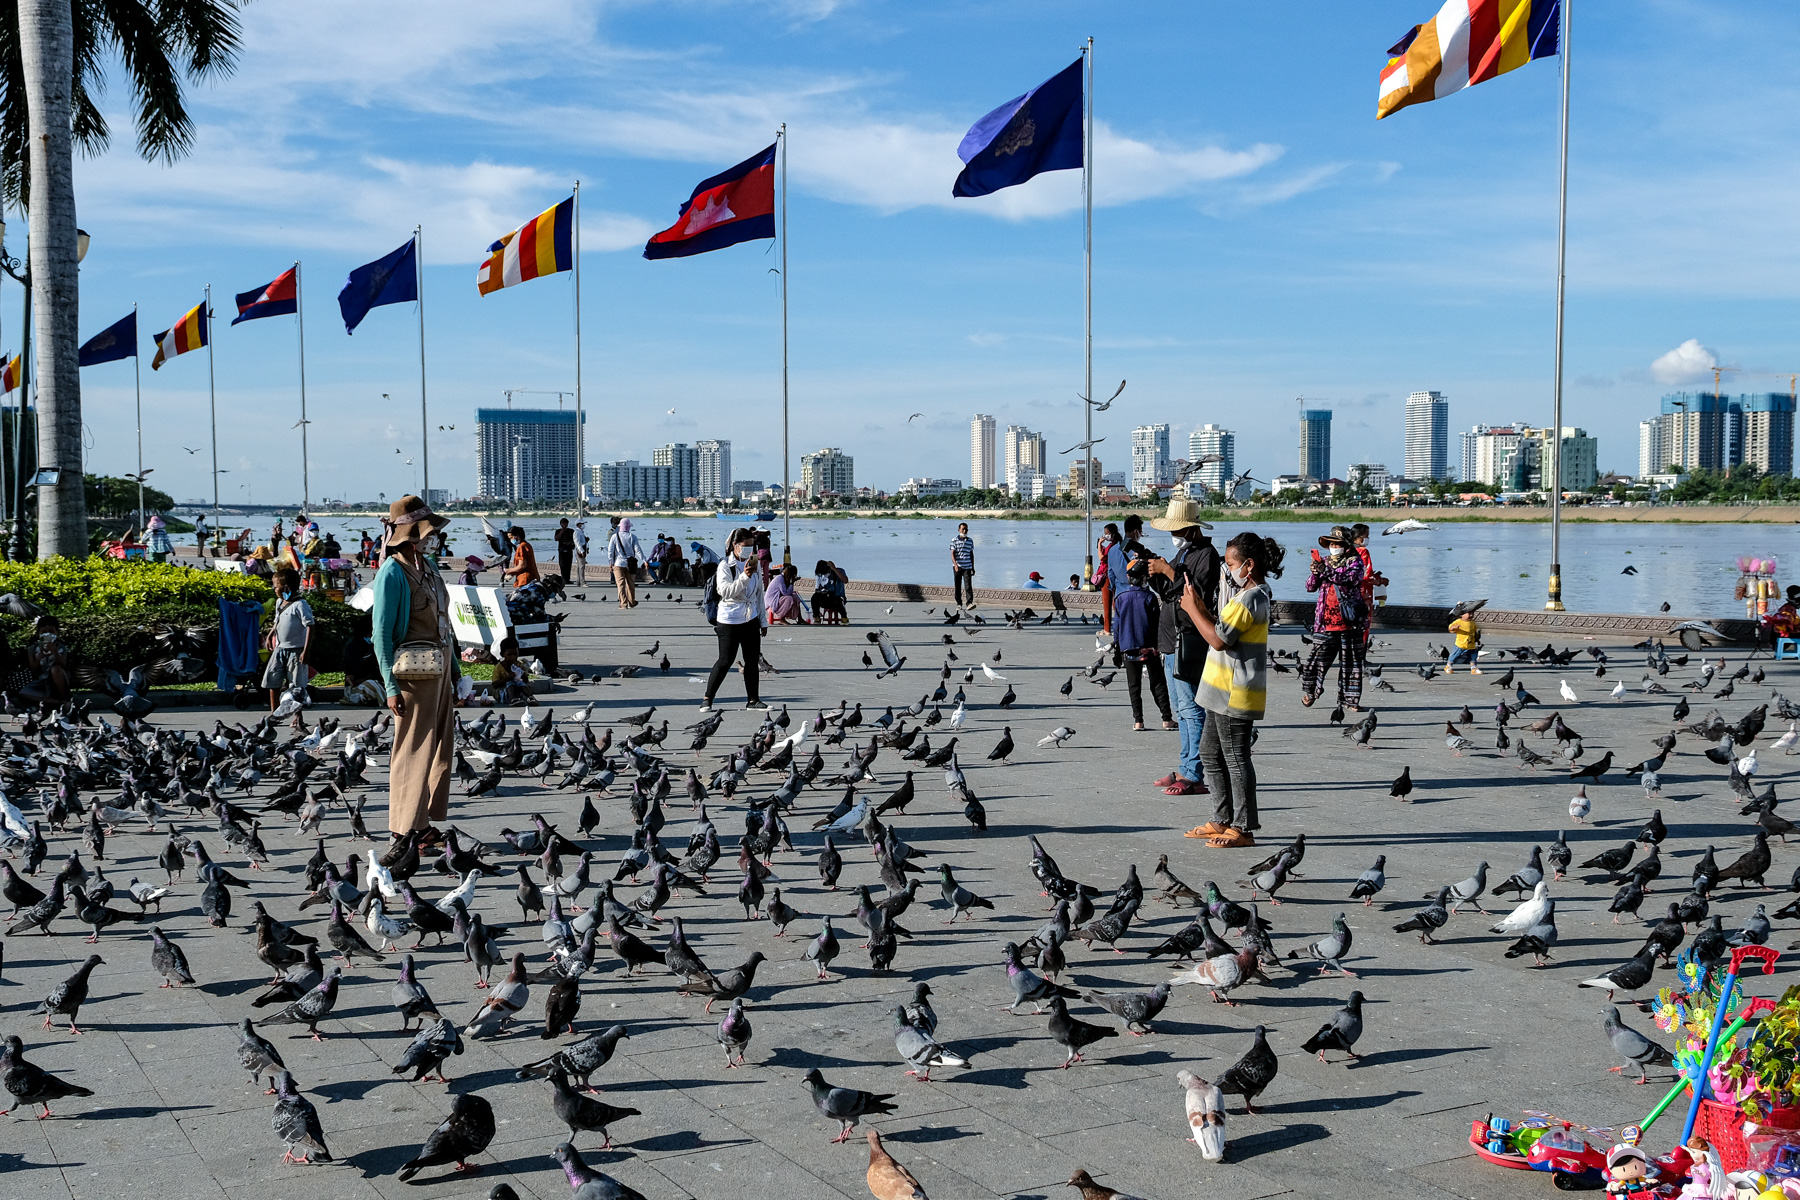
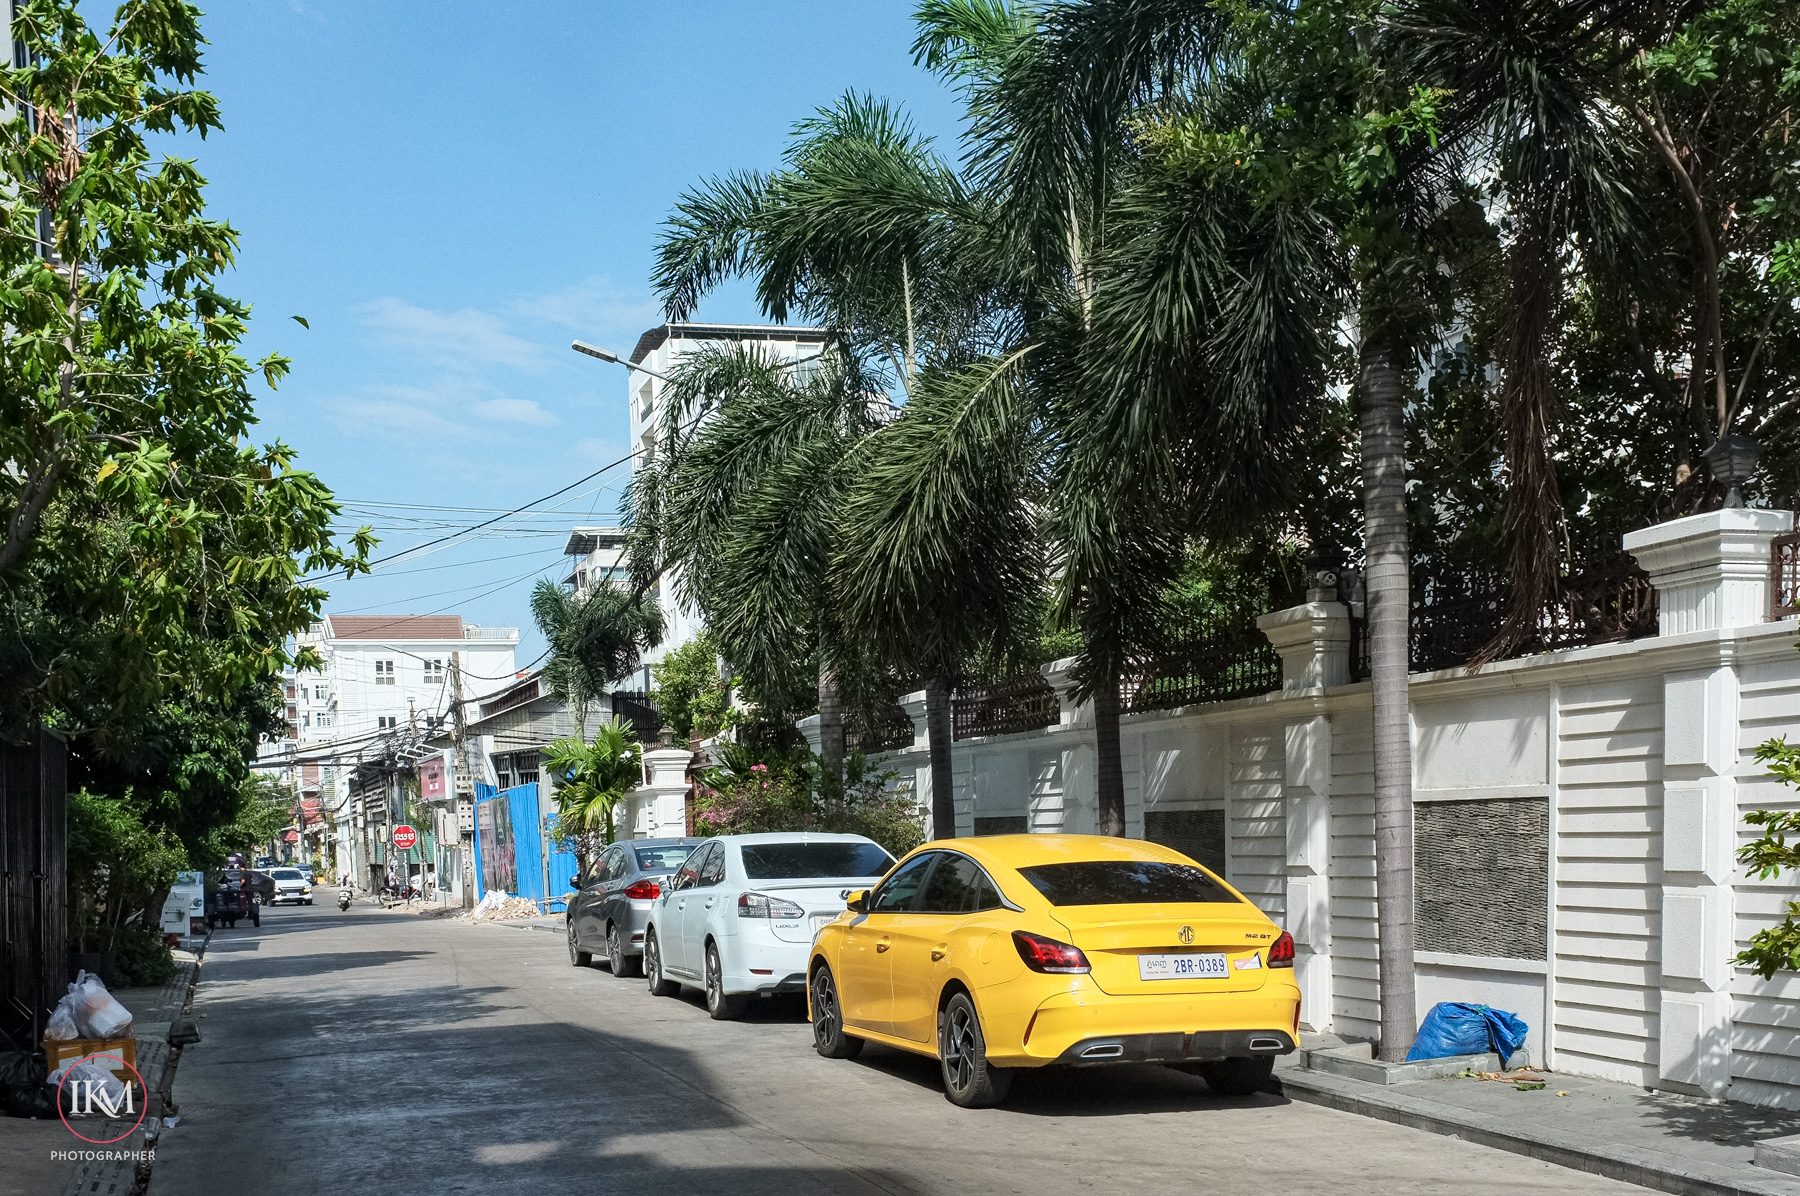
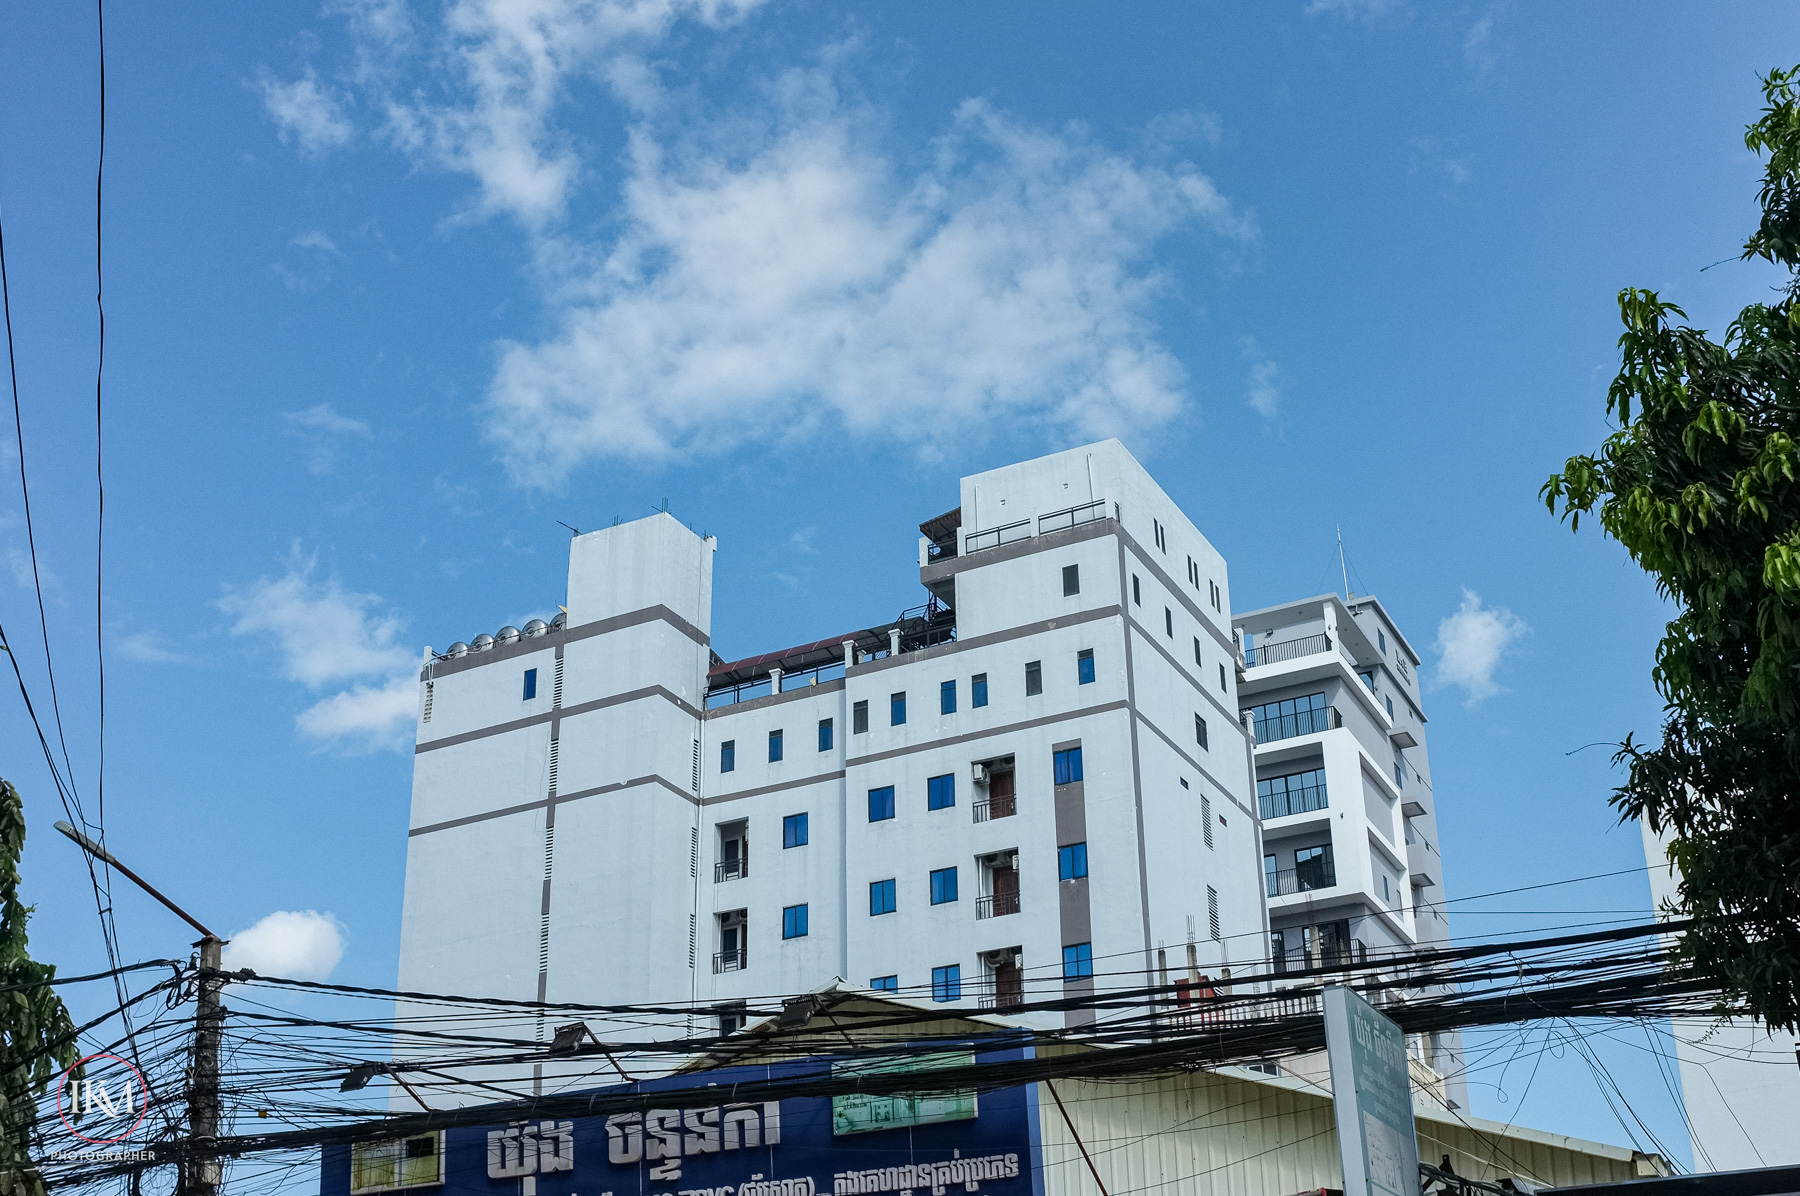
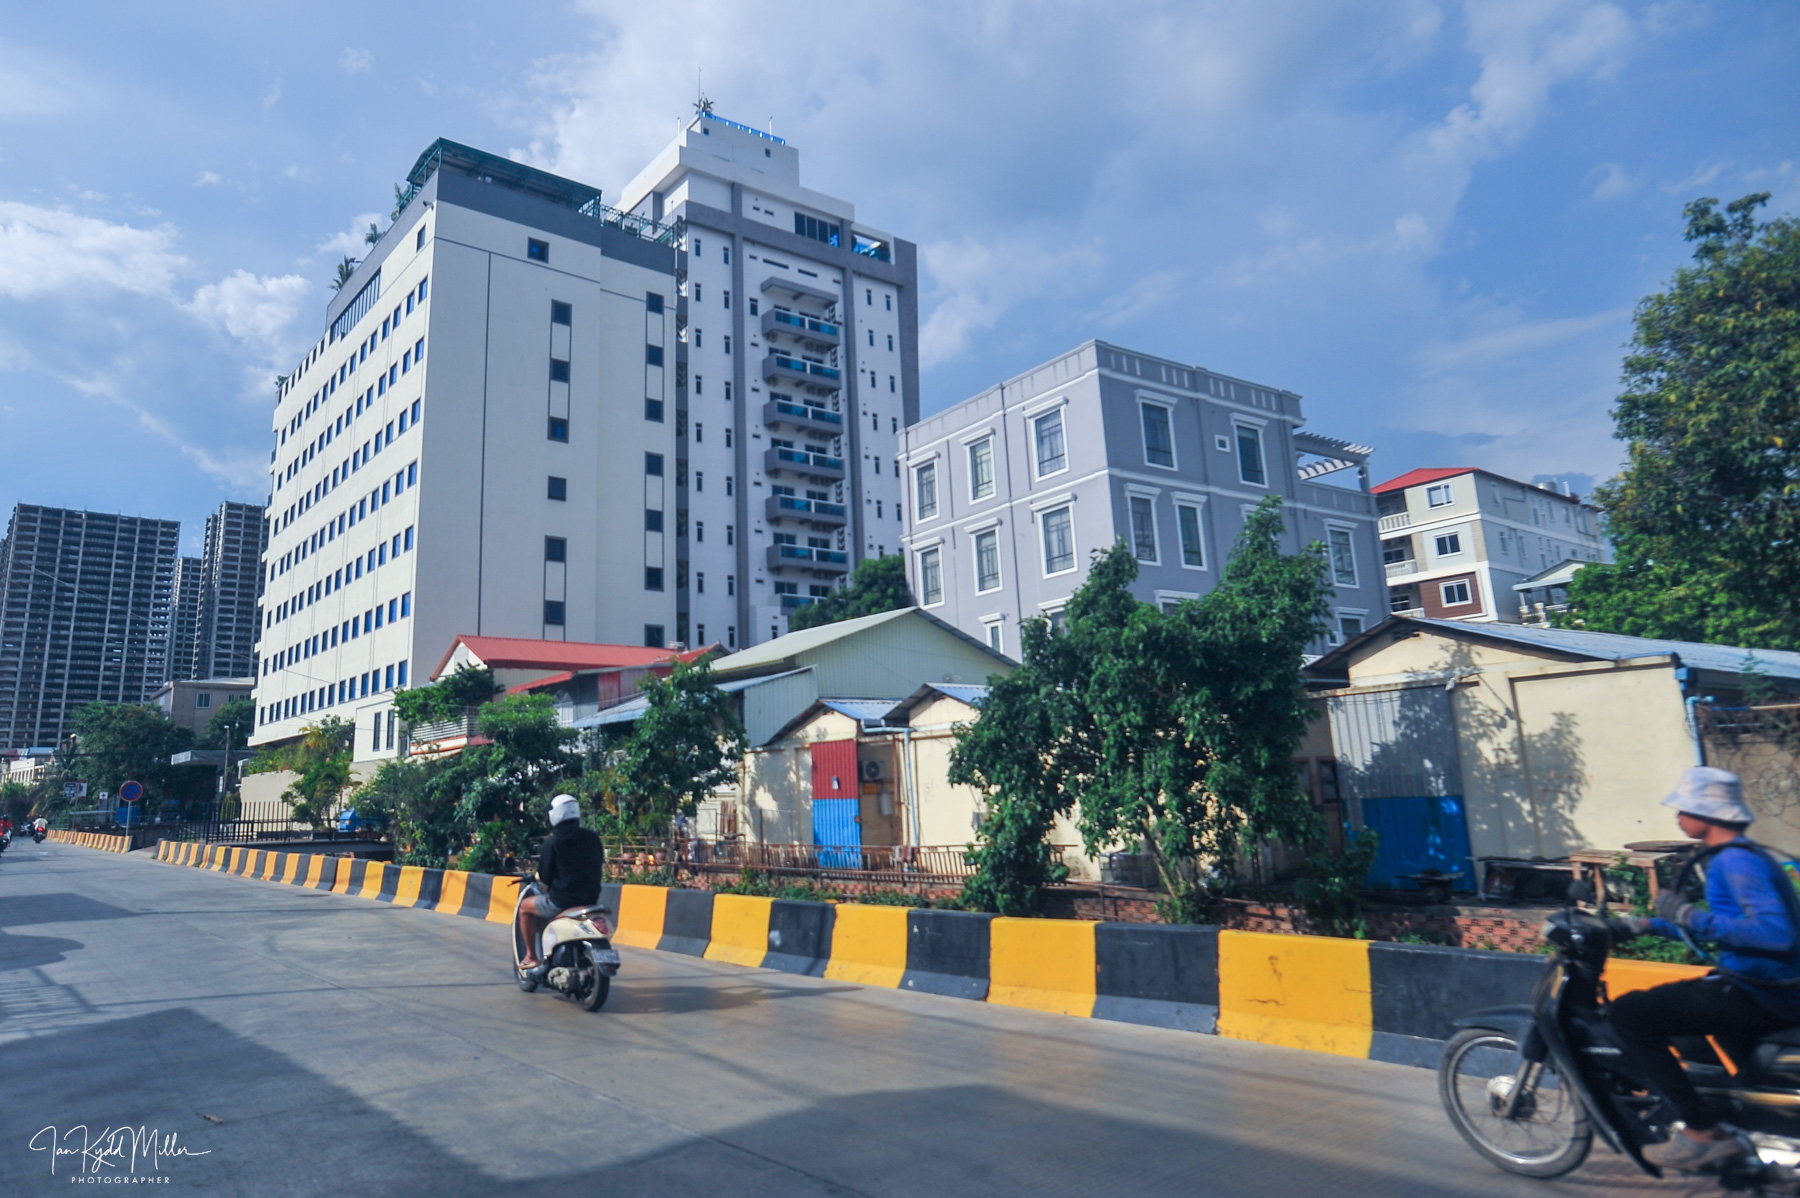
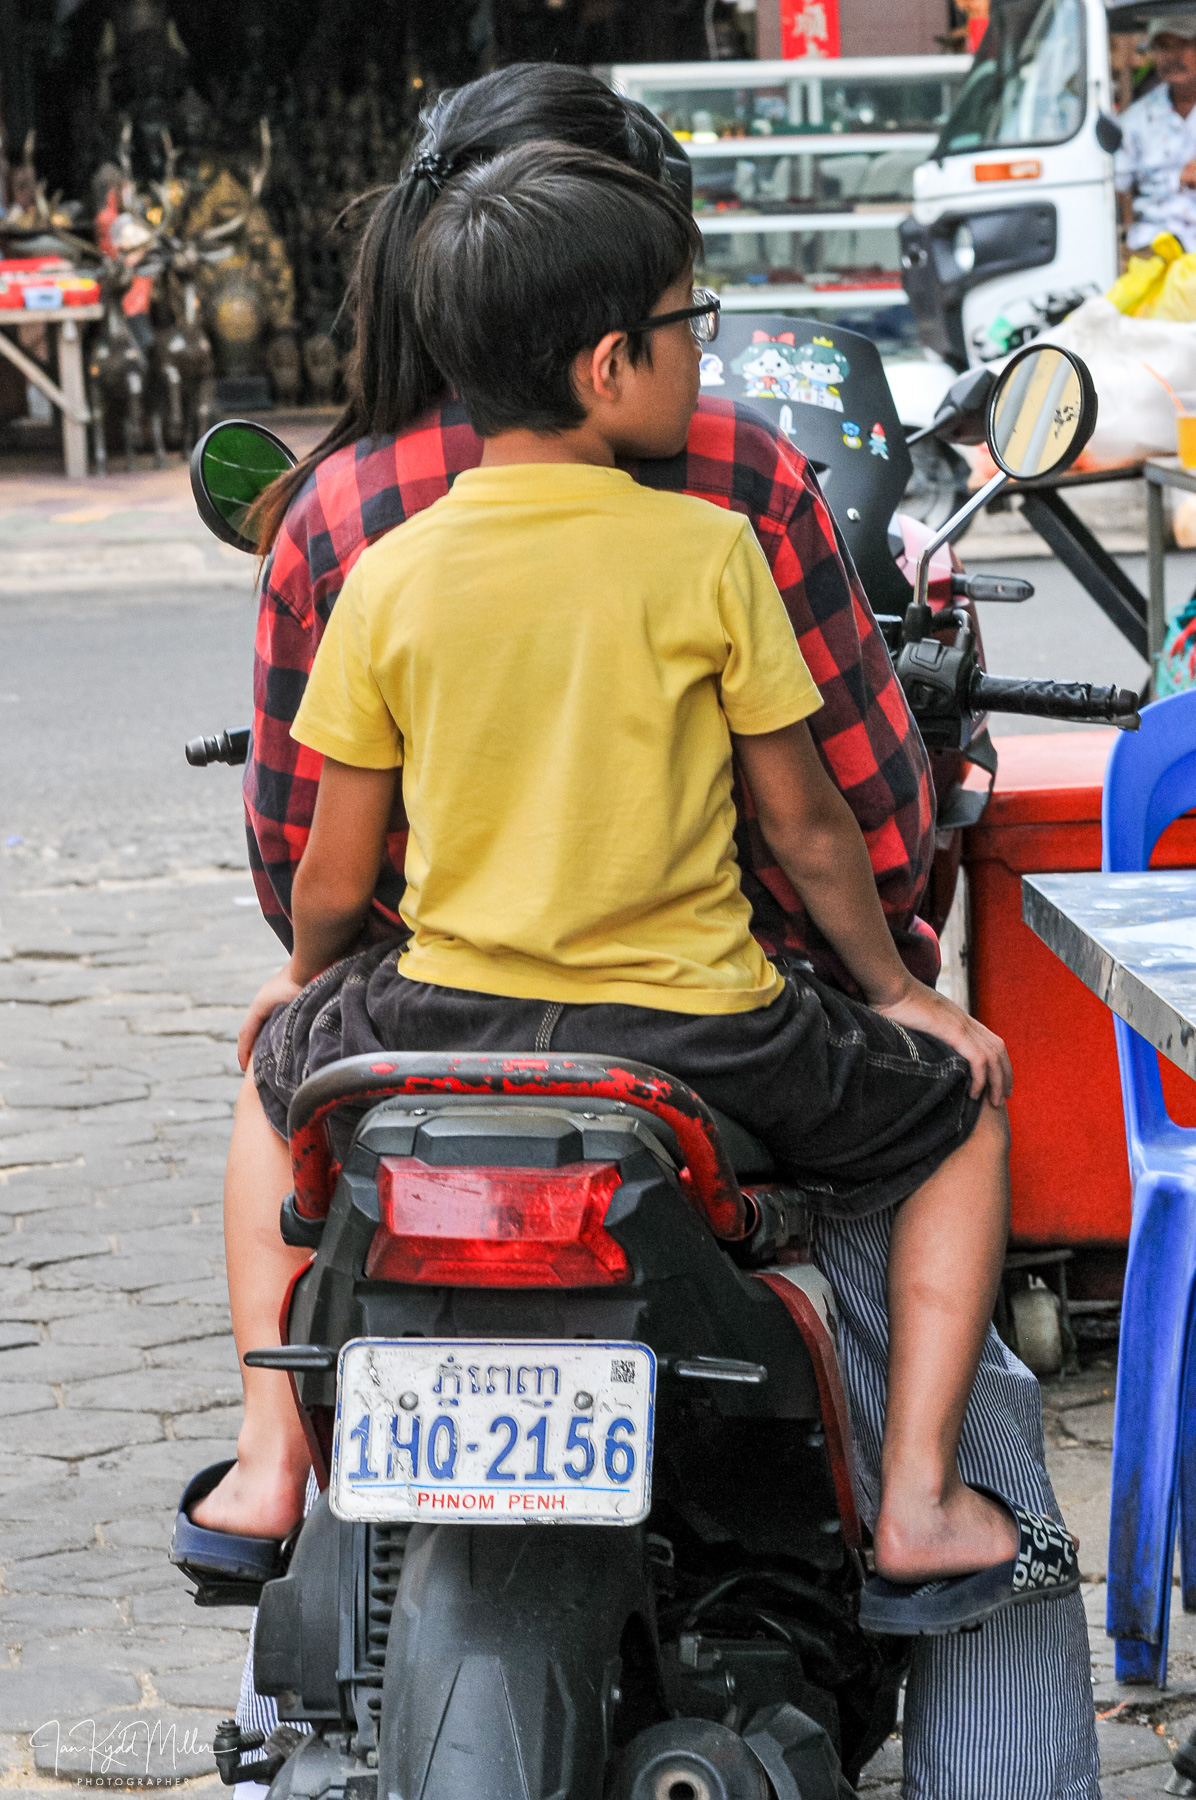
But streets are not studios. Clouds move. People step from bright sunlight into deep shade. Buses reflect light. Shop windows throw highlights across faces.
You are constantly adapting. Let the camera shoulder part of that workload.
There is another advantage that rarely gets discussed. Program mode reduces mental fatigue. Every photographer has only so much attention available. Every second spent thinking about exposure is a second not spent watching expressions, anticipating movement or noticing the relationships unfolding around you.
I’d rather spend my concentration reading people than reading the light meter.
The older I become as a photographer, the more I value simplicity.
When I first started, I wanted to control everything. Every dial. Every setting. Every technical variable.
Experience teaches a different lesson. The camera should become almost invisible.
When that happens, photography stops being about operating machinery and starts becoming about observation.
Some of my favourite photographs were made without me remembering what settings I used. I remember the person. I remember the conversation. I remember the smell of the street after rain or the sound of traffic disappearing behind laughter.

Those memories matter. Whether the picture was taken at f/5.6 or f/6.3 does not.
There is an unfortunate culture within photography that equates complexity with skill. It is the same mindset that insists expensive cameras automatically produce better photographs or that only prime lenses create meaningful work.
Reality is much simpler. Good photographers make good photographs because they see. Not because they twist more dials.
Program mode won’t make anyone a better photographer. Neither will Manual mode. Neither will Aperture Priority. The mode dial has never created a memorable photograph. The photographer has.
So if you’ve ignored Program mode because someone once told you it wasn’t “serious,” perhaps it’s time to ignore that advice instead.
Take your camera into the street.
Set it to P.
Use Auto ISO.
Keep an eye on your exposure compensation.
Trust Program Shift when you need it.
Then forget about the camera.
Watch people.
Wait.
Observe.
Because in the end, nobody looking at your photograph will ask what mode you used.
They’ll only ask whether the picture made them feel something.
And that has always been the only setting that truly matters.