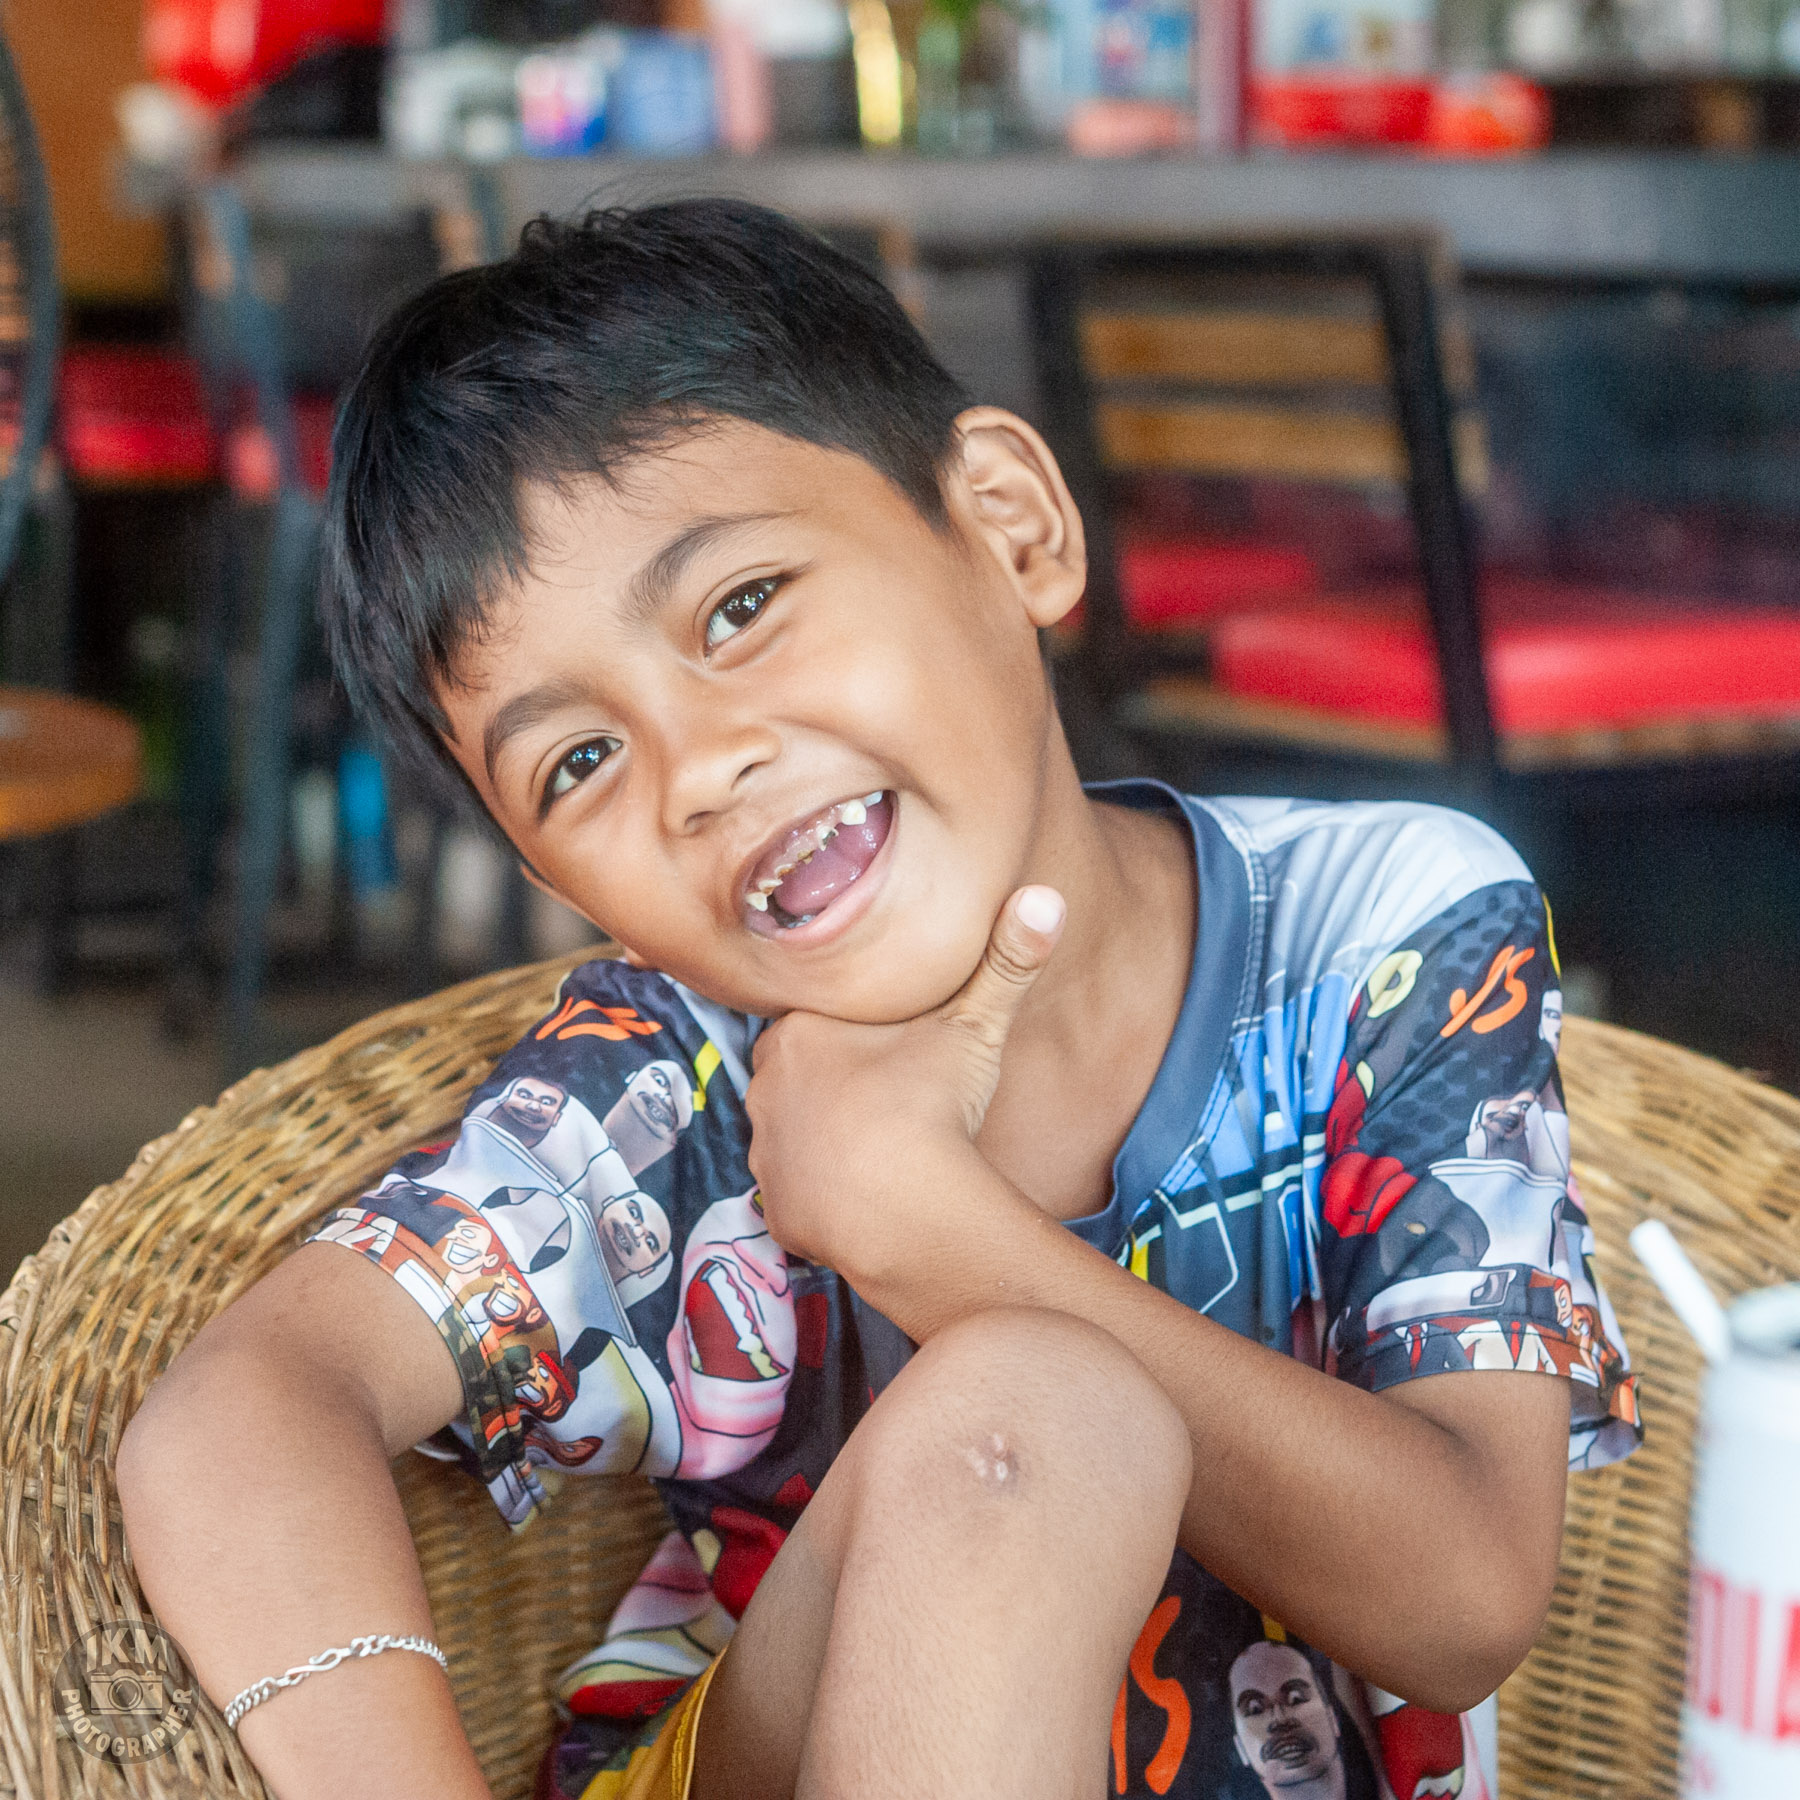
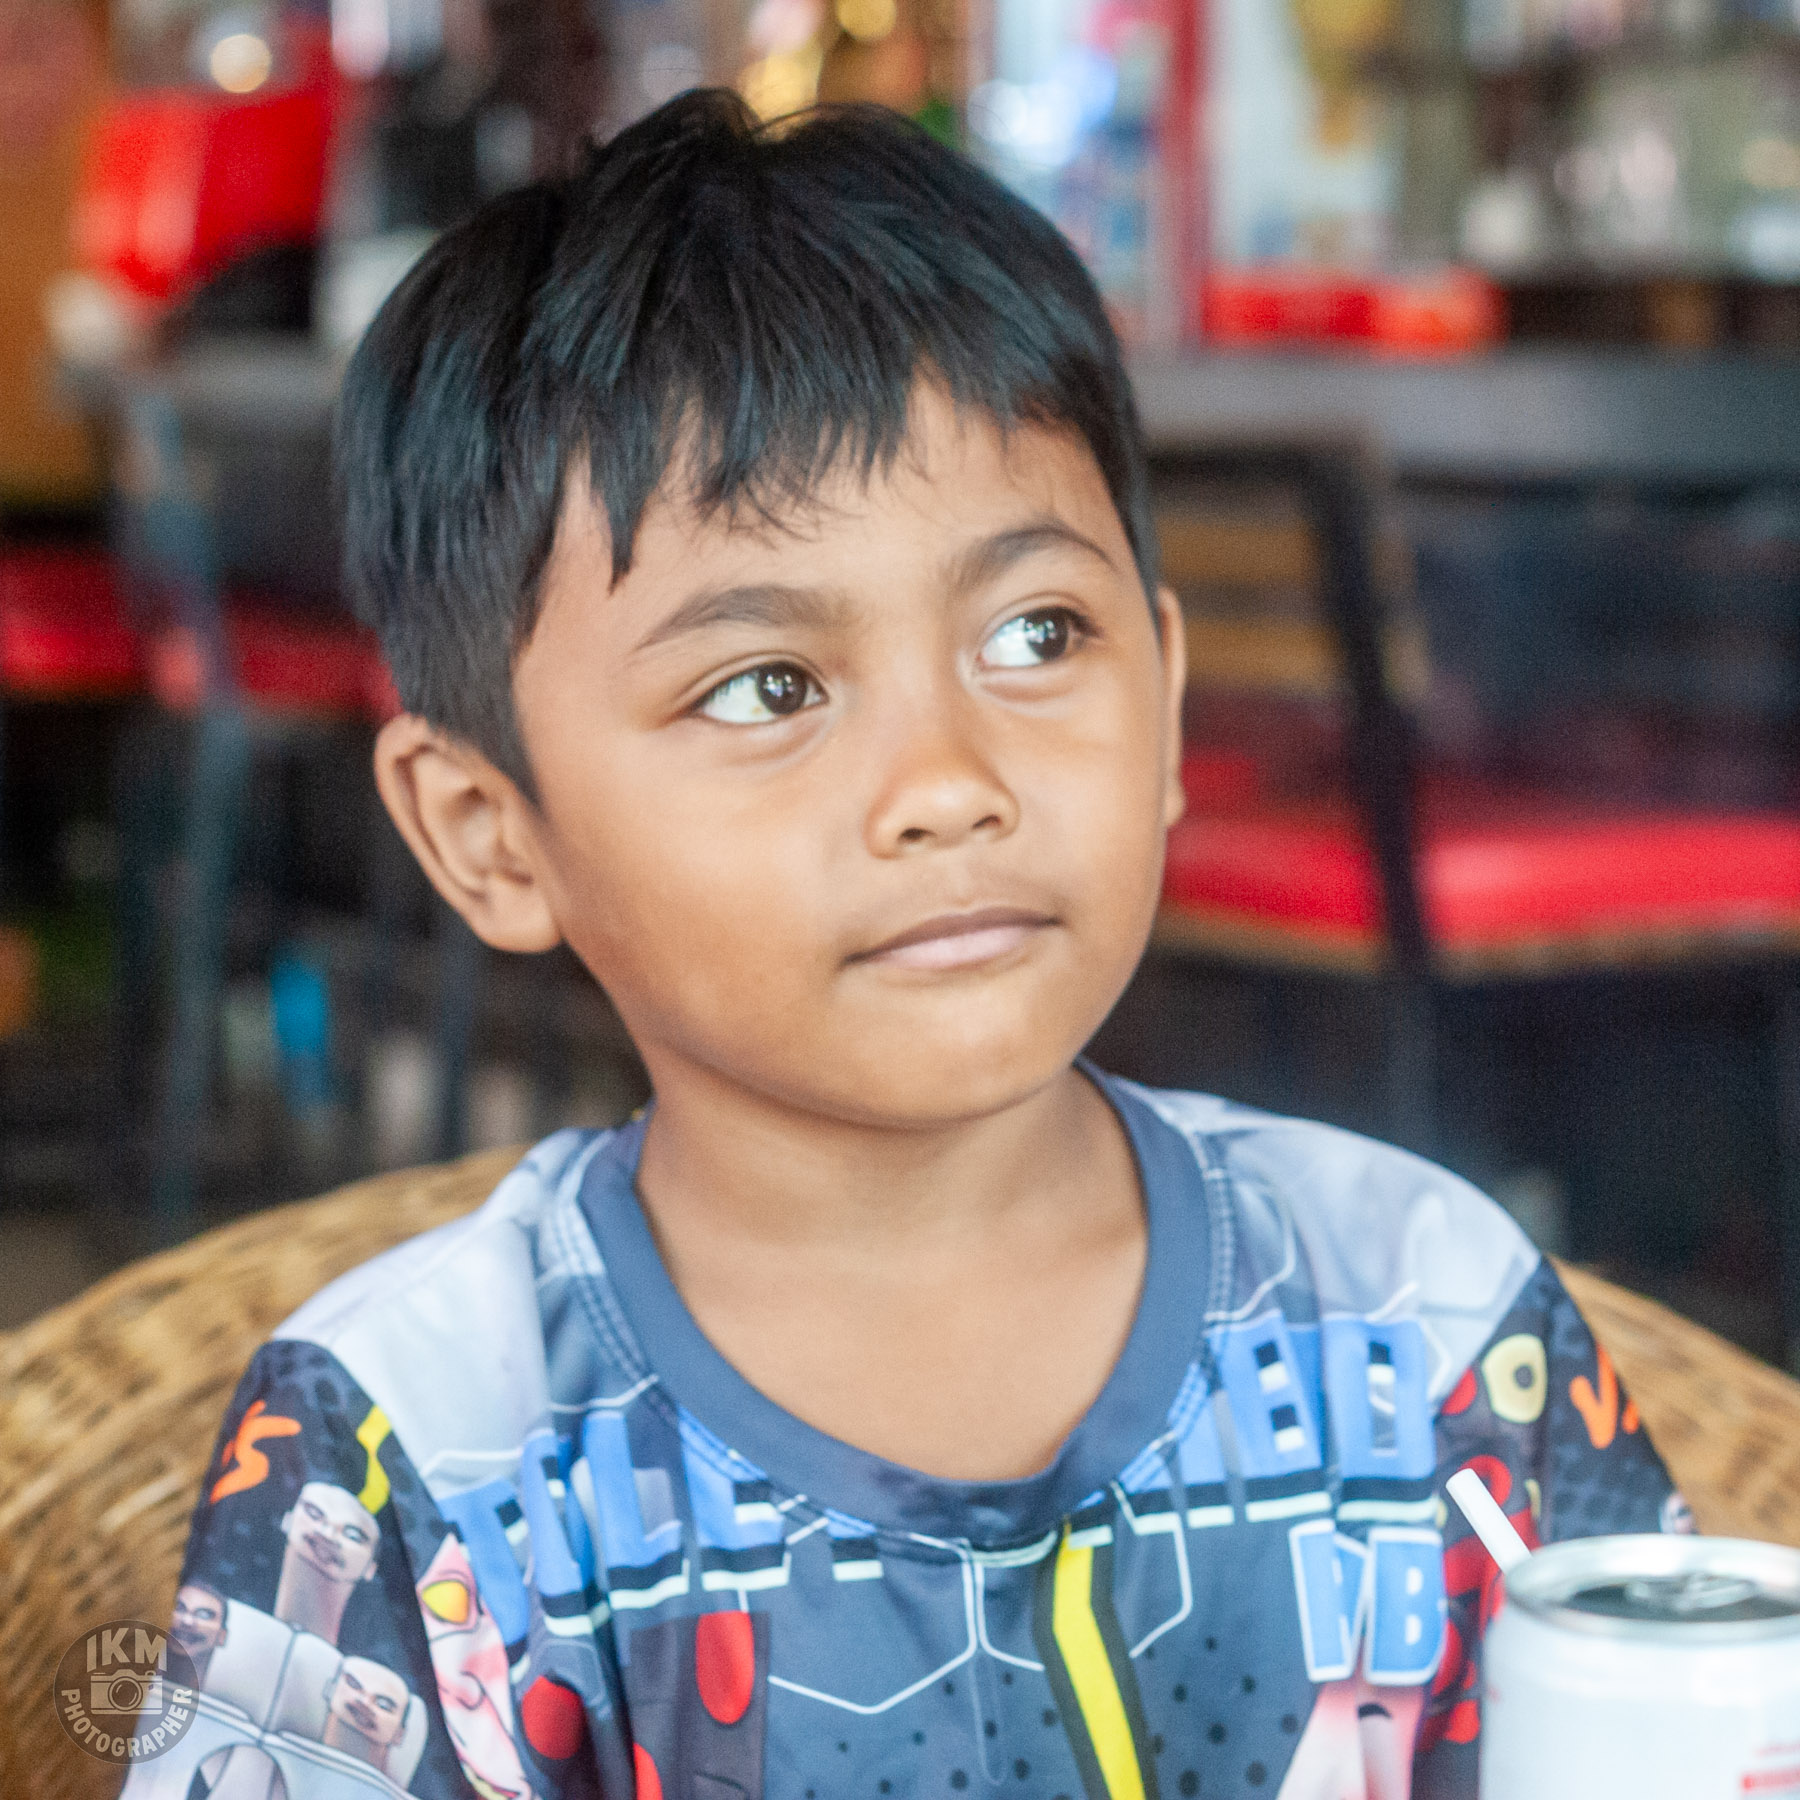
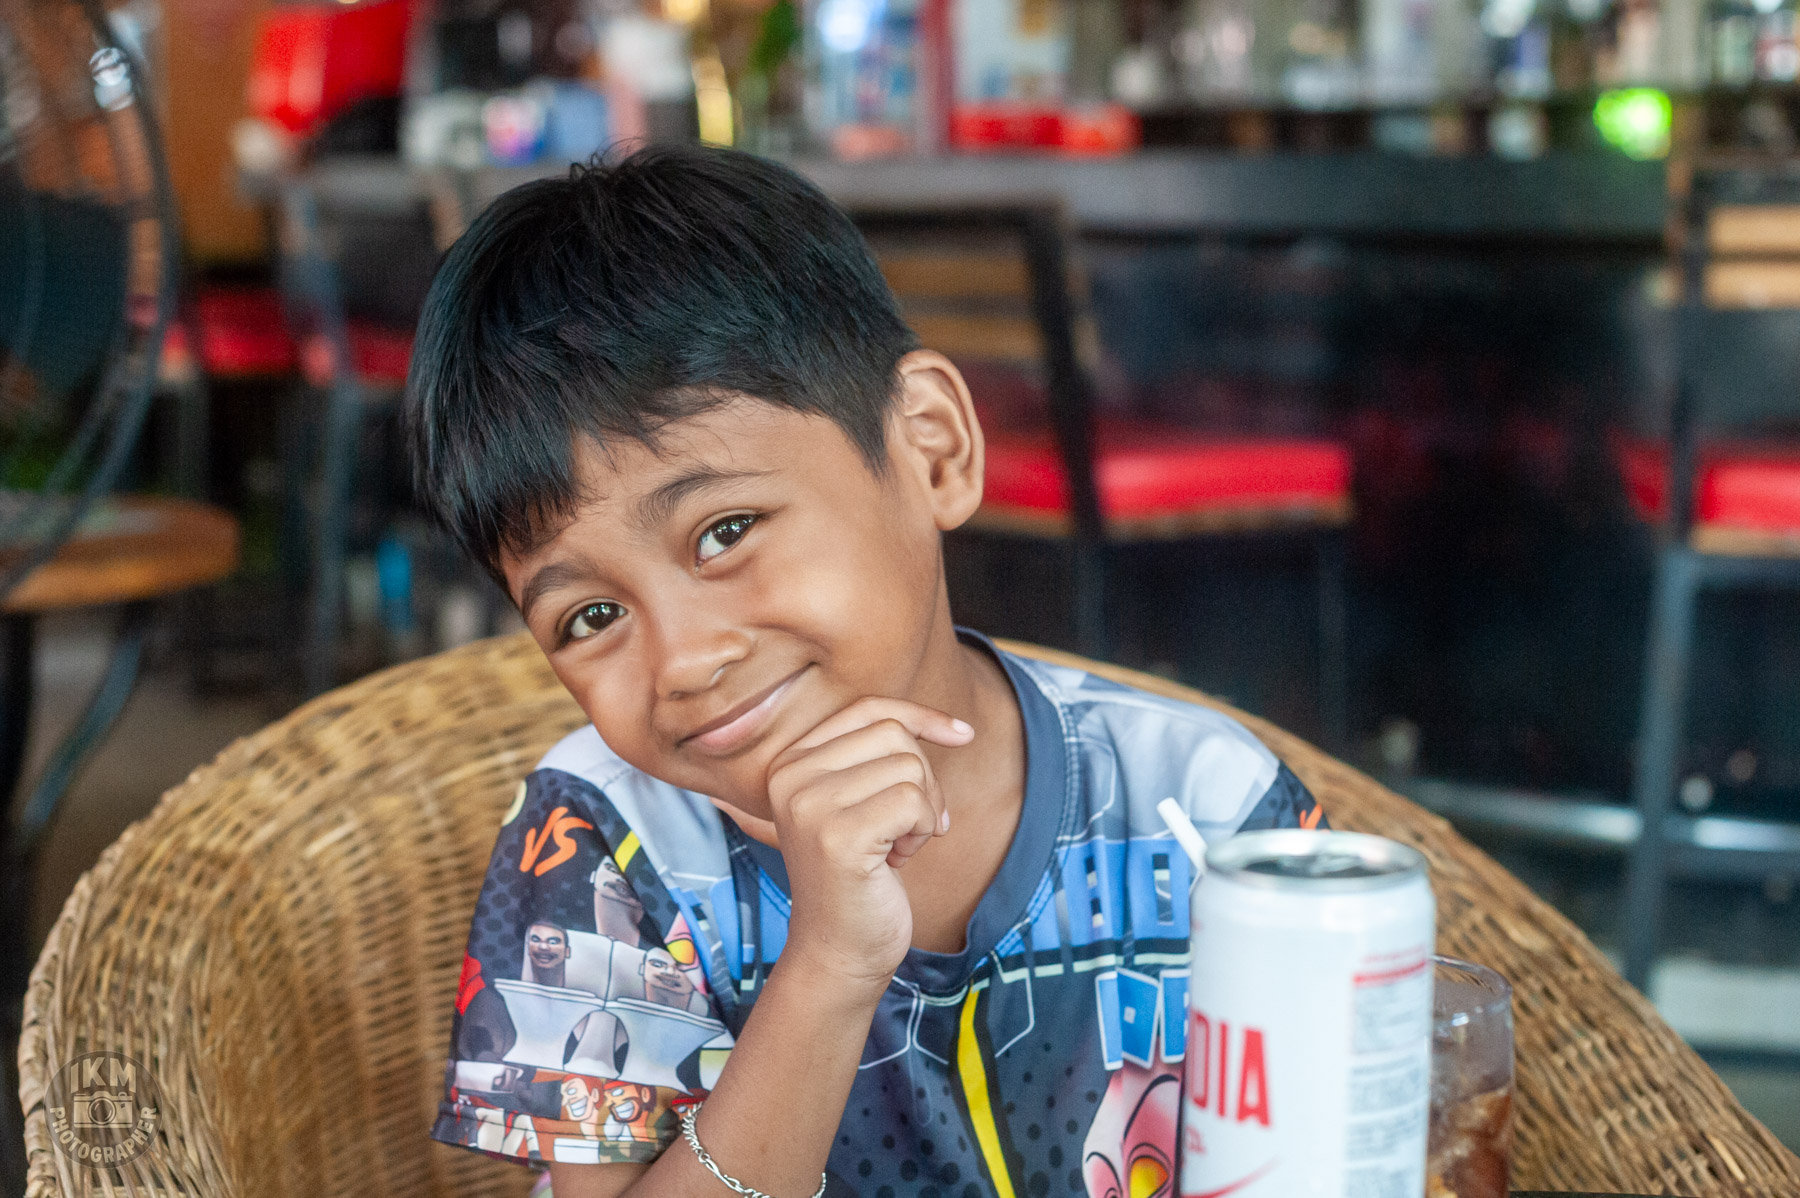
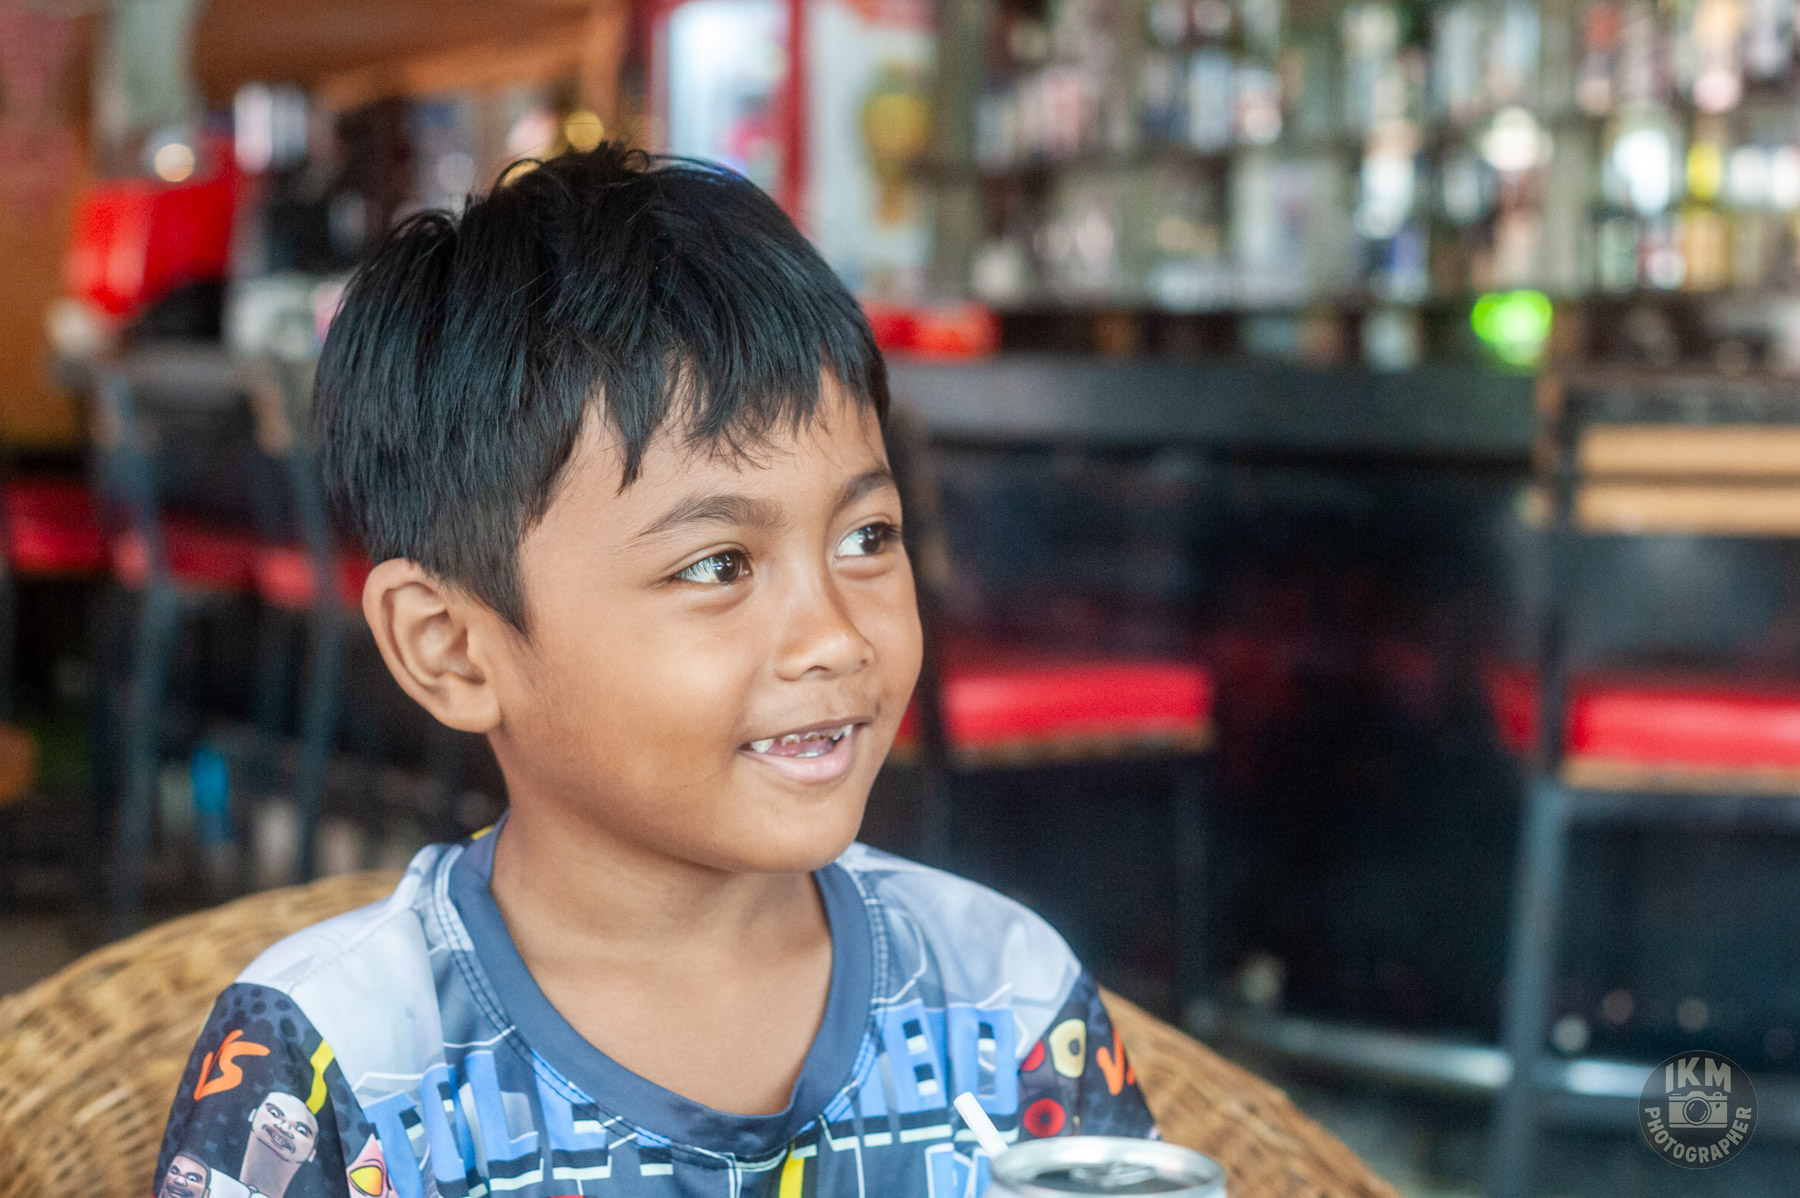
The Nikon D810 is a great camera, but it asks something of the person holding it. Give it accurate focus, a sensible shutter speed and light worth recording, and it produces files with enough detail and tonal subtlety to withstand close examination and substantial printing. Work carelessly, and it records the carelessness too.
That is a useful distinction. A camera can deliver a beautifully detailed photograph without making the photograph interesting. The D810 gives you considerable technical room to work. What you put inside that room remains your responsibility.
The D810 arrived in 2014 with a 36.3-megapixel full-frame sensor, no optical low-pass filter and a native sensitivity range beginning at ISO 64. These remain substantial capabilities for still photography. Its appeal is particularly clear when the finished picture depends on fine texture, controlled highlights and gradual transitions between light and shade. Nikon About Us
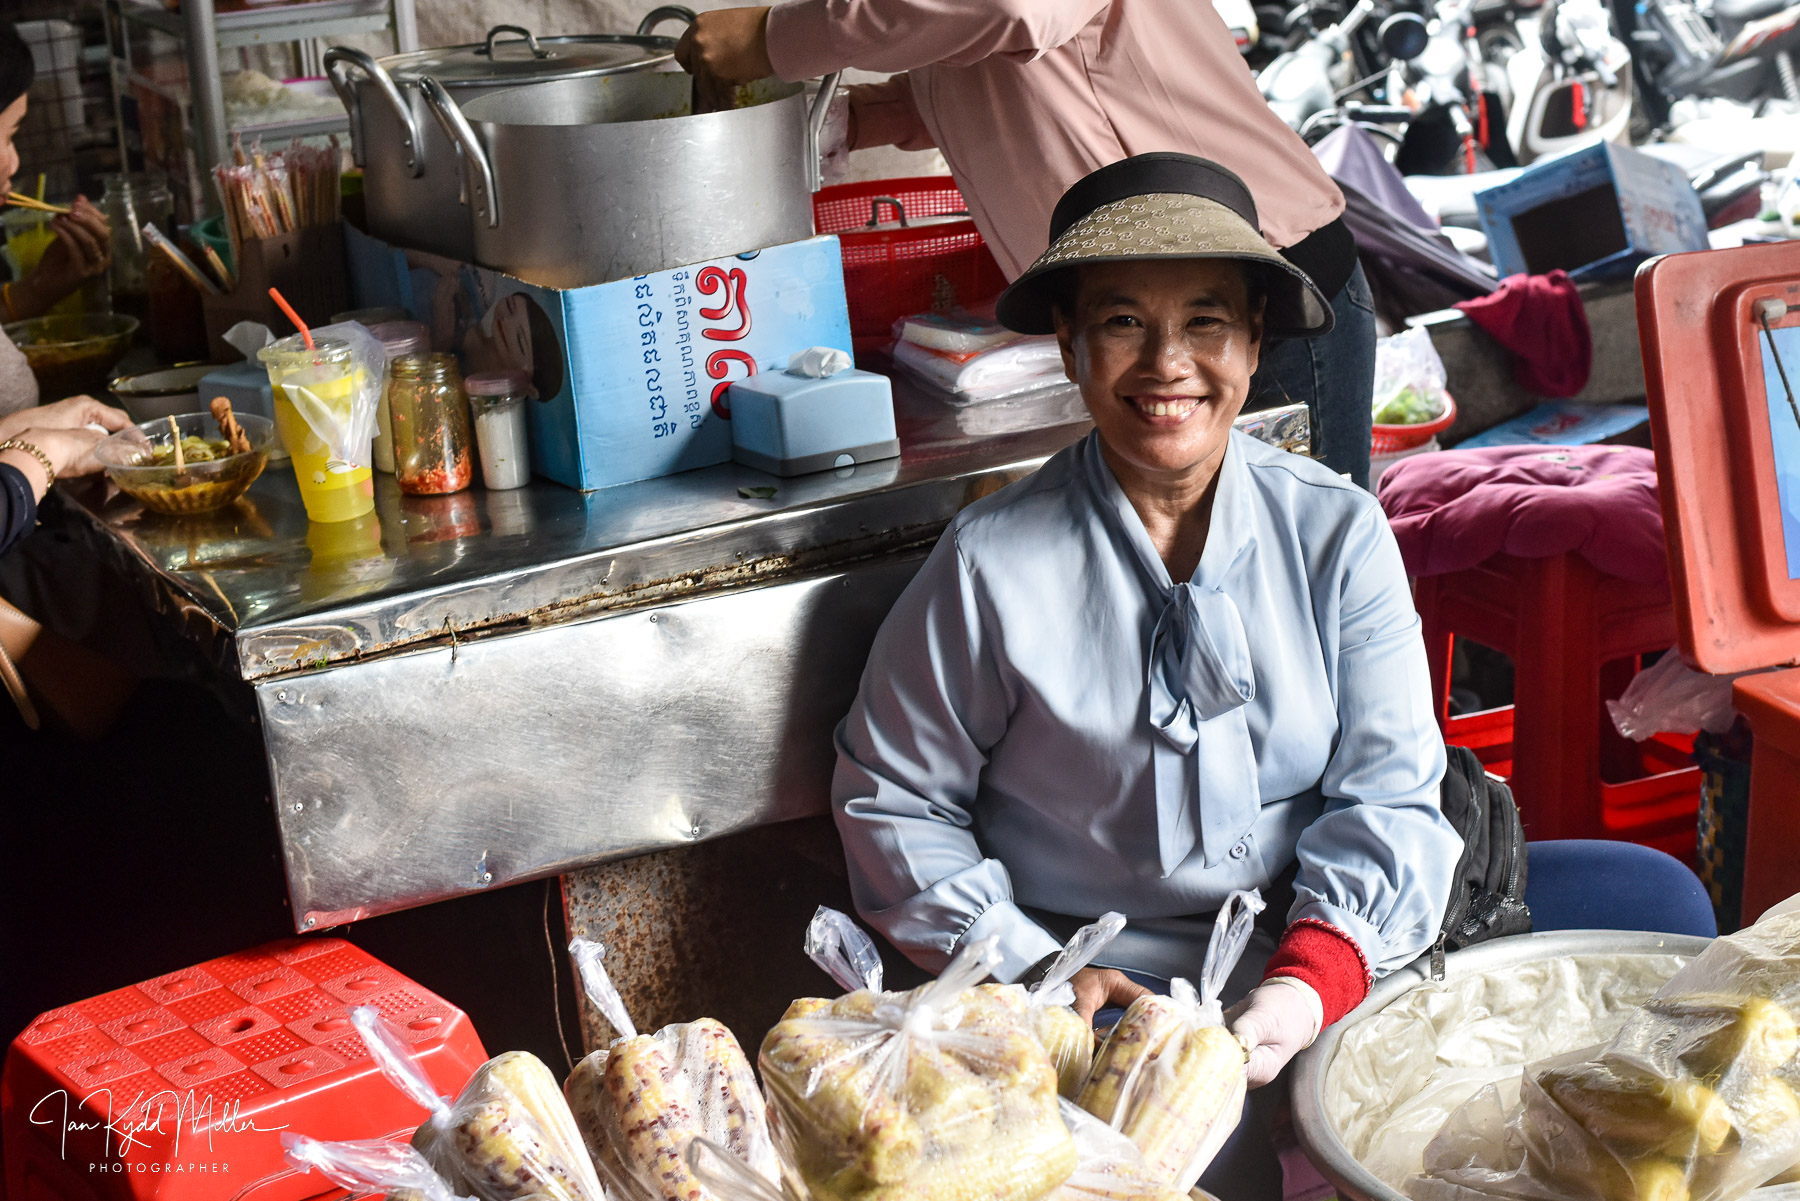
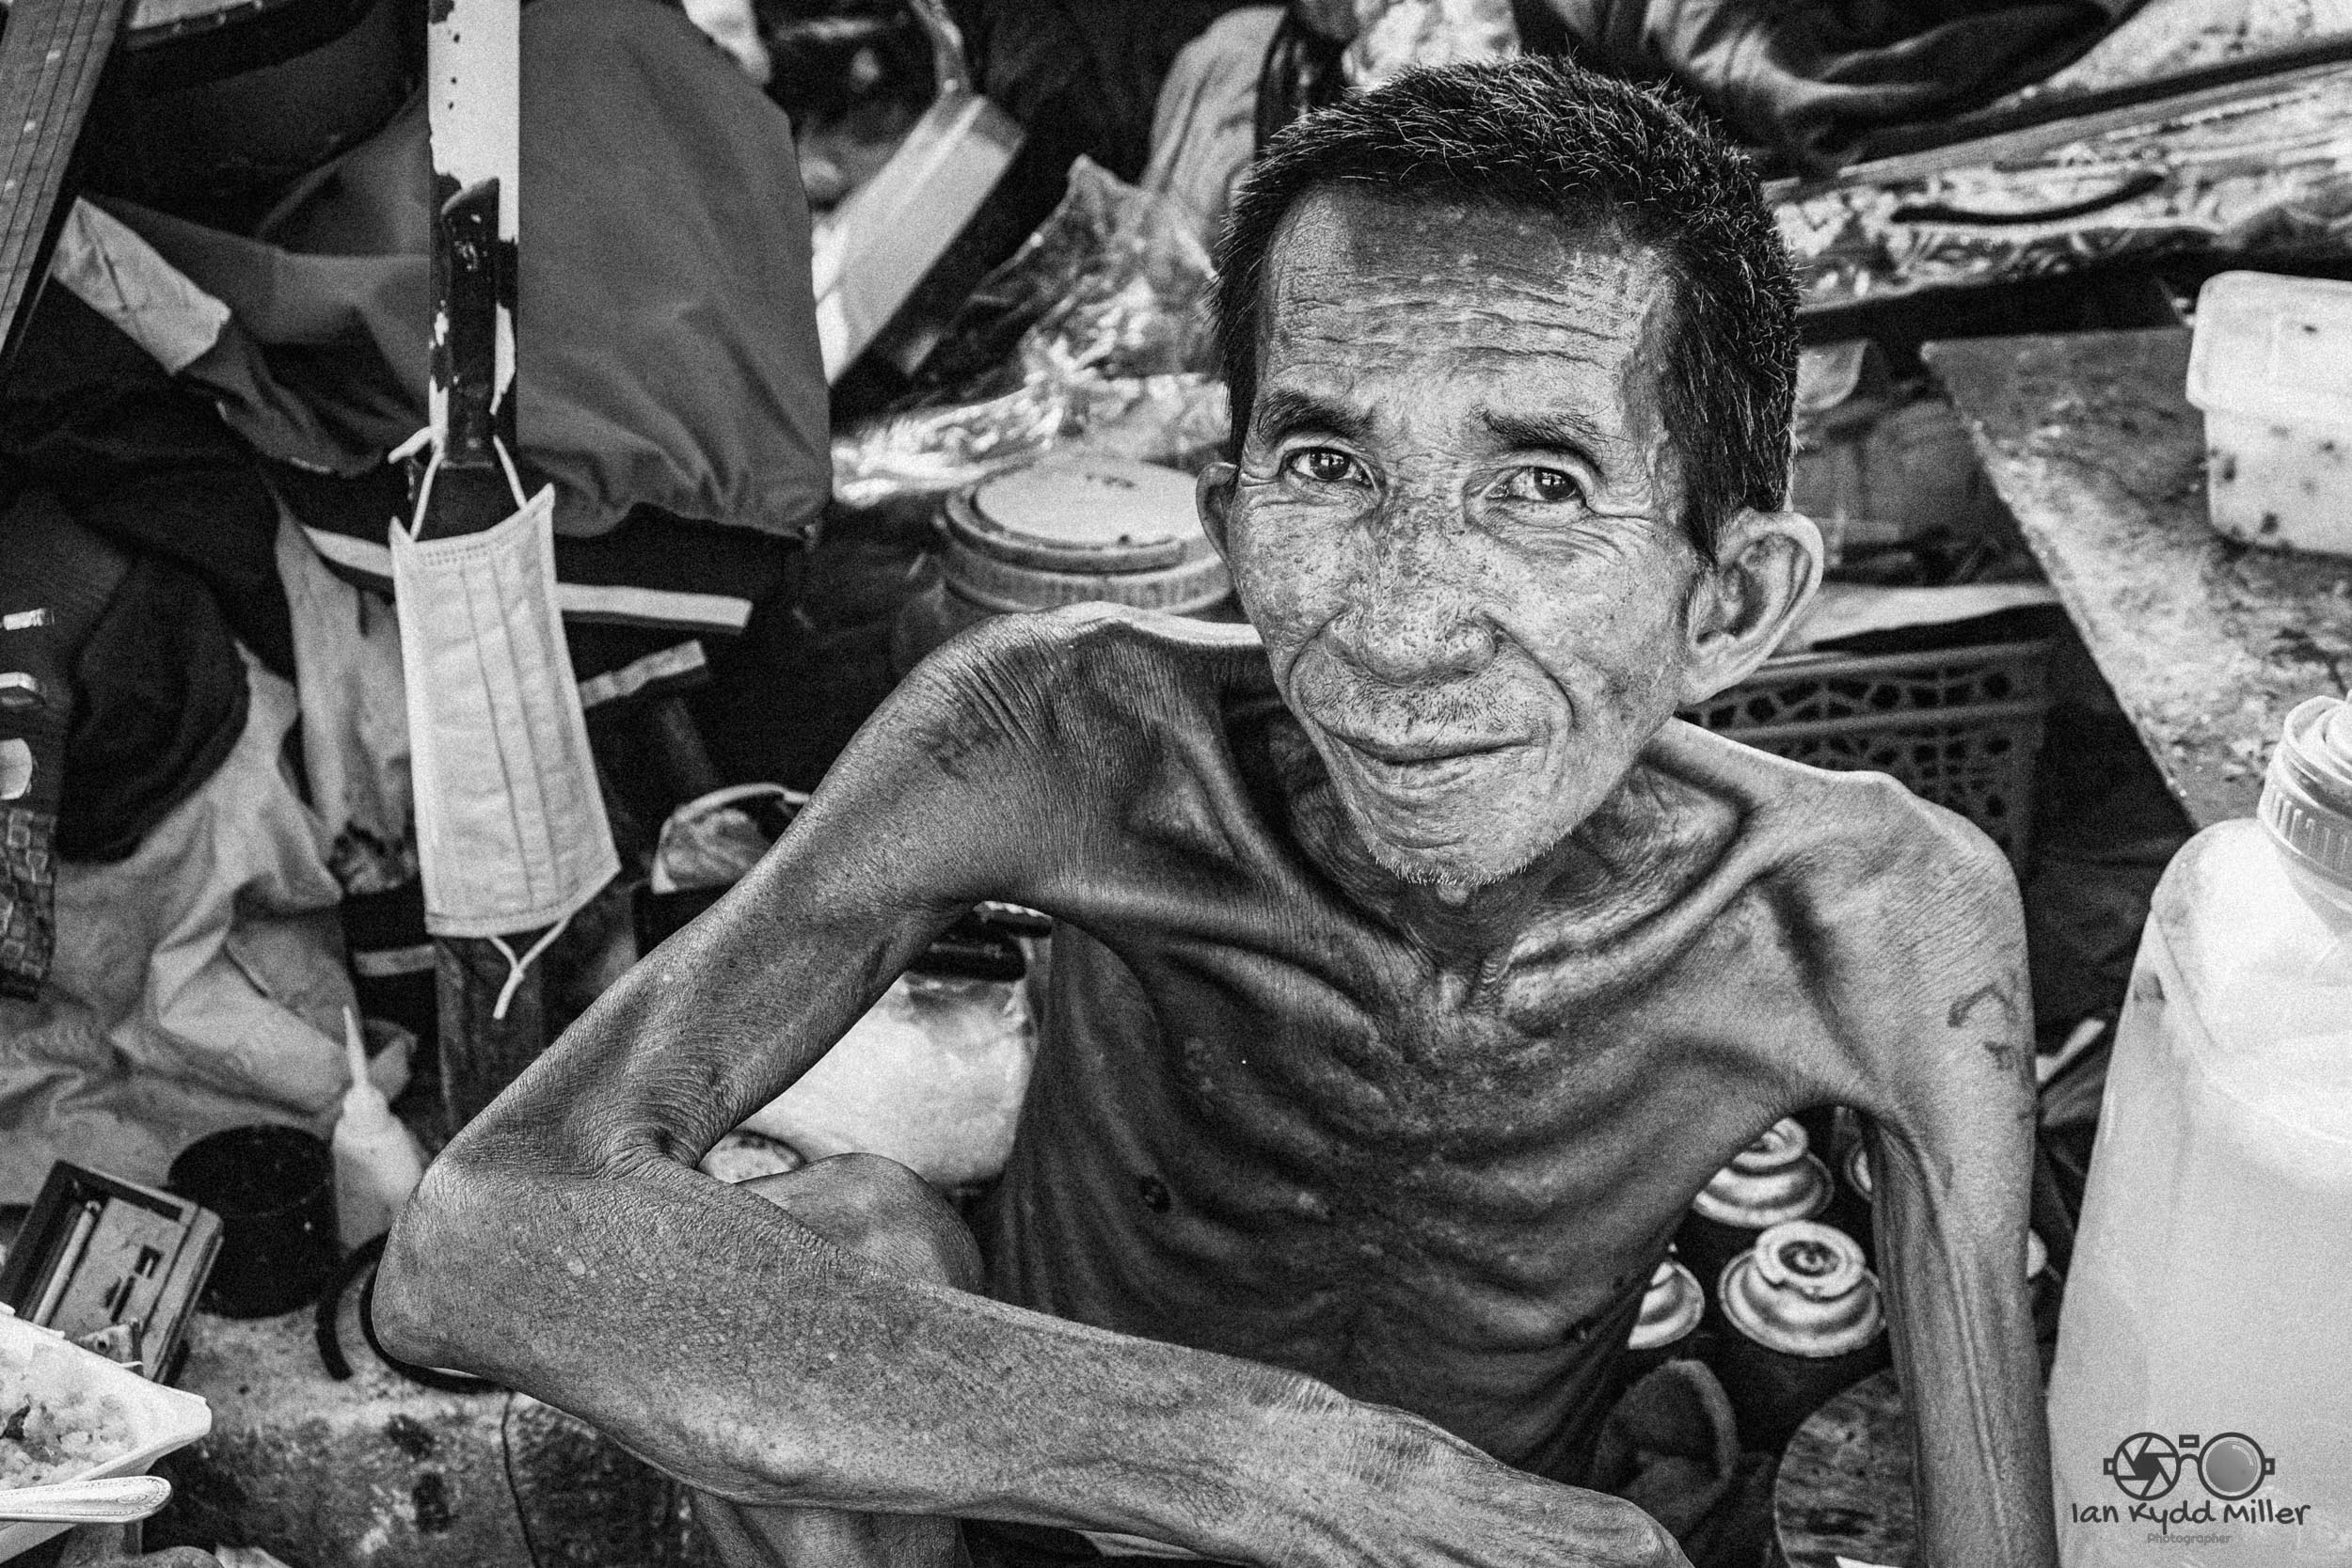
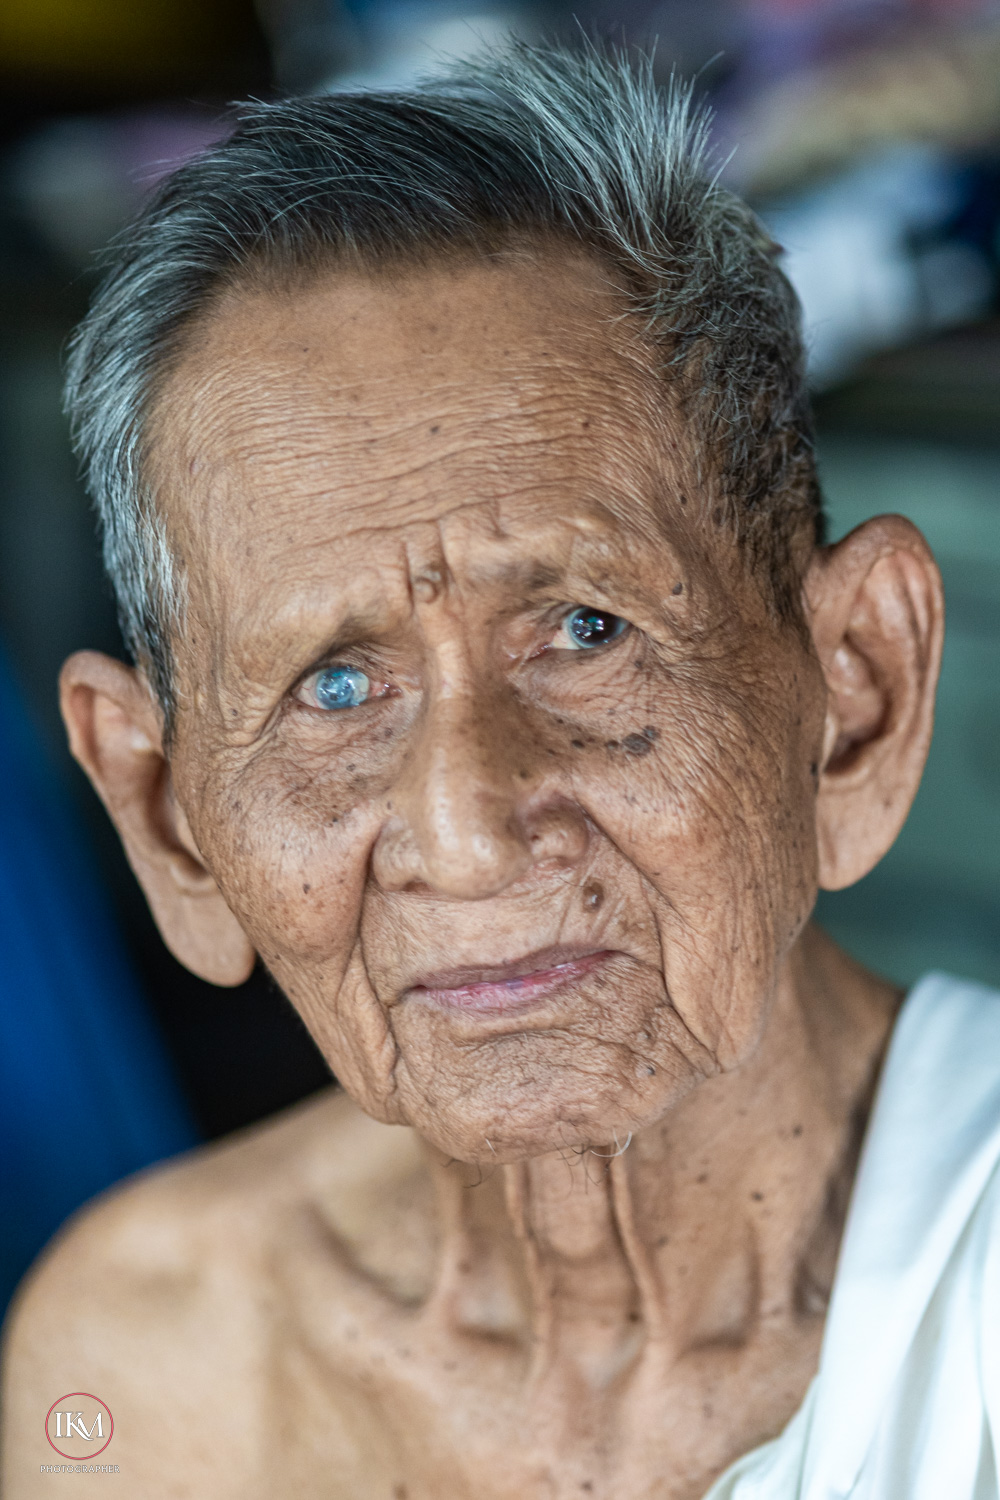
A face in window light is a good example. There is more to a convincing portrait than a sharp eyelash. The light across a cheek, the distinction between skin and fabric, and the separation of a person from the room behind them all contribute. The D810 gives you a detailed starting point for working with those relationships.
Its resolution also provides useful freedom in the edit. A modest crop can strengthen a picture while leaving plenty of information for printing. That freedom is valuable when a fleeting gesture prevents perfect framing. It can also become an excuse for standing in the wrong place. Cropping should improve the photograph you saw, rather than routinely compensate for never quite deciding what it was.
What ISO 64 gives you
ISO 64 is one of the D810’s most useful features. Nikon designed the sensor to accumulate more light information at its lowest standard sensitivity, supporting rich tones and substantial dynamic range. In practical terms, that makes it an attractive setting for carefully exposed landscapes, architecture, still life and portraits when the available light permits it. Nikon About Us
The qualification matters. ISO 64 is no achievement if the shutter speed becomes too slow for the person in front of you.
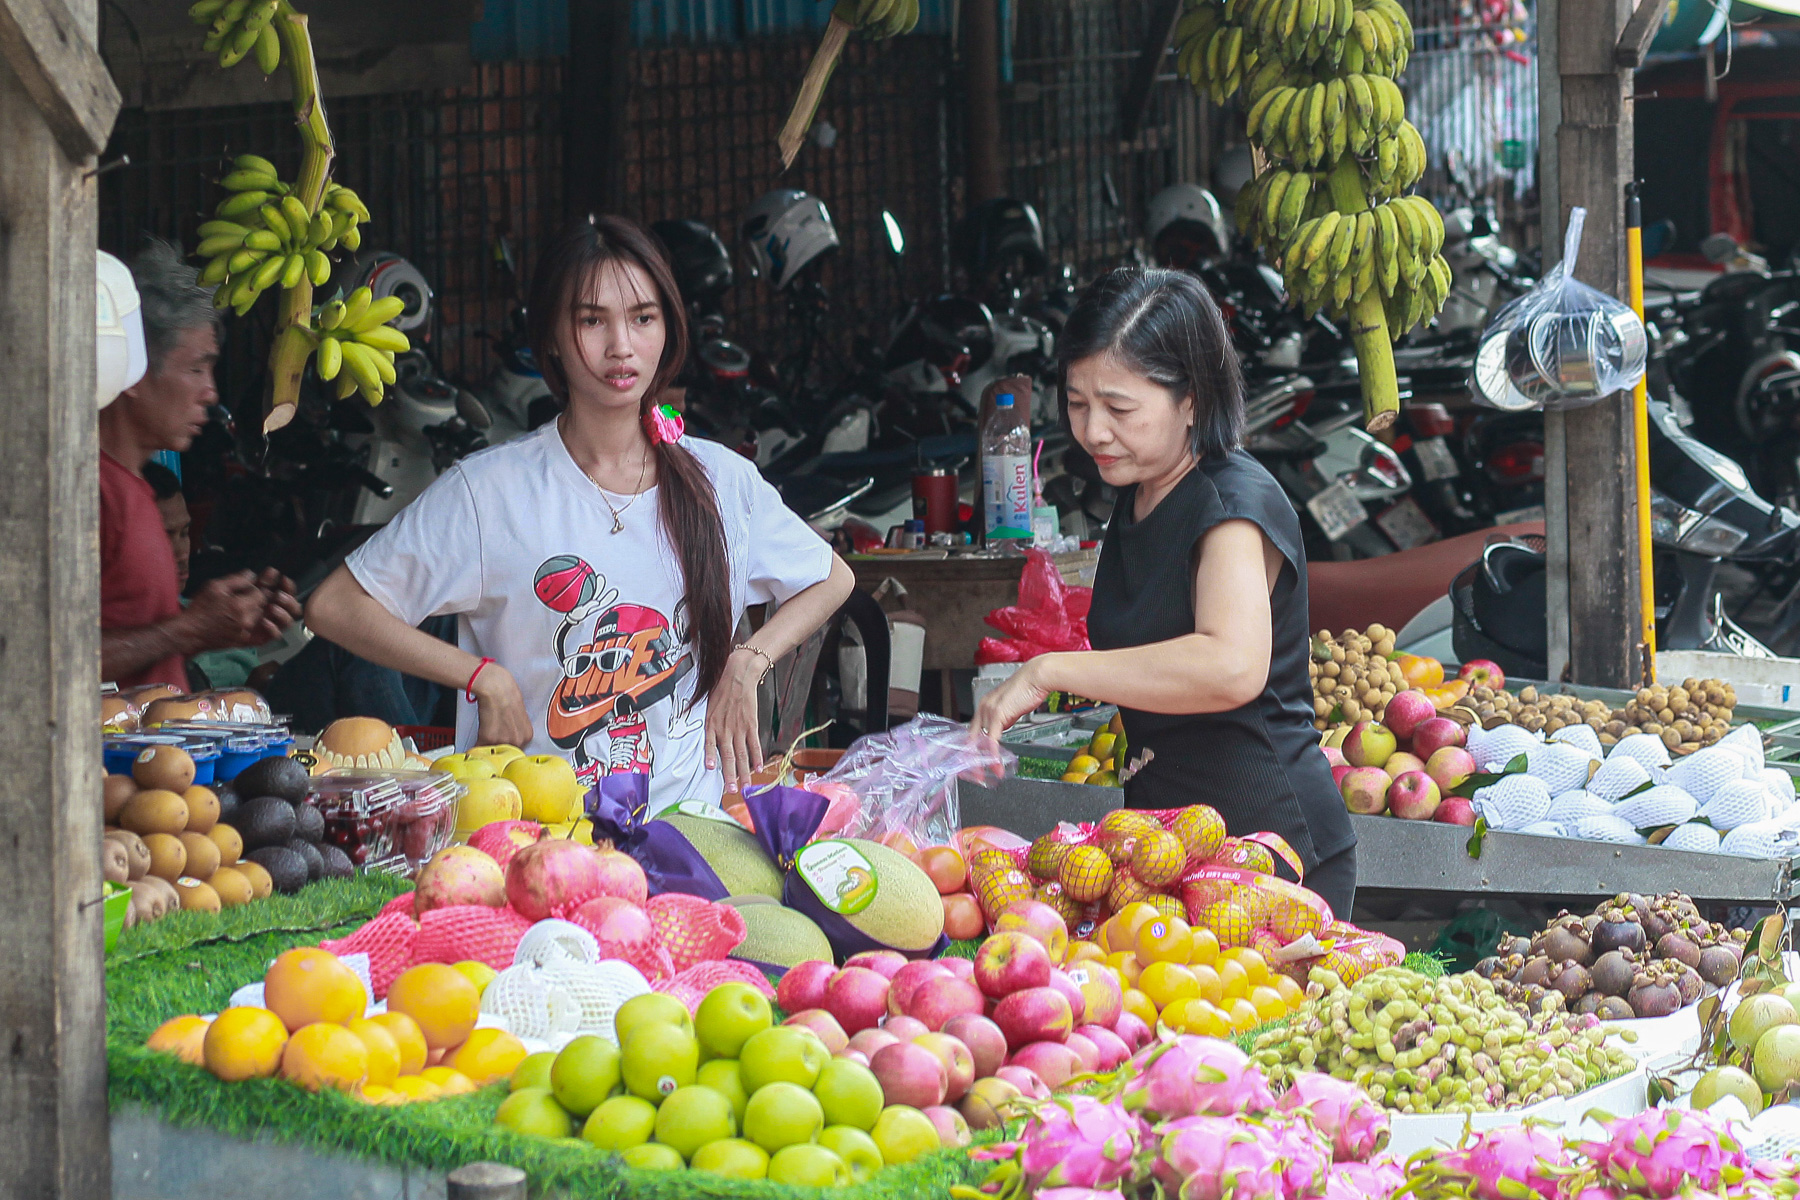
In a market, someone may appear to be standing still while their hands, head and expression keep moving. A wonderfully clean file containing a blurred face is rarely the result you wanted. Raise the ISO when the photograph requires it. A little noise is usually easier to accommodate than movement through an important feature.
Nor does dynamic range remove the need to expose intelligently. There is latitude to adjust a RAW file, but lifting every shadow can flatten the light that made the scene interesting. Darkness sometimes belongs in the picture.
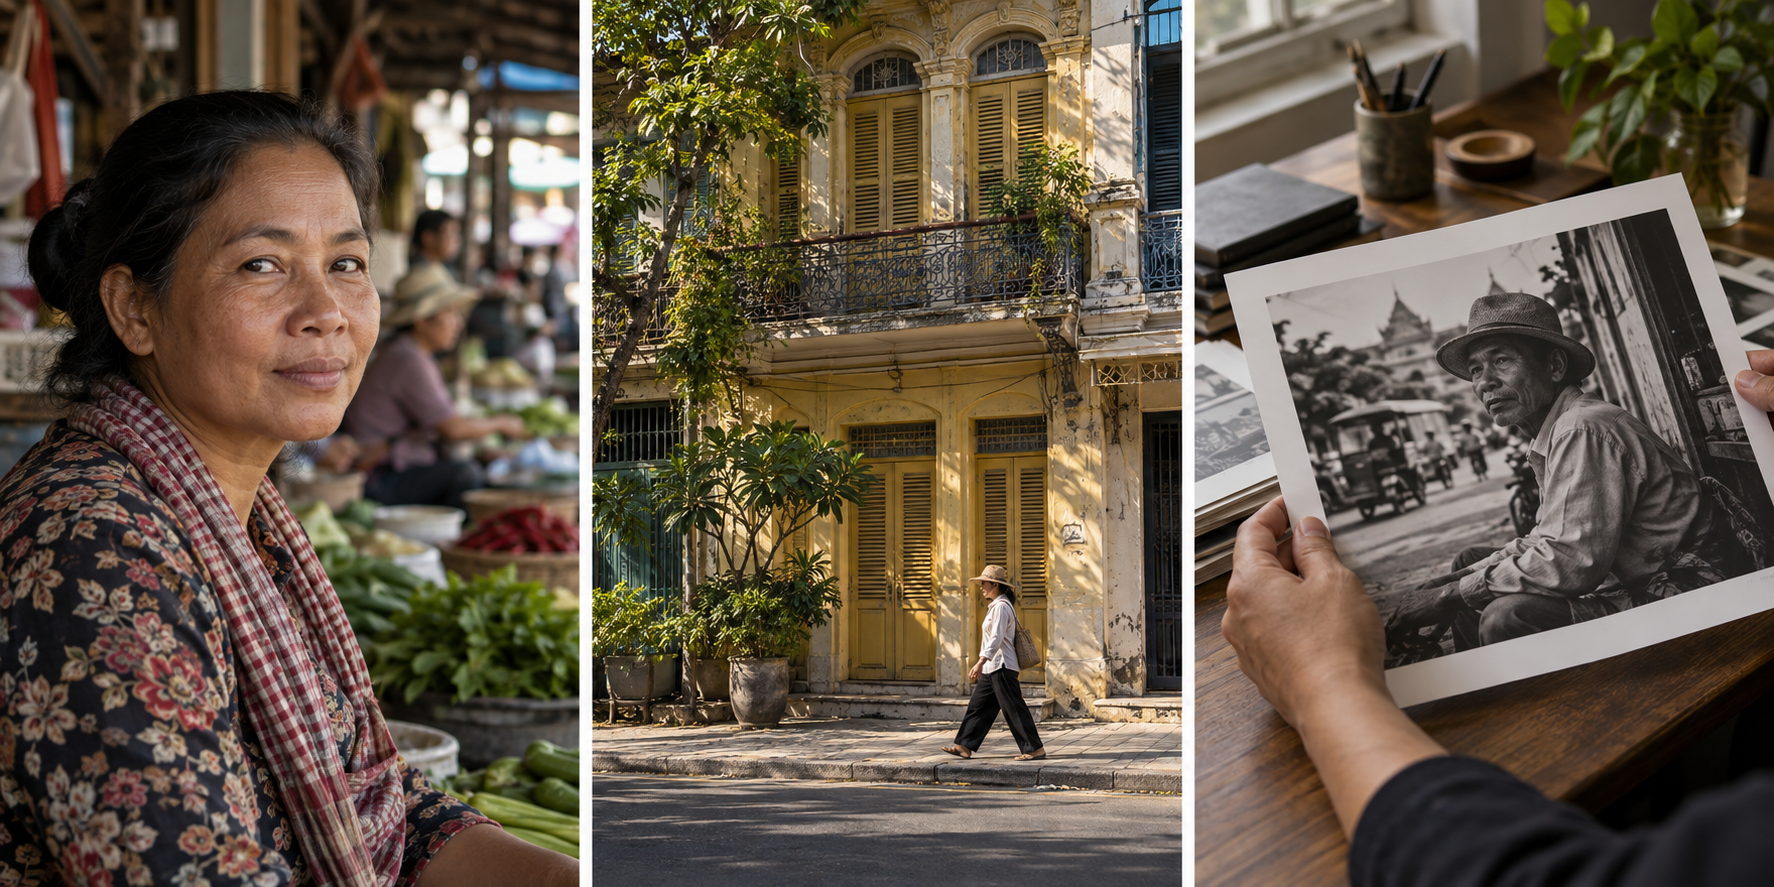
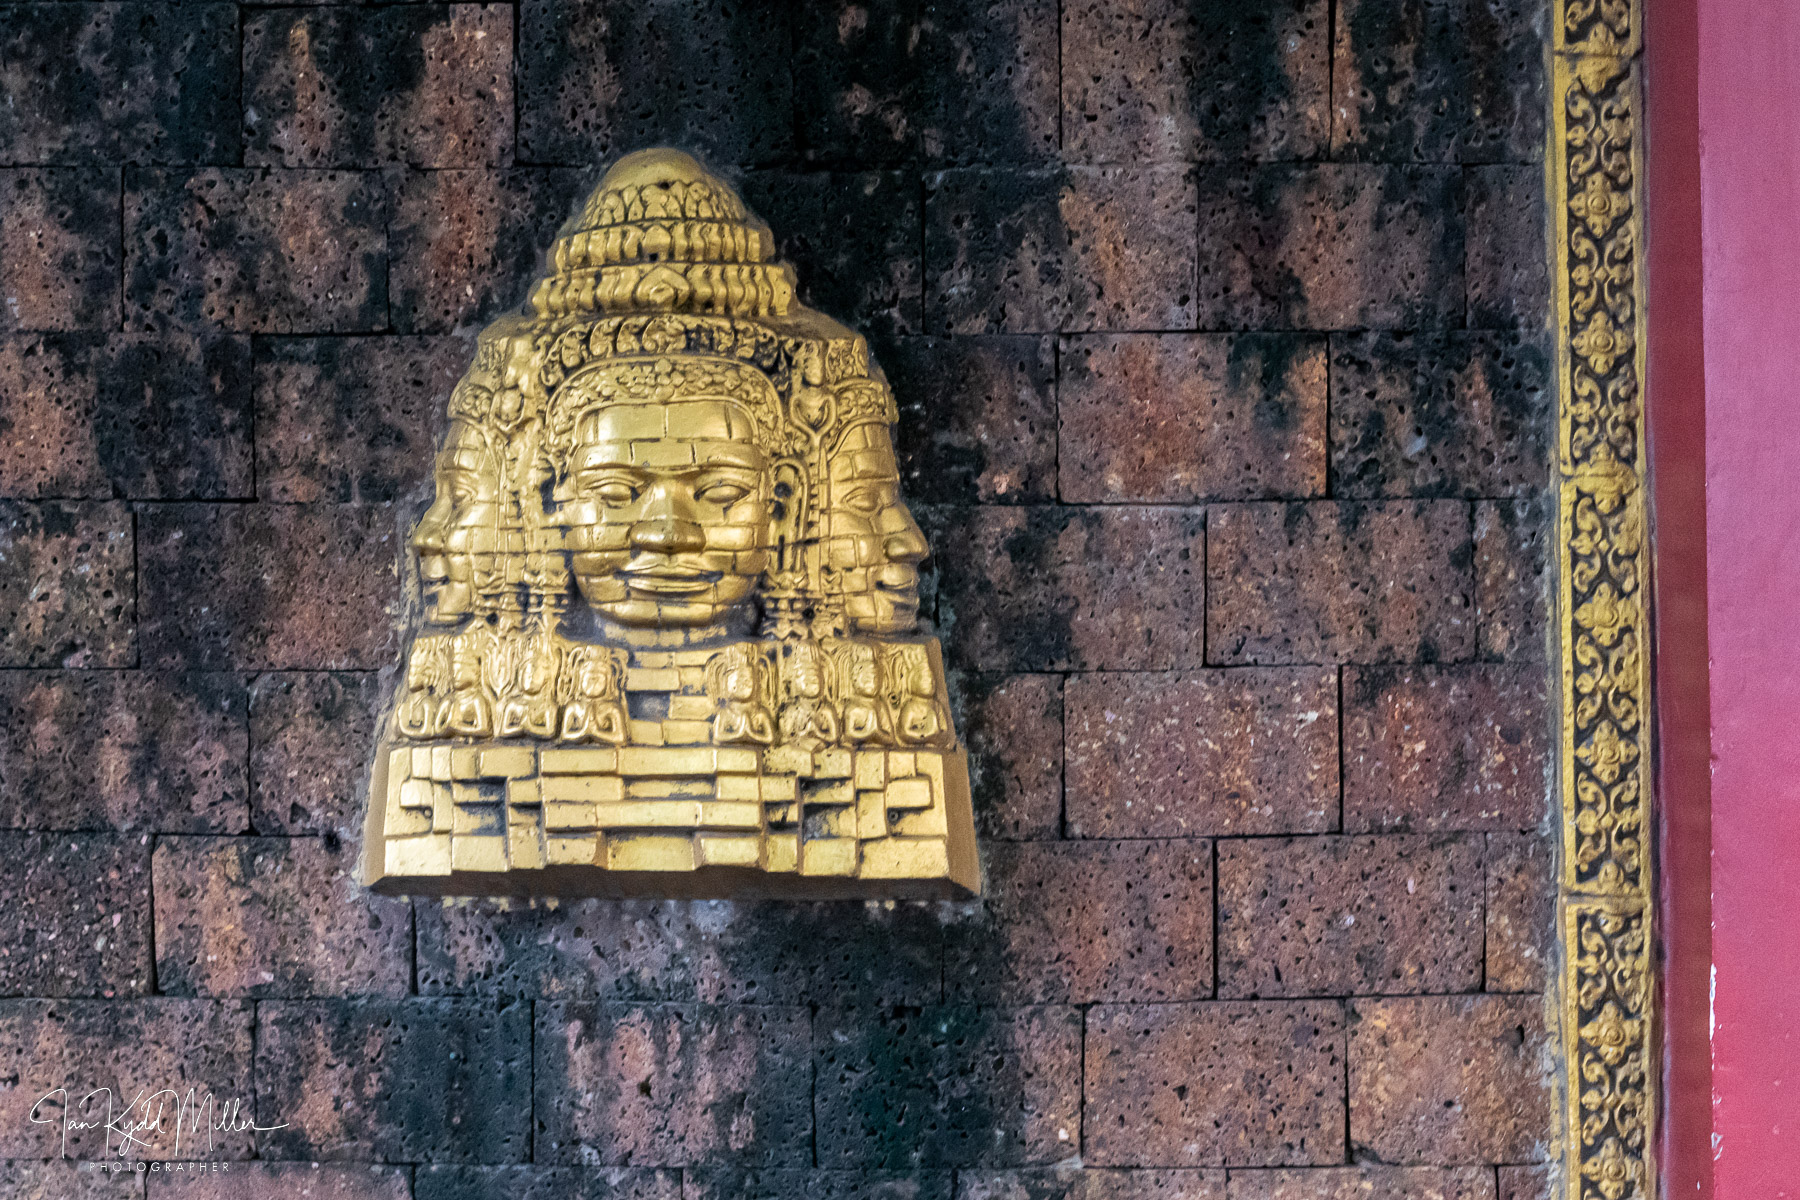
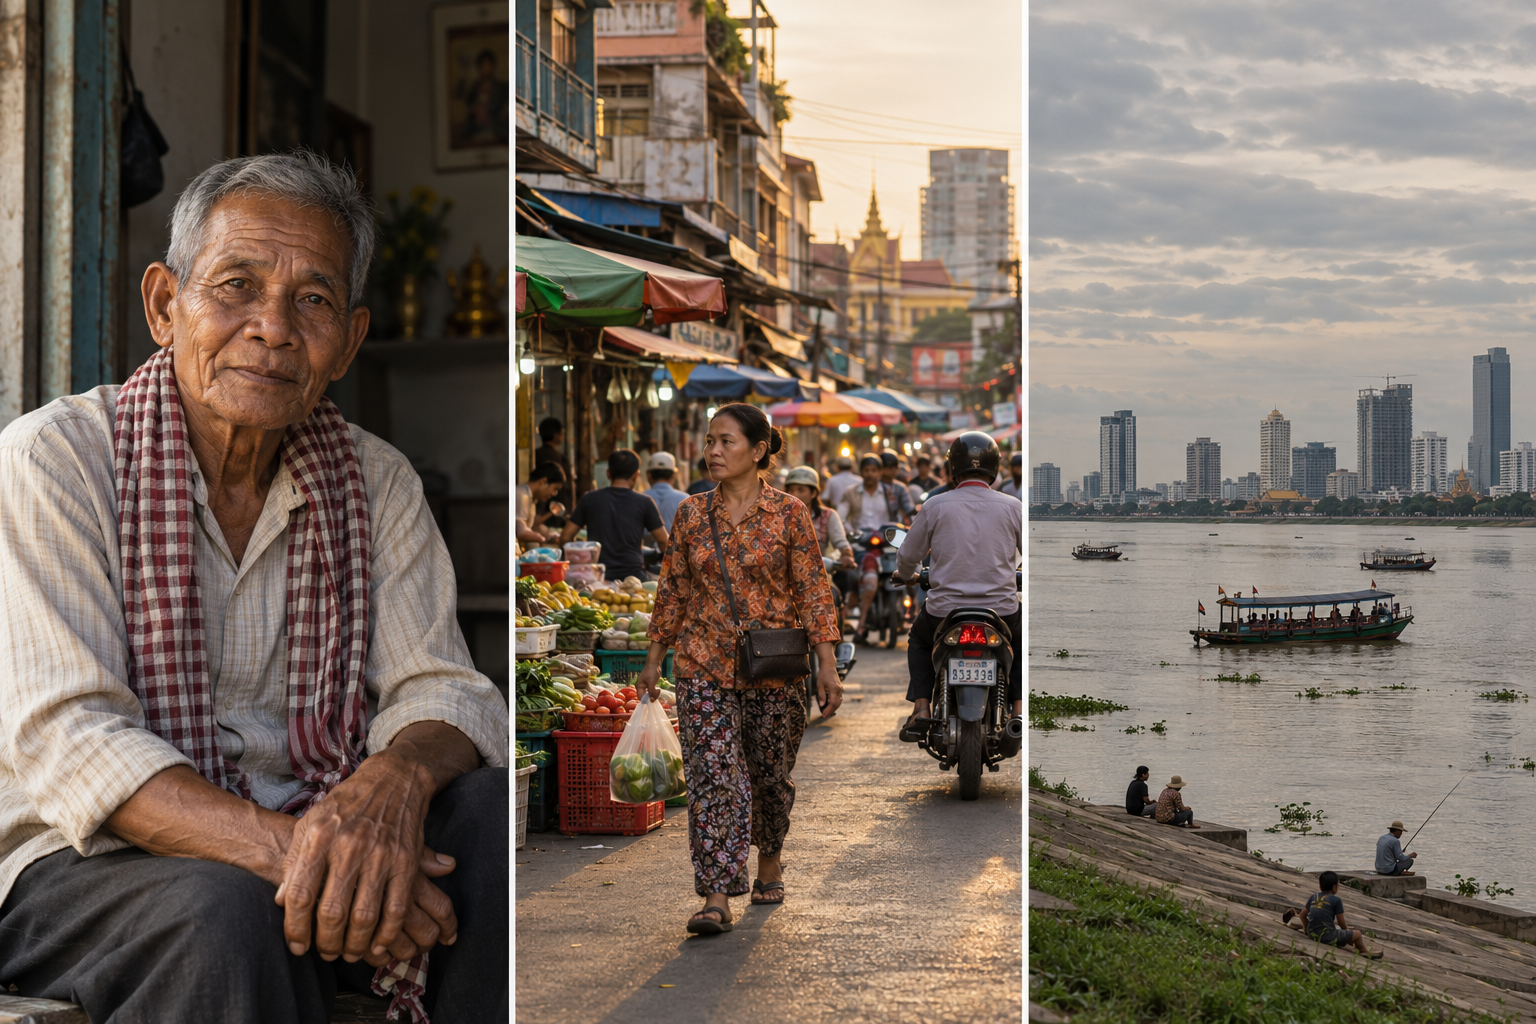
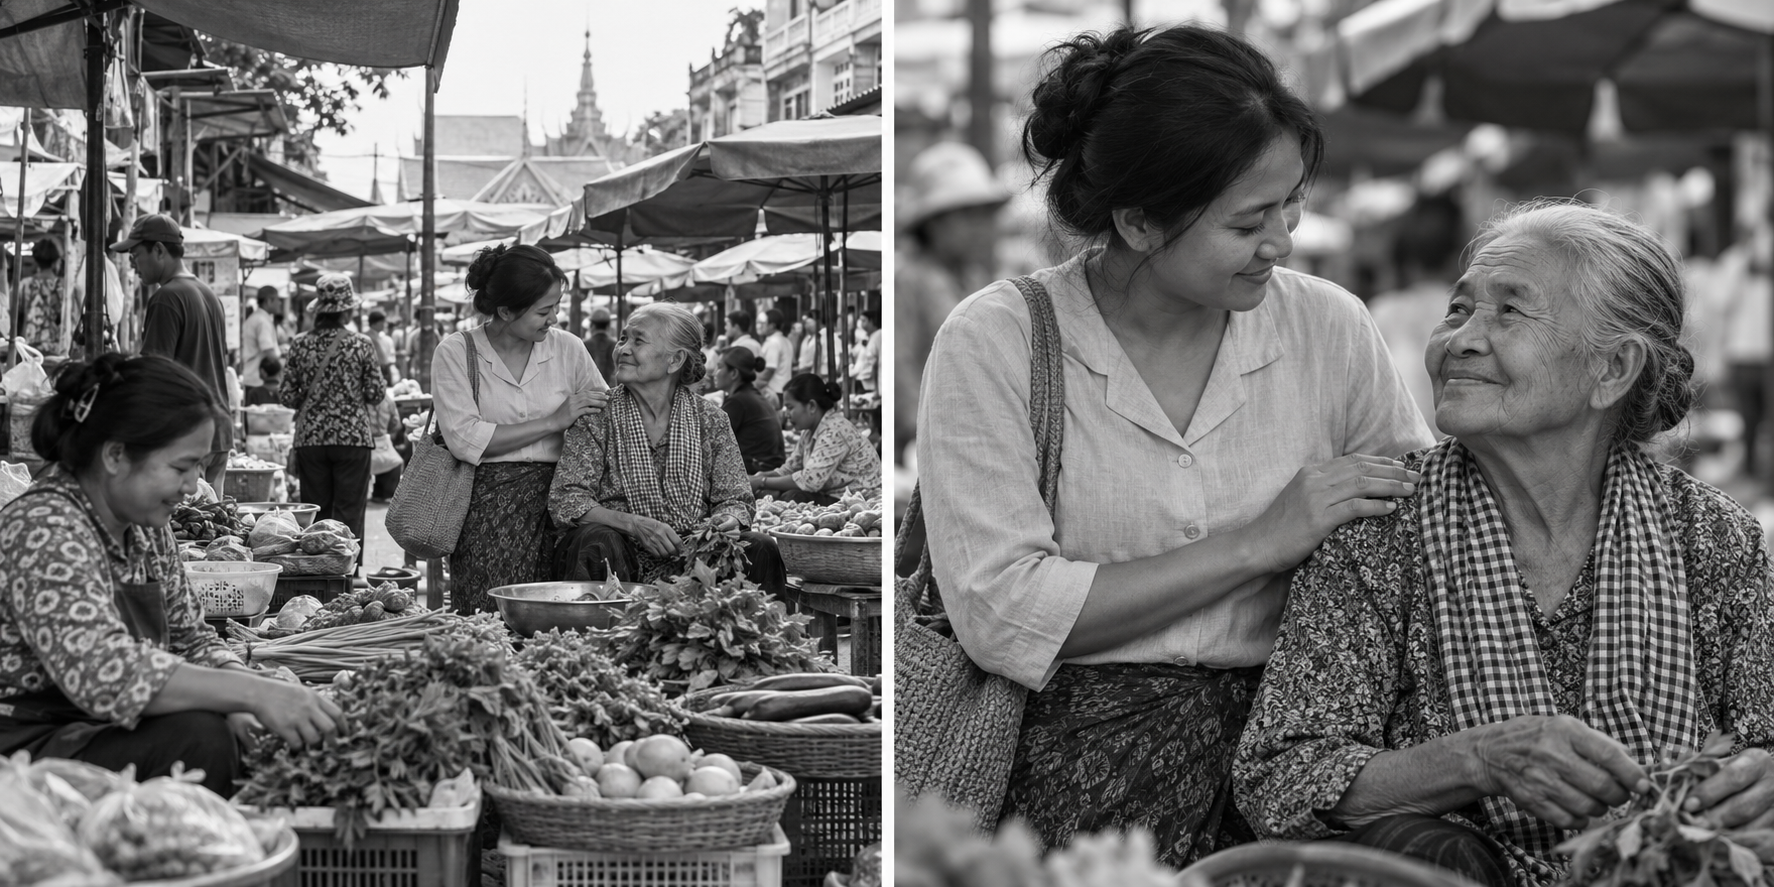
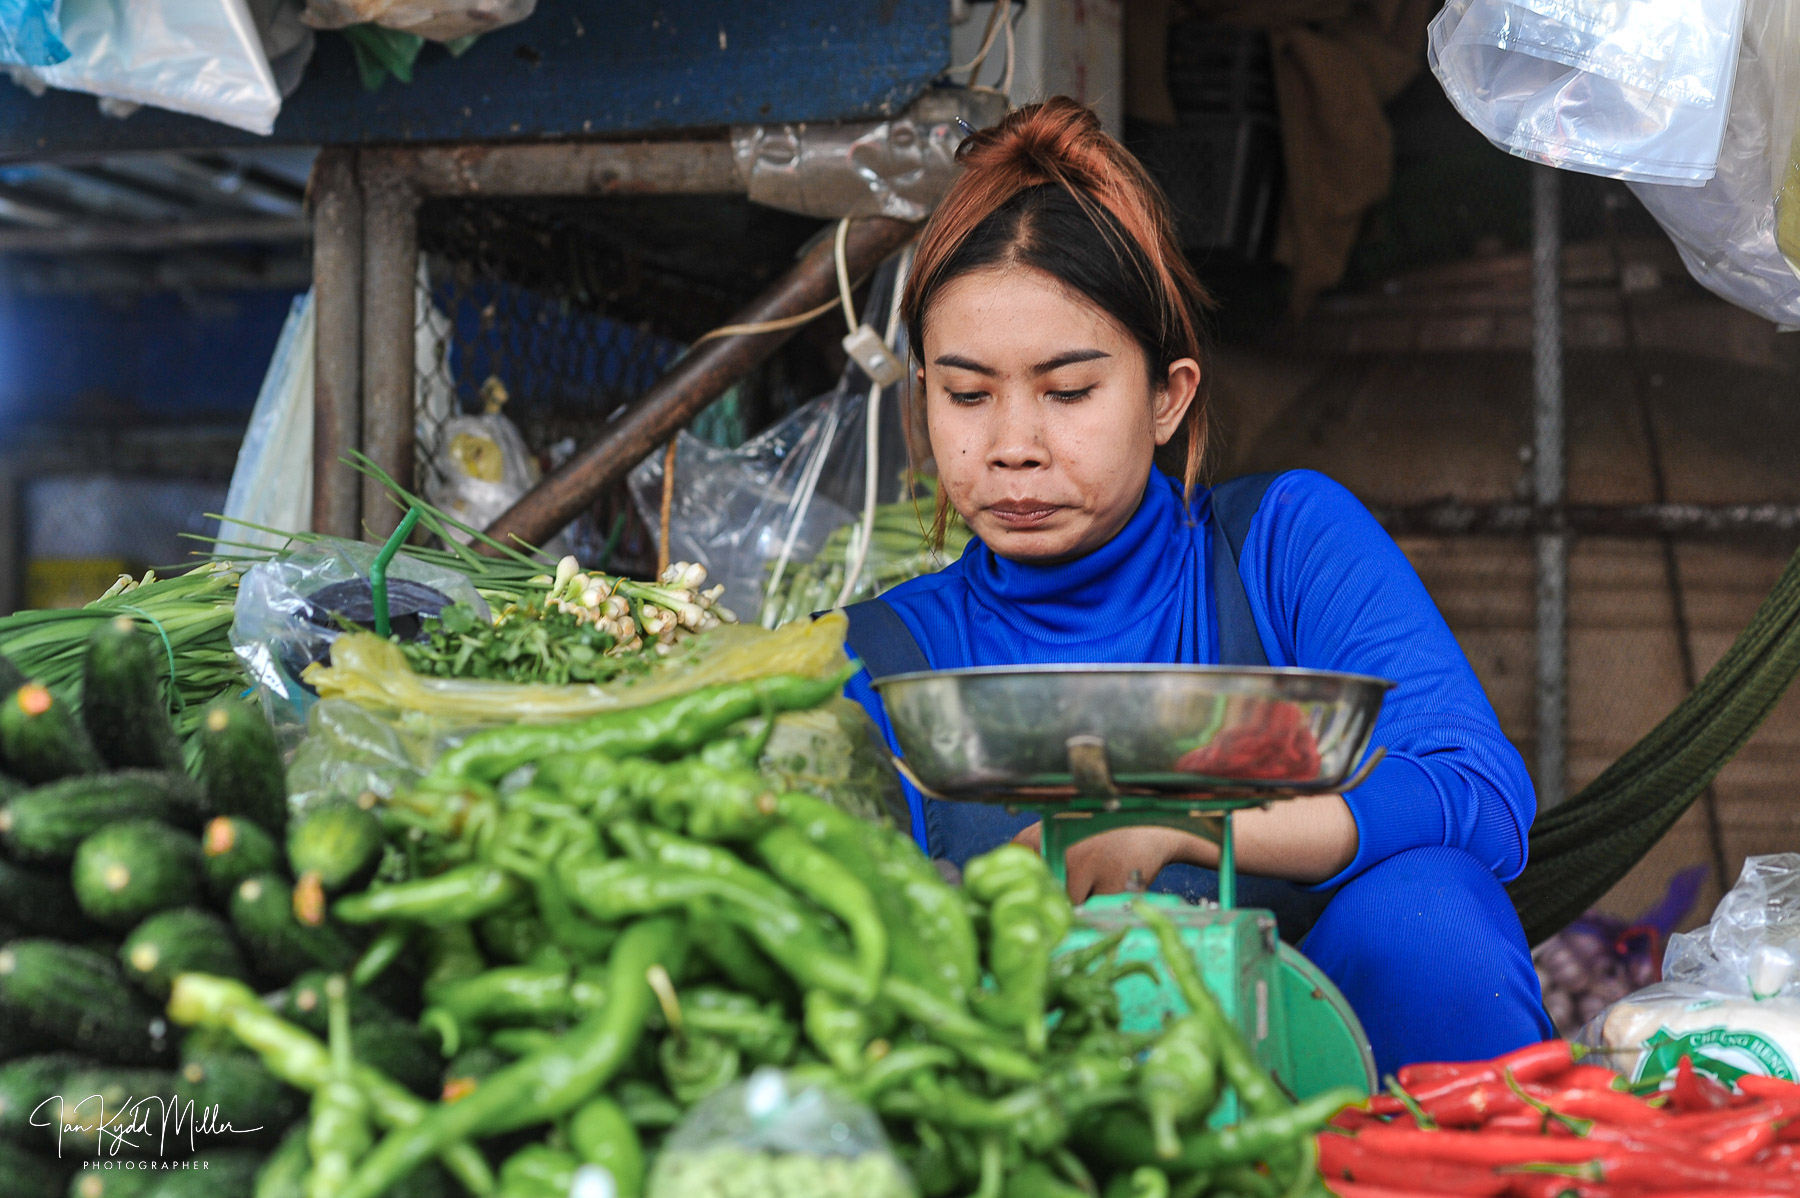
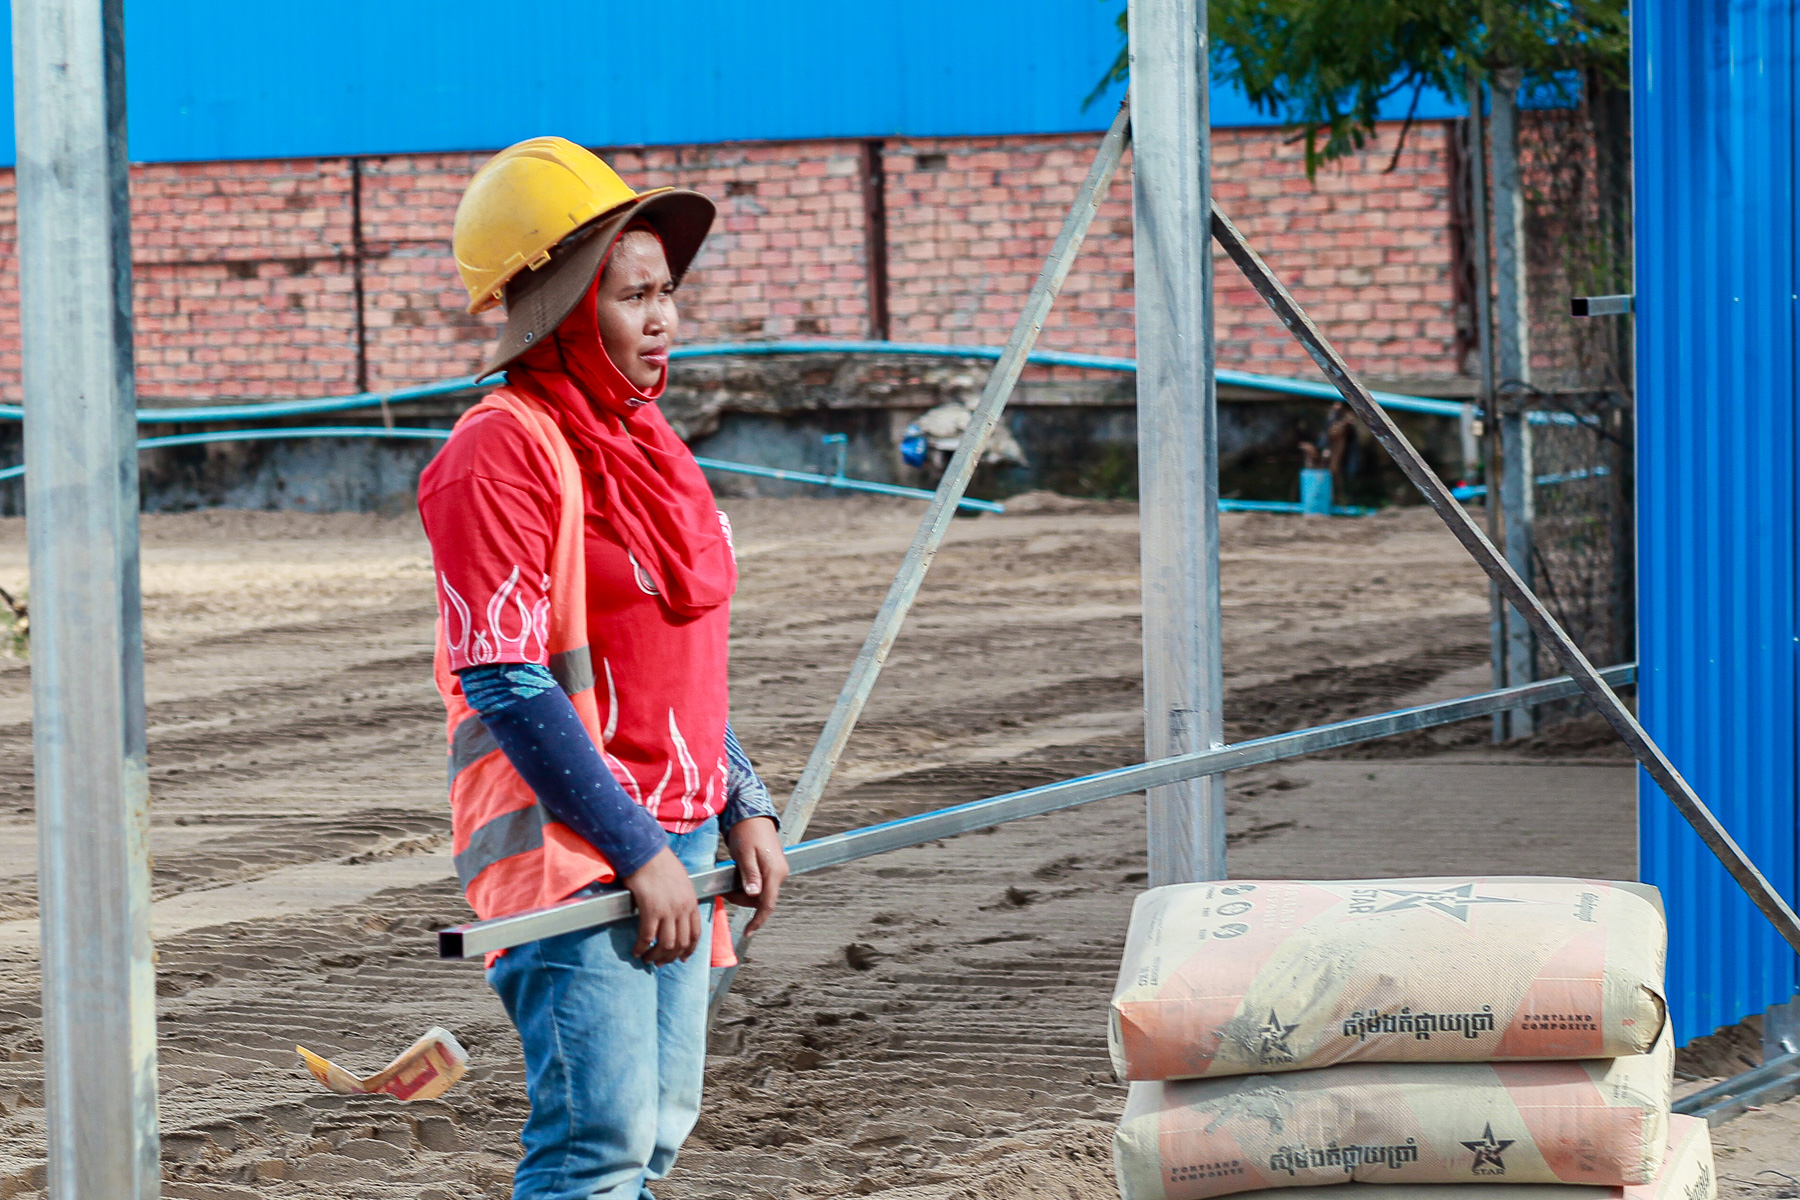
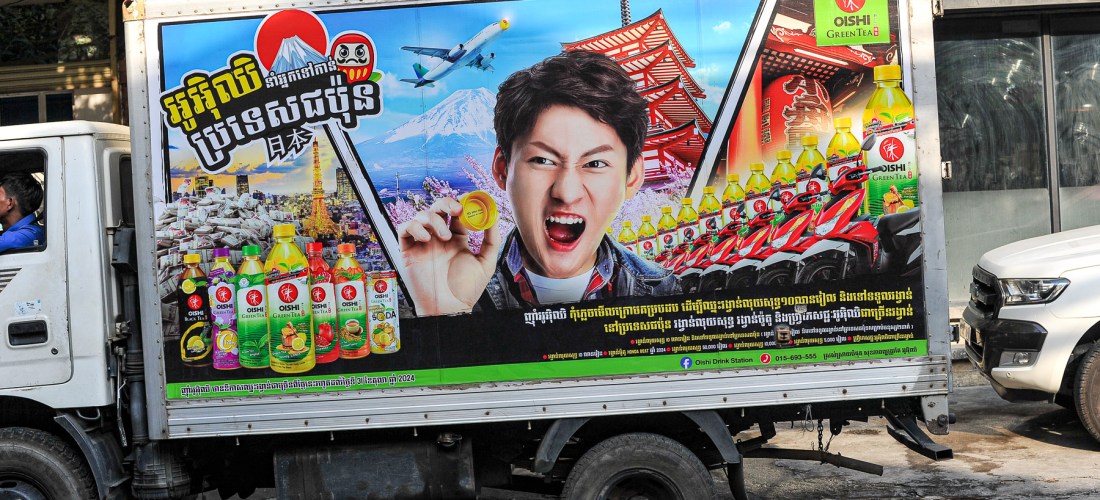
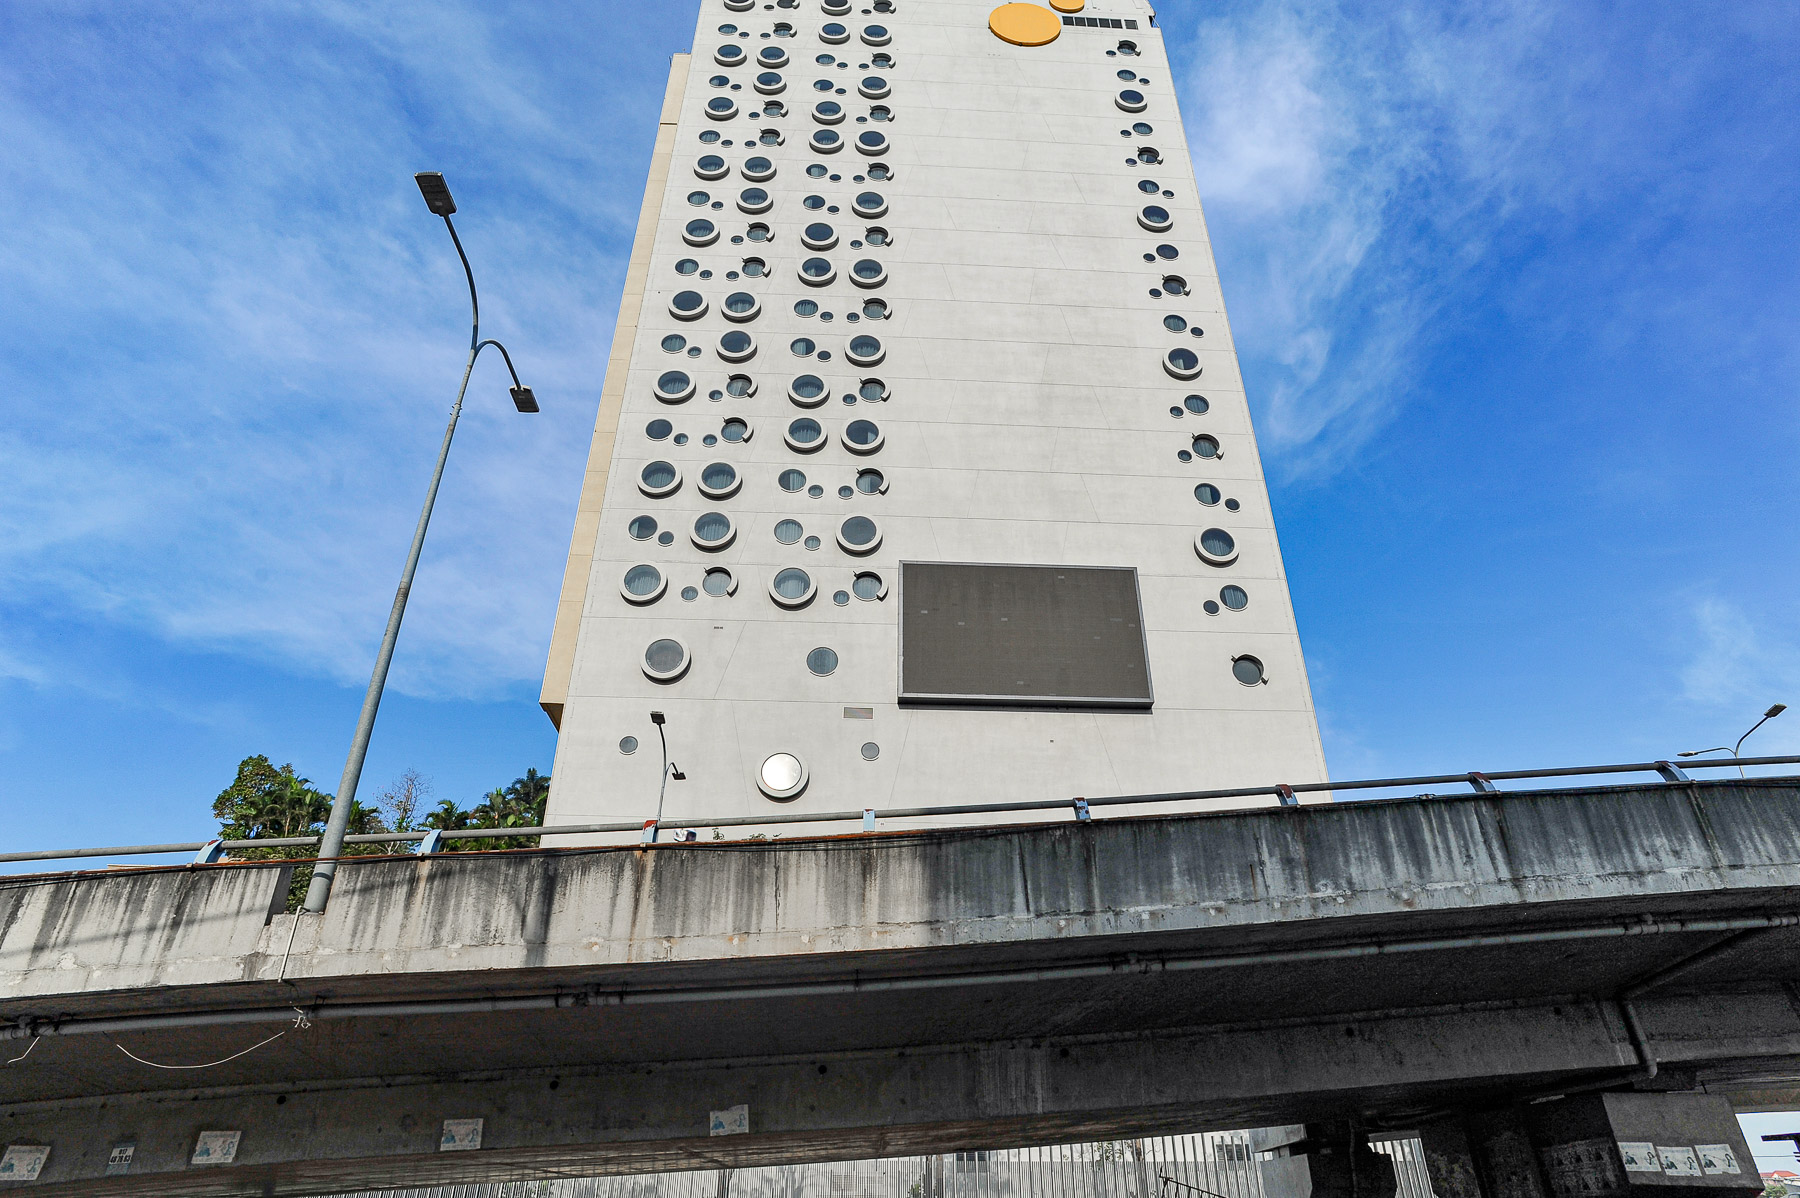
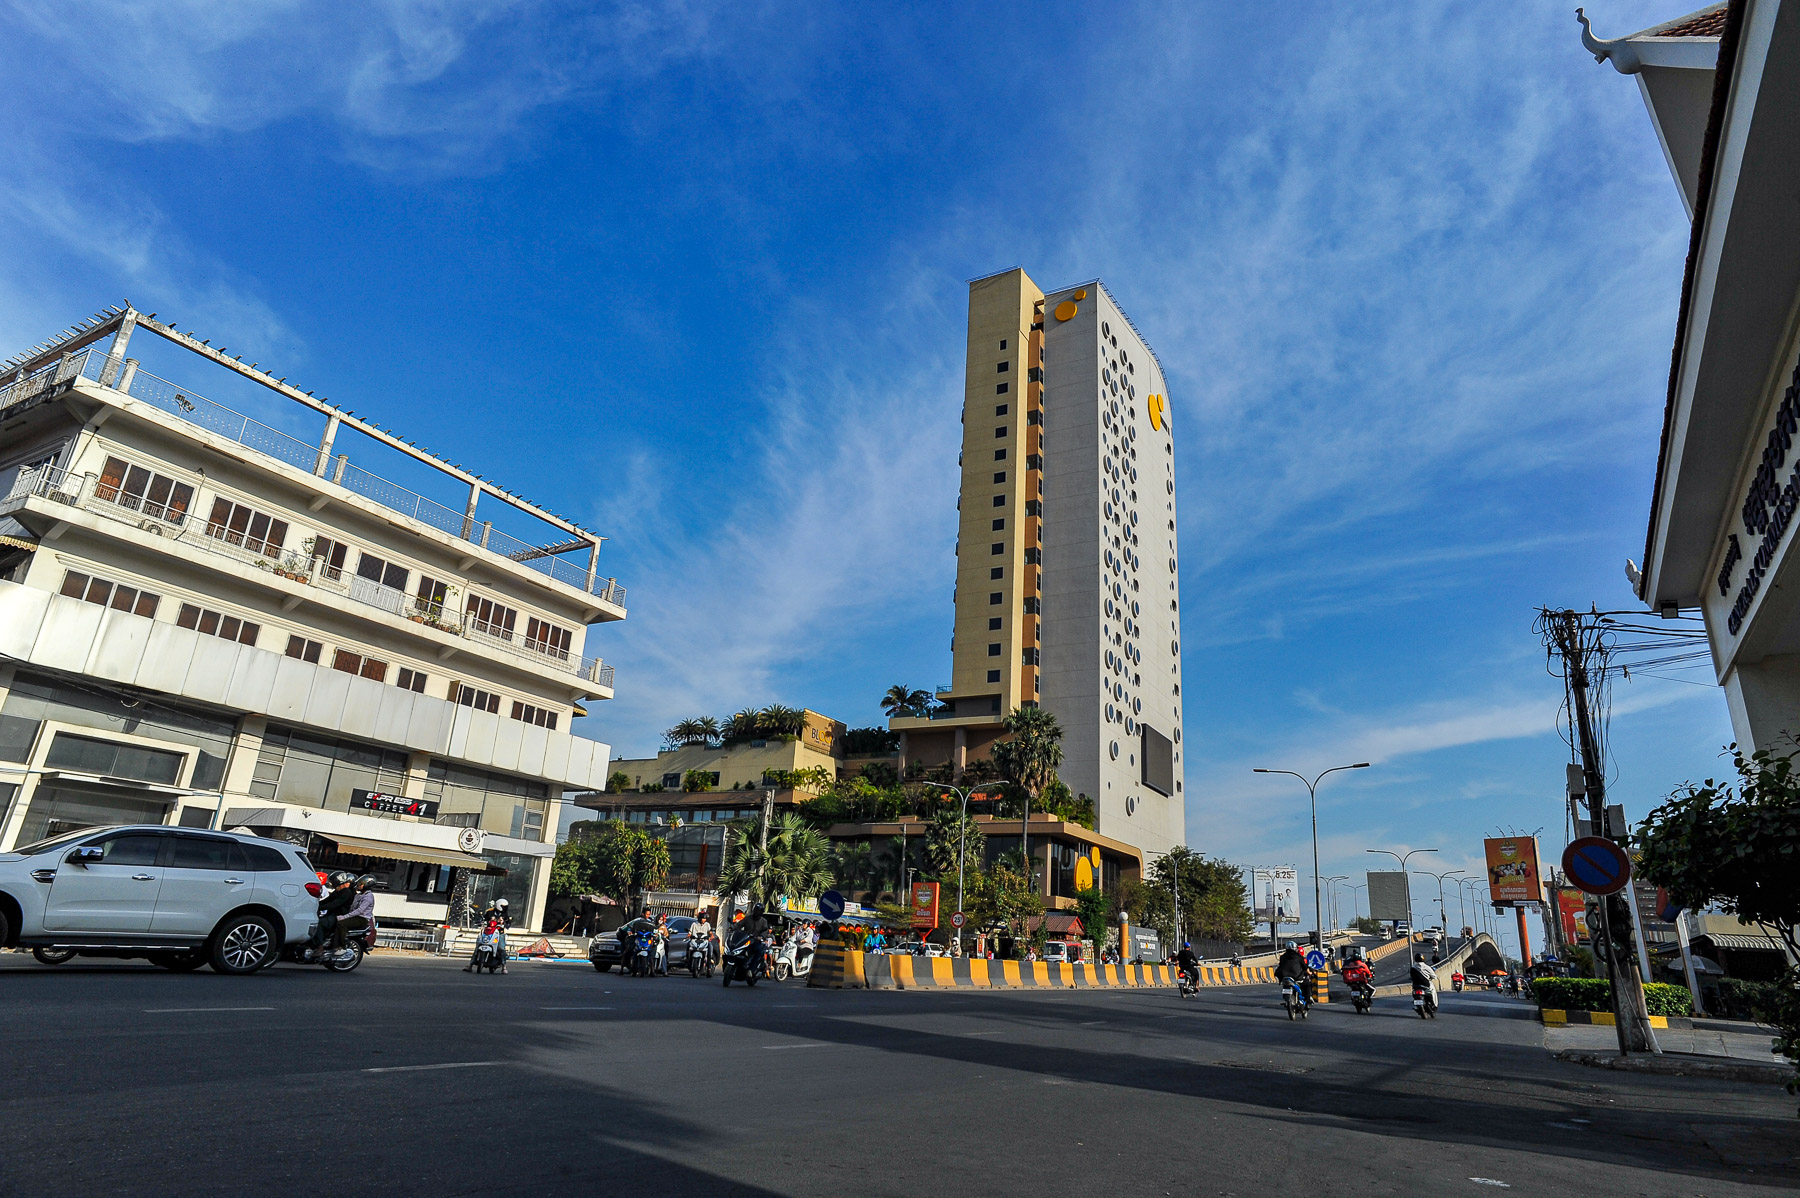
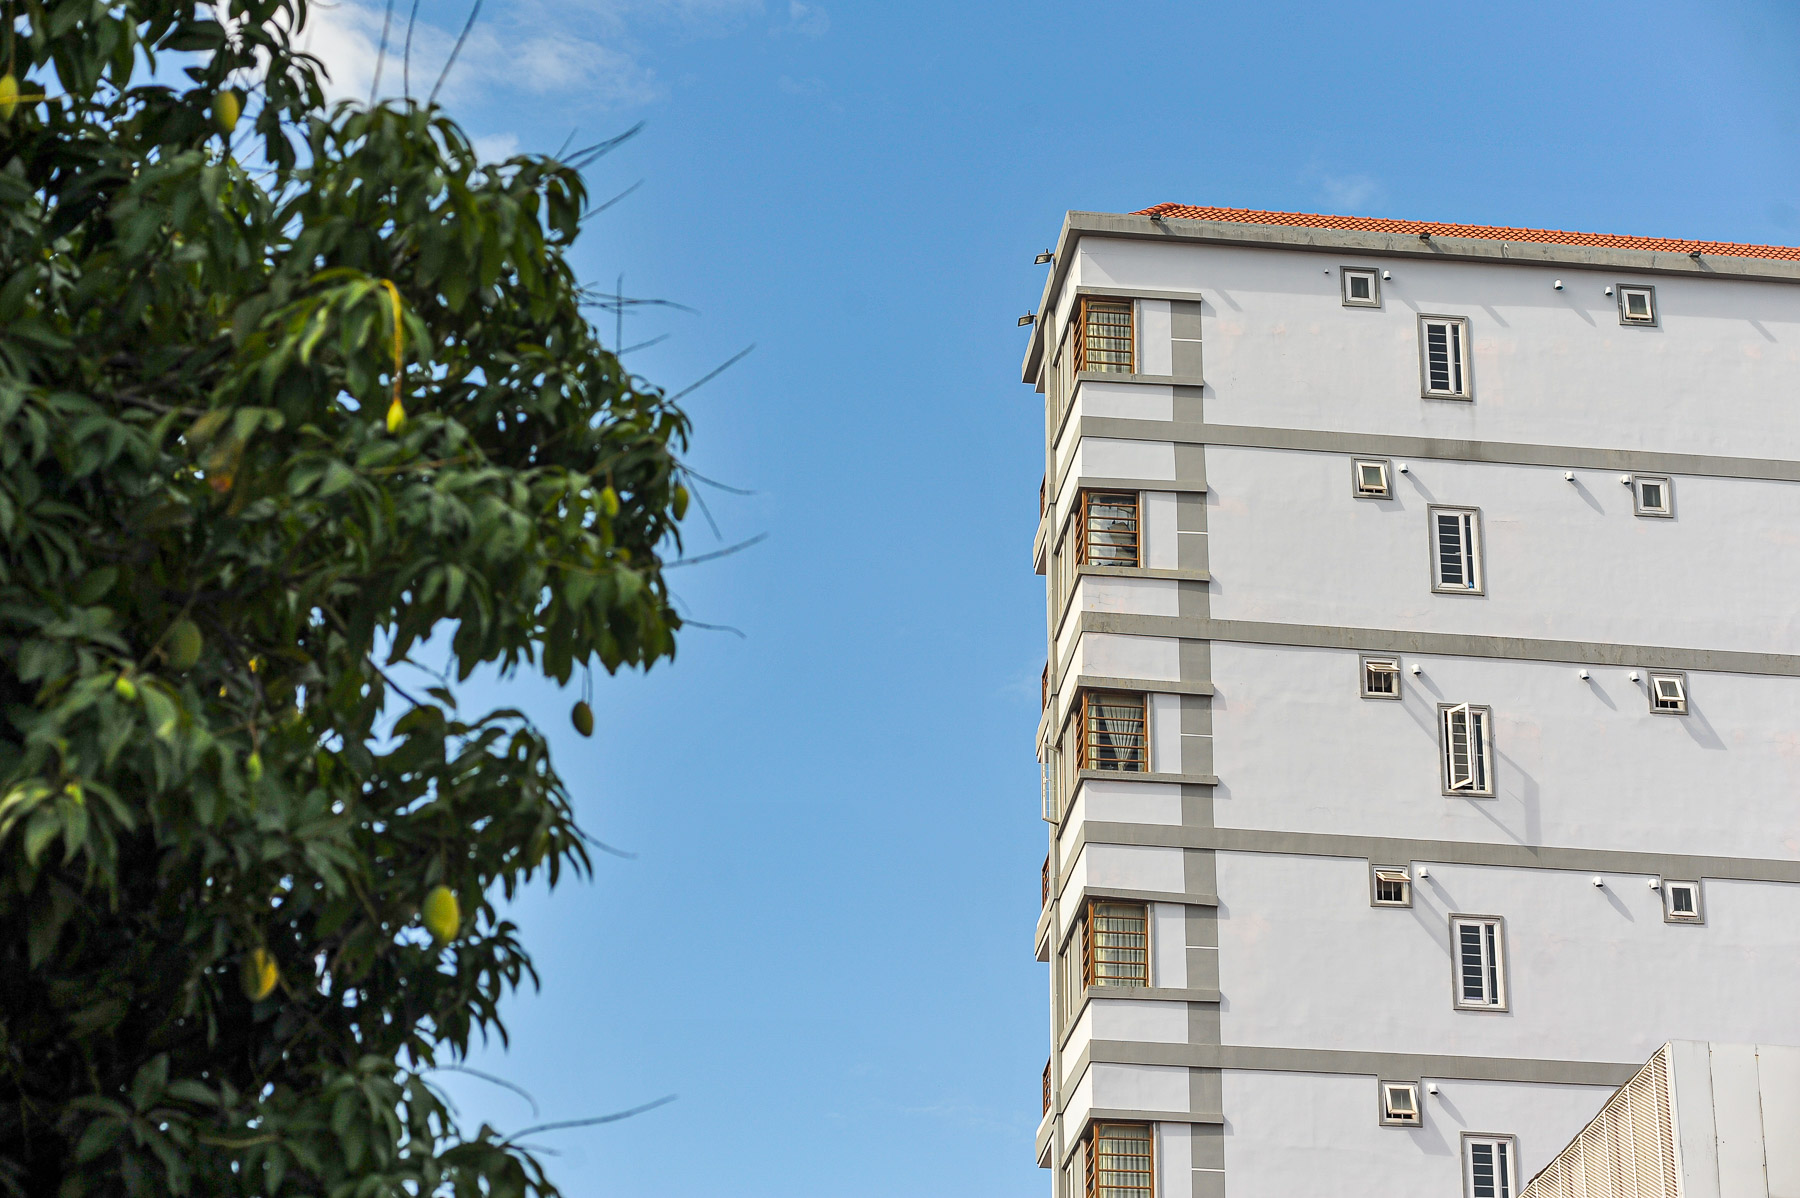
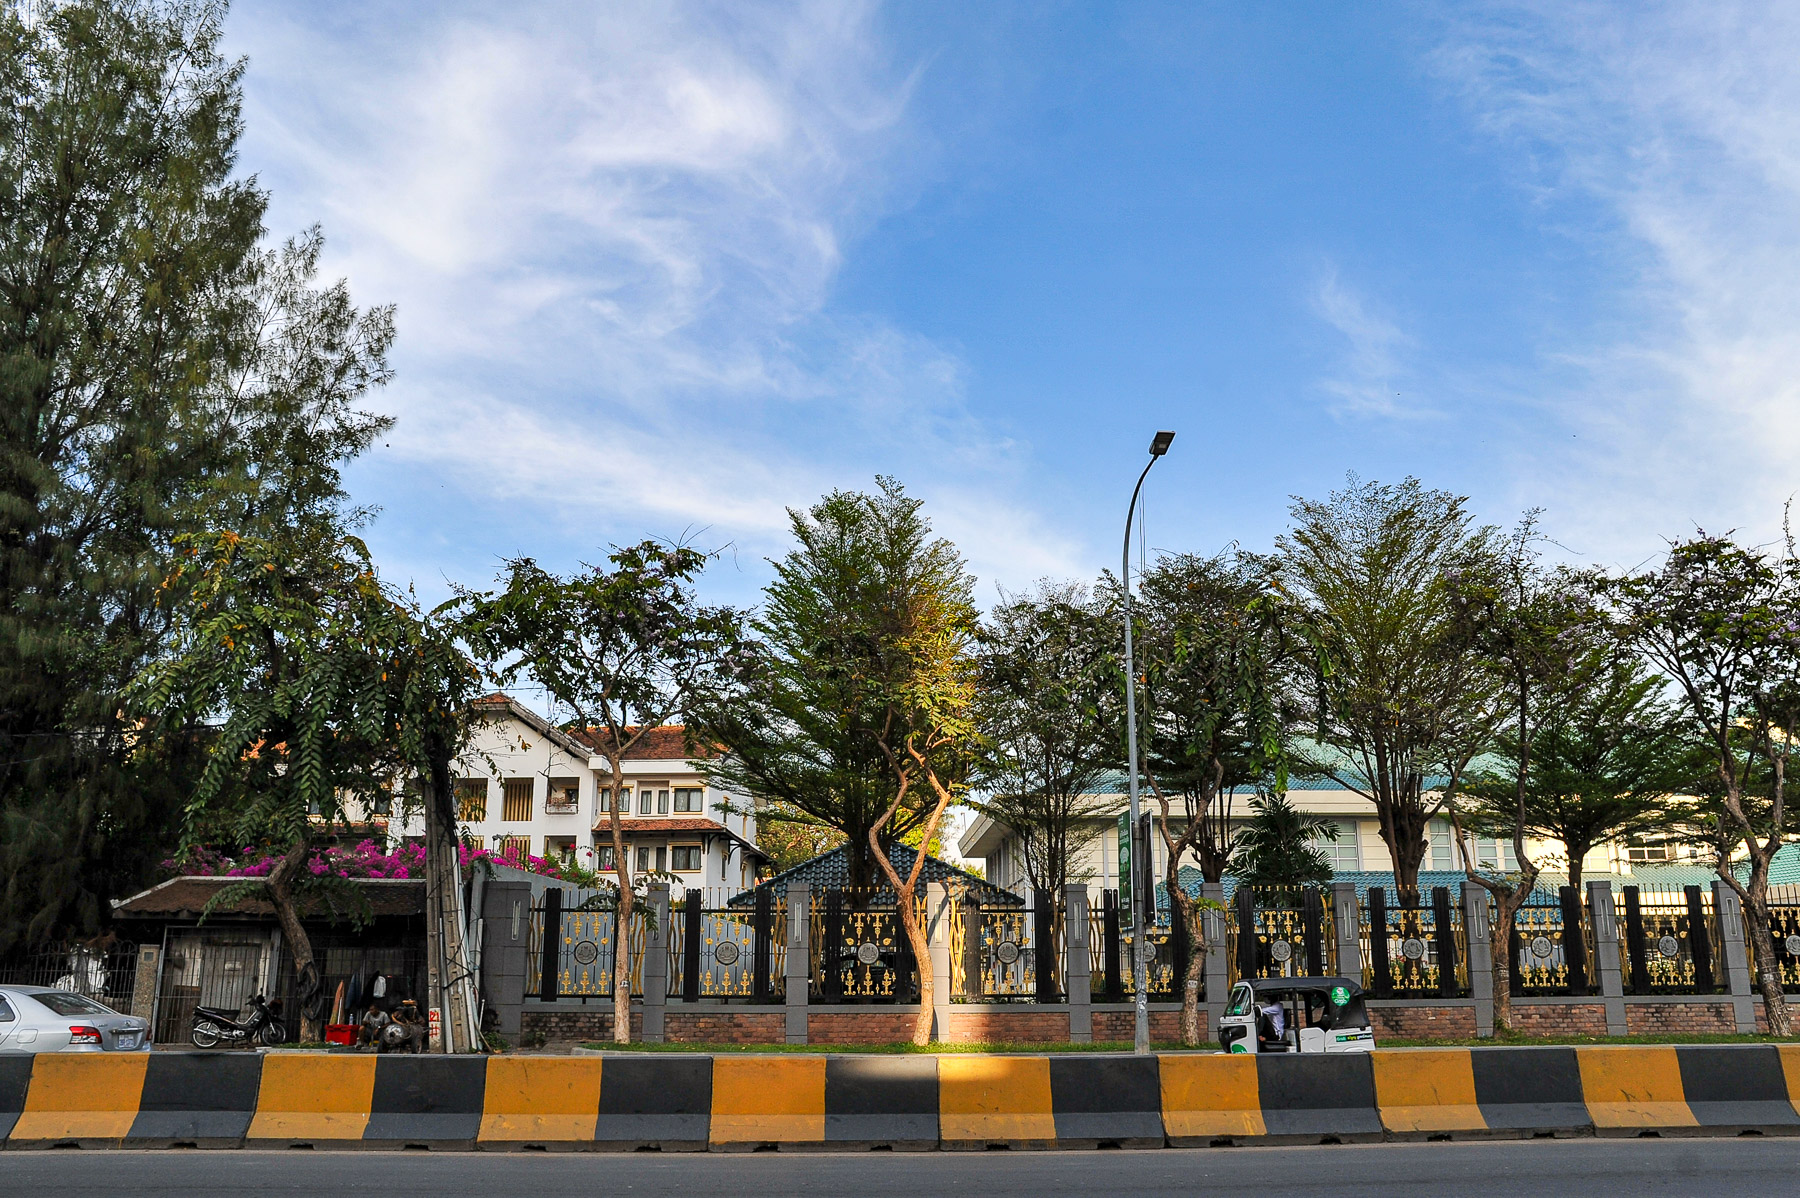
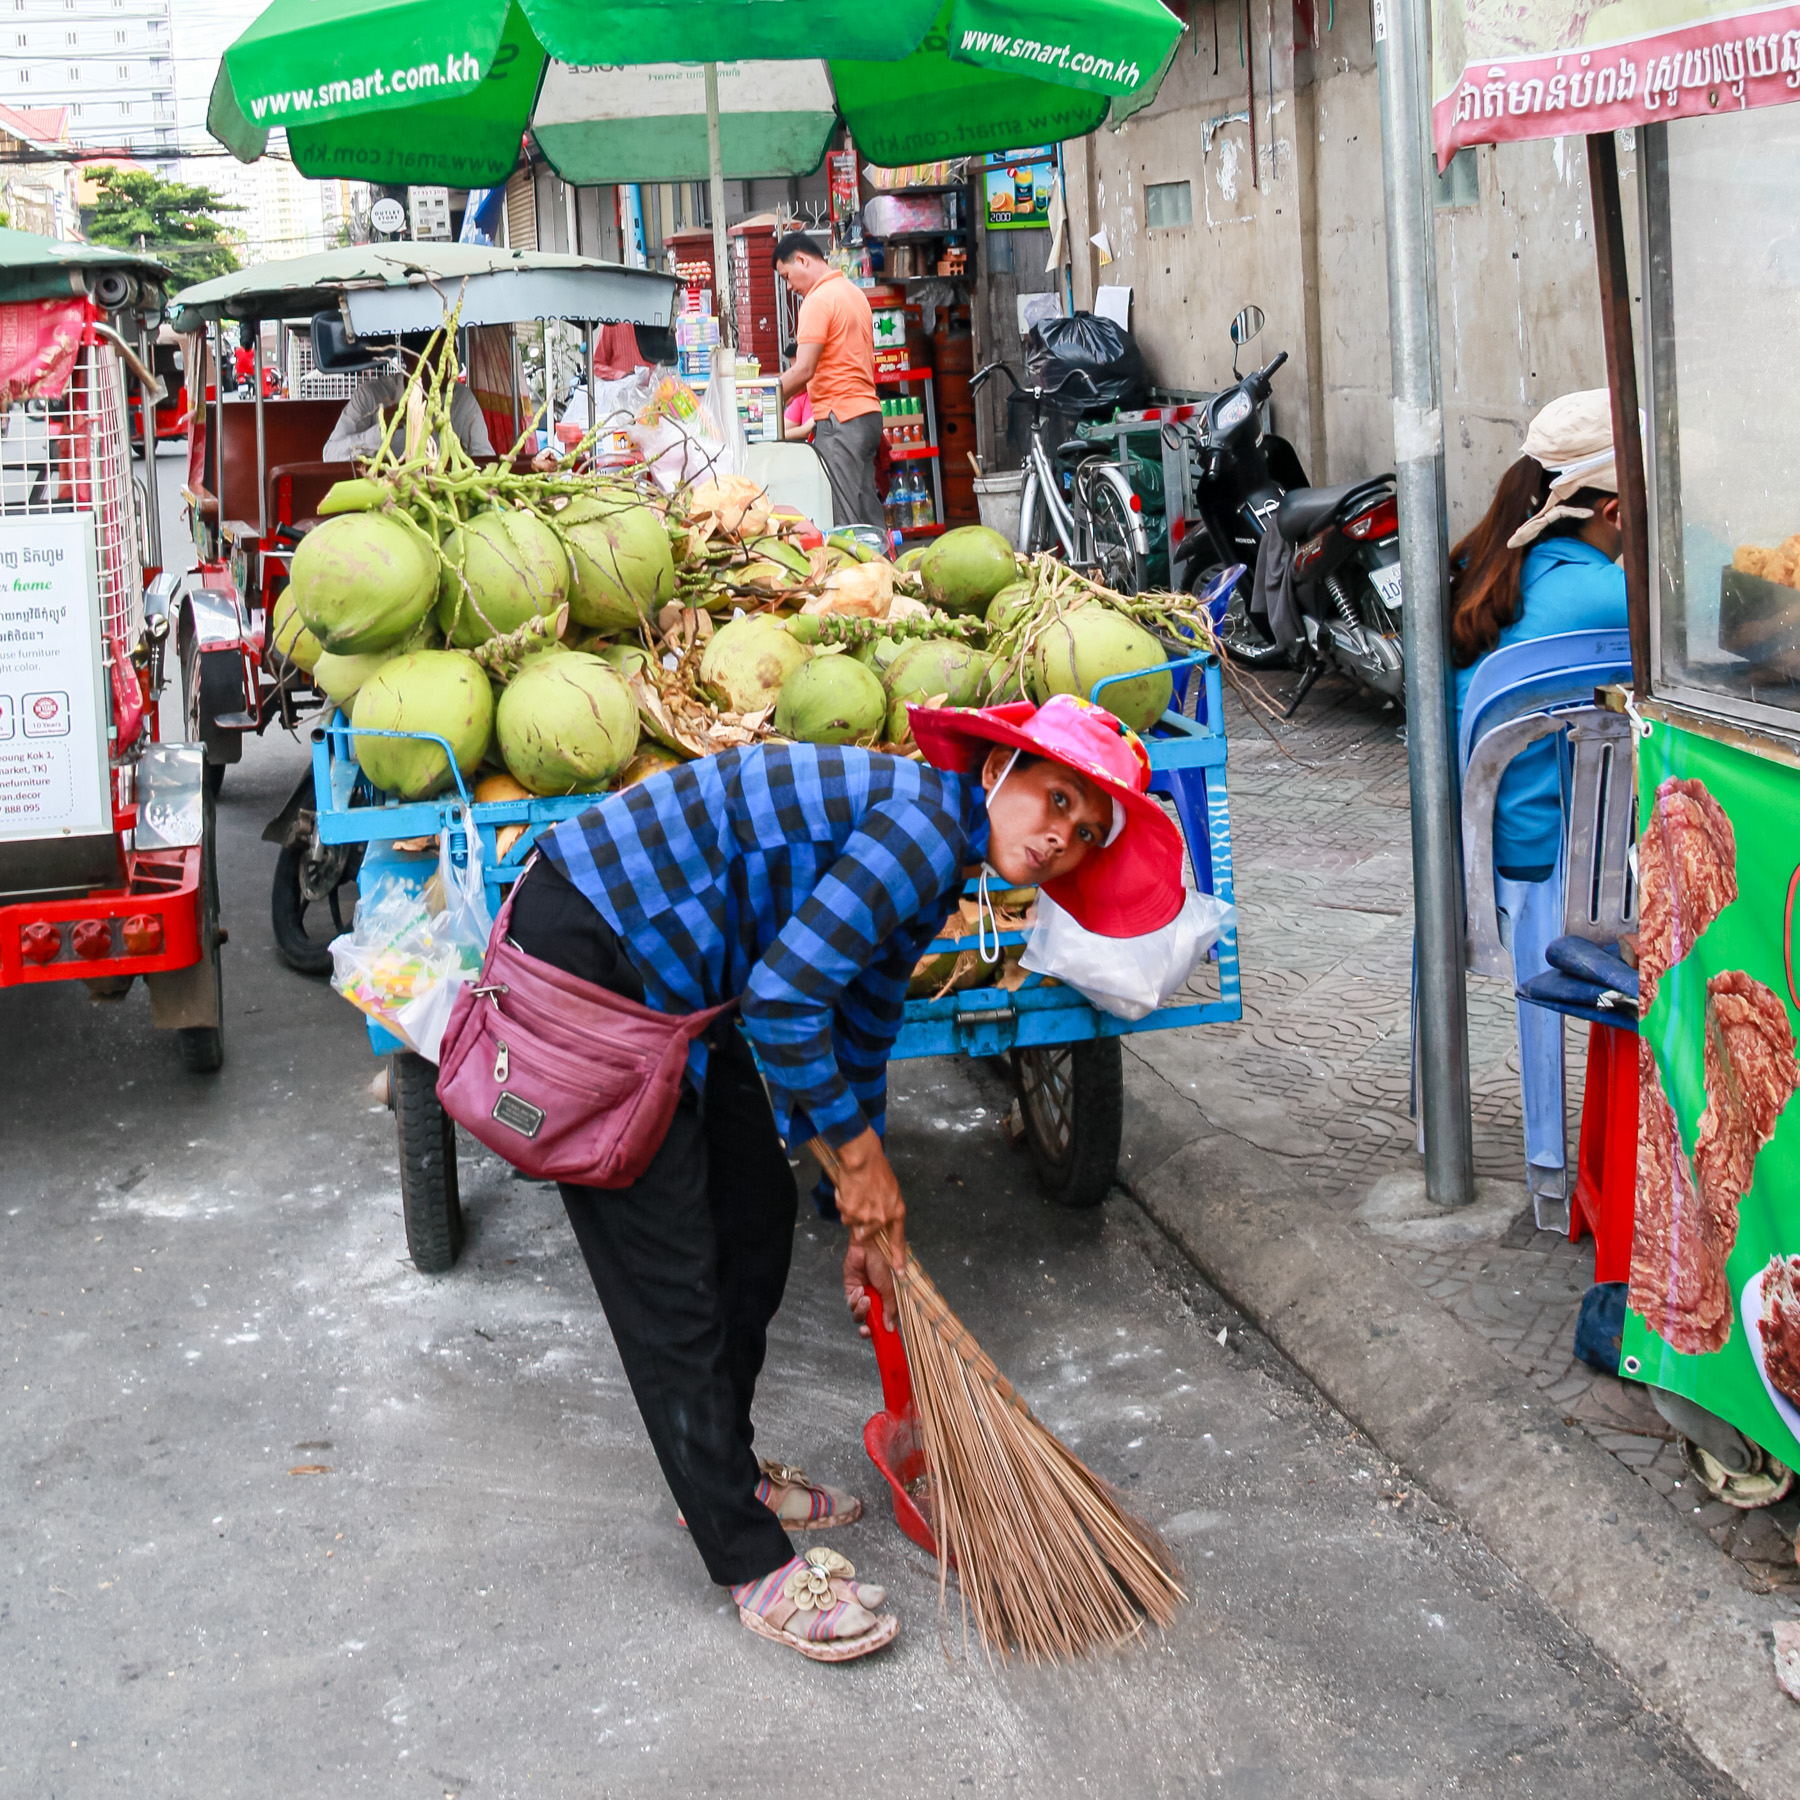
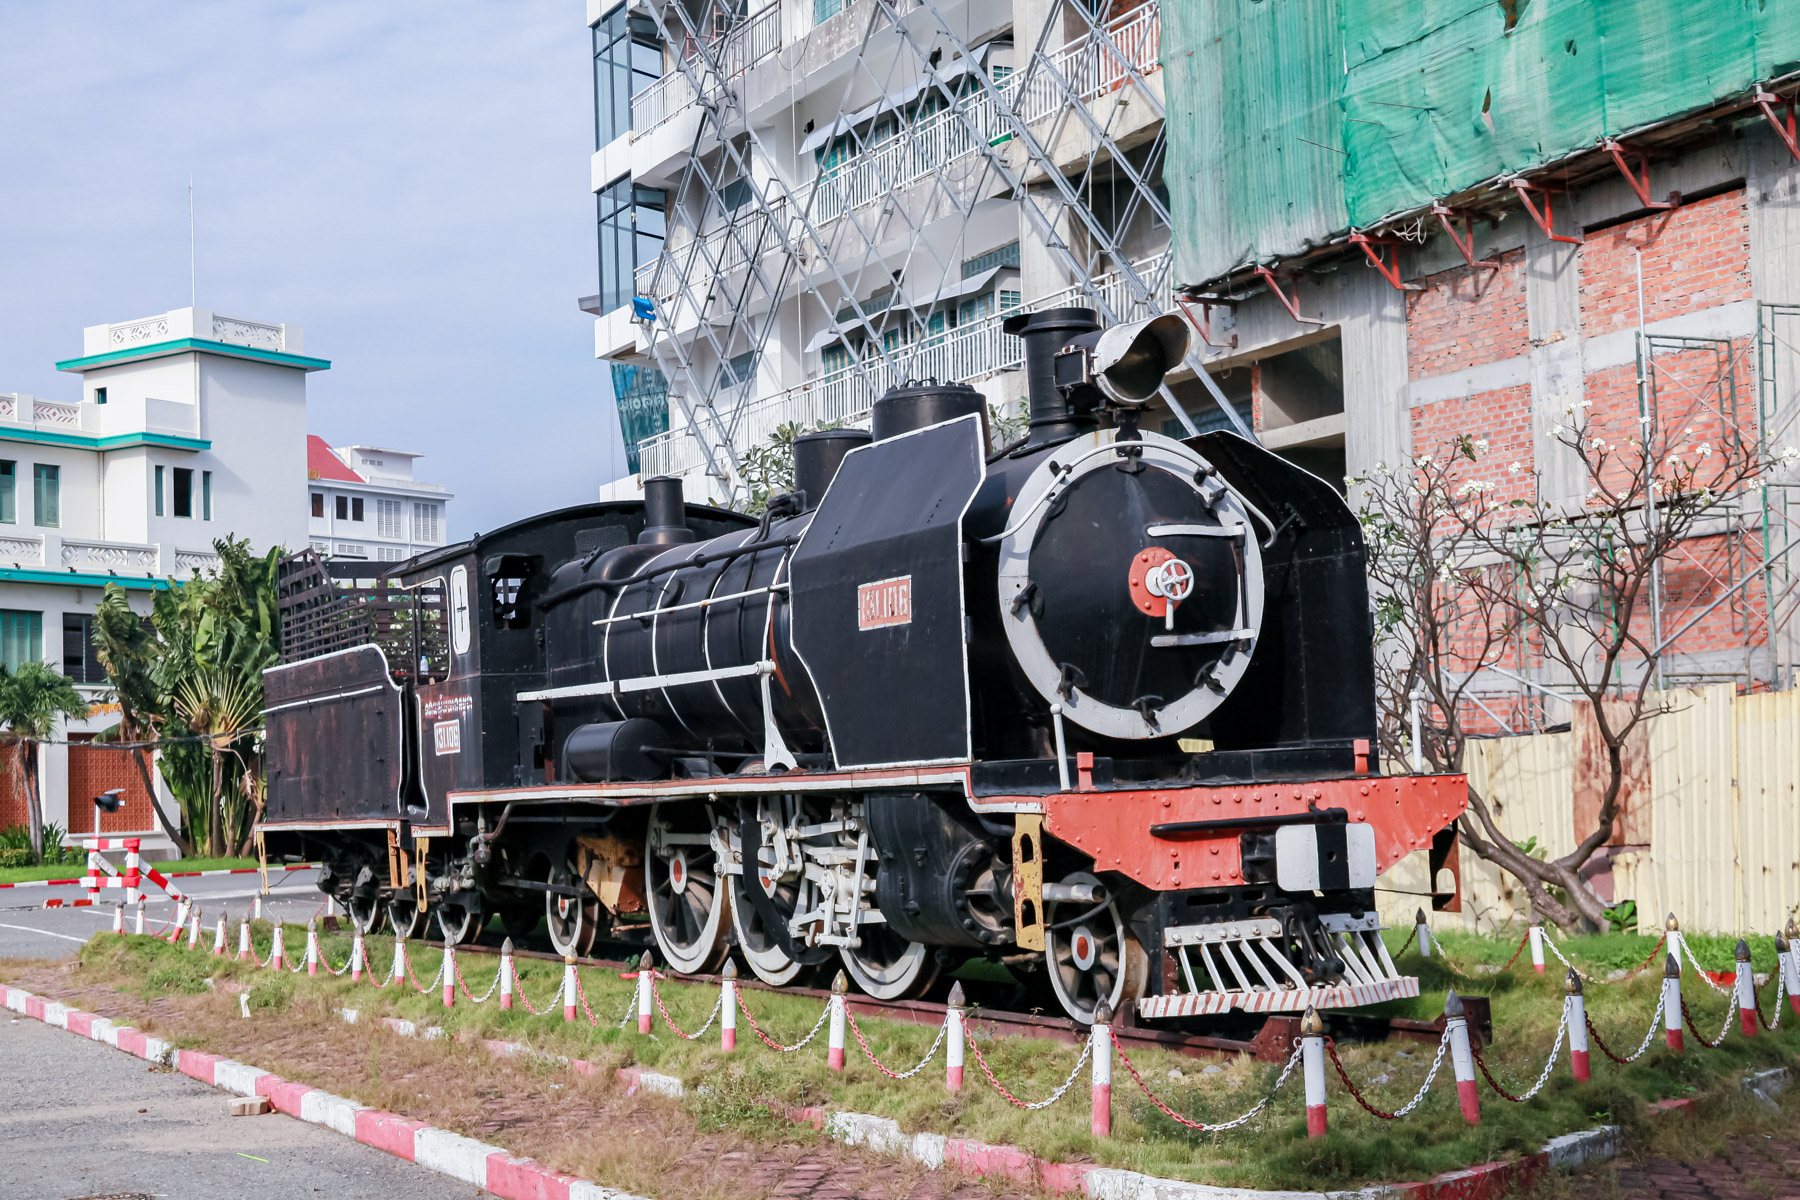
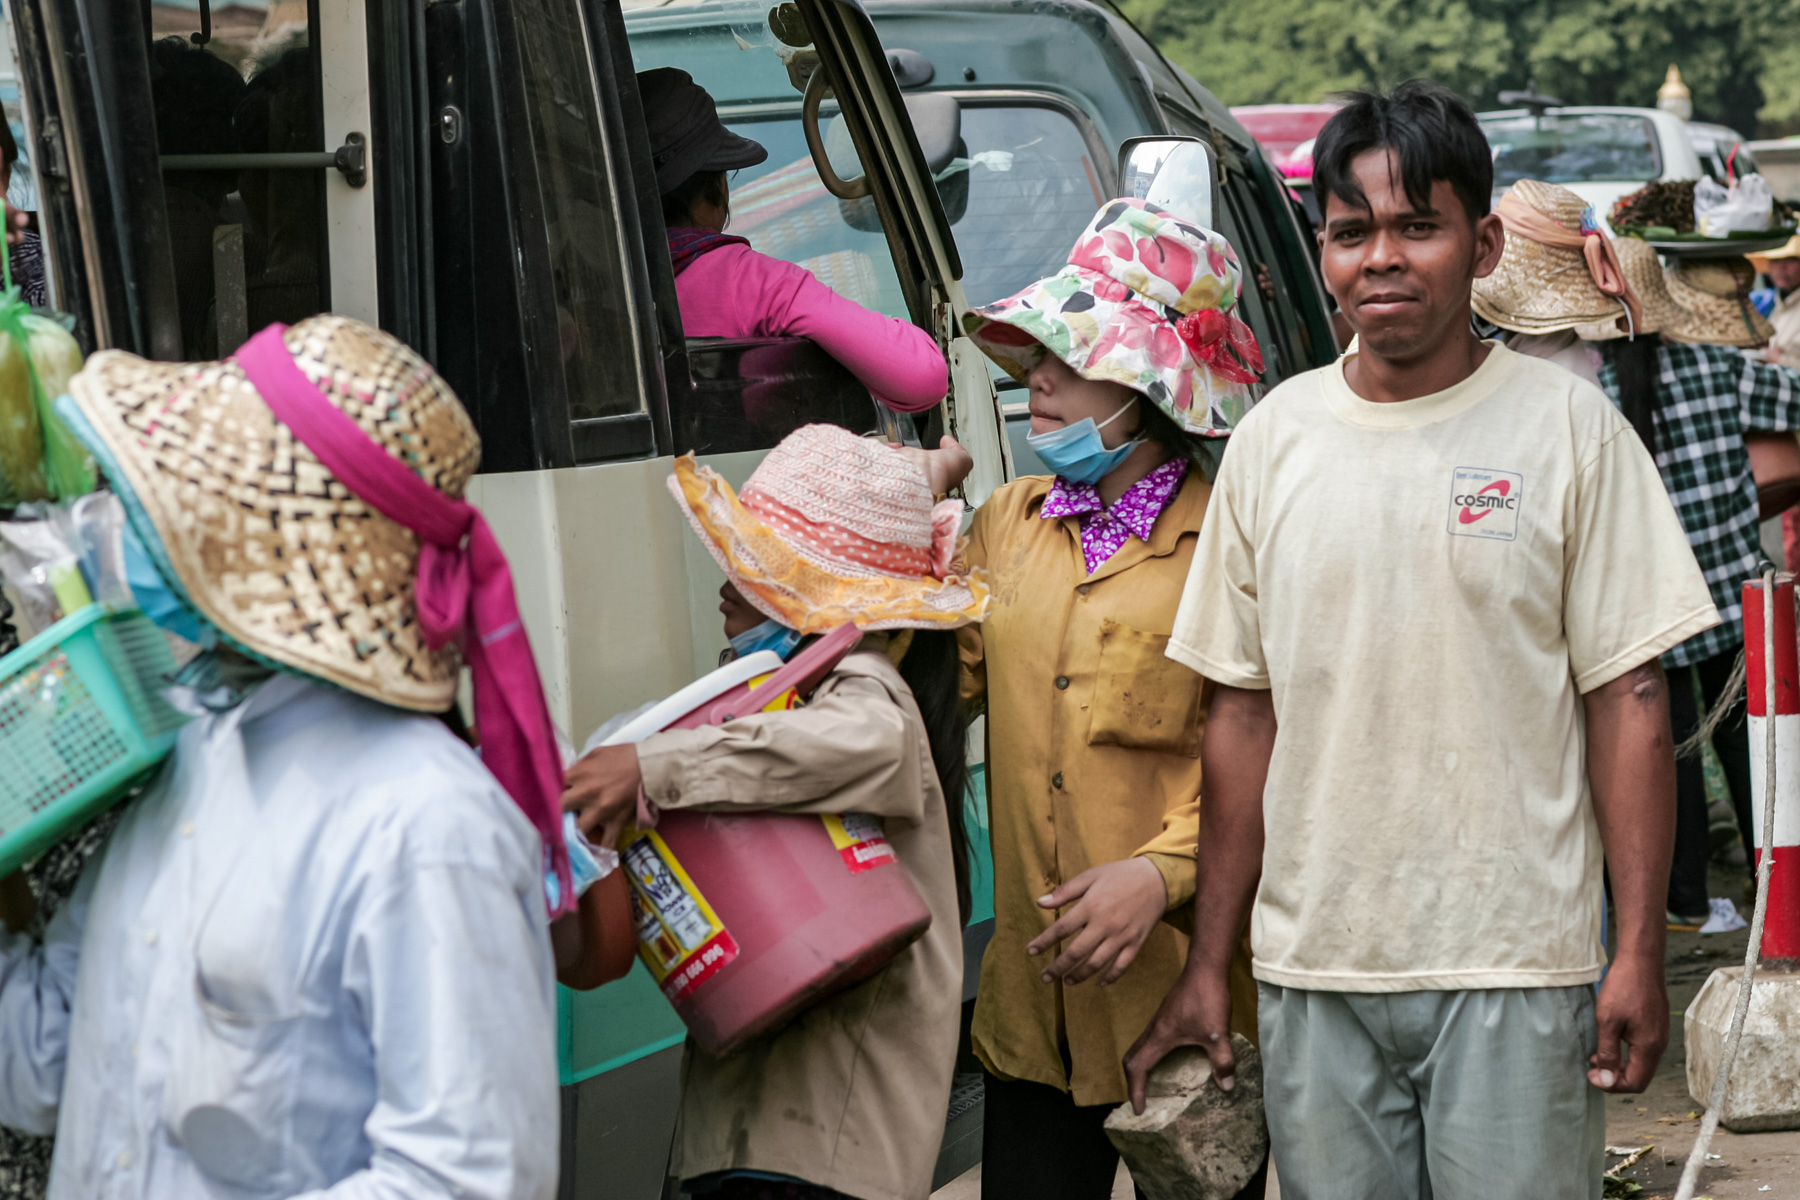
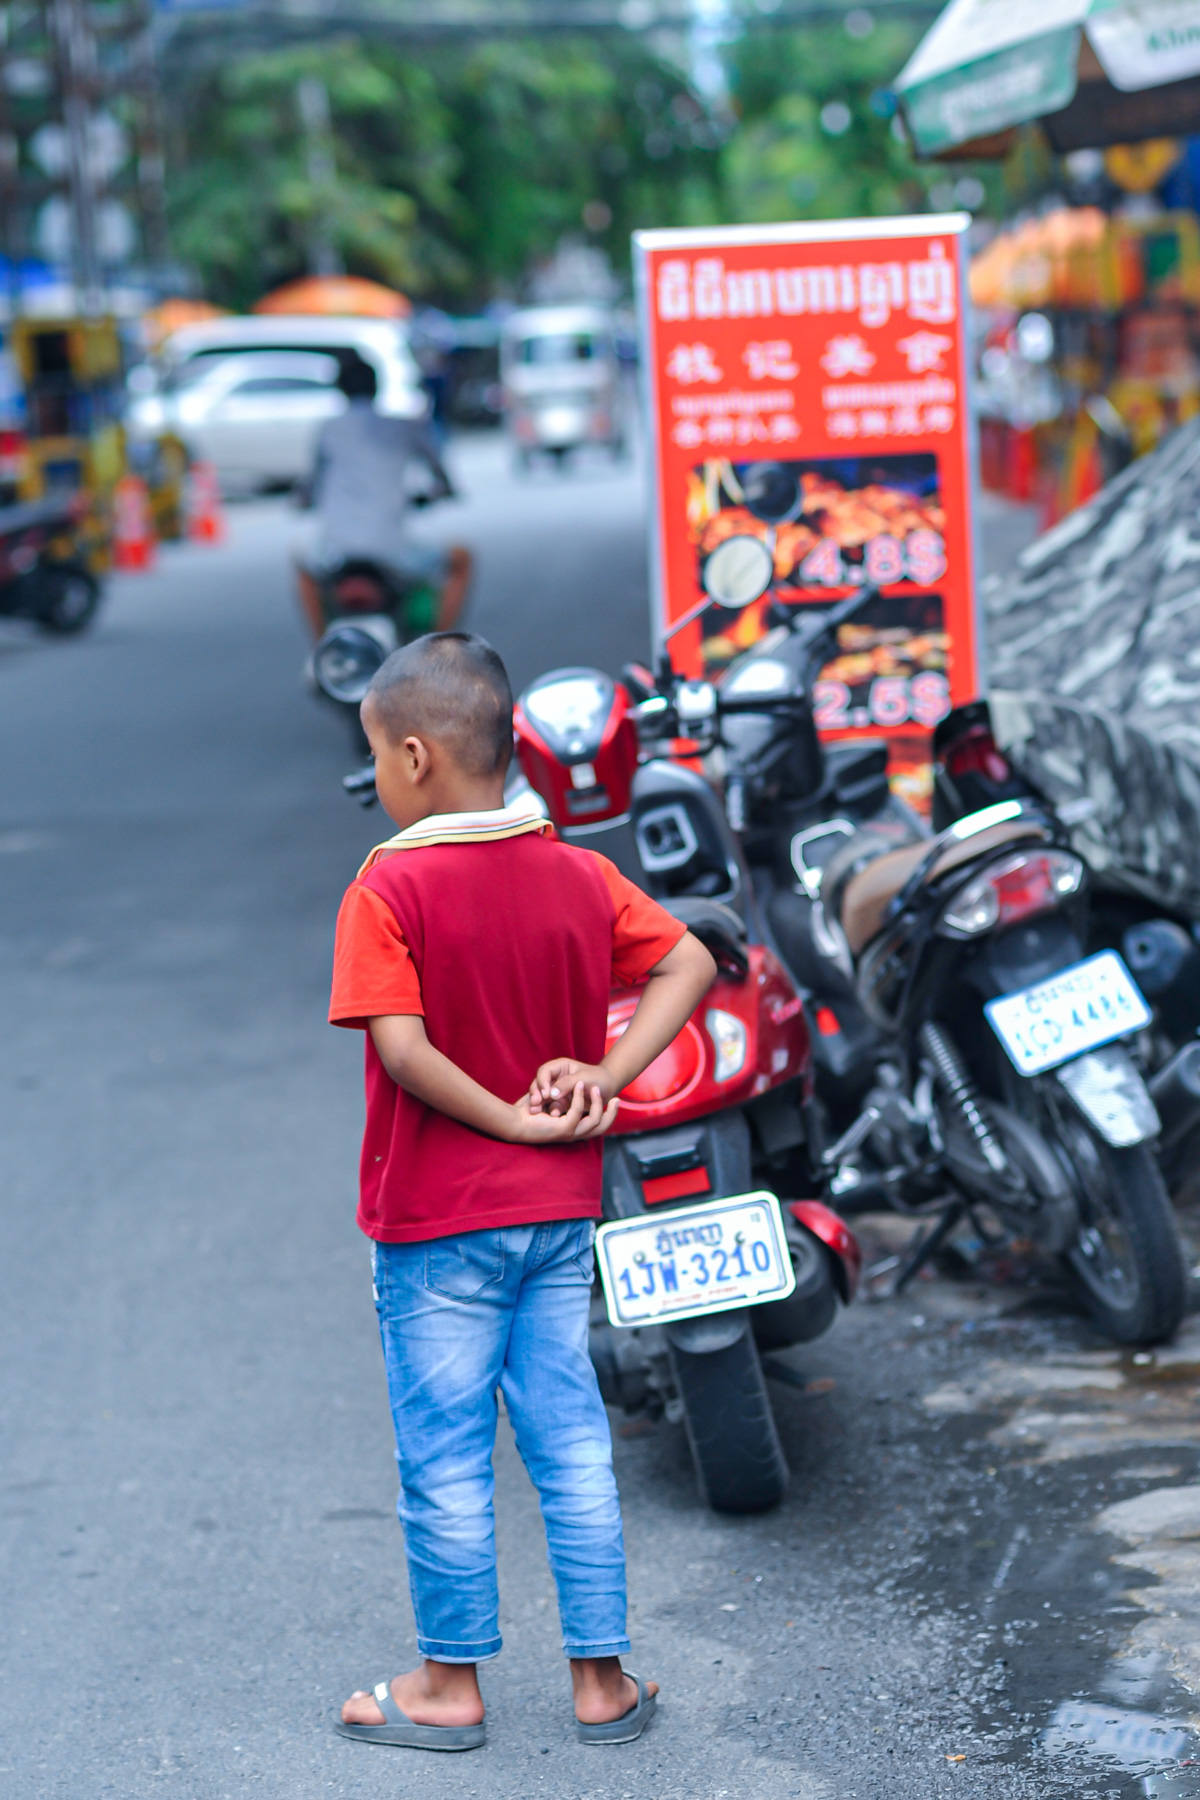
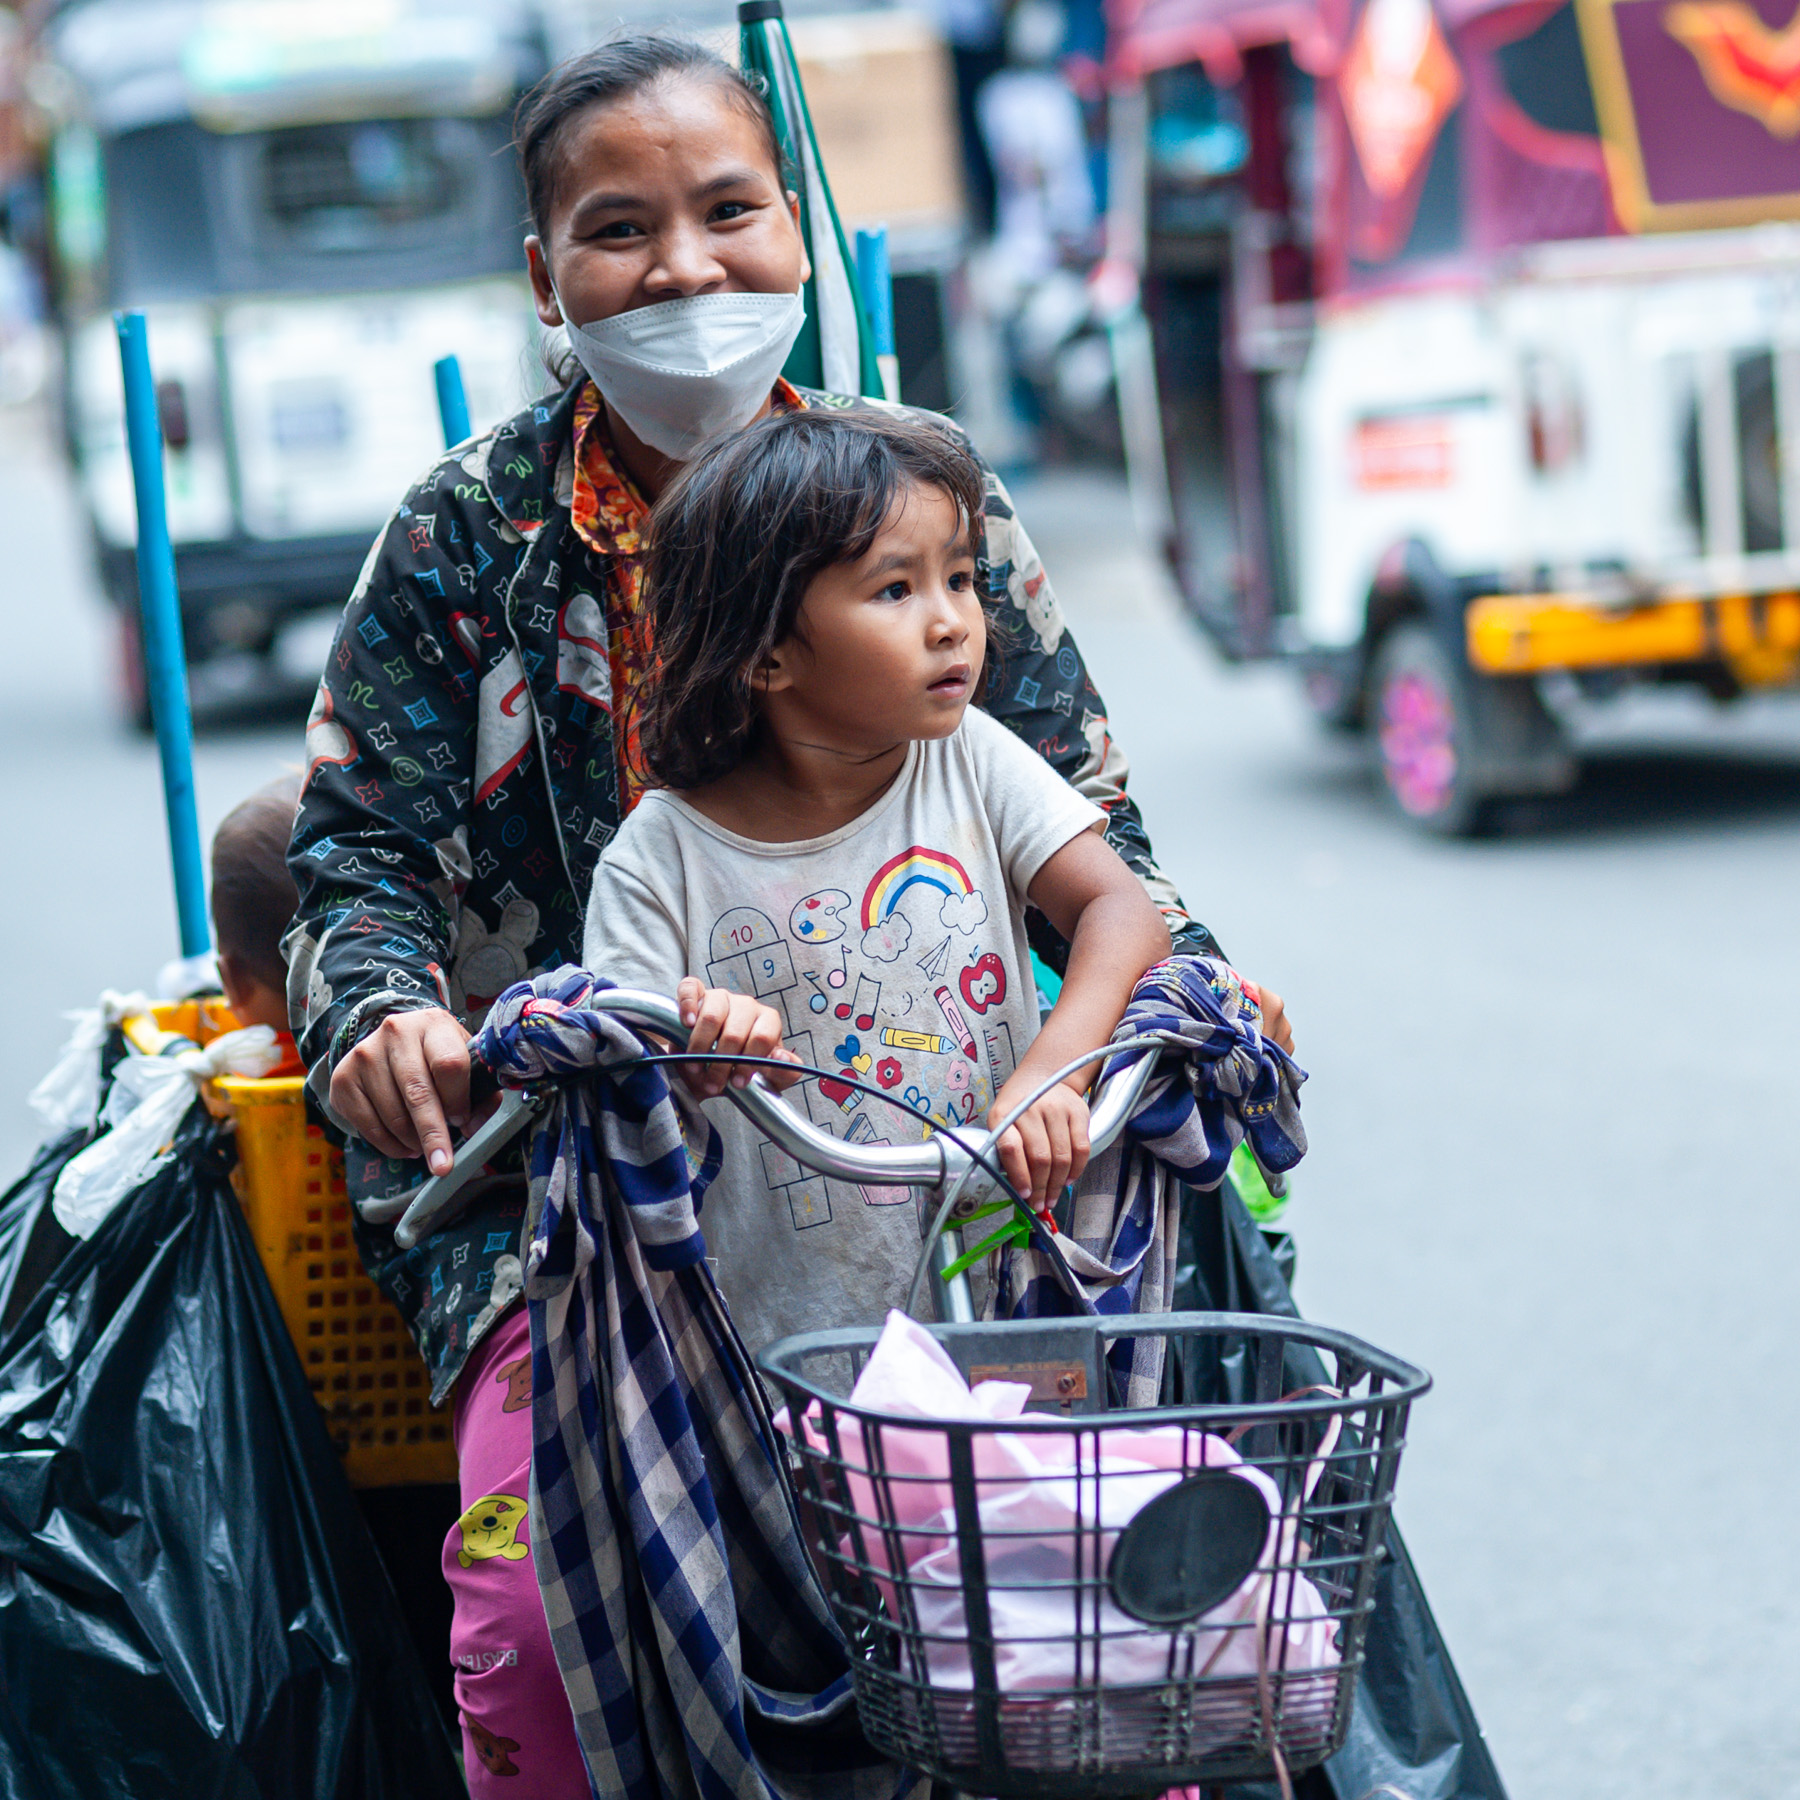
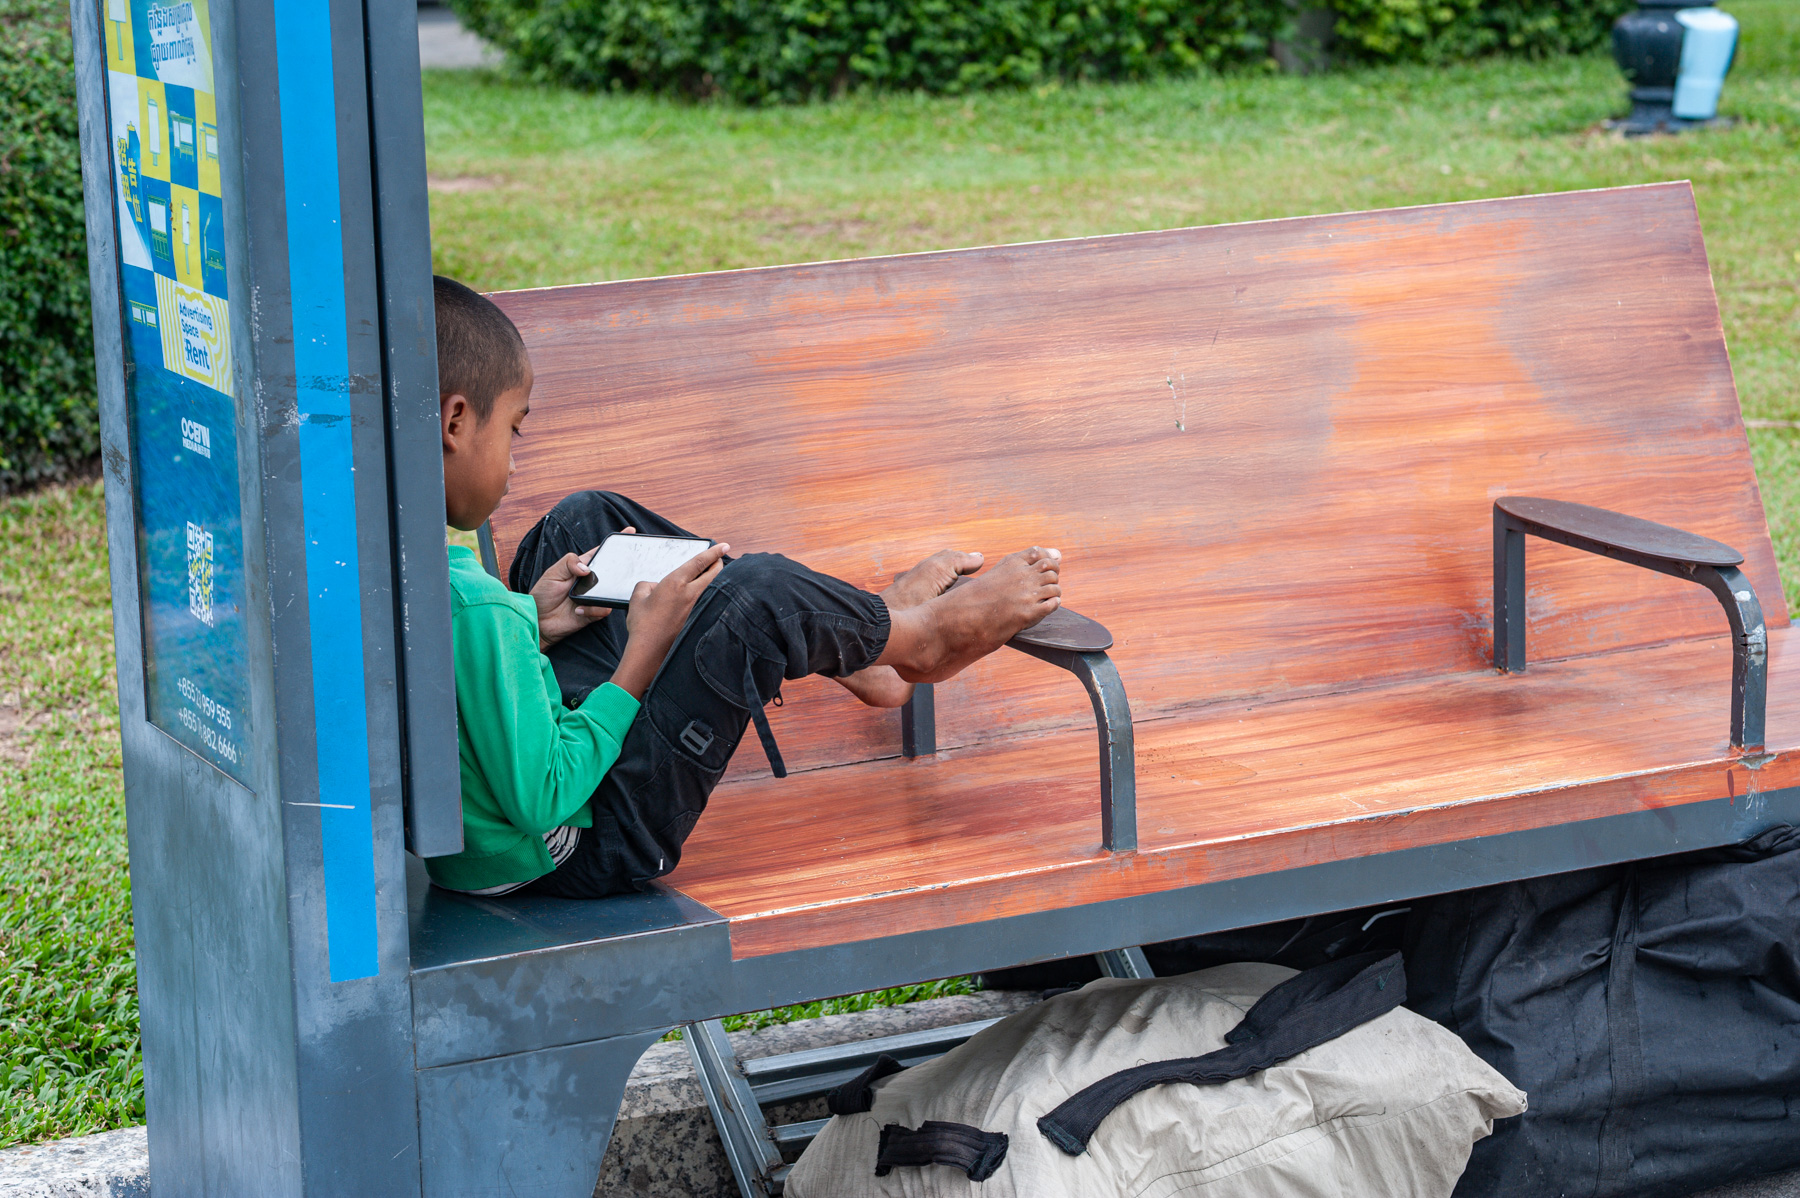
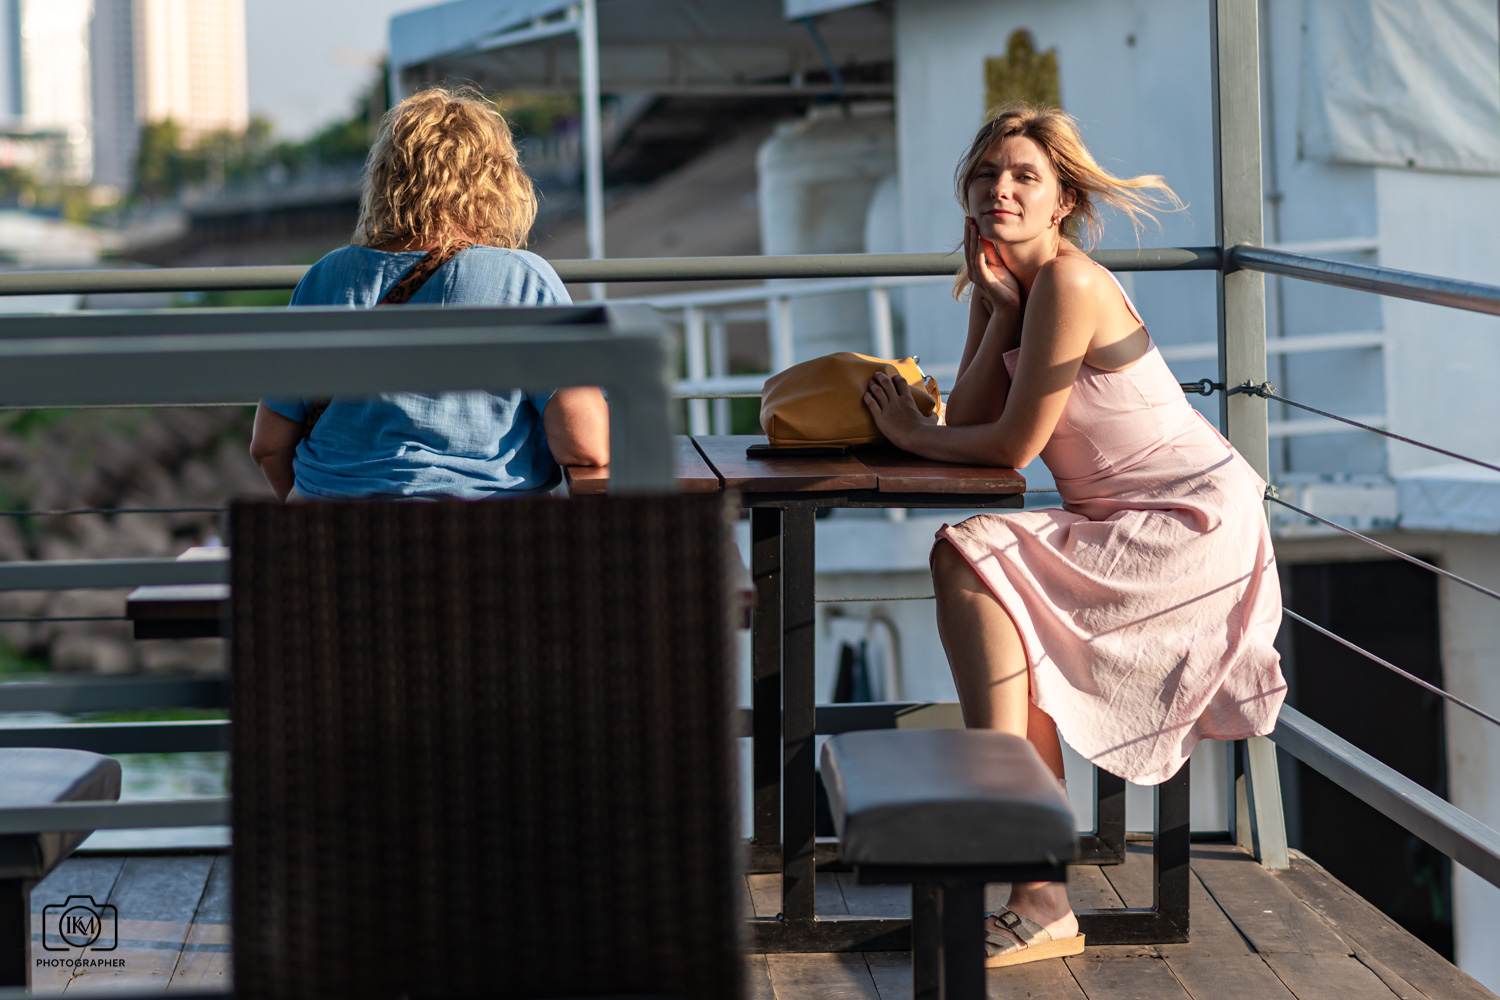
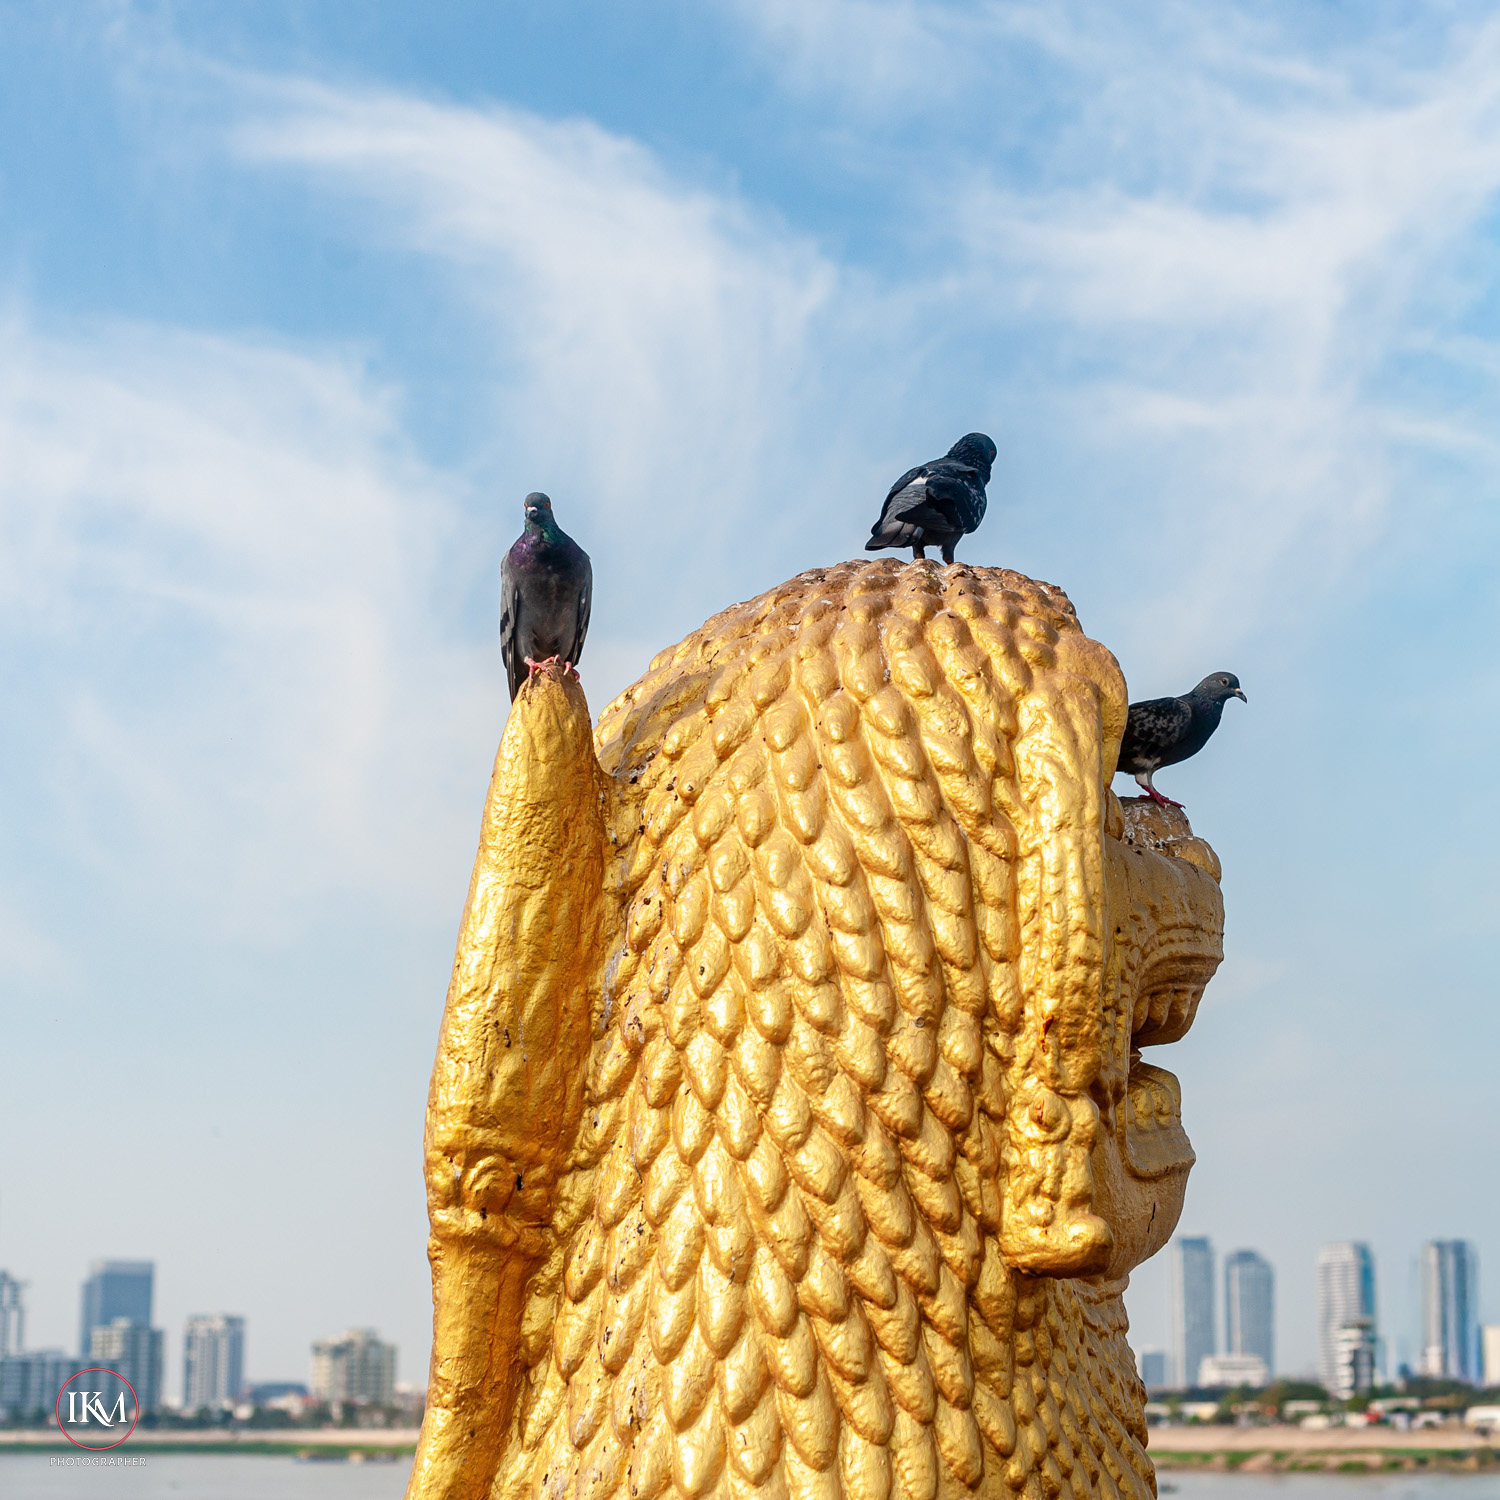
The central illustration suggests that problem: a sunlit building, foliage and shaded recesses. A considered exposure preserves the important bright surfaces while allowing the darker areas to retain their character. Making everything equally visible would weaken the sense of sunlight.
A particularly capable portrait camera
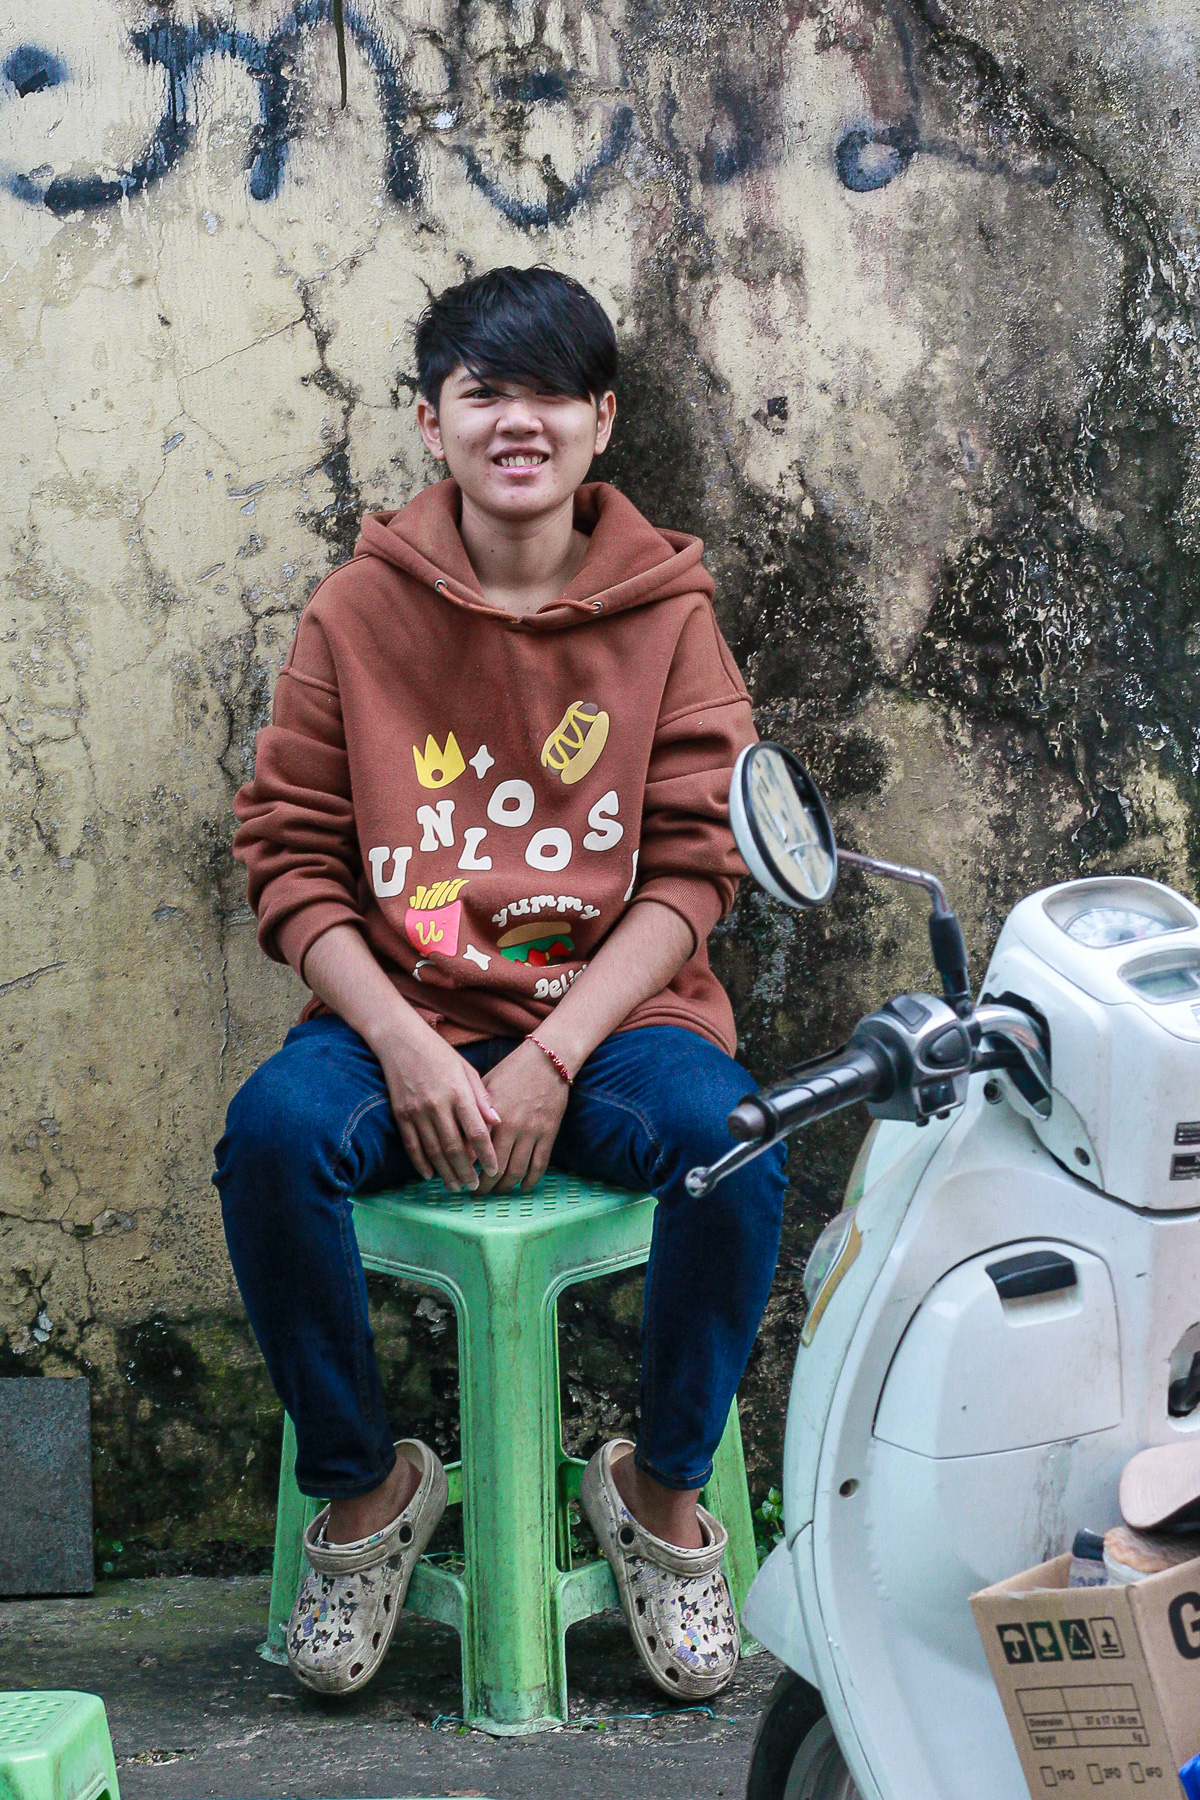
The D810 suits portraits because it allows both precision and restraint. You can describe a face clearly without processing it into a catalogue of pores.
That distinction becomes increasingly important as resolution rises. Excessive clarity, texture and sharpening can make skin look brittle. Conversely, heavy smoothing removes the ordinary details that make a person recognisable. Good portrait processing involves deciding what deserves emphasis.
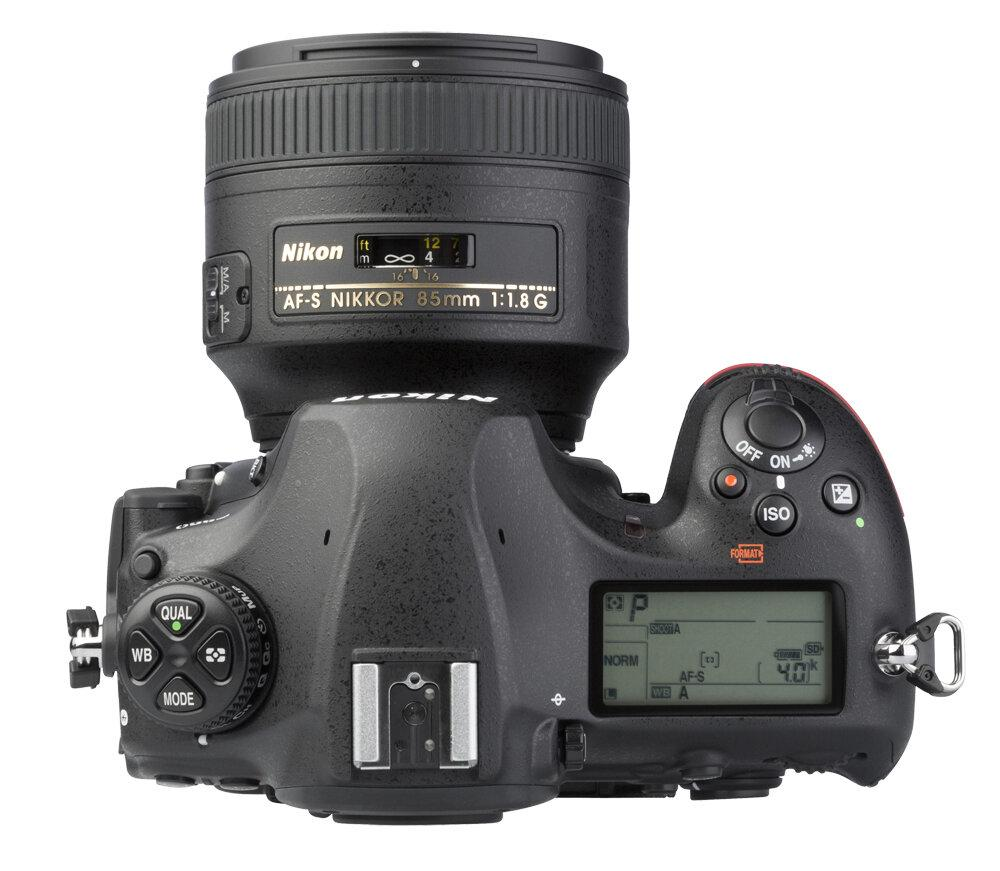
Your familiar pairing of the D810 and an 85mm f/1.8G makes practical sense. An 85mm lens gives a useful working distance for a close portrait, while a wide aperture can separate the face from a distracting background. But the lens does not need to live at f/1.8. Sometimes f/2.8 or f/4 gives a more useful balance: enough separation, with more of the face held in focus.
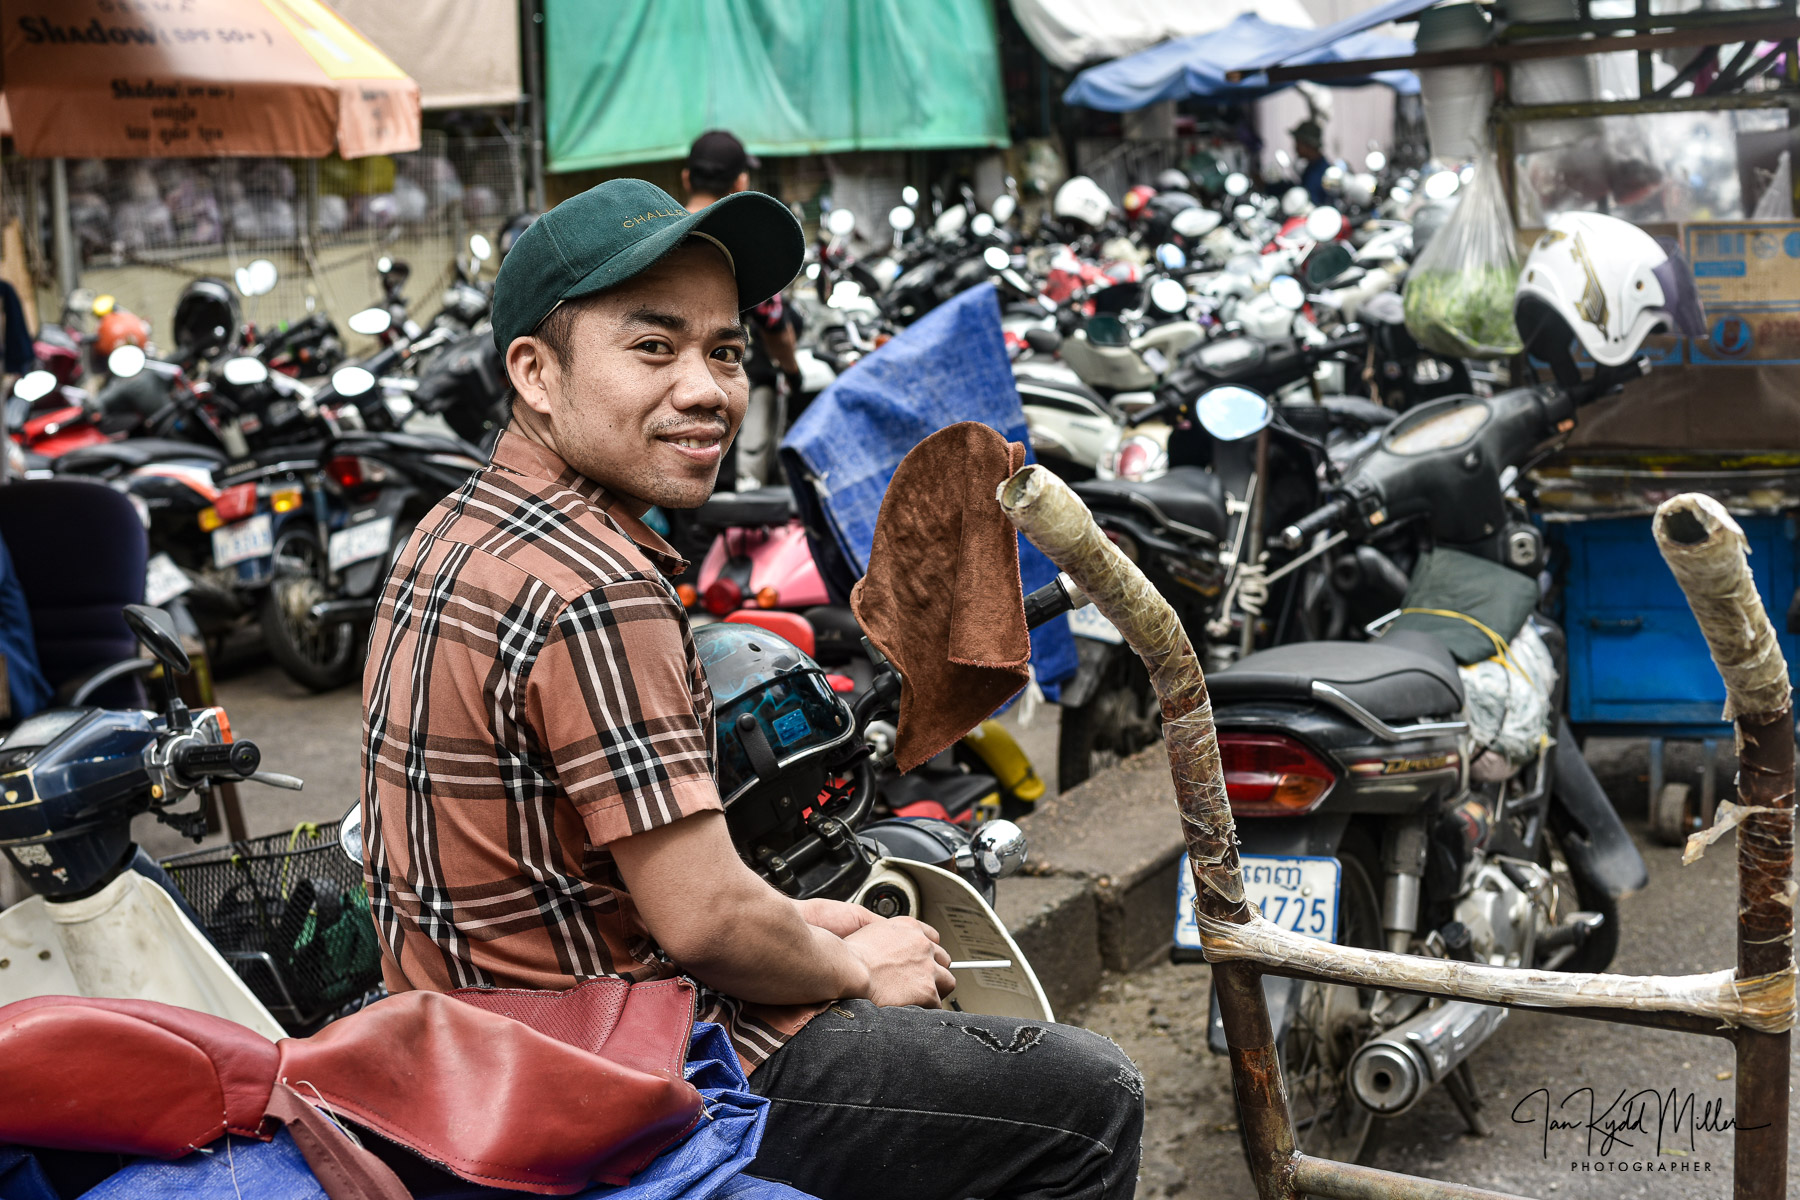
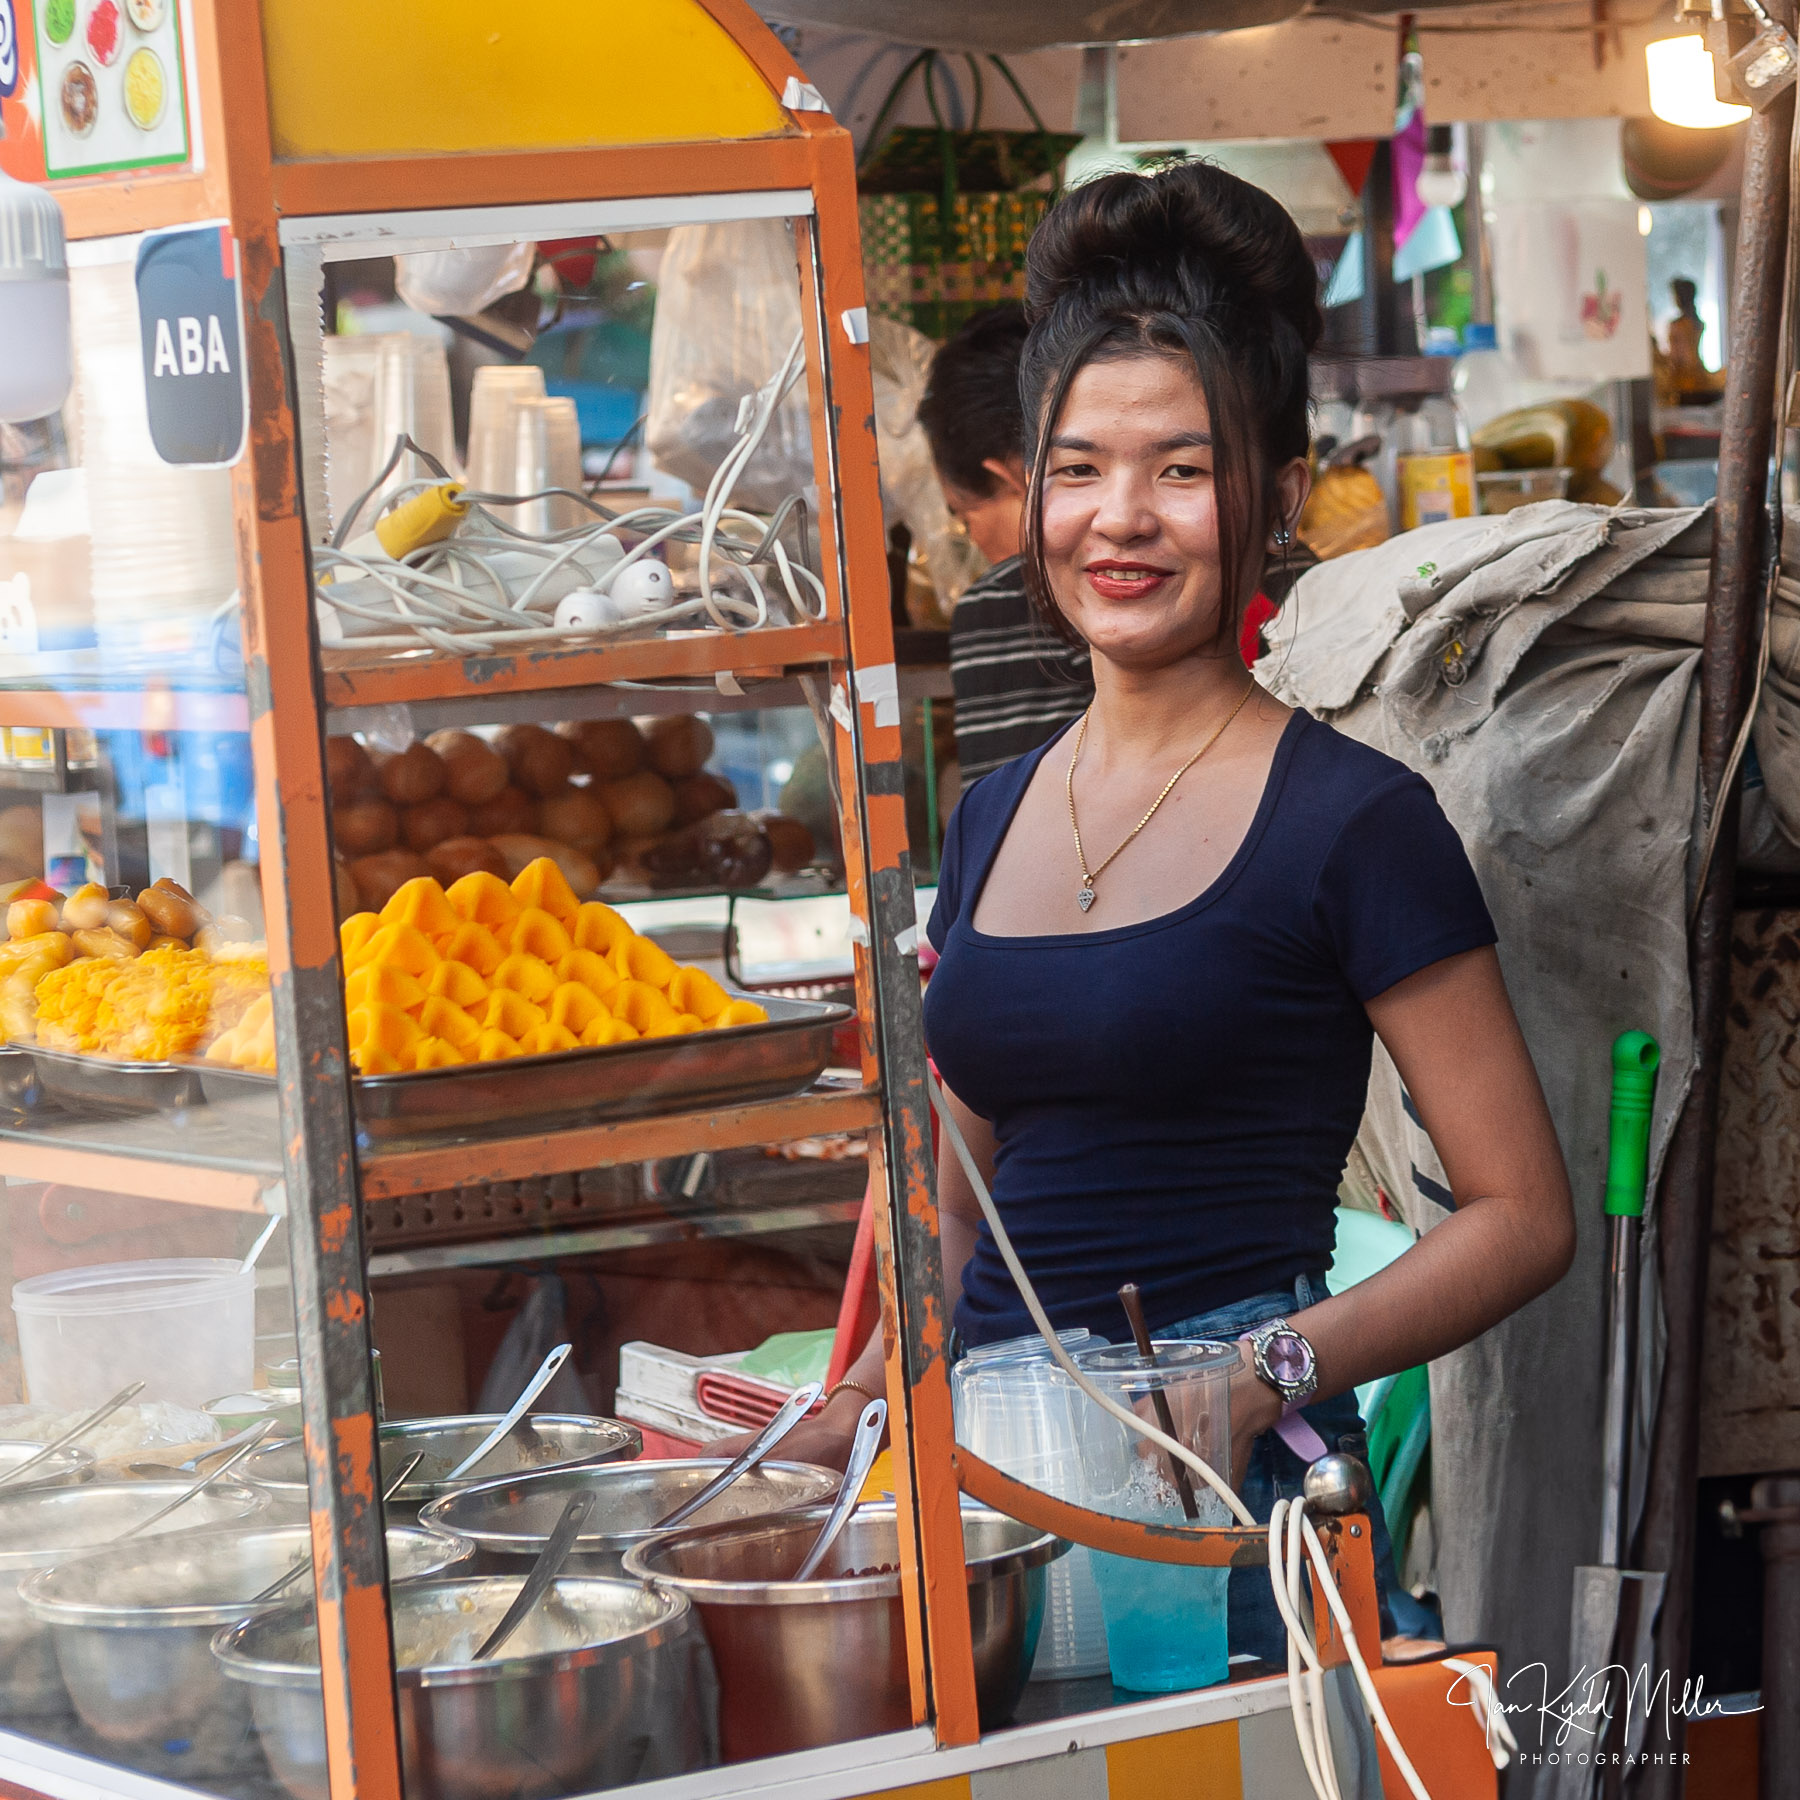
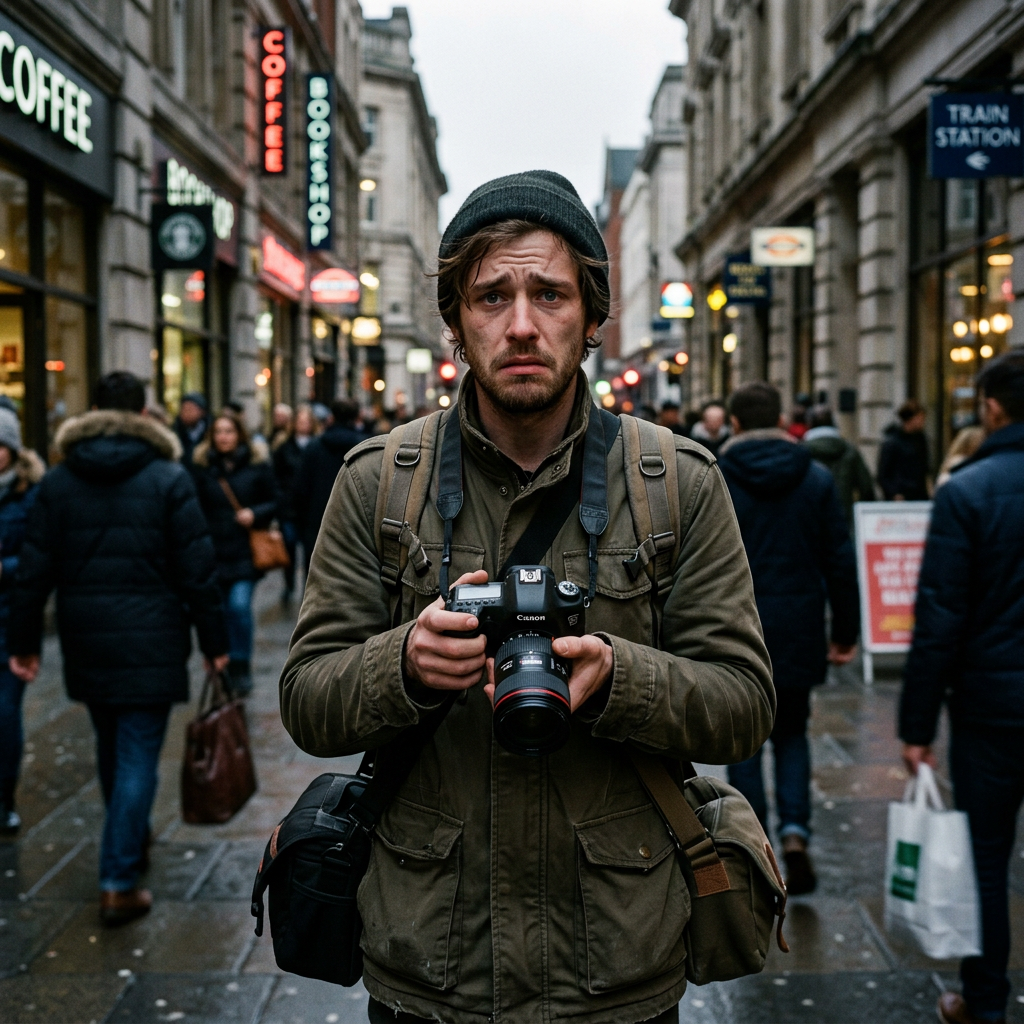
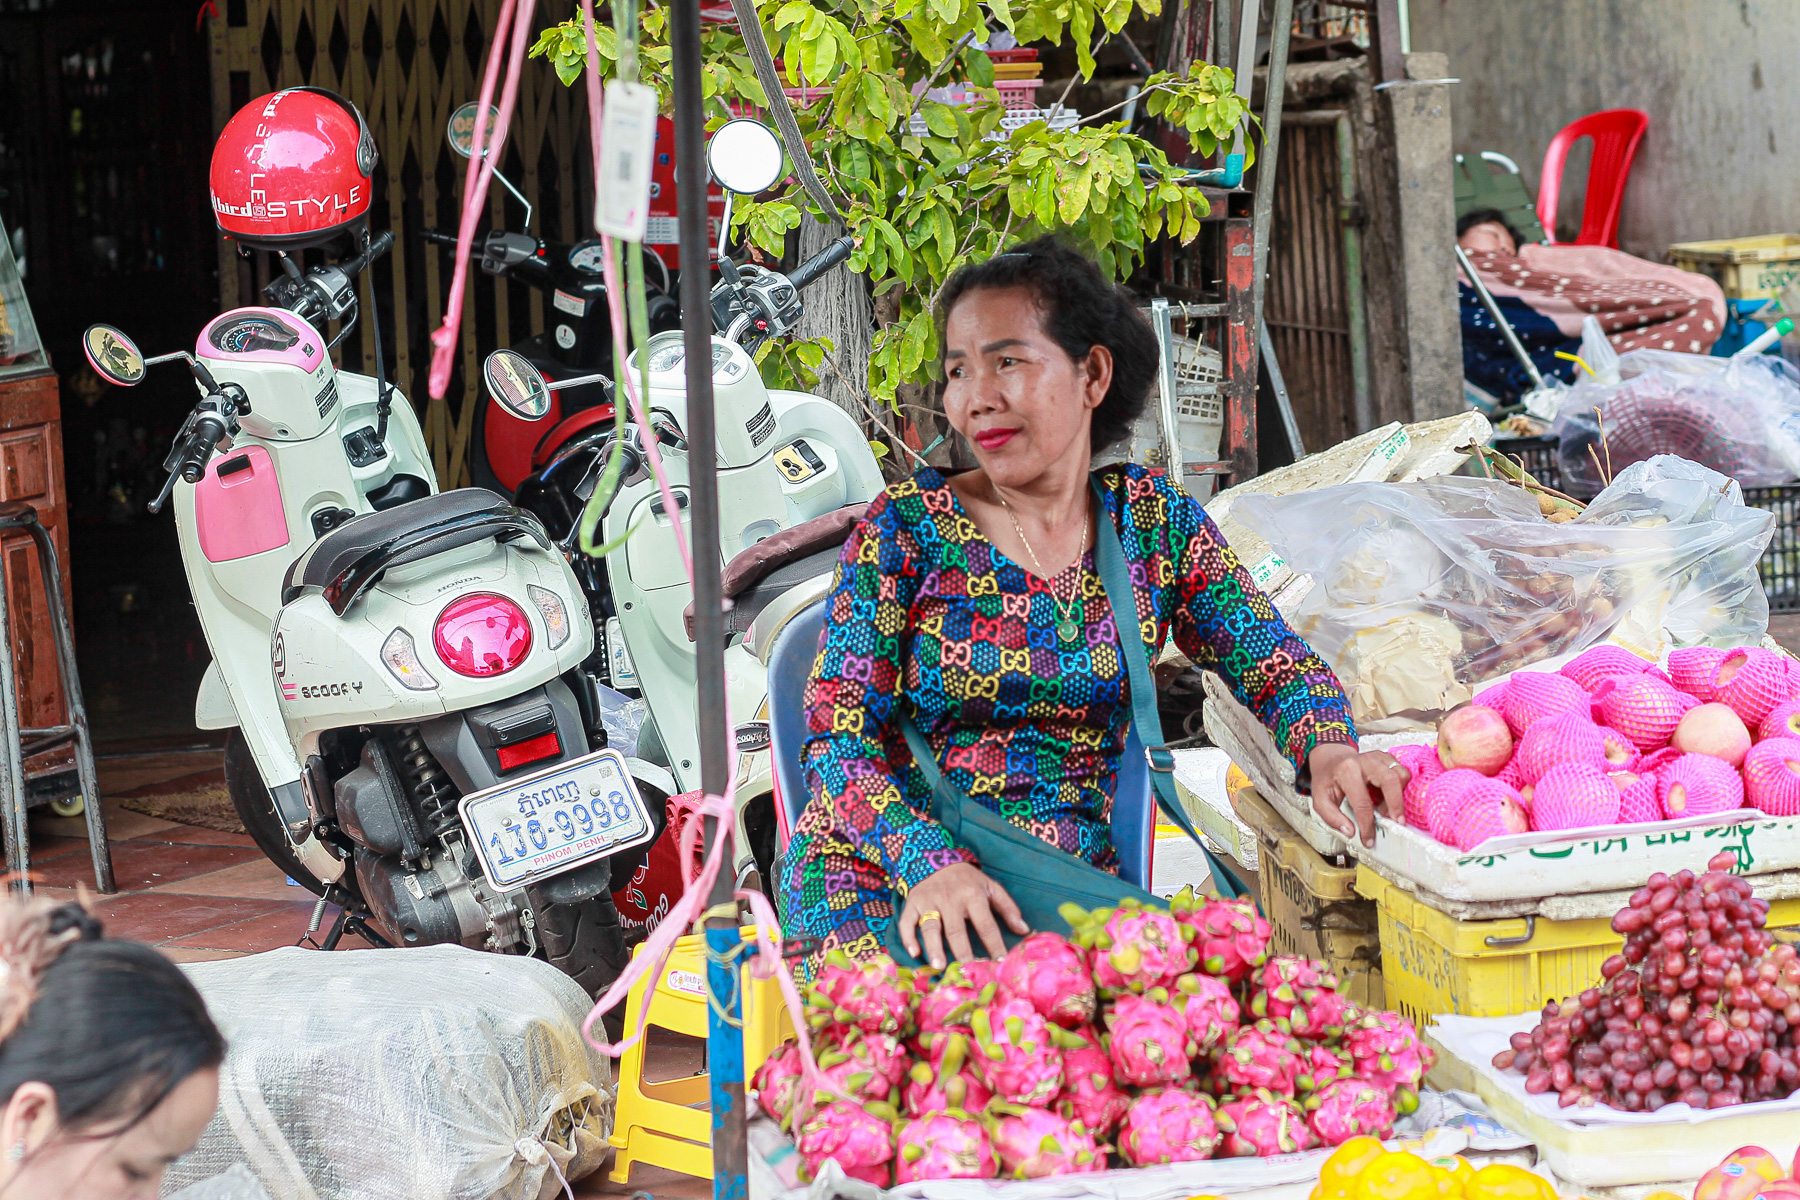
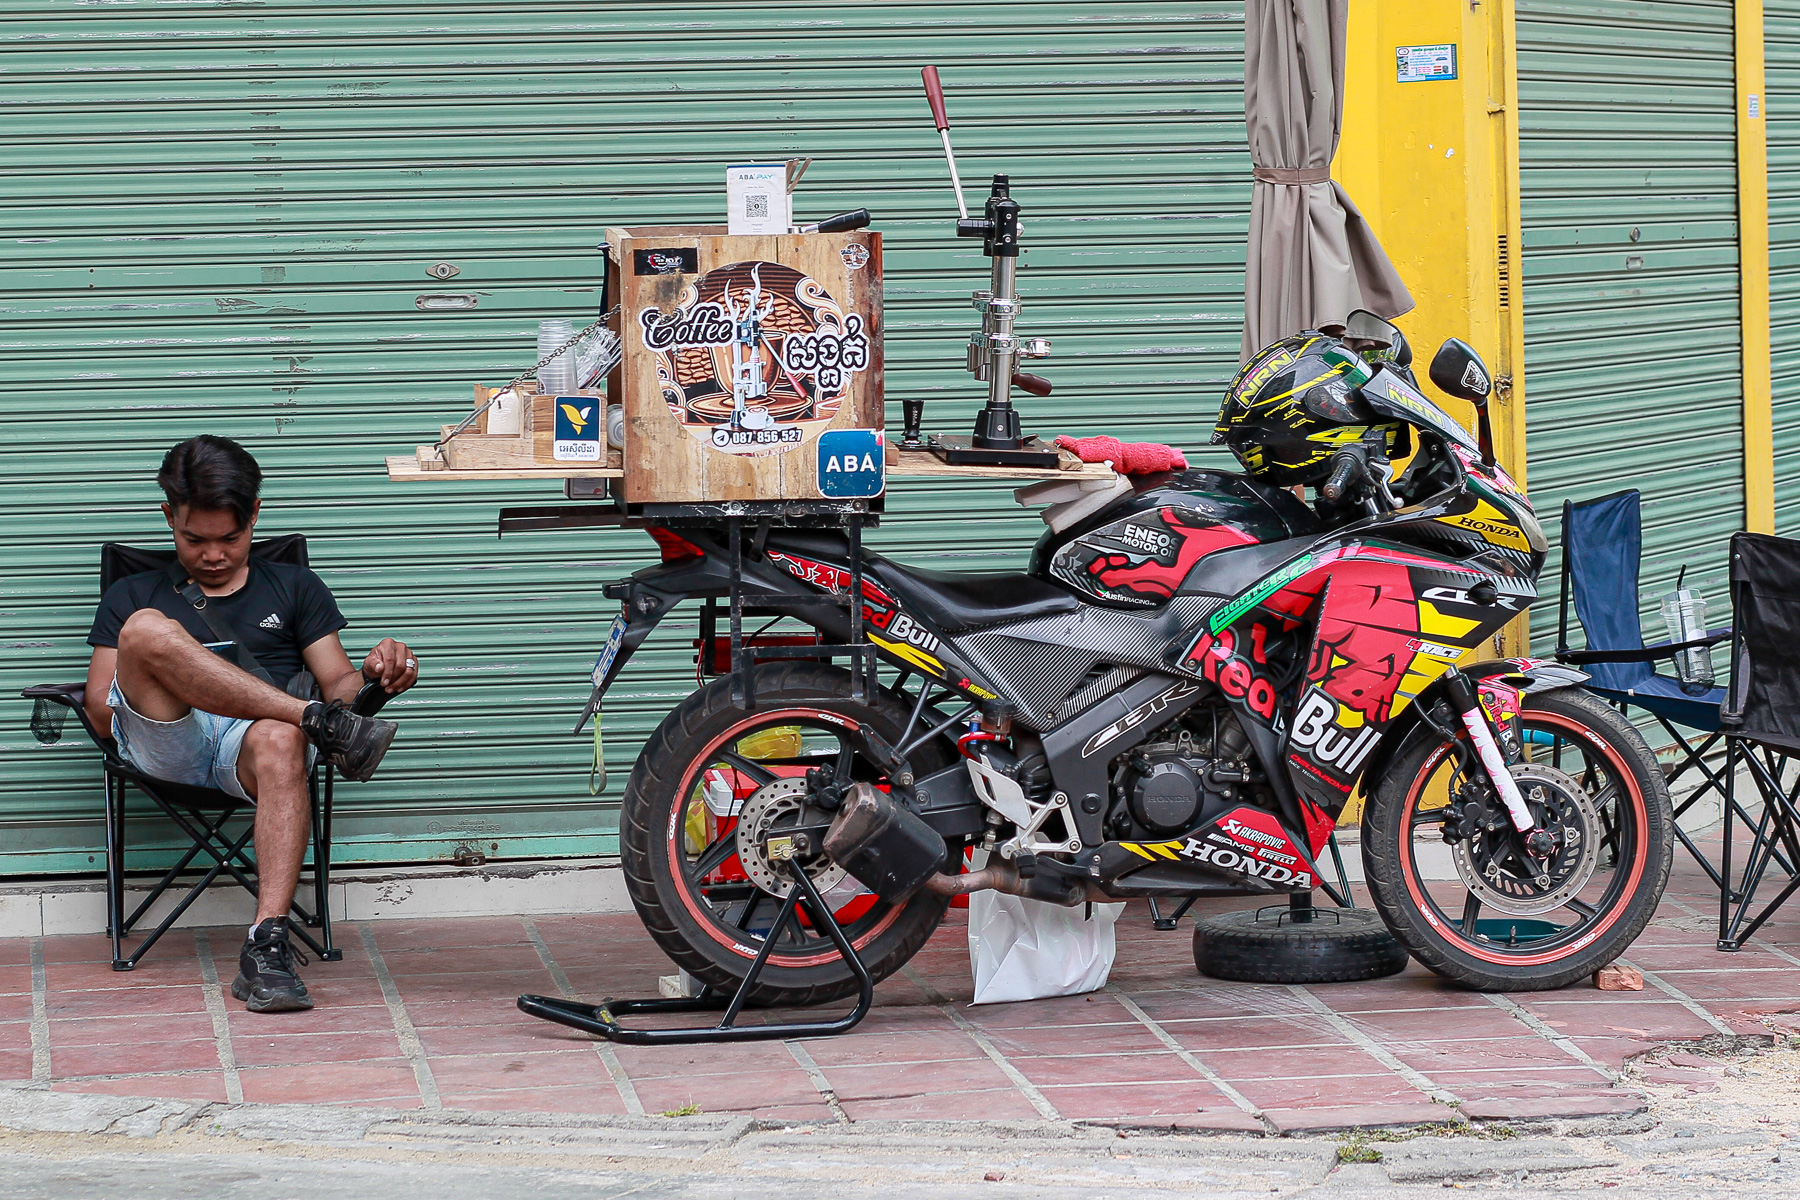
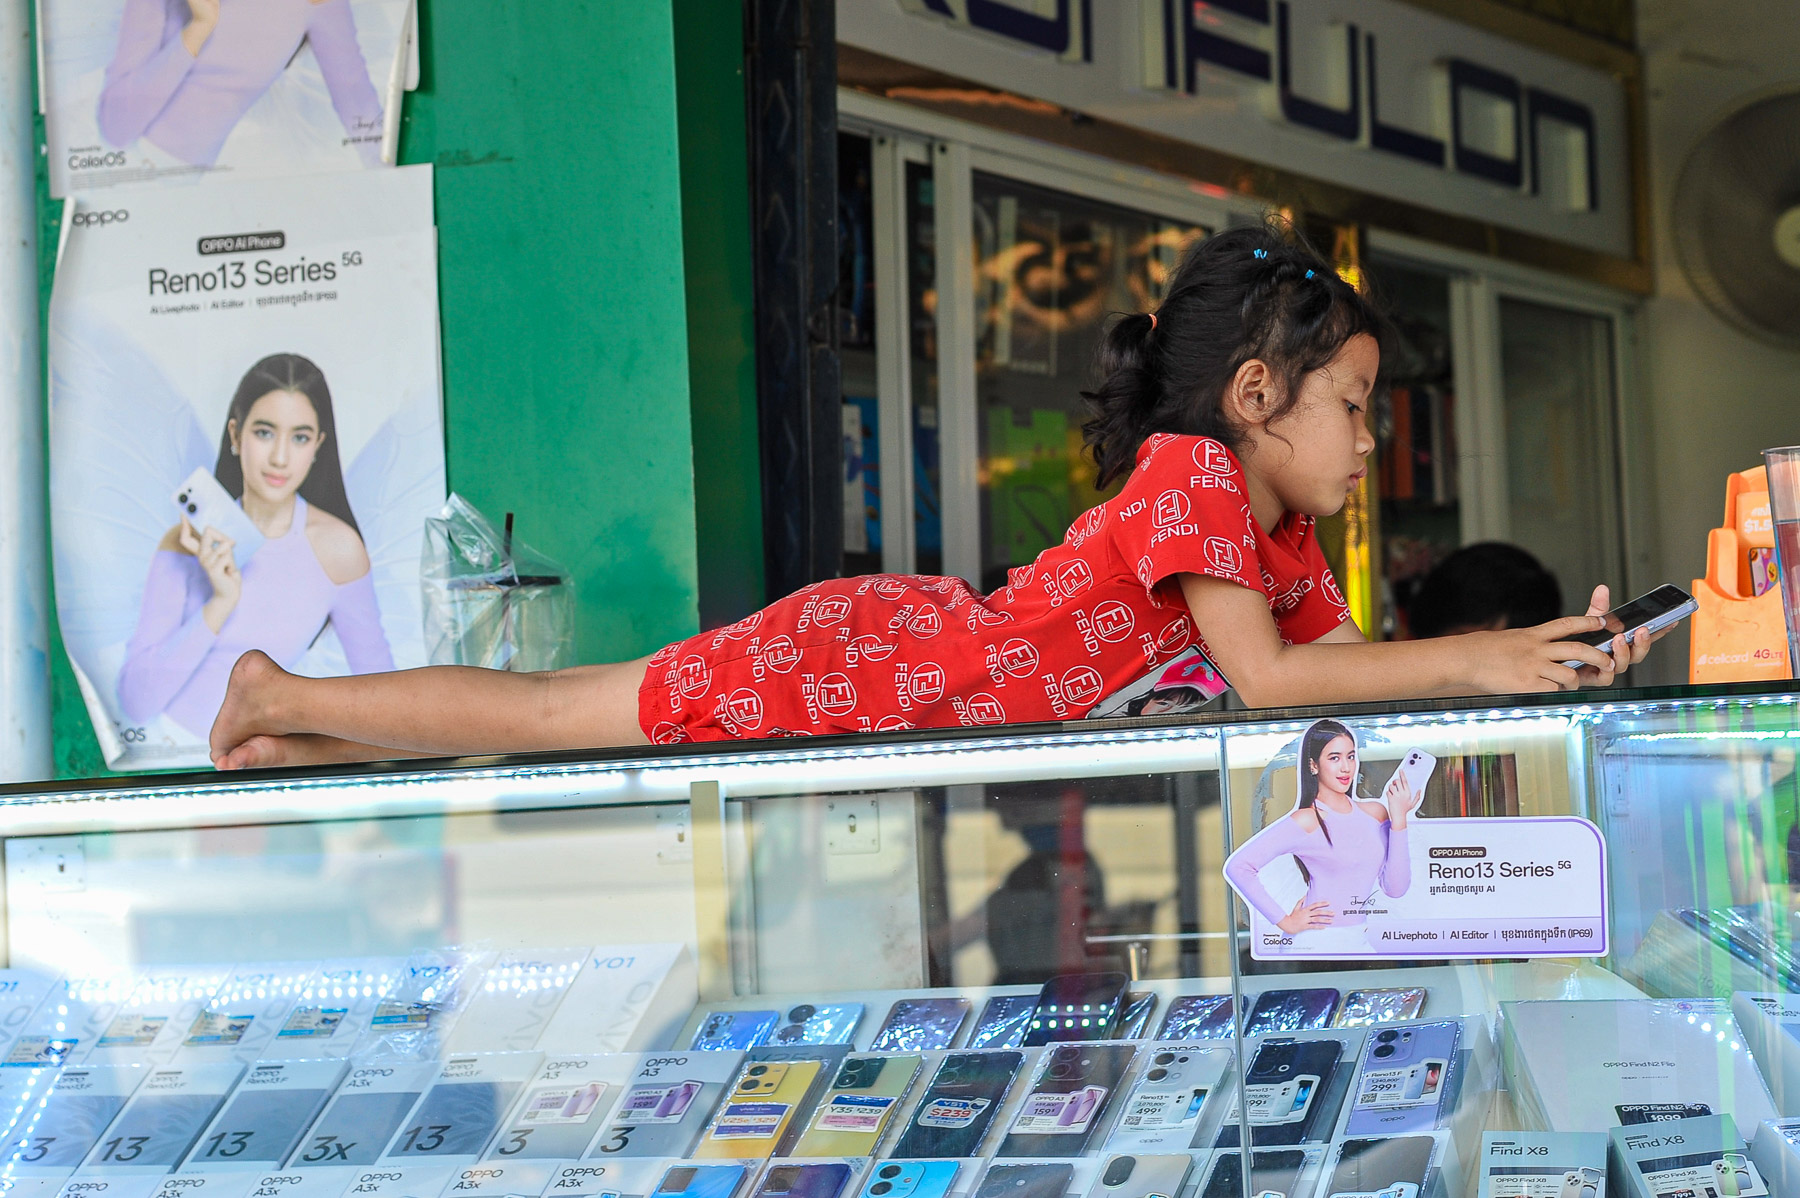
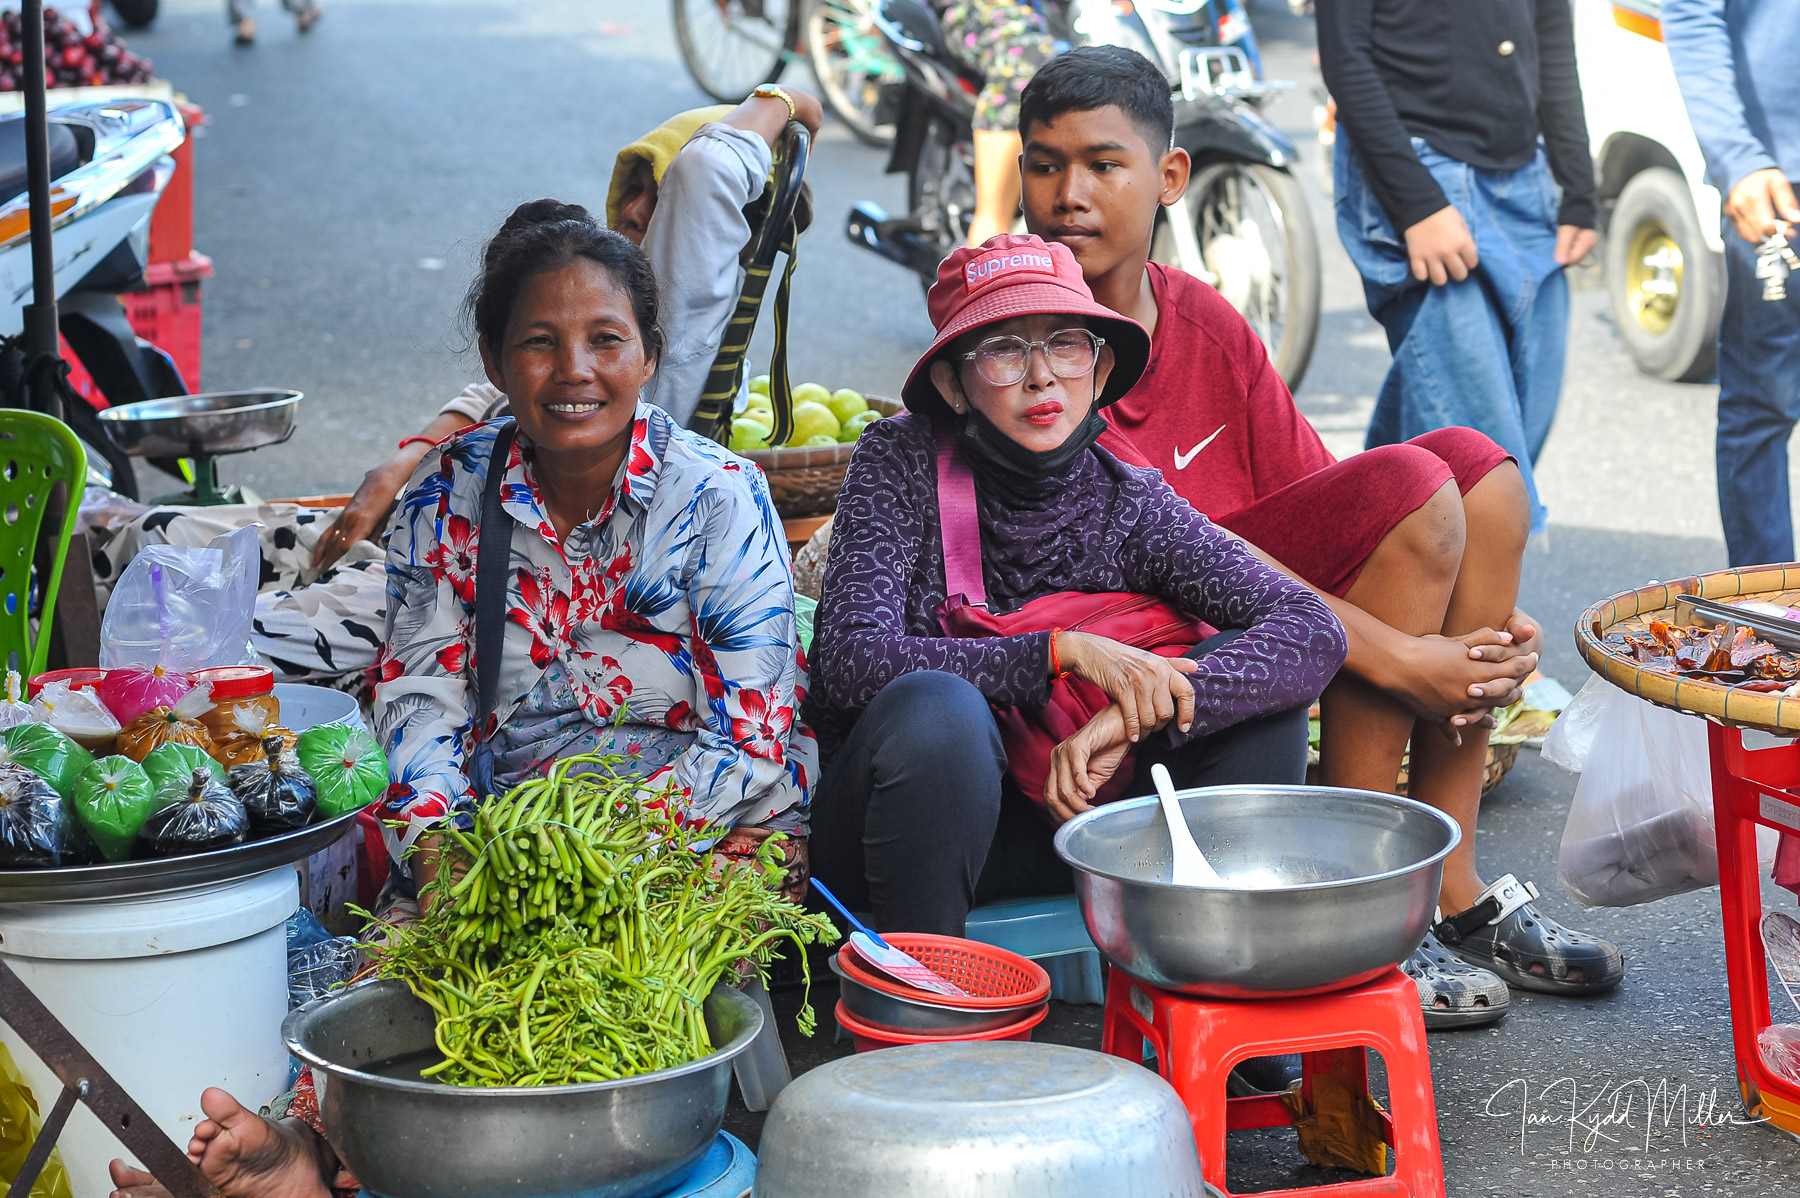
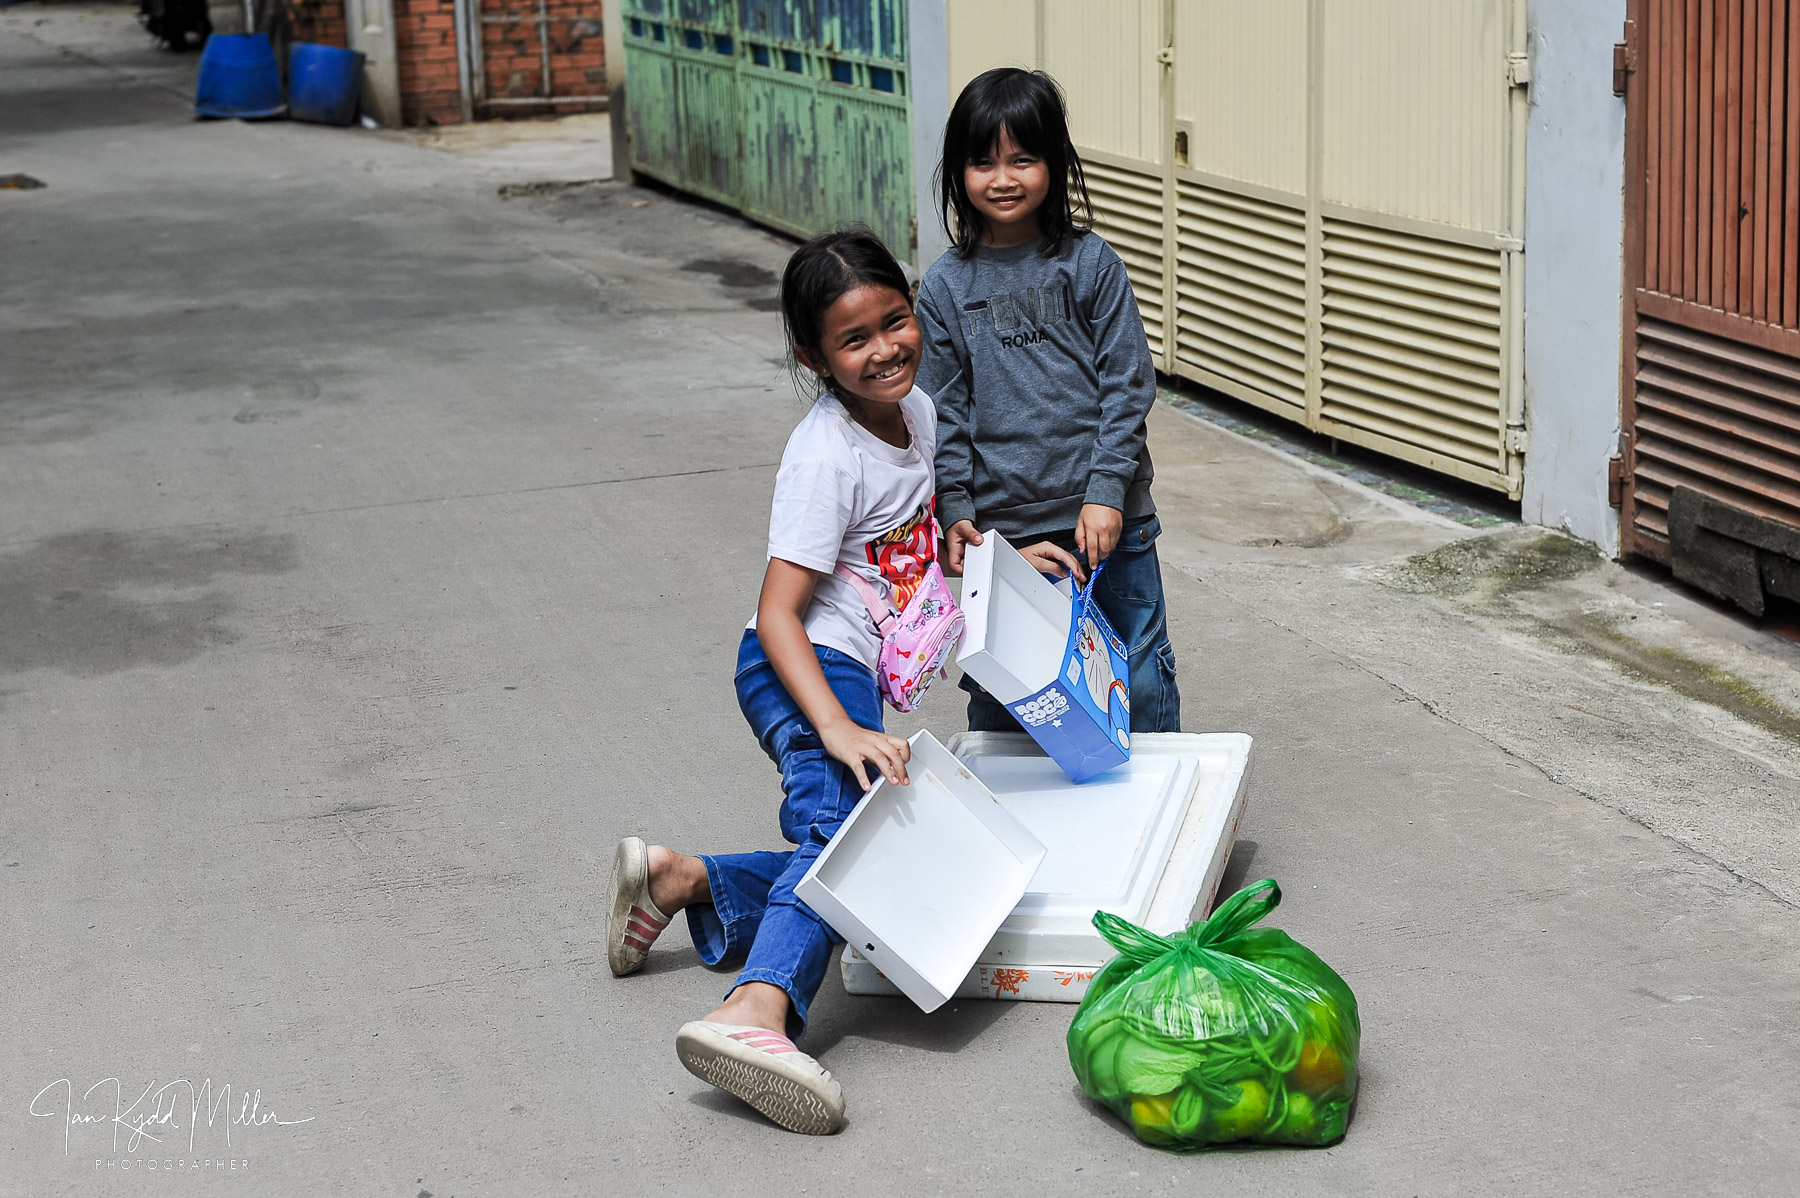
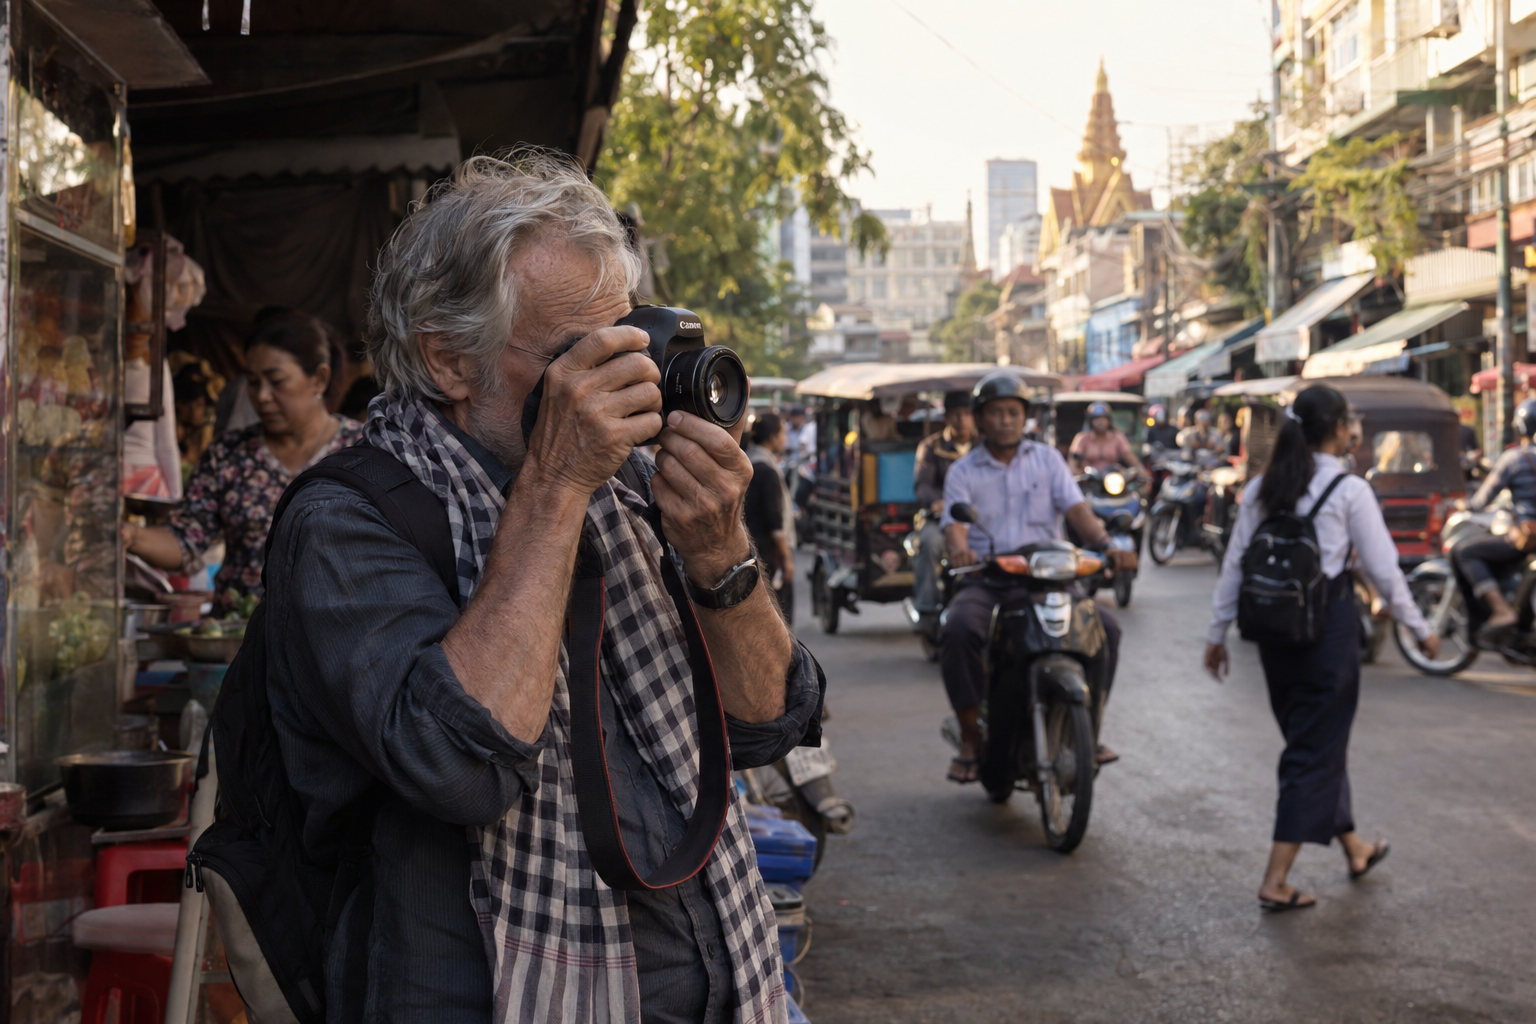
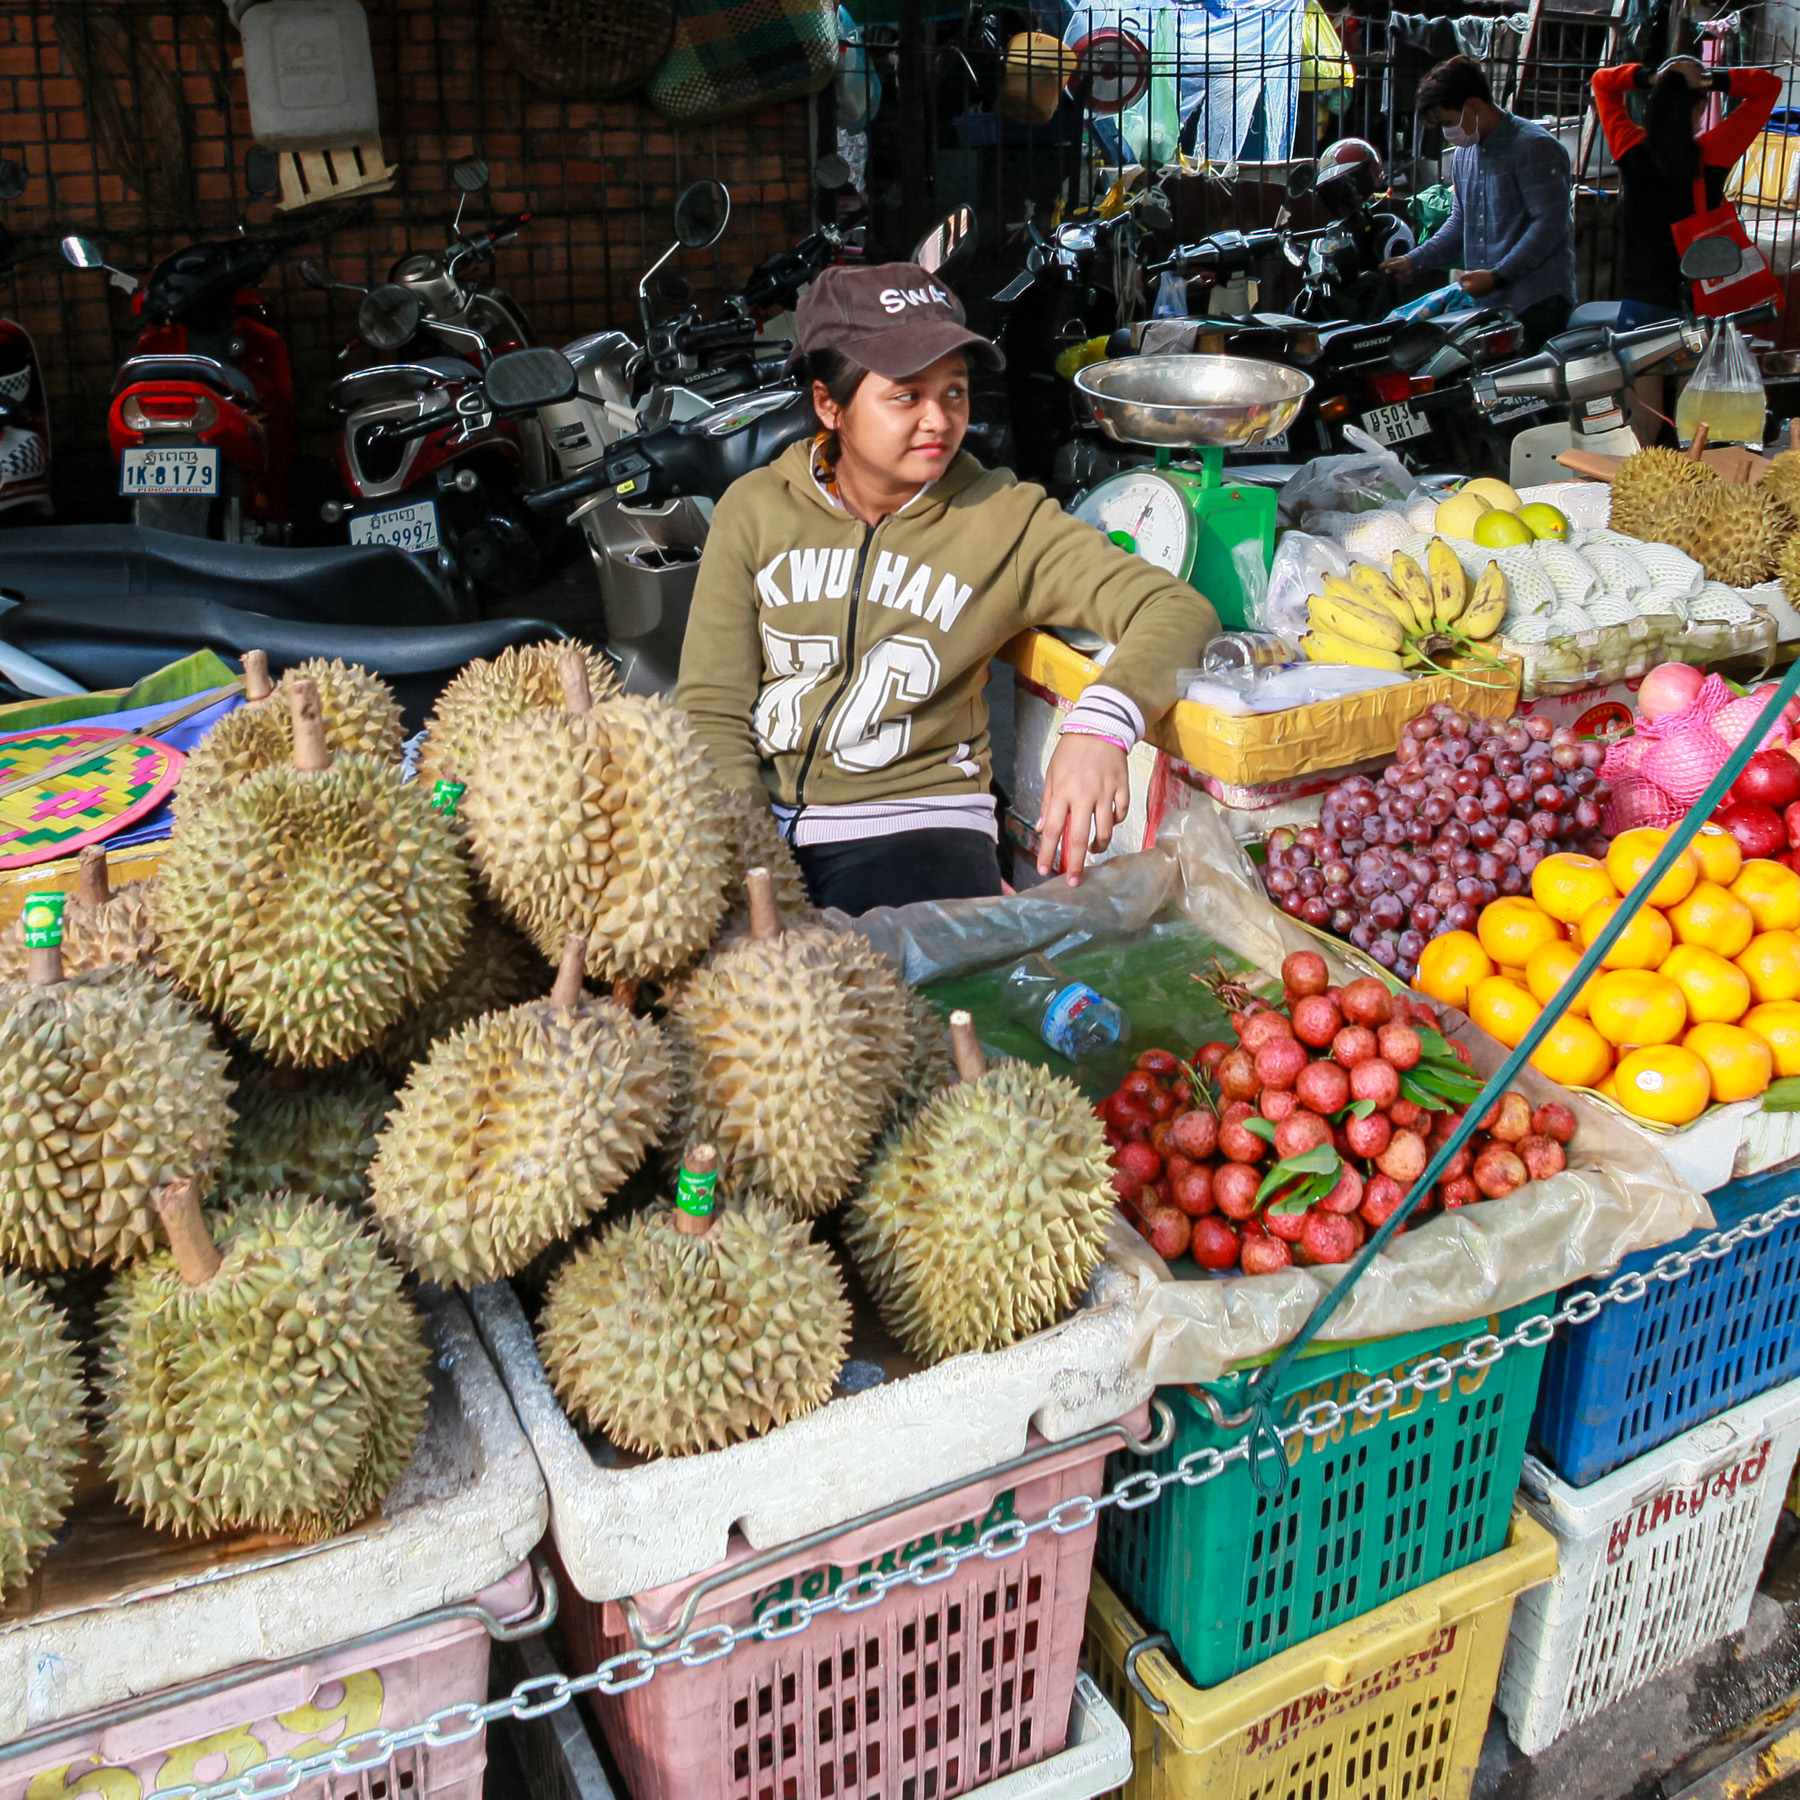
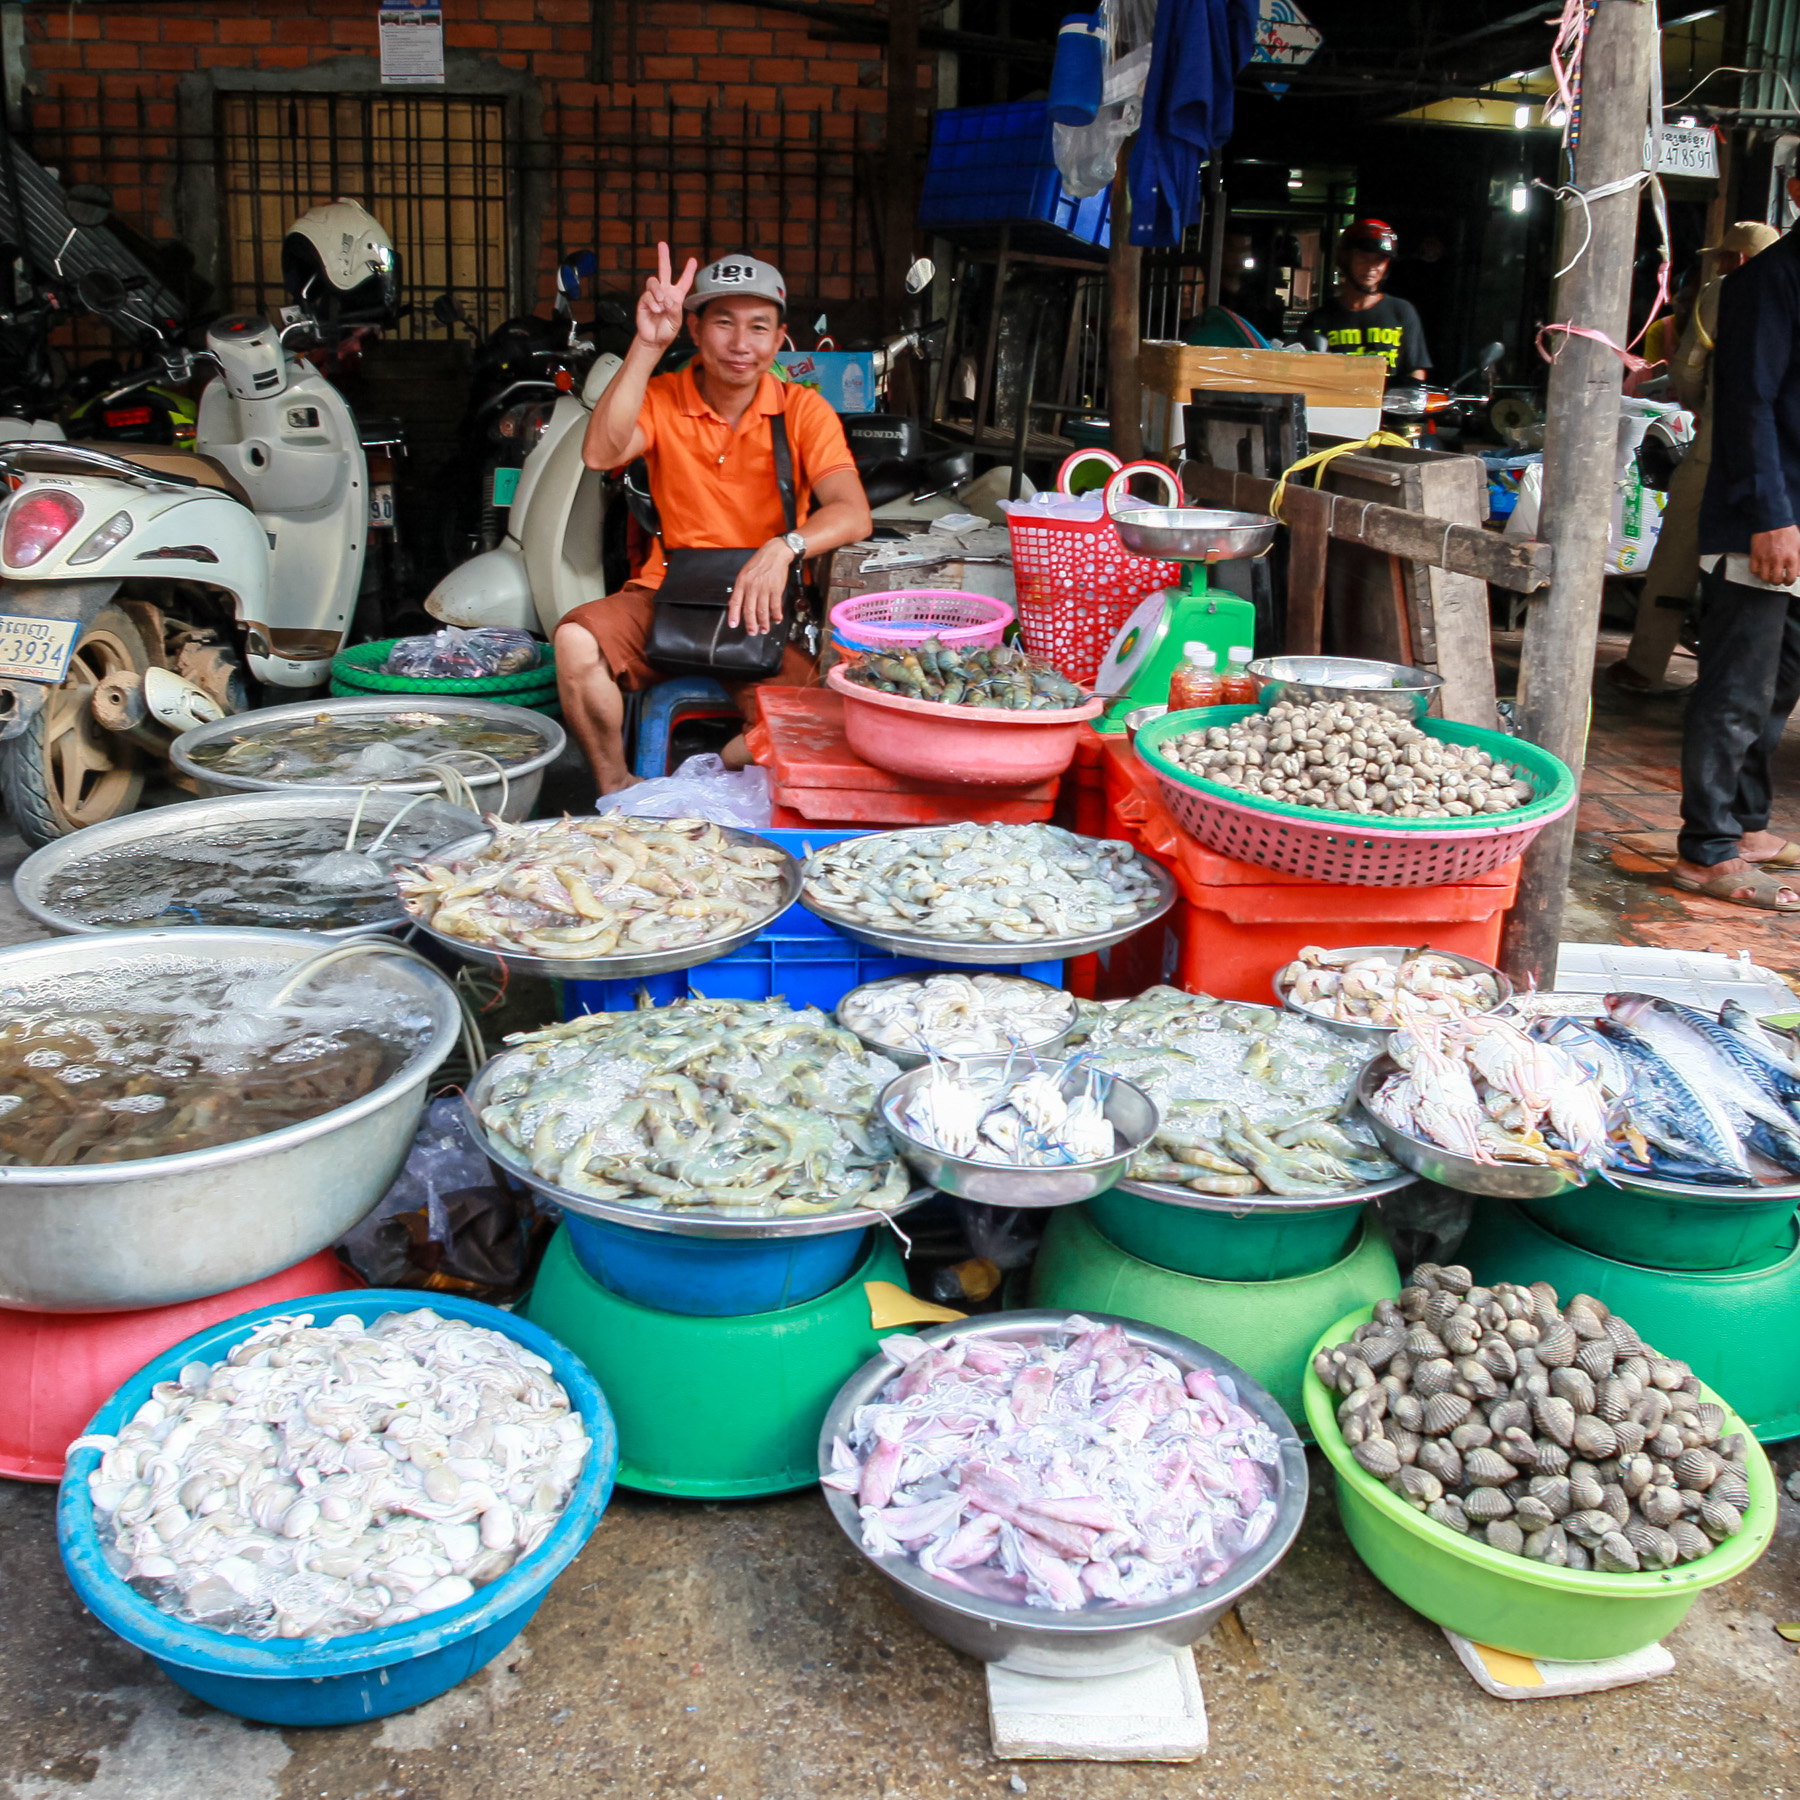
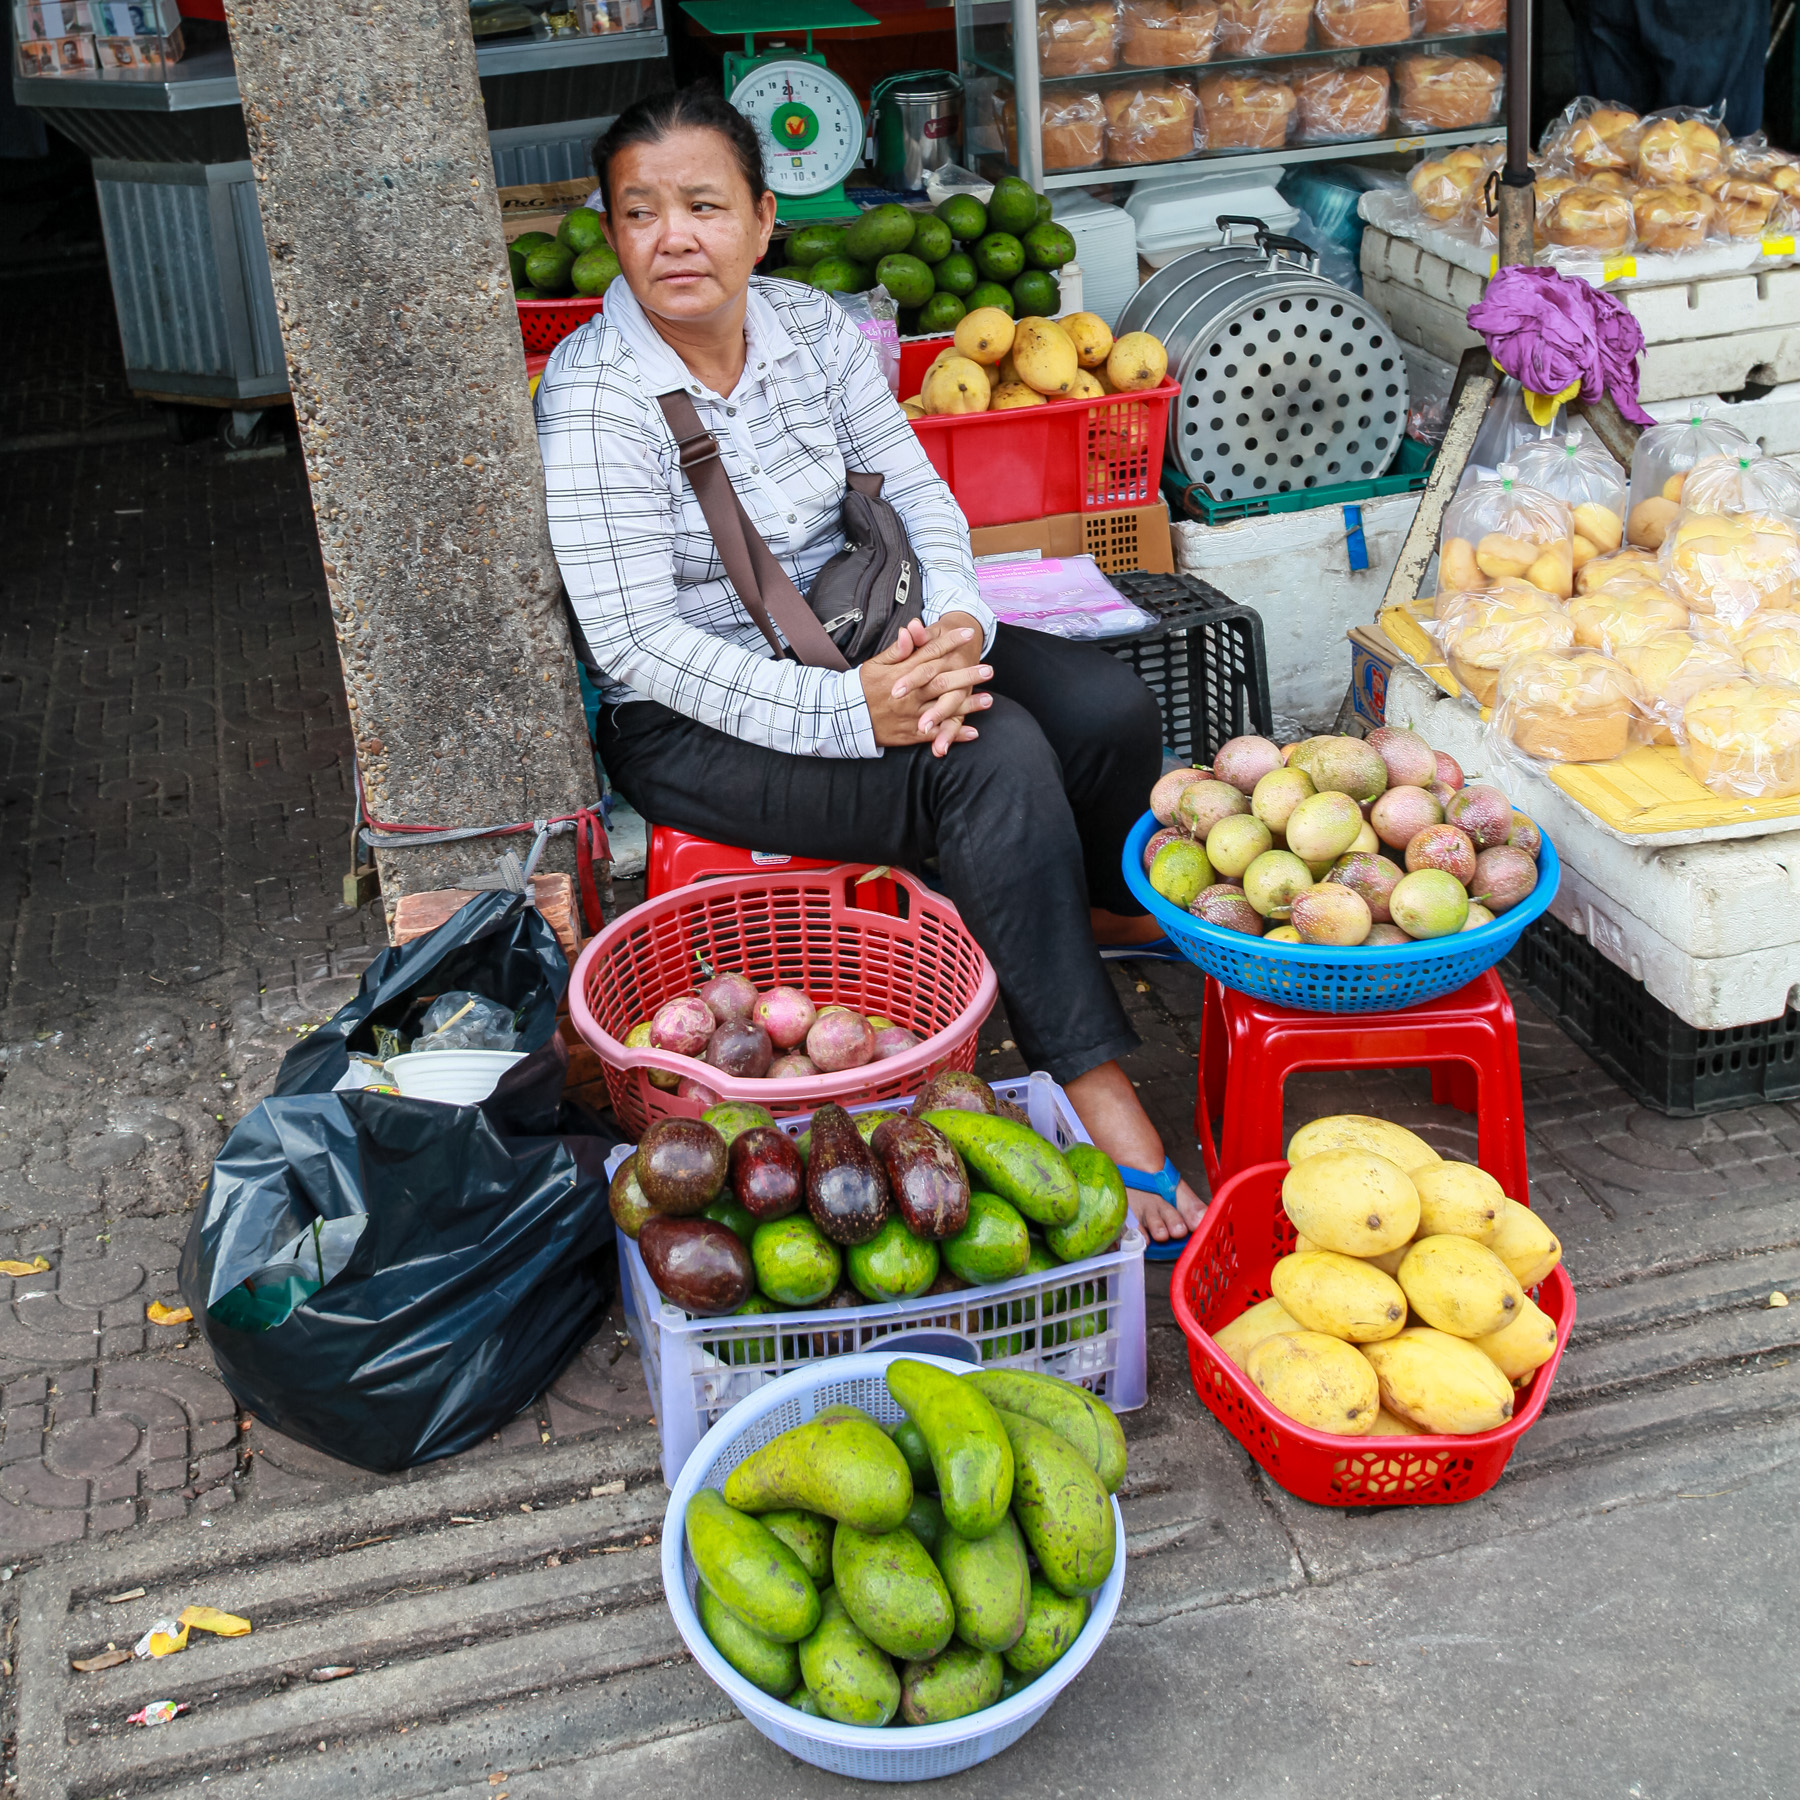
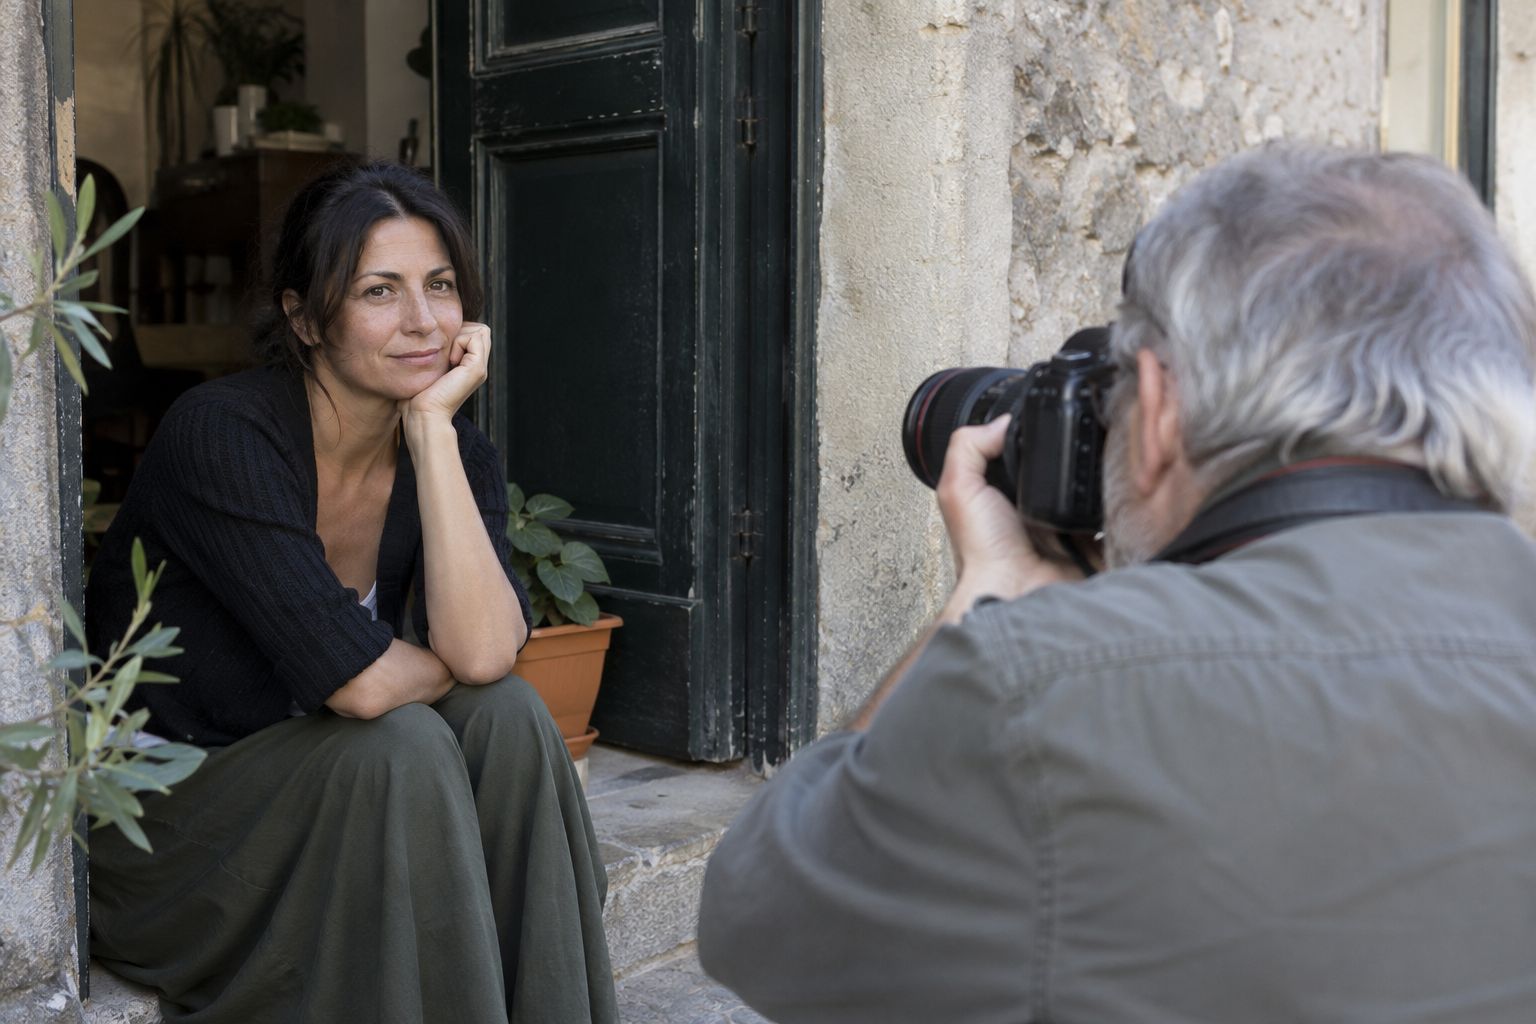
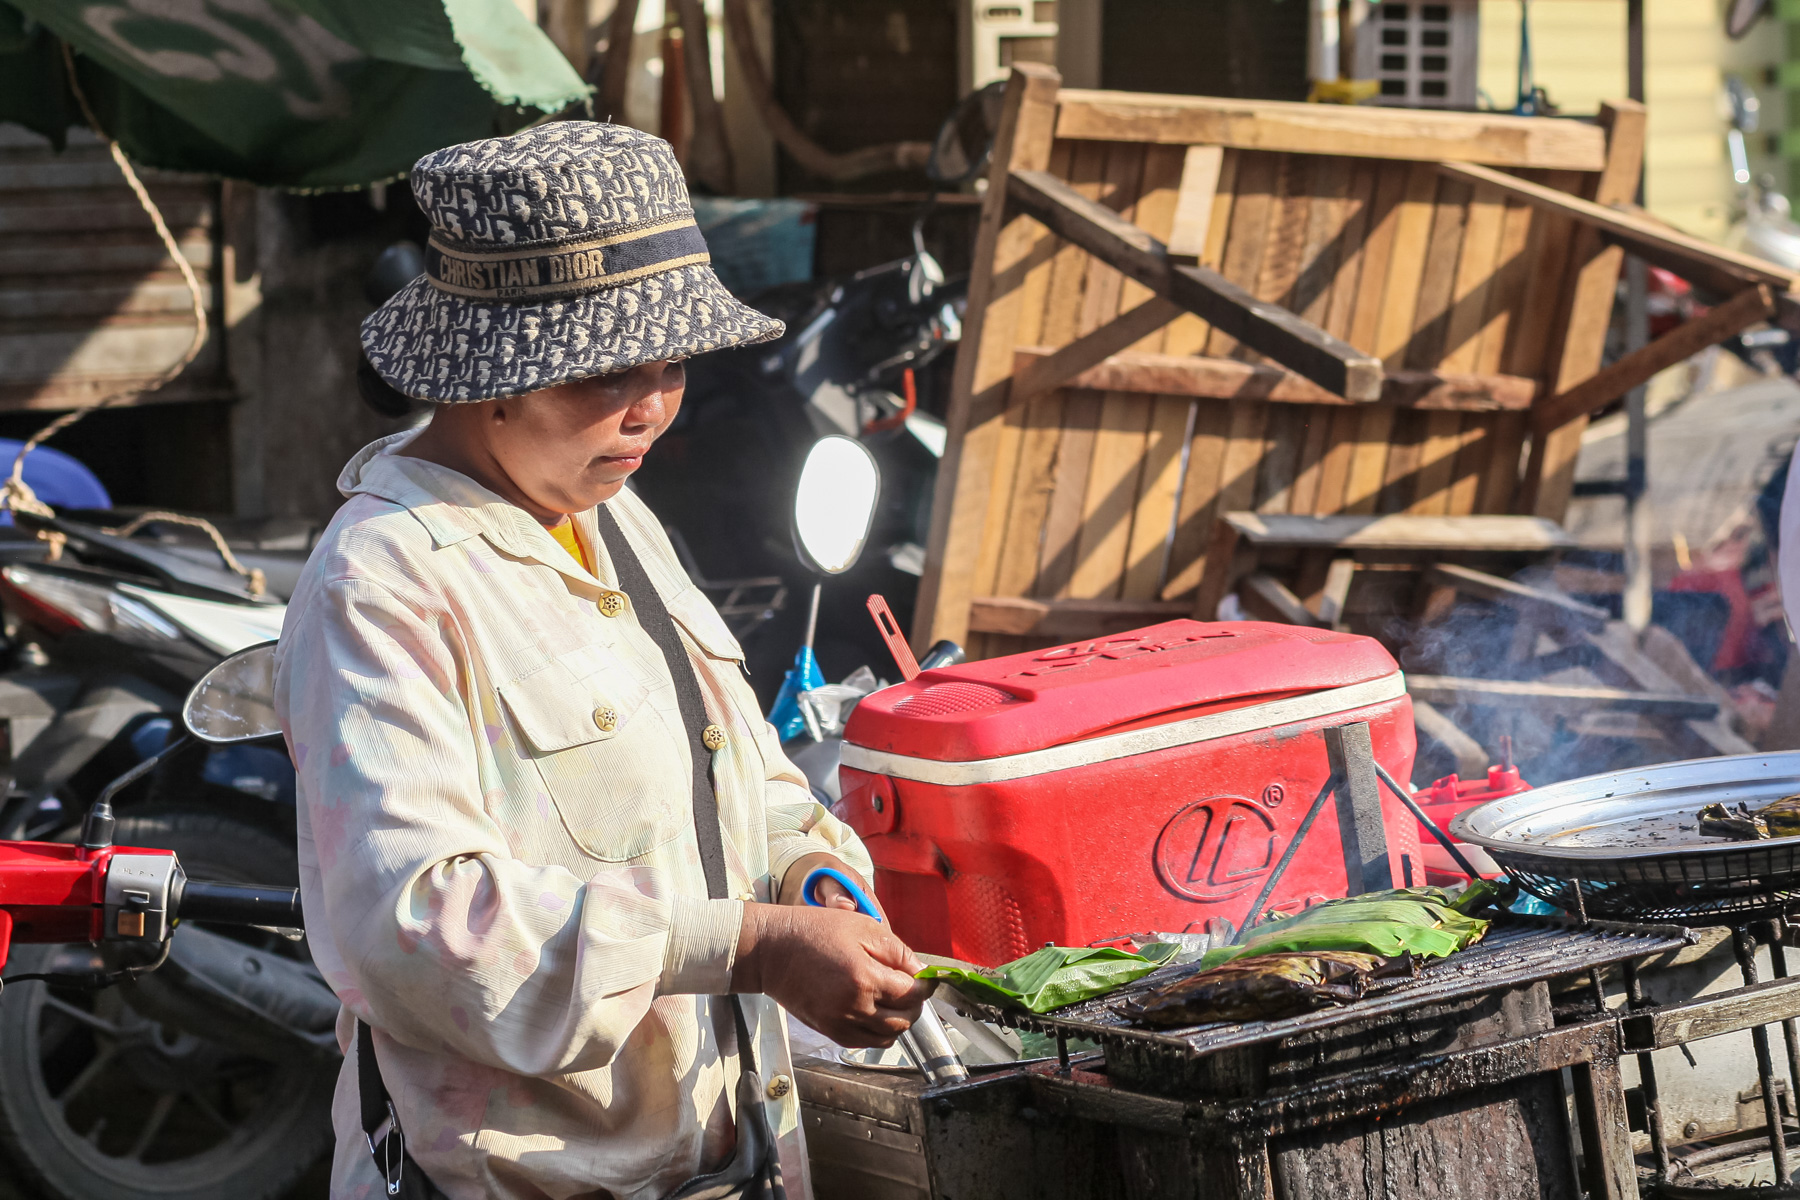
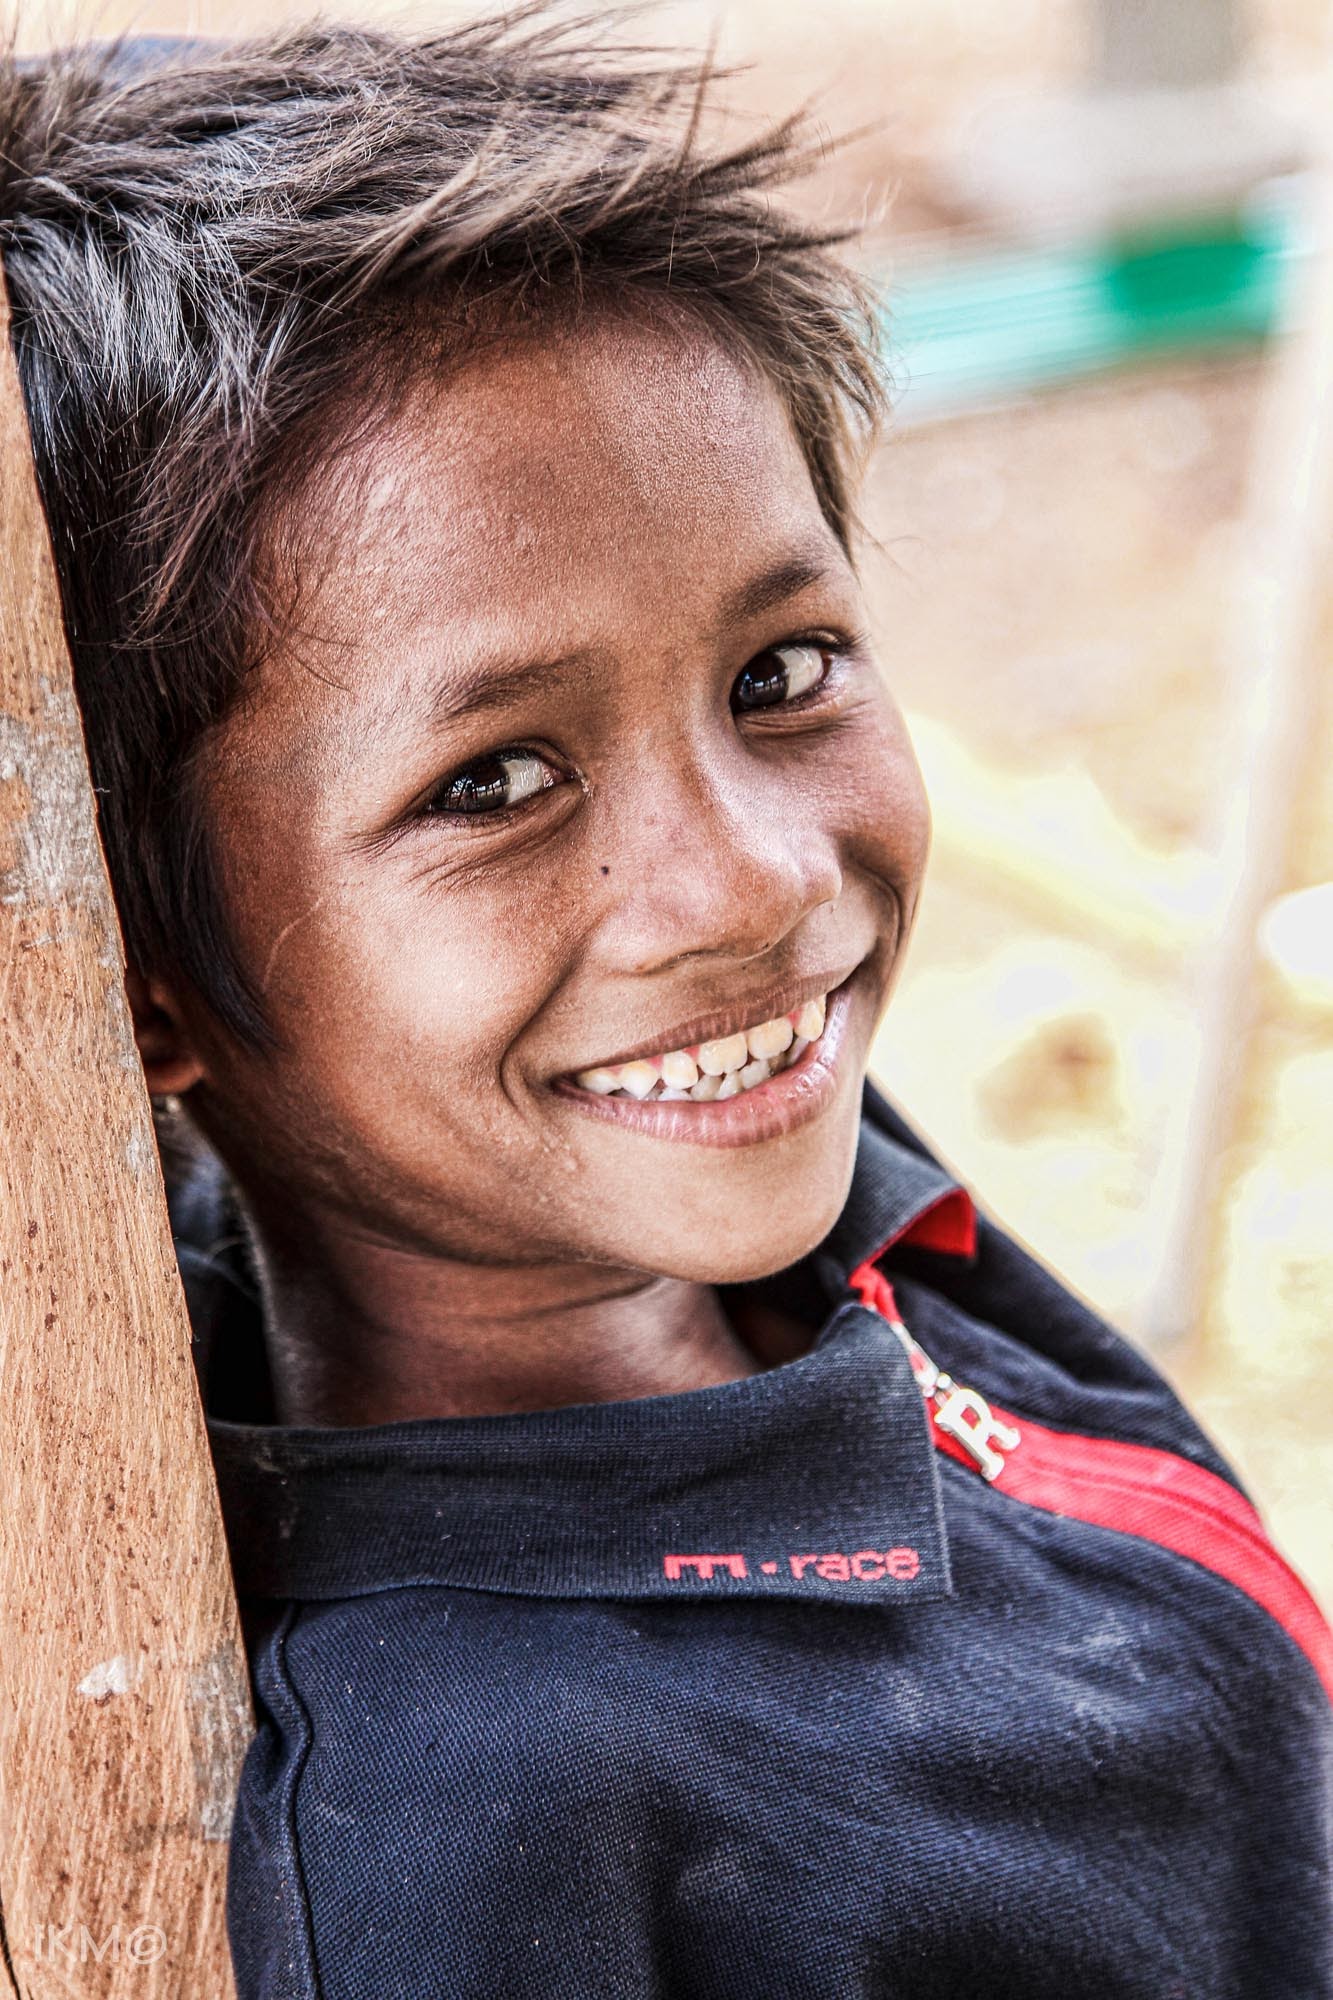
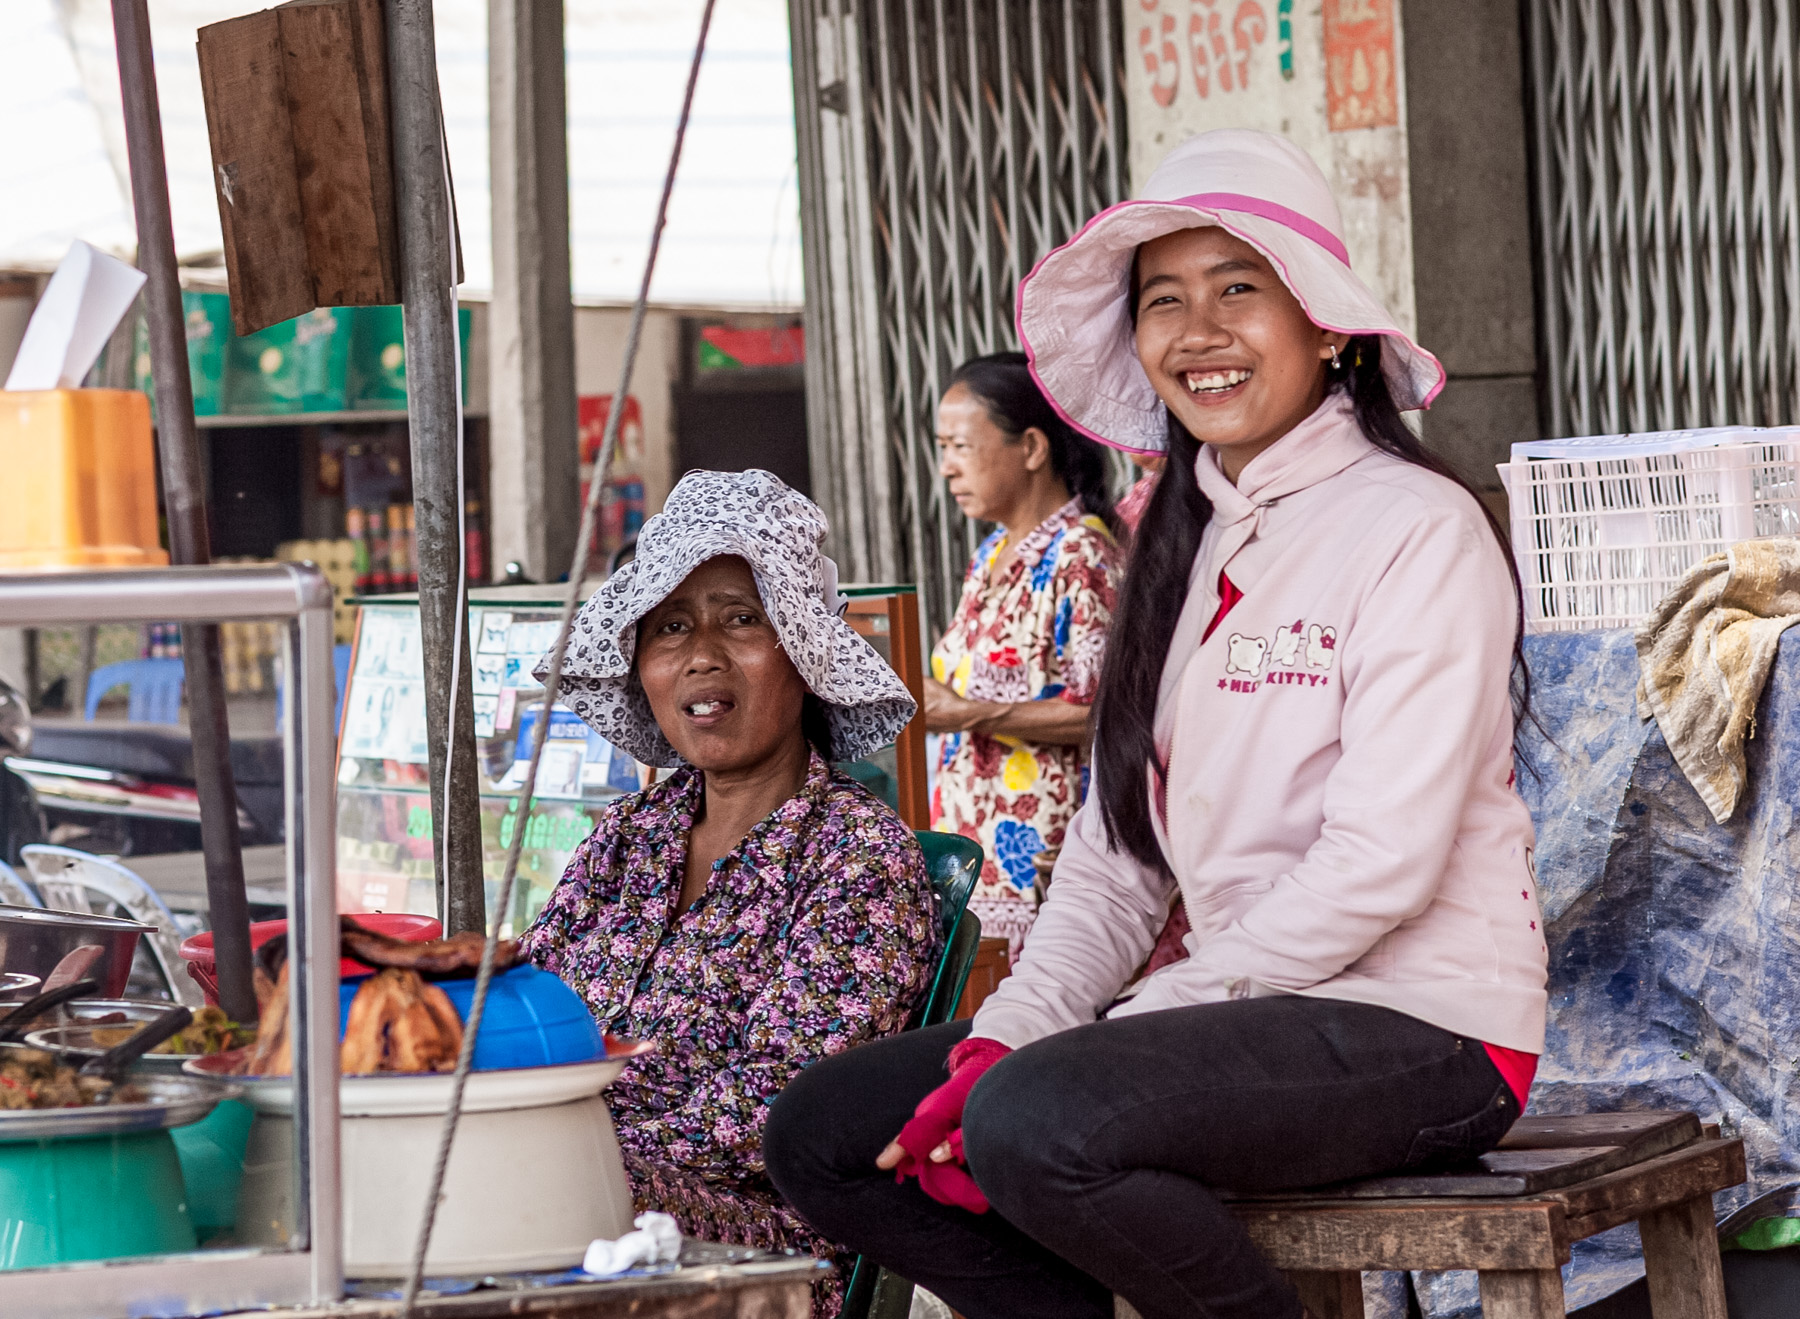
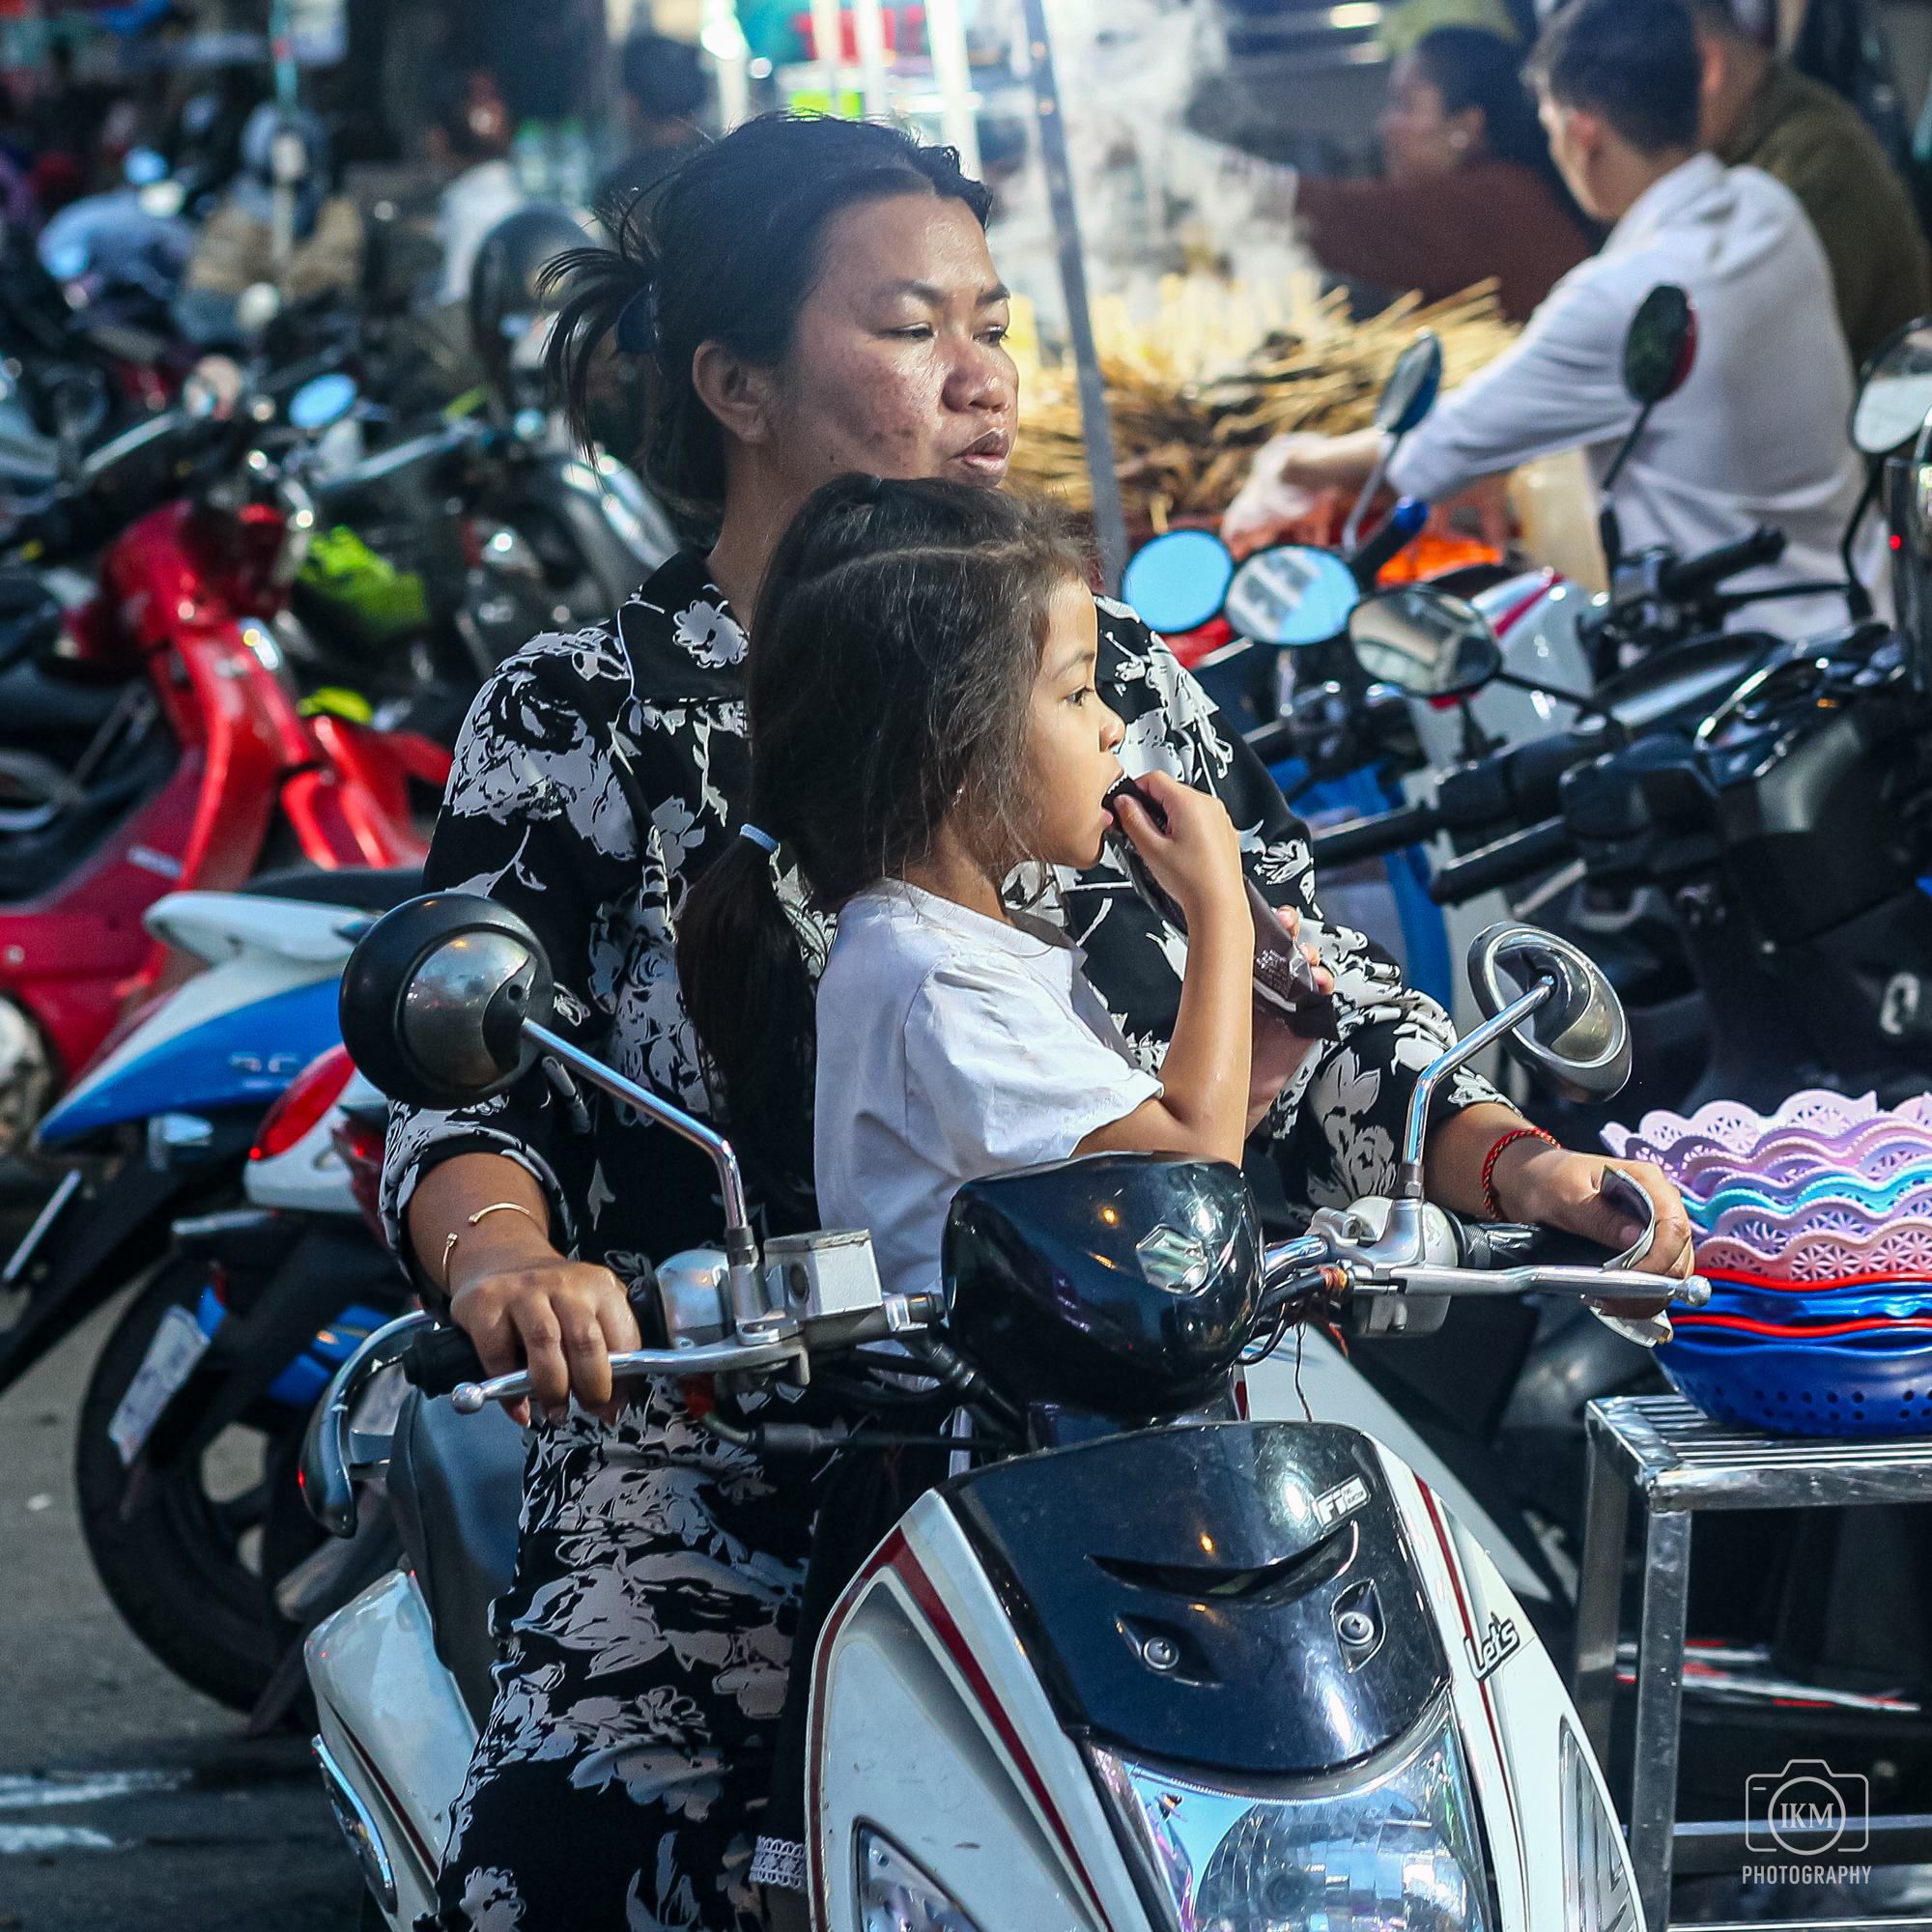
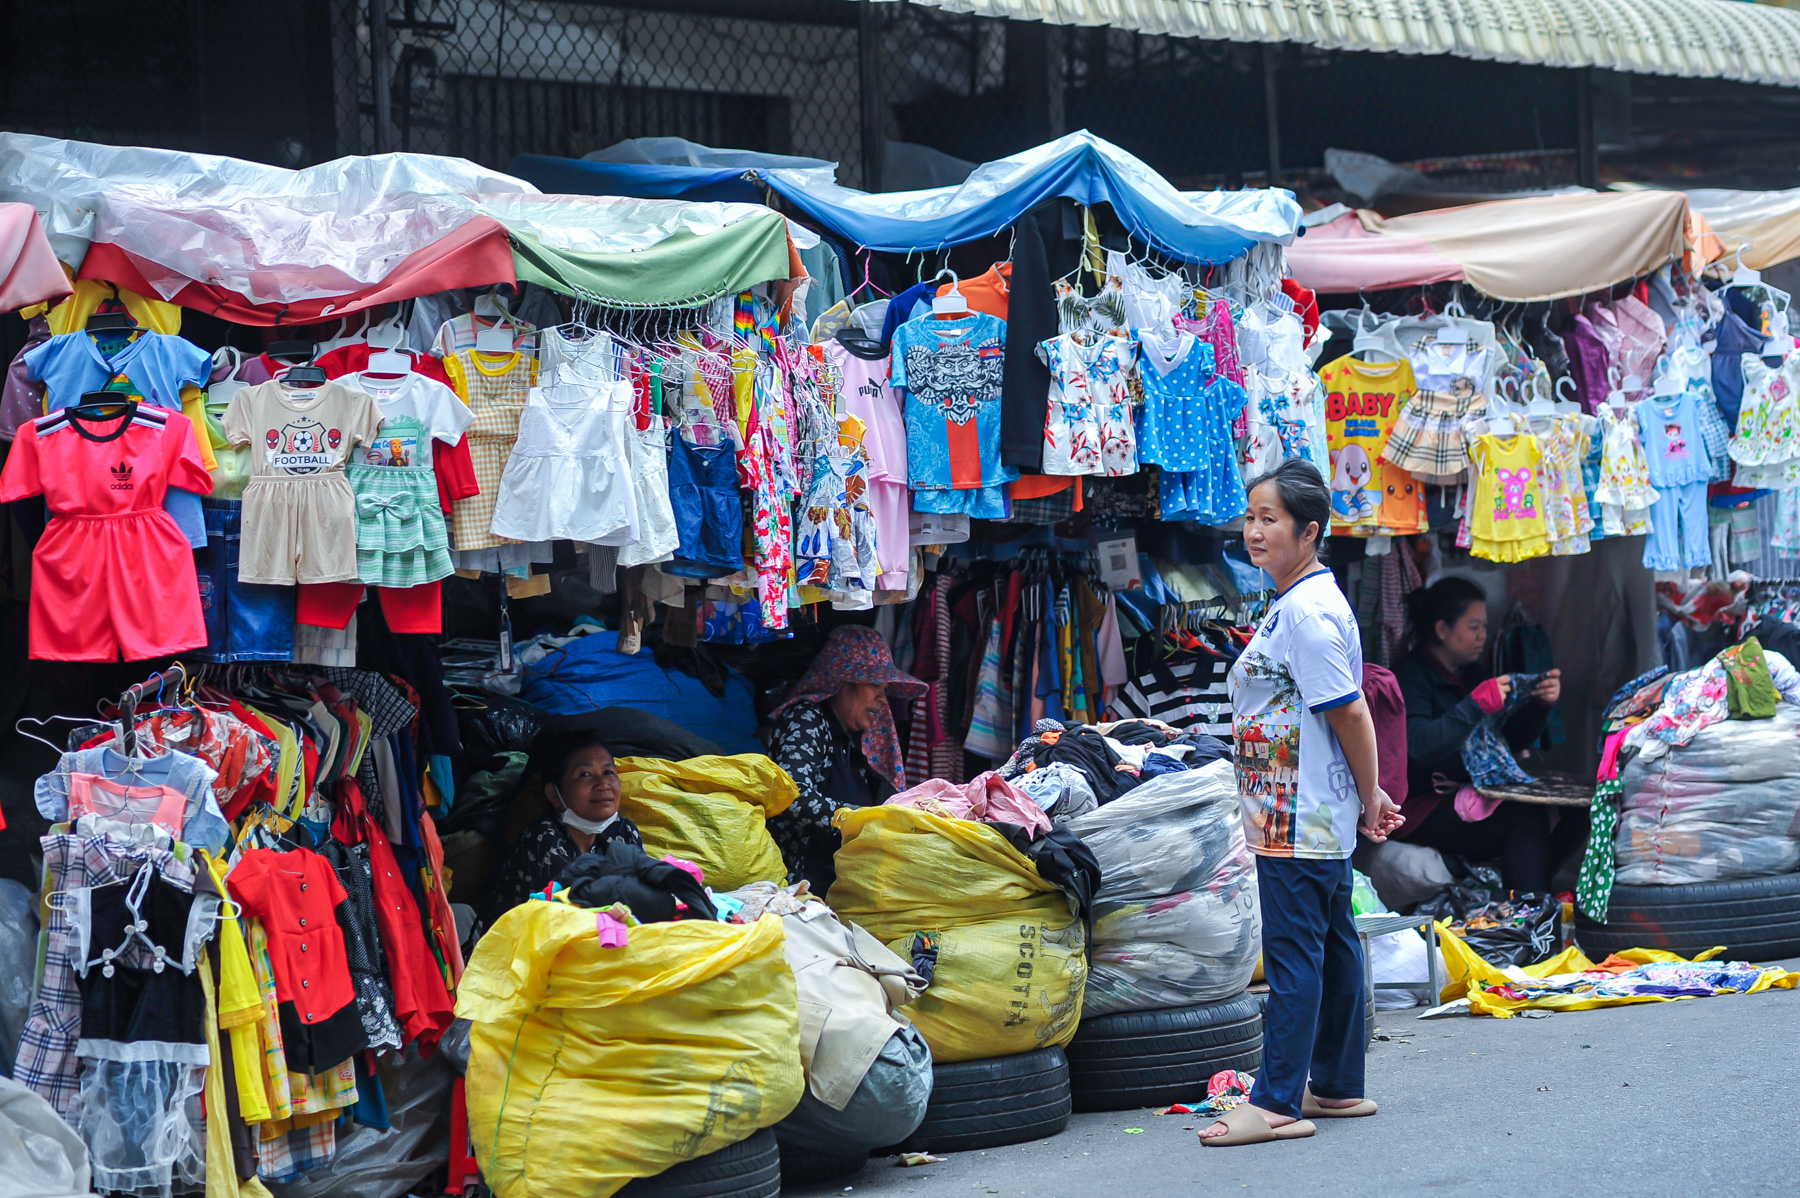
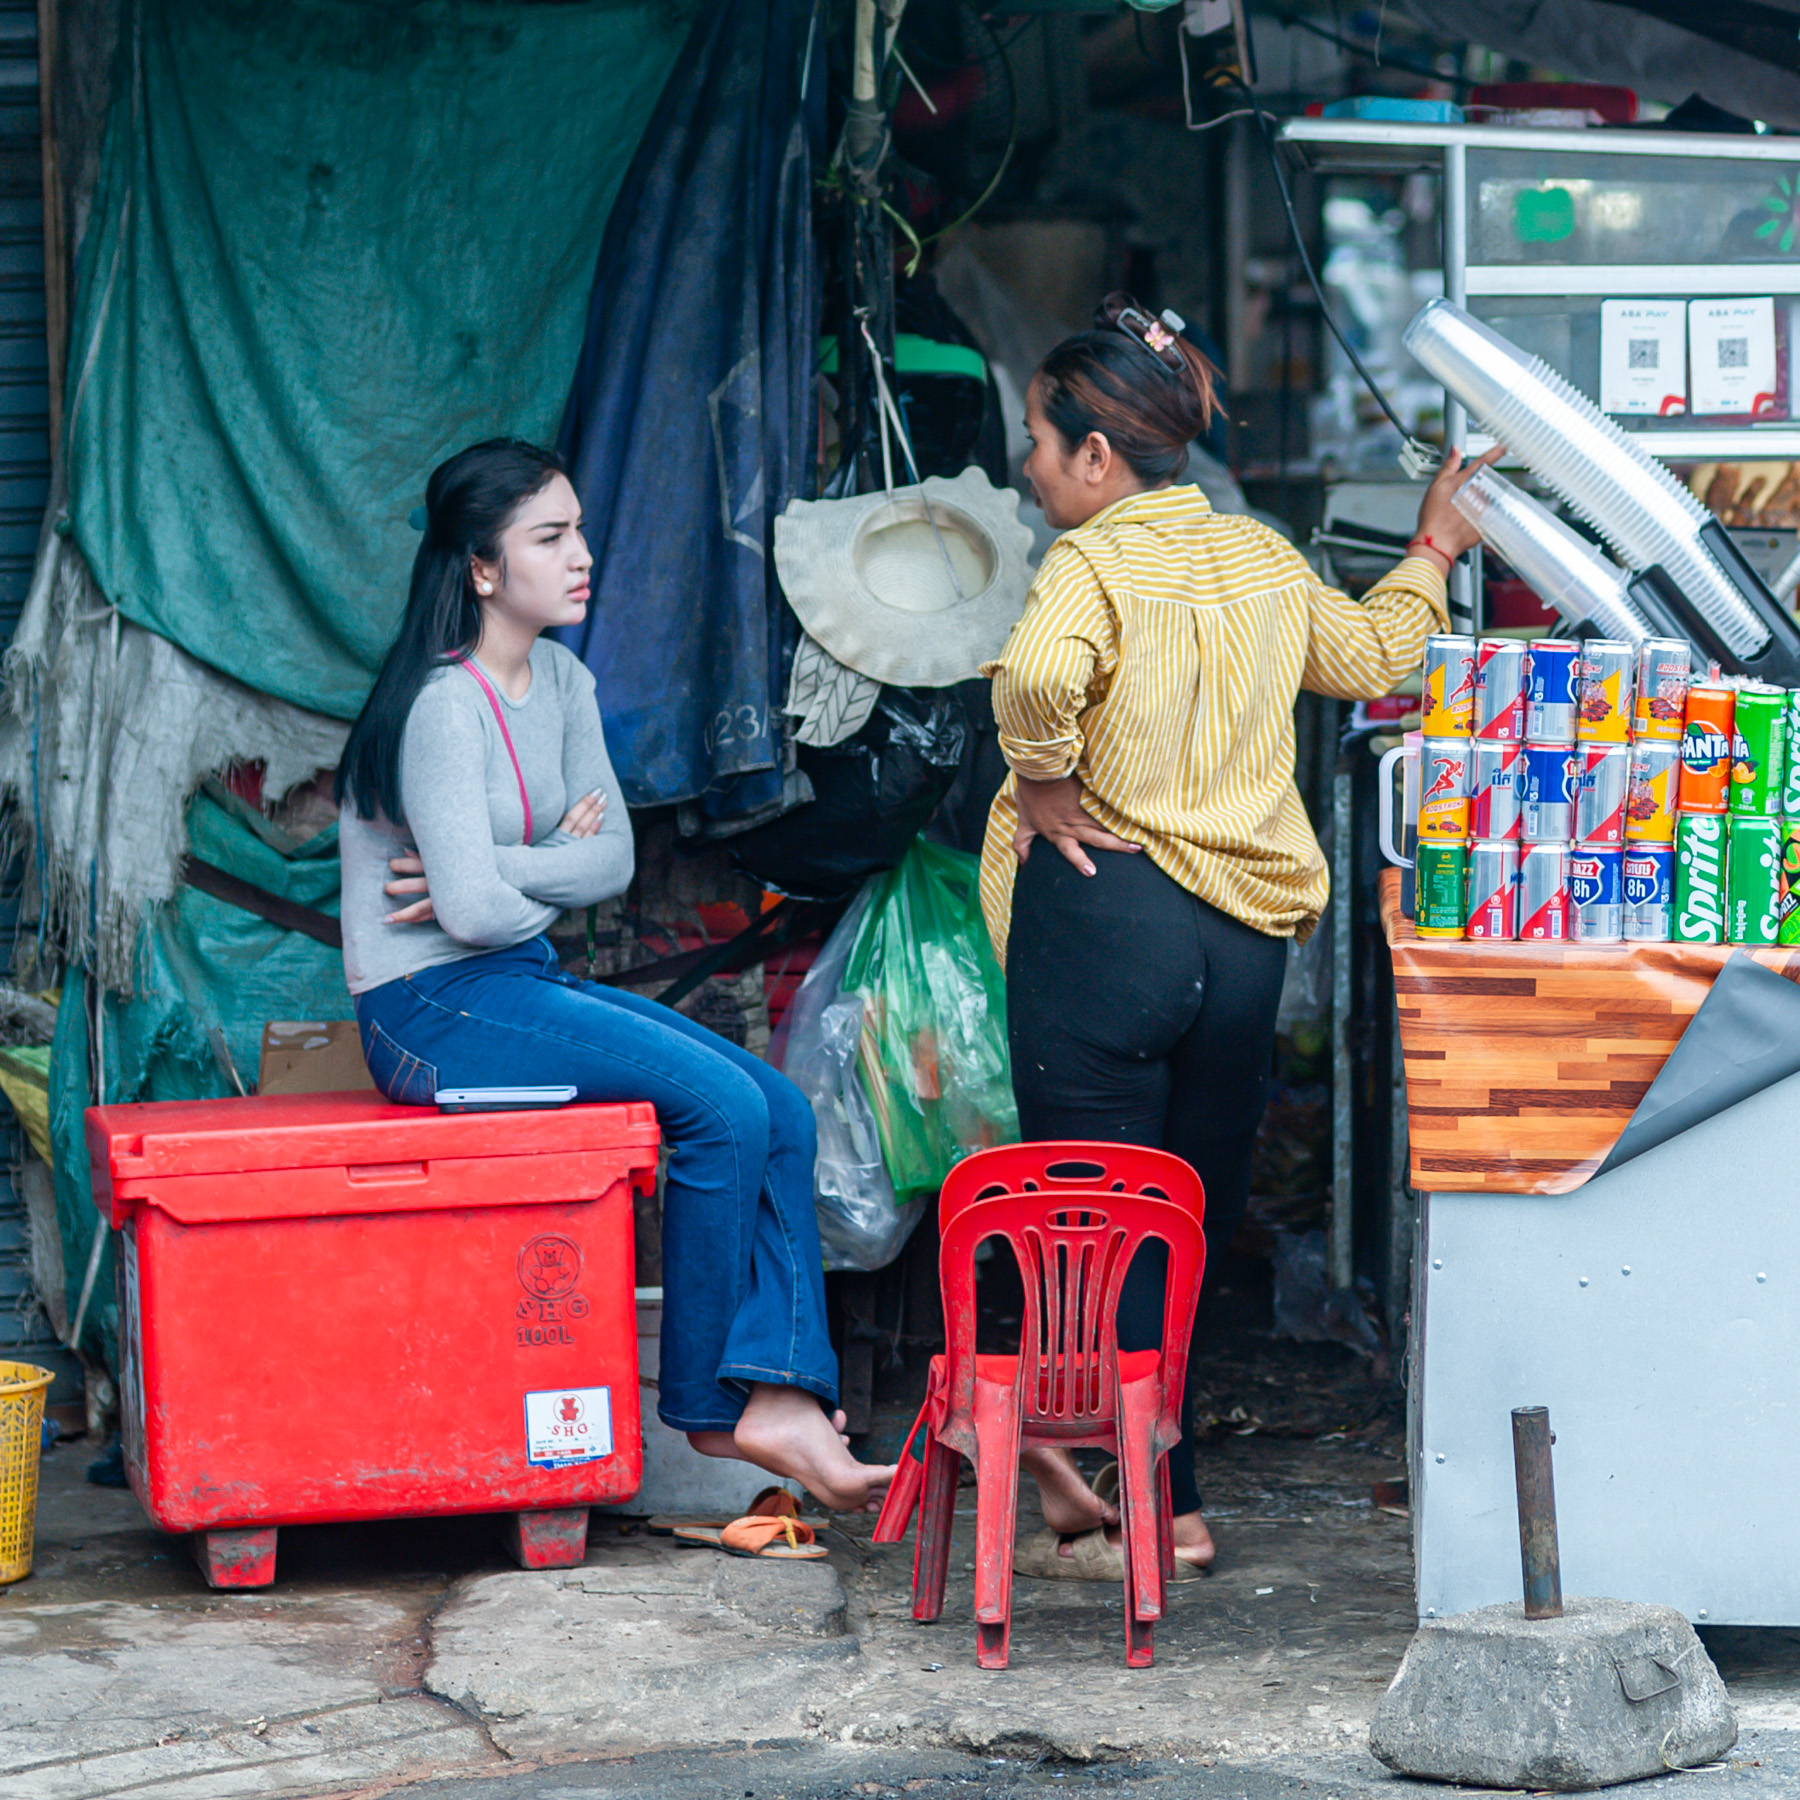
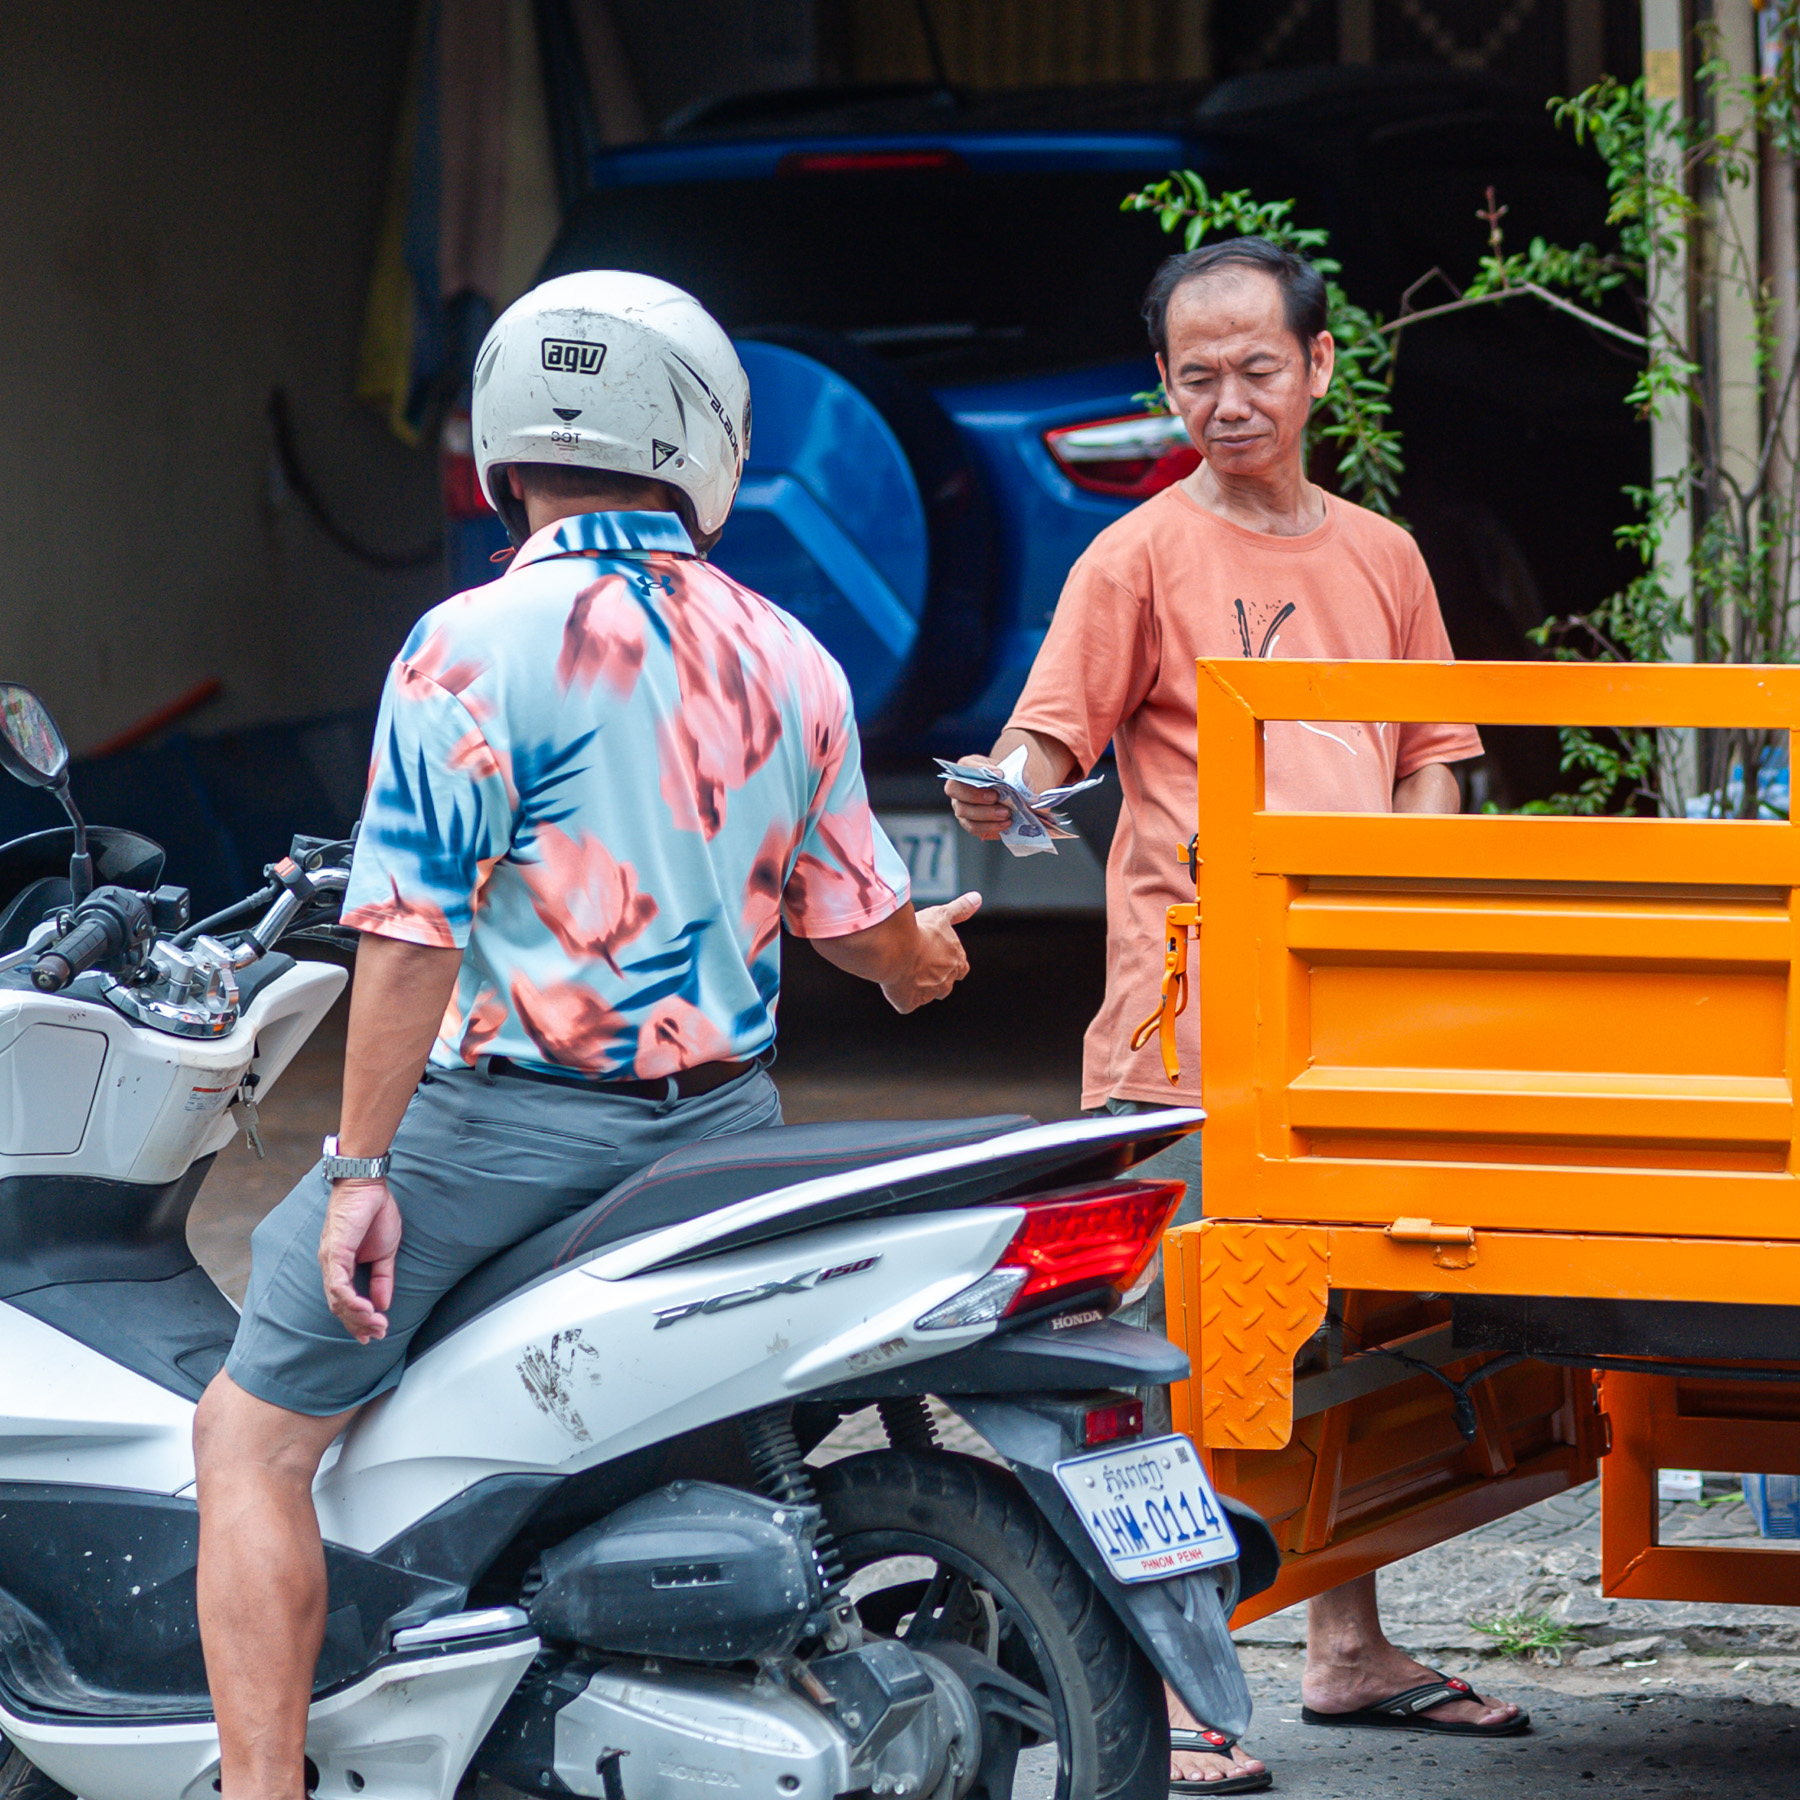
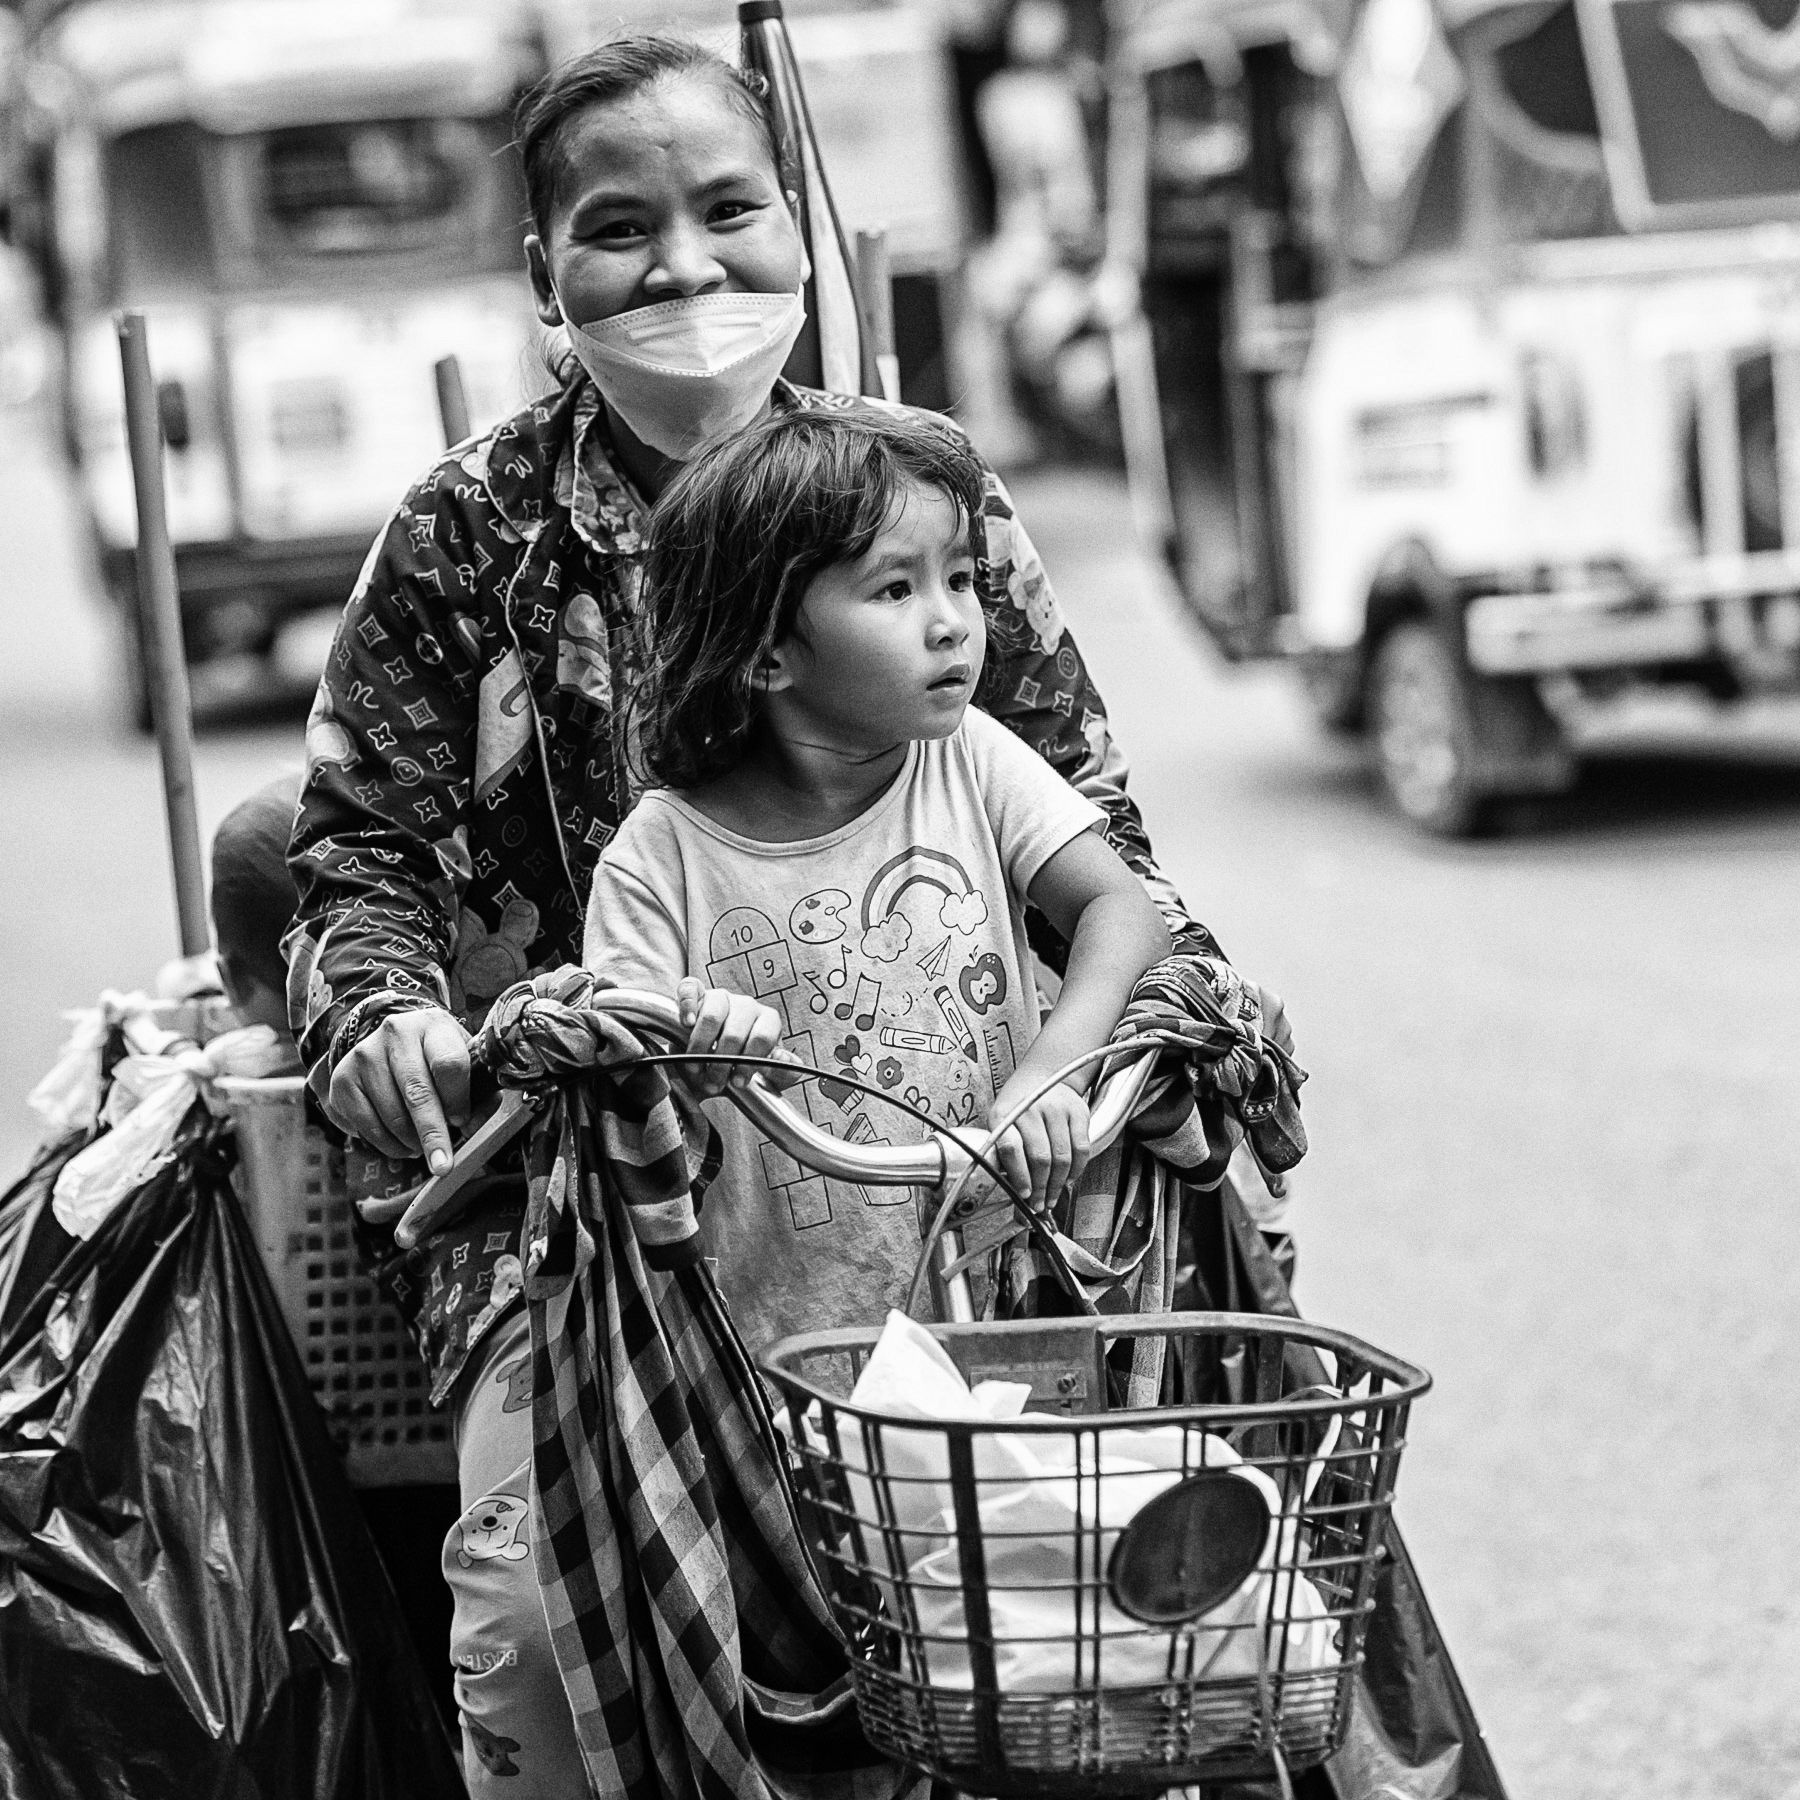
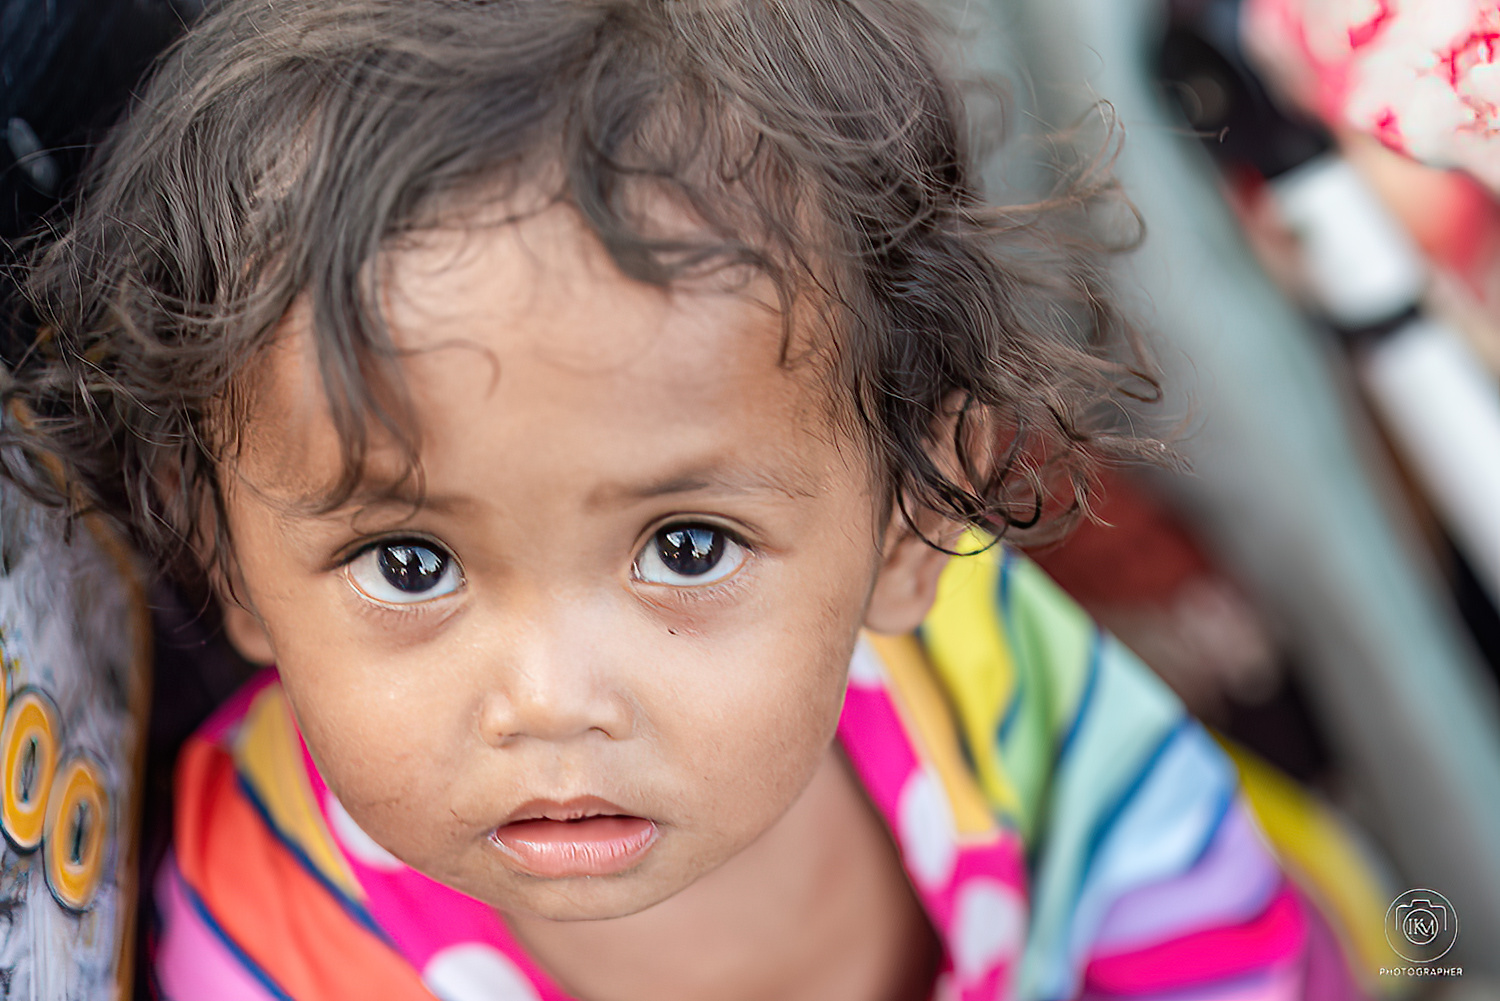
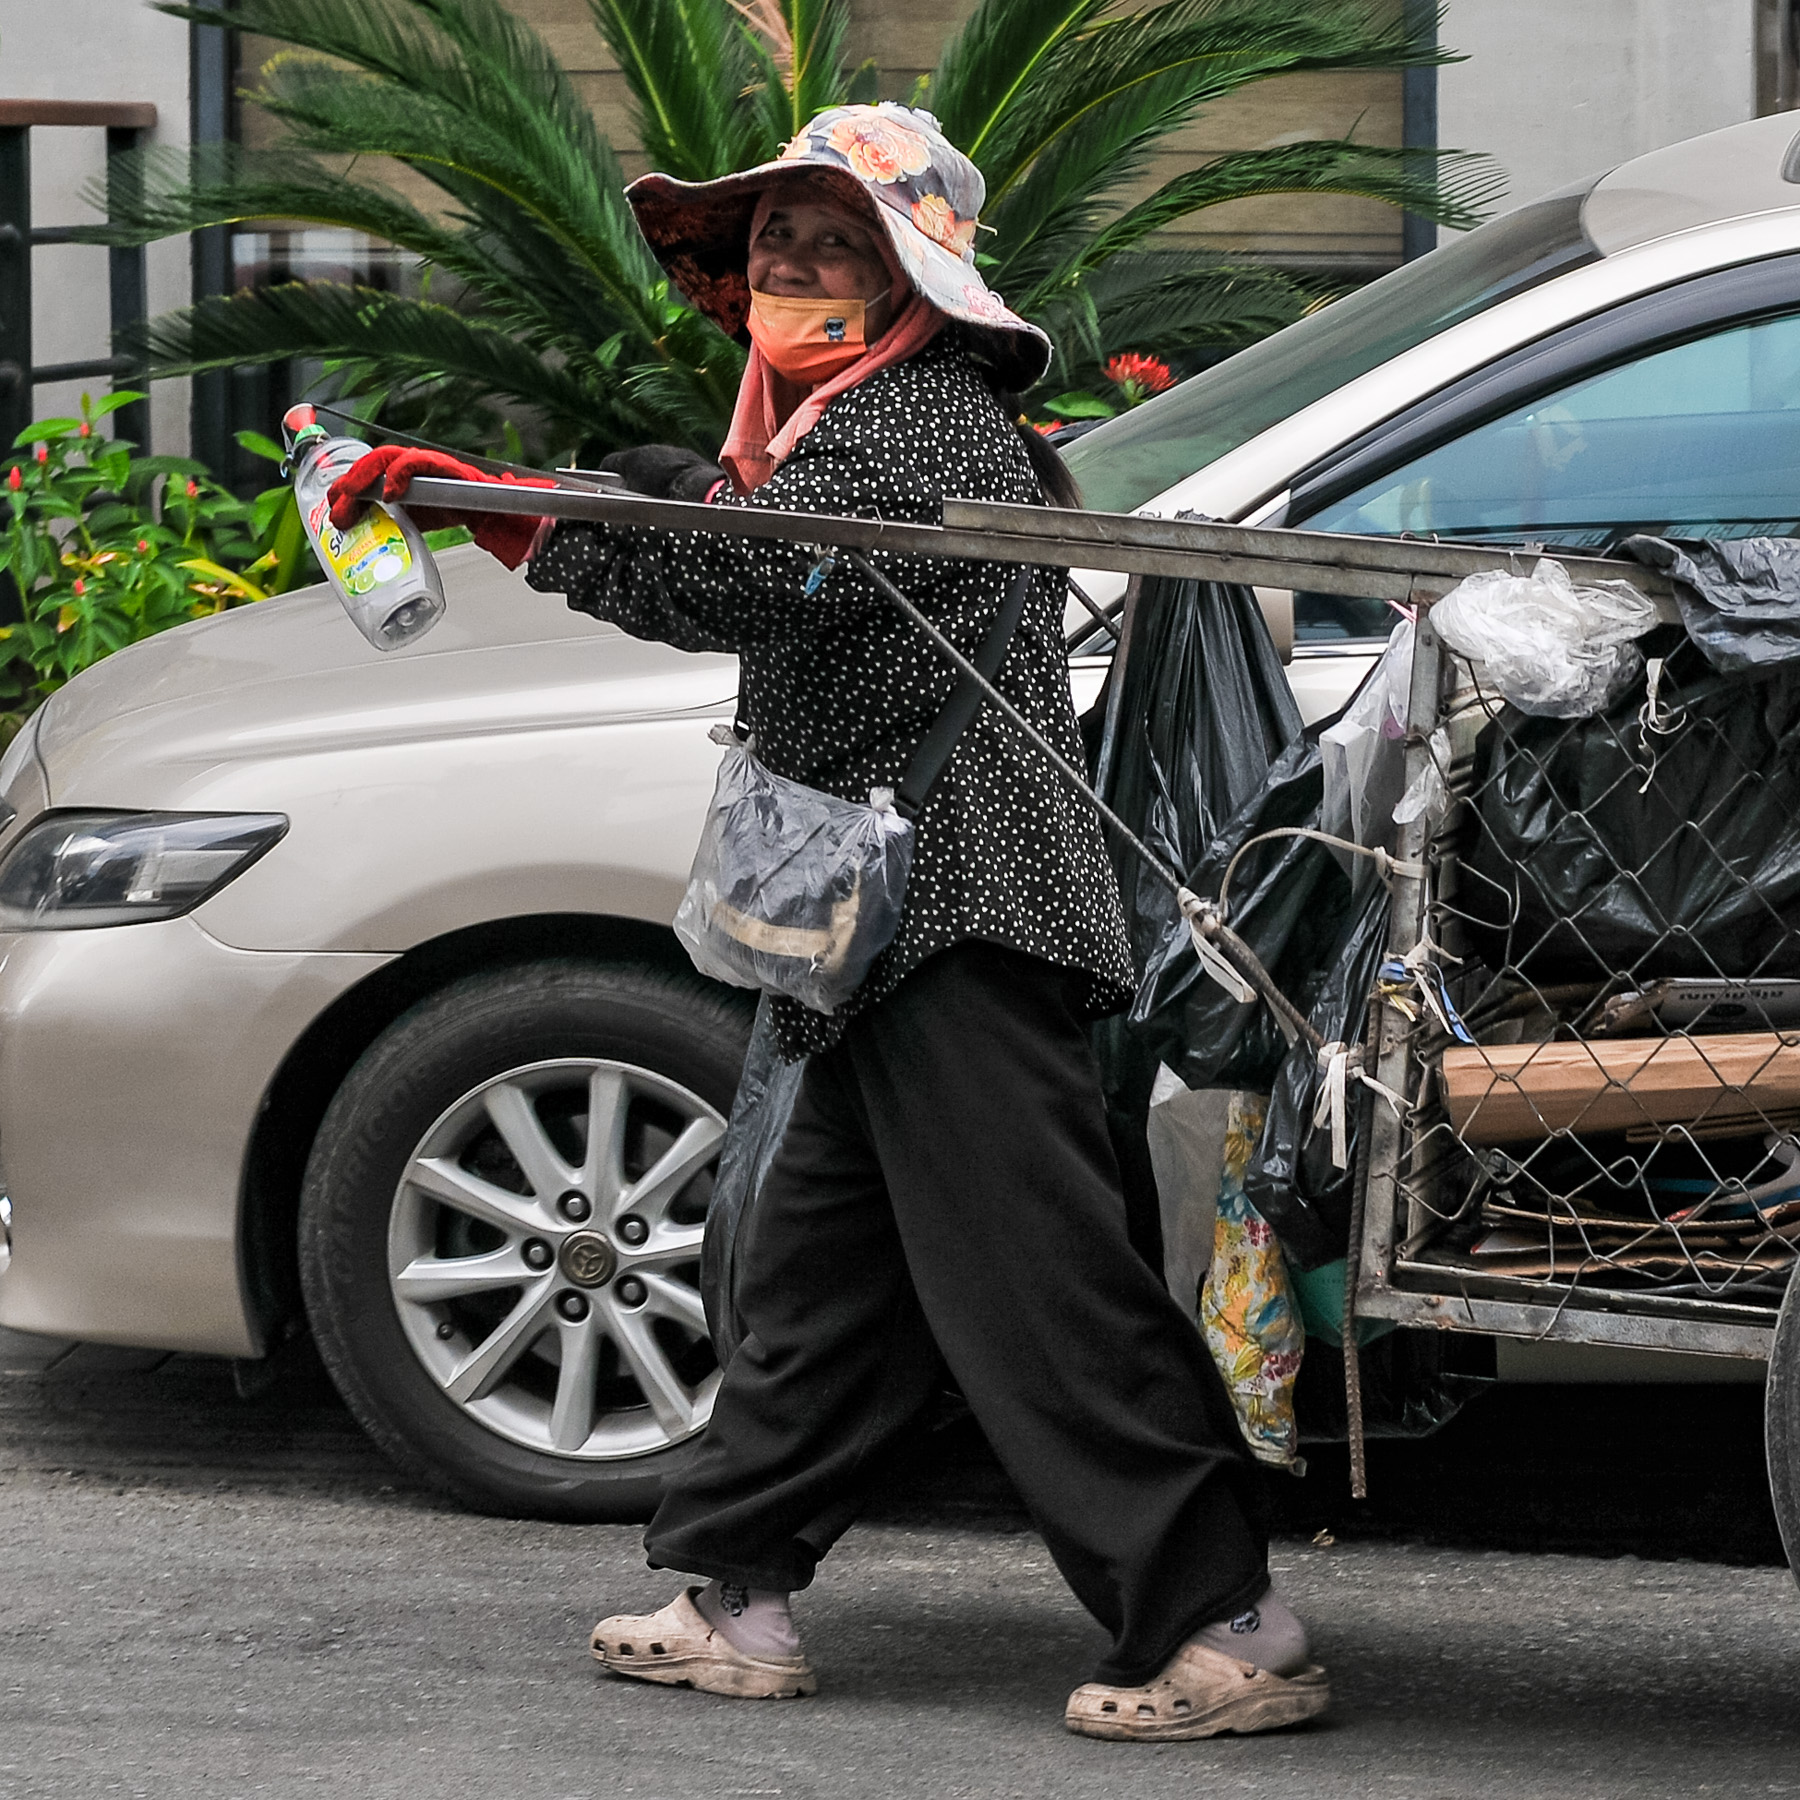
For environmental portraits, the background needs a deliberate role. A shop doorway, workbench or market stall can tell us something about where the encounter occurred. Blur it completely and you may discard the most useful part of the setting. The left-hand illustration shows the intended relationship: a clear face with enough surrounding information to establish place.
There is also the matter of focus. At close distances and wide apertures, a small error can put the sharpest detail on an eyebrow or ear while the nearer eye falls outside the plane of focus. Focus and recompose can introduce errors under those conditions. Selecting a suitable focus point and making smaller changes to the framing is often the better approach.
The D810’s autofocus system includes 51 points, 15 cross-type sensors and Group-area AF. It offers useful options for different subjects, although choosing the right mode remains part of the work. nikonusa.com
For a cooperative portrait, a deliberately placed single point is a sensible starting point. For someone walking towards you, continuous autofocus becomes more useful. There is no virtue in making one setting serve every encounter.
Sharpness starts before processing
High resolution does not create camera shake. It makes small amounts of shake easier to notice when you enlarge the file.
There is another complication: viewing a higher-resolution image at 100 per cent means examining it at greater magnification than a lower-resolution image. Some disappointing comparisons are really comparisons at different viewing sizes. Judge the picture at the size at which it will be used, as well as checking it closely for actual faults.
Nevertheless, technique matters. With an 85mm lens and a living subject, 1/250 second is a reasonable handheld starting point; 1/500 may be more appropriate for movement or less steady handling. These are working suggestions, not guarantees. Distance, stance, subject movement and intended output all affect the result.
Support the lens with your left hand. Keep your elbows reasonably close. Release the shutter without stabbing at it. When possible, pause your own movement before making the exposure. None of this is glamorous, but it often contributes more than another round of sharpening.
For static subjects on a tripod, Nikon provides an electronic front-curtain shutter to reduce vibration. Its implementation on the D810 operates in mirror-up mode and is intended for situations where vibration can compromise fine detail. It is a specialised tool worth understanding, rather than a setting to assume is active during ordinary handheld shooting. nikonusa.com
A tripod, of course, steadies the camera. It does nothing to steady a person.
Using it on the street
The D810 can be an excellent street camera, particularly when you want an environmental portrait or a frame containing several layers of information.
Its size is part of the bargain. A substantial DSLR changes how you move and how people notice you. Some encounters accommodate that easily; others become awkward. Carrying it for several hours also makes the weight of the complete kit more relevant than any isolated specification.
The optical viewfinder offers approximately 100 per cent frame coverage, which helps with deliberate composition. You can examine the edges and place a subject within the surrounding scene before releasing the shutter. Nikon About Us
That is particularly useful when the picture includes architecture, signage, passing traffic or another person at the edge. Resolution gives those details room to survive, but it cannot organise them for you.
At full resolution, the D810 shoots up to five frames per second. That is useful for short sequences of changing expression or gesture, although it places a premium on anticipation when the action becomes fast. No Optical Low-Pass Filter
You still need to notice the raised hand, the turn towards the light or the approaching interruption. A burst can cover a moment. It cannot tell you which moment matters.
Exposure, colour and monochrome
Highlight-weighted metering is a useful addition for subjects lit much more brightly than their surroundings. Nikon specifically describes its usefulness for stage lighting and similarly uneven scenes, where ordinary whole-frame metering may sacrifice important highlights. Nikon Professional Services
On the street, treat it as another option to evaluate. A bright sign or reflection may influence the result, so check the histogram and the important parts of the subject. Protecting every insignificant glint can leave the face unnecessarily dark.
For colour, restraint usually serves the D810 well. Correct an unwanted colour cast, establish believable skin tones and then decide how much colour the picture needs. Strong saturation is not proof of a strong file.
The same restraint applies to monochrome. Fine detail can help describe weathered hands, clothing and buildings, but a black-and-white photograph still needs tonal separation. If the face, shirt and wall become similar greys, detail alone will not rescue the composition.
A monochrome conversion is an interpretation. Consider what happens to skin, foliage and backgrounds as you adjust their relative brightness. The aim is to make the photograph readable without forcing every surface to announce itself.
RAW is particularly useful when you expect substantial tonal or colour work. JPEG remains a practical choice when exposure, white balance and the intended rendering are already settled. Choose the format to suit the job and the amount of revision you anticipate.
Where its limitations become apparent
The D810 produces large files, and those files impose costs in storage, backup and editing time. A day of unnecessary bursts becomes an evening of unnecessary decisions.
Its rear screen is fixed, and its video capability tops out at Full HD rather than 4K. Photographers who need flexible low-level screen composition or a camera built around contemporary video work will find those limitations relevant. No Optical Low-Pass Filter
Its handling and autofocus also require involvement. For portraits at wide apertures, you need to place focus carefully and check that the lens and body behave consistently. If an error repeats, investigate it; do not immediately blame the sensor, the lens’s reputation or the age of the camera.
The absence of an optical low-pass filter favours fine detail but creates the possibility of moiré in repeating patterns. Certain fabrics and architectural details deserve close inspection. That is a trade-off, rather than a general problem with every photograph.
The print is a good reason to use it
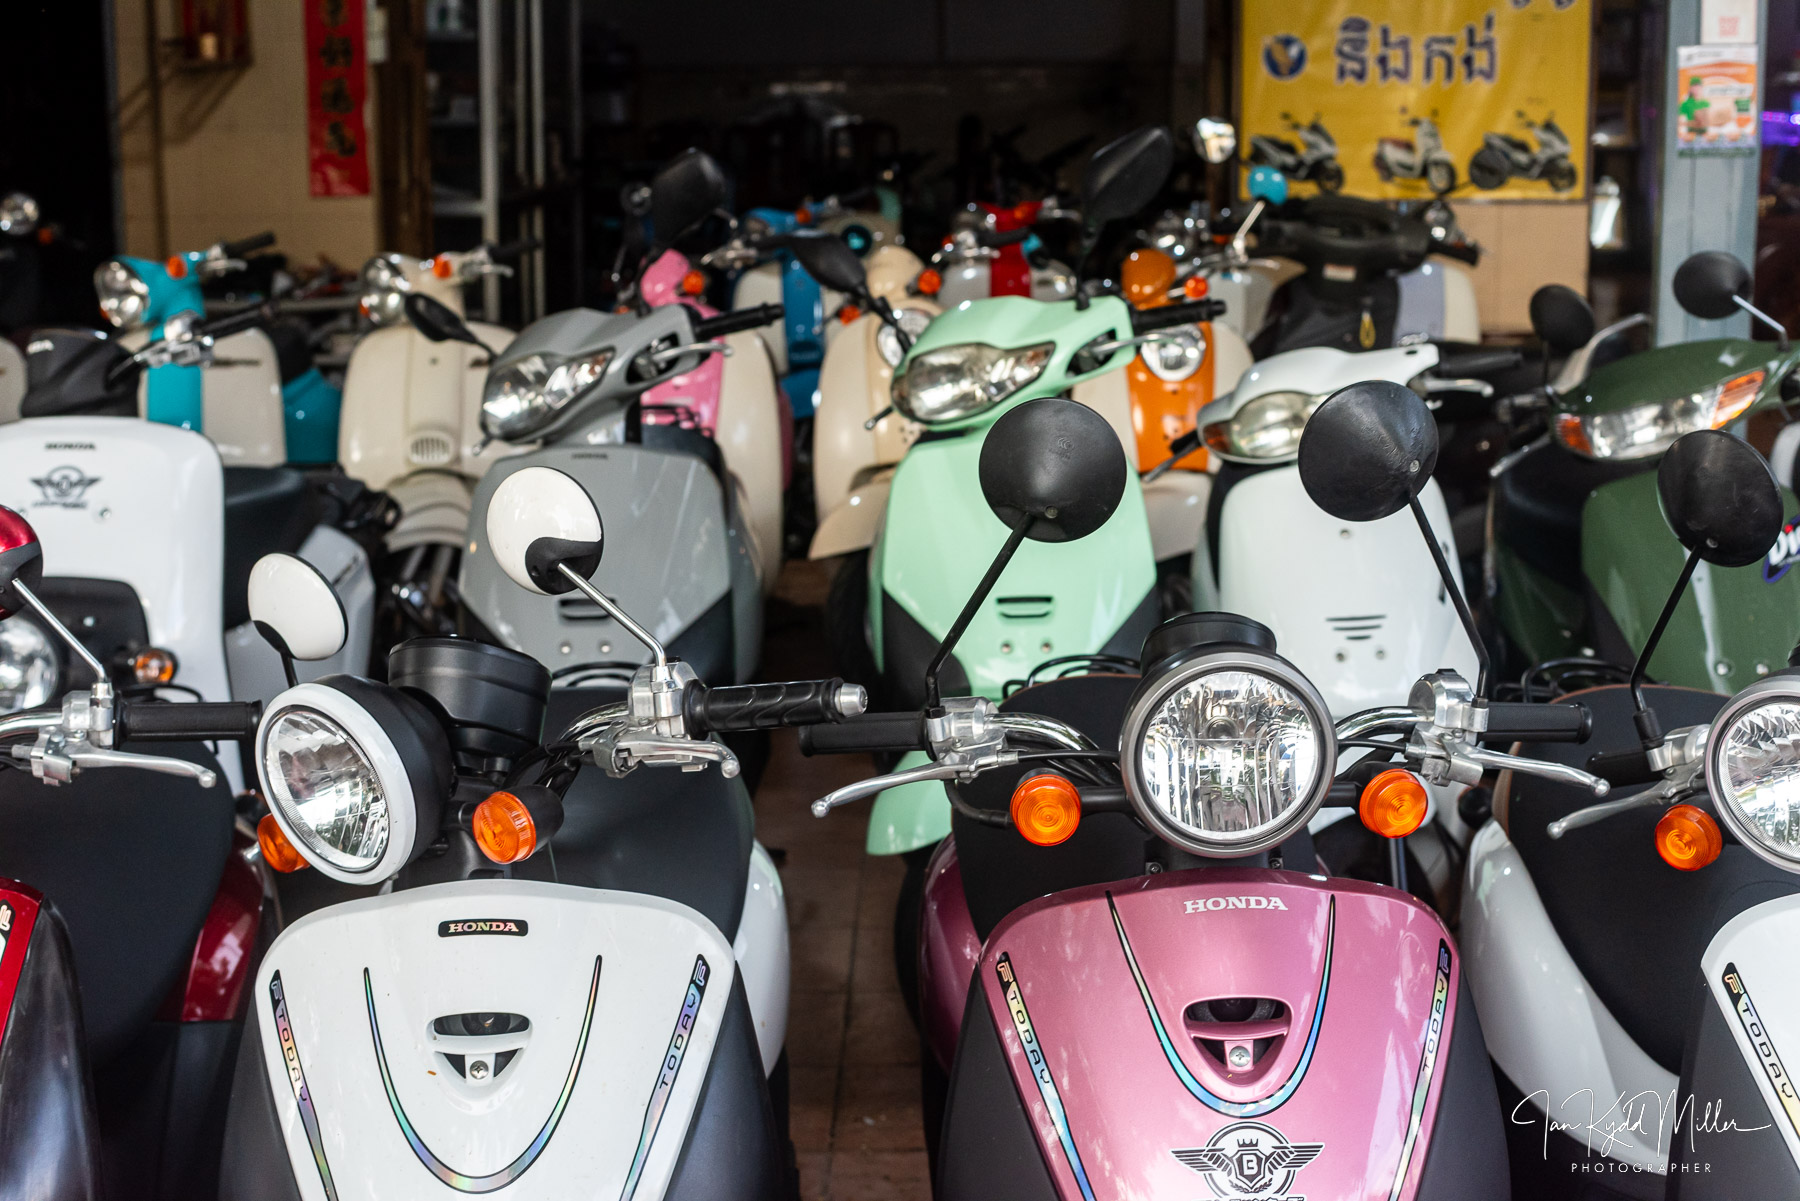
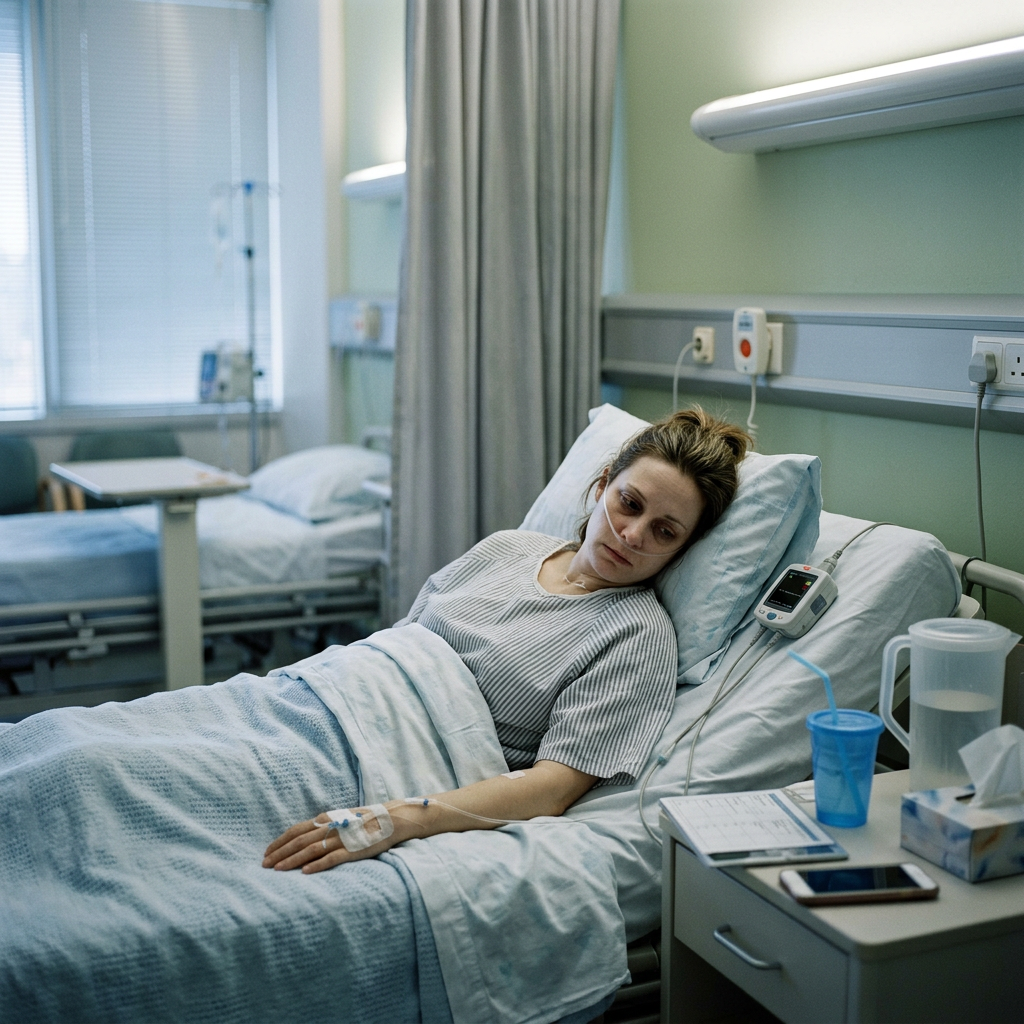
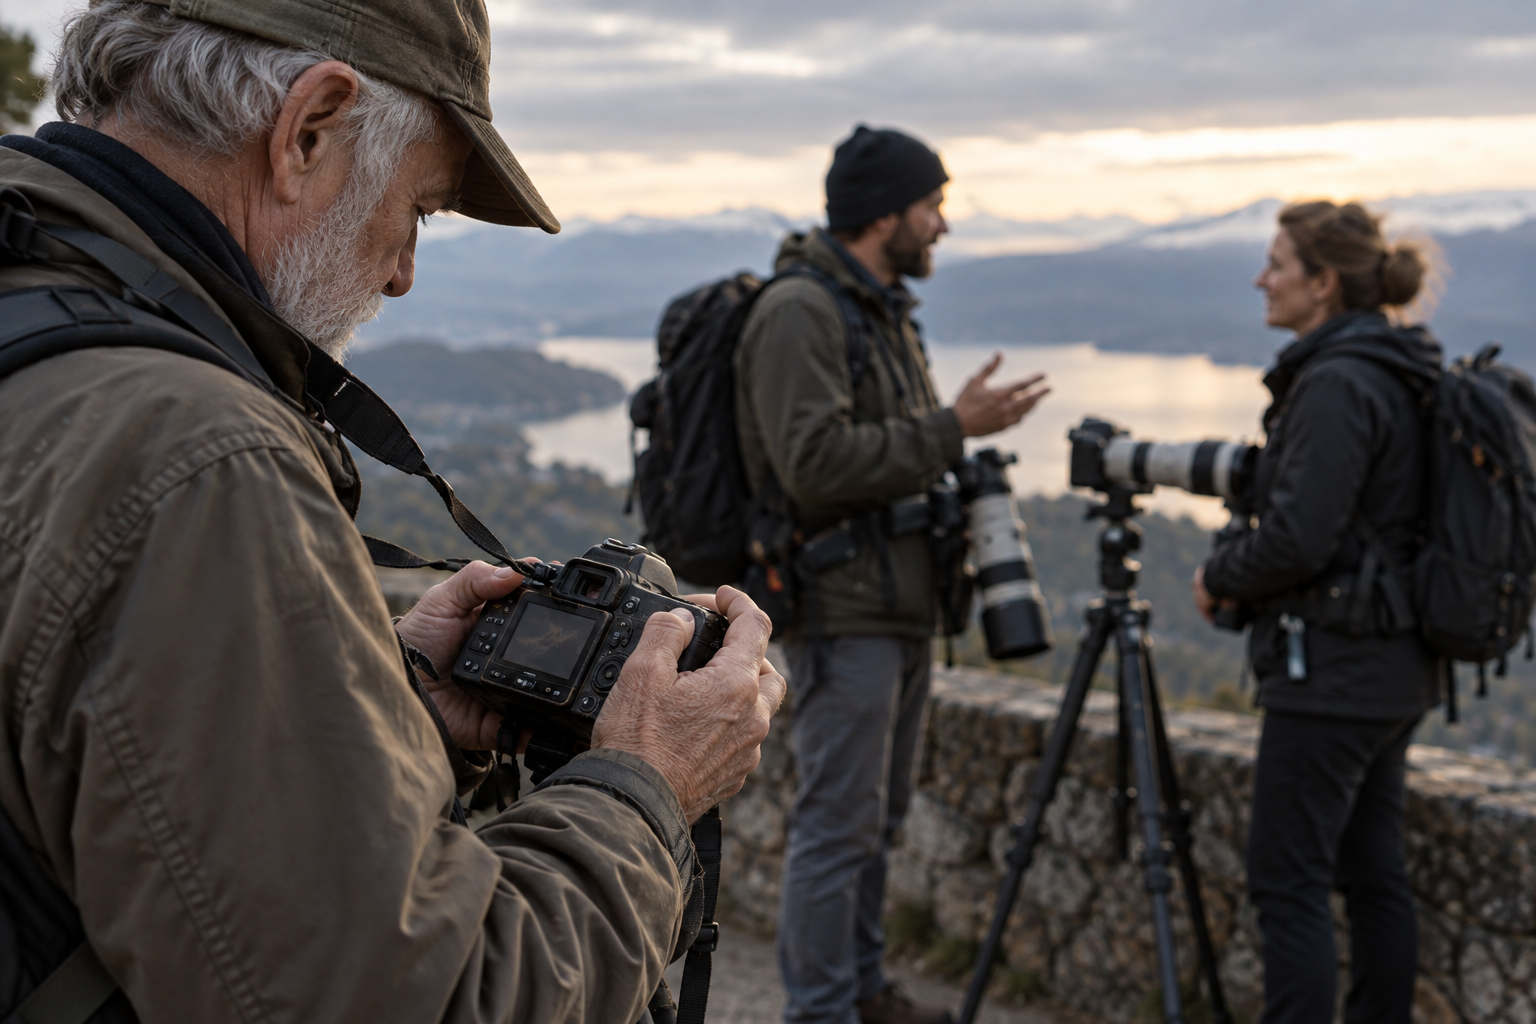
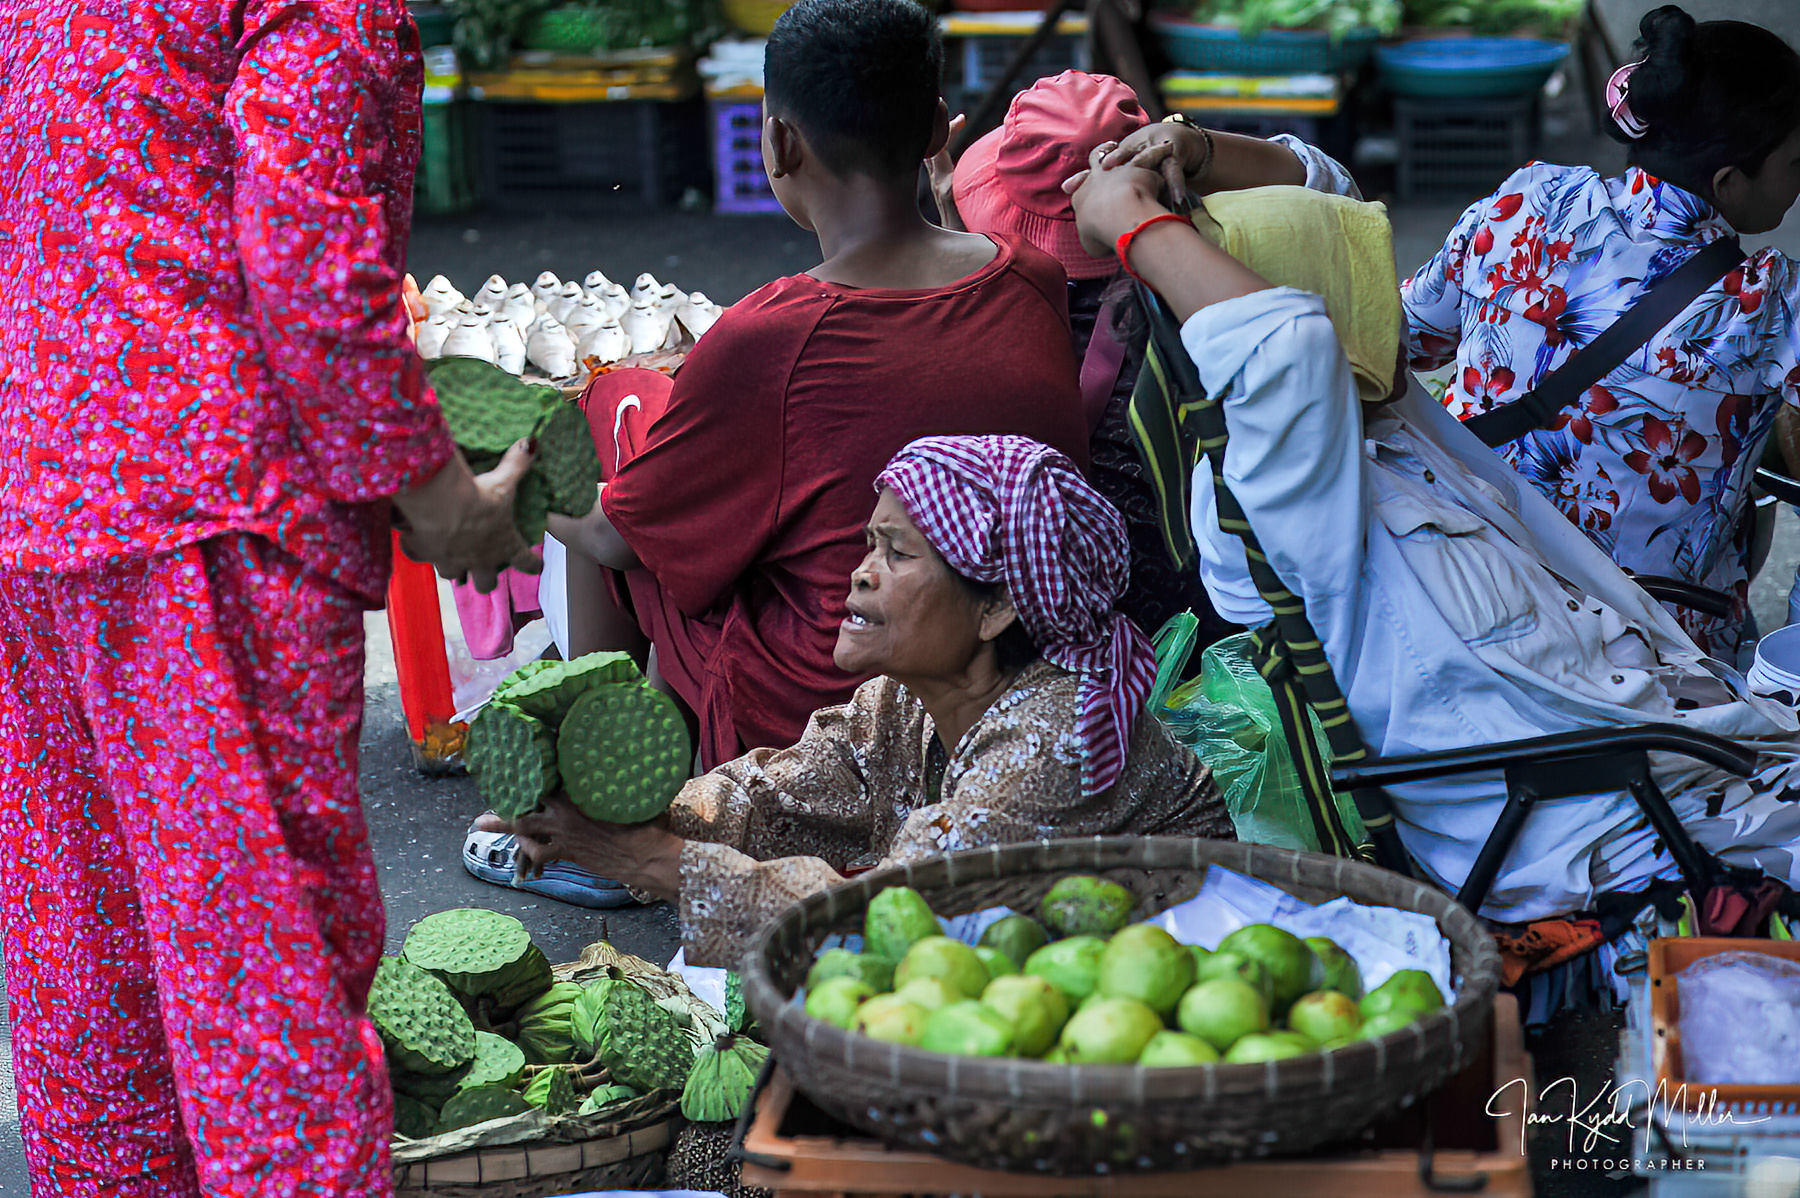
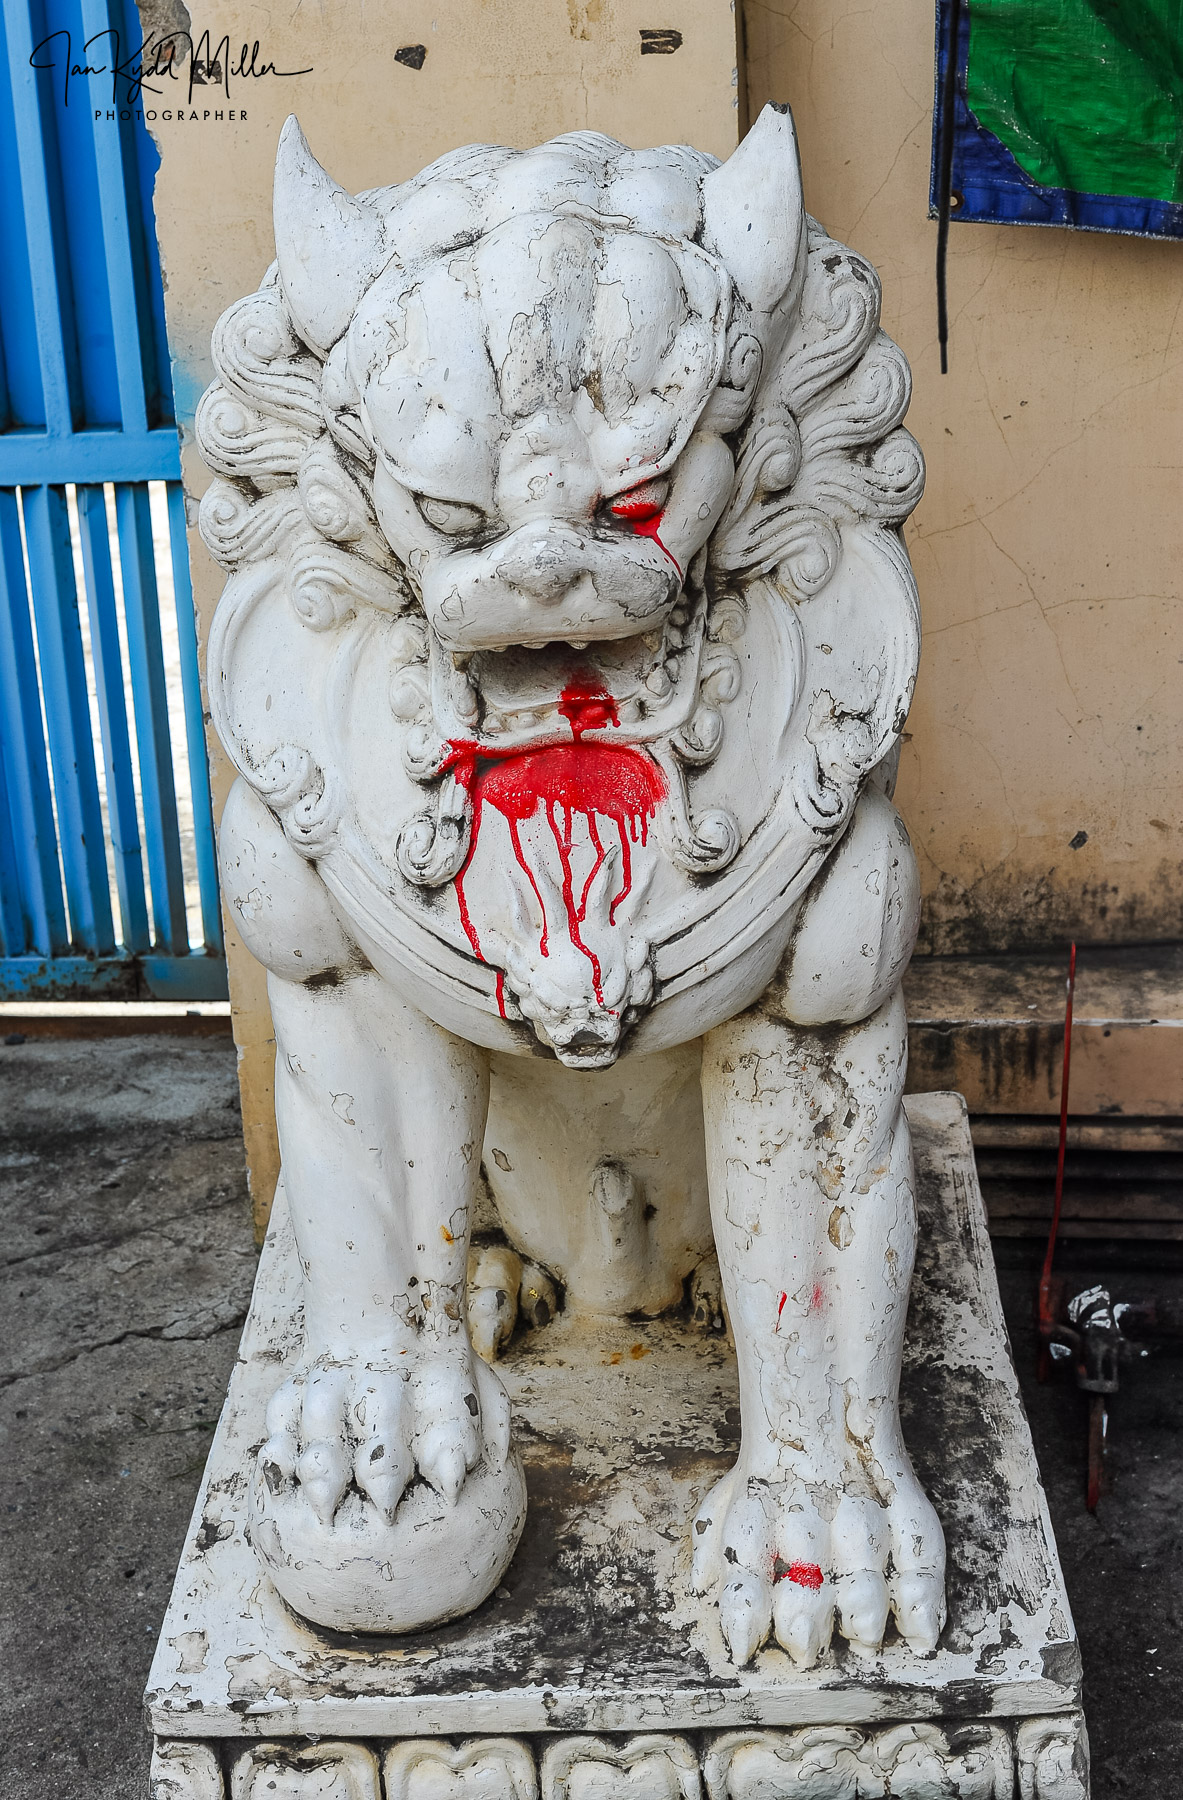
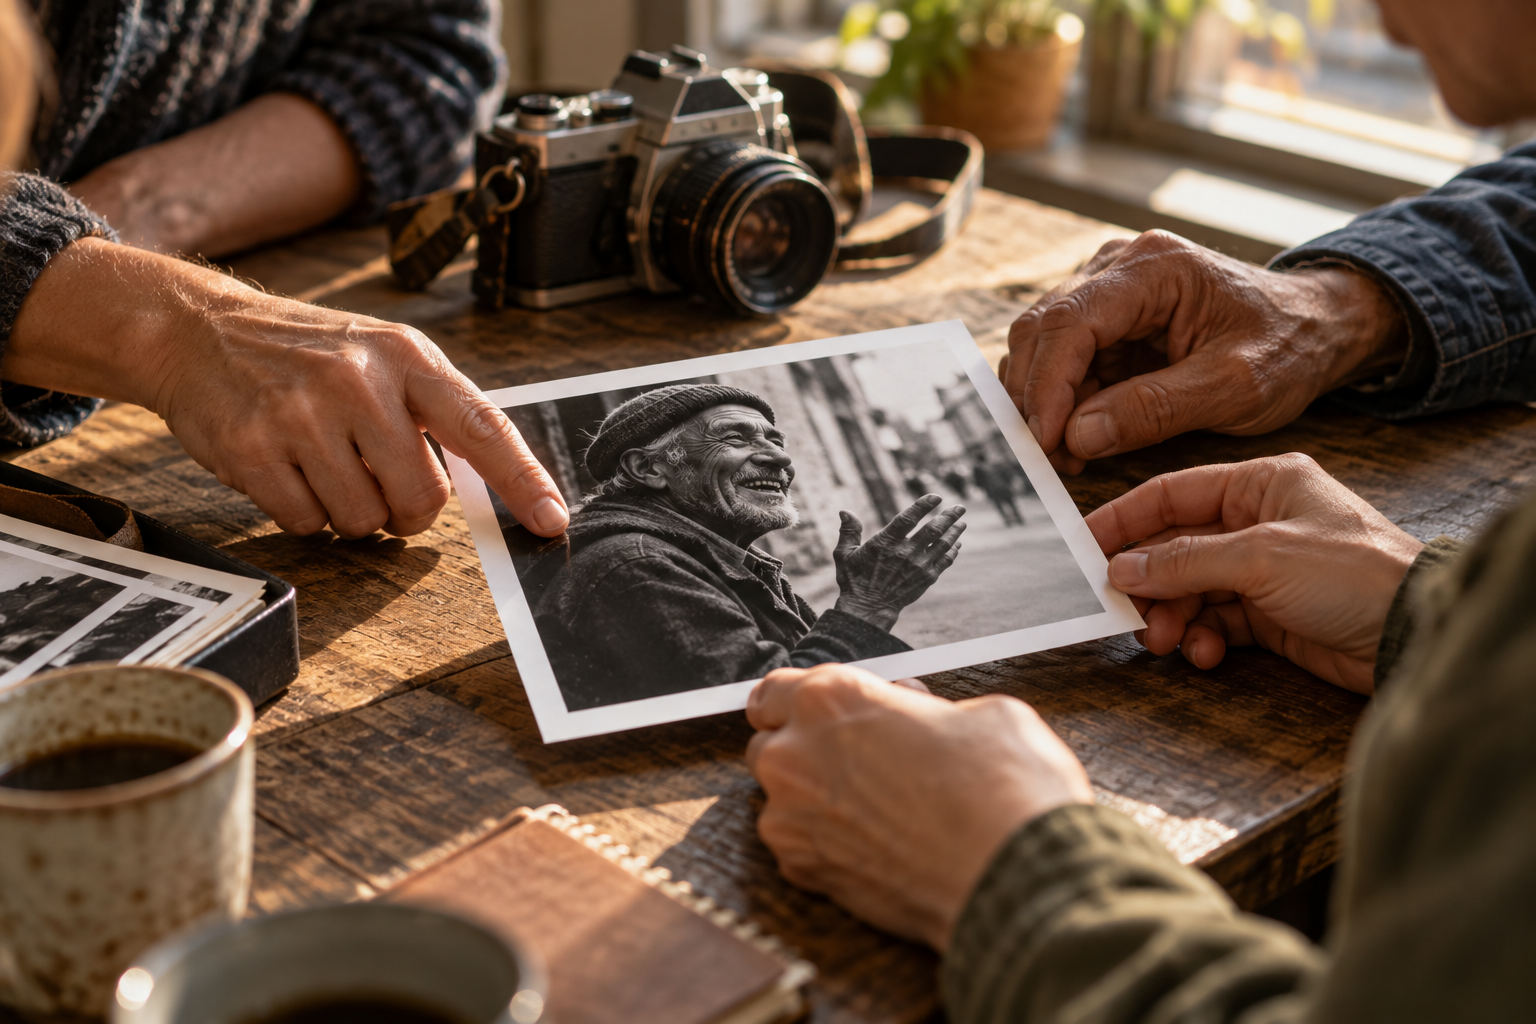
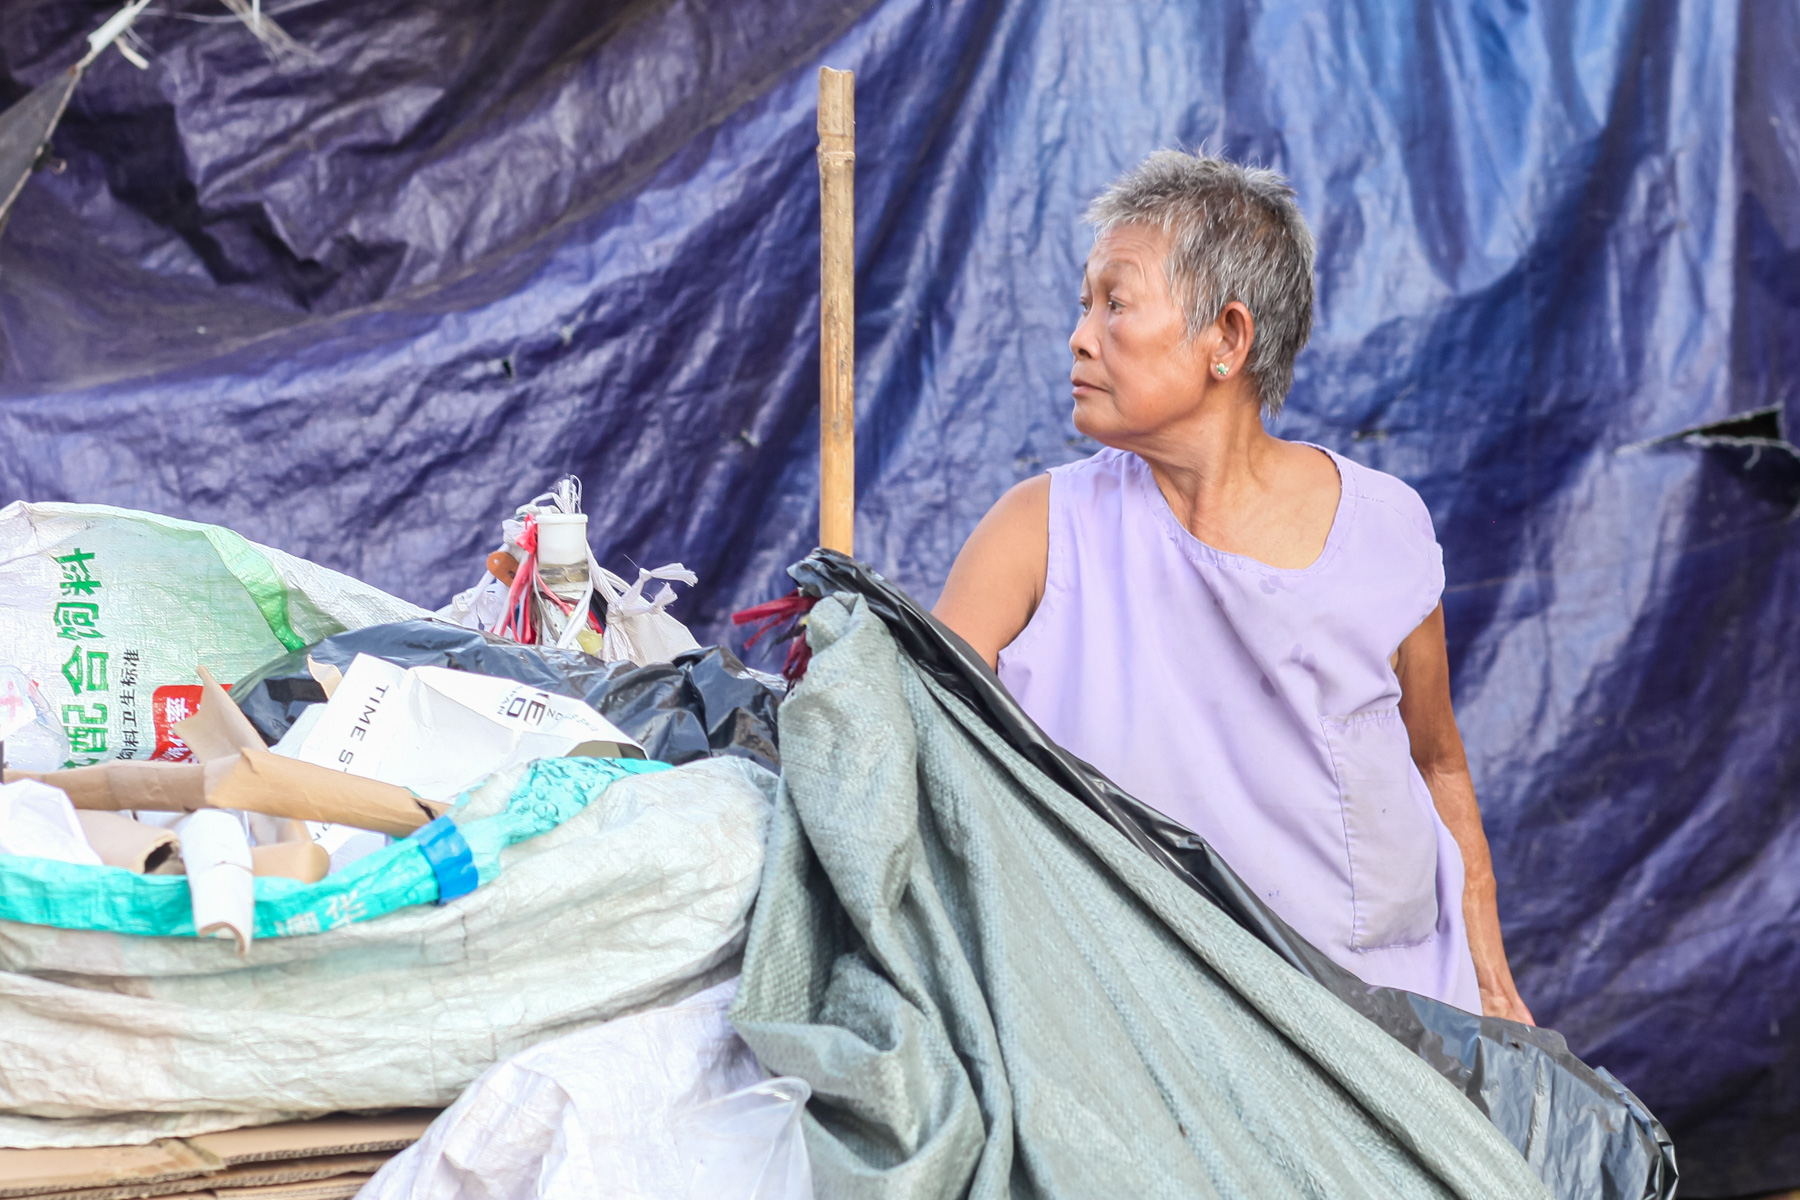
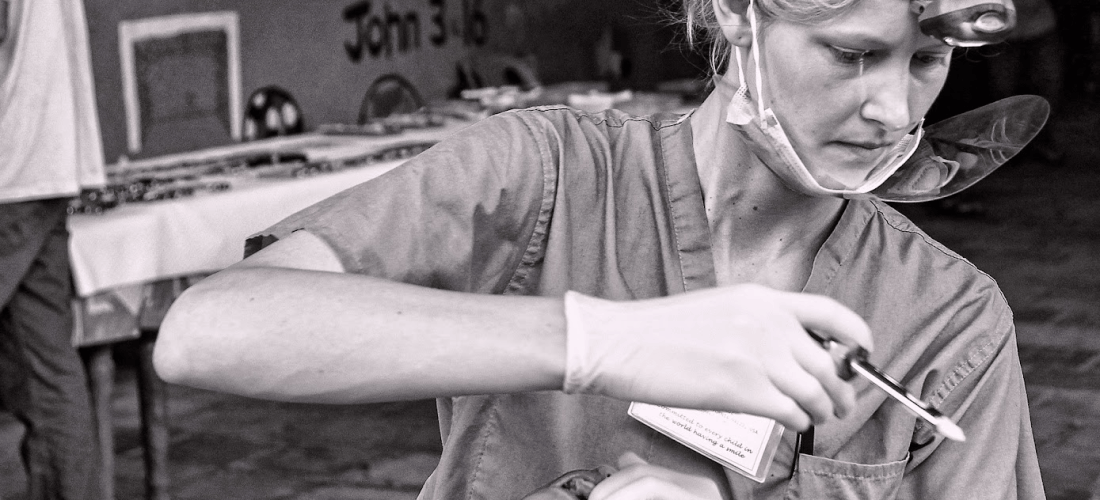
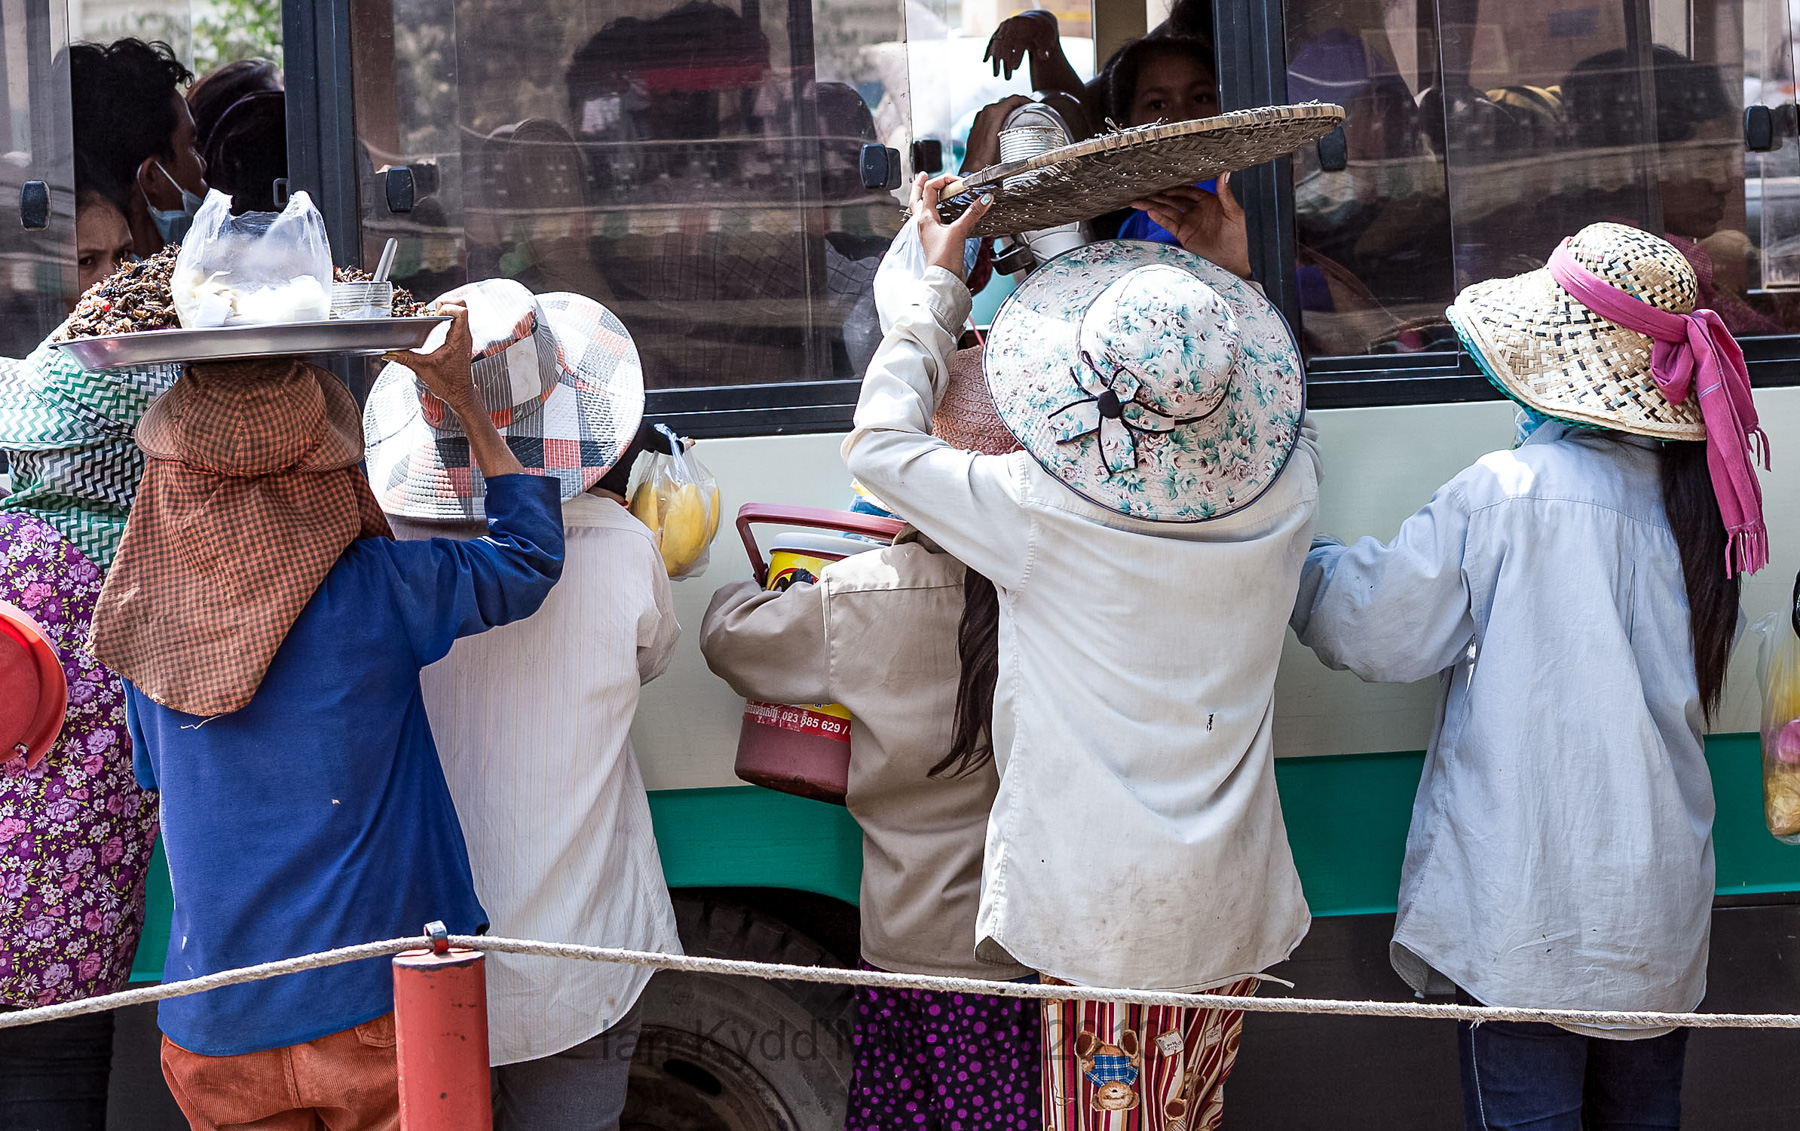
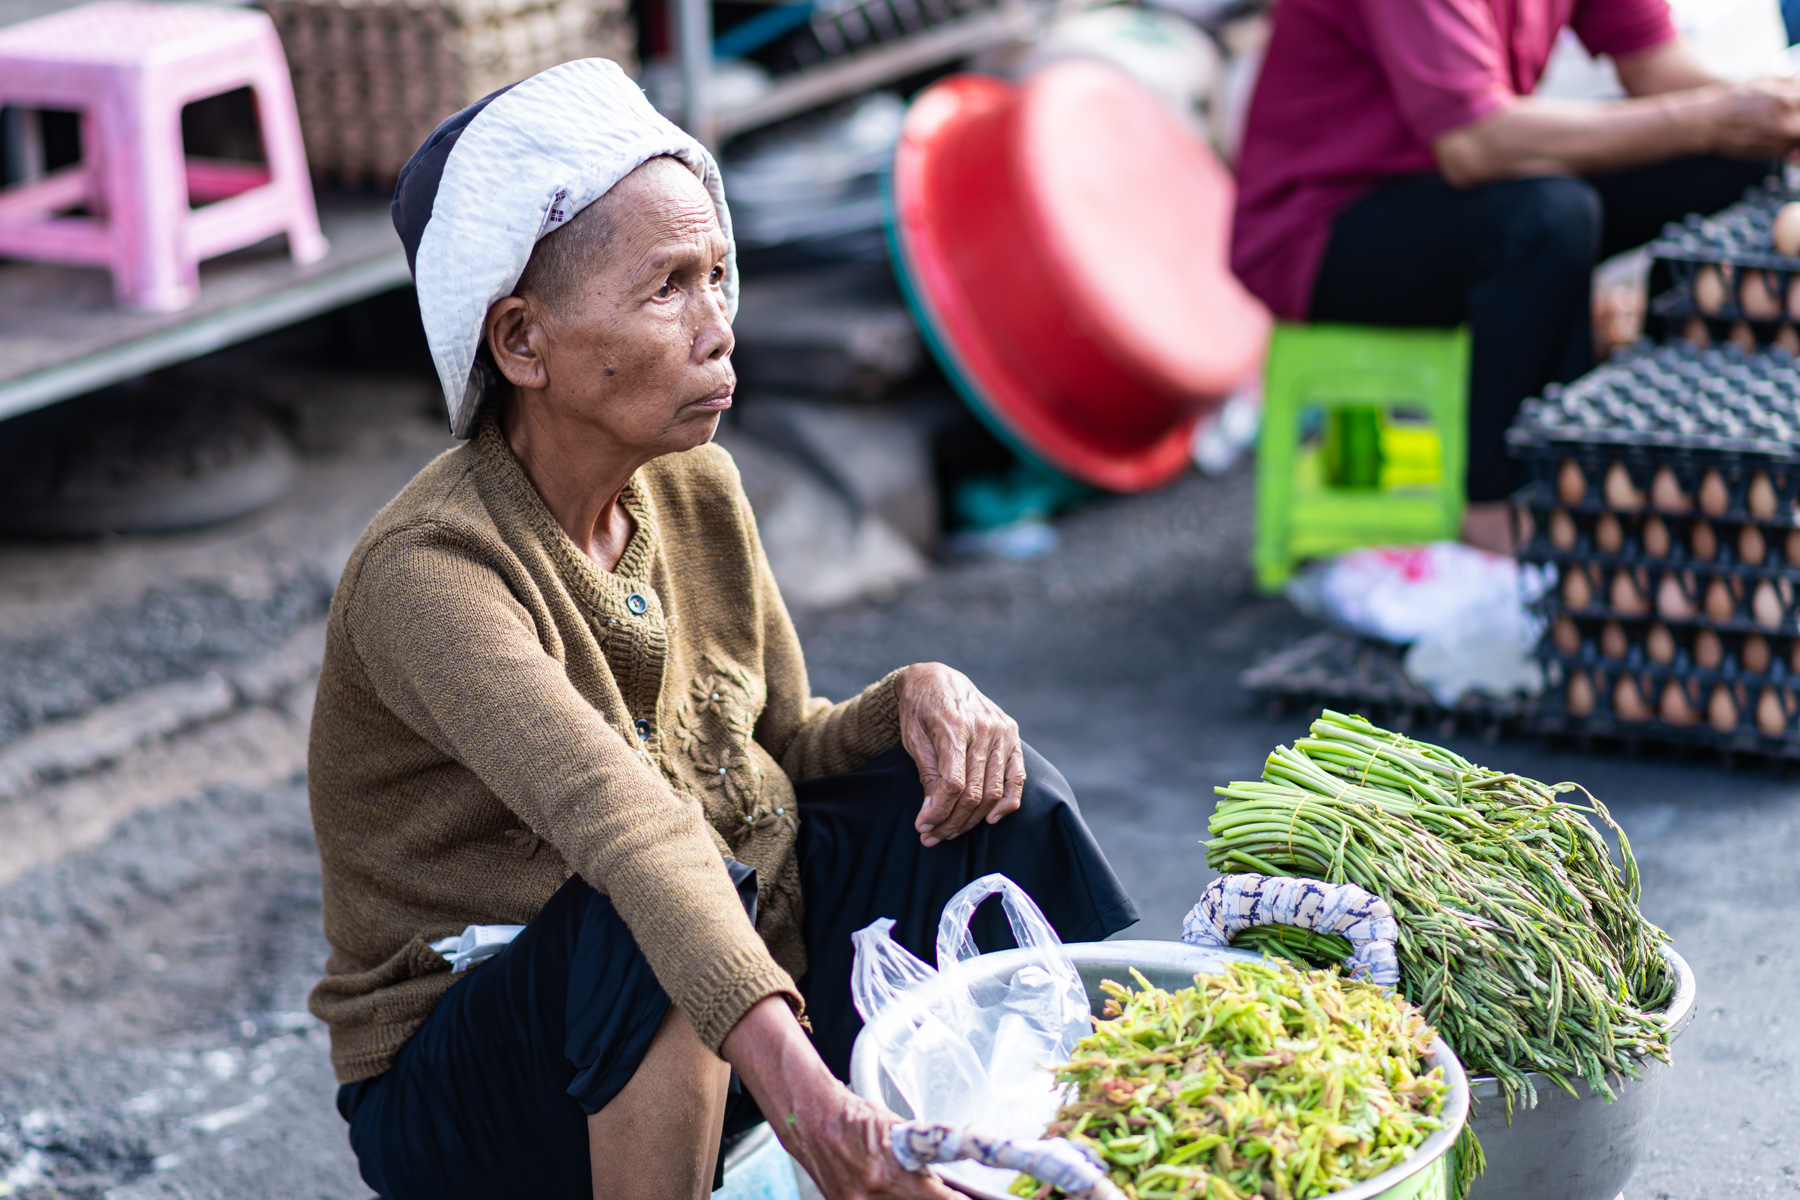
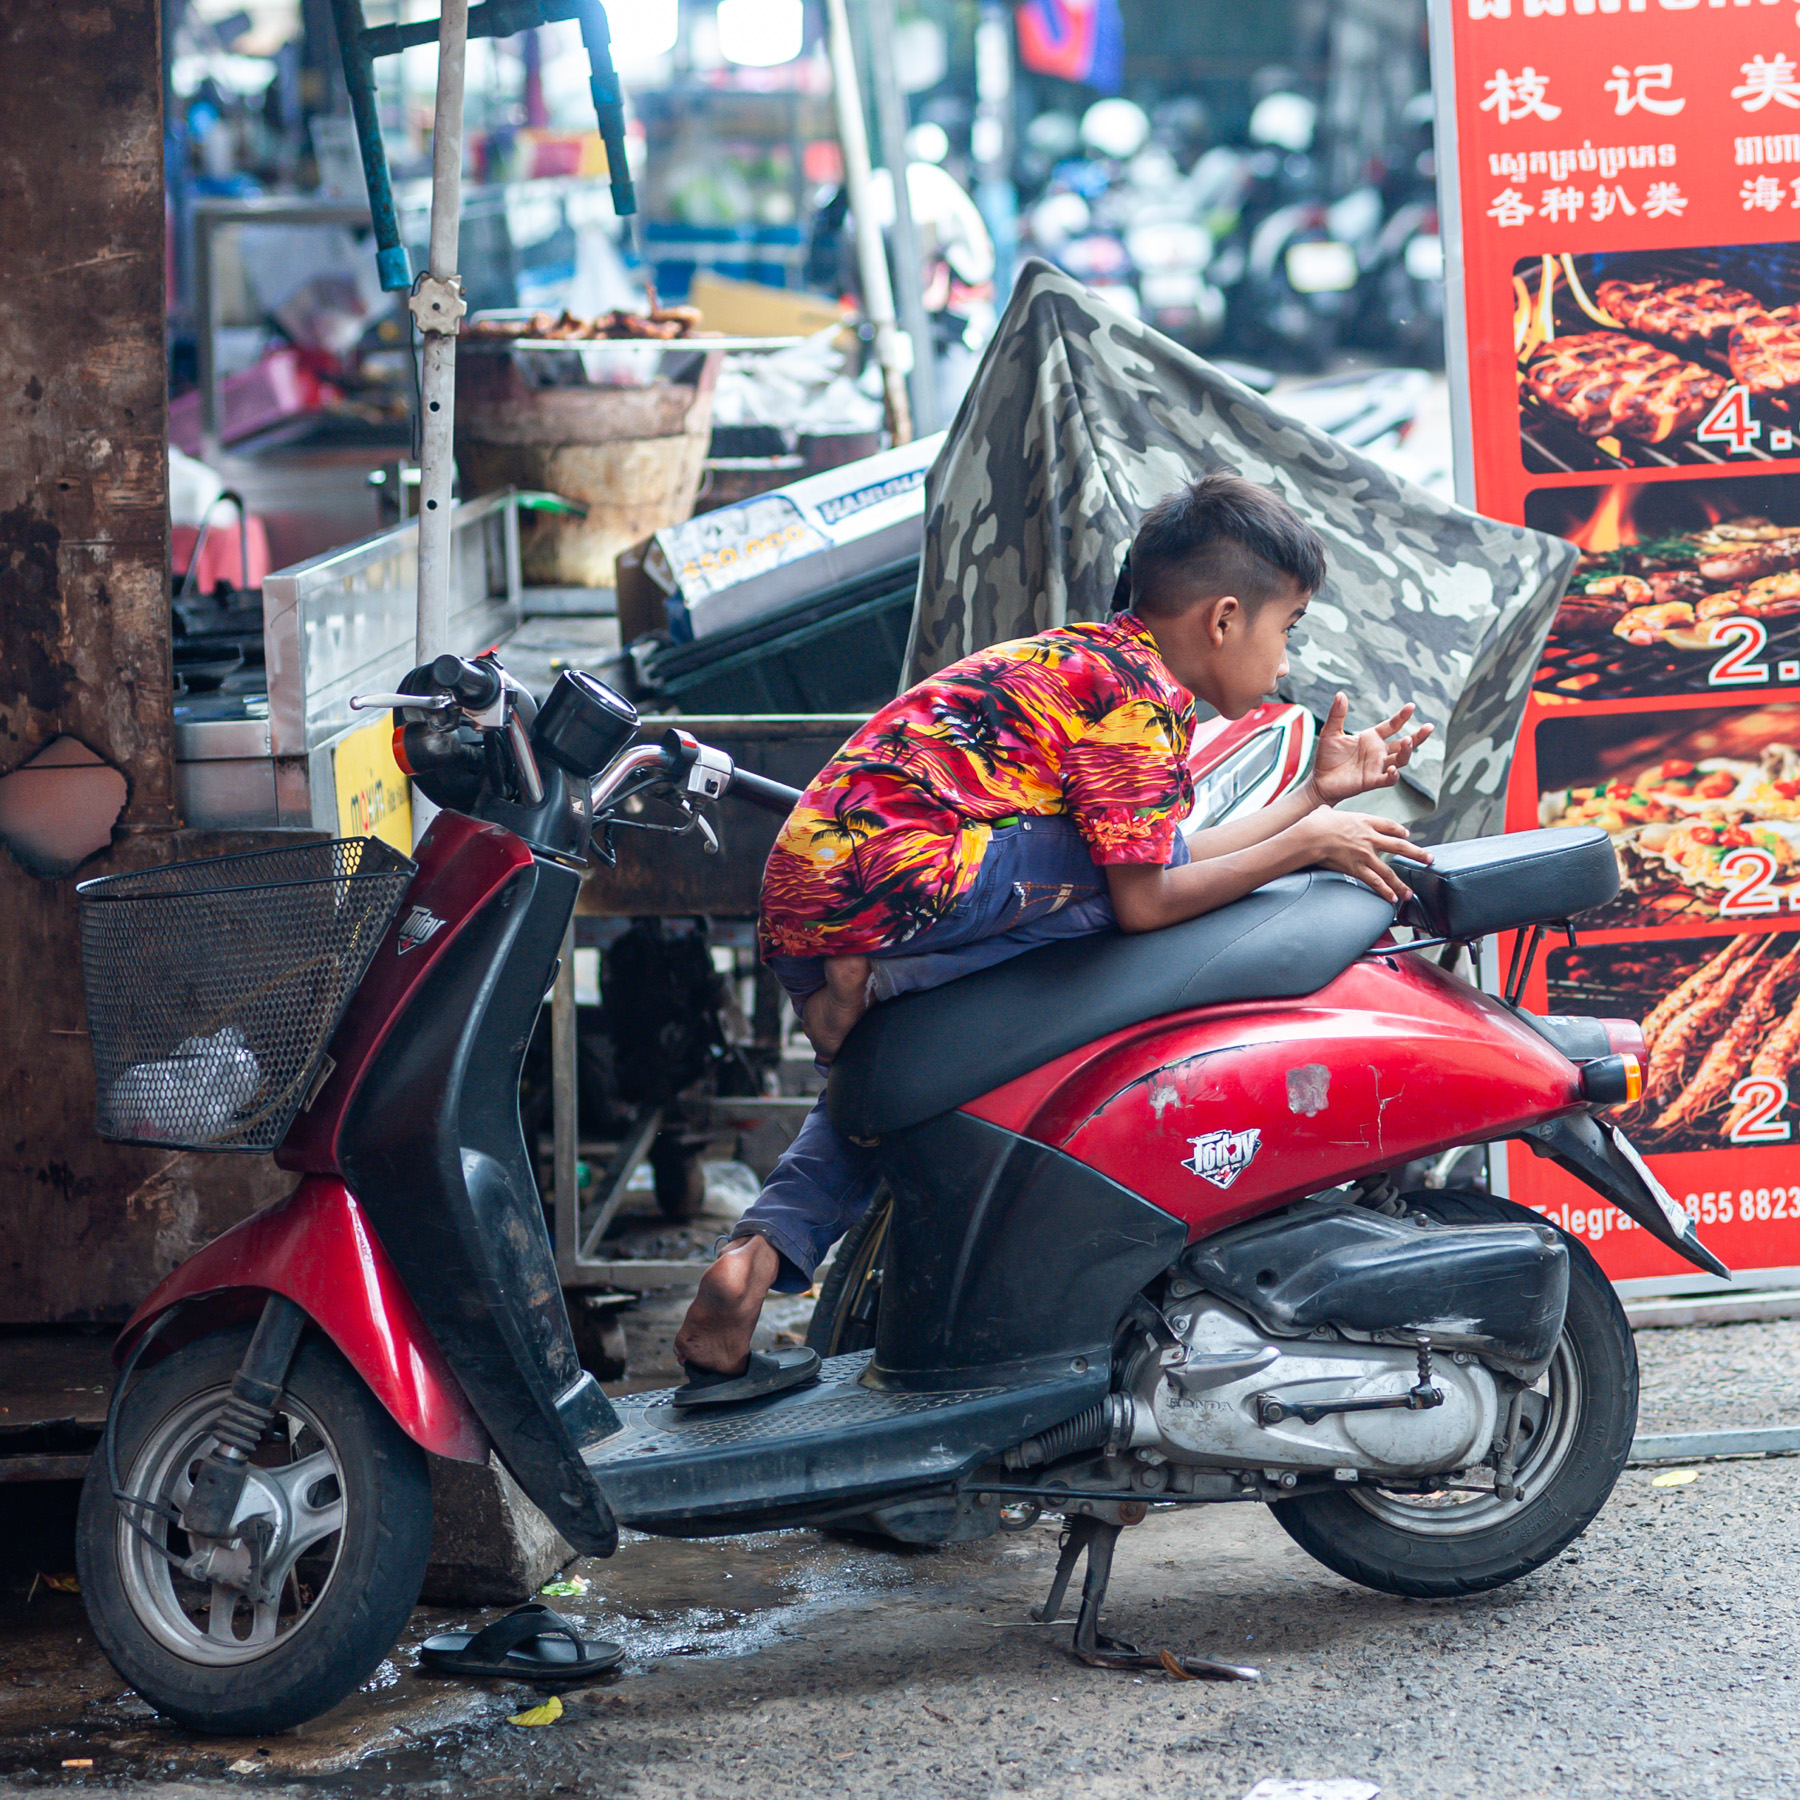
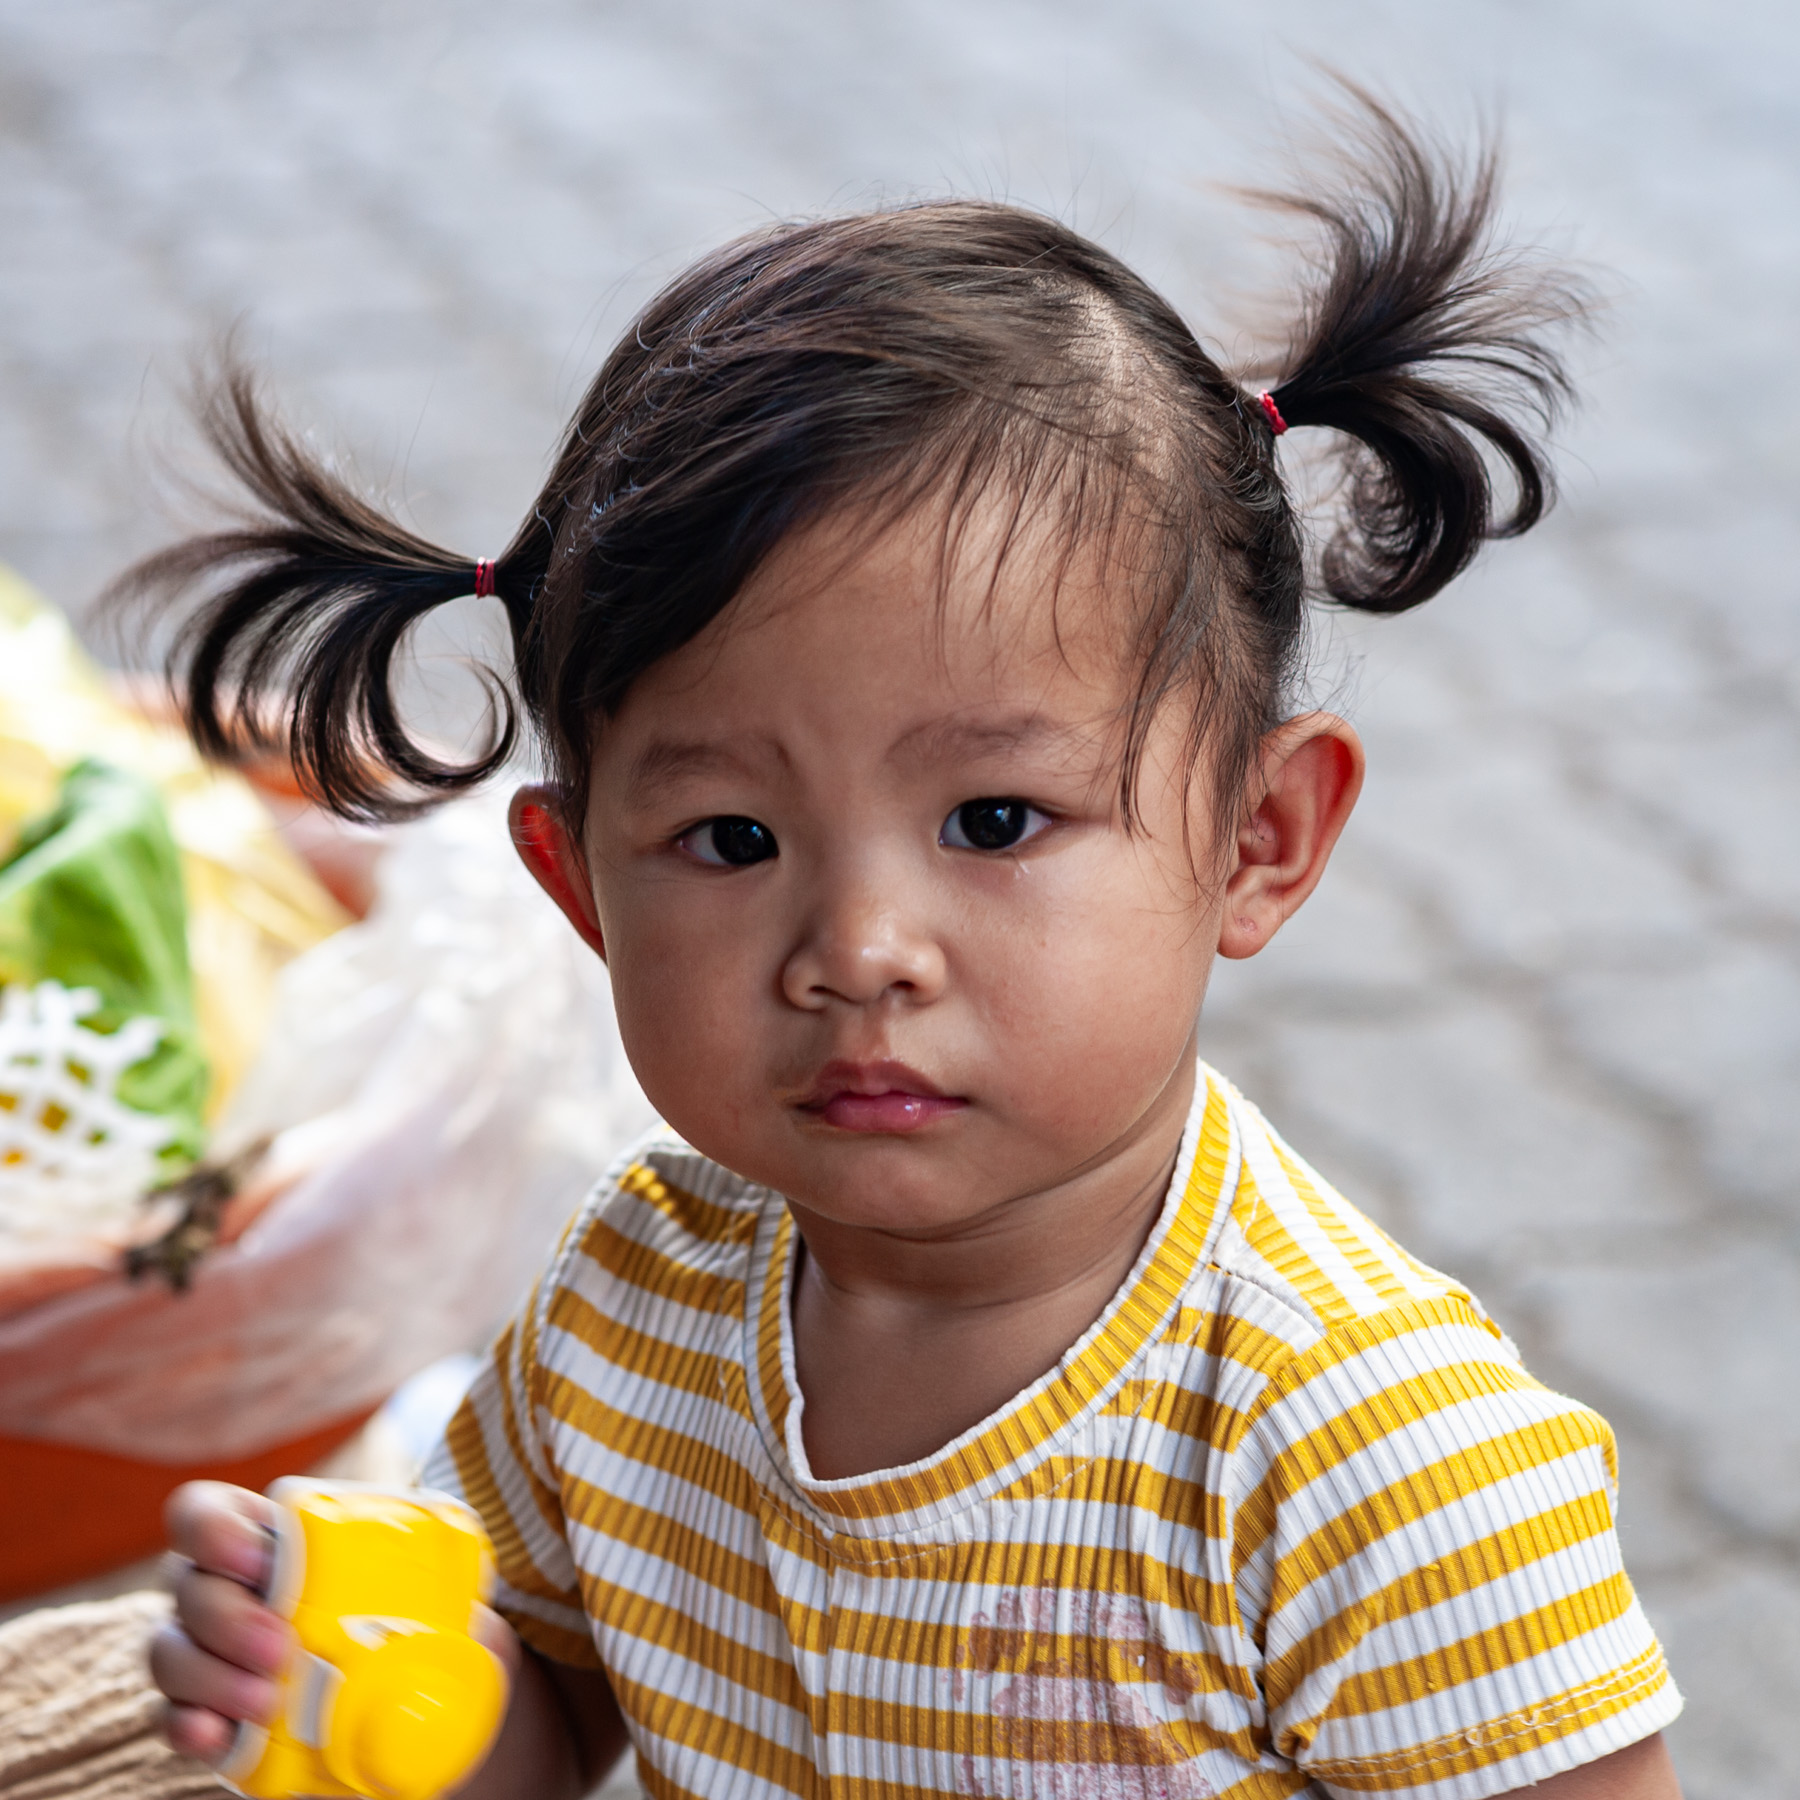
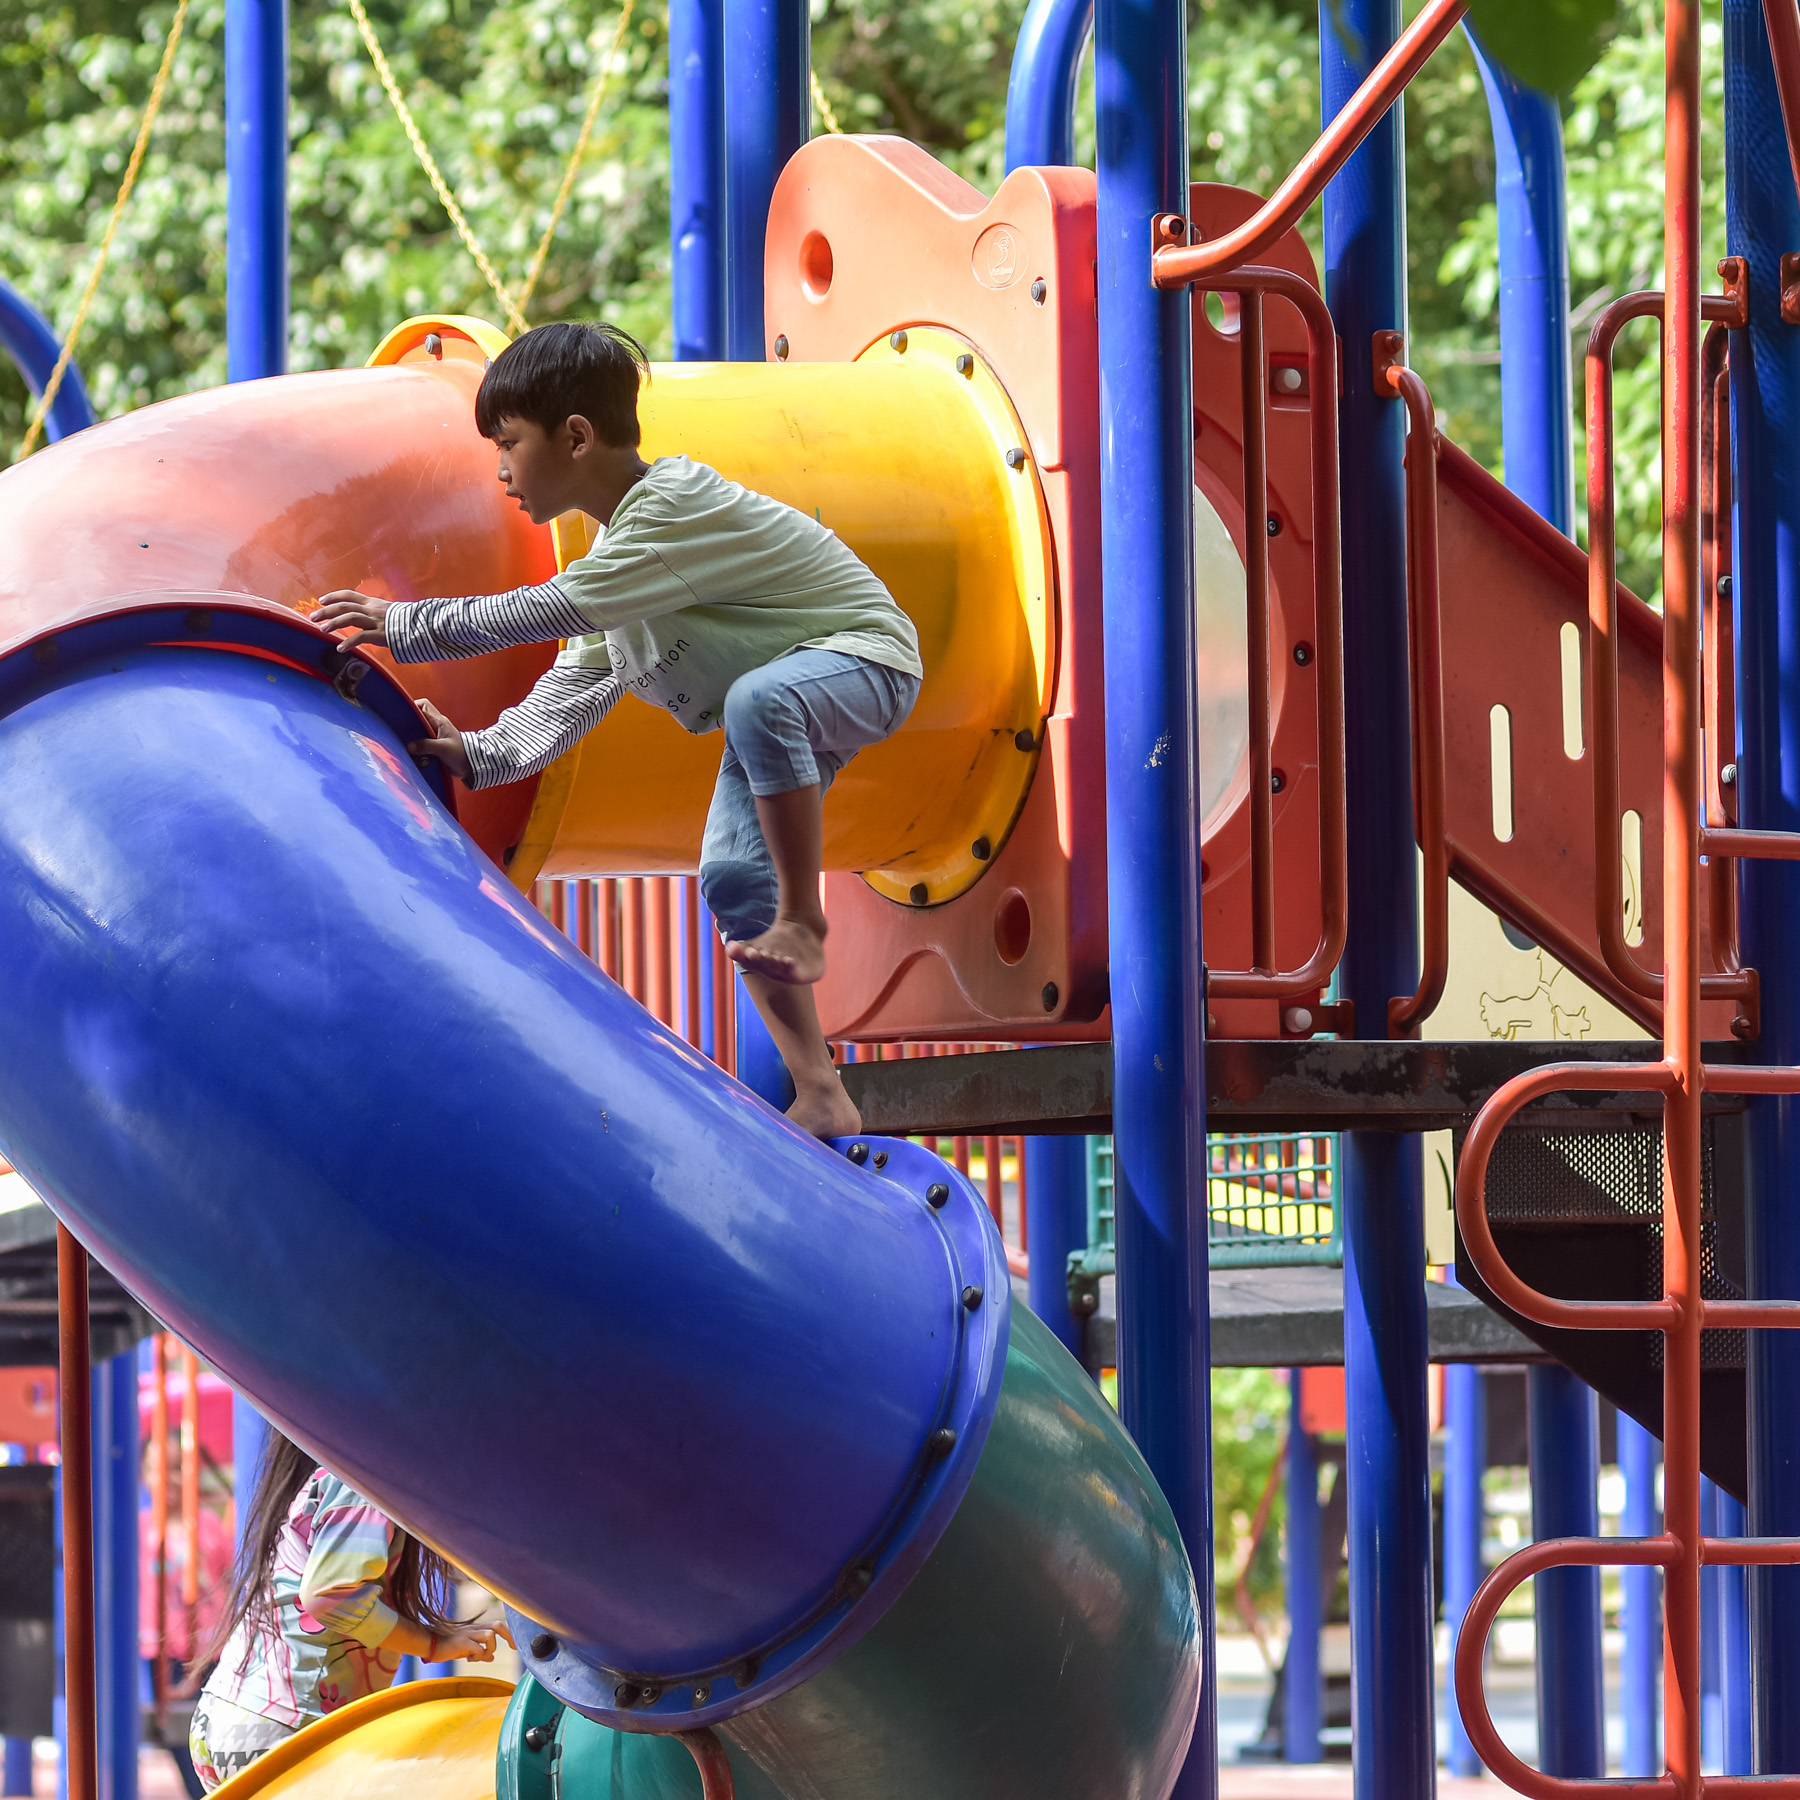
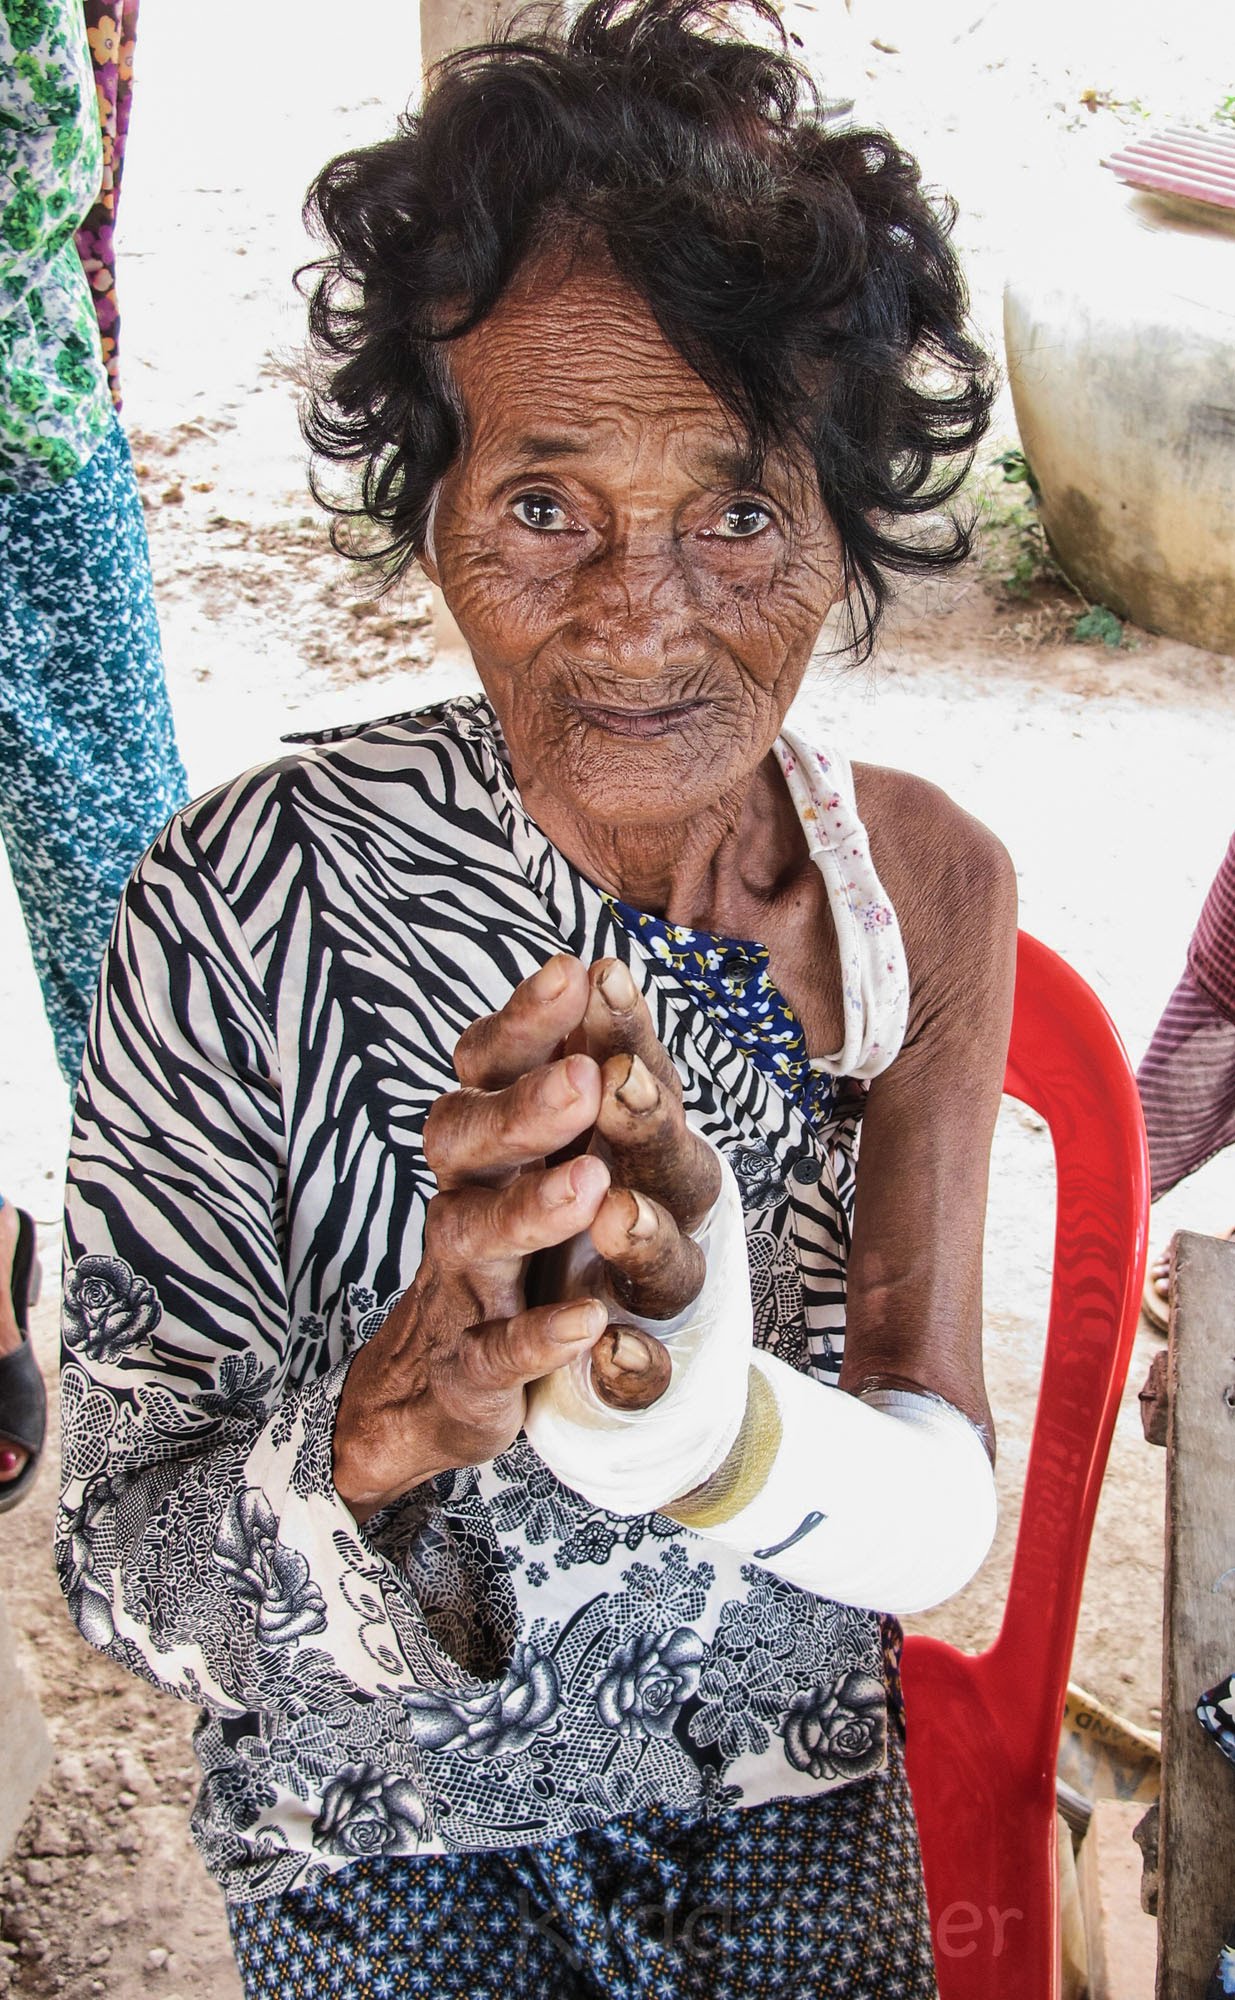
The right-hand illustration points towards one of the D810’s strongest uses: making a photograph that can be held, studied and lived with.
Its maximum image dimensions are 7,360 × 4,912 pixels. At 300 pixels per inch, that works out to approximately 24.5 × 16.4 inches before cropping or resampling. It is a substantial amount of information for a print. No Optical Low-Pass Filter
But printing also exposes decisions that can be obscured on a bright screen. Shadows may need more careful treatment. Sharpening needs to suit the paper and print size. A face can become too prominent through contrast, or lose its presence through timid processing.
The D810 gives you enough material to make those decisions carefully. It does not dictate the result.
That is why it deserves to be called a great camera. It offers a demanding, flexible file and a body built for deliberate work. With good light and sound technique, it gives you considerable freedom to refine a photograph—and enough detail to make a large print worth approaching closely.
The Nikon D700 is often discussed as if it had one job: street photography, perhaps, or black-and-white work. I’ve never found a reason to keep it in that box. It is a capable portrait camera, and it can handle plenty of other kinds of photography too.
I have three D700s, all bought used and in working order. That tells you something about how I regard the camera. I don’t keep three because it is fashionable or because I think the past was better. I keep them because they remain useful tools, and because I know what they can do.
The D700 gives you a full-frame sensor with 12.1 megapixels. That number looks modest beside modern cameras, but it is enough for a strong portrait, a well-made monochrome image, or a print that doesn’t need to be examined with a magnifying glass. The limit shows up when you want to crop heavily or make very large prints. That is a real limit, but it isn’t a reason to dismiss the camera before you have made a picture with it.
For portraits, the D700 offers what matters most: a dependable way to put the lens where it needs to be and make the exposure. Pair it with a suitable lens and you can control the background, hold attention on the face, and work in available light. The camera doesn’t make a portrait for you. You still have to stand at a distance that feels right, notice what is happening behind the subject, and give the person time to settle. A sharp eye is useful. It is not the whole photograph.
Street photography is an obvious fit. The D700 is a substantial camera, and it is no pocket companion, but it is a steady, familiar instrument. In a busy place, familiarity counts. You want to be thinking about the person crossing the light, the gesture that may last a second, or the background that is about to become cluttered. You don’t want to be puzzling over the camera every time you lift it.
The same camera can work for a quiet scene, a market, a gathering, or a landscape. The picture changes; the basic work does not. You still have to read the light, decide where to stand, and make the frame hold together. The D700 will not give you the extreme resolution or the generous cropping room of a modern high-resolution body. It will give you a file with enough information for many photographs, provided you pay attention when you make it.
That last part matters. Older cameras can be unforgiving when we ask them to repair careless work later. Focus, exposure, shutter speed and composition all count. The D700’s lower pixel count can be a relief in one way: you spend less time worrying about whether every last detail survives at 100 percent. But it doesn’t excuse a missed focus or a weak frame.
There are newer cameras with more resolution, better video and more advanced focusing systems. They make some jobs easier. The D700 is not secretly better because it is old, and no camera becomes important simply because it has stayed in a cupboard for years. But the D700 is still capable of portraits, street pictures and a good deal more. If the photograph depends on seeing clearly and being ready, it has not run out of work.
A photograph does not always reveal everything at once. You look at the main subject, take in the setting, and think you have understood it. Then your eye catches something else. A hand. A glance. A face beyond the person you were photographing. Suddenly, there is another picture inside the first.
That smaller picture can change how you read the whole frame.
In street photography, there is usually more happening than we can properly attend to. People cross behind one another. Someone turns towards a voice. A gesture begins and finishes while our attention is elsewhere. We choose a subject and try to make sense of what surrounds them, but the shutter records details we may hardly have noticed.
This is one reason a photograph deserves more than a quick look on the back of the camera. The first glance tells us whether we caught the obvious thing. A slower look may tell us what else we caught.
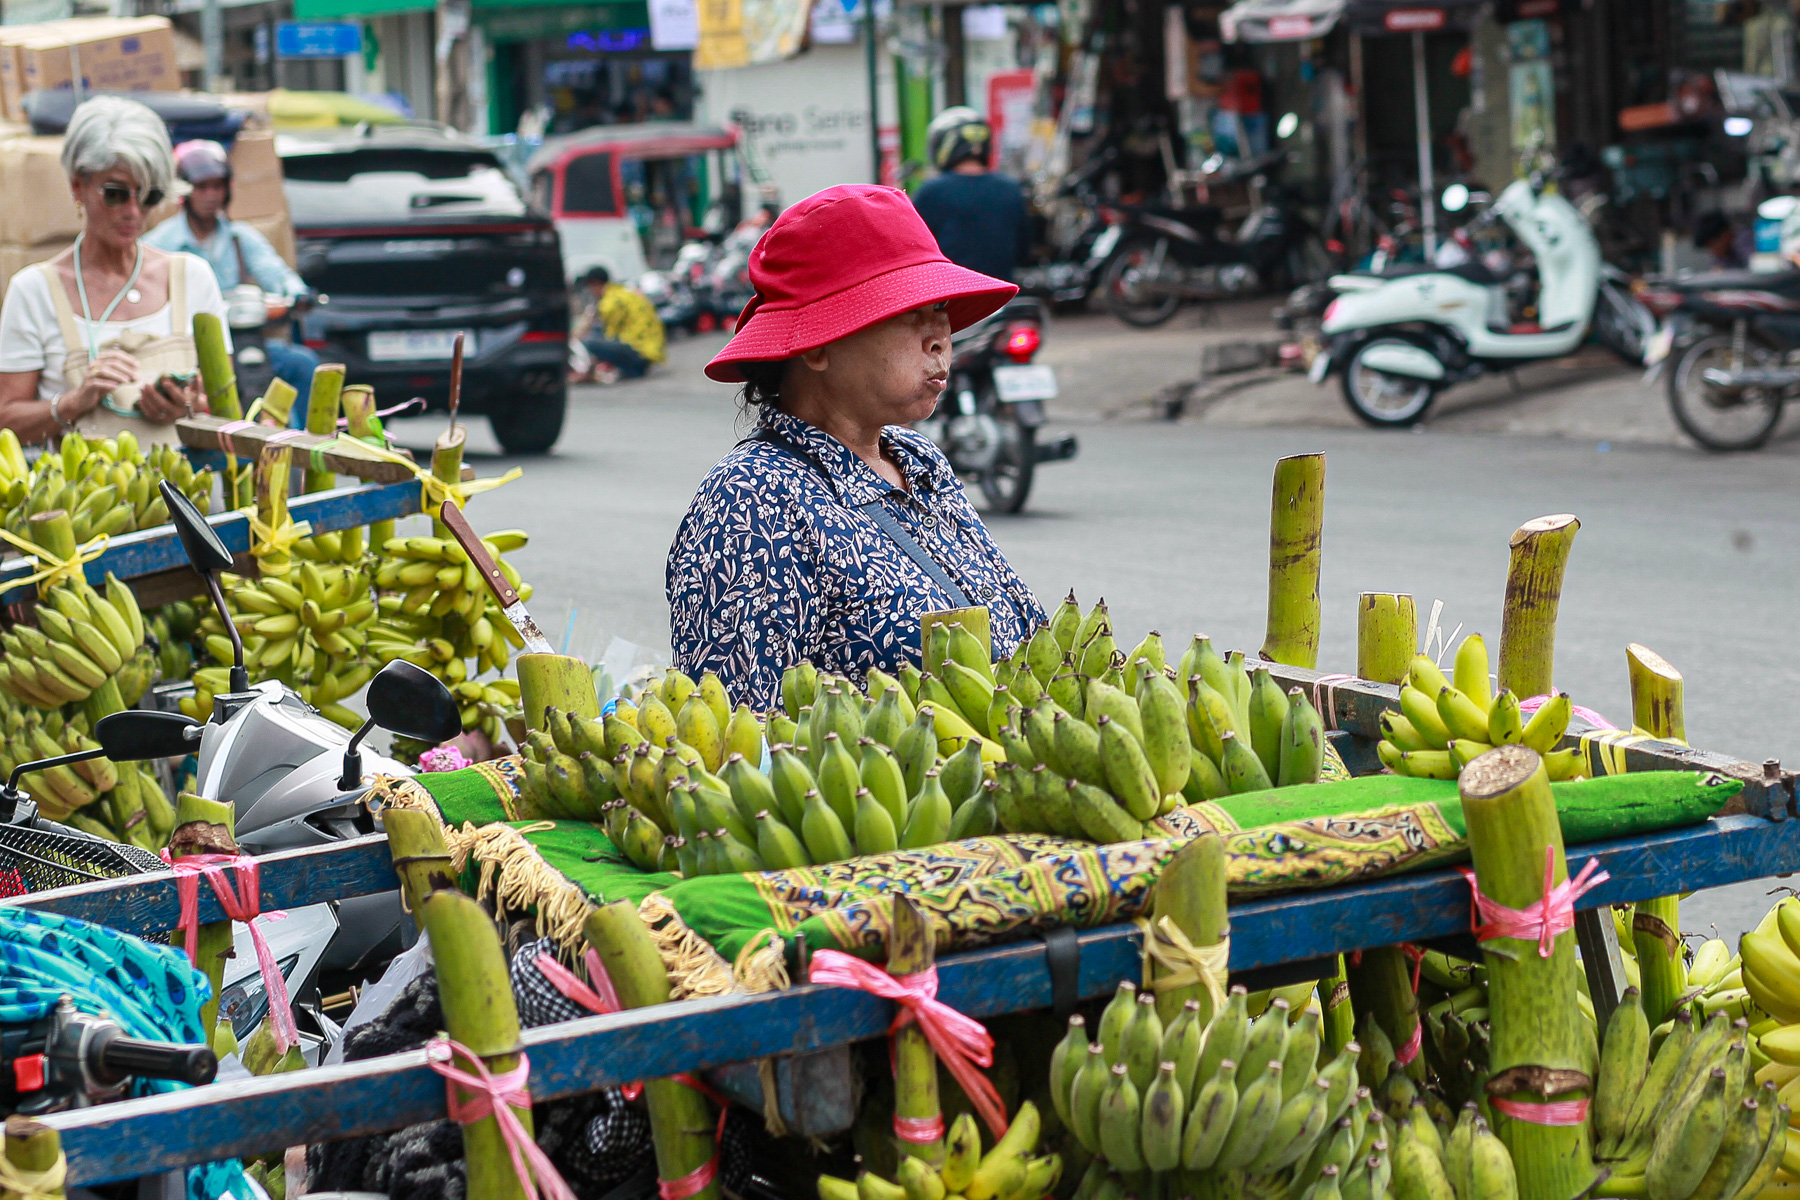
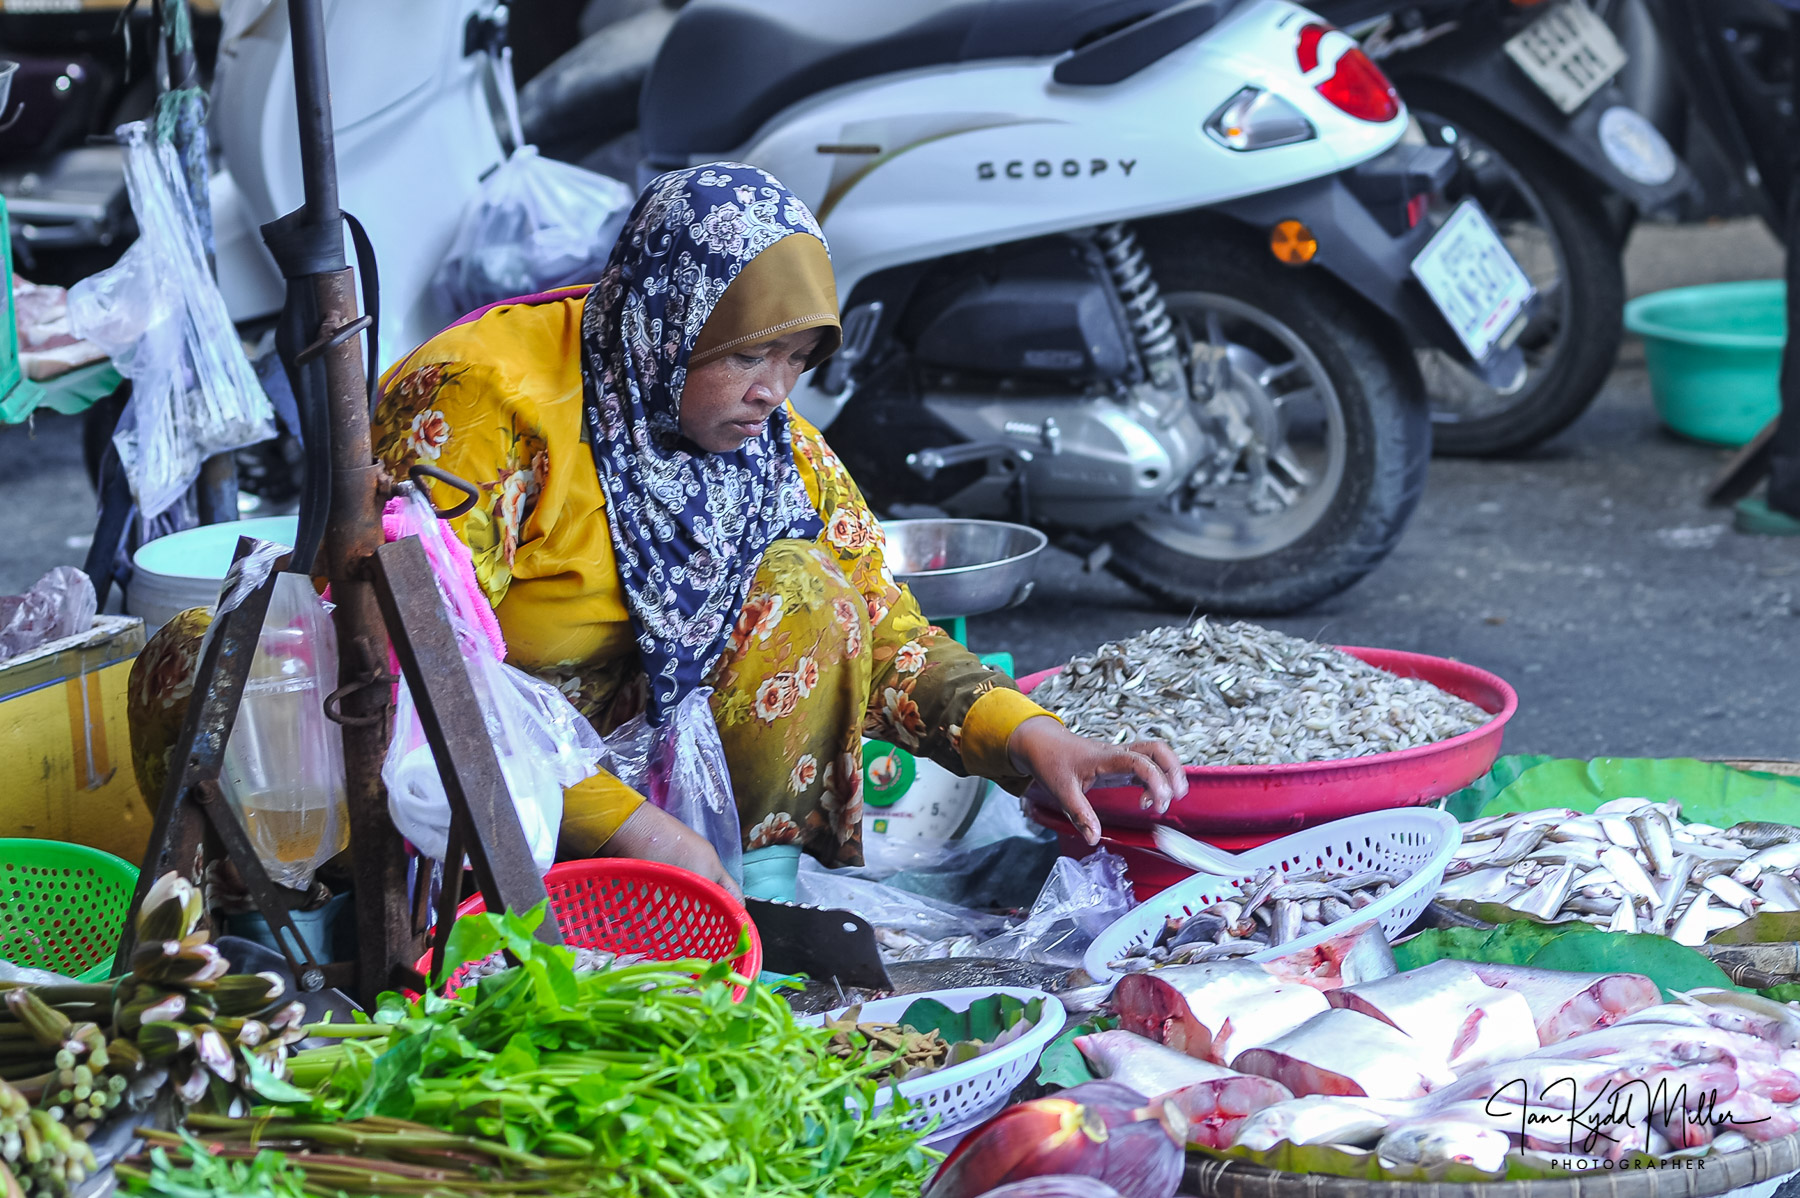
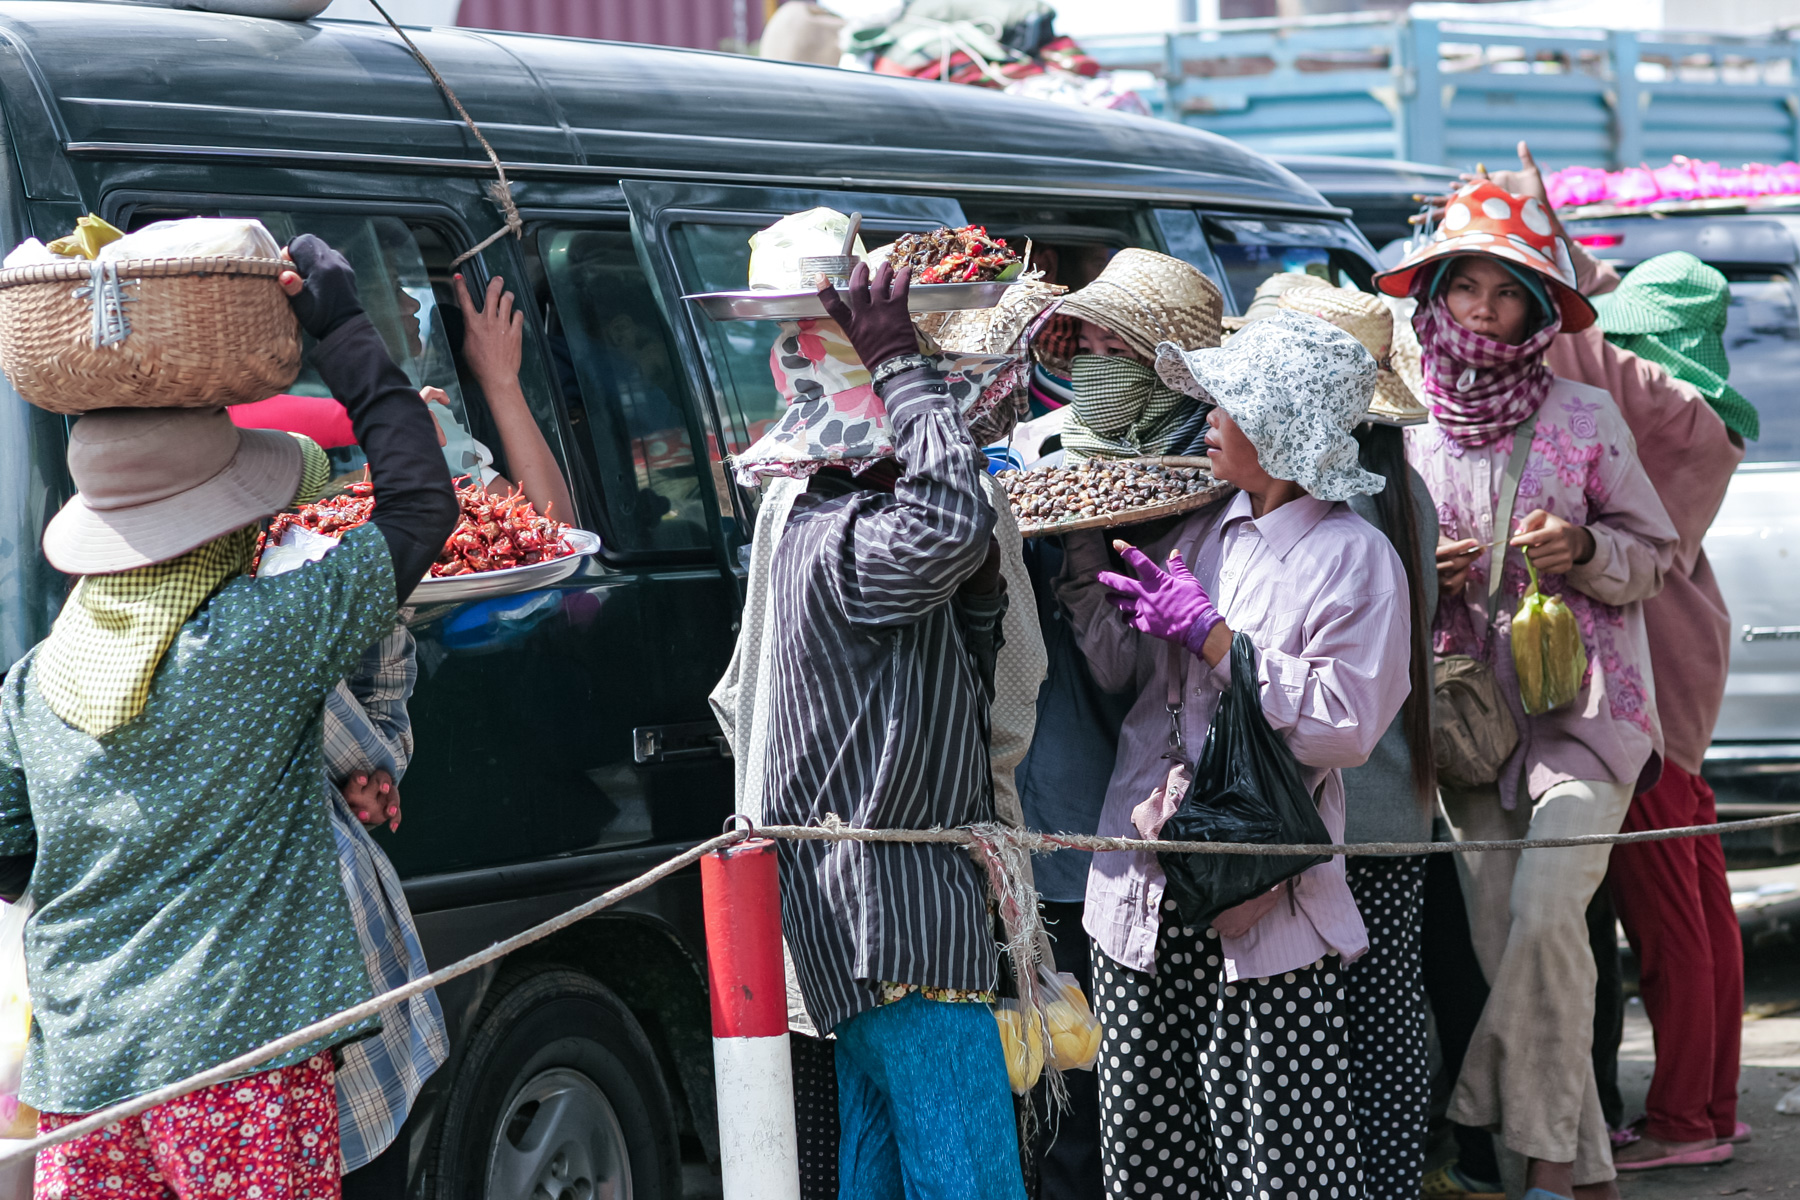
Take a hypothetical photograph of a crowded market. The stallholder occupies the foreground, and that is where the eye goes first. Further back, two people exchange a look. Their part of the frame might have its own balance, its own tension, enough to make a separate photograph. Or their presence might be precisely what gives the stallholder’s picture its depth. There are several lives continuing inside the same rectangle.
Finding these relationships while shooting takes attention. It helps to look beyond the person you have focused on. What is happening behind them? What enters at the edge? Does a reflection add something? Is there a second gesture that belongs with the first?
Sometimes the adjustment is small. Half a step changes the space between two faces. A lower viewpoint brings a background figure into view. Waiting a moment allows someone to emerge from behind a shoulder. These decisions can make a detail readable without forcing it to dominate.
There is a danger, though, in becoming so busy assembling the frame that you stop attending to the people in it. An elaborate composition can still be an empty photograph. Several layers of activity are useful only when they give us something worth looking at.
The discovery can also happen during editing. You open a photograph and find your attention settling somewhere you did not expect. The intended subject is perfectly adequate, but a quieter detail keeps drawing you back.
That is worth investigating. It does not mean every unnoticed detail is significant, or that the photograph contains some hidden truth. It means you have seen a possibility. Now you have to judge whether it holds up.
Cropping is an obvious way to test it. Tighten the frame around that smaller scene and see what survives. Does it have enough substance to stand alone? Do the gestures still make sense? Is there room for the people to exist within the frame, or have you squeezed them into an arrangement that merely looks tidy?
I accept a crop when it helps the photograph be seen better. But removing part of a picture also removes information. A person who appears alone in a tight crop may have been surrounded by companions. An expression that seems directed at one thing may have belonged to an exchange now outside the frame. The new picture can suggest a different account of the moment.
That matters particularly when we present photographs as documentary work. We should know what our decisions have excluded and whether those exclusions change what we are asking the viewer to believe.
Sometimes the smaller picture is stronger. Sometimes it is simply smaller. Enlarging a detail gives it prominence; it does not automatically give it meaning.
There is also pleasure in leaving the discovery where it is. A photograph need not deliver all its interest immediately. The eye can move from the main subject to a second encounter, then back again, with a little more understanding of the scene. A print gives that kind of looking room to happen. You can live with the image for a while rather than dismiss it with a swipe.
When looking through your own work, try following your attention before reaching for the crop tool. Notice where it goes after the first few seconds. Look at the edges and the spaces between people. Then ask what would disappear if you isolated the detail that interests you.
You may find a second photograph. You may find the reason the first one works.
There are days when I take a camera out and cannot see a picture. The street is busy enough. The light changes. People pass close by, stop, talk, turn their heads. All the things I normally look for are present, yet nothing seems to hold my attention for more than a second.
I used to think that meant I had lost my motivation. Now I am less certain. A photographer can be willing to work and still be unable to see clearly. The two are often mistaken for the same thing.
Sometimes the problem begins before I leave the house. I have seen too many pictures, including my own. I know what a promising corner looks like, where the light will fall, how far I want to stand from a person. That knowledge helps me work quickly, but it can also make me predictable. I spot a possible frame and dismiss it because I think I know what it will look like. After a while, I am no longer responding to what is in front of me. I am responding to a catalogue of pictures already in my head.
The camera can make this worse. When I am in a lull, I become unusually interested in what to carry. Perhaps another lens will change the way I see. Perhaps the D700 will loosen me up, or the D850 will reward a more careful look. A change of camera can alter my pace and working distance, and that may help. But the question is usually settled within the first few minutes outside. If I am preoccupied, I can fail to see with any camera.
Then there is the weight of expectation. After a productive day, I want another one. After several poor days, I feel I need one. I start a walk with a result in mind: a strong portrait, a frame for an article, something worth printing. The pressure makes me impatient. I watch a scene develop for a few seconds, decide it will amount to nothing, and move on. On another day I might have stayed long enough to find out.
Street photography requires patience, but patience is difficult when you feel you ought to be making pictures. You can spend an hour in one place and come away with nothing. That does not necessarily mean you chose the wrong place. A person may have passed through the frame a minute after you left. Or nobody would have passed through at all. There is no way to know. Much of the work involves giving ordinary life time to do something interesting, without demanding that it do so on your schedule.
A lull can also follow a period of making a great many pictures. I may still enjoy going out, yet feel tired of the decisions that come with it. Where should I stand? Is there a picture here? Should I approach this person? Am I close enough? Have I misunderstood what I am looking at? Photographing people asks for attention and judgment as well as quick reflexes. If I am tired, I can raise the camera, but I may not have much to give the encounter.
That matters because people are not there to cure my lack of inspiration. A stranger’s face can be arresting without my having a reason to photograph it. If I find myself looking for someone unusual simply to make the day feel productive, it is worth putting the camera down. A lull may be telling me that I need to recover some interest in the people around me, rather than hunt more aggressively for a frame.
There are quieter causes. Life outside photography can take up the space in which attention usually works. Worry, poor sleep, physical discomfort and simple exhaustion all follow us into the street. We may expect photography to provide relief, and sometimes it does. At other times, even a short walk asks too much. There is little to be gained from treating every tired day as a crisis in one’s ability to make pictures.
The edit has its own part to play. If I sit down after a day’s work and see fifty ordinary frames, it is easy to think the day was wasted. But editing has always involved finding out that a promising moment did not survive the shutter. Perhaps the gesture was a fraction too late, or a person in the background pulled attention away. That disappointment is useful when it teaches me something specific. It becomes harmful when I turn it into a verdict on all the pictures I might make tomorrow.
Looking too often at other photographers’ work can have a similar effect. A finished photograph arrives without its hours of waiting, missed frames and uncertain choices. See enough excellent work in one sitting and your own contact sheets may look thin. I value looking at photographs; it helps me recognise possibilities I might otherwise miss. But when I begin measuring an ordinary Tuesday against someone else’s best picture from ten years of work, I have given myself a poor reason to stay home.
So what do I do when the lull arrives? Usually I make the day smaller.
I might go out without expecting a photograph. I take the camera because I want it there if something happens, but I allow myself to walk, stop and watch. Sometimes I choose a familiar place and try to see what I have stopped noticing. Sometimes I go somewhere else, even if the light is less promising. A new route is useful because it interrupts the little decisions I make without thinking.
I may give myself one modest task: watch how people enter and leave a particular patch of light; stay with a scene for ten minutes; speak to someone before considering a portrait. These are ways of paying attention, not assignments that require a successful frame. If no picture comes of them, the exercise has still taken me out of my own head.
Or I stay in and work with photographs I have already made. Printing an image can reveal strengths and faults I missed on a screen. Revisiting an older edit can remind me what first interested me in a subject. I have occasionally found a picture I passed over because I was looking for something else at the time. More often, the value is simply in spending time with the work without having to produce more of it.
And sometimes I leave photography alone for a day. There is a strange fear that a pause might become permanent, as though the ability to see were a machine that must be kept running. In my experience, forcing myself out when I am thoroughly spent rarely restores anything. Rest is a practical decision. It gives me a better chance of being present when I go back.
None of this guarantees that the next walk will be good. A lull has no neat ending. It may last an afternoon or several weeks. It may return just when I think I have worked my way through it. I can pay attention to its causes, change a habit, lower the pressure and look after myself. I cannot make the street give me a photograph.
What I can do is remain curious about why I stopped seeing. Was I tired? Was I rushing? Had I decided in advance that I knew the place too well? Was I judging every possible frame before it had a chance to become one? Those questions are more useful than asking whether I have lost whatever once made me a photographer.
Eventually I notice something without trying quite so hard: a brief exchange between two people, a face held in unexpected light, a gesture that changes the meaning of an otherwise ordinary scene. I might make the picture. I might miss it. Either way, I have begun to look again.
I have seen photographers dismiss a picture before they have really looked at it. They learn it was taken on a phone, or with an old camera, and their opinion is ready. The equipment has told them everything they think they need to know.
It is a strange habit for people whose work depends on looking closely.
Photography has always attracted its share of snobs. Some judge by the price of a camera. Some judge by format, brand, lens, film stock or editing method. Others have no interest in equipment but are just as certain that their chosen subject is the only one worth photographing. Street photographers can be dismissive of landscapes. Documentary photographers can sneer at carefully arranged portraits. People who shoot black and white sometimes talk as though colour were a lapse in judgment.
I have preferences of my own. After years of making pictures, it would be odd if I did not. I know which cameras I like carrying and which lenses suit the way I work. I am also perfectly capable of seeing a photograph made with something I would never choose and wishing I had made it myself.
That is the useful test. When the picture is in front of you, can you set aside what you know about how it was made long enough to see what is there?
My Nikon D700 bodies are old. My D850 was bought used with a shutter count that would frighten some people away. The Canon 1D Mark IV was the only camera I ever bought new. None of these facts makes a photograph better or worse. They tell you something about how I buy and use equipment. They do not tell you whether I noticed the gesture, dealt with the background or pressed the shutter at the right moment.
Good equipment can make work easier. A lens may focus more reliably, a sensor may give you more room to recover a difficult exposure, and a camera may let you work quickly without fighting its controls. I appreciate all of that. I also know what happens when the light is good, a person turns towards you and you hesitate. The specifications cannot take the picture for you.
The opposite kind of snobbery exists too. Owning an old camera does not confer wisdom. A battered body is a tool, not a certificate of authenticity. If a newer camera helps someone make the pictures they want to make, I see no reason to hold that against them.
Where snobbery does real damage is in criticism. Someone shows a photograph, perhaps one they are unsure about, and gets told what they should have bought or what sort of photography they ought to be doing. The comment may sound knowledgeable. It rarely helps.
A useful critique begins with the picture. What drew your eye? What gets in the way? Does the framing make the subject clearer? Is the exposure serving what the photographer appears to have seen? If the image is meant to show a person, have we learned anything from their expression or gesture, or have we merely been shown that they were there?
Those questions can lead to a blunt assessment. Respect does not require praise. I have seen plenty of technically perfect photographs that leave me cold, and plenty of rough ones that hold my attention. It is fair to say that an image fails. It is more useful to say where it fails and why.
Experience ought to make us more careful here. The longer I photograph, the more aware I am of how much depends on circumstances I cannot see in someone else’s finished frame. Perhaps they had half a second. Perhaps moving a step would have lost the subject. Perhaps the apparently awkward crop was the only way to keep something distracting out. I can judge what is in the photograph. I should be cautious about inventing the decisions that led to it.
Street photography brings another sort of certainty. People make rules about how close a photographer must stand, whether a subject must know they are being photographed, or how much processing is acceptable. These are serious questions, especially when the person in the frame is vulnerable. They deserve more thought than a contest over who is the “real” street photographer.
The person photographed is not there to settle an argument about style. We have to consider what the picture shows, what it suggests and what publishing it might do. A photographer who is willing to ask those questions has something to teach me, even if their pictures look nothing like mine.
There are pictures I do not like. There are fashions in photography that I find tiresome. I do not intend to pretend otherwise. Taste is part of developing a way of working. The trouble starts when taste hardens into a refusal to look. At that point, a photographer may feel certain of their standards while missing the very thing that makes another person’s work interesting.
It is easy to talk about keeping an open mind. It is harder to do when a picture breaks every rule you would have followed and still succeeds. That is when it is worth staying with the image a little longer. Ask yourself why you stopped to look. You might learn something.
Photography gives us enough difficult decisions without turning cameras and genres into ranks. We choose where to stand, what to include, when to press the shutter, what to keep and what to show. We can argue about those choices. We should. But first we have to look at the picture.
Put the Tokina AT-X 24–70mm f/2.8 PRO FX onto a Nikon D850 and you’ve got roughly two kilograms of camera hanging from your shoulder. Add a spare battery, perhaps another lens and all the other rubbish photographers convince themselves they need, and by the end of a long day your shoulders know about it.
But pick the thing up and it makes sense.
The D850 is a substantial camera. The Tokina is a substantial lens. One balances the other. Left hand underneath the lens, right hand around that excellent Nikon grip, eye to the optical finder.
That’s how cameras used to be held.
And it still works.
One Lens, Most of the Job
The attraction of 24–70mm isn’t terribly exciting on paper.
That’s precisely why it’s so useful.
At 24mm, I can photograph somebody and still show where they are. The street, shop, market, workshop or room becomes part of the photograph rather than something turned into anonymous blur behind them.
Move towards 35mm and we’re in classic documentary territory. Enough width to provide context without making everything look stretched and theatrical.
At 50mm, the lens becomes wonderfully ordinary. I mean that as praise. The perspective doesn’t shout. You can simply get on with making the picture.
Then there is 70mm.
Now I can tighten things up. A face, a pair of hands, somebody working, a detail across the street. At f/2.8 there’s enough separation available without turning the background into meaningless mush.
That’s why the old 24–70mm professional zoom became such a standard piece of working equipment.
It isn’t particularly romantic.
It simply covers an enormous amount of photography.
But Can It Handle 45.7 Megapixels?
Yes.
And we can dispense with that argument fairly quickly.
Tokina itself described the optical design as intended to provide sufficient resolution for the emerging 50-megapixel DSLR generation, while independent testing on the D850 has measured strong performance from the combination.
Does that mean every pixel in every corner is perfect at 24mm and f/2.8?
Of course not.
But I’m not photographing test charts.
I’m photographing people.
If someone’s expression is right, the light is right and I’ve caught the moment, I have never looked at the resulting photograph and thought:
Bugger. The extreme lower-left corner could be four percent sharper.
That’s pixel peeping.
Photography has rather different requirements.
The D850 Will Expose Bad Technique
This is the more important problem.
Put 45.7 megapixels behind a lens and suddenly tiny mistakes become remarkably easy to see.
A little camera movement.
A shutter speed that was just slightly too slow.
Focus a centimetre behind the eye.
The D850 records all of it beautifully.
That doesn’t mean the lens isn’t sharp.
It means the photographer wasn’t.
With this combination I’d rather use 1/250 sec at ISO 800 than struggle at 1/60 sec simply because somebody once told me lower ISO means better image quality.
A sharp ISO 800 photograph beats a blurred ISO 64 photograph every bloody time.
Hold the camera properly.
Support the lens.
Watch the shutter speed.
Squeeze rather than stab the release.
The basics haven’t changed because cameras have.
F/2.8 Still Matters
Modern cameras have made high ISO so good that some people wonder whether we still need fast lenses.
We do.
Not simply for exposure.
F/2.8 gives choices.
It allows a faster shutter speed when somebody moves. It gives some control over depth of field. It makes a 70mm portrait quite different from the same picture made at f/8.
And when the Cambodian daylight finally disappears and the streets move into that wonderful mixture of shop lighting, fluorescent tubes, headlights and shadows, f/2.8 becomes very useful indeed.
The D850 already handles difficult light extremely well.
Give it an f/2.8 lens and there’s very little excuse for going home.
There Is a Price
Weight.
There’s no escaping it.
B&H’s hands-on testing reached much the same conclusion: the Tokina is decidedly heavy, but once shooting, they found it a versatile and solid performer with good sharpness.
This isn’t the lens I’d put on the D850 for a gentle six-hour wander when I didn’t know whether I’d take ten photographs or none.
For that I’d rather have a small prime.
The 85mm f/1.8G makes the D850 feel almost restrained by comparison.
But that’s a different sort of photography.
If I’m going somewhere because there may be pictures and I don’t know what those pictures are going to require, the Tokina becomes much more attractive.
Twenty-four to seventy.
F/2.8.
One body.
Get on with it.
And It Isn’t Discreet
Nobody sees a D850 with this thing attached and thinks you’re a tourist carrying a little happy-snap camera.
You’re quite obviously taking photographs.
I’m not convinced that’s necessarily a disadvantage.
Street photography has acquired a peculiar obsession with invisibility. Tiny black cameras, silent shutters and photographing people before they’ve realised you’re there.
Sometimes that’s useful.
But I’ve photographed people for long enough to know that your behaviour matters more than another few centimetres of camera.
Approach people properly.
Don’t behave furtively.
Don’t shove a lens into somebody’s face.
Know when the photograph isn’t yours to take.
And occasionally smile.
It works surprisingly well.
Heavy, Old-Fashioned and Bloody Useful
There are technically better lenses.
There are lighter lenses.
There are newer lenses.
And there are certainly smaller cameras than the D850.
Fine.
But photography isn’t a competition to see who can own the most recently released equipment.
The D850 remains an extraordinary picture-making machine. The Tokina gives it a fast, useful focal range in one solidly built lump of glass.
Put the two together and almost every ordinary excuse disappears.
Too wide? Zoom in. Too tight? Zoom out. Light disappearing? Open it to f/2.8.
Need more shutter speed? Raise the ISO.
Need 45.7 megapixels? You’ve got them.
Now there really isn’t much left to discuss.
There is only the irritatingly difficult bit.
Finding something worth photographing.
And no camera manufacturer has yet found a way of putting that in the box.
I rather like this combination because it runs against the idea that a high-resolution camera demands the latest glass.
It doesn’t.
What it demands is good technique.
At 35mm the lens gives you a useful environmental view for street work. Around 50mm it becomes beautifully ordinary — which is often exactly what you want. At 70mm you’ve got enough reach for portraits and details without carrying a separate short telephoto.
The constant f/2.8 aperture remains genuinely useful. Wide open, I wouldn’t expect the clinically perfect rendering of a modern 24–70mm. That’s rather missing the point. Stop it down to f/4 or f/5.6 and the old Nikkor can produce files with plenty of detail for the D850.
There are catches. It’s a push-pull zoom, which some photographers love and others regard as an invention of the devil. Autofocus is screw-driven rather than AF-S: quite fast on a D850, but decidedly more mechanical and noisy. There’s no VR. Close-focus performance isn’t its strongest characteristic, and individual examples now matter enormously because these lenses are getting old.
But there’s something appealing about putting one on a D850.
You have one of Nikon’s finest DSLRs attached to a professional zoom from another age. No electronic correction wizardry is required to make a photograph. No fashionable lens profile is going to rescue sloppy technique. Hold the thing properly, watch your shutter speed, put the focus where it belongs and make the exposure.
I’d be particularly interested in this combination for black-and-white street photography. The D850 gives you extraordinary tonal information, while the older 35–70 has a rendering that can be a little less brutally clinical than modern glass.
And there is another advantage that shouldn’t be overlooked: these lenses can often be bought for remarkably little money.
For someone already carrying a D850, I’d much rather see $100–200 spent on a clean 35–70mm f/2.8D and the rest spent getting out and making photographs than assume another expensive modern zoom is going to transform the work.
The D850 will certainly show you the limitations of the old lens.
It will also show you just how little those limitations matter when the photograph is good.
Today 4:30 PM
same camera with Nikkor 85mm f1.8G
The Nikon D850 with the Nikkor 85mm f/1.8G is a different proposition from the old 35–70mm f/2.8D. In many ways, I think it is an even better match for the D850—particularly for the sort of people photography you do.
Nikon D850 + 85mm f/1.8G — When Simple Works
There are combinations of camera and lens that don’t require much explanation. Put the Nikkor 85mm f/1.8G on a D850 and you have one of them.
The D850 provides 45.7 megapixels, excellent dynamic range and enough resolution to punish poor technique. The 85mm f/1.8G provides something rather simpler: a sharp, relatively light, fast short telephoto that gets out of the way.
I’ve always liked 85mm for photographing people. It gives me working distance without putting me on the other side of the street. I can isolate somebody from the confusion behind them while still retaining enough surroundings to tell us where they are.
On the D850, the 85mm f/1.8G is exceptionally useful.
At f/1.8, depth of field can become extremely thin at close distances. That’s lovely when it’s deliberate and bloody annoying when it isn’t. With a 45.7MP sensor, slightly missed focus doesn’t hide particularly well.
For ordinary street portraits I’d be quite happy around f/2.8–f/4. There’s still plenty of separation, but you’ve bought yourself enough depth of field to accommodate a slight movement from either photographer or subject.
And I’d keep the shutter speed up.
The old rule suggesting 1/100 second should be sufficient for an 85mm lens doesn’t account for what happens when you inspect a D850 file closely. 1/250 second is a much more comfortable starting point for people, and I’d happily use 1/500 if they’re moving. ISO is cheap; camera shake isn’t.
Where the combination shines
The 85mm f/1.8G doesn’t have VR, but I’ve never regarded that as much of a problem for photographing people. Stabilisation won’t stop the person in front of you moving anyway.
The lens is also wonderfully sensible in size. The D850 is already a substantial camera. Putting a huge f/1.4 prime on the front turns the whole arrangement into something considerably more conspicuous. The little f/1.8G keeps things manageable.
Autofocus is another advantage. Unlike the screw-driven 35–70mm f/2.8D, the 85mm has its own Silent Wave Motor. On the D850 it makes for a responsive, straightforward combination.
But what interests me more is the rendering.
The 85mm gives enough sharpness to exploit the D850 without making every face look as though it has been photographed for a dermatology textbook. At wider apertures the background falls away gracefully. Stop down and there is considerably more detail available than most photographs will ever require.
For street work
This is where things become personal.
Some photographers will immediately tell you that 85mm is too long for street photography. Apparently we’re all supposed to use 28mm or 35mm, get three feet away and demonstrate our courage.
Nonsense.
Focal length determines how you work. It doesn’t determine whether the photograph is street photography.
An 85mm lets me watch before stepping in. It allows expressions and gestures to develop without immediately changing the situation simply by being there with a camera.
There’s a trade-off. You can become lazy with an 85mm. Stand twenty metres away, shoot everything wide open and every photograph becomes a floating head against a pleasantly blurred background.
That’s portraiture by formula.
Move your feet. Look at the background. Sometimes use f/5.6. Include the bloke sitting beside your subject, the market stall, the battered wall, the motorcycle or whatever else explains why this person was worth photographing here.
That’s when the 85mm becomes interesting.
The D850 exposes mistakes
The great strength of the D850 is also its occasional irritation.
It records almost everything.
Poor focus, slight camera movement and careless technique that might disappear in a 12MP D700 file can suddenly become obvious when you’re staring at a D850 image at 100%.
That doesn’t mean the D850 is difficult to use. It means good camera handling matters.
I wouldn’t obsess over pixel-level sharpness. Nobody looking at a finished photograph gives a damn whether an eyelash is resolving perfectly at 200%. But if the whole photograph has that slight softness produced by camera movement, that’s another matter.
Hold the camera properly. Give yourself enough shutter speed. Focus carefully.
Then forget about it.
D850 + 85mm or D850 + 35–70mm?
They’re actually rather complementary.
The 35–70mm f/2.8D is the walkabout lens. It gives flexibility, environmental photographs, groups, street scenes and portraits without changing lenses. Its weight and build give me confidence and with good camera technique can produce really quite decent images.
The 85mm f/1.8G is more deliberate.
With the 85mm fitted, I’m already making a decision about how I’m going to photograph. I’m looking for people, faces, gestures, layers and small pieces of human behaviour rather than trying to cover everything.
And sometimes having fewer choices is useful.
After all these years making pictures, I’m increasingly convinced that one camera and one lens can be wonderfully liberating.
A Nikon D850 with an 85mm f/1.8G isn’t exotic. It isn’t fashionable. And it certainly isn’t small.
But put the strap over your shoulder, walk out the door and spend an afternoon looking for people rather than equipment.
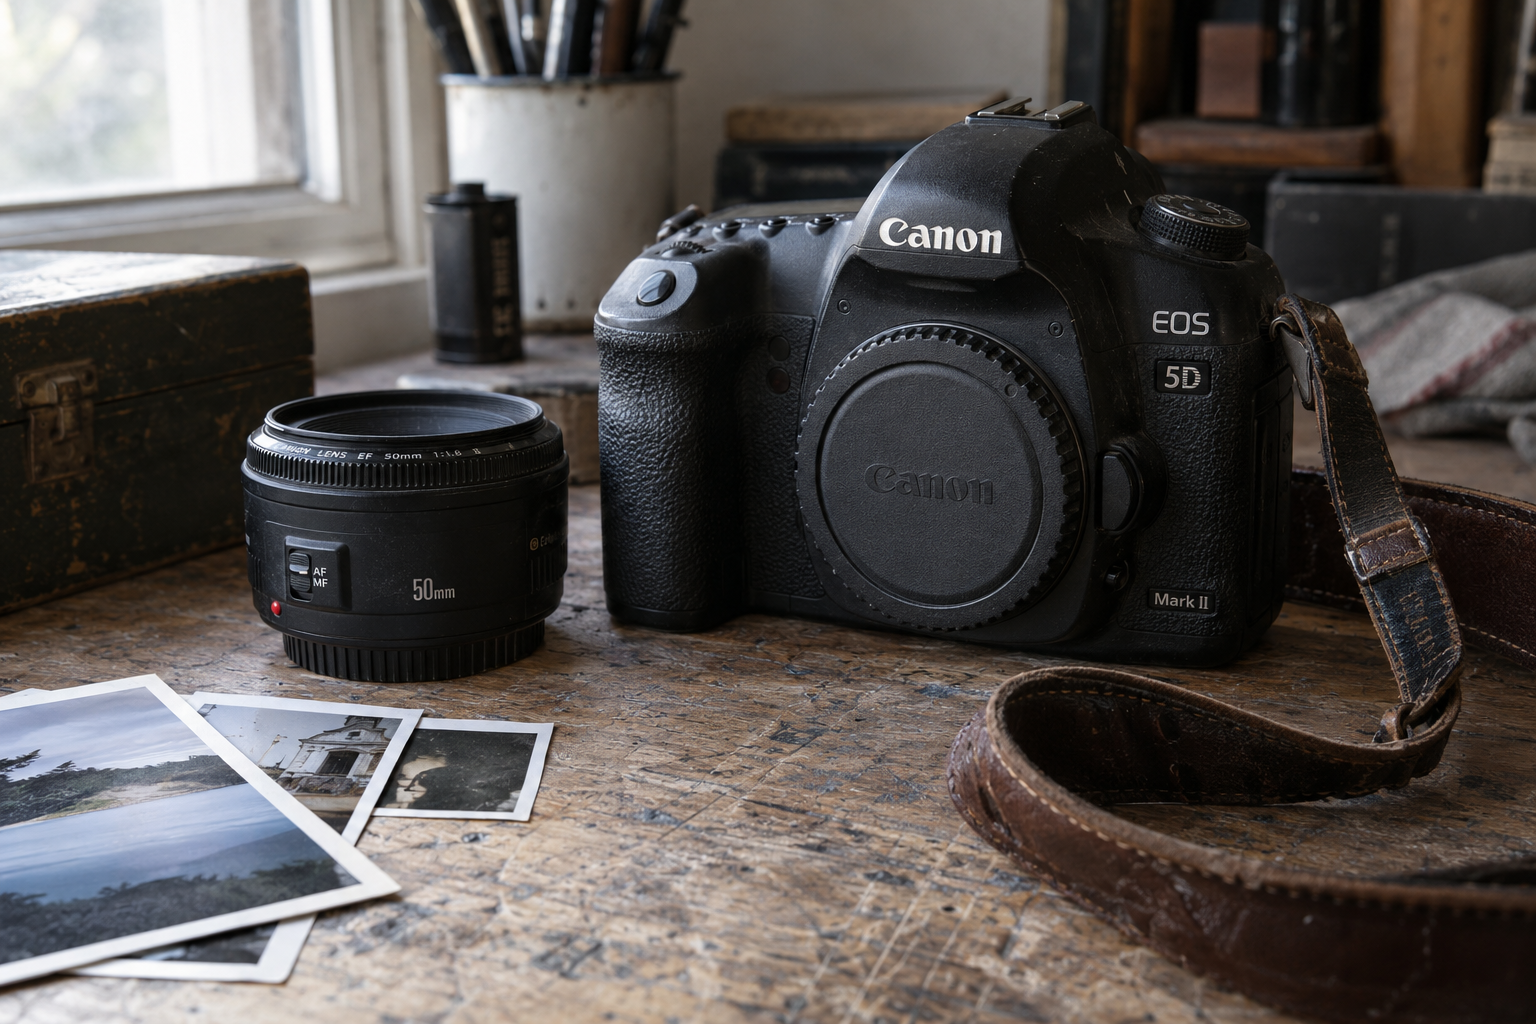
The Canon 5D Mark II arrived in 2008 carrying what then seemed an extraordinary 21-megapixel full-frame sensor. Today, surrounded by cameras offering twice the resolution, rapid electronic shutters and autofocus systems capable of finding an eye in a crowd, it appears rather ordinary.
It is not ordinary.
The 5D Mark II came from a period when digital cameras were becoming genuinely mature but had not yet become computers with lenses attached. It has enough technology to do serious work, but not so much that the photographer becomes a passenger.
There are weaknesses. The autofocus system is primitive by modern standards, particularly away from the central point. Its continuous shooting is leisurely. The rear screen is adequate rather than beautiful, and lifting deep shadows soon reveals the limits of the sensor. Anyone expecting the camera to correct poor timing, careless exposure or uncertain focusing will be disappointed.
That is also part of its appeal.
The 5D Mark II asks the photographer to pay attention. The central autofocus point is the dependable one, so you learn to use it properly. Exposure needs to be reasonably accurate. Highlights require watching because lost detail does not return easily. With moving subjects, anticipation matters more than frame rate.
This is not punishment. It is photography.
The camera feels reassuring in the hand. The body is substantial without reaching the weight of a 1-series Canon. The controls are straightforward, the viewfinder is large enough to work through comfortably, and the rear control wheel remains one of Canon’s finest ideas. Once familiar with it, the camera can be operated without much conscious thought.
Its shutter has a proper mechanical presence. Press the button and something happens. There is no silent electronic whisper and no burst of twenty nearly identical files. One exposure feels deliberate.
The image quality still holds up remarkably well. At lower ISO settings, the files contain excellent detail, natural colour and enough tonal depth for careful processing. Skin tones are especially pleasing. There is a gentleness to the pictures that suits portraits, documentary work and photographs made in ordinary light.
The 5D Mark II does not produce the clinically perfect files of newer cameras. Its shadows can become rough and its higher-ISO images carry visible noise. Yet photographs are not improved simply by having every imperfection removed. A little texture is not fatal. Sometimes it helps a picture retain the feeling of the moment in which it was made.
With a 35mm or 50mm lens, the camera becomes a simple and capable working tool. An 85mm lens turns it into a fine portrait camera. Good Canon L-series lenses suit it, naturally, but it does not require expensive glass to make worthwhile photographs. A modest prime and careful technique will usually achieve more than an impressive lens used without thought.
The camera also changed moving-image work. Its ability to record full-frame high-definition video helped place cinematic-looking footage within reach of independent filmmakers and working photographers. That part of its history is important, although for me its lasting value remains in the still photographs.
Using one now requires a modest change of pace. Batteries, CompactFlash cards and older menus remind us that this is no longer a current machine. There is no tilting screen, no in-body stabilisation and no electronic viewfinder showing the finished exposure before the shutter is released.
You look through the viewfinder, judge the light and make the photograph.
That still works.
The Canon 5D Mark II is cheap on the used market because technology has moved forward and fashion has moved even faster. Condition matters more than age. A heavily used professional body may have lived a hard life, while a carefully owned example can still provide years of service. Check the shutter, card slot, control wheels, autofocus and sensor before buying. Beyond that, it is a straightforward and durable camera.
Would I recommend it to everybody in 2026? No. A photographer needing dependable subject-tracking, silent operation, strong low-light performance or fast action coverage should look elsewhere. Modern cameras make those jobs considerably easier.
But ease is not the only measure of a camera.
For portraits, considered street work, documentary photography and the simple pleasure of making pictures, the 5D Mark II remains entirely capable. Its limitations are clear, but they are honest limitations. You quickly learn what the camera can do and then get on with using it.
It comes from a time when a camera was expected to provide a good sensor, a clear viewfinder, dependable controls and somewhere to attach a lens. The photographer was expected to supply the rest.
The Canon 5D Mark II will not find the photograph for you. It will not rescue every mistake or produce endless variations from which one acceptable frame might be selected.
It simply waits in your hands.
When the light, subject and timing come together, it makes the picture.
That was enough in 2008.
For a photographer who still values attention over automation, it remains enough today.
A camera can be used to earn a living, record history or satisfy curiosity. It can also be used simply to help.
Some of the most worthwhile photography I have done has been as a volunteer. There was no agency waiting for the pictures, no editor demanding a deadline and no possibility of selling the results. The purpose was quieter: to show what was being done, who was being helped and why the work mattered.
Photographing volunteers requires a different attitude from covering news. You are not there to manufacture heroism or turn hardship into spectacle. You are there to observe honestly, work discreetly and produce photographs that the organisation can use without diminishing the people it serves.
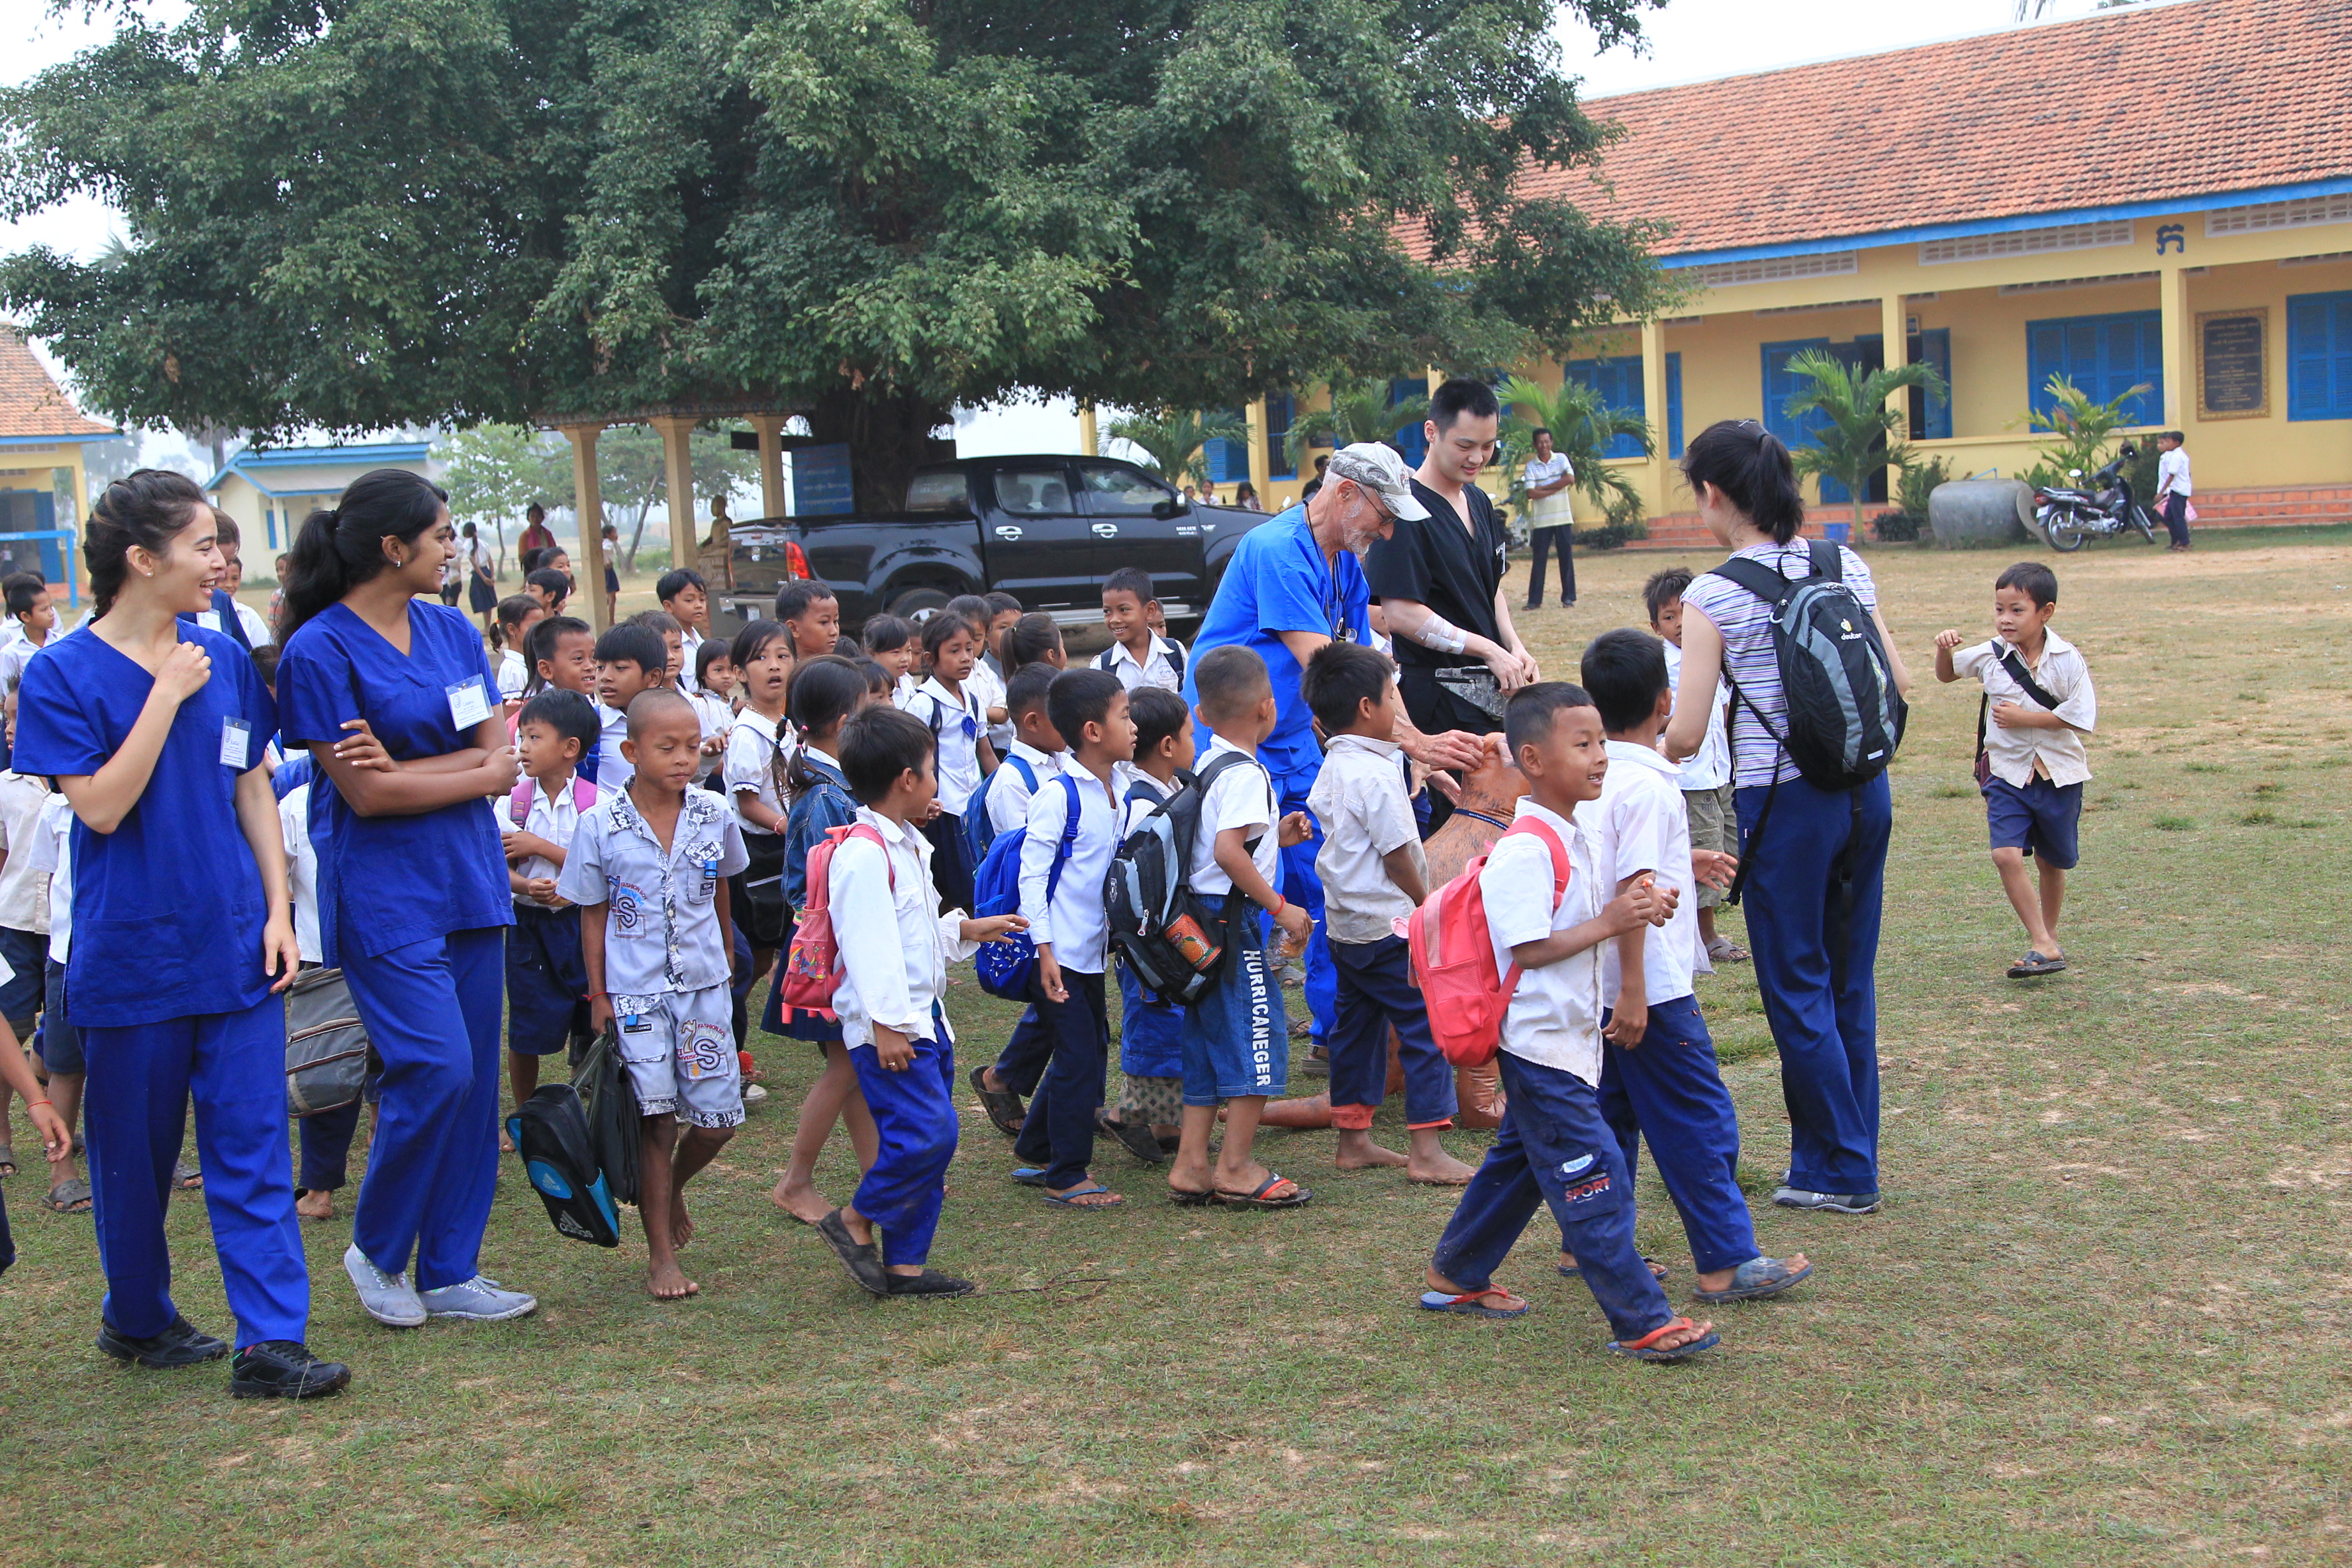
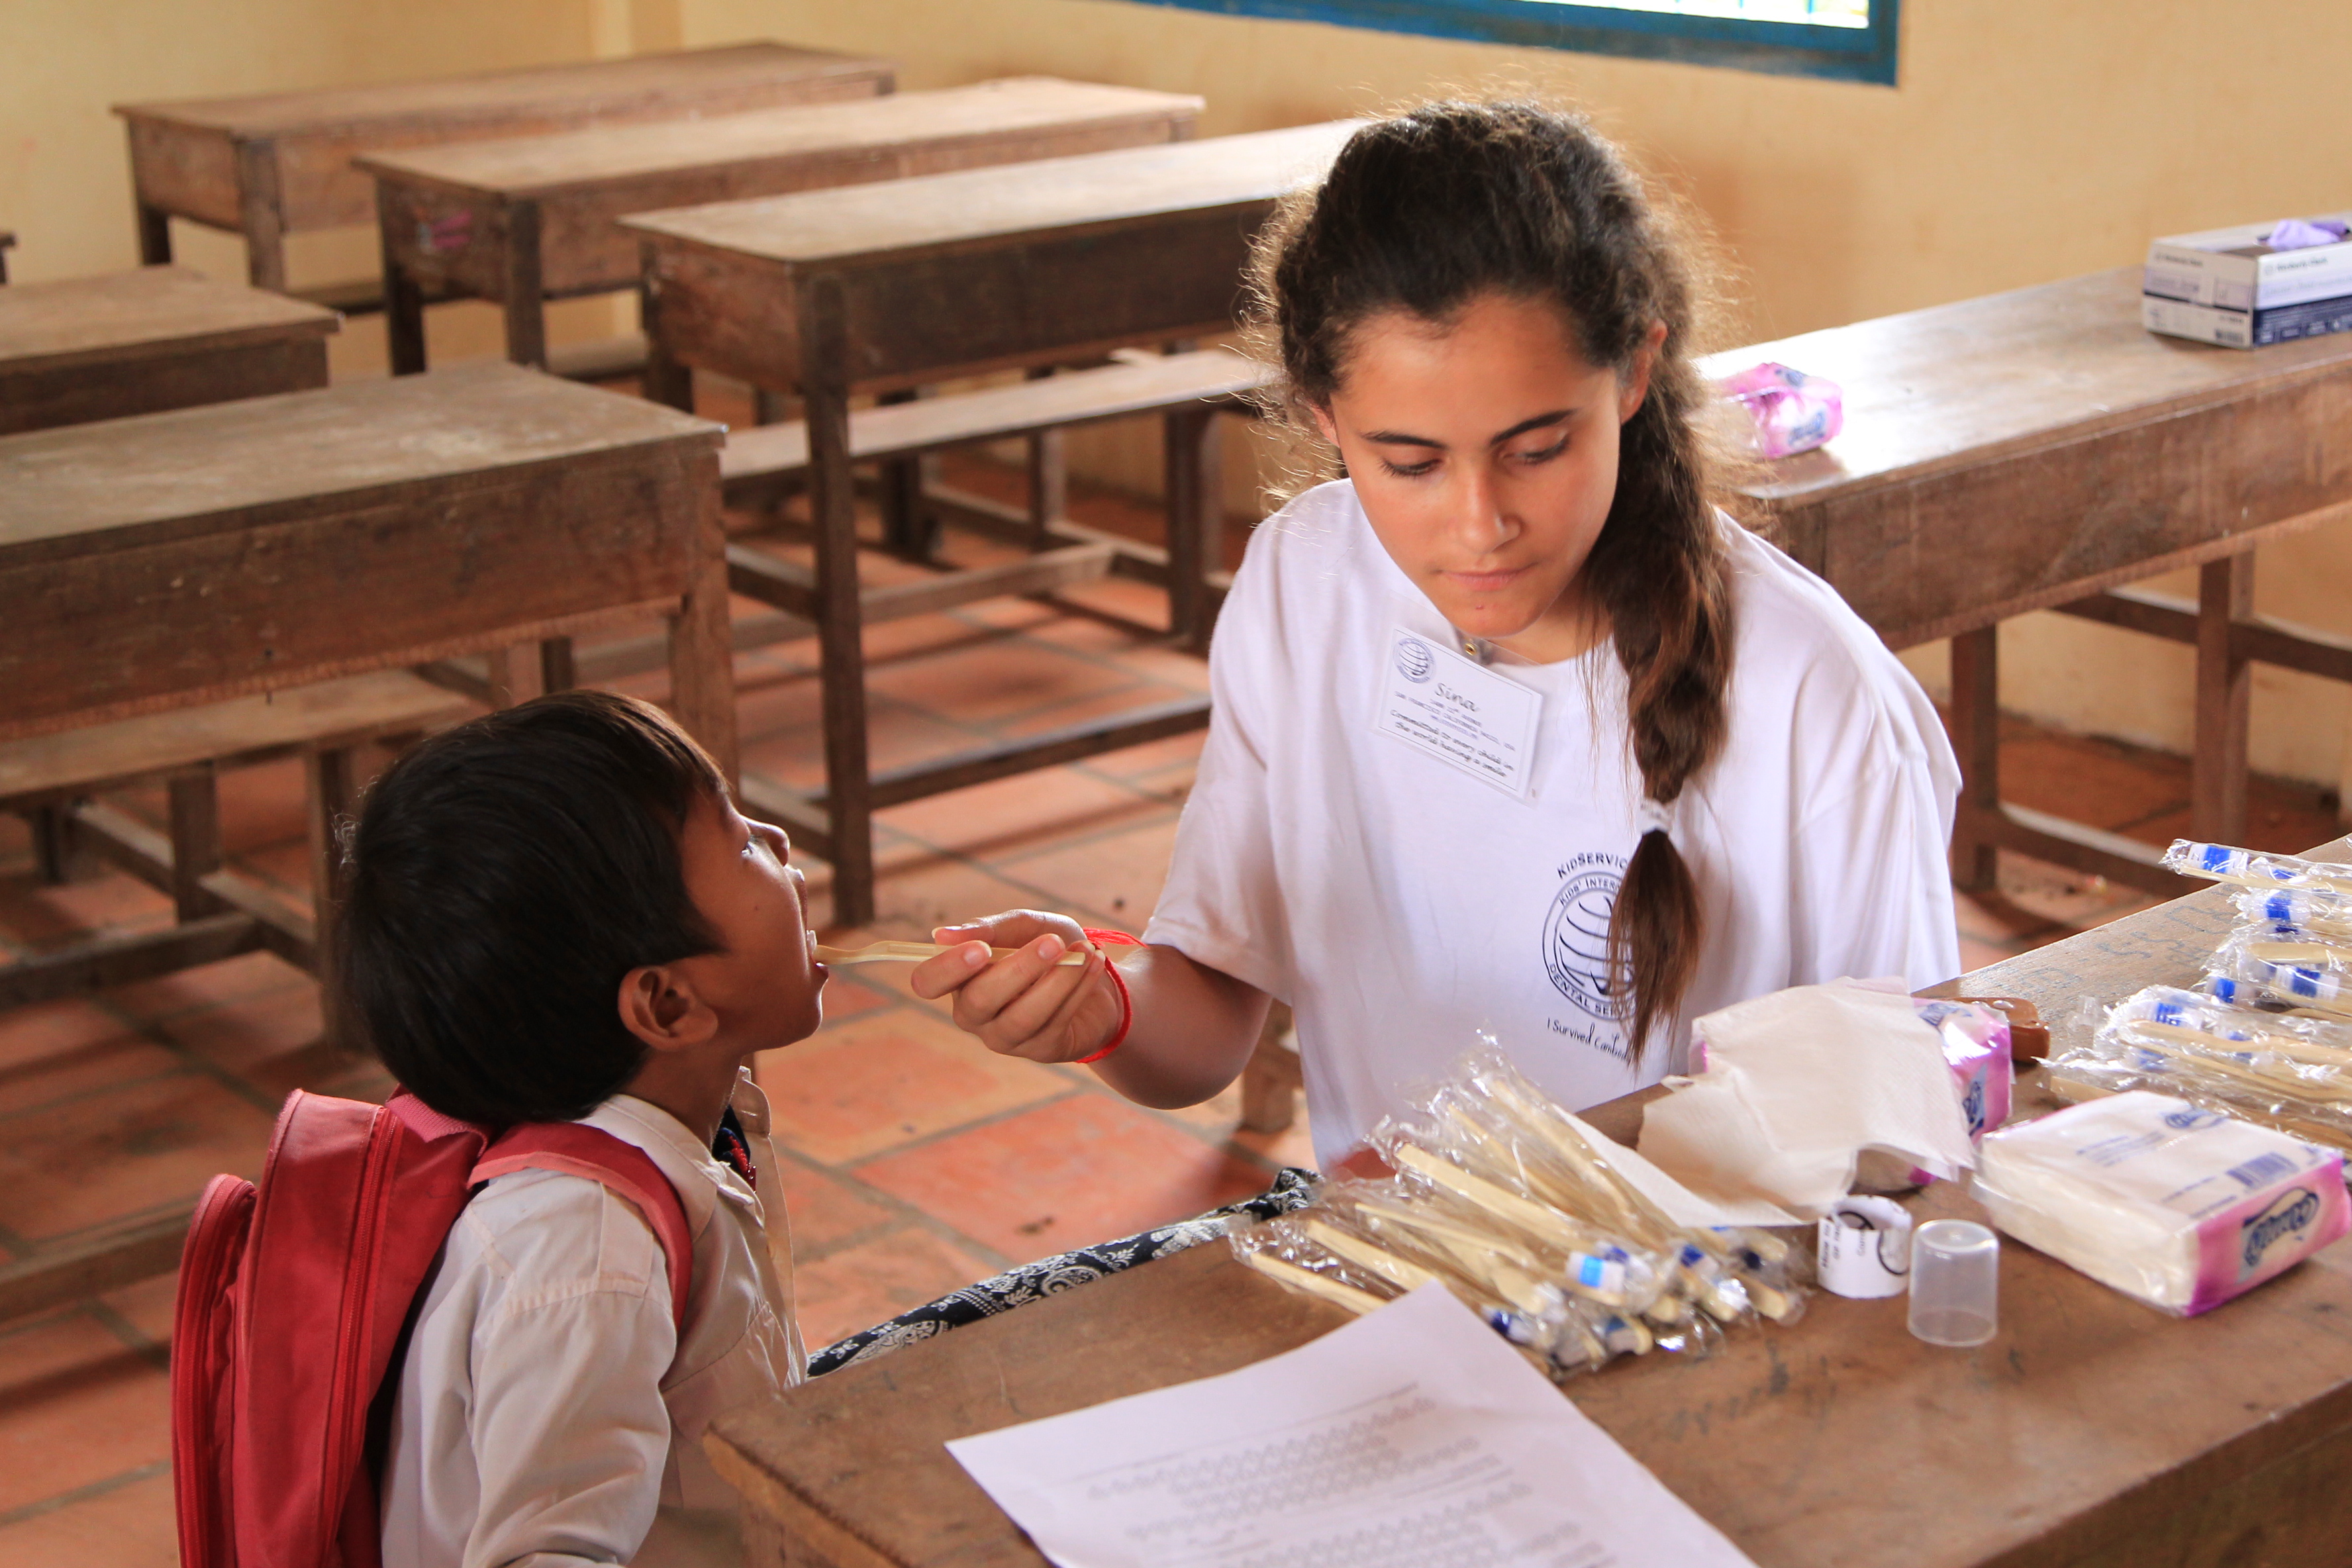
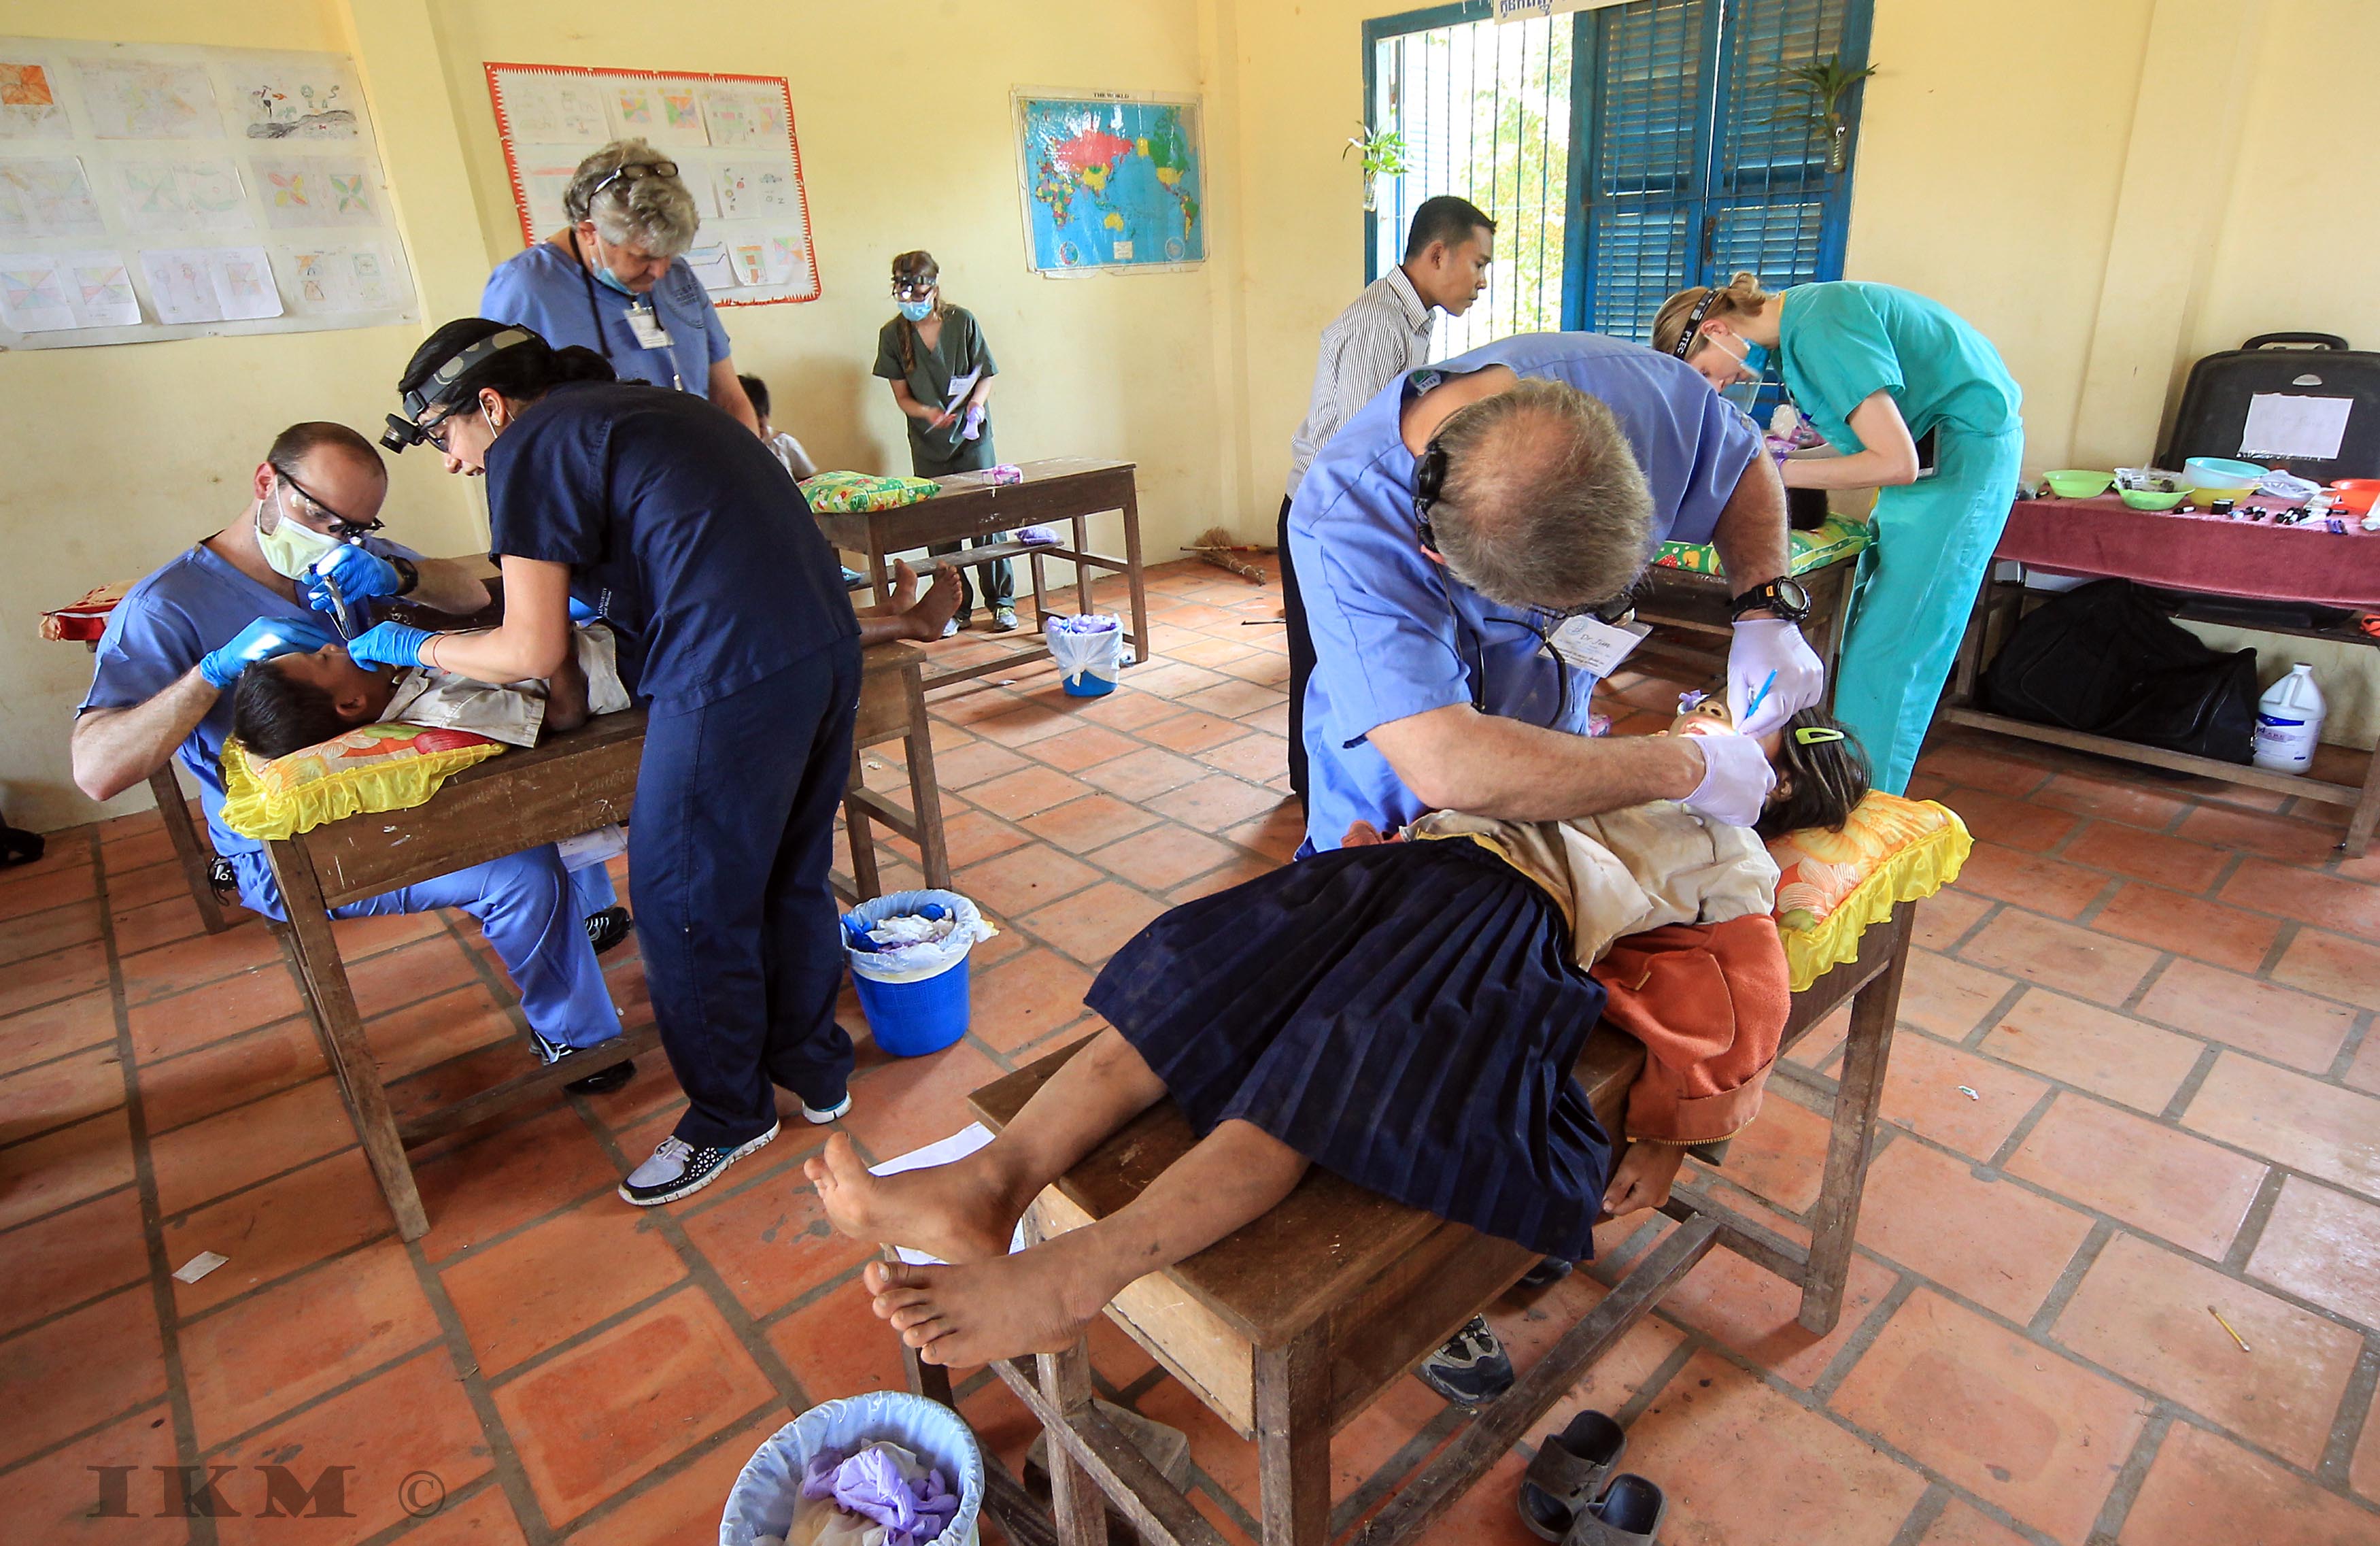
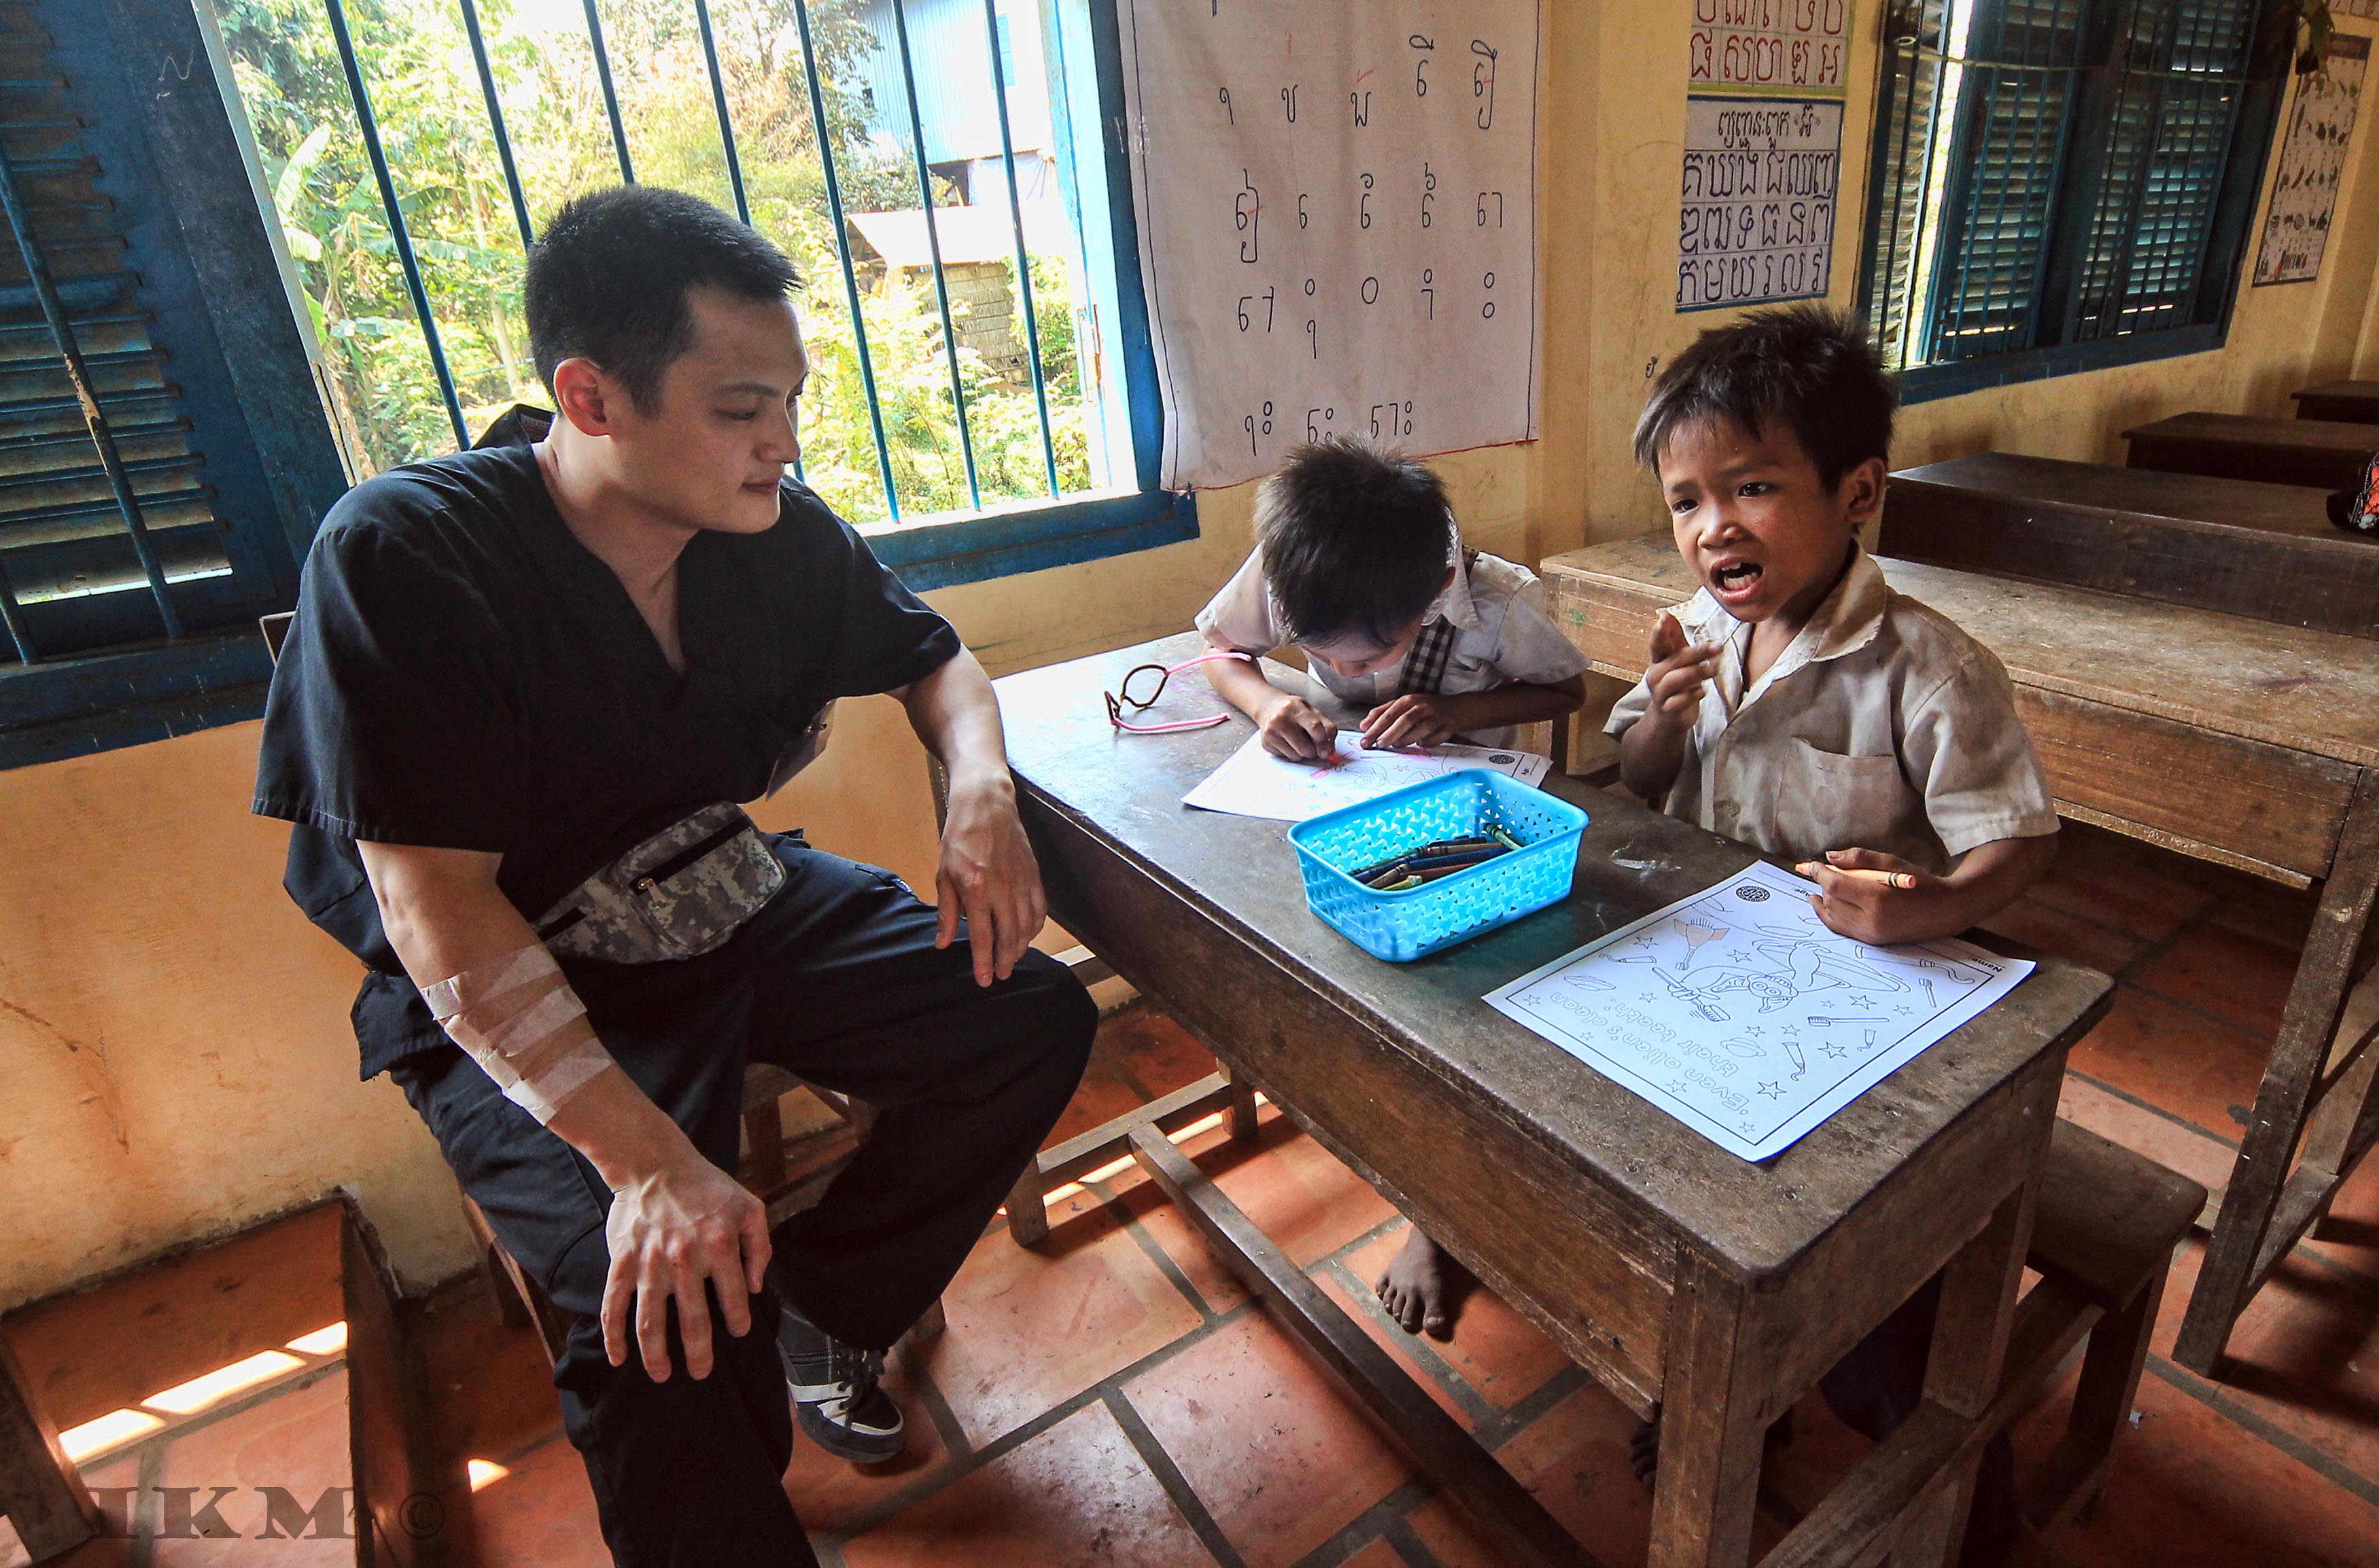
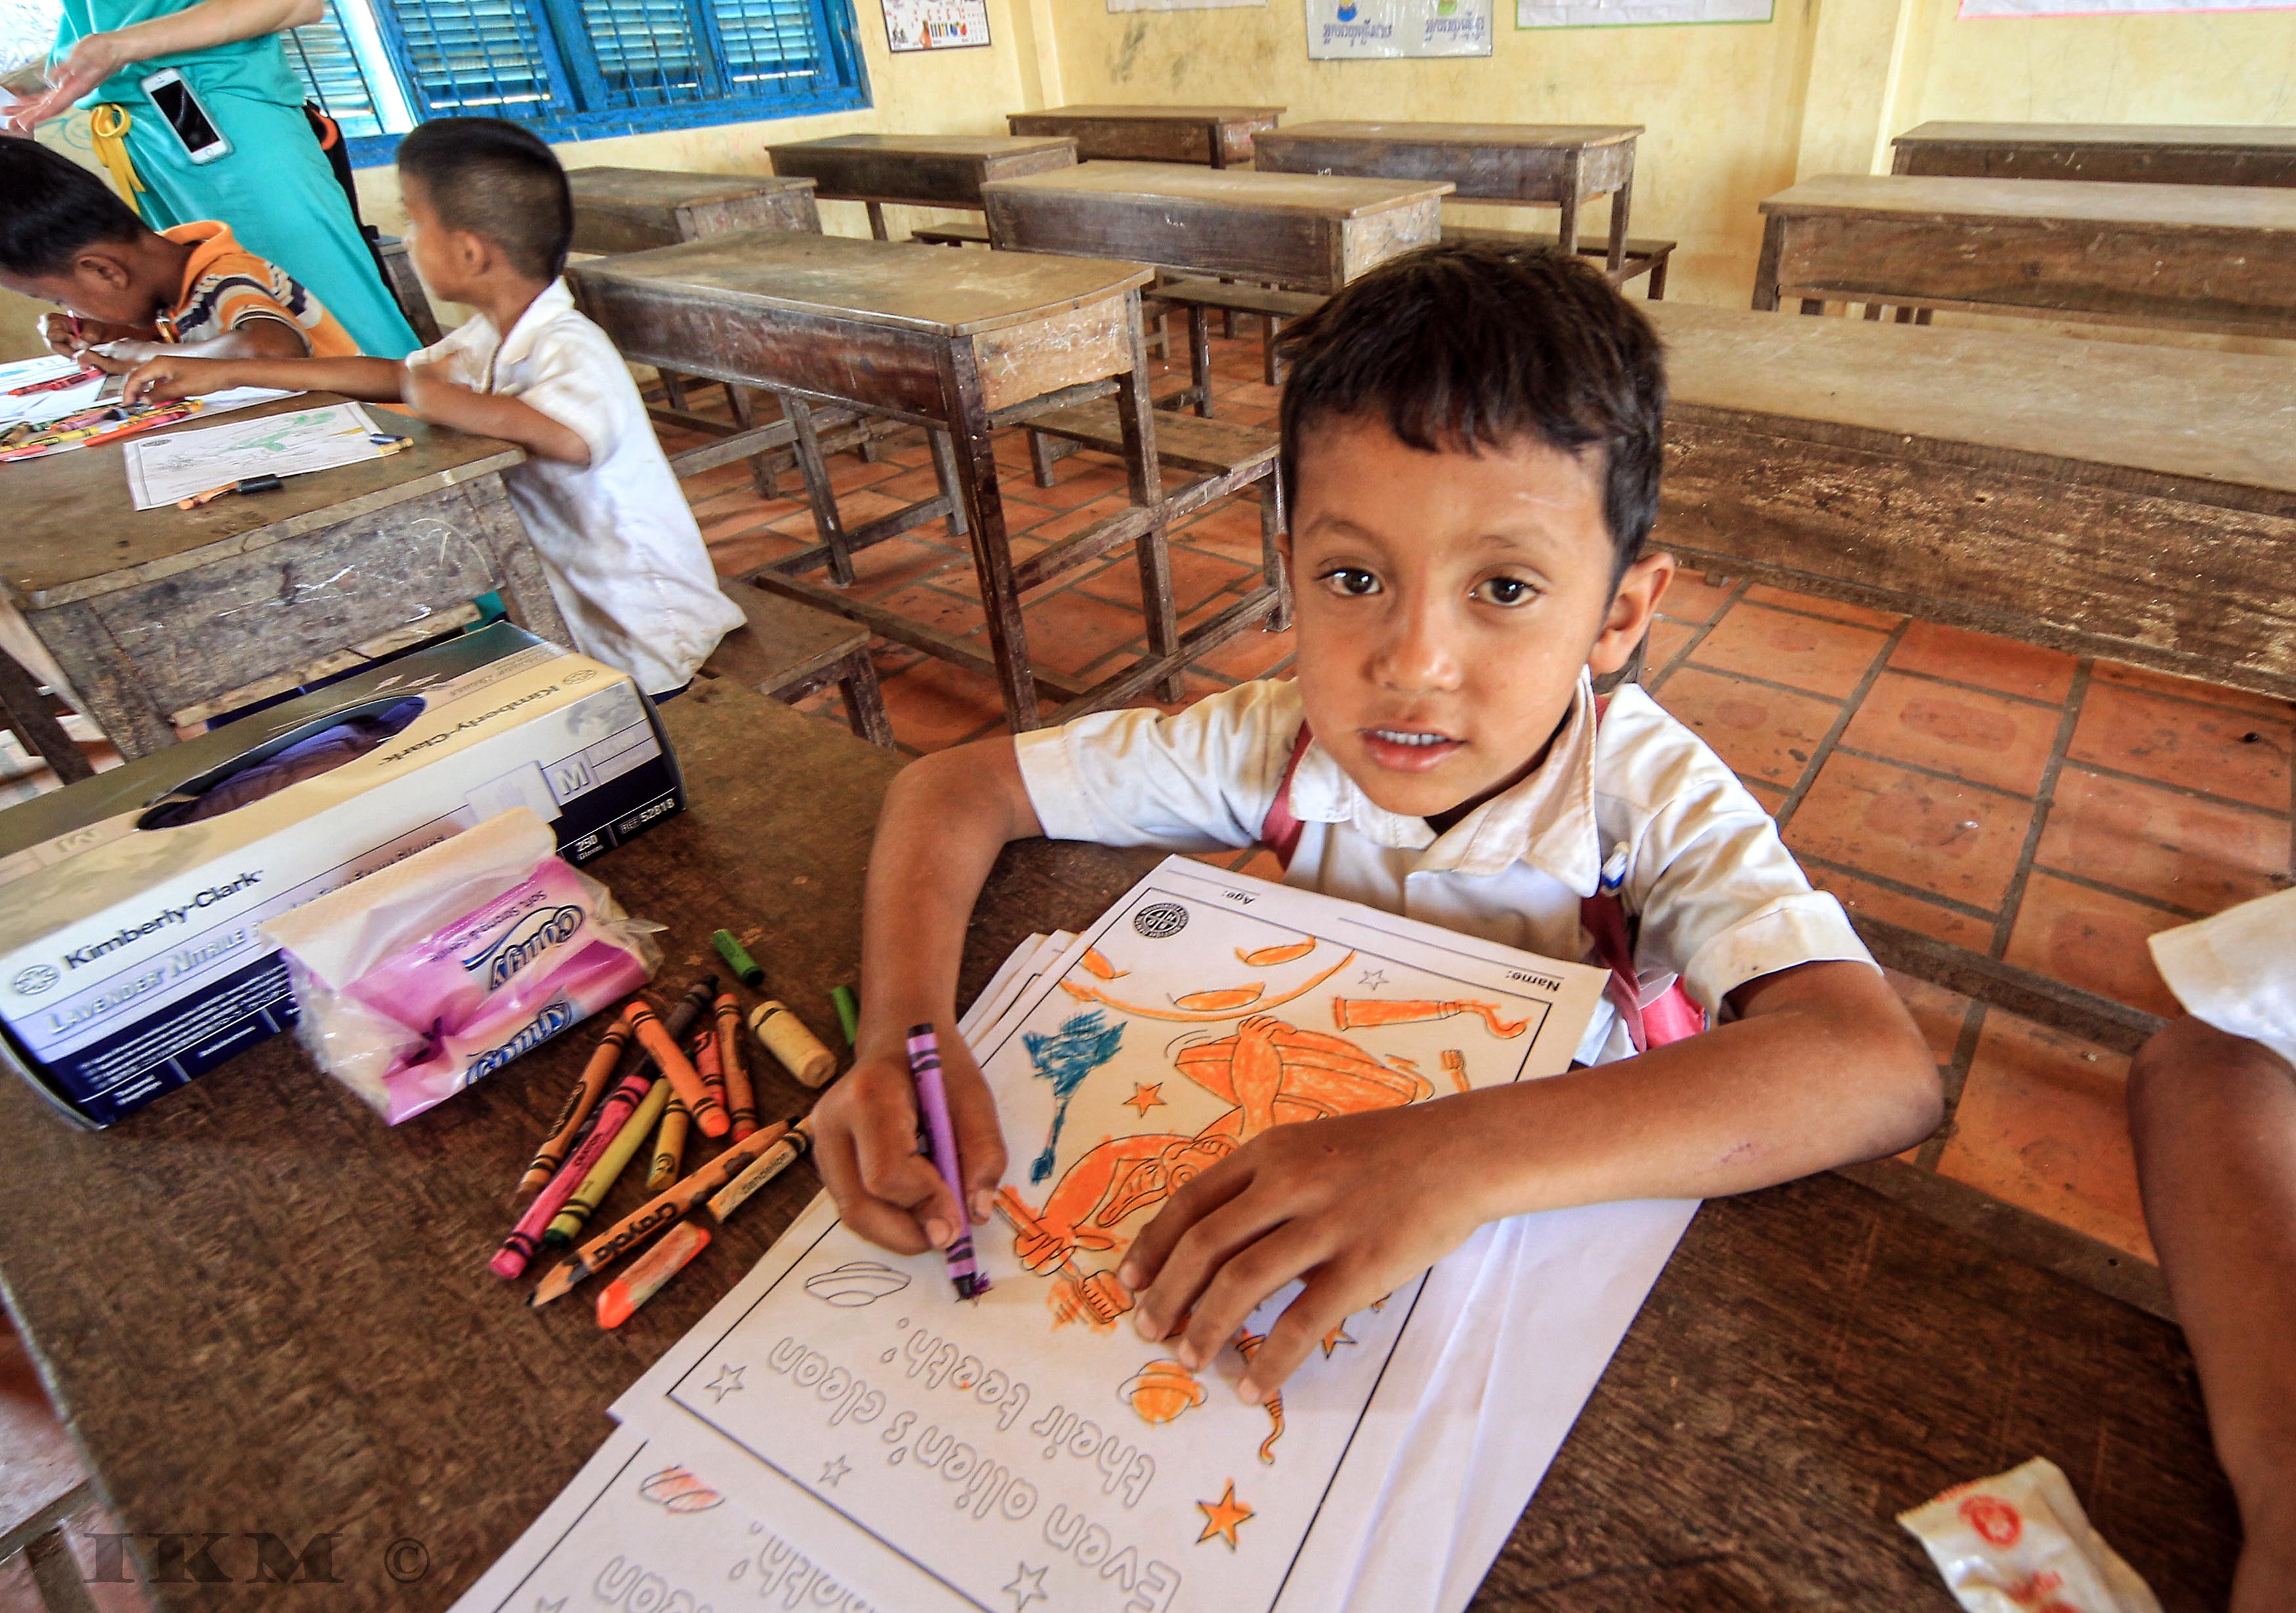
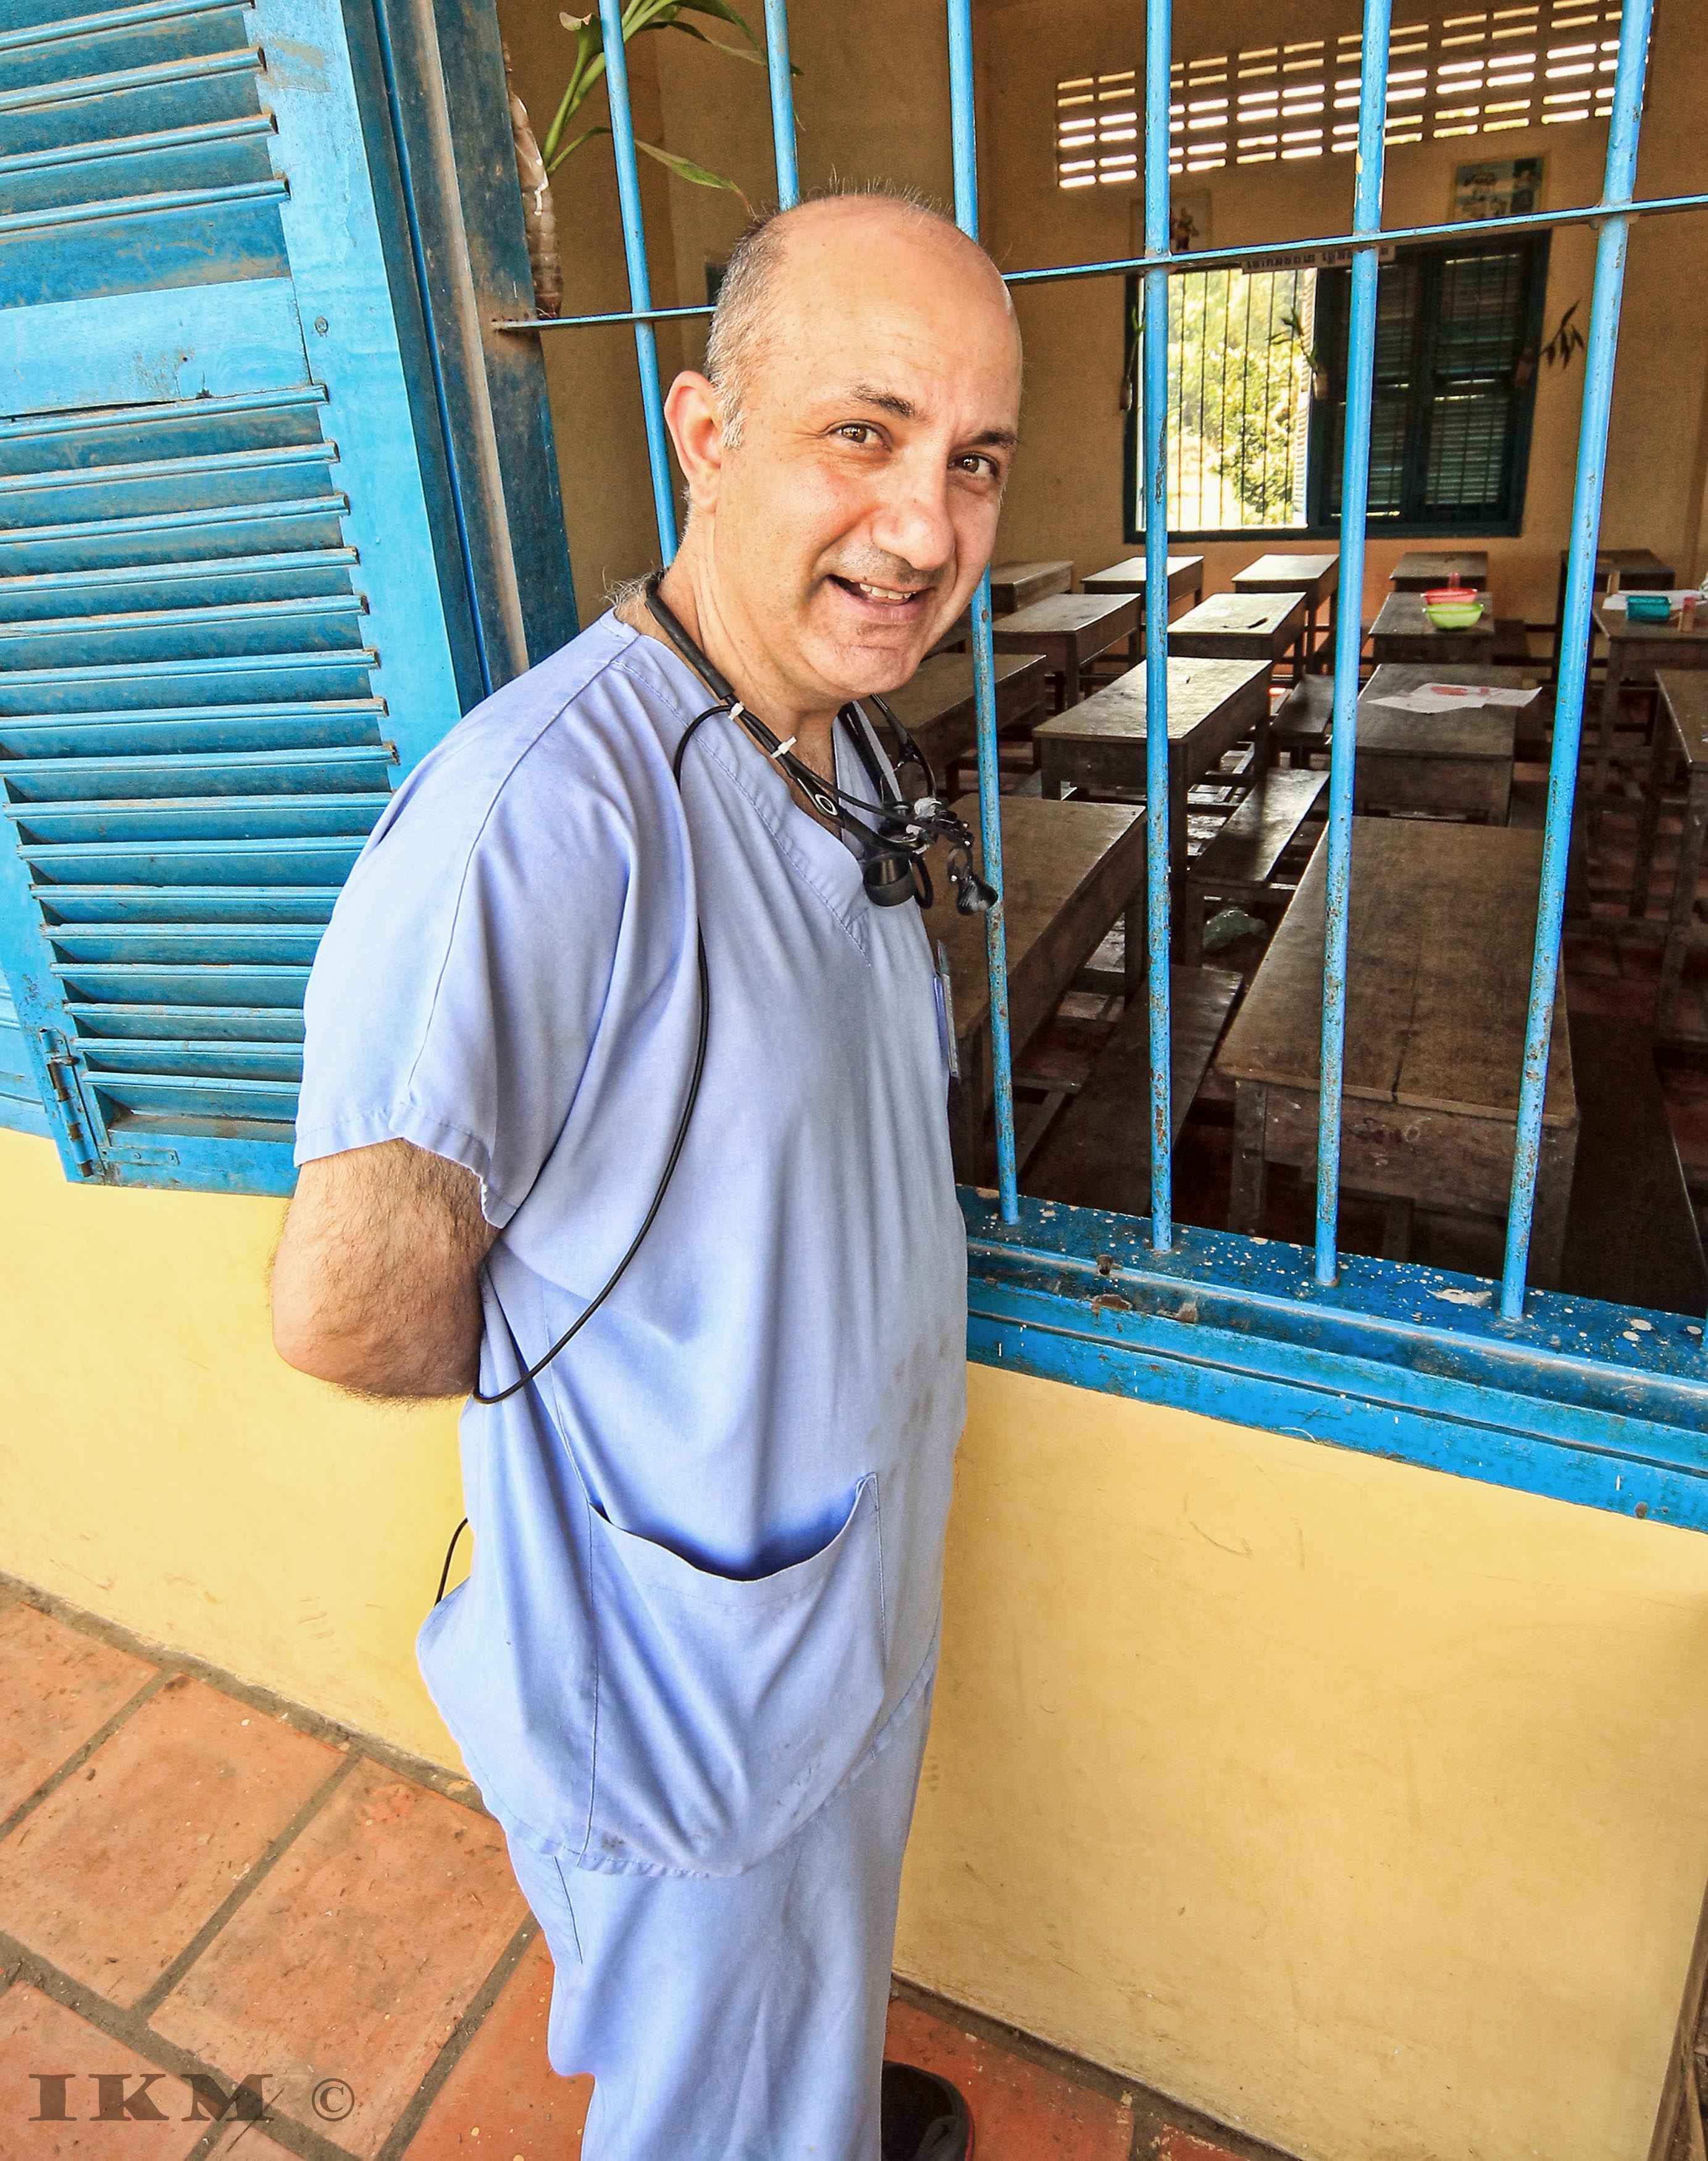
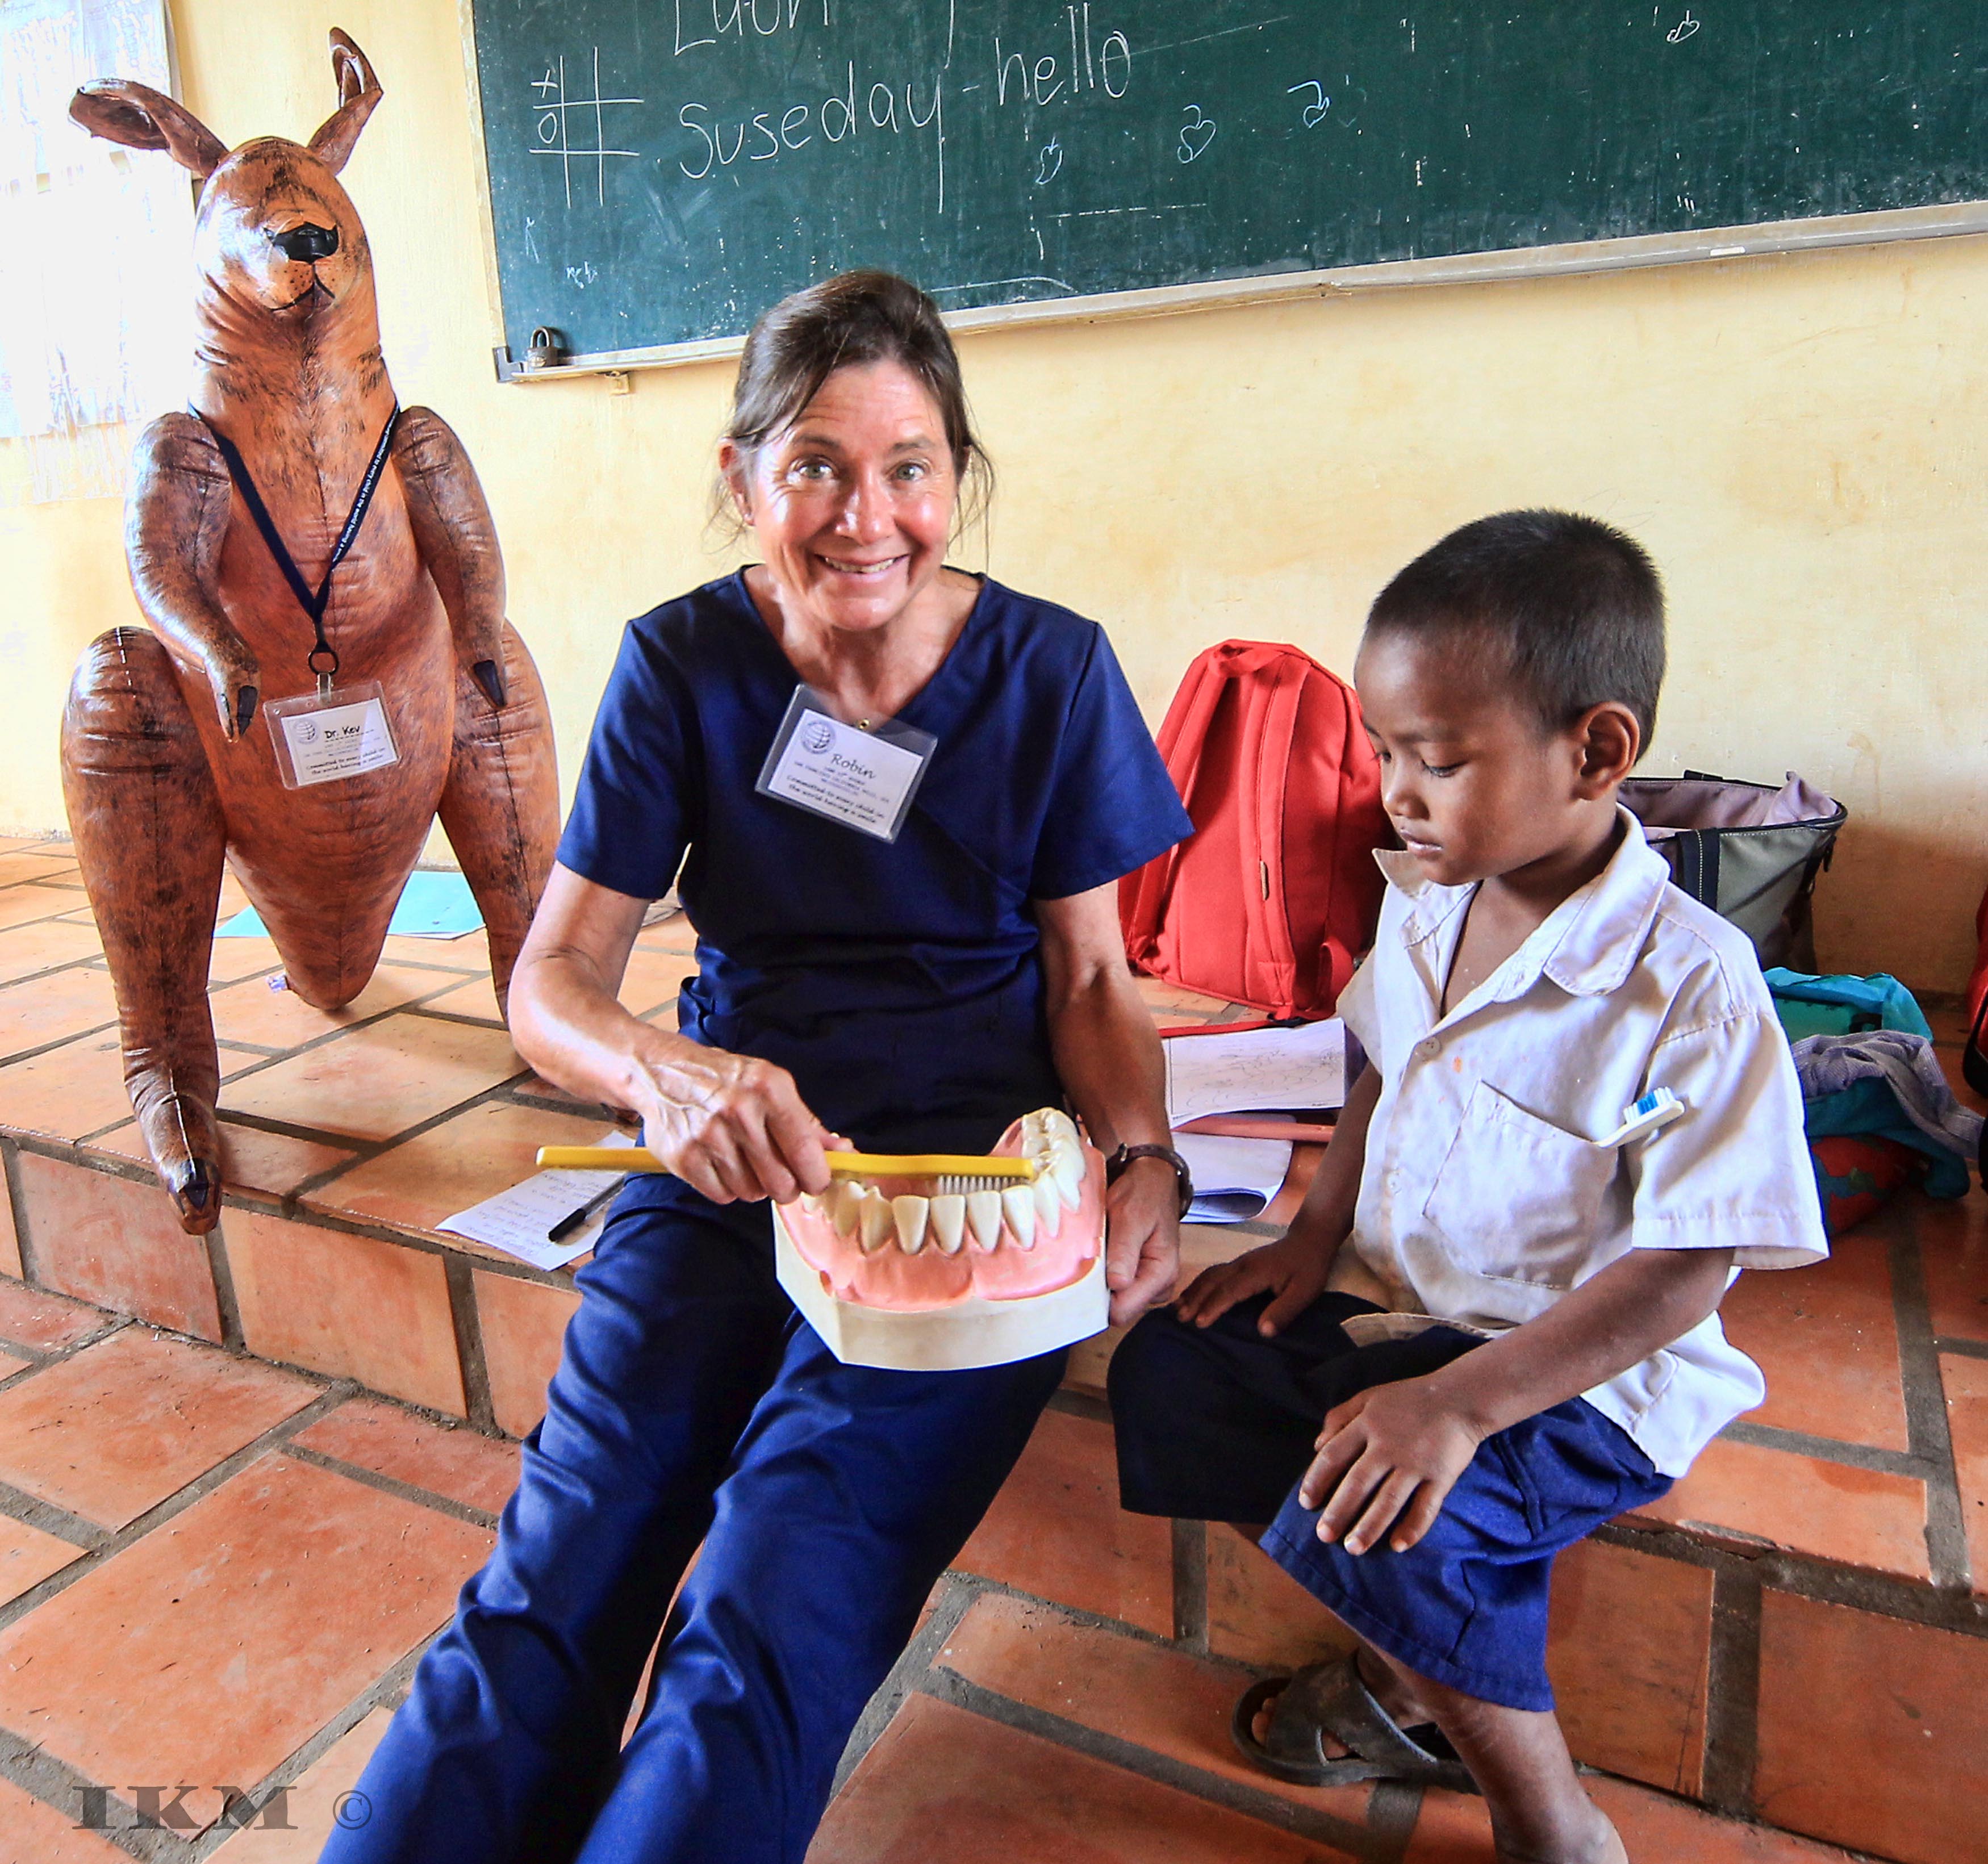
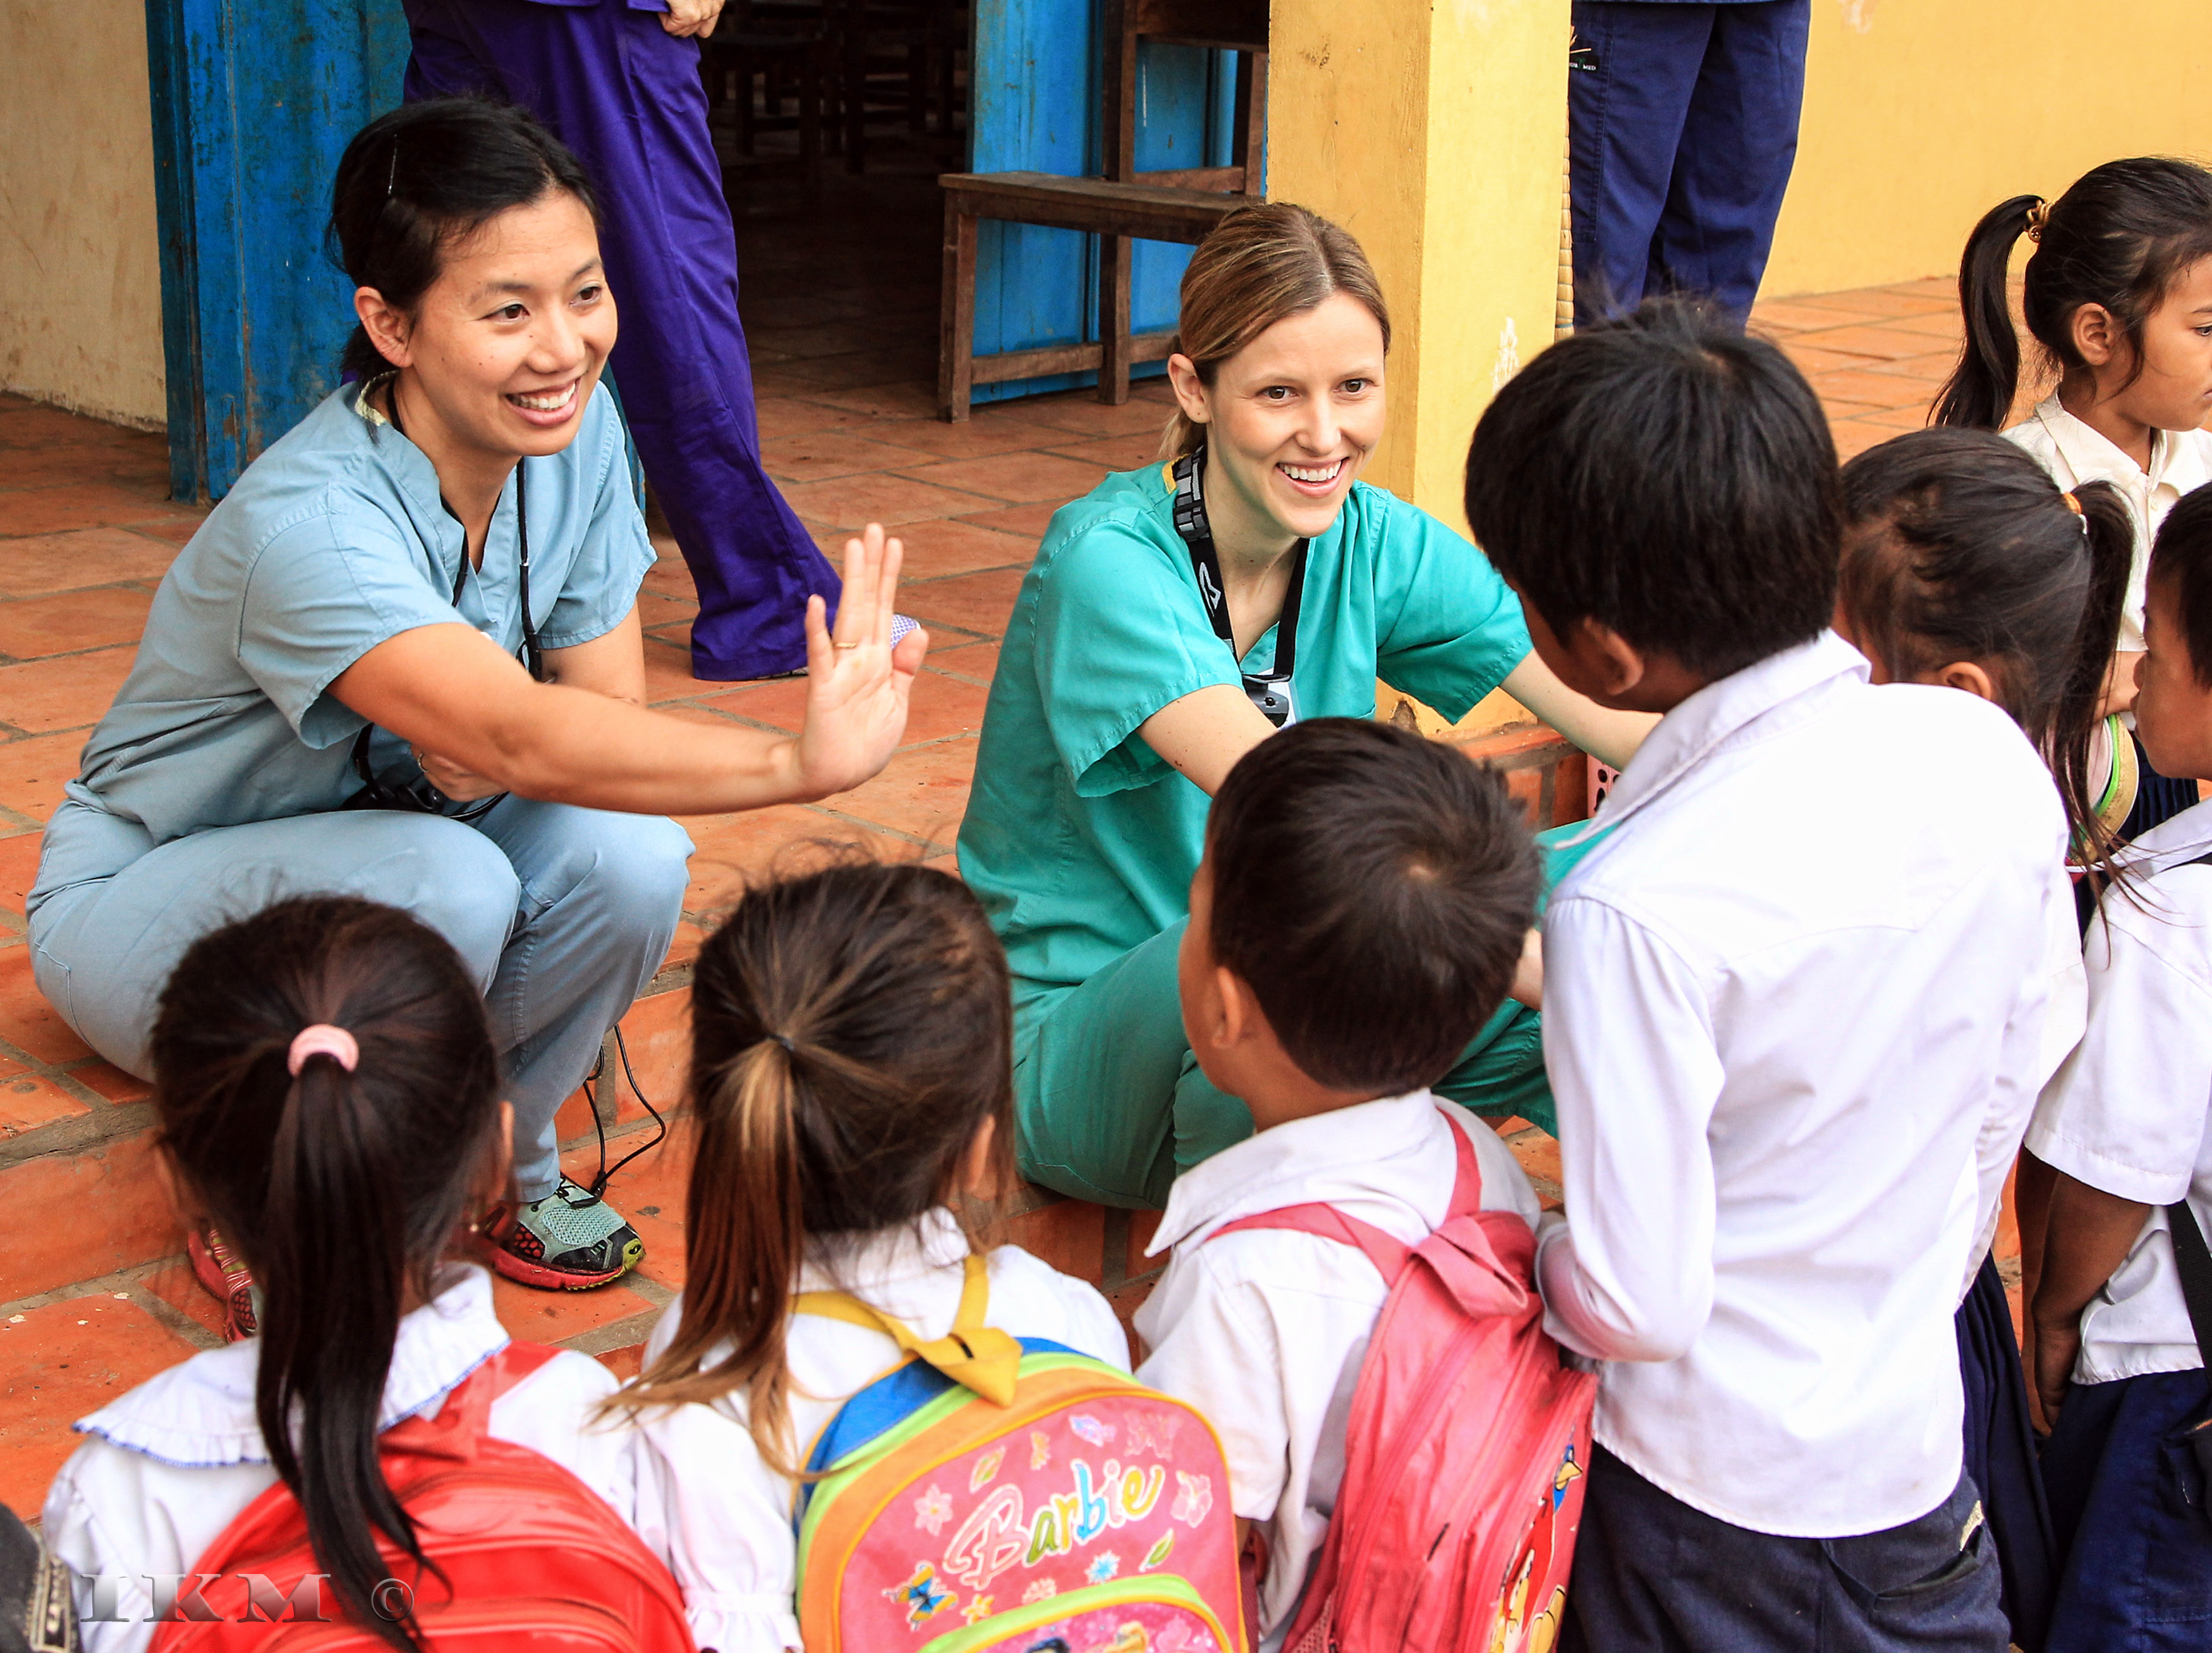
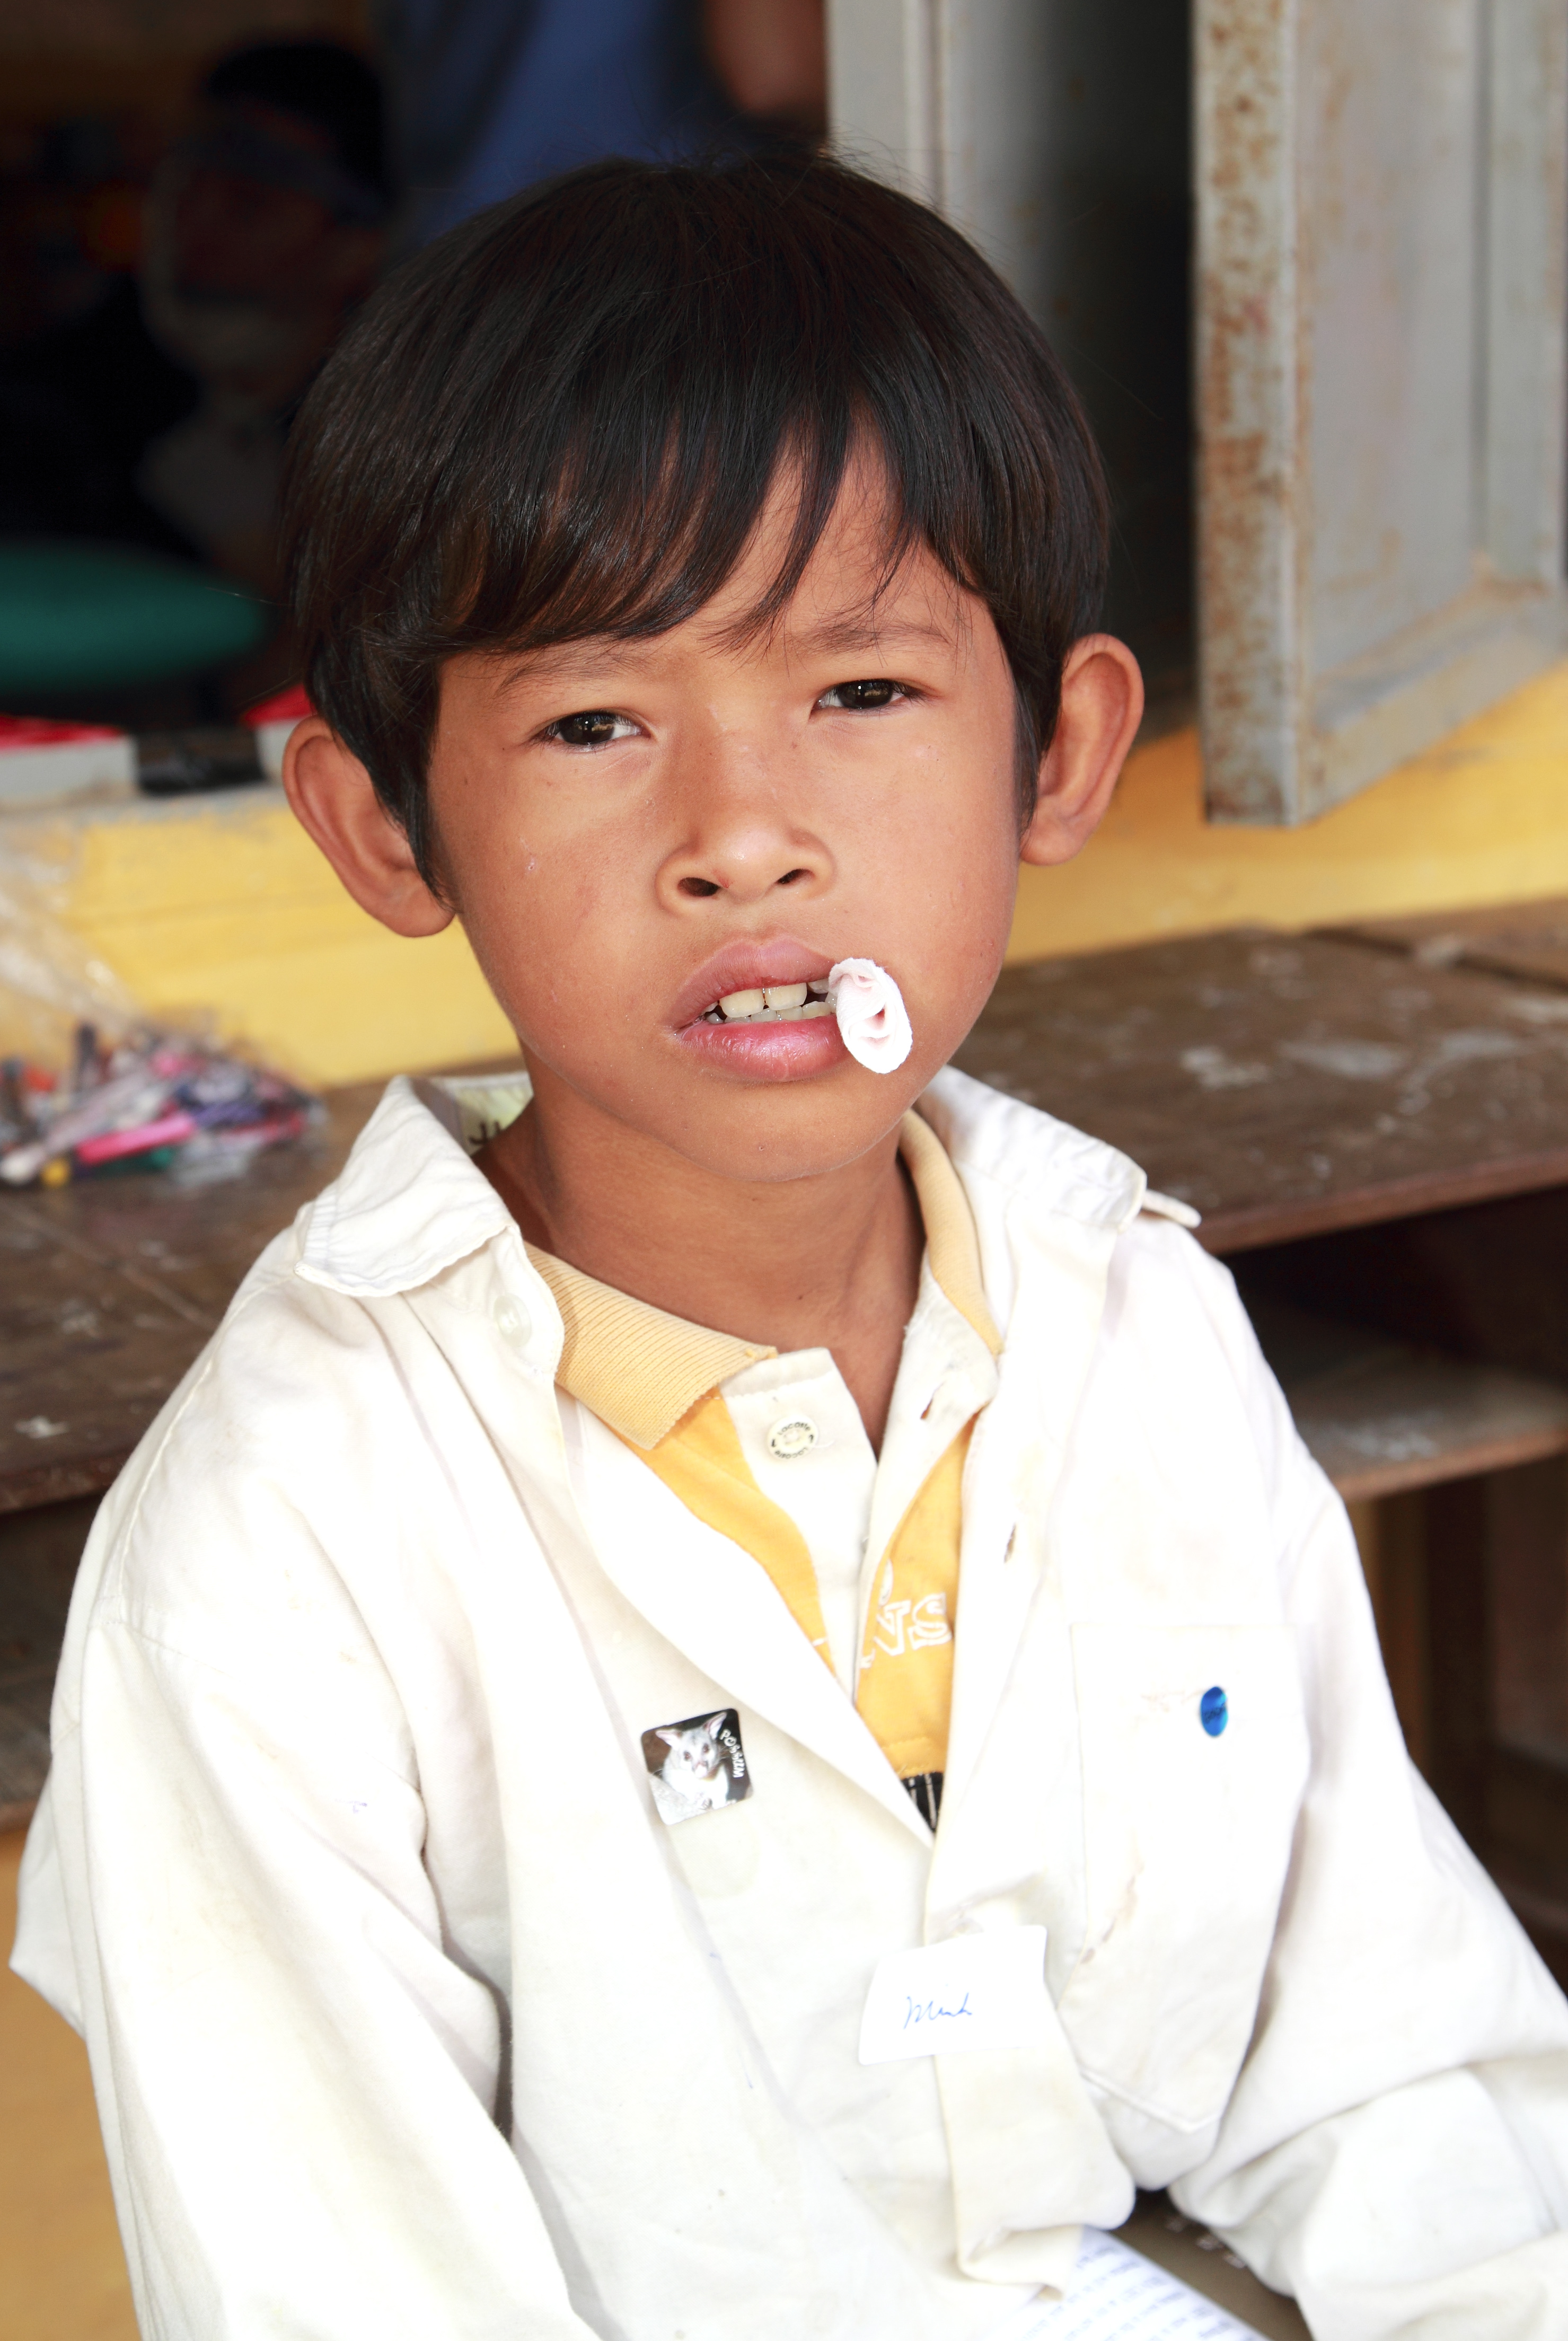
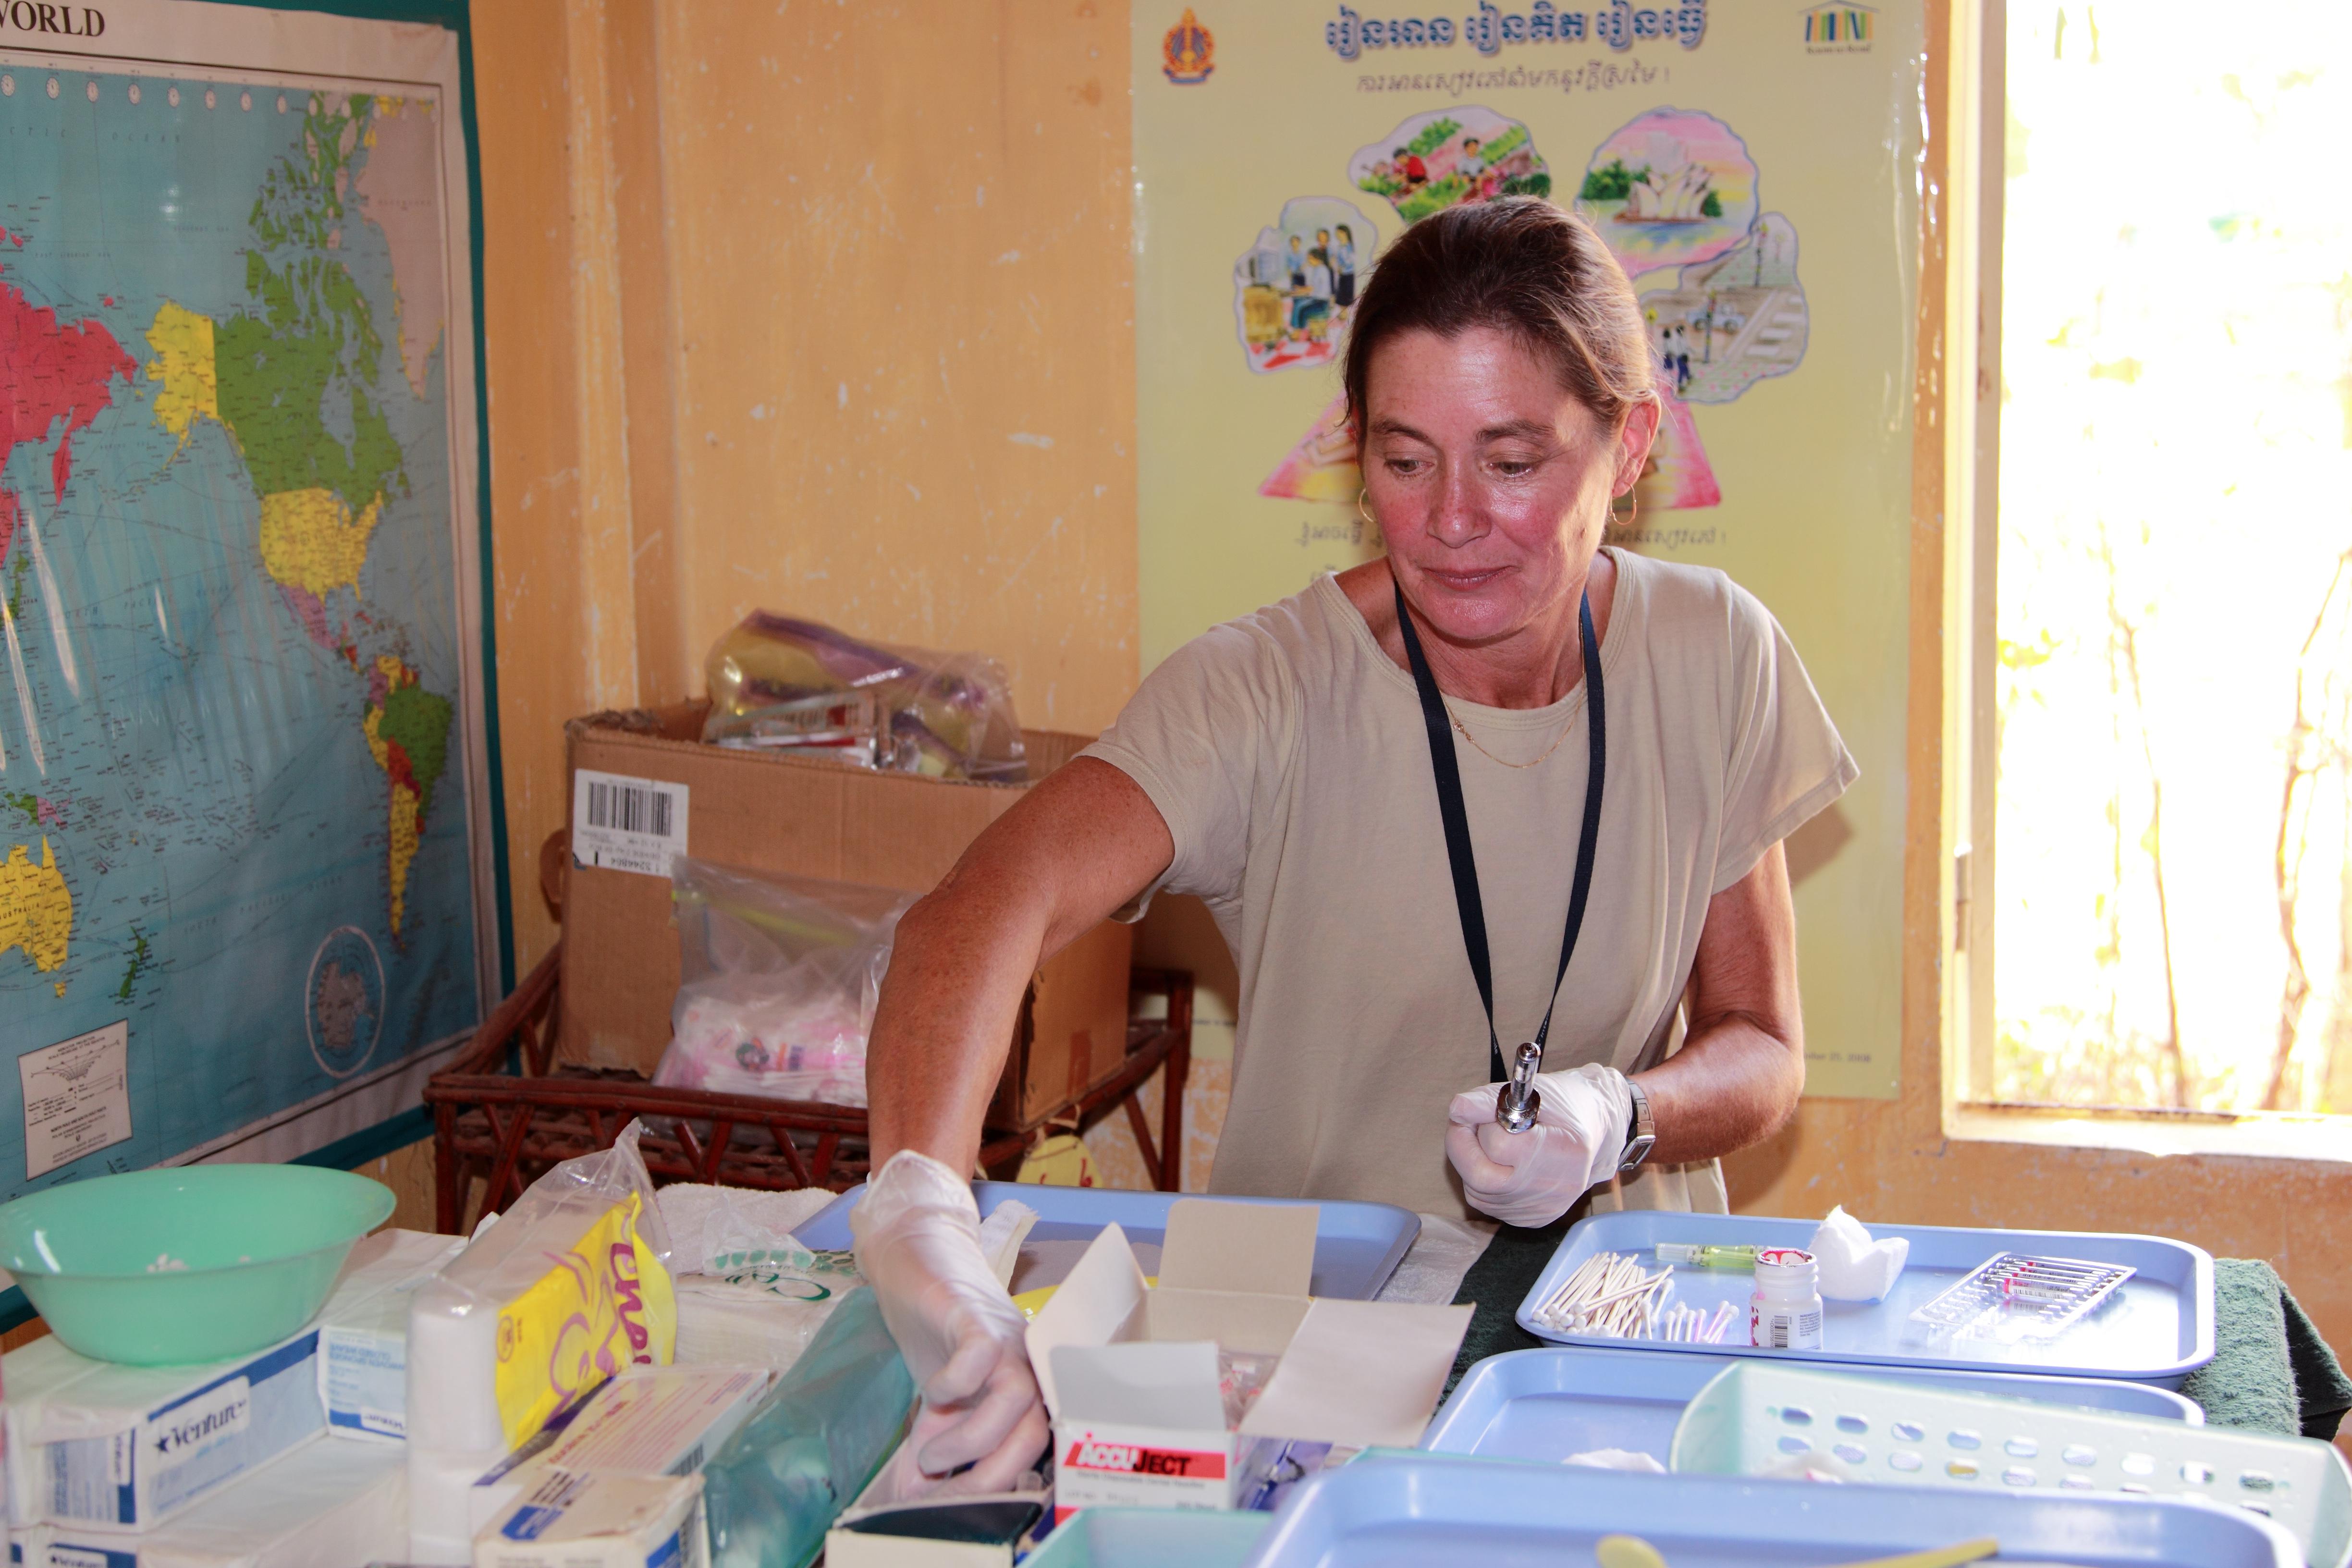
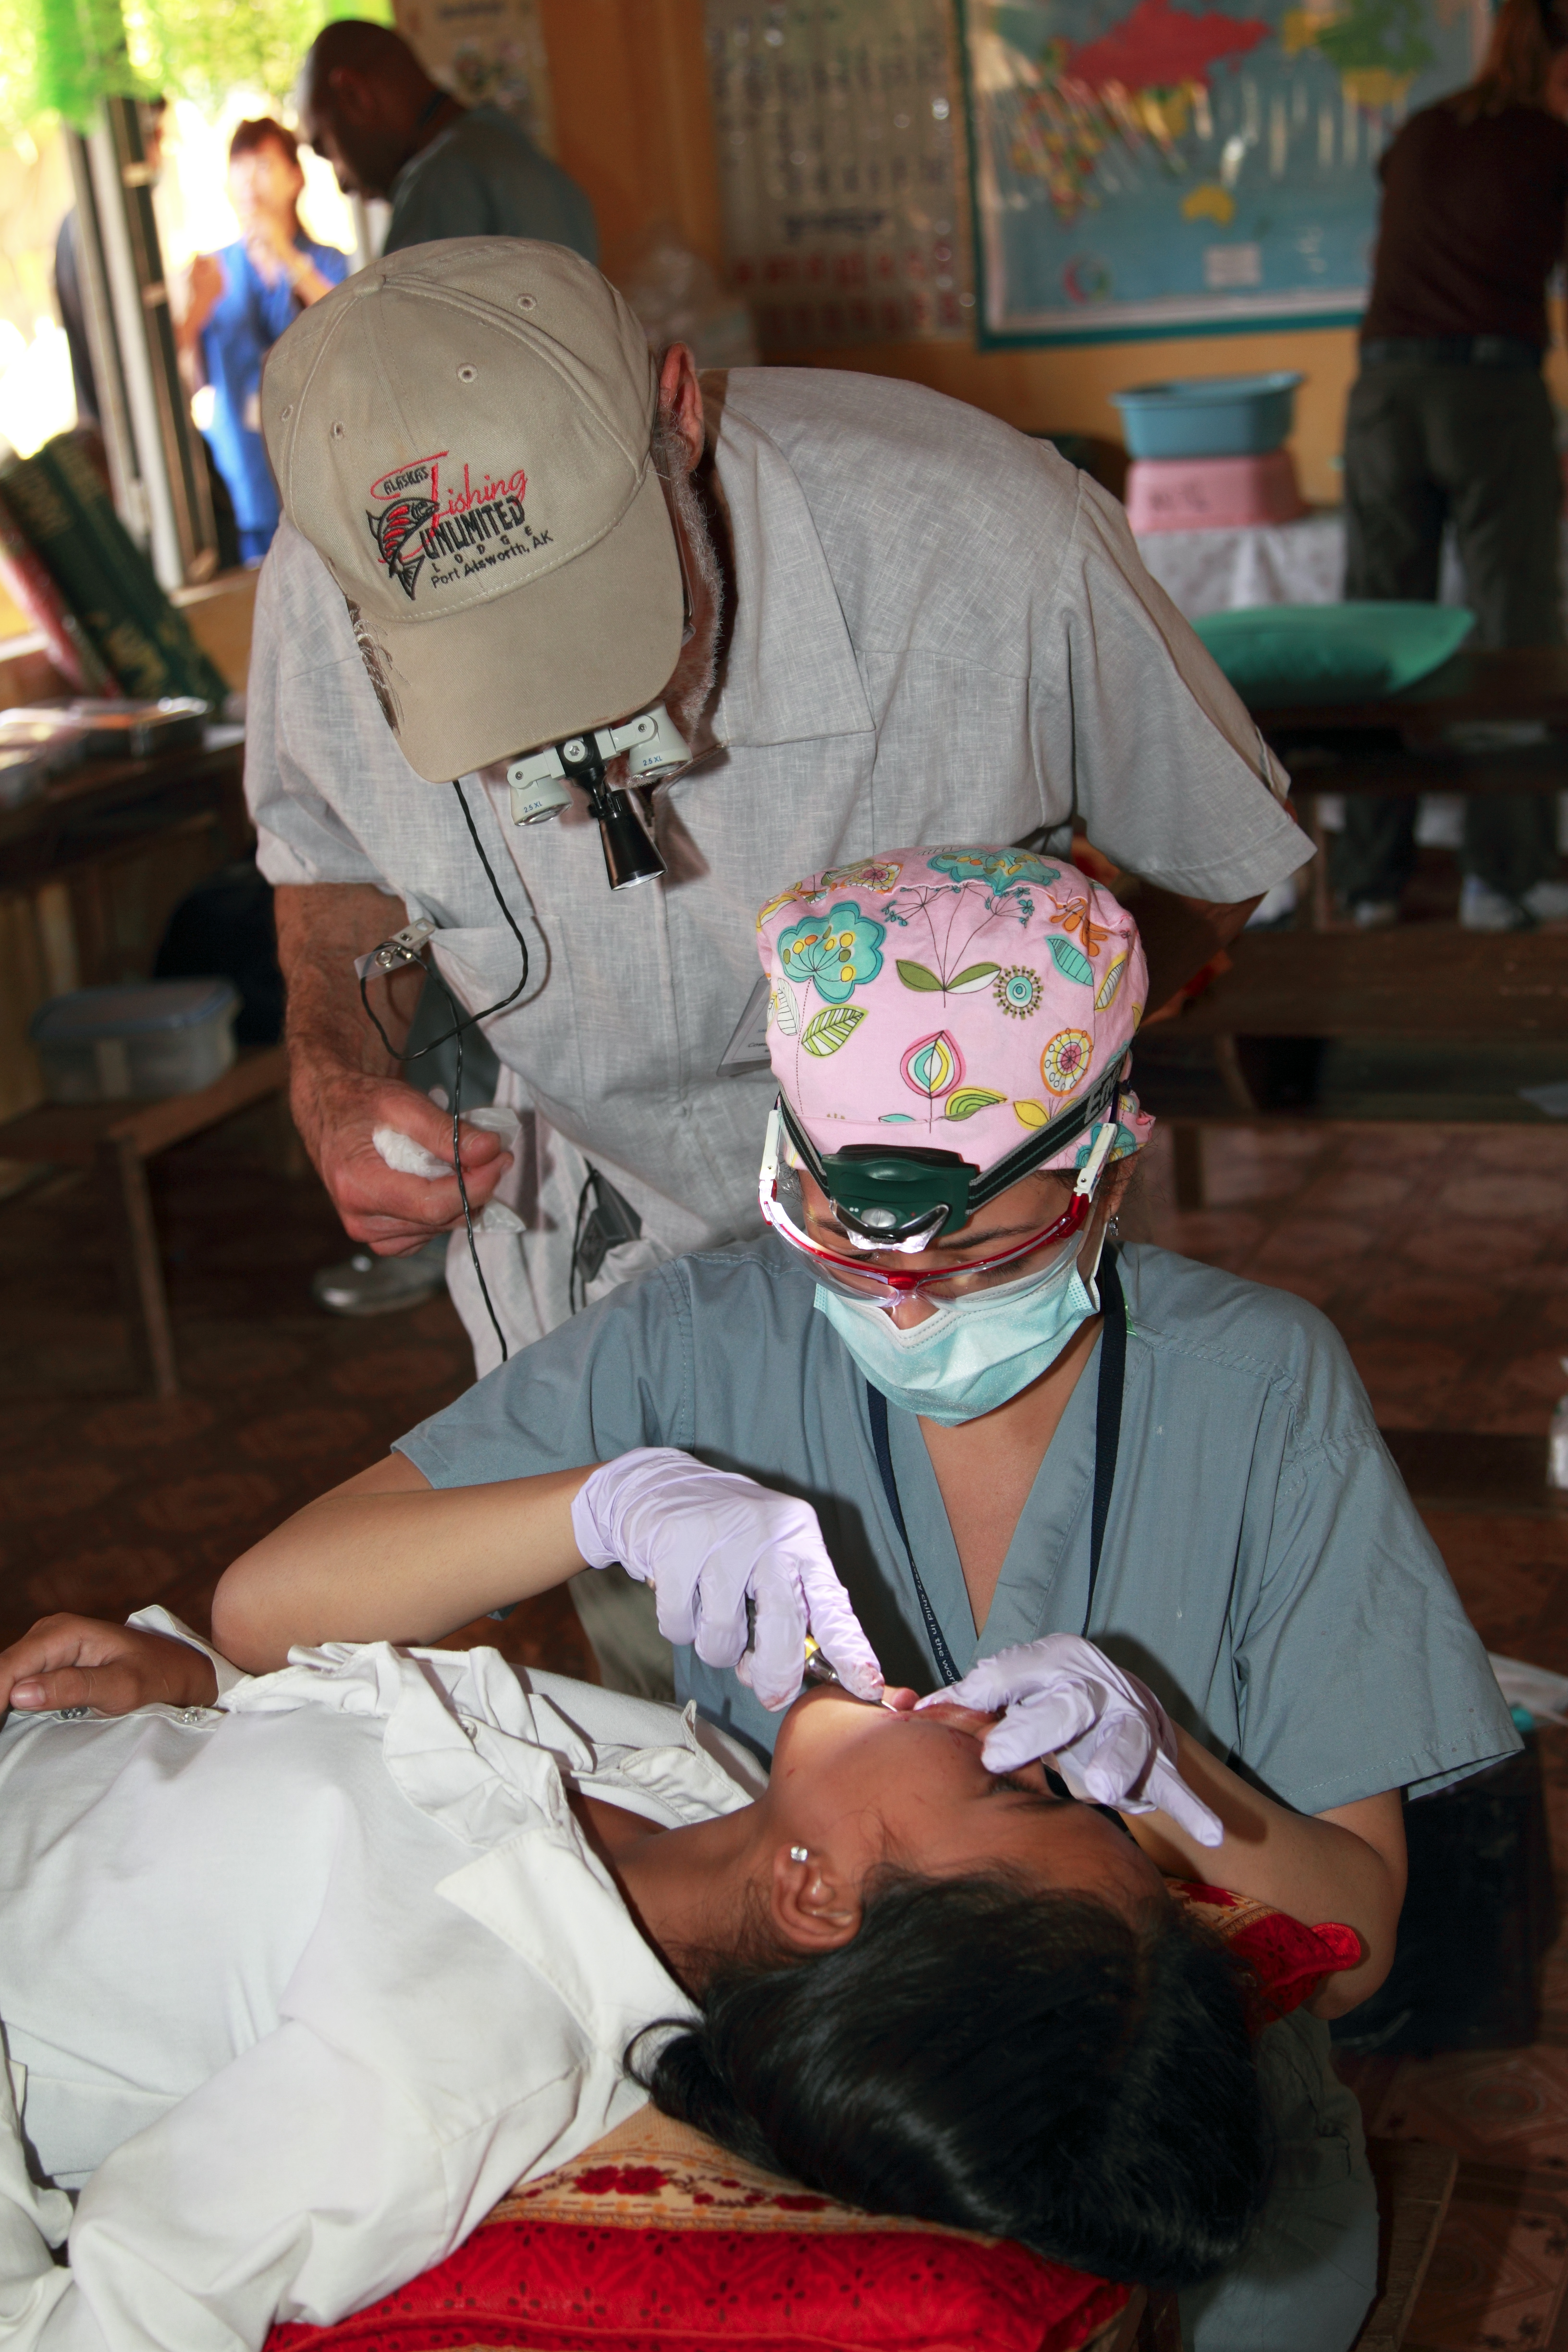
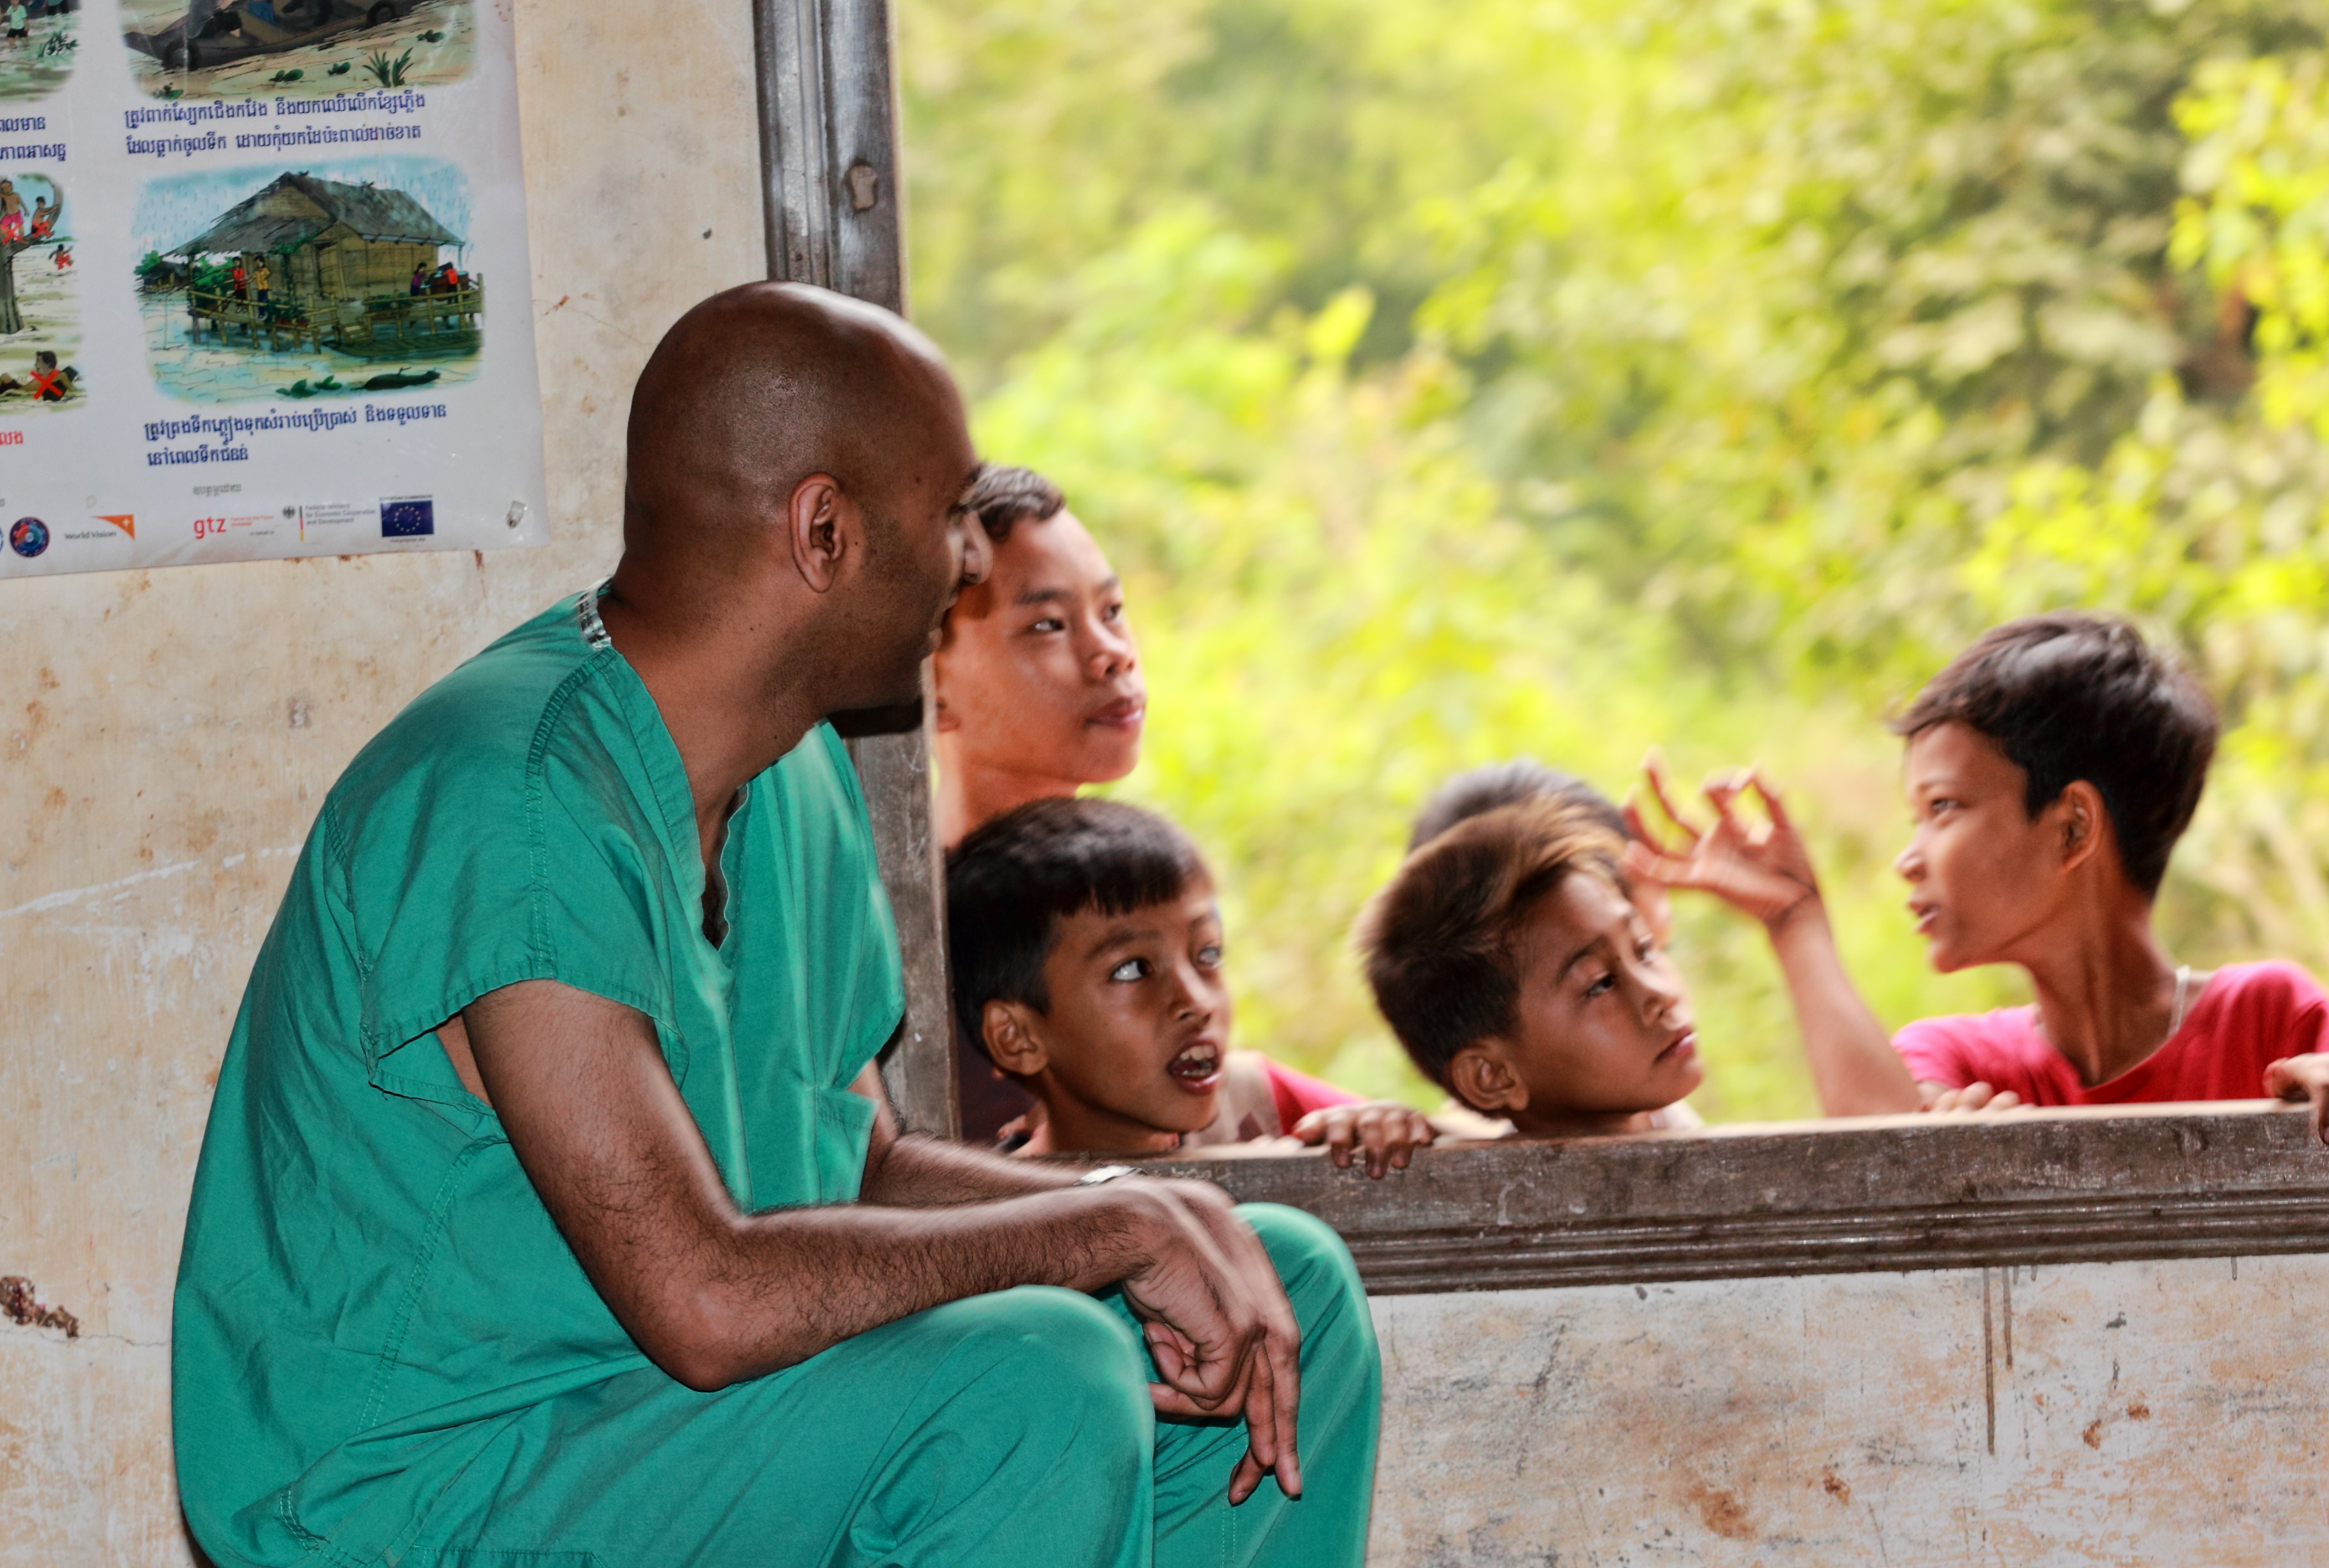
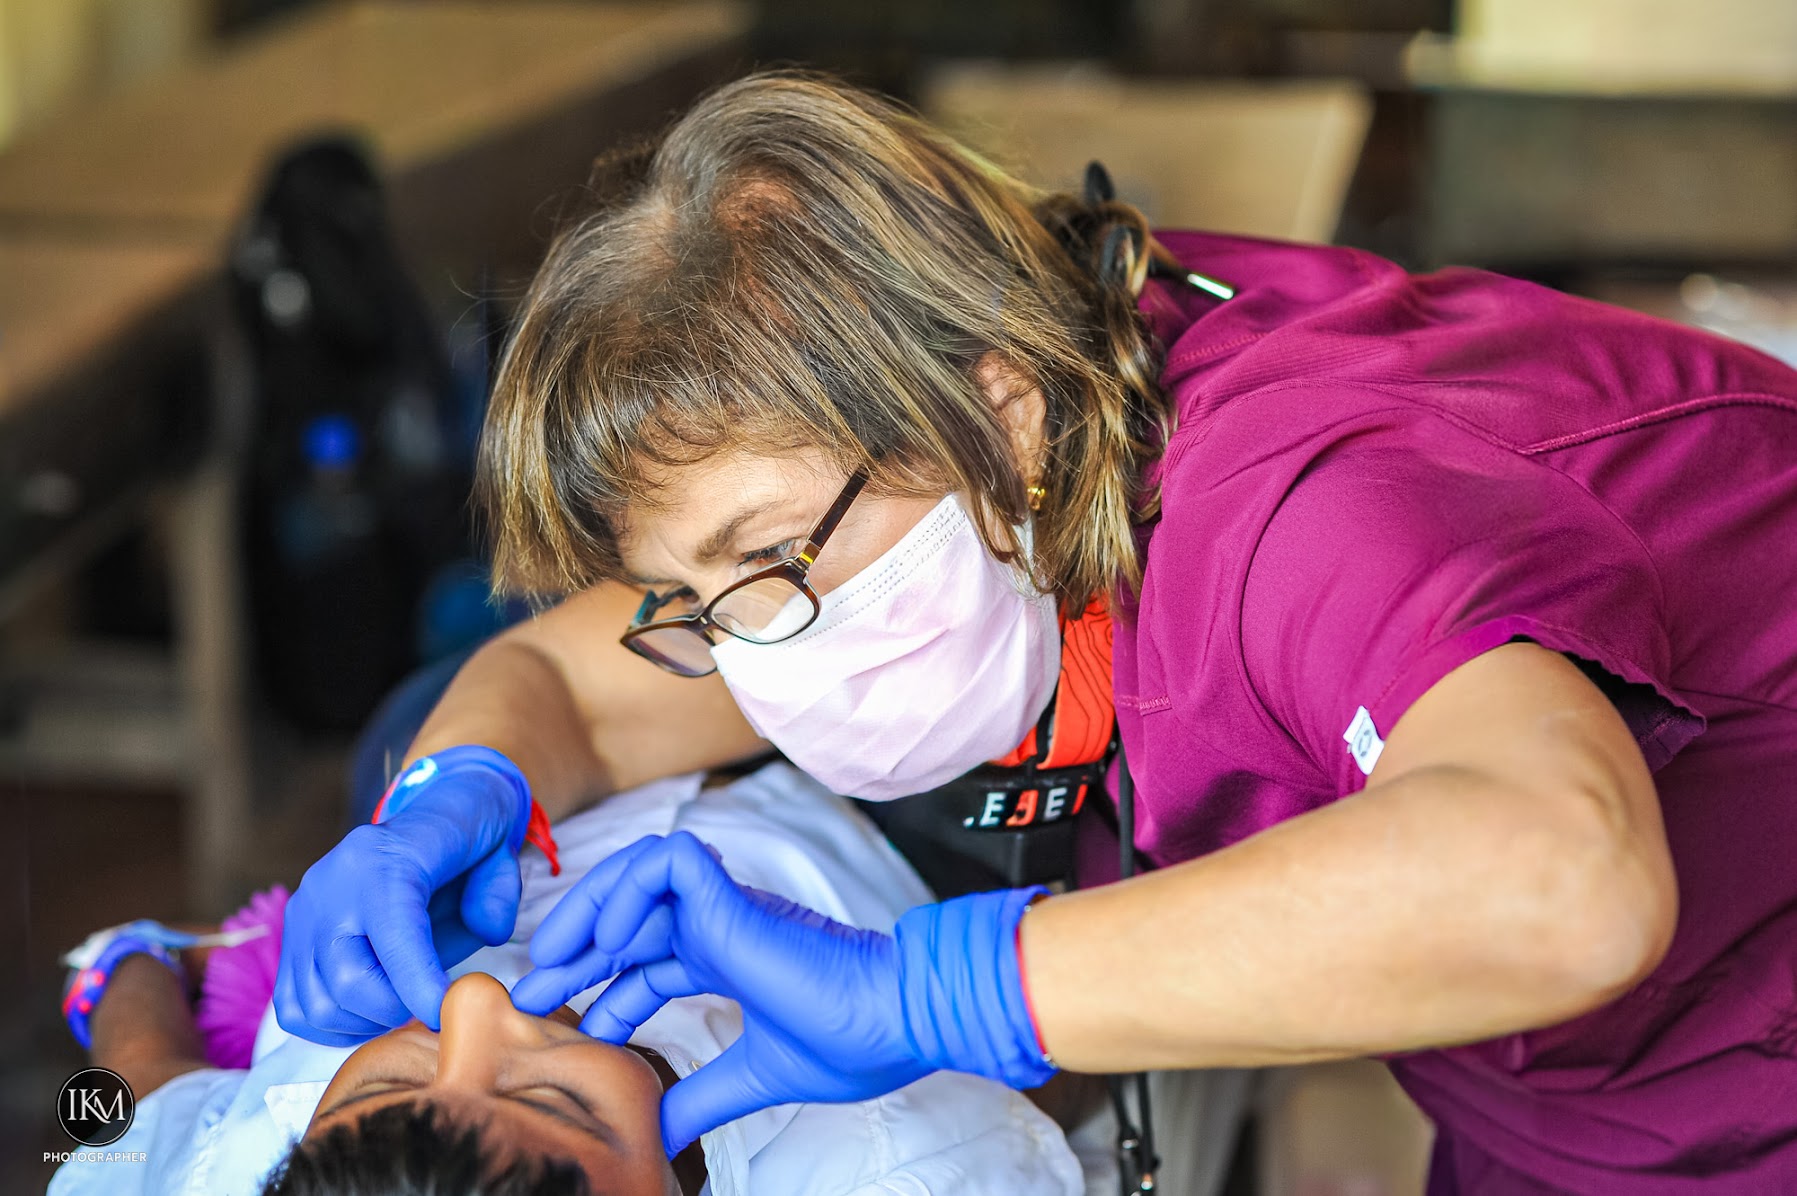
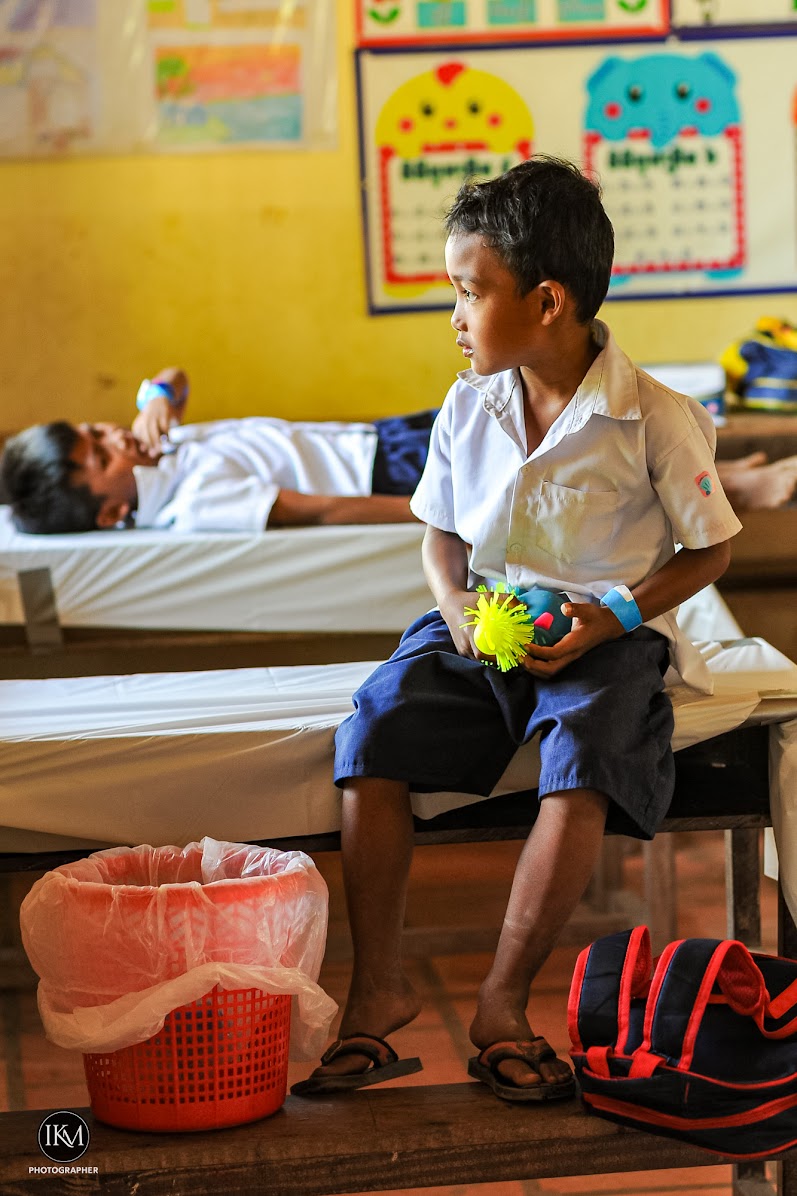
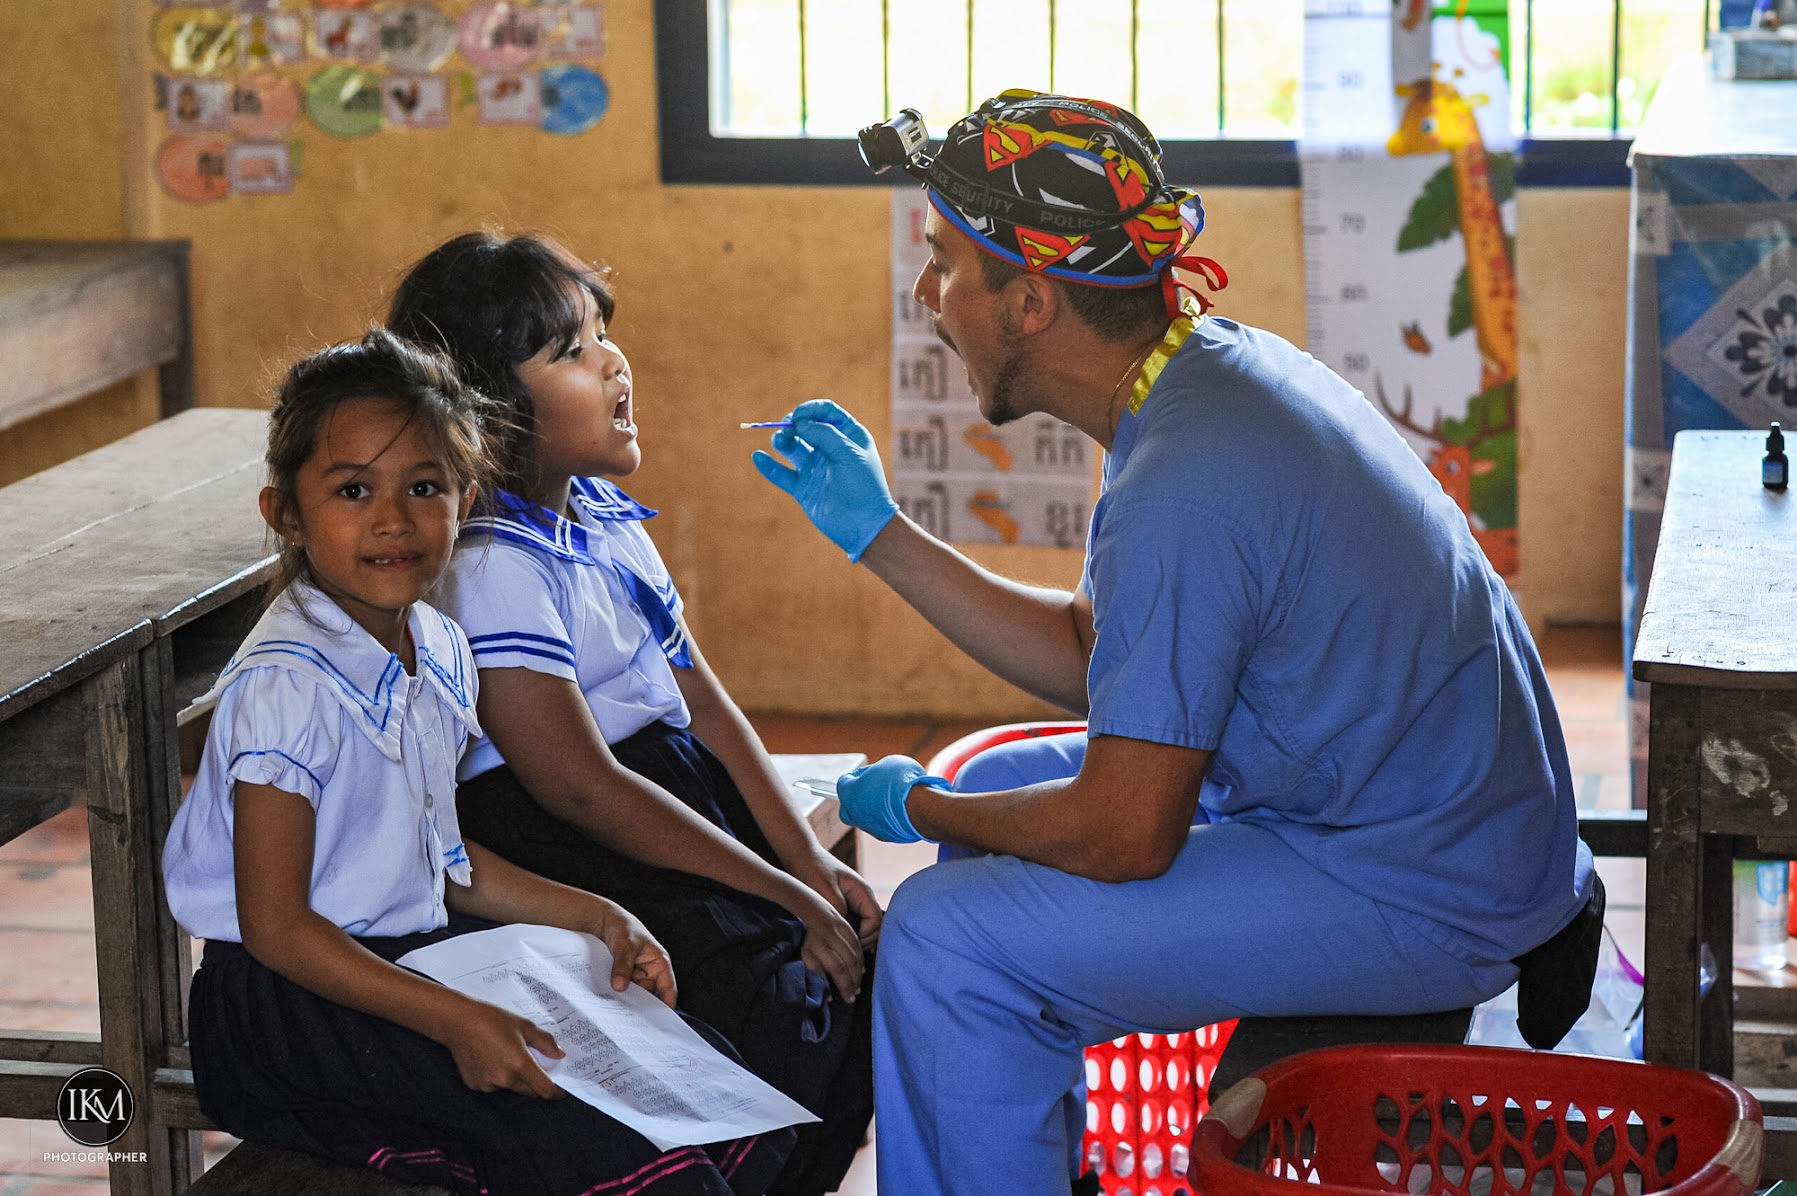
My work with Kids International Dental Services was a good example. Their teams came to Cambodia to provide dental treatment for children who might otherwise receive none. The clinics could be hot, crowded and exhausting. Dentists and assistants worked for long hours while children waited—some curious, some frightened, others trying very hard to appear brave.
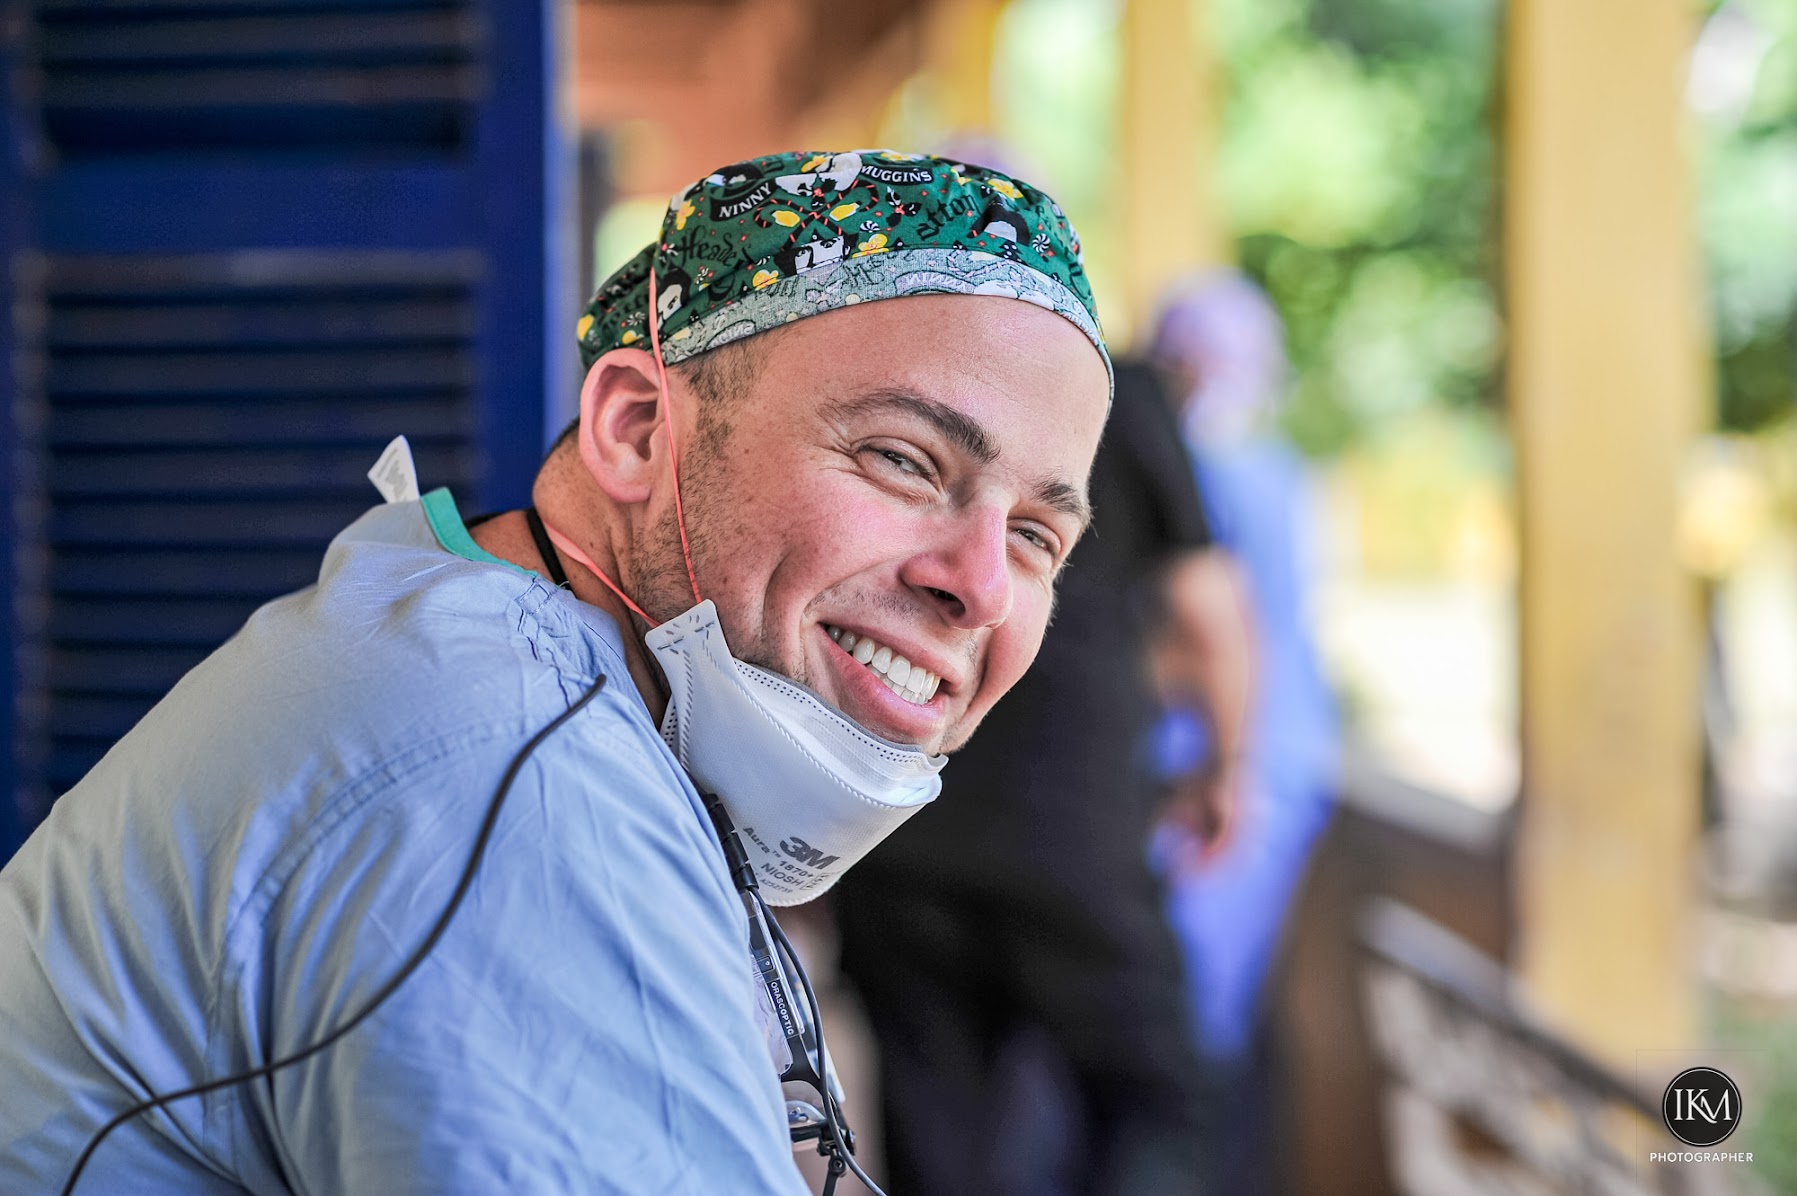
The obvious photographs were easy enough to make: dentists leaning over their patients, instruments arranged on tables, volunteers wearing masks and gloves. But those pictures alone did not tell the whole story.
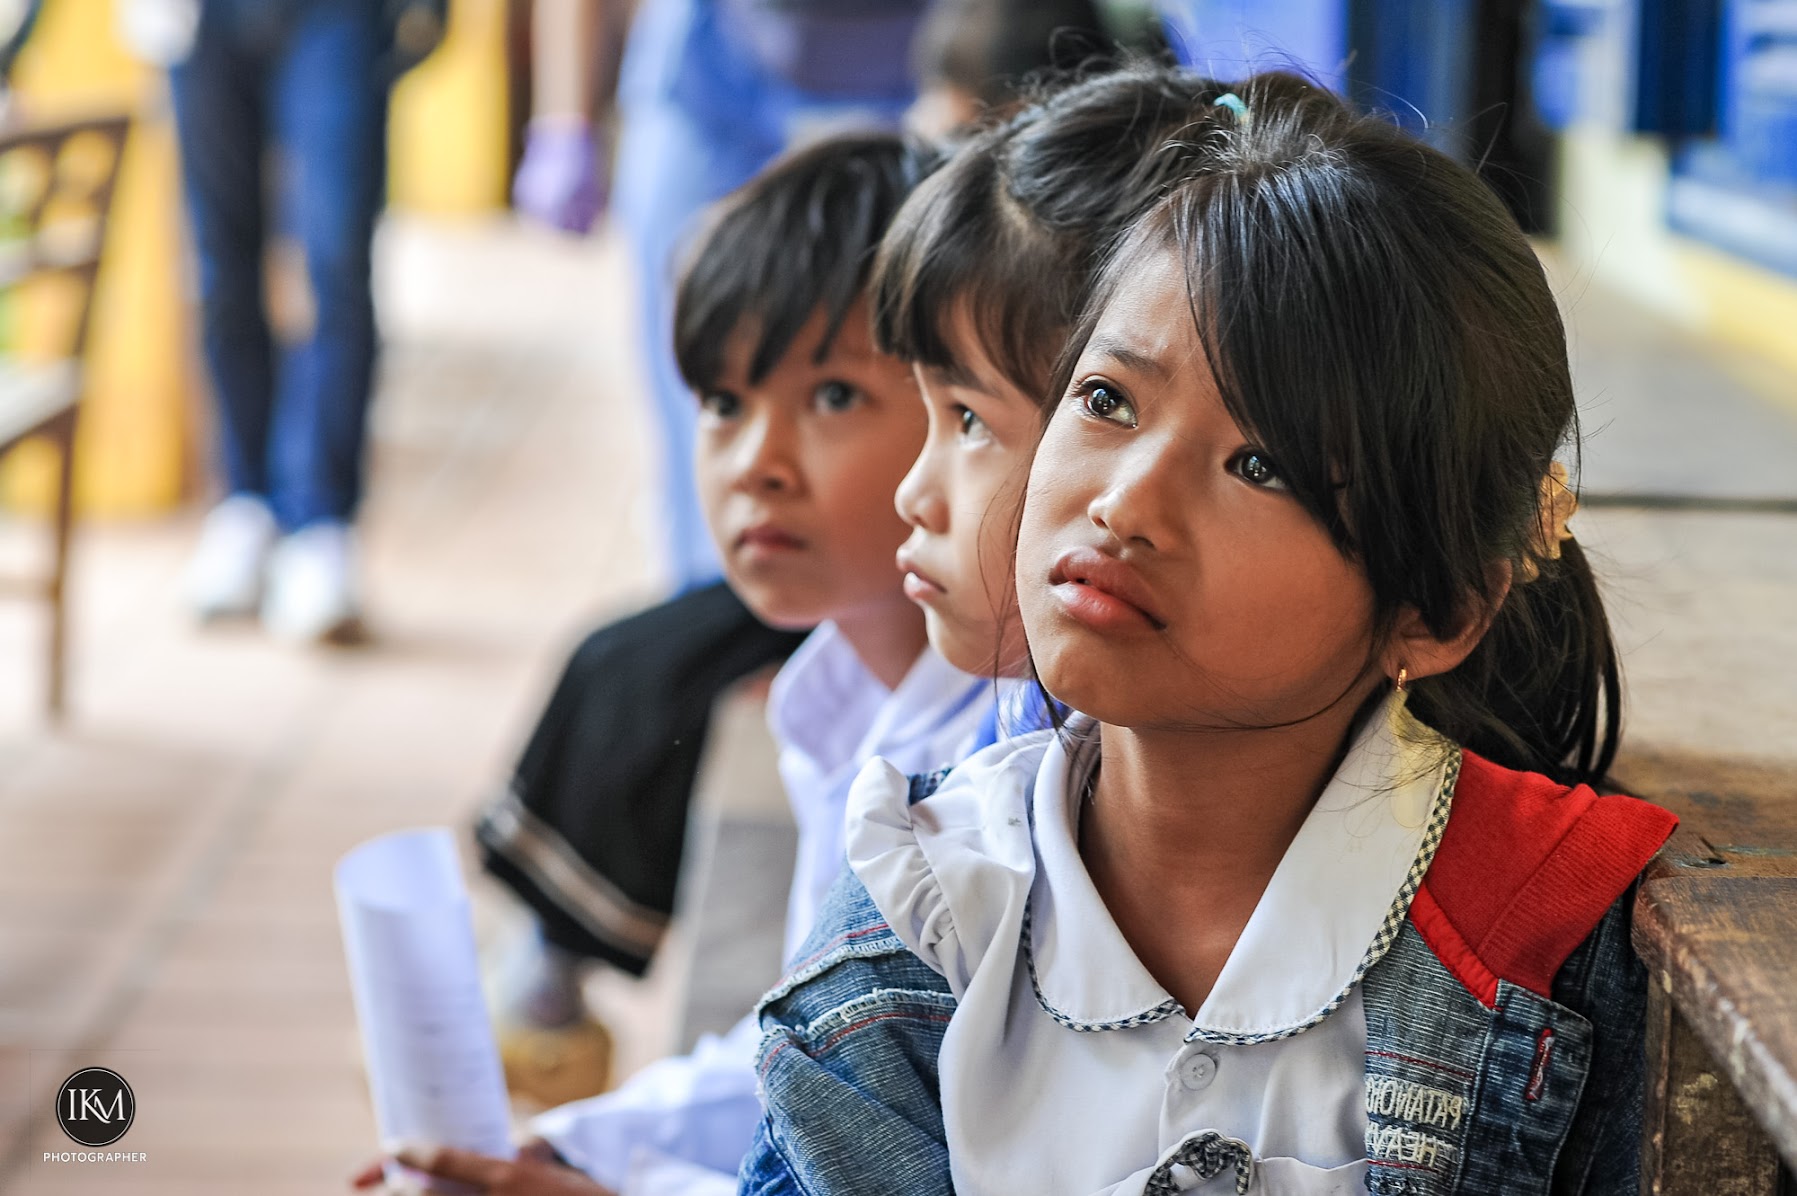
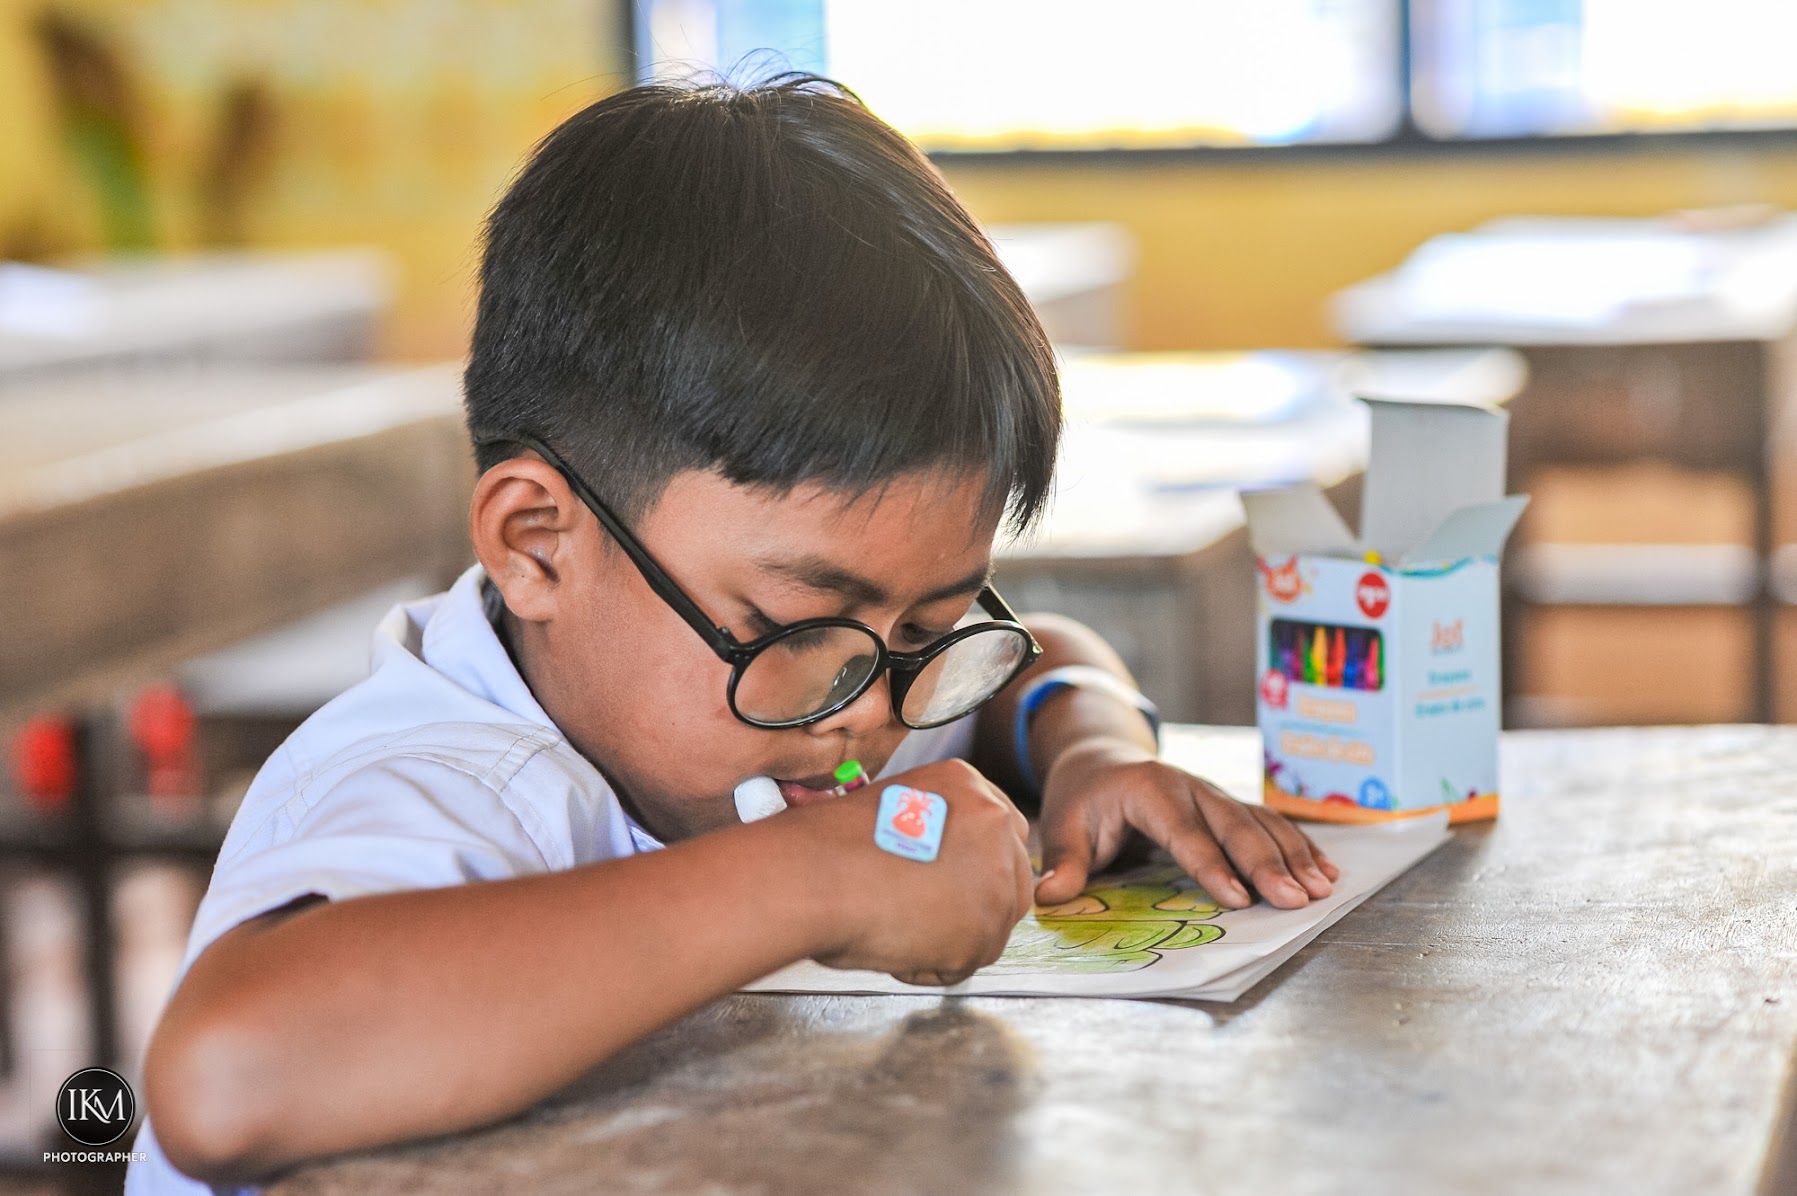
The more important moments were often found around the edges. A girl waiting quietly for her turn. A child holding another child’s hand. A volunteer attempting to reassure a nervous patient despite the language barrier. The expression of relief when treatment was finished. These were the small human details that gave meaning to the wider record.
A photographer working in such circumstances must know when to step forward and when to lower the camera. Pain, fear and poverty do not remove a person’s dignity. A photograph may be useful to a charity, but that does not automatically make it ethical. The person in front of the lens must remain more important than the organisation’s publicity.
Children require particular care. A frightened child receiving treatment is not merely an interesting photographic subject. They are vulnerable and may not fully understand why they are being photographed. The pictures should never humiliate them or turn their discomfort into emotional advertising.
Good volunteer photography does not need to exaggerate suffering. If the work is genuinely valuable, the truth is usually powerful enough.
The photographer also has a responsibility to show the volunteers as workers rather than visiting saviours. Most successful projects depend upon local teachers, organisers, translators, drivers and medical staff. Visiting specialists may bring valuable skills and equipment, but they do not operate alone. Leaving local people outside the frame can create a misleading story in which help always arrives from somewhere else.
The camera should reveal cooperation.
Working as a volunteer photographer also means accepting that photography is not always the most urgent task. Sometimes equipment needs carrying, people need directing or a nervous child needs reassurance. There is little value in recording other people’s generosity while refusing to put down the camera and help.
The pictures still matter. Small organisations often struggle to explain their work. A strong and honest photographic record can help them reach supporters, attract volunteers and show donors where assistance has gone. It can preserve the history of a project long after the temporary clinic has been packed away.
But the usefulness of a photograph depends upon trust. The people running the project must trust the photographer not to obstruct their work. The patients must not feel hunted by the lens. The audience must be able to believe that what they are seeing is real.
This is one reason I prefer to work quietly. I do not need every person to look at the camera. In fact, the most revealing pictures often happen when people have become accustomed to my presence and returned their attention to what they are doing. An old professional camera may be large and conspicuous, but patience can make even a large camera disappear.
The work is not glamorous. Rooms are often cramped and badly lit. Backgrounds are untidy. Fluorescent lights create unpleasant colour, while masks and lowered faces make expressions difficult to see. There may be little room to move without interfering with treatment.
These are technical problems, but they should not become excuses. You use the available light, choose a position that does not obstruct anyone and wait for the elements to come together. The photograph does not need to be perfect. It needs to be truthful, clear and useful.
Volunteering with a camera taught me that usefulness can be a better measure of photography than applause. A picture does not have to win a competition or gather admiration online. It may only need to persuade one person to donate, encourage a dentist to volunteer or help an organisation explain what it accomplished.
Years later, the photographs become something else as well. They become a record of people who gave their time, knowledge and energy to strangers. They preserve the faces of the children, the concentration of the medical teams and the atmosphere of those temporary clinics.
They also remind the photographer that being present carries an obligation.
A camera allows us to enter other people’s lives, sometimes at difficult and vulnerable moments. That access should never be taken lightly. We owe something in return: honesty, respect and photographs that serve a purpose beyond ourselves.
Volunteering with a camera is not about being the most important person in the room. It is about understanding that you are not—and making pictures that honour the people who are
A collection of reflections on photography, people and the working life
Contents
1 Why We Still Make Pictures
2 People in the Frame
3 Learning to See
4 Cameras Lenses and Working Tools
5 The Working Photographer
6 The Camera Is Not the Journey
Preface
This small book is about photography after the novelty has worn away. It is about what remains when cameras have been replaced, assignments completed and the brief applause surrounding a picture has faded.
The essays move from the reason we continue making pictures to the people who give those pictures meaning. They consider the slow education of seeing, the proper place of equipment, the discipline of professional work and the longer journey taking place behind the camera.
They are not rules. Photography has never been improved by pretending that one method suits every person or situation. They are observations gathered through years of carrying cameras, watching people and occasionally understanding what a photograph was trying to say.
The central belief is simple: equipment matters, but attention matters more. The camera records the frame. The photographer remains responsible for why it was made.
CHAPTER 1
Why We Still Make Pictures
There comes a point in a photographer’s life when the usual explanations begin to sound rather thin.
We make pictures to preserve memories. We make them to document the world. We make them because light falls beautifully across a face or because something extraordinary happens in an otherwise ordinary street. All of that is true, but none of it quite explains why some of us continue long after the novelty has disappeared.
The cameras have changed. The business has changed. The audience has become impatient, distracted and difficult to impress. Millions of technically perfect images are produced every hour, most of them glanced at for a second before being forgotten. Photography has never been easier to practise, yet it has rarely seemed so disposable.
Still, we go out with a camera.
I no longer make pictures because I expect photography to reward me. I am not chasing approval, prizes or the brief narcotic pleasure of social-media attention. Those things can be enjoyable, but they are unreliable reasons for continuing. Praise arrives and disappears. Algorithms change. Yesterday’s admired photograph is buried beneath today’s flood of new material.
The picture itself must be enough.
For me, carrying a camera has become a way of paying attention. It forces me to look at the world when it would be easier merely to pass through it. A face in a market, an exhausted worker sitting in a doorway, a child watching the traffic, an old man waiting alone beneath a torn awning – these are not necessarily dramatic events. They are fragments of human life, easily missed and rarely considered important.
Photography asks me to stop.
That small act matters. It says that this person, this light and this moment deserved more than a passing glance. The camera cannot make an unimportant life important; no life is unimportant in the first place. What it can do is expose the failure of the rest of us to notice.
When I was younger, I sometimes thought good photography was about getting closer to the action. Age has taught me that it is often about getting closer to the truth. That truth may be uncomfortable. It may be untidy, contradictory or impossible to arrange into a pleasing composition. The world does not exist for the benefit of photographers, and life rarely places itself neatly inside a frame.
We learn to work with what is there.
Perhaps that is why old cameras can still feel so reassuring. They are not trying to astonish us. They simply wait to be used. Their scratches and worn grips remind us that photographs were made before eye-detection autofocus, enormous dynamic range and artificial intelligence. Pictures were made with imperfect tools by people who cared enough to be present.
The camera matters, of course. A reliable camera can get us through difficult conditions. A particular lens can shape the way we approach people and space. But equipment cannot supply curiosity, empathy or courage. It cannot recognise the instant when an expression changes and the truth appears for a fraction of a second.
That remains the photographer’s responsibility.
We also make pictures because memory is treacherous. It edits without permission. Faces fade, places are demolished and people disappear. Even events we believed we would remember forever become uncertain around the edges. A photograph does not preserve everything, but it leaves evidence: this person stood here; this street once looked like this; this happened in front of me.
I was there, and I saw it.
That does not mean the photograph is the whole truth. Every picture excludes more than it contains. The photographer chooses where to stand, when to press the shutter and what to leave outside the frame. A photograph can clarify, but it can also distort. It can dignify someone or reduce them to a symbol. It can bear witness, or it can use another person’s suffering as decoration.
The older I become, the less interested I am in photographs that merely show how clever the photographer is. I want pictures that retain some human residue. They need not be beautiful. They may be awkward, grainy or technically imperfect. None of that matters if the photograph contains something real.
Perfection is not the same as truth.
Sometimes we make pictures because the world feels beyond our control. Wars continue, politics coarsens, cruelty becomes routine and public attention moves on before the wounded have even been counted. A photographer cannot repair these things by pressing a shutter. We should never pretend otherwise.
But neither is looking completely useless.
To photograph can be a refusal to accept disappearance. It can say that someone was here, that something happened, and that forgetting should not be allowed to happen too easily. The picture may not change the world, but it can prevent one small part of the world from vanishing without testimony.
There are quieter reasons too. Sometimes I make photographs because walking with a camera gives shape to the day. It provides a purpose for turning down another street or remaining somewhere for five minutes longer. Without it, I might look. With it, I observe.
The camera has introduced me to people I would never otherwise have met. It has taken me into schools, hospitals, demonstrations, markets, back streets and communities beyond my own experience. Those encounters remain more valuable than the photographs.
We continue because nobody else has stood precisely where we stood, carrying our memories, doubts, affections and experience. Another photographer might make a stronger picture, but it would not be our picture. Photography is the meeting between the world and one particular human being.
We make pictures because time is moving and people are leaving. Because places change. Because memory fails. Because occasionally the light is beautiful, but more often because life is complicated and deserves to be examined.
The camera remains beside me. That is reason enough.
CHAPTER 2
People in the Frame
A street without people can be beautiful. The buildings may be elegant, the light perfect and the composition carefully balanced. Yet for me, something is often missing.
Put one person into the frame and everything changes.
The street becomes a place where somebody lives. The light falls upon a human face rather than an empty wall. A doorway is no longer merely an arrangement of shapes; it becomes somewhere a person is entering, leaving, guarding or sheltering within. Even a distant figure can turn an architectural study into a human story.
People give scale to a place, but more importantly, they give it consequence.
I have always been drawn to photographing people because they carry evidence of the world upon them. Age, labour, exhaustion, pride, suspicion and humour can all be present in a face. Clothing can suggest occupation, income, faith or aspiration. Hands may reveal more than expressions do. The way somebody stands, waits or occupies a patch of pavement can tell us something about their place in the world.
None of this needs to be dramatic. A woman waiting for a bus may contain more truth than a carefully arranged portrait. A market trader sitting quietly between customers may tell us more about work than a picture of frantic activity. A child looking beyond the frame can create an entire story because we are left wondering what caught their attention.
The strongest human photographs often begin with a question rather than an answer. Who is this person? What happened just before the shutter was released? What will happen when they leave the frame? A photograph cannot answer everything, and its power often lies in what it leaves unresolved.
Experience has made me more conscious of the person caught within the moment. The subject is not raw material.
Street photography can become greedy. We see an unusual face, dramatic clothing or obvious hardship and immediately think about the photograph. The individual becomes valuable because of what they might contribute to our frame. Their circumstances become atmosphere. Their pain becomes visual interest.
That is where we must be careful.
A photographer is always taking something, even when nothing physical is removed. We take an appearance, a gesture and a fraction of somebody’s life. We detach it from its circumstances and carry it elsewhere. We may publish it for people the subject will never meet, accompanied by words they will never read.
The law may permit this. Ethics asks a more difficult question: what are we doing with the permission the law gives us?
Consent is not always straightforward in street photography. If every frame had to be negotiated in advance, much of the honesty and spontaneity would disappear. People would arrange their faces and offer the version of themselves they believed the camera wanted. There is value in the unguarded moment. But unguarded does not mean unprotected.
I do not believe every candid photograph is exploitation. Neither do I believe that calling something documentary frees the photographer from responsibility. Vulnerability matters. Context matters. Intended use matters. A clever composition does not excuse humiliation.
The question I increasingly ask is simple: does the picture recognise the person’s humanity, or merely use their appearance?
Photographing people requires the quiet courage of allowing ourselves to be seen. When we raise a camera towards another person, we become part of the event. Our manner matters. The way we respond when somebody notices us may determine whether the encounter becomes hostile, friendly or simply passes without consequence.
Respect does not require timidity. Sometimes we must work quickly and confidently. But confidence need not become arrogance. A smile, a nod or a few honest words can dissolve much of the tension. Occasionally the right decision is not to take the picture. That is not cowardice. It is judgement.
Some moments belong to the people living through them. A person’s grief, illness, humiliation or fear may be visible in public without becoming public property. There are circumstances in which the camera can bear witness, and others in which it merely intrudes. The boundary is not fixed, which is why the photographer needs something more than technical competence.
We need a conscience.
The presence of people also changes how a photograph ages. Buildings are altered or demolished, but people grow old and disappear. A picture that seemed ordinary when it was made may become precious because it contains a face no longer seen on that street.
History is not composed only of wars, ceremonies, politicians and disasters. It is also made from people travelling to work, selling vegetables, drinking tea, repairing machinery and waiting for rain to stop. At the time, these activities may appear too commonplace to photograph. Years later, they become the details we most desperately want to recover.
A human figure need not dominate the picture. Sometimes a person is small within the frame, almost swallowed by architecture, yet the eye will find them. Nor must every face be visible. A turned back, raised hand or shadow on a wall can suggest a life beyond the frame.
When the face is visible, the eyes carry particular weight. If the person looks directly into the lens, the comfortable division between observer and observed begins to collapse. The subject is no longer merely being watched. They are watching us back.
I do not photograph people because I fully understand them. Usually I know very little about the individuals I meet. The camera records surfaces, and we should be cautious about pretending those surfaces reveal an entire life. A tired expression may be temporary. A ragged shirt does not tell us everything about poverty. A smile cannot prove happiness.
The photographer can suggest, but should not invent.
After many years of making photographs, it is the people I remember more clearly than the cameras. I remember faces, brief conversations and gestures of trust. Some names have been forgotten, but the encounters remain in the pictures.
Without people, a photograph can show us what the world looks like. With people in the frame, it can begin to show us what the world means.
CHAPTER 3
Learning to See
Most people imagine that photography begins with a camera. It does not. It begins with noticing.
The camera records only what has already been recognised by the person carrying it. It cannot tell us which face matters, where tension is developing or when an ordinary arrangement is about to become meaningful. It can focus in darkness, track an eye and fire twenty frames a second, but it cannot decide why any of those pictures should exist.
That part still belongs to the photographer.
Learning how to operate a camera is relatively simple. Aperture, shutter speed and ISO can be taught. Modern cameras will handle much of this themselves. Learning to see is harder because there is no final setting and no point at which the education is complete.
We learn to see by looking, failing and looking again.
When I began, I probably saw subjects rather than photographs. I saw a person, a building, a demonstration or an interesting street and assumed that pointing the camera towards it was enough. The result might prove that I had been there, but it did not always explain what I had seen.
An interesting subject does not automatically produce an interesting photograph.
The world presents itself as a confusion of detail. Cars pass, people overlap, signs cut through faces and bright objects pull the eye towards the wrong place. Our minds ignore these distractions. The camera does not. It records the branch growing from somebody’s head, the bottle near the corner and the stranger walking into the background.
Seeing photographically means becoming aware of the whole frame, not merely the thing that first attracted us. This does not mean every picture must be clean and orderly. Chaos can be part of the truth. But there is a difference between deliberate complexity and careless clutter.
Before pressing the shutter, I try to look around the subject. What is behind the person? What is entering from the edges? Where is the brightest area? Would half a step to the left separate the figures or connect them more strongly?
Small movements change photographs. Sometimes the difference between an ordinary frame and a successful one is two seconds of patience, a lower viewpoint or a single step sideways.
Light is part of learning to see, but not only beautiful light. Hard tropical sunlight, fluorescent interiors and dim streets all have their own character. The question is not always whether the light is good. It is what the light is doing. Is it revealing a face or hiding one? Does it divide the frame? Does it isolate somebody from a crowd?
In the street, seeing also means anticipating. The photographer notices the unfinished photograph – the arrangement that has not yet become complete. Perhaps the background is right but the human presence is missing. A gesture has begun but has not reached its full expression. Somebody is about to pass through a patch of light.
You wait.
Experienced photographers appear quick because they recognise patterns early. The final press of the shutter may be instinctive, but that instinct was built through years of missed frames.
Missed photographs are part of the education. I have made pictures too early and too late. I have focused on the wrong face, used the wrong shutter speed and failed to notice the strongest element until I examined the files later. These failures can be more useful than success if we are honest about them.
Editing teaches us to see because it reveals the distance between our intention and our result. The contact sheet does not care what we hoped to achieve. It shows what the camera actually recorded. Look at the frames before and after the selected picture. Study how the moment developed. Do not examine only sharpness and exposure. Those are technical properties, not the full measure of a photograph.
The important question is not, Is this picture perfect? It is, Does this picture say what I thought I saw?
Looking at other photographers is important, but imitation has limits. We can study distance, light and timing, but eventually we must stop trying to see like somebody else.
A personal way of seeing grows from our own history. One photographer finds humour where another finds loneliness. One is drawn to crowds, another to the isolated figure at their edge. The things we repeatedly photograph reveal what we believe deserves attention.
Age changes this. After years of photographing people, I find myself less impressed by spectacle and more interested in quieter evidence: the person standing apart from an event, the worker resting after the activity has ended, the expression that appears when someone believes nobody is watching.
Noise attracts the eye. Meaning is often quieter.
Learning to see requires learning to slow down. This does not necessarily mean working slowly. The slowing happens within the mind. We become less eager to press the shutter merely because something has entered the frame.
A single body with one familiar lens can help. Limitations sharpen attention because they remove excuses. Familiar equipment becomes transparent. We stop thinking about what else we might have brought and begin working with what is in our hands.
Seeing is not only visual. It requires sensitivity to atmosphere and behaviour. Before a confrontation begins, the mood of a crowd may change. Before a child laughs, anticipation appears in the face. Before somebody turns away, discomfort enters their posture.
Greater perception should bring greater judgement, not greater appetite. A photographer who sees only the potential picture is not seeing enough.
There are days when nothing seems to happen. Usually the problem is not the street. It is us. We arrive with expectations so narrow that we cannot recognise anything outside them. Sometimes the remedy is to stop, remain still and allow the place to reveal its rhythm.
The world does not become more interesting because we carry a camera. The camera gives us a reason to become more interested in the world.
After decades of taking photographs, I am still learning to see. Experience has made me more aware of how much I miss. Every frame excludes a larger world. Every photograph represents one choice among countless possibilities.
The camera comes afterwards. First, we must look.
CHAPTER 4
Cameras Lenses and Working Tools
Photographers have a peculiar relationship with equipment. We insist that cameras do not matter, then spend entire evenings discussing them. We say the photograph is everything, yet remember precisely which camera and lens produced a favourite frame thirty years ago.
There is no need to pretend equipment is unimportant.
Cameras and lenses influence where we stand, how quickly we work and the pictures we are likely to make. A slow or unreliable camera can cost us a moment. The wrong lens can leave us too distant from the subject or trapped inside a field of view that does not suit the situation.
But equipment matters most when it becomes useful – and least when it becomes an obsession.
A camera is a working tool. Its purpose is not to be admired on a desk, defended in an online argument or replaced every time a manufacturer adds another feature. Its purpose is to be carried into the world and used.
Each generation promises greater speed, more resolution, cleaner high-ISO files and more intelligent autofocus. The improvements are real. The question is not whether a new camera is better. It almost certainly is. The question is whether it makes our photographs better, or merely makes photographing them more convenient.
Convenience has value, especially professionally. A news photographer cannot ask an event to happen again because autofocus selected the wrong face. Reliability is not a luxury when somebody is paying for results. But most of us are not failing because our camera lacks the latest technology. We fail because we stood in the wrong place, misunderstood the light or noticed the moment too late.
No firmware update can correct these things.
I have used enough cameras to know that each one changes the way I behave. A large professional body such as the Nikon D3 encourages a different commitment from a small camera. The D3 feels dependable and deliberate. A Nikon D700 offers much of that same directness in a smaller body. Its twelve-megapixel sensor is modest now, but modest is not inadequate.
The D810 belongs to another part of the toolbox. Its resolution allows more detail and larger prints. Used carelessly, it reveals every weakness in technique. Camera movement, missed focus and poor lenses become more obvious. It rewards discipline.
None is universally better. Each asks something different from the person using it. A camera either helps us do the work or gets in the way.
Familiarity is often more valuable than novelty. When I know a camera properly, I can change a setting without lowering it from my eye. I know how its meter behaves, how far I can underexpose a file and what happens when the light disappears. That knowledge is built through use.
An old camera in familiar hands can be more effective than a new one whose controls remain uncertain. The older camera may possess less ability, but the photographer knows where its limits are.
A lens establishes a working distance and shapes our relationship with the subject. A wide lens draws us into the scene and asks us to show the person within their surroundings. A normal lens offers balance. A short telephoto such as an 85mm provides enough distance to observe without crowding the subject, while retaining a sense of human connection.
I have always liked that distance. It allows me to watch expressions develop while remaining close enough for the photograph to feel personal. The lens can simplify a busy street, but it does not do the thinking for me.
A large aperture can separate a subject from the surroundings, yet shallow depth of field is not automatically meaningful. A blurred background may be beautiful, but it may also remove the context that gives the photograph importance. Technical ability should serve content.
The sharpest lens is not necessarily the best lens for every photograph. A lens with imperfections can still make powerful pictures. Nobody looking at a meaningful photograph asks whether the corners would have been sharper with a newer lens.
We should also resist romanticising old equipment. Age does not give a camera a soul, and inconvenience is not artistic integrity. Old cameras can fail. Nostalgia should not be confused with judgement.
I value old cameras because of how they work, how they feel and the experiences attached to them. Scratches are evidence of use, not proof of superiority. If an older camera continues to perform the job, there is no reason to discard it. If it prevents the work from being done, sentiment will not rescue the photograph.
The sensible photographer chooses according to purpose. For a long walk, weight matters. In poor weather, sealing matters. For moving subjects, autofocus matters. For large exhibition prints, resolution may matter. There is no perfect camera because photography contains too many different kinds of work.
Owning more equipment does not necessarily make us better prepared. Too many choices can become their own obstruction. A single body with one familiar lens can be liberating. The limitation forces us to solve problems by moving, waiting or changing our approach.
Zoom lenses are not cheating. Autofocus is not laziness. Image stabilisation does not weaken our craft. The useful question is whether a feature helps us pay greater attention to the subject. If autofocus frees me to watch an expression, it has served the photograph.
Maintenance is part of the relationship. Cameras and lenses that work in dust, heat, rain and crowded streets need care. Preparation creates freedom. Charged batteries, formatted cards, clean glass and sensible settings allow the camera to disappear from our thoughts.
The longer I make photographs, the less interested I become in declaring one camera the winner over another. I care whether it starts, focuses where I intend and records the file when I press the shutter. Above all, I care whether I trust it.
Trust is what turns equipment into a working tool. Certain cameras stay in our memory because they were present when something mattered. We do not love them merely as objects. We remember what we saw while carrying them.
Choose tools that suit the work. Learn them until their operation becomes instinctive. Maintain them, trust them and replace them when they stop serving the photographs.
Then stop looking at the camera. The world is in front of it.
CHAPTER 5
The Working Photographer
The popular image of the photographer is built around the moment the shutter is released. A fraction of a second, a meaningful expression, a burst of action – and somehow the photograph appears.
It is a convenient myth.
The shutter may be the most visible part of photography, but it is often the smallest part of the work. A working photographer is judged not by occasional brilliance alone, but by the ability to return with usable pictures repeatedly, in poor light, difficult weather and circumstances that refuse to cooperate.
The work begins before the camera is raised. It begins with knowing why you are there.
An assignment may sound simple: photograph a demonstration, document a school, make a portrait or cover an event. Yet each requires a different understanding. Who needs the photographs? How will they be used? What must be shown? What access is available?
A working photographer thinks about these questions before arriving. Batteries are charged. Cards are checked. Lenses are cleaned. Essential equipment is packed, but the bag is not filled with every object that might conceivably become useful.
The equipment should suit the job rather than advertise the photographer.
Reliability matters more than novelty. The working camera must start immediately, focus where expected and record the file. Controls should fall naturally beneath the fingers. There may be no time to search through menus or wonder why autofocus has changed its behaviour.
Professionalism is not visible in the camera badge. It appears in behaviour.
A working photographer arrives when promised. They understand the brief, treat people properly and do not create unnecessary problems for those allowing access. They remain calm when plans change, because plans nearly always change. The room is smaller than expected. The important person arrives late. The light is terrible. The rain begins.
Complaining does not improve any of these situations. The photographer adjusts.
Technical knowledge provides options. If the light falls, I know how far the ISO can be raised. If movement becomes important, I understand the shutter speed required. If the background distracts, I can change position, focal length or aperture. Technique should solve problems quietly.
The client or editor does not need a lecture about why conditions were difficult. They need photographs. This does not mean reality may be fabricated to disguise a weak assignment. But before accepting defeat, the working photographer looks harder.
If the obvious picture is unavailable, what else explains the story? If the main event cannot be approached, can its effect be seen in the crowd, the security or the faces of those watching? The strongest photograph may be found at the edge.
Access is built through behaviour. People watch a photographer before deciding how much to reveal. If we enter aggressively and immediately push a camera into every face, the atmosphere changes. Sometimes the best thing to do upon arriving is nothing. Talk. Listen. Allow people to become accustomed to your presence. The camera can wait.
This is not wasted time. It is part of making the photograph.
The working photographer must also know when speed is necessary. News does not pause while relationships develop. Speed and patience are not opposites. Both depend upon attention.
Working among people brings responsibility. A person may agree to be photographed without understanding where the picture could appear. A child cannot always give meaningful consent. Somebody enduring grief may be visible without being available.
A photographer can obey the law and still behave badly.
There are occasions when recording suffering is necessary. Without photographs, abuses can be denied and lives can disappear from public memory. But bearing witness is different from harvesting misery. Context matters. Dignity matters. Accuracy matters.
Captioning is part of this responsibility. Names should be checked. Places, dates and circumstances should be accurate. If something is unknown, it should remain unknown rather than being replaced by assumption. A picture may attract attention, but the caption anchors it to reality.
File handling is another unromantic part of the job. Photographs must be backed up, selected, processed, captioned and delivered. An extraordinary image sitting unedited on a card is of no use to an editor waiting to publish.
Editing is the removal of repetition, weakness and self-indulgence. Ten similar pictures do not become stronger because they are delivered together. A disciplined edit respects the viewer’s attention.
Processing should support the photograph rather than transform it into something that never existed. Colour, contrast and tone may need adjustment. Cropping may strengthen the frame, provided it does not distort the meaning. Are we helping the viewer see what was present, or manufacturing a more dramatic reality?
Physical endurance is rarely mentioned in discussions of talent. Much of the job involves waiting, walking, carrying equipment and remaining alert when the body is tired. Looking after oneself is therefore part of the work. Water, appropriate clothing, sensible footwear and knowing when to rest may determine whether the photographer remains effective.
Danger requires clearer judgement still. No photograph is improved by a photographer becoming another casualty. In conflict, protests or unstable crowds, attention cannot remain entirely inside the viewfinder. Exits, changing moods, security forces and traffic must all be watched.
Courage is not the absence of fear. It is understanding the risk well enough to decide whether the photograph justifies it. Sometimes it does. Sometimes it does not.
The business has changed. Newspapers have contracted, agencies demand more for less and photographs travel instantly through a world overwhelmed by images. Many photographers now work alone as researcher, writer, editor, processor and publisher.
What remains is the work.
A professional is not simply someone who earns money from a camera. Payment matters, and photographers should charge properly for their labour. But professionalism is also a standard of conduct. It means producing the necessary picture before pursuing the clever one. It means protecting the files, meeting the deadline and accepting responsibility when something goes wrong.
It means being dependable.
Not every assignment becomes art. The working photographer understands the difference between making a picture for personal satisfaction and making one that must perform a job. The finest photographs sometimes achieve both.
To see clearly when others are occupied, confused or unable to remain. To make the frame. To record the names. To preserve the files. To deliver what was promised.
That is the work. Everything else is decoration.
CHAPTER 6
The Camera Is Not the Journey
I can measure parts of my life by the cameras I carried.
Certain names bring back particular streets, assignments and people. A battered professional body recalls long days when failure was not acceptable. A smaller camera brings back the pleasure of walking without a plan. An old lens remembers faces more clearly than I sometimes do.
The equipment became attached to the memories. Yet the camera was never the journey. It was only the object in my hands while the journey was happening.
This becomes clearer with age. When we are young, a new camera can feel like a new beginning. We believe it will release the photographer we are trying to become. Sometimes new technology genuinely expands what we can do. But it cannot decide what deserves to be photographed or provide a reason for being there.
The camera records decisions already made by the person carrying it: where to stand, who to notice, when to approach and when to remain at a distance. It does not know whether the moment is honest, cruel, important or merely attractive.
Those judgements belong to us.
Over the years I have carried cameras considered professional necessities, others already obsolete and a few that simply felt right. All were capable of making a worthwhile photograph when I was capable of seeing one.
The differences between them were real, but they were not the most important changes taking place. I was changing.
The younger photographer may be preoccupied with proving that he can make the picture. There is energy in that ambition, and sometimes bravery. There can also be impatience. With experience, the questions become more difficult. Should the picture be made at all? Does it reveal anything, or merely turn another person into a symbol? Am I documenting an event, or using it to perform the role of photographer?
A new camera may improve the file, but it cannot improve the intention behind it.
That requires a slower, less visible development. We must examine our habits and assumptions. We must recognise the difference between confidence and aggression, persistence and intrusion, recording hardship and exploiting it.
Learning photography is partly learning when not to take the photograph.
The industry presents progress as a sequence of products. Megapixels rise, autofocus points multiply and the previous model begins to look inadequate despite working exactly as it did before. We are encouraged to believe our photography is travelling forward because our equipment is more advanced.
Technical progress is easy to measure. Personal progress is not.
There is no specification for patience. Empathy cannot be tested in a laboratory. Judgement does not appear on a comparison chart. Yet these are the qualities that determine what kind of photographer we become.
The real journey takes place between one photograph and the next. It happens when we examine a failed frame and understand that the problem was not the exposure but our position. It happens when we return to a familiar street and notice something previously ignored. It happens when we stop searching only for dramatic events and begin recognising meaning in quieter lives.
The pictures change because the photographer changes.
This is why revisiting old work can be unsettling. The photographs do not merely show where we were; they reveal how we once looked at the world. Some frames remain strong. Others survive mainly as evidence of inexperience. That is not shameful. If every old decision still seems correct, perhaps we have not travelled very far.
I can look at earlier photographs and remember the desire to fill the frame, to make the subject undeniable. Now I may allow more space. I am increasingly interested in the relationship between the person and the world around them. Context has become part of the portrait.
This is not because a newer camera taught me how to see it. Time did. Experience did. The people I photographed did.
Some encounters stay with us because they altered more than the portfolio. A person allows us into a difficult part of their life. A community gives us access after expecting to be misunderstood. These experiences change the way we approach the next person.
That is the journey.
I understand why photographers speak affectionately about old equipment. A trusted camera has been present during moments of fear, concentration, discovery and failure. Its worn grip carries the evidence of thousands of hours.
We do not love the machine only for what it is. We love the part of our lives that became attached to it.
An old camera can return us to the person we were when we carried it. We remember the journey through heat, rain, crowded streets and long periods of waiting. We remember the people.
This does not mean we must keep every camera forever. Tools wear out. Needs change. Bodies become heavier as photographers grow older. Moving to different equipment is not a betrayal. The mistake is believing that changing the camera automatically renews the photographer.
There are periods when the pictures stop coming. Familiar streets feel exhausted. Buying something new can create temporary excitement, but eventually we must confront the deeper question: what are we trying to say now?
The answer may differ from the one we gave twenty years ago. A photographic life should not remain fixed. We may become quieter, more reflective and less interested in spectacle. We may turn towards personal history, ageing, disappearance or the ordinary lives around us.
Technology never stops evolving. Neither should we.
Evolution does not always mean becoming faster, sharper or more productive. It can mean slowing down, making fewer photographs and asking more of them. The camera industry measures improvement in performance. A photographer may measure it in honesty.
There is freedom in understanding this. We no longer need equipment to prove our seriousness. A camera needs to function, suit the way we work and remain dependable when a photograph presents itself. Once those conditions are met, the more important work begins.
We walk. We look. We meet people and occasionally earn their trust. We misunderstand situations, learn from them and try to behave better the next time. We make photographs that fail, others that serve their moment, and a very small number that continue to matter years later.
The cameras come and go through all of this. Some are sold. Some fail. Some remain on a shelf because they contain too much history to be treated as ordinary objects. They remind us of the distance travelled – not only across continents, but across ourselves.
The real journey is not the evolution of our equipment. It is the evolution of who we become while using it. Photography teaches us to pay attention, but it also exposes what we choose to ignore. It tests our nerve, patience and integrity.
The greatest journey in photography is not measured by the cameras we have owned. It is measured by the person we have become while carrying them.
The camera is not the story. The photographs are part of it. The people are most of it.
And the journey continues in the person who still picks up a camera, steps outside and tries once again to see the world clearly.