The Nikon D800 is one of those cameras that refuses to become obsolete. Released in 2012, it is now well over a decade old, yet in many respects it still competes surprisingly well with much newer cameras. If someone handed me a clean D800 today, I wouldn’t hesitate to take it out for a day’s street photography, portrait work, or landscape photography.
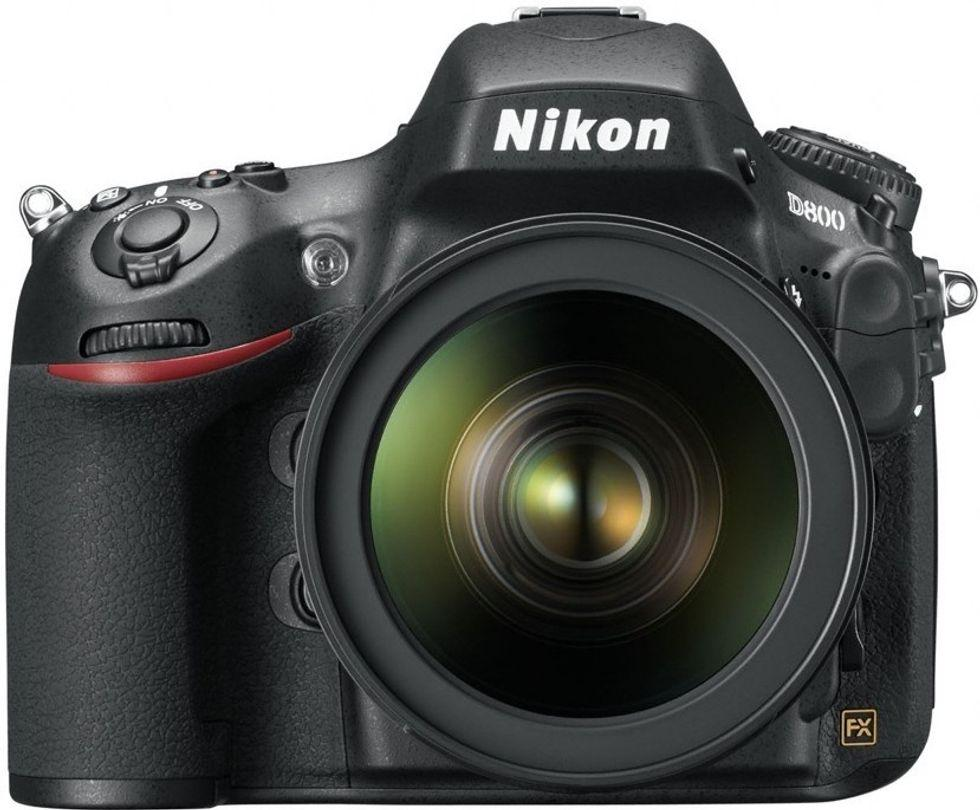
Image quality ⭐⭐⭐⭐⭐
This is where the D800 still shines.
Its 36.3-megapixel full-frame CMOS sensor produces files that remain exceptional by modern standards.
- Excellent detail.
- Wide dynamic range.
- Natural colour.
- Plenty of room to crop.
At low ISO, it’s difficult to tell the difference between a D800 file and one from many current cameras costing several times more.


For landscape photographers especially, the D800 remains outstanding.
Dynamic range ⭐⭐⭐⭐⭐
Even today, the D800’s dynamic range is among its greatest strengths.
You can recover:
- shadows remarkably well
- highlights with confidence
- subtle tonal transitions
For photographers who like to edit RAW files, it remains an incredibly capable sensor.
High ISO ⭐⭐⭐☆
This is where age begins to show.
ISO 100–1600 is excellent.
ISO 3200 is perfectly usable.
ISO 6400 starts becoming noticeably noisy compared with today’s sensors.
Modern Nikon Z-series cameras have roughly a stop to two stops advantage here.
Autofocus ⭐⭐⭐☆
The 51-point Multi-CAM 3500FX system was superb in 2012.
Today it feels…
- reliable
- predictable
- but not especially clever.
It lacks:
- Eye AF
- subject recognition
- AI tracking
- advanced face detection
For wildlife or fast sport it is clearly behind today’s mirrorless cameras.
For portraits, documentary and street photography it still performs very well.
Speed ⭐⭐⭐
4 fps full-frame
5 fps in DX crop
It isn’t a sports camera.
But unless you’re photographing birds or Formula One, it rarely feels limiting.
Build quality ⭐⭐⭐⭐⭐
This is classic Nikon.
Magnesium alloy body.
Weather sealing.
Excellent ergonomics.
Buttons exactly where your fingers expect them.
Many photographers still prefer its handling over modern mirrorless cameras.
Battery life ⭐⭐⭐⭐⭐
Outstanding.
Around 900 shots is entirely realistic.
Many users comfortably exceed that.
Mirrorless cameras still struggle to match this.


Viewfinder ⭐⭐⭐⭐⭐
One of Nikon’s best optical viewfinders.
Bright.
Large.
100% coverage.
If you enjoy actually looking through a camera rather than at a screen, the D800 remains deeply satisfying.
Video ⭐⭐
Video is where it shows its age.
1080p only.
No 4K.
No modern autofocus.
No stabilisation.
For serious video work there are much better options.
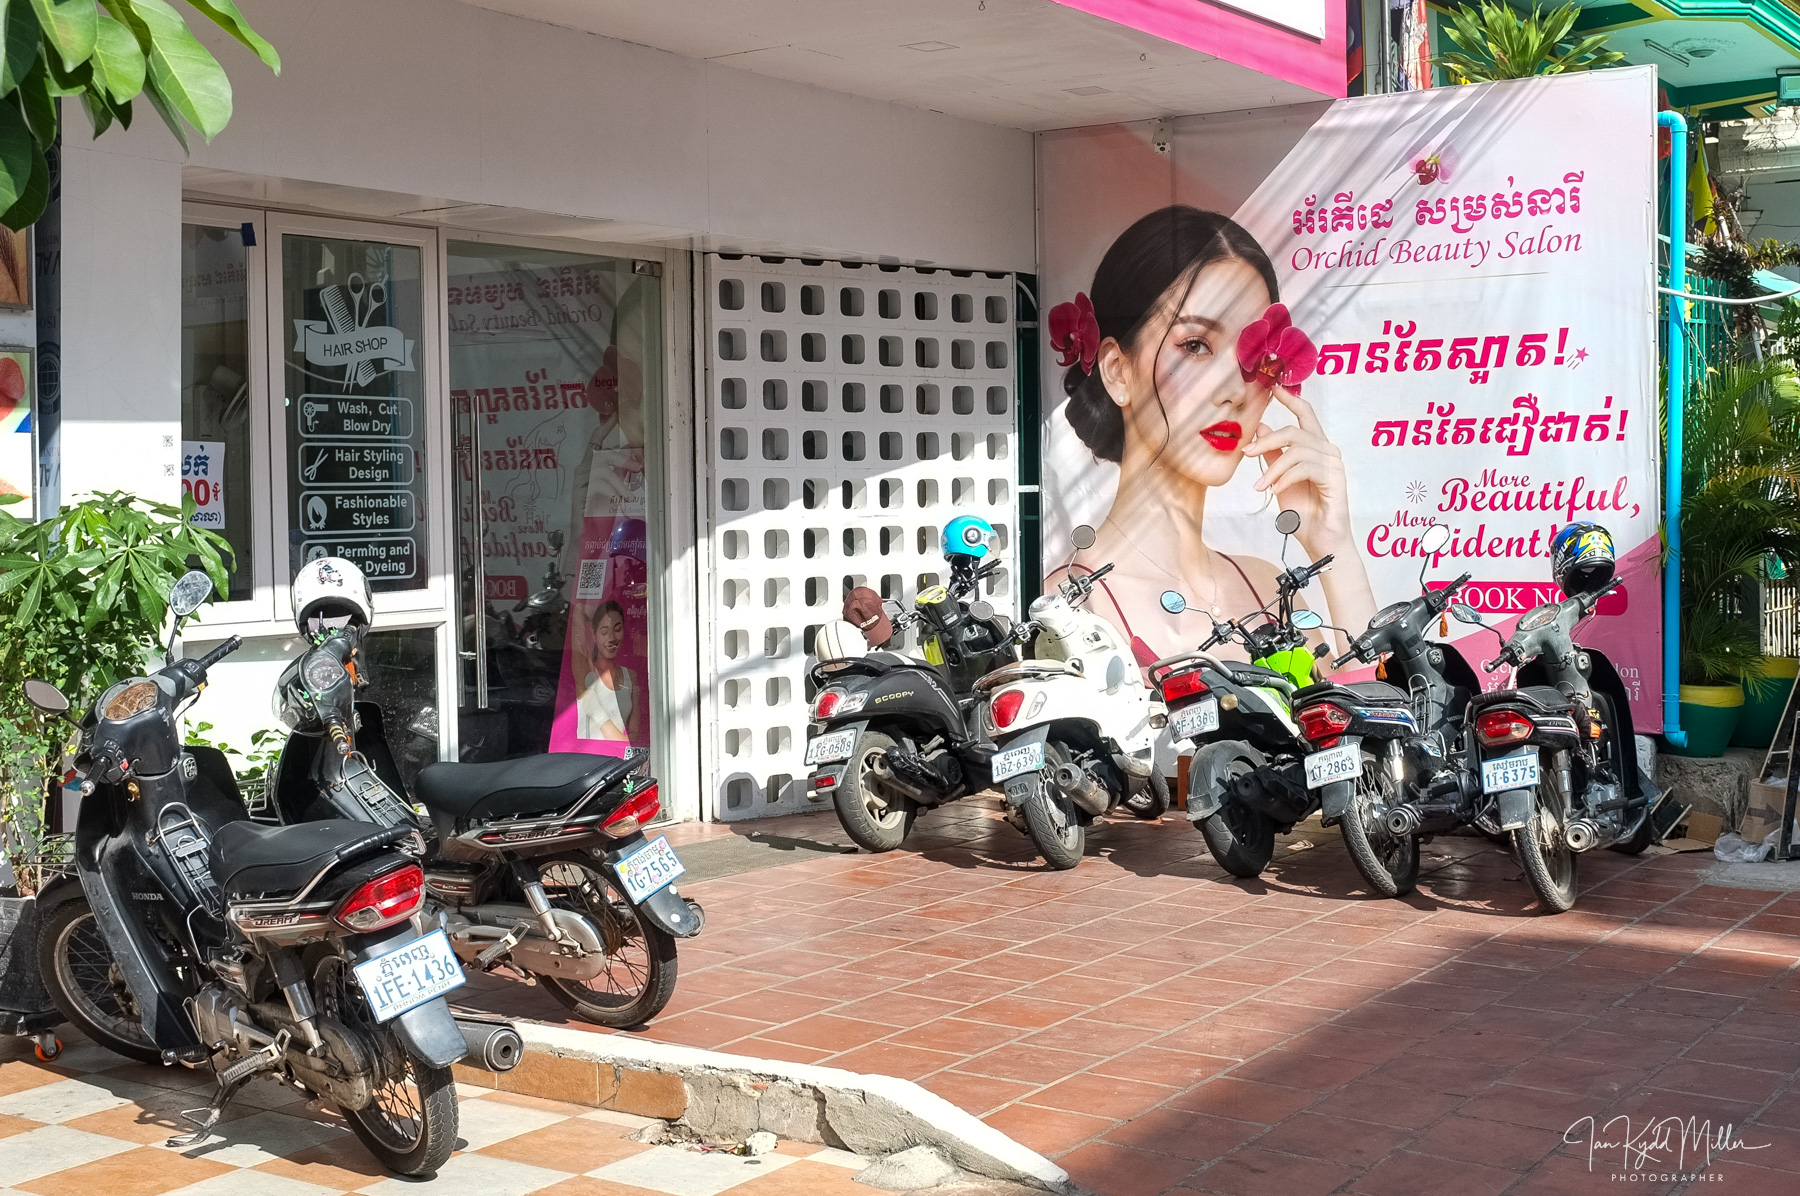
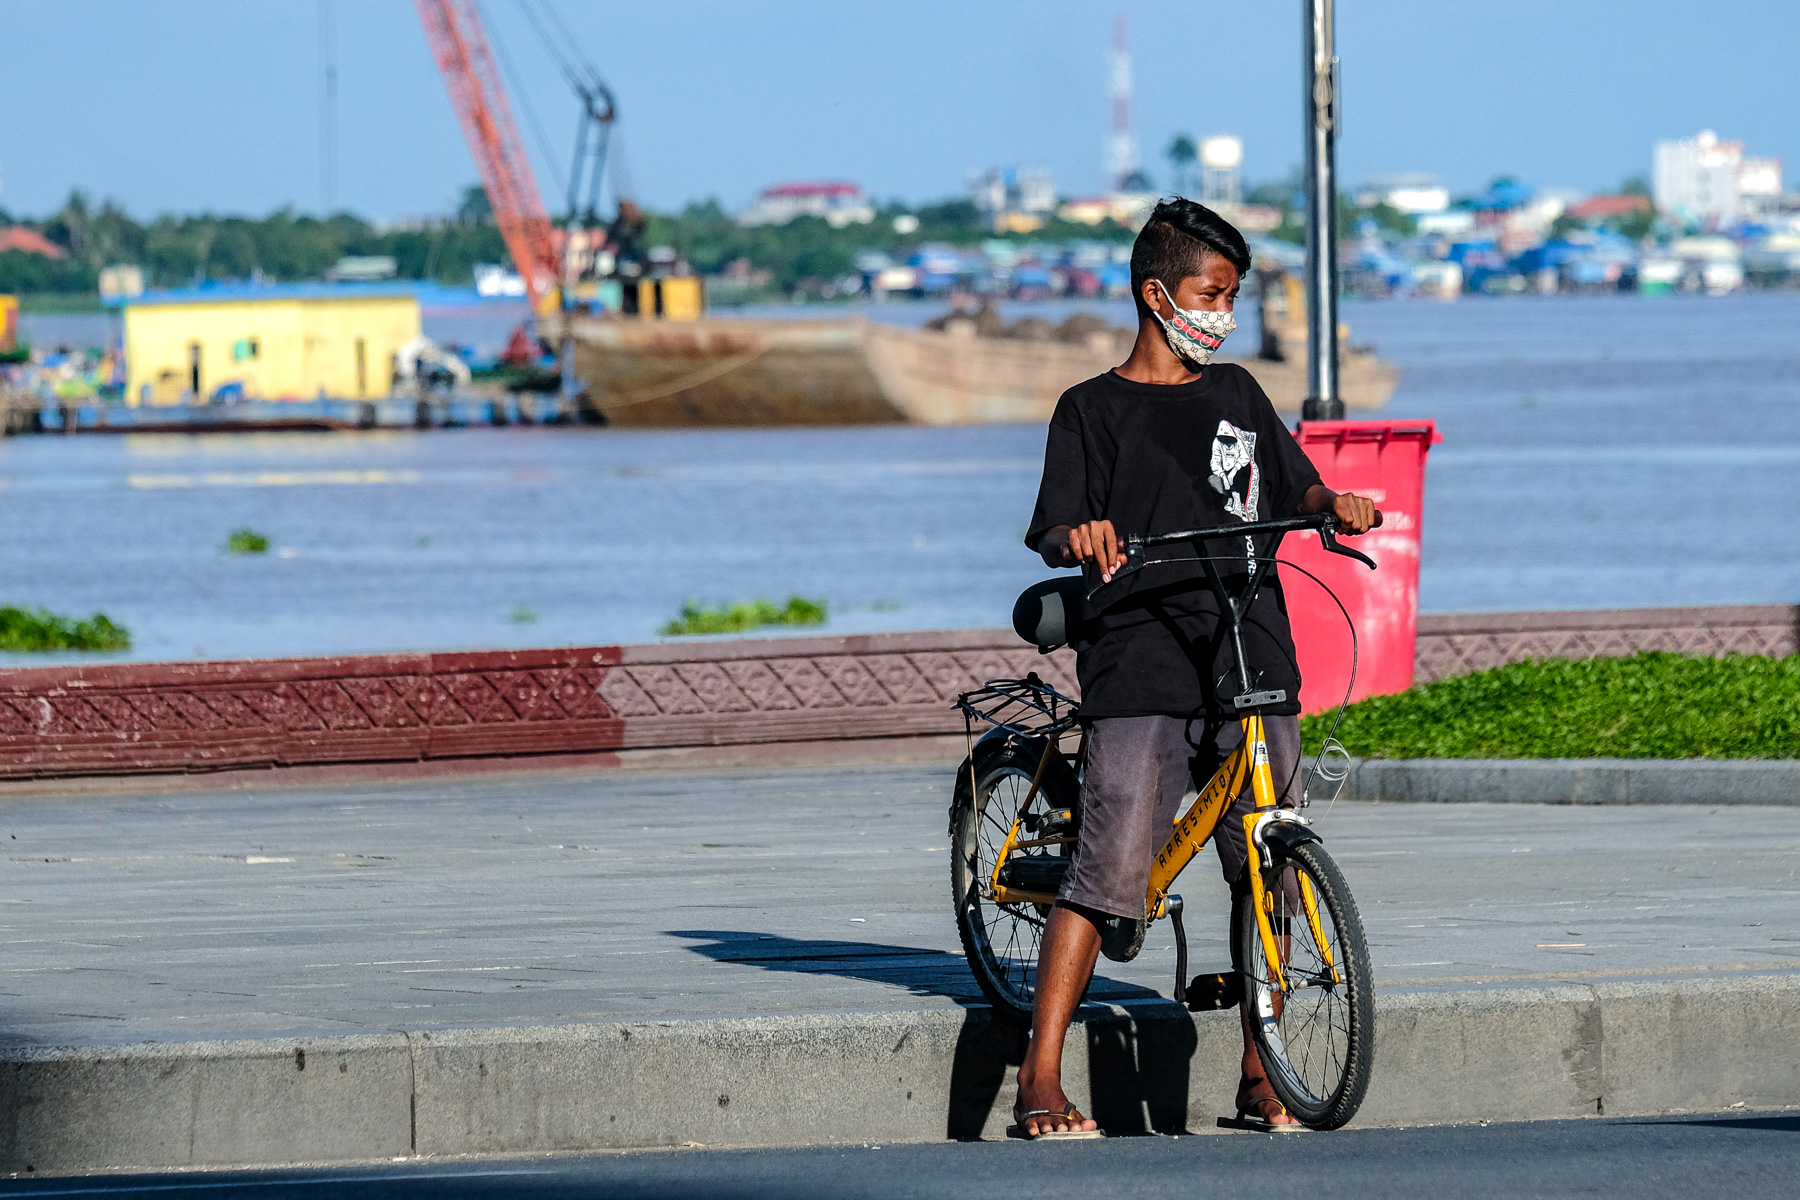
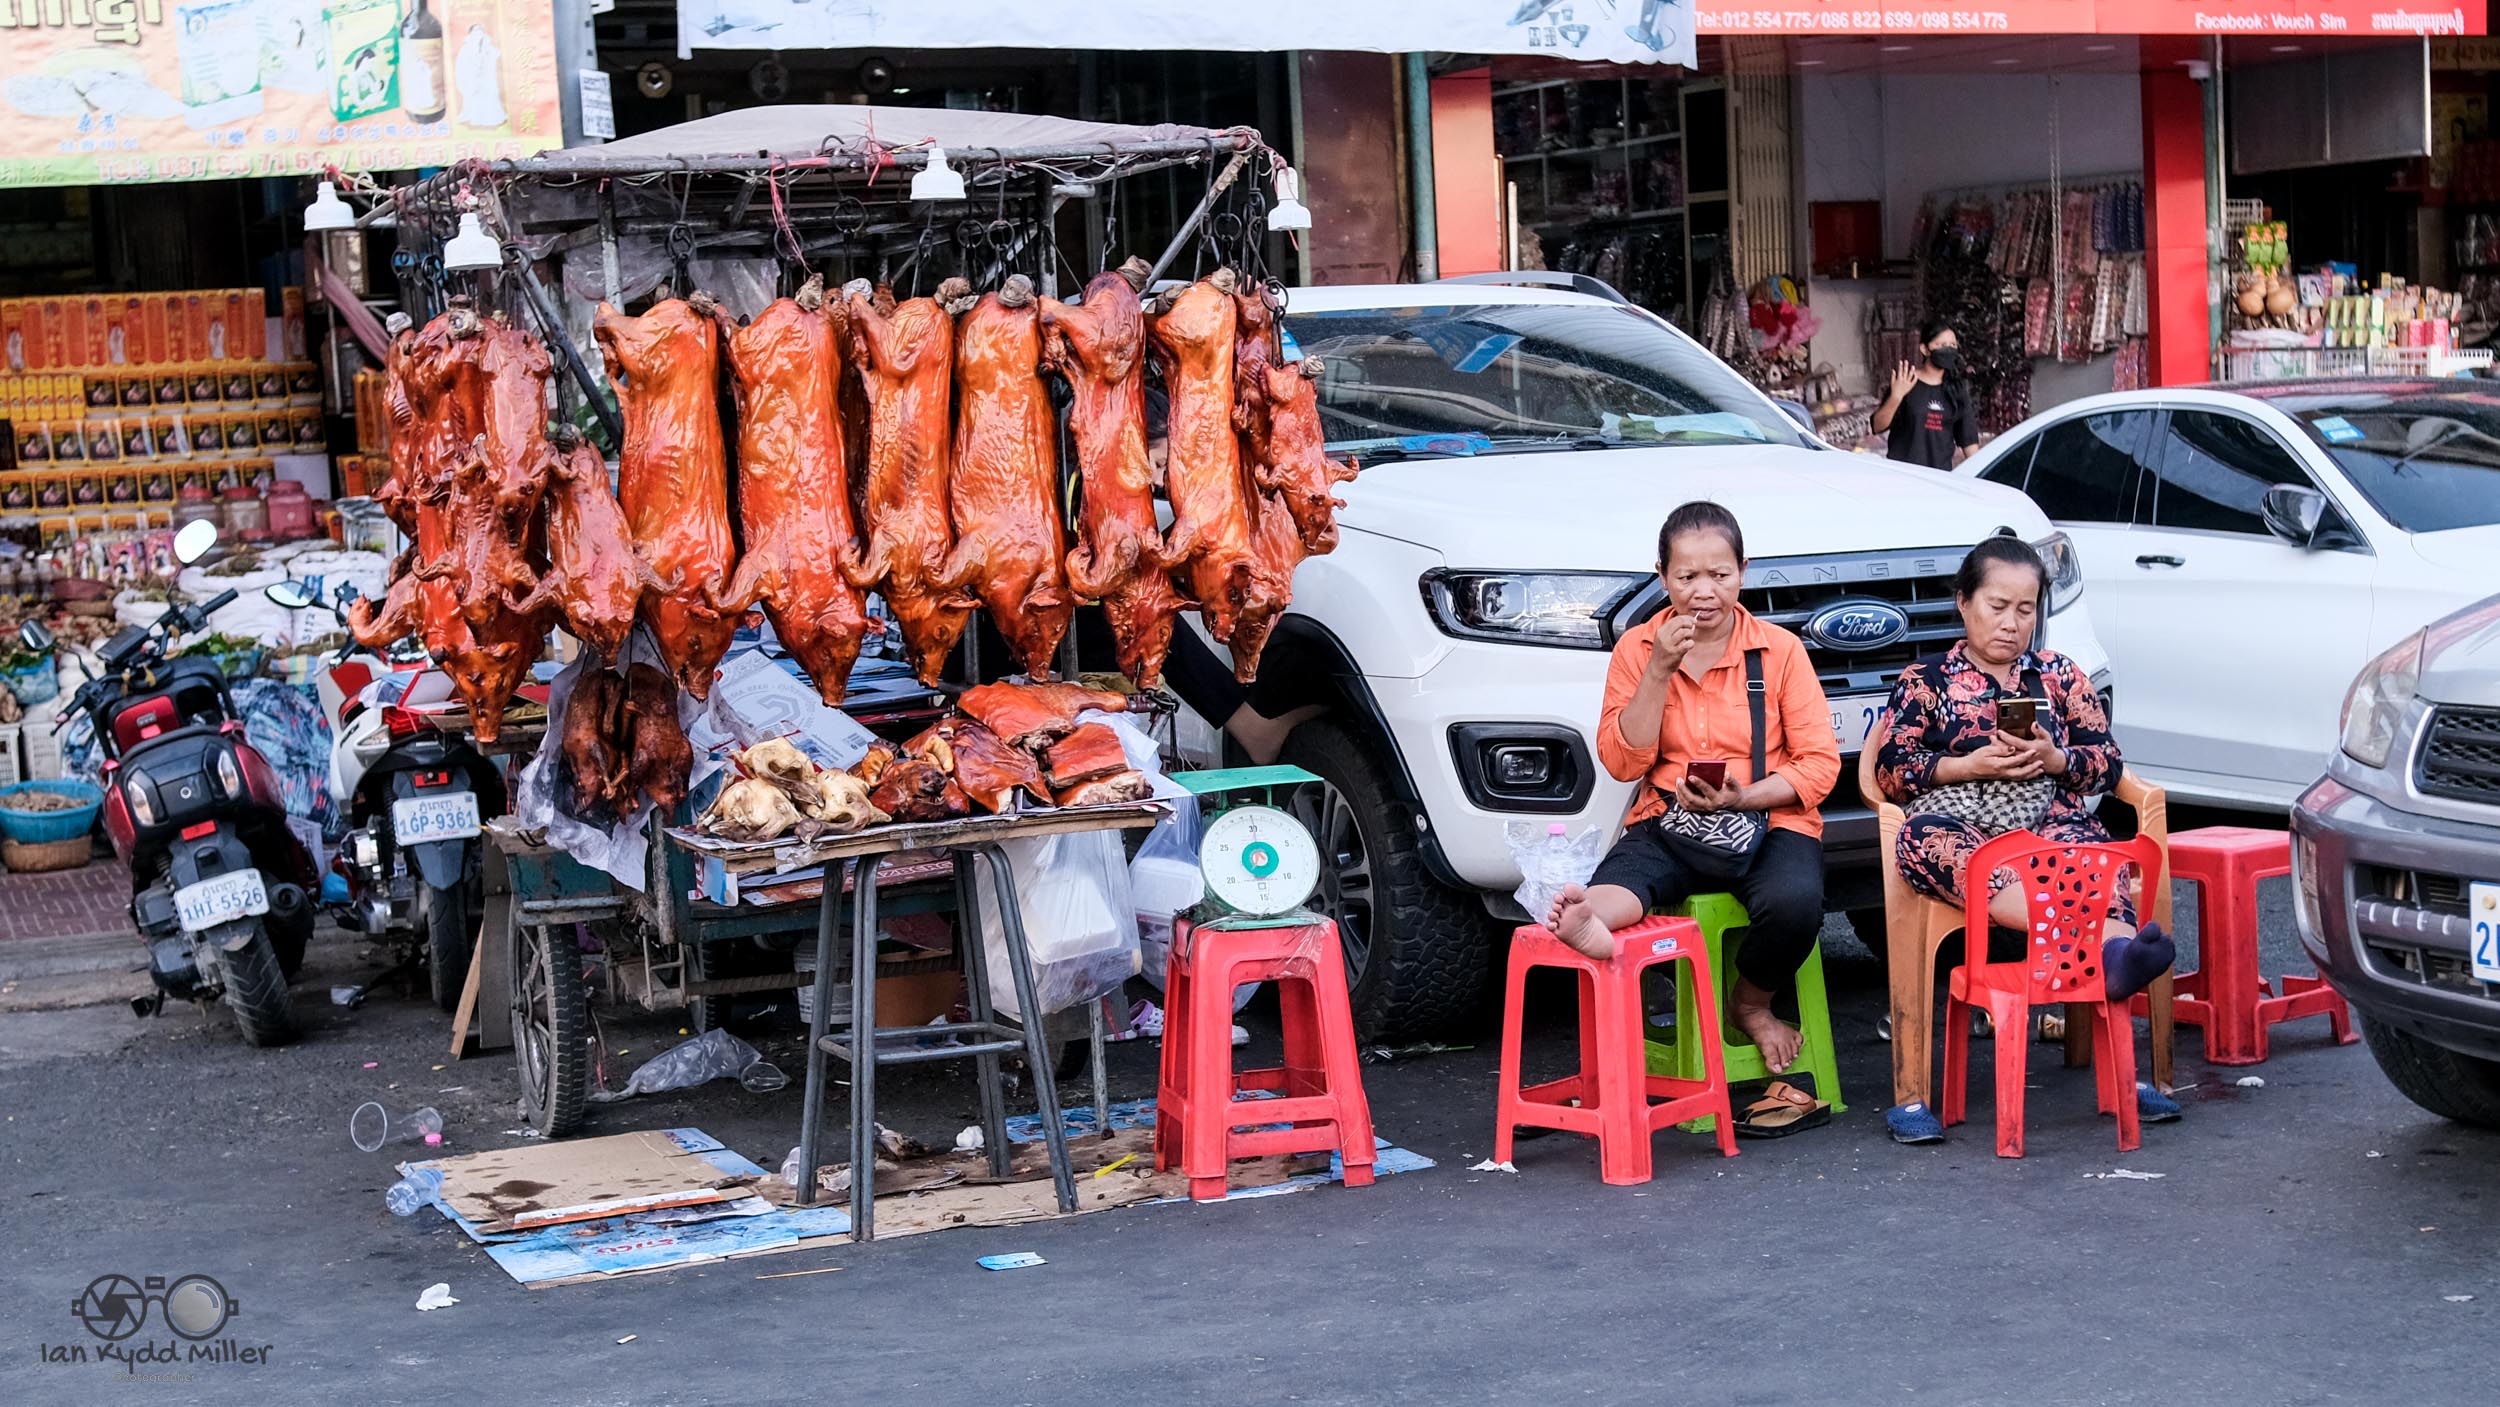
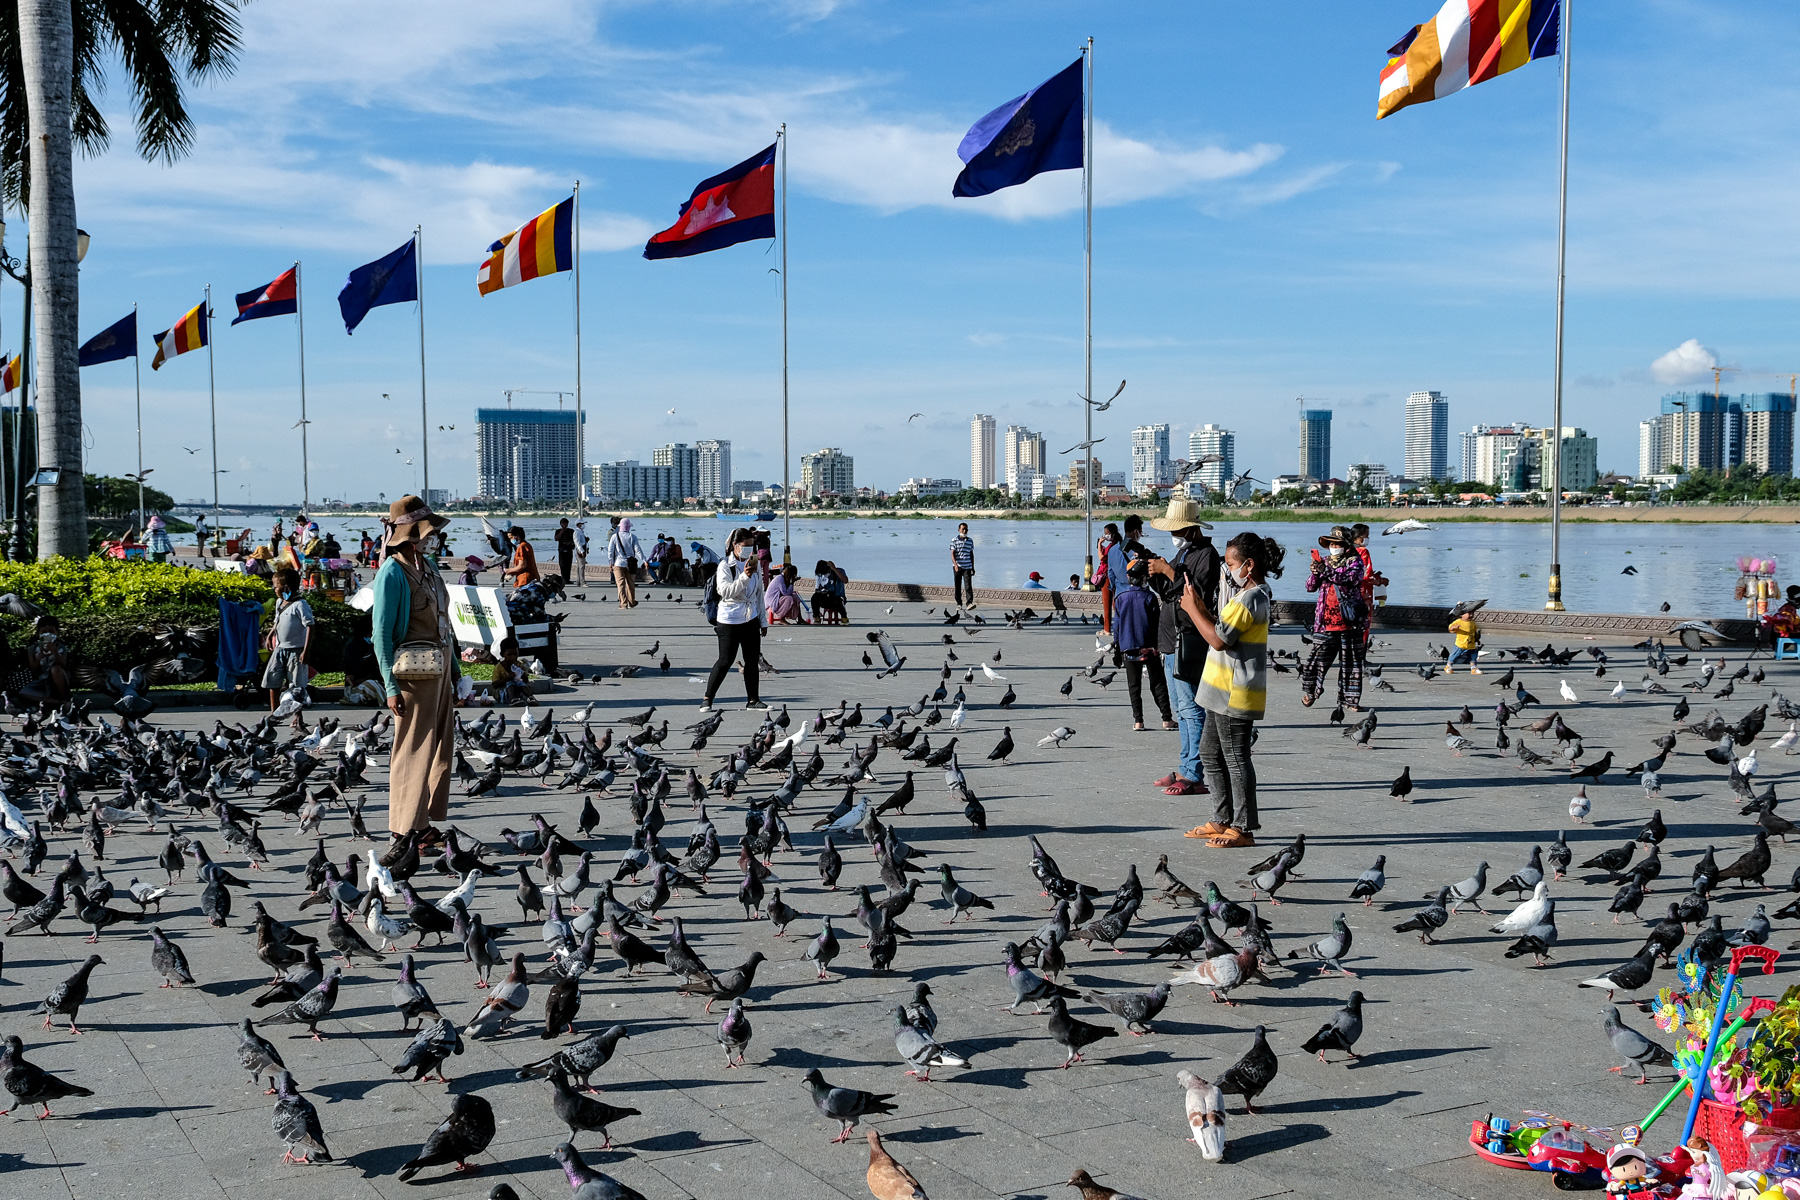
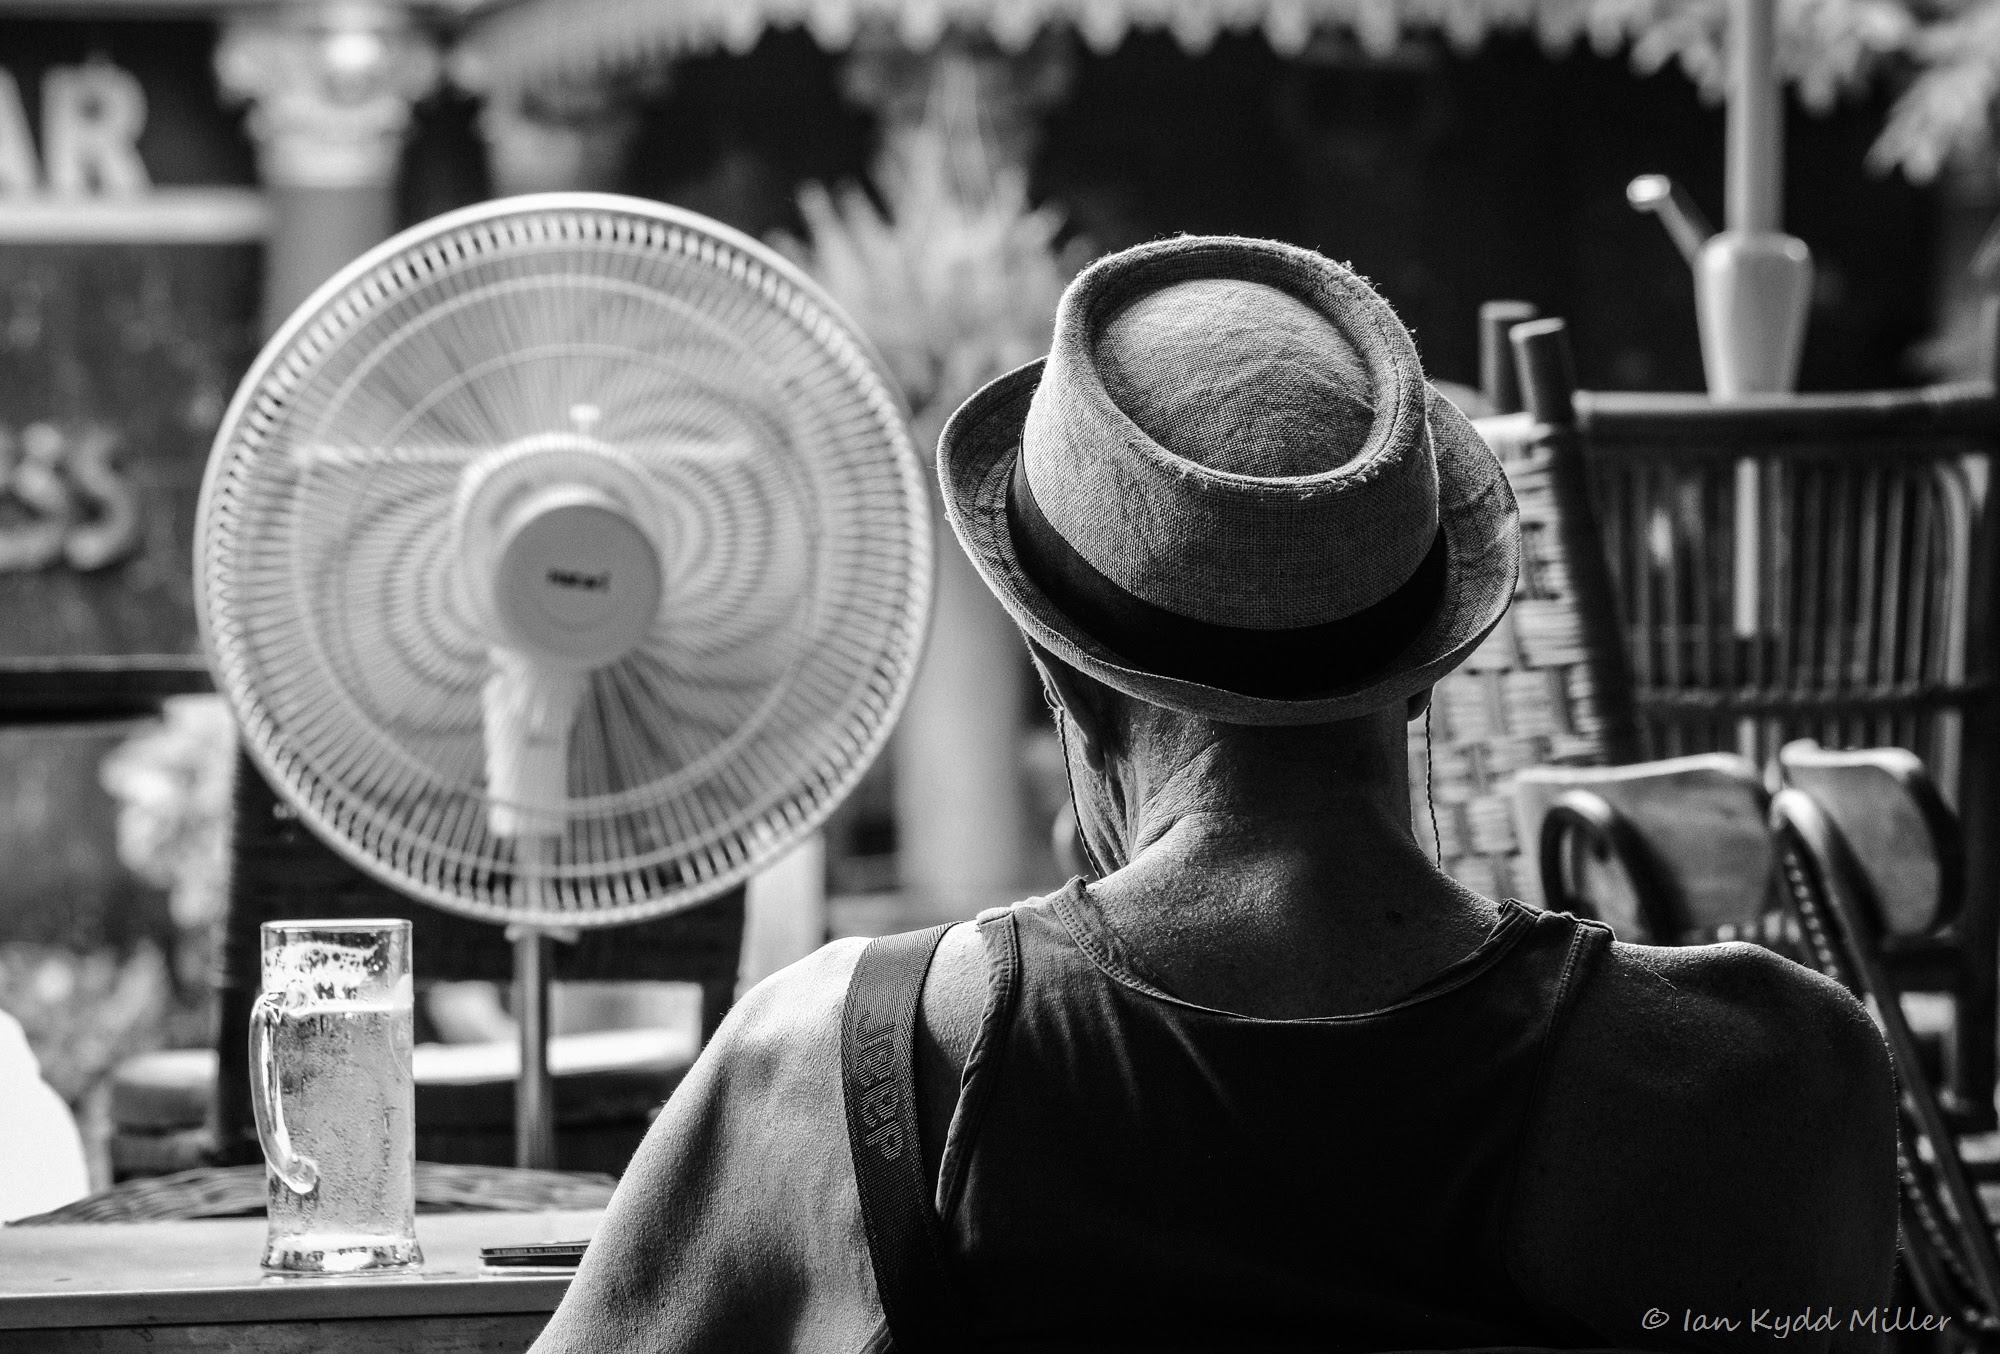
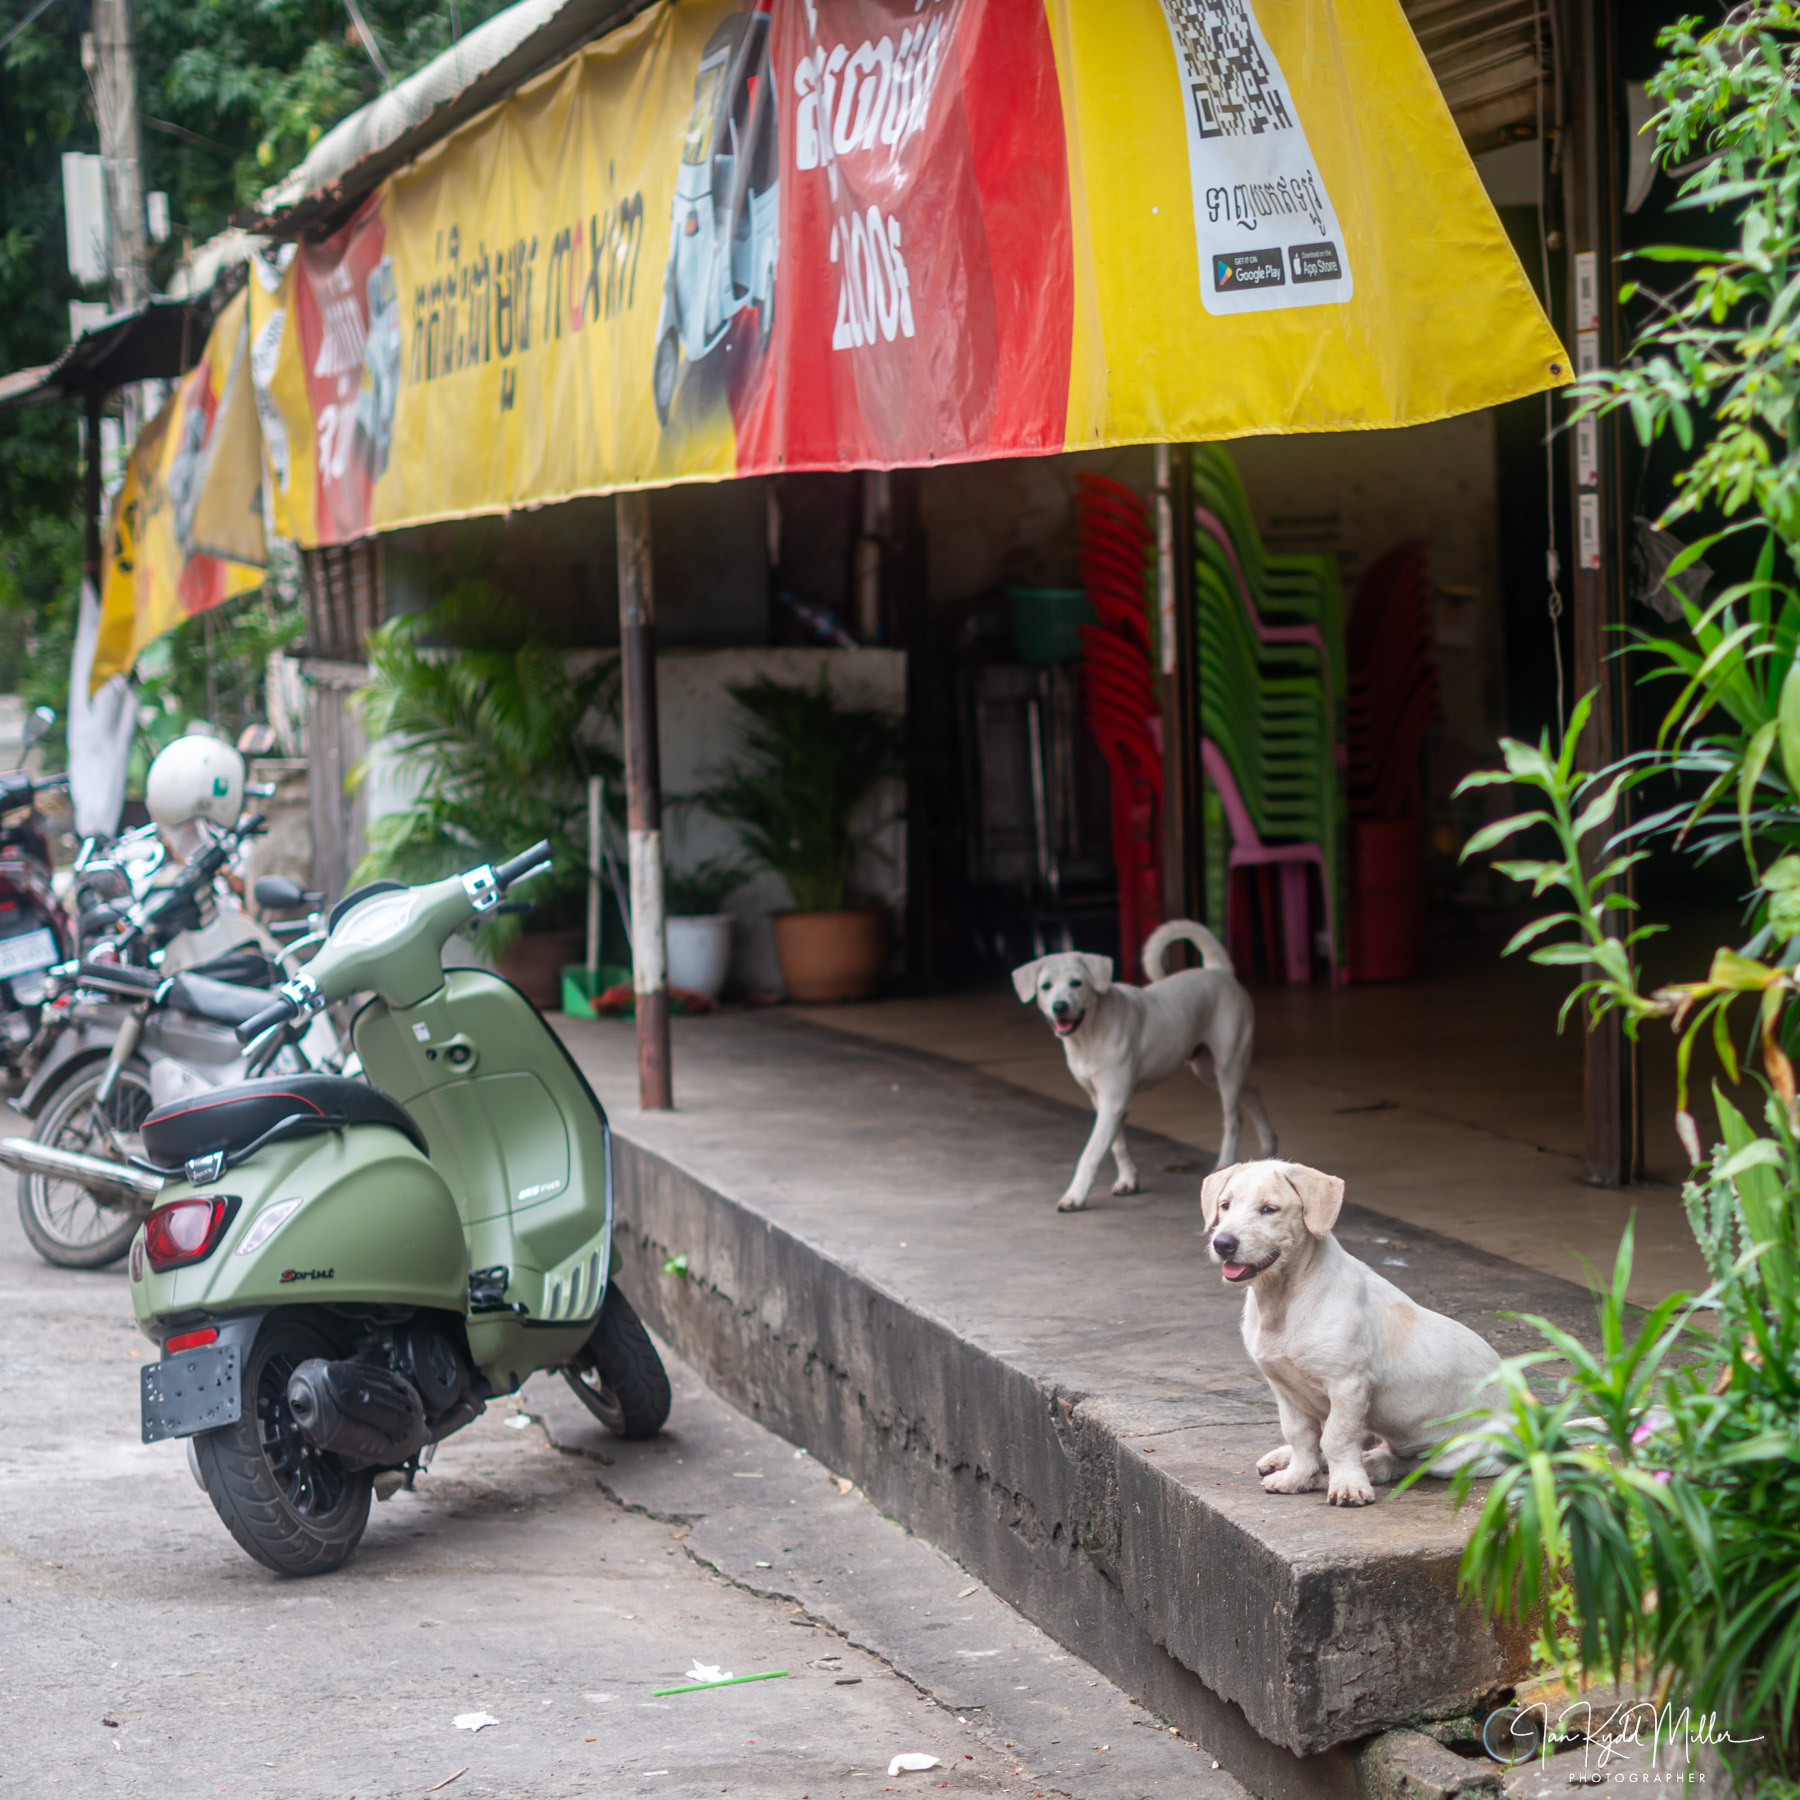
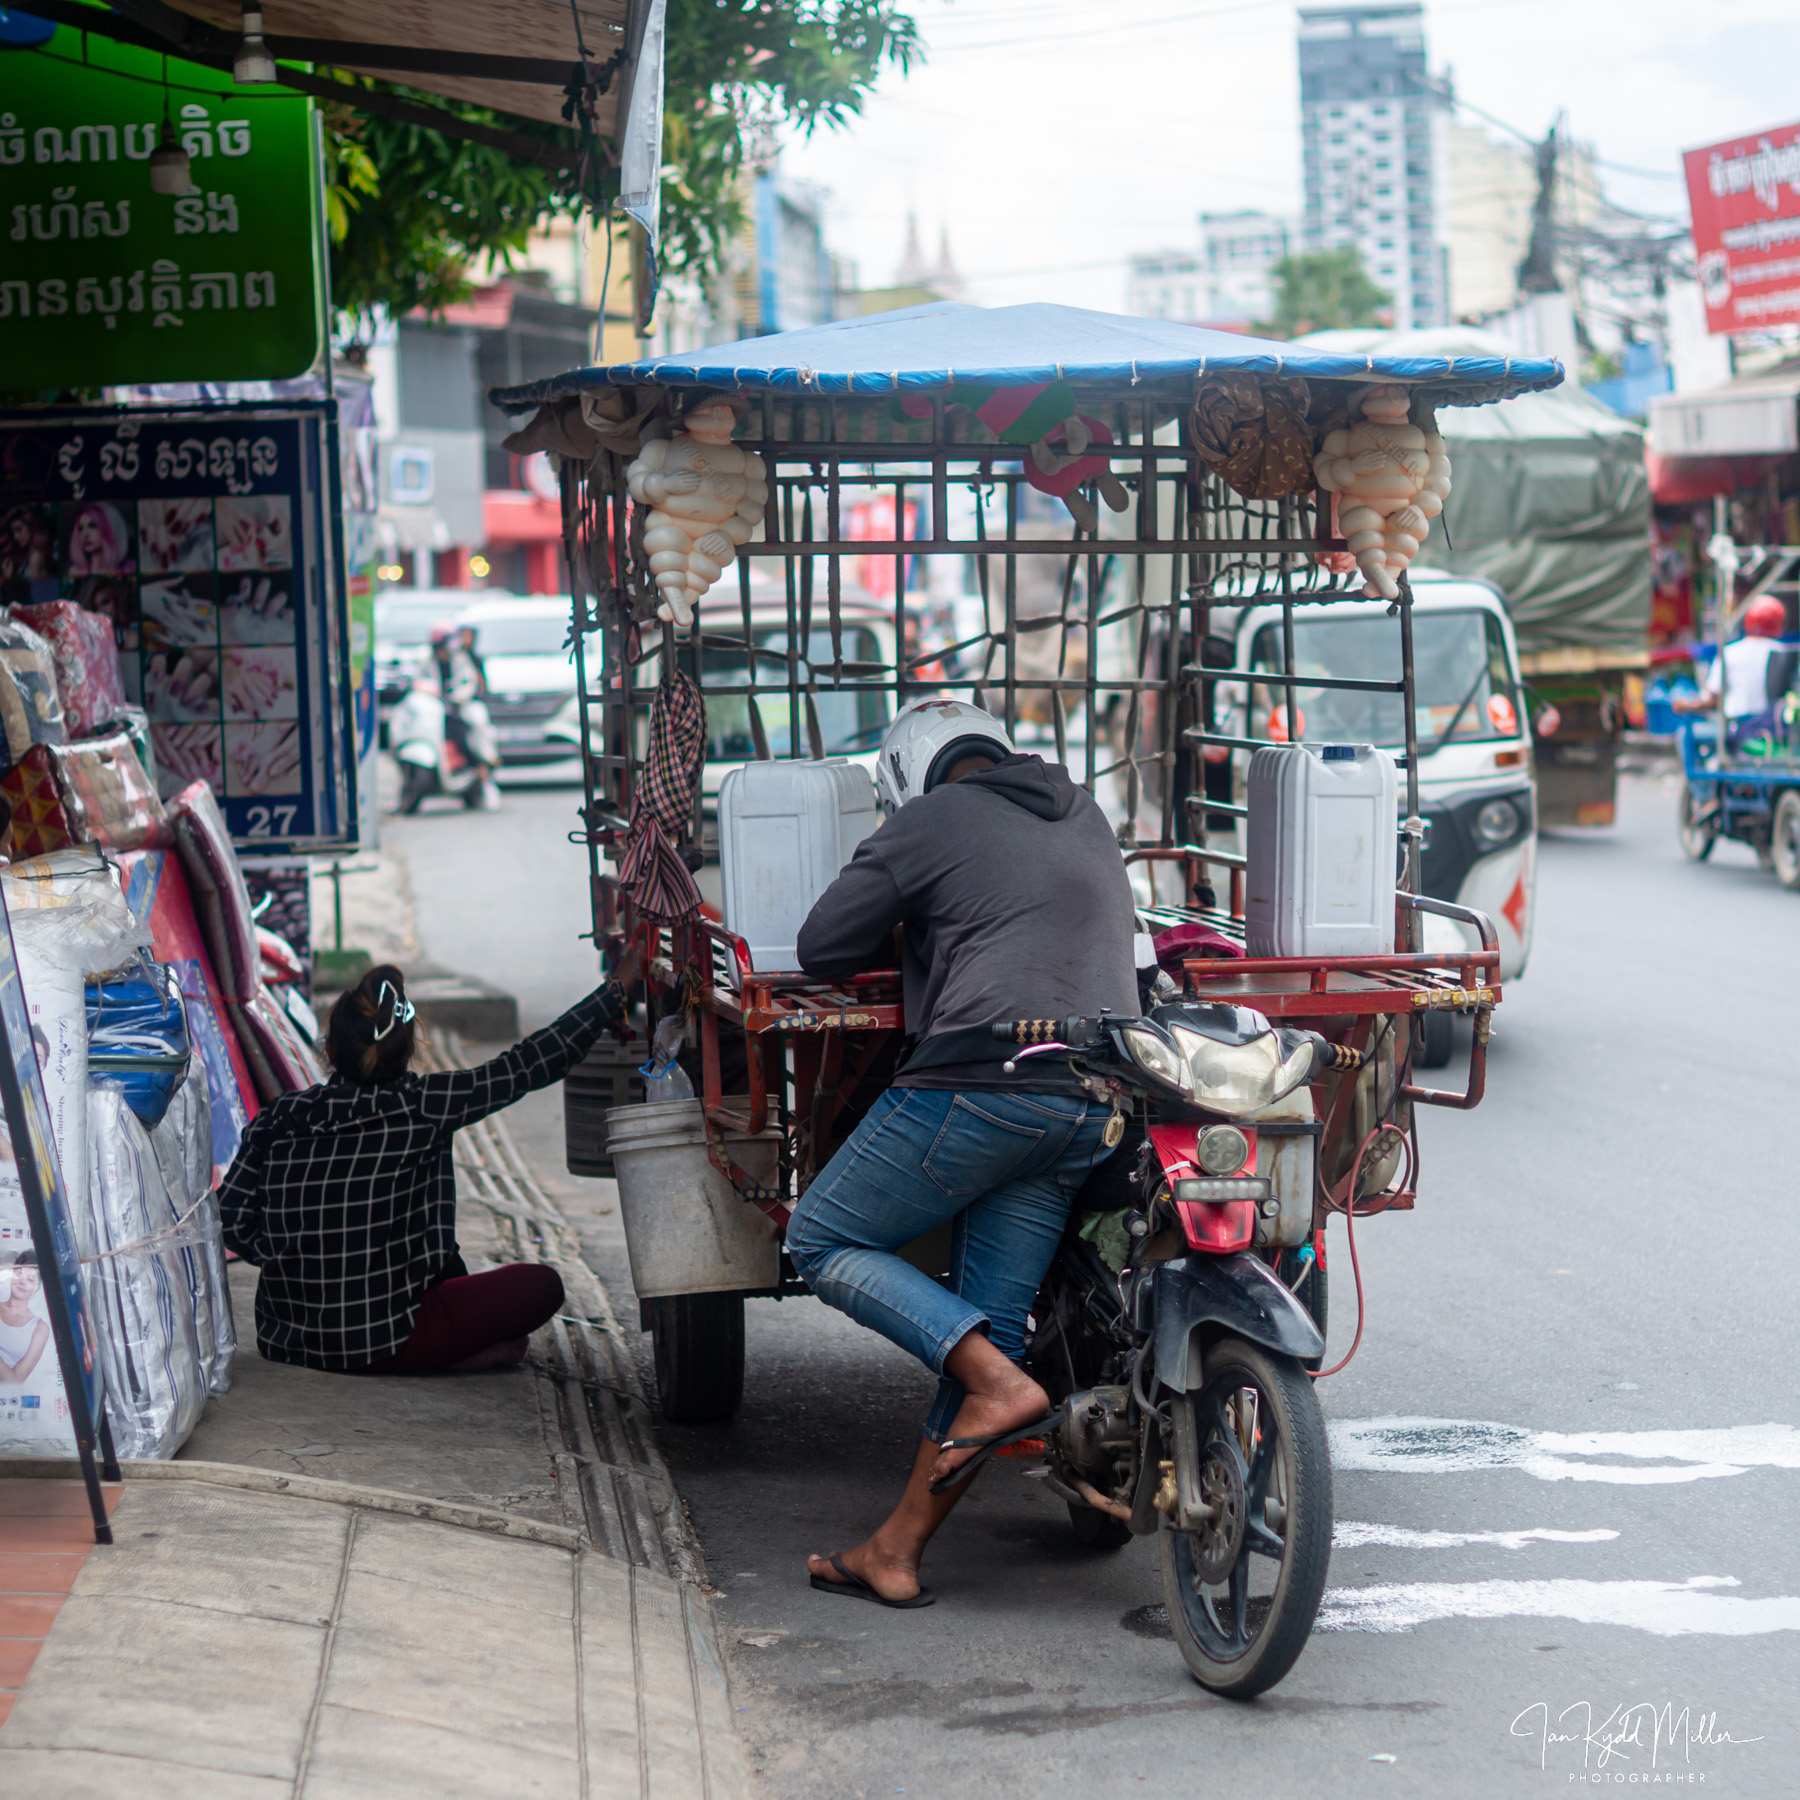
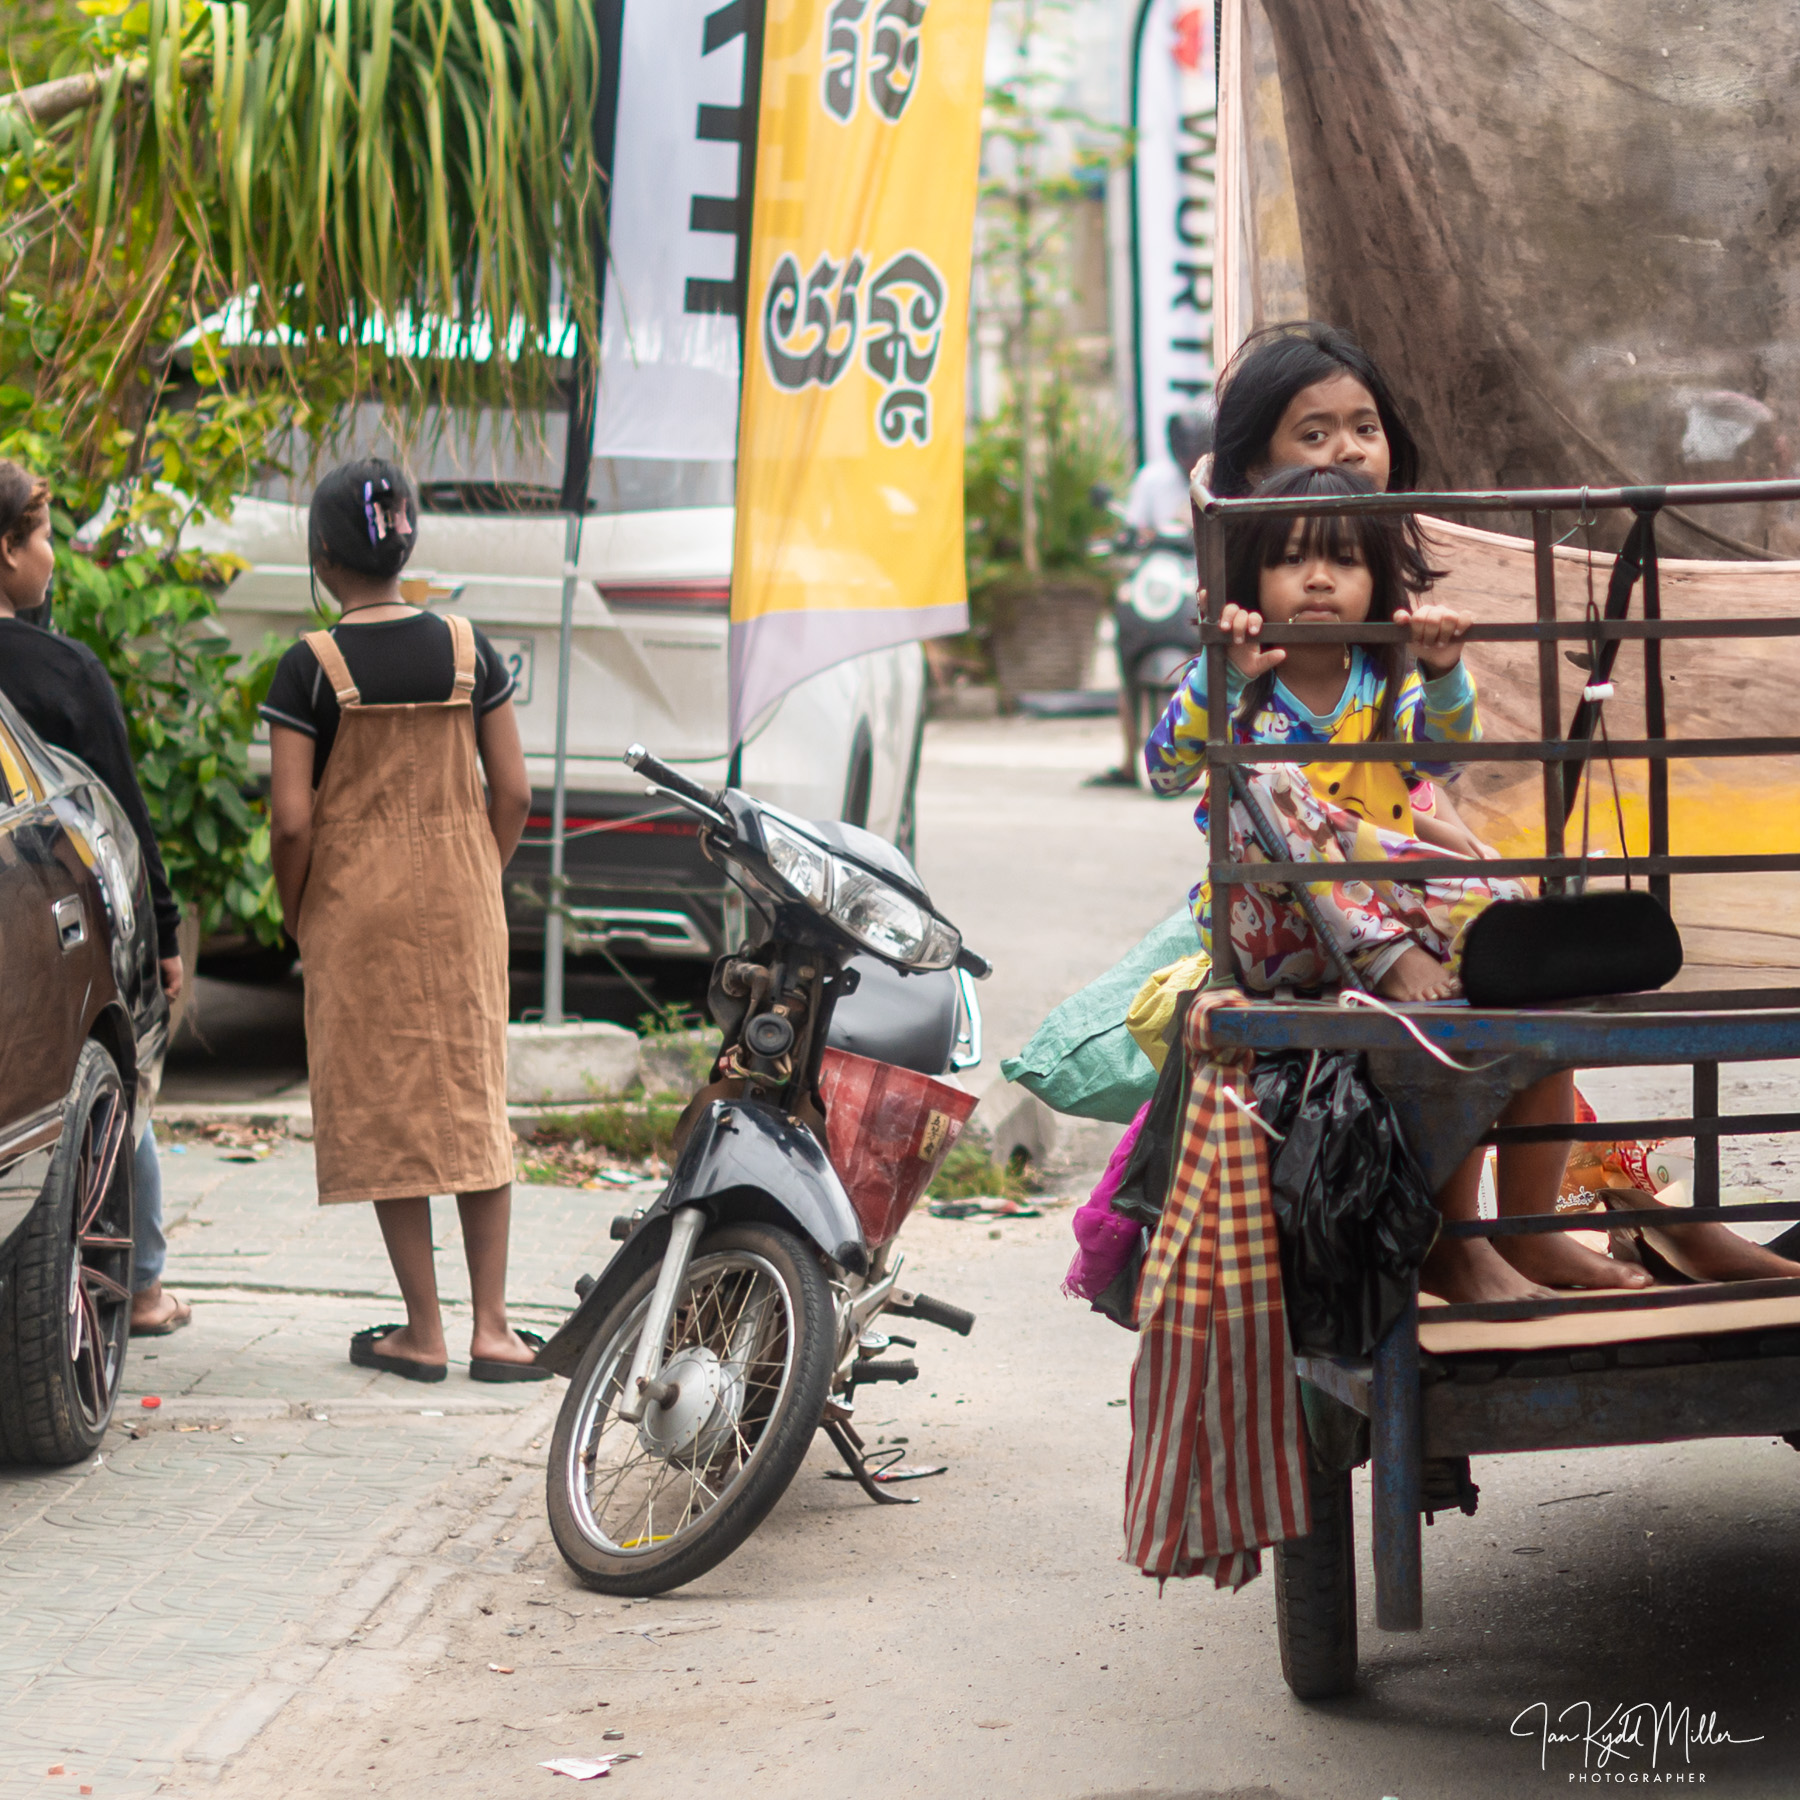
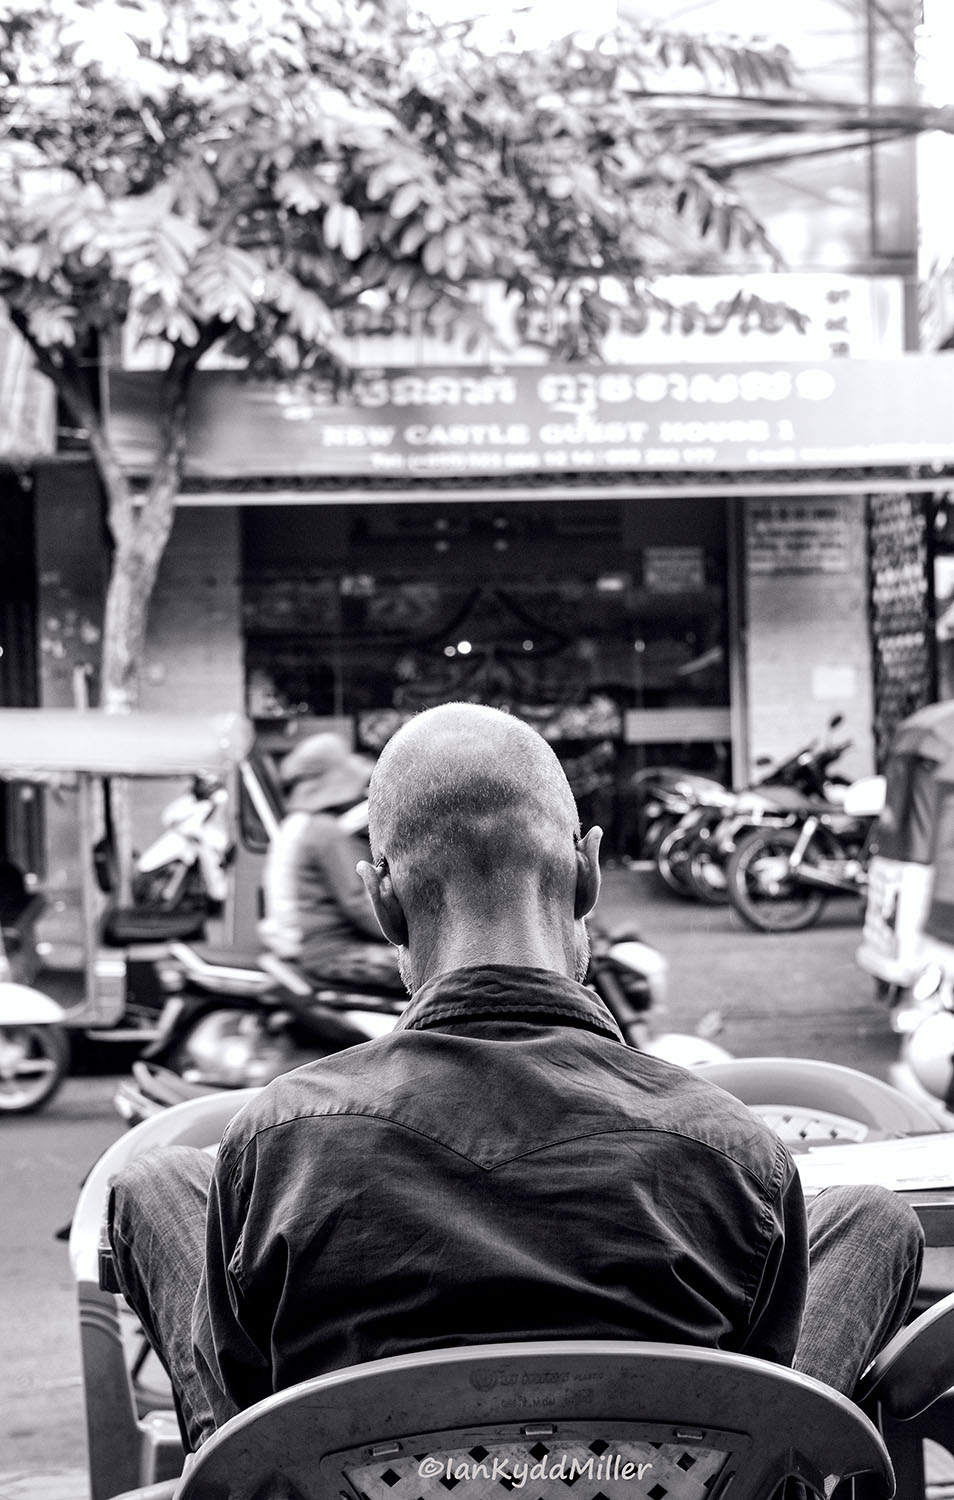
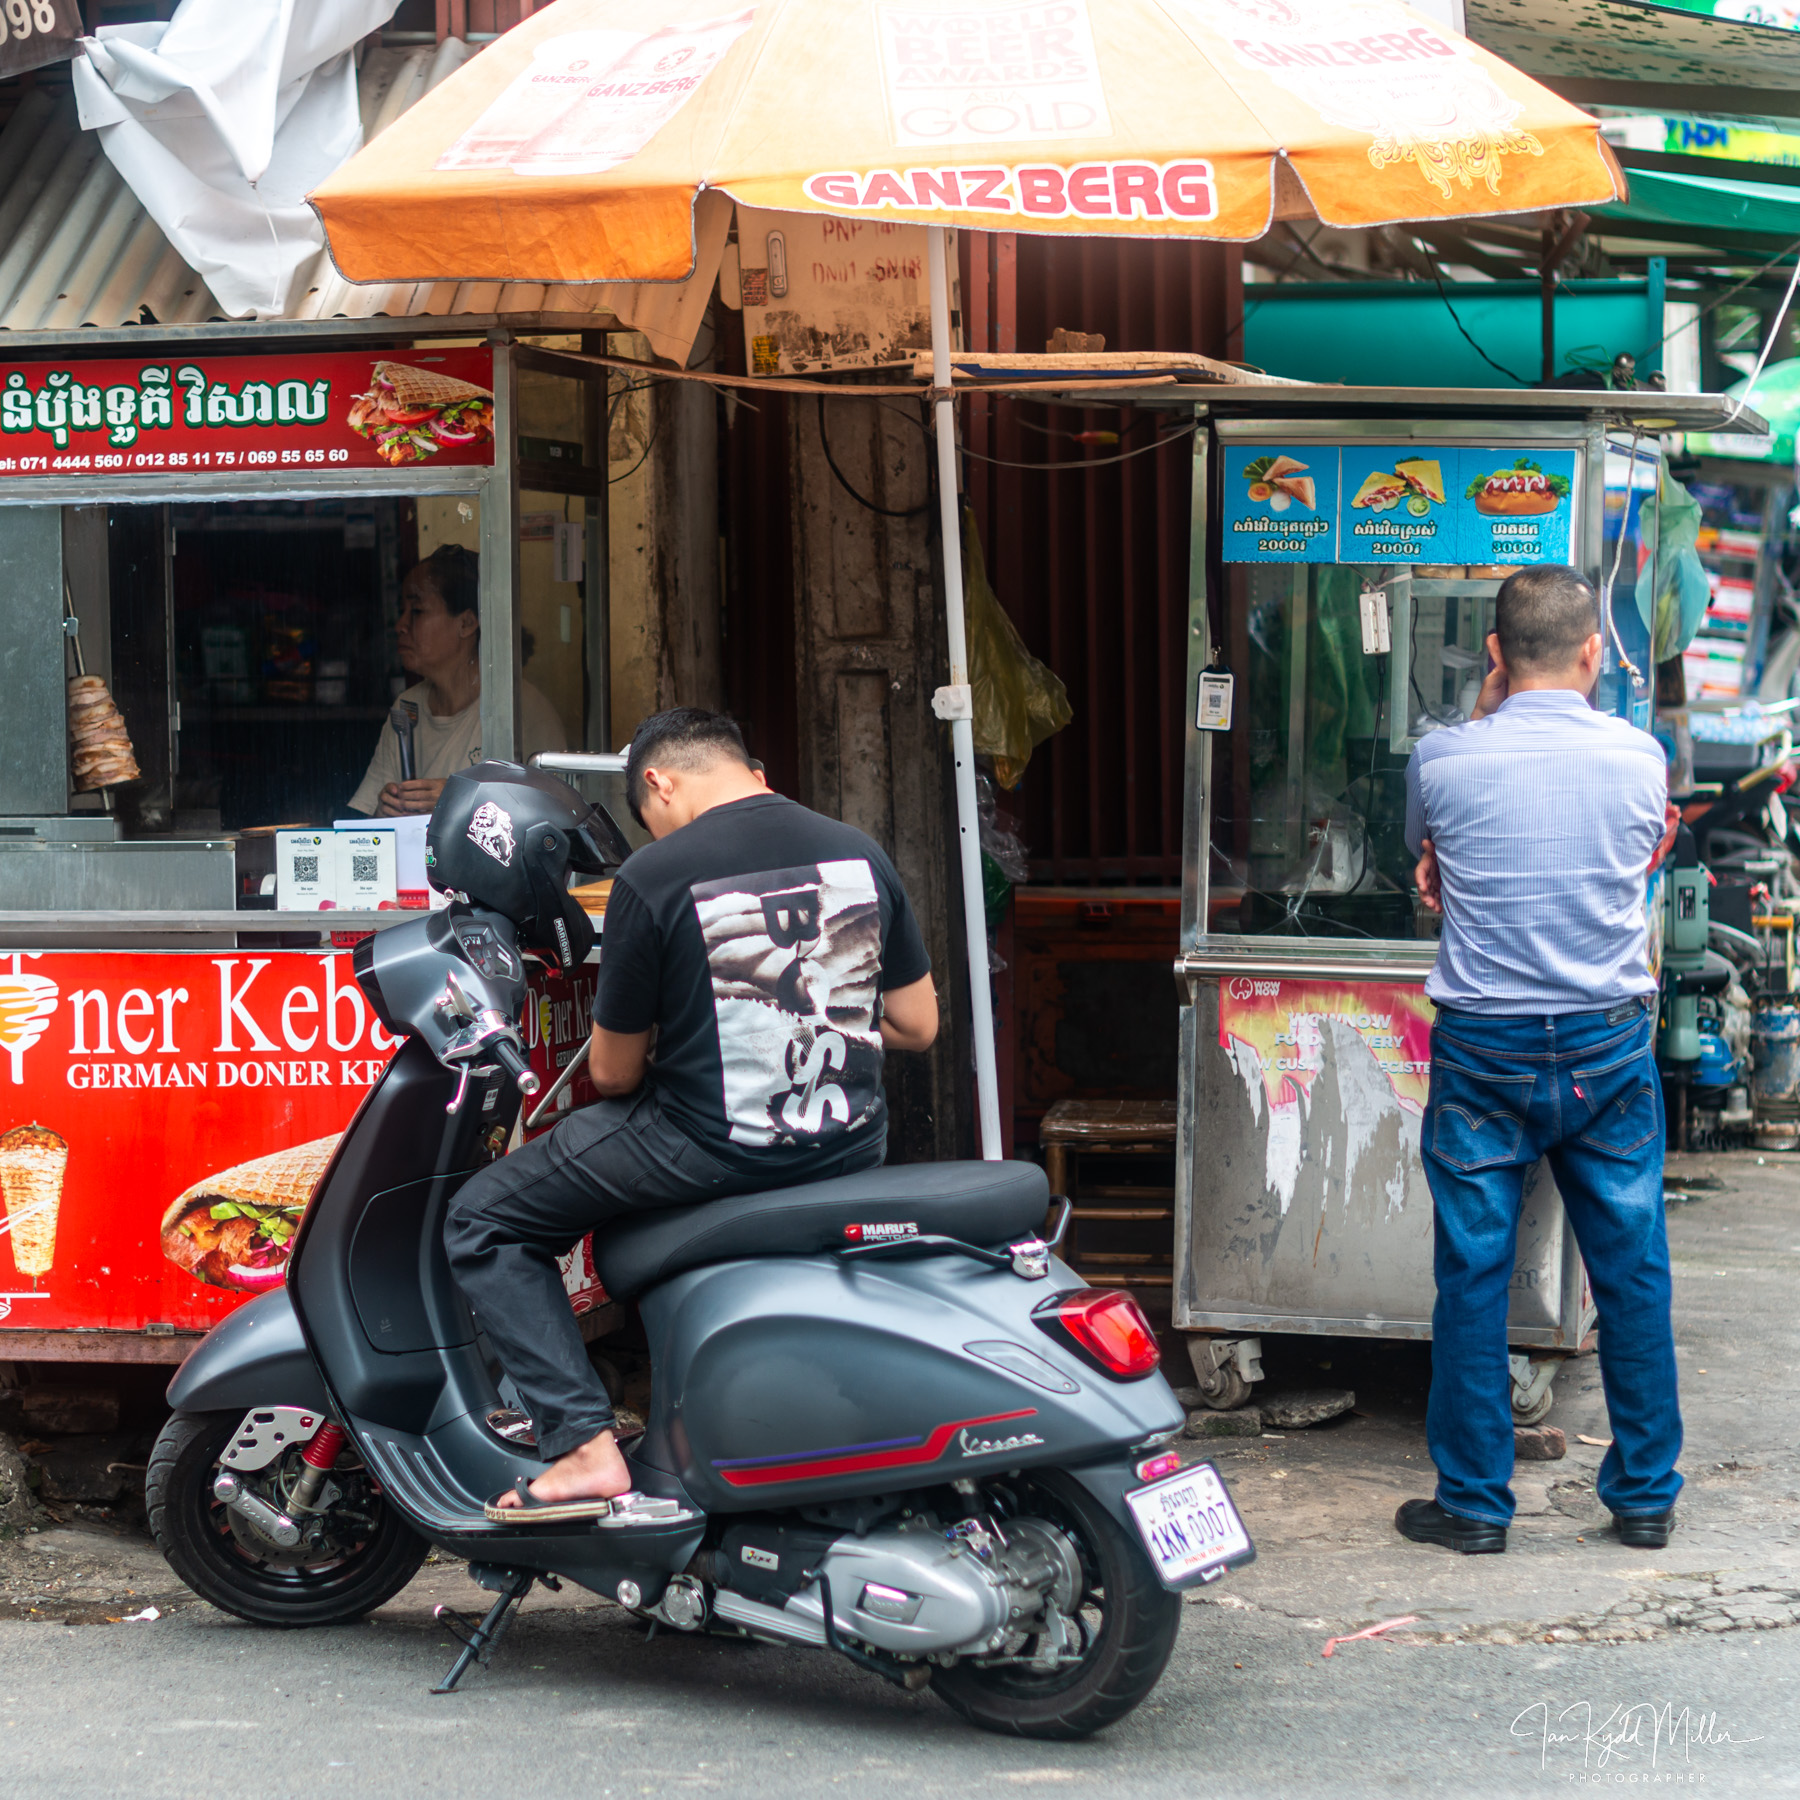
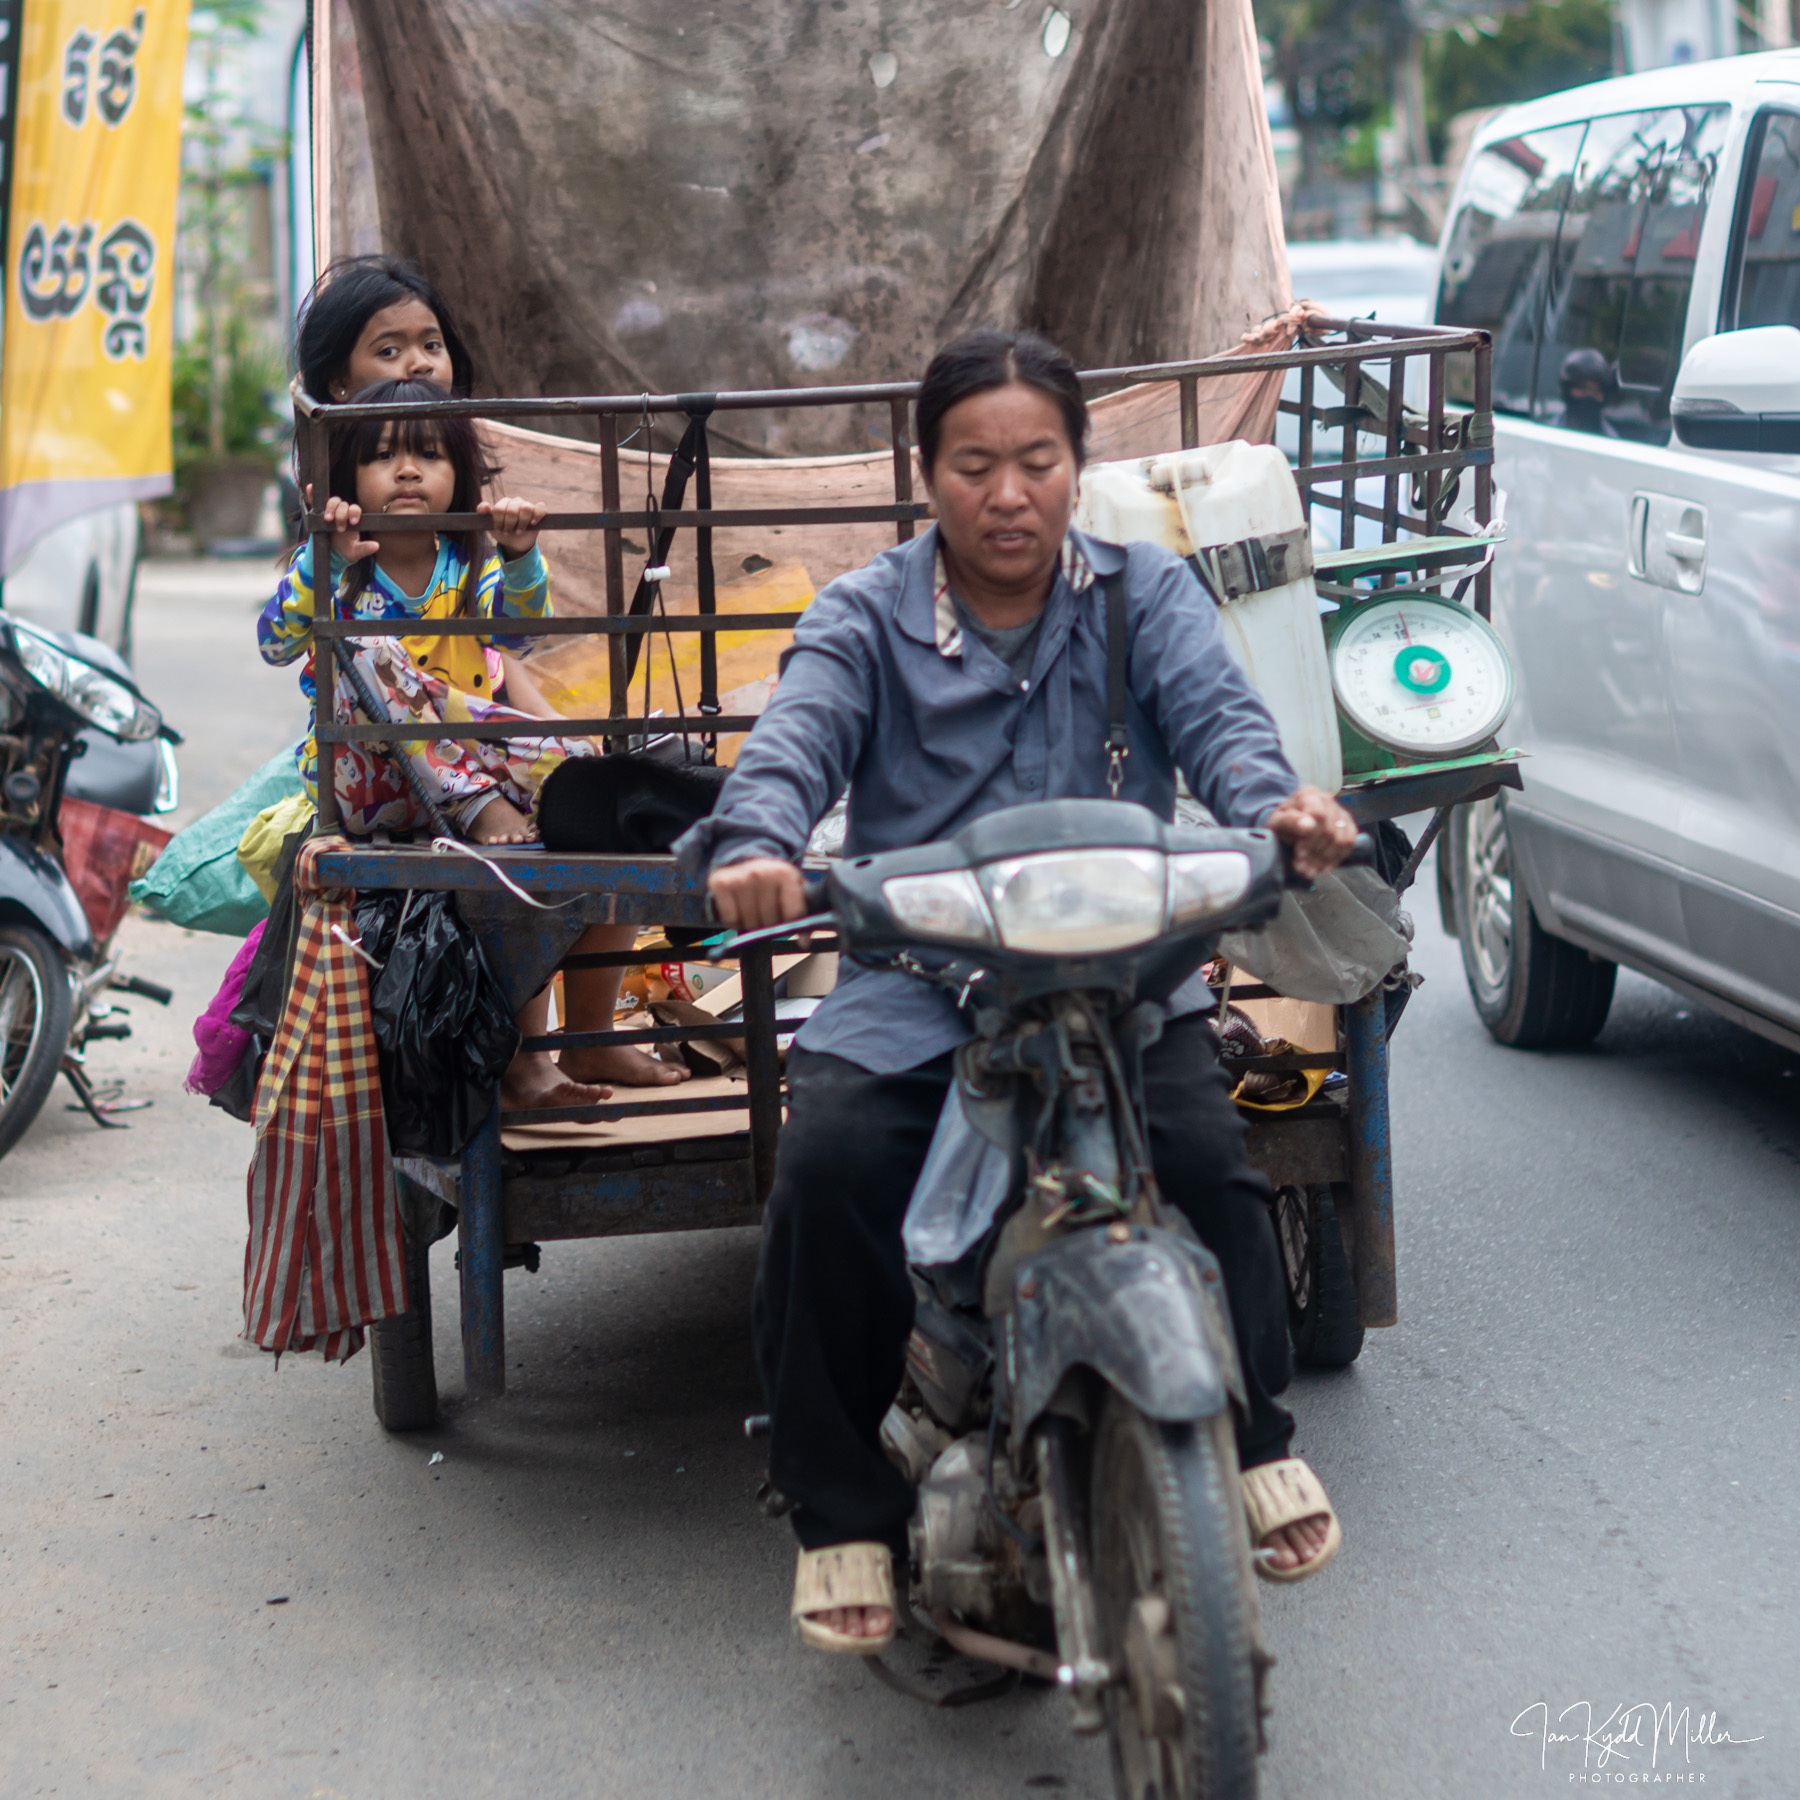
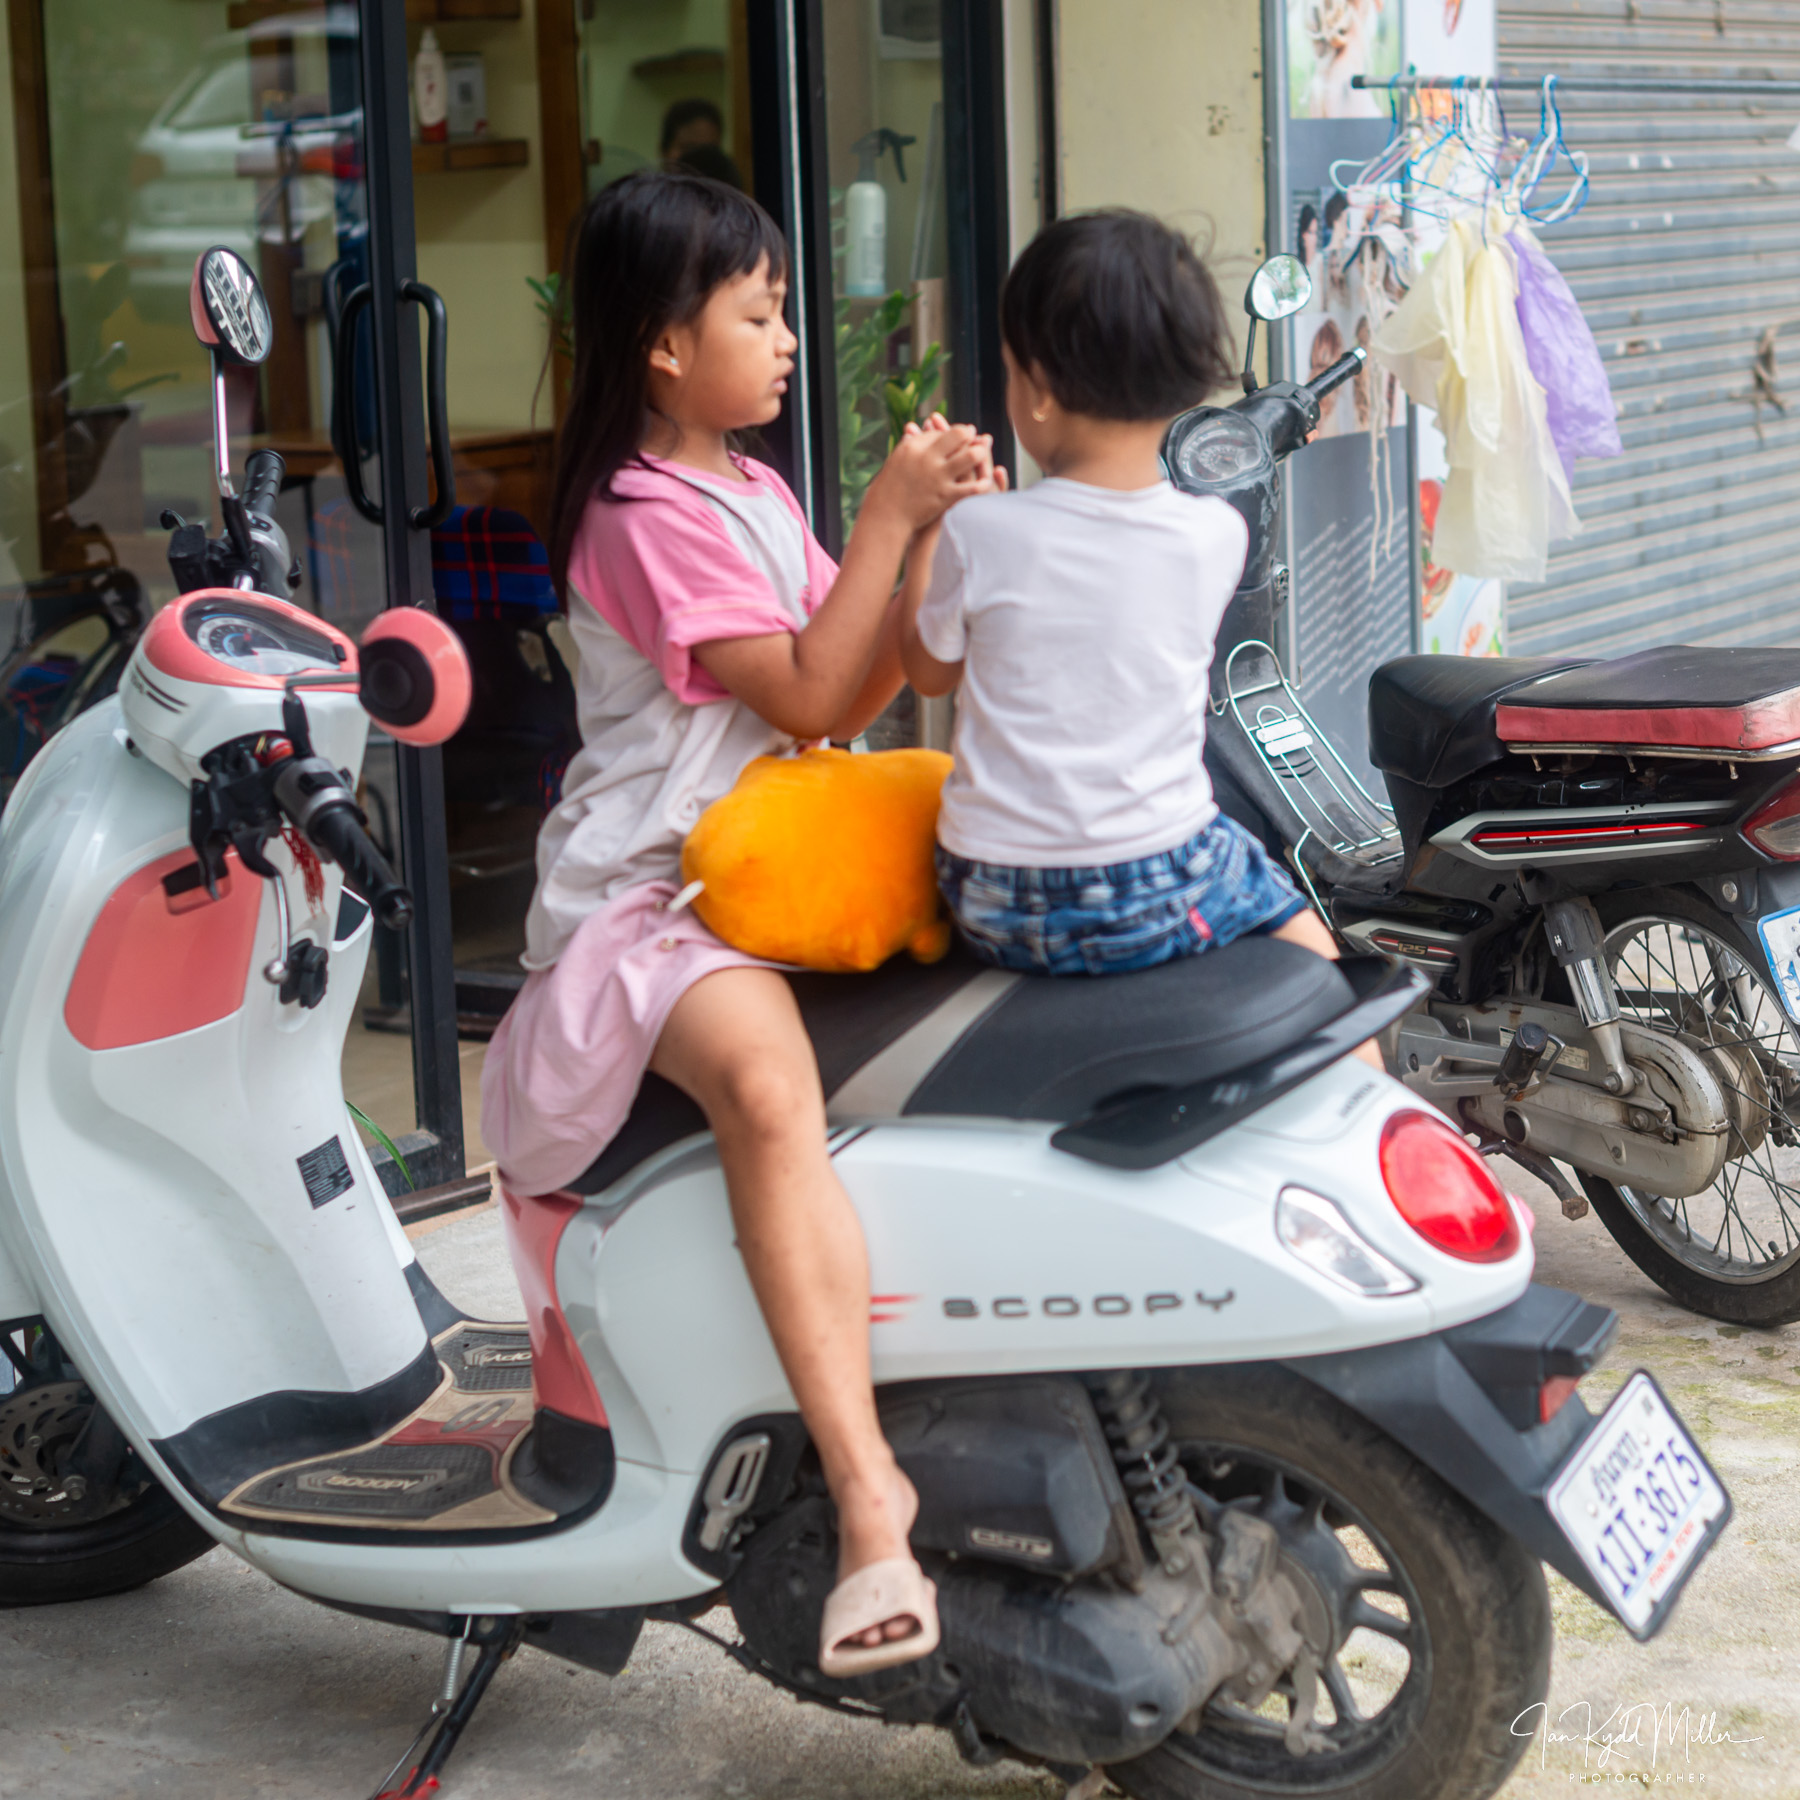
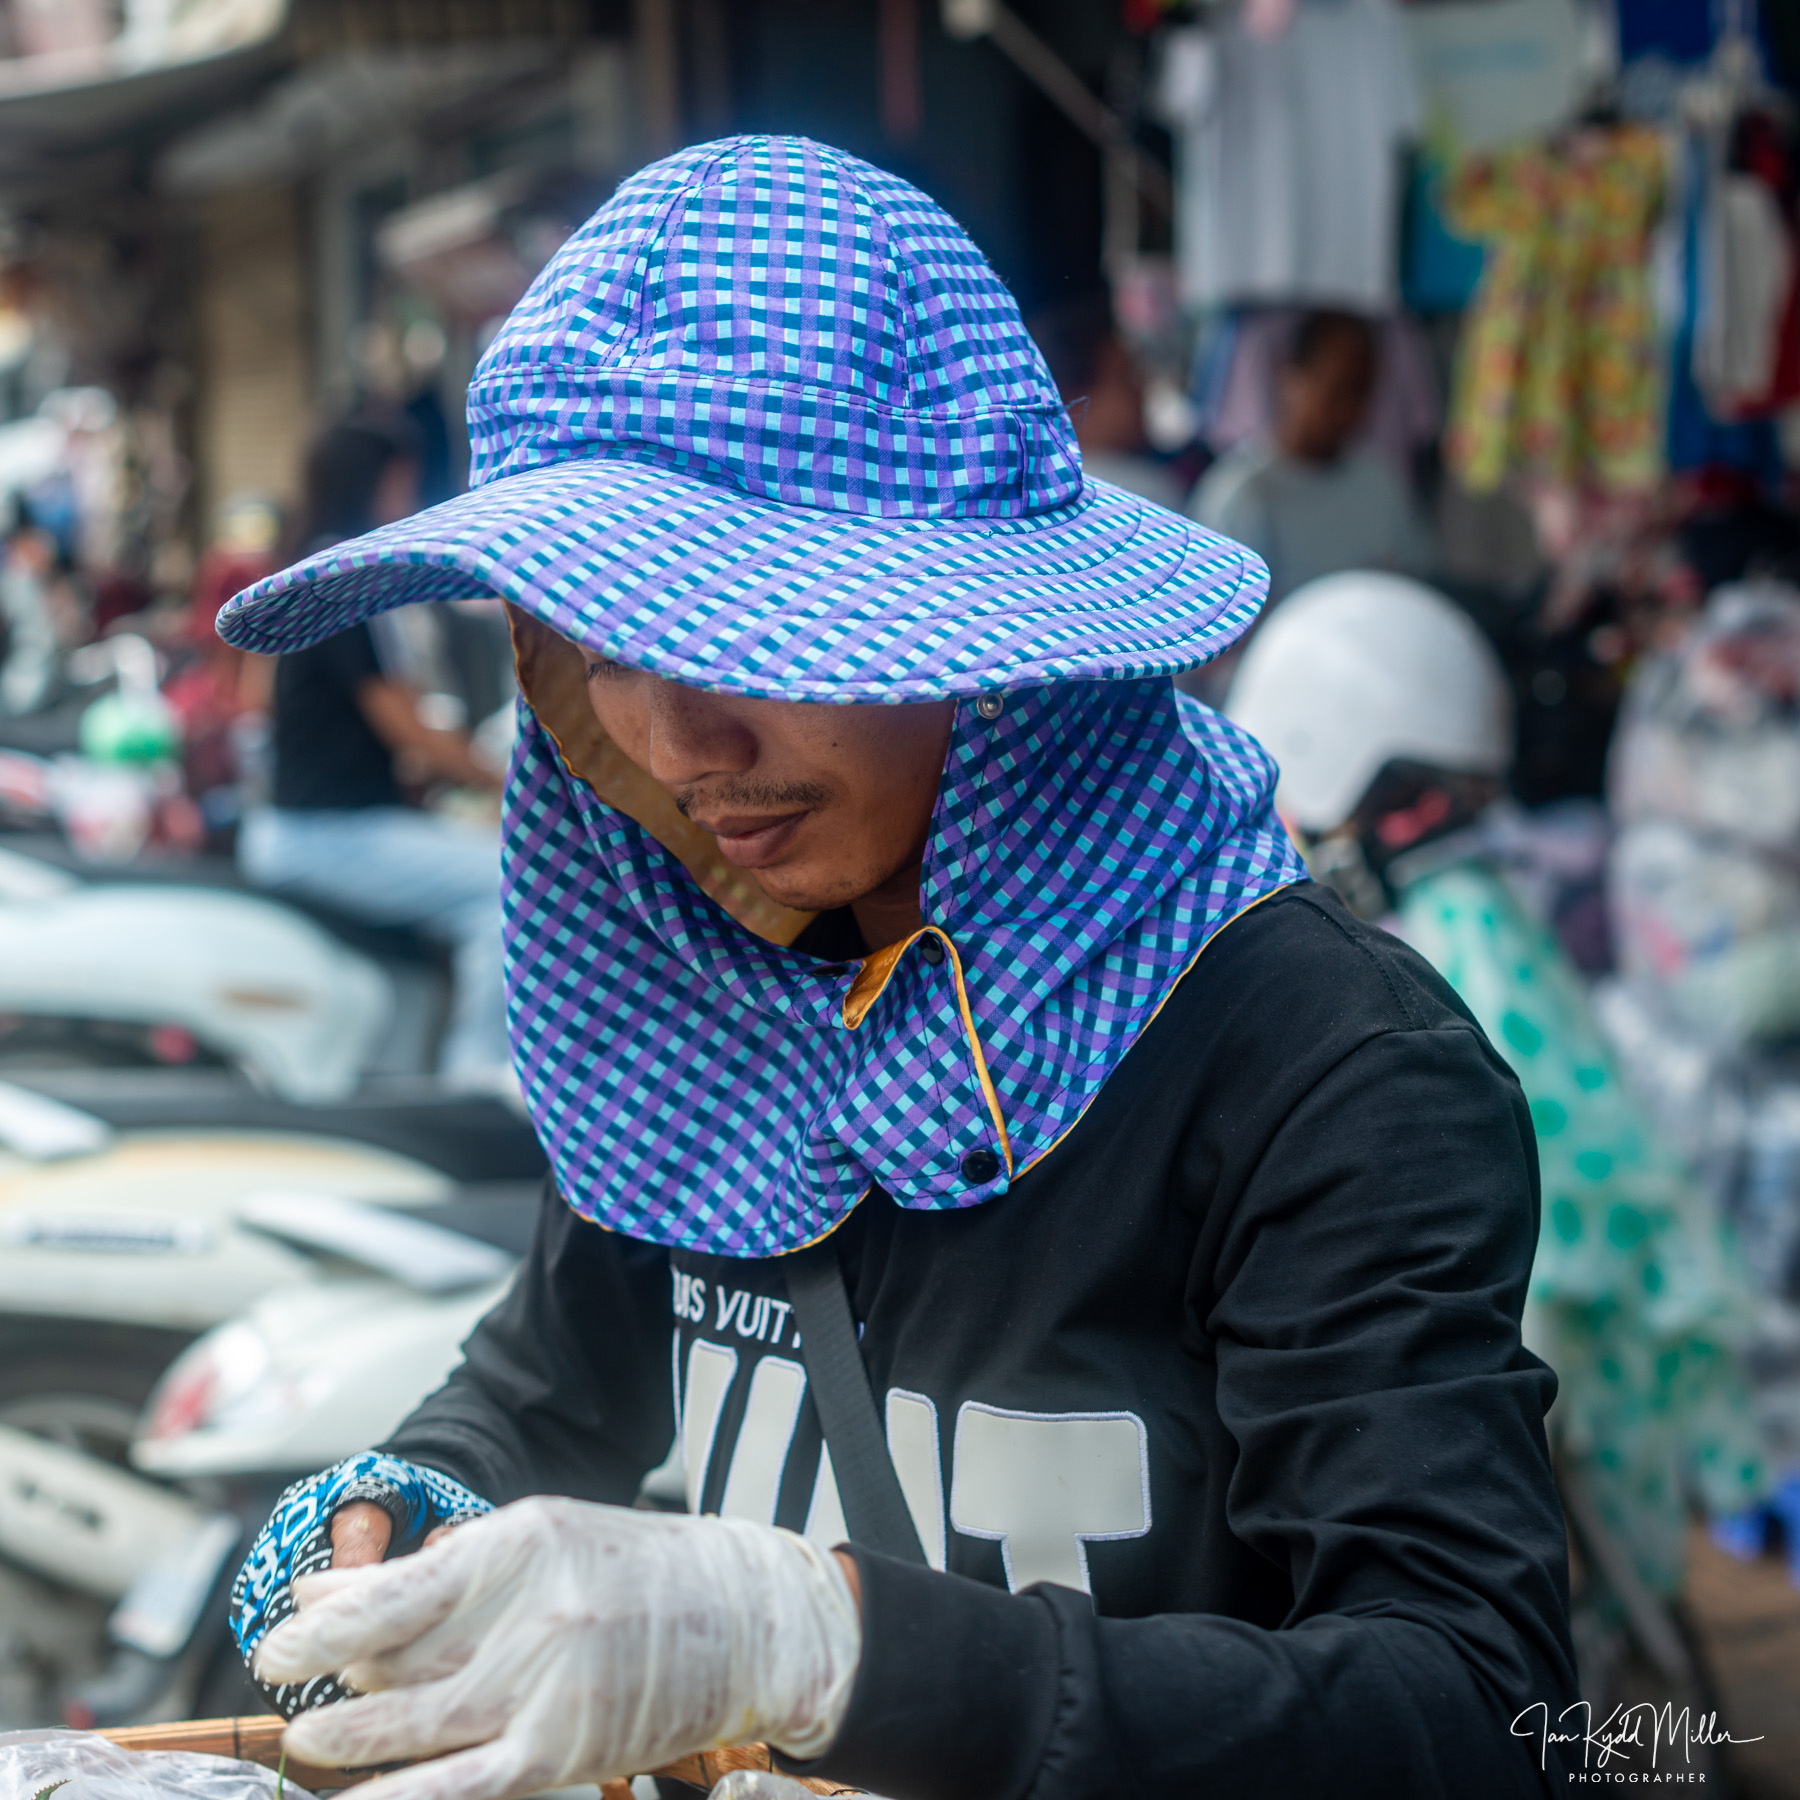
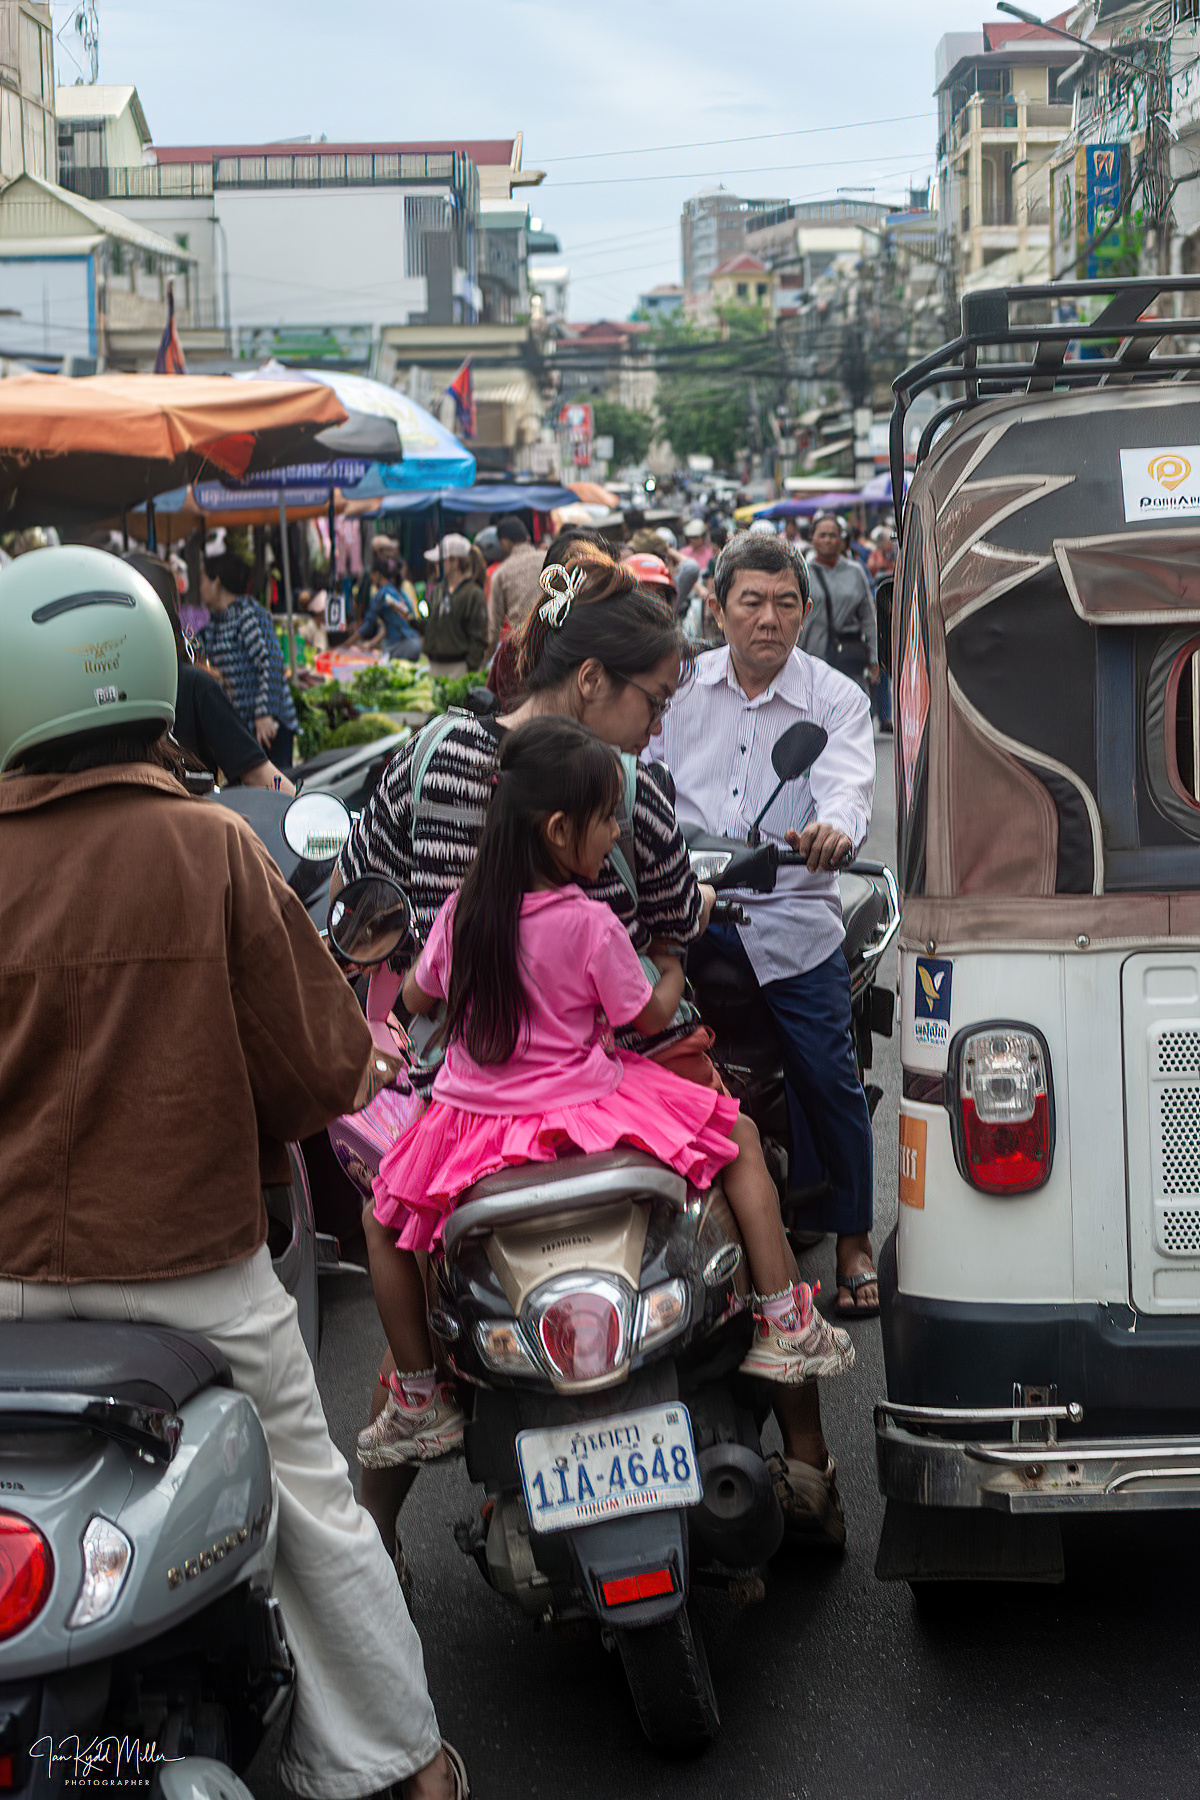
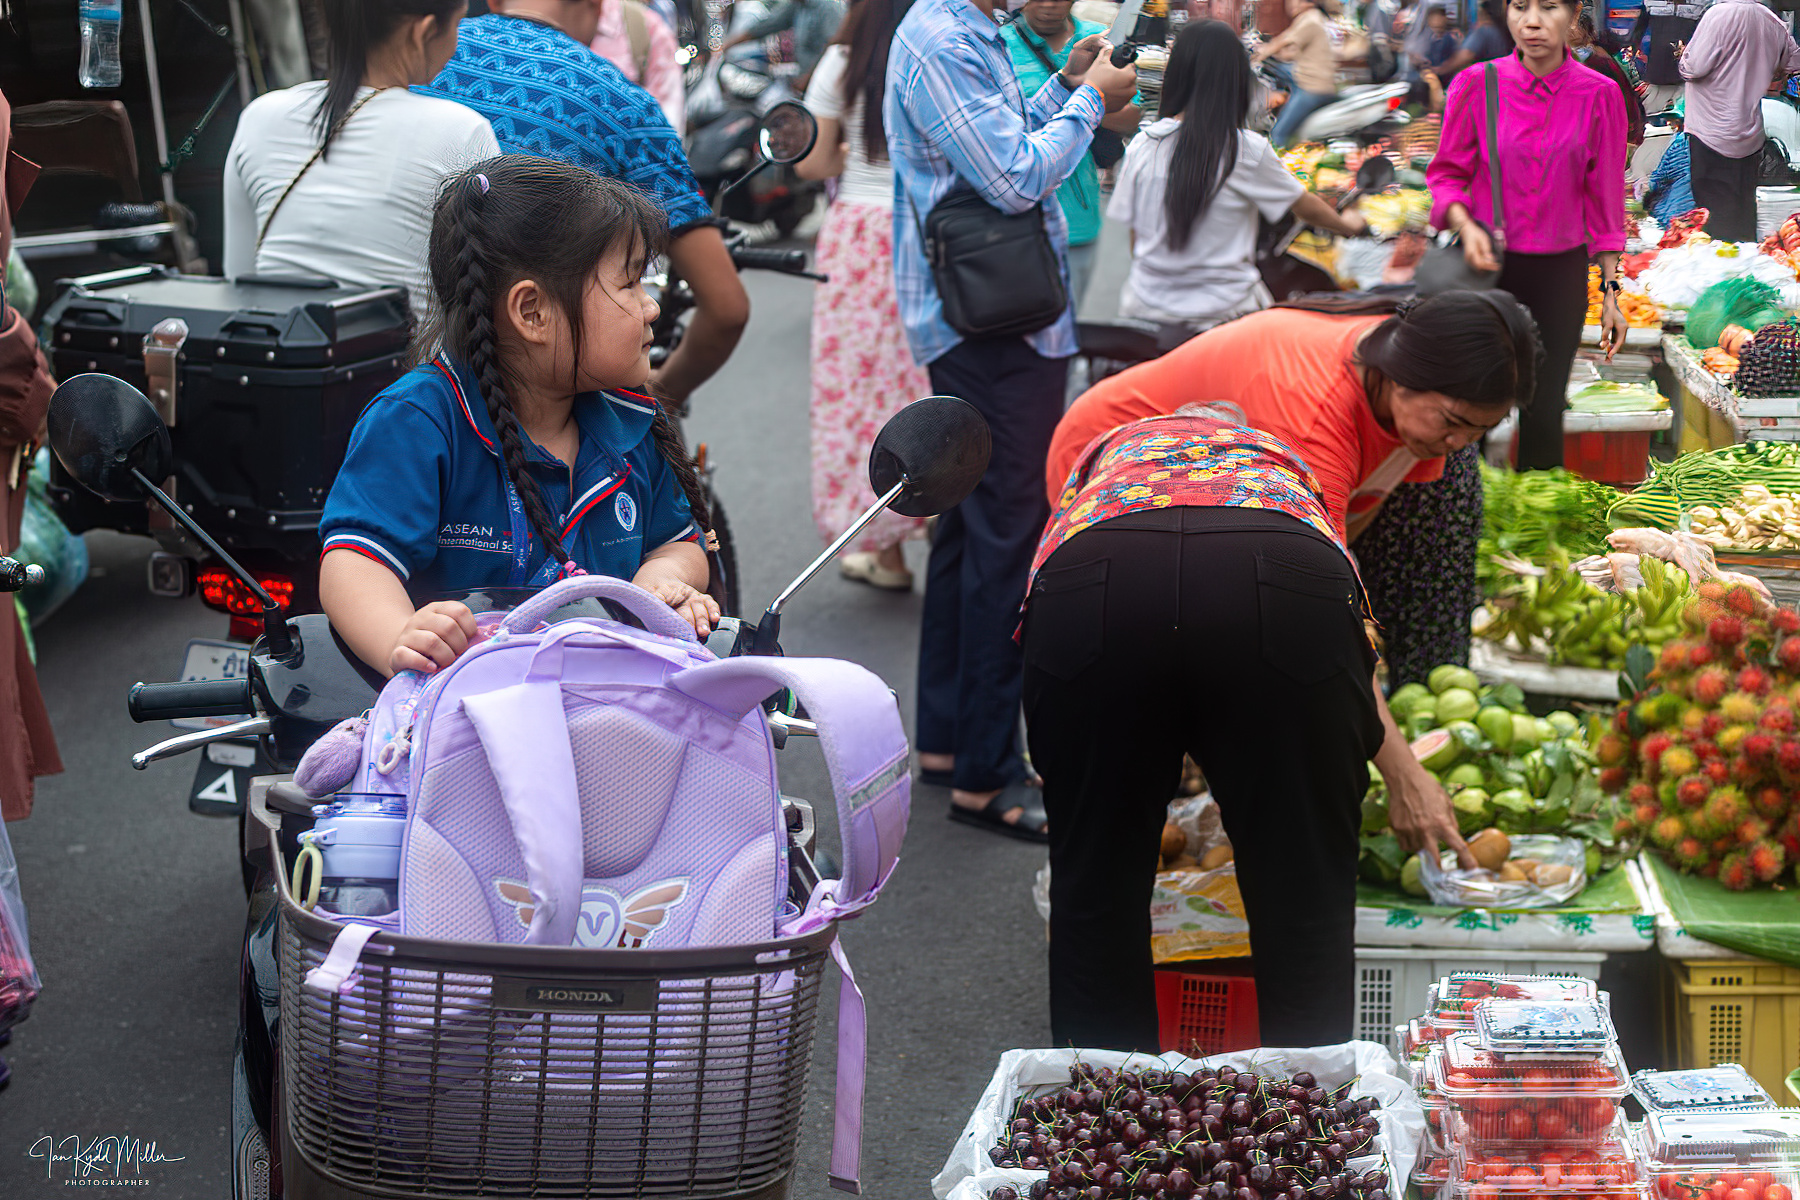
Street photography
Interestingly, despite its size, the D800 is still an excellent street camera.


Pair it with:
- Nikon 35mm f/2D
- Nikon 50mm f/1.8G
- Nikon 85mm f/1.8G
and you’ll have image quality that is genuinely world-class.
The downside?
The shutter is louder than modern mirrorless cameras, and the body is considerably heavier.
Compared with modern cameras
The D800 loses on:
- autofocus intelligence
- video
- silent shooting
- high ISO
- live view performance
- weight
It still wins on:
- image quality
- dynamic range
- colour
- ergonomics
- optical viewfinder
- battery life
- value for money
Value in 2026
This is perhaps its biggest strength.
Used prices have become extremely attractive, making it one of the best bargains in full-frame photography. If your priority is making photographs rather than owning the latest technology, it delivers extraordinary performance for relatively little money.
Is it still worth buying?
Absolutely—provided it matches the way you shoot.
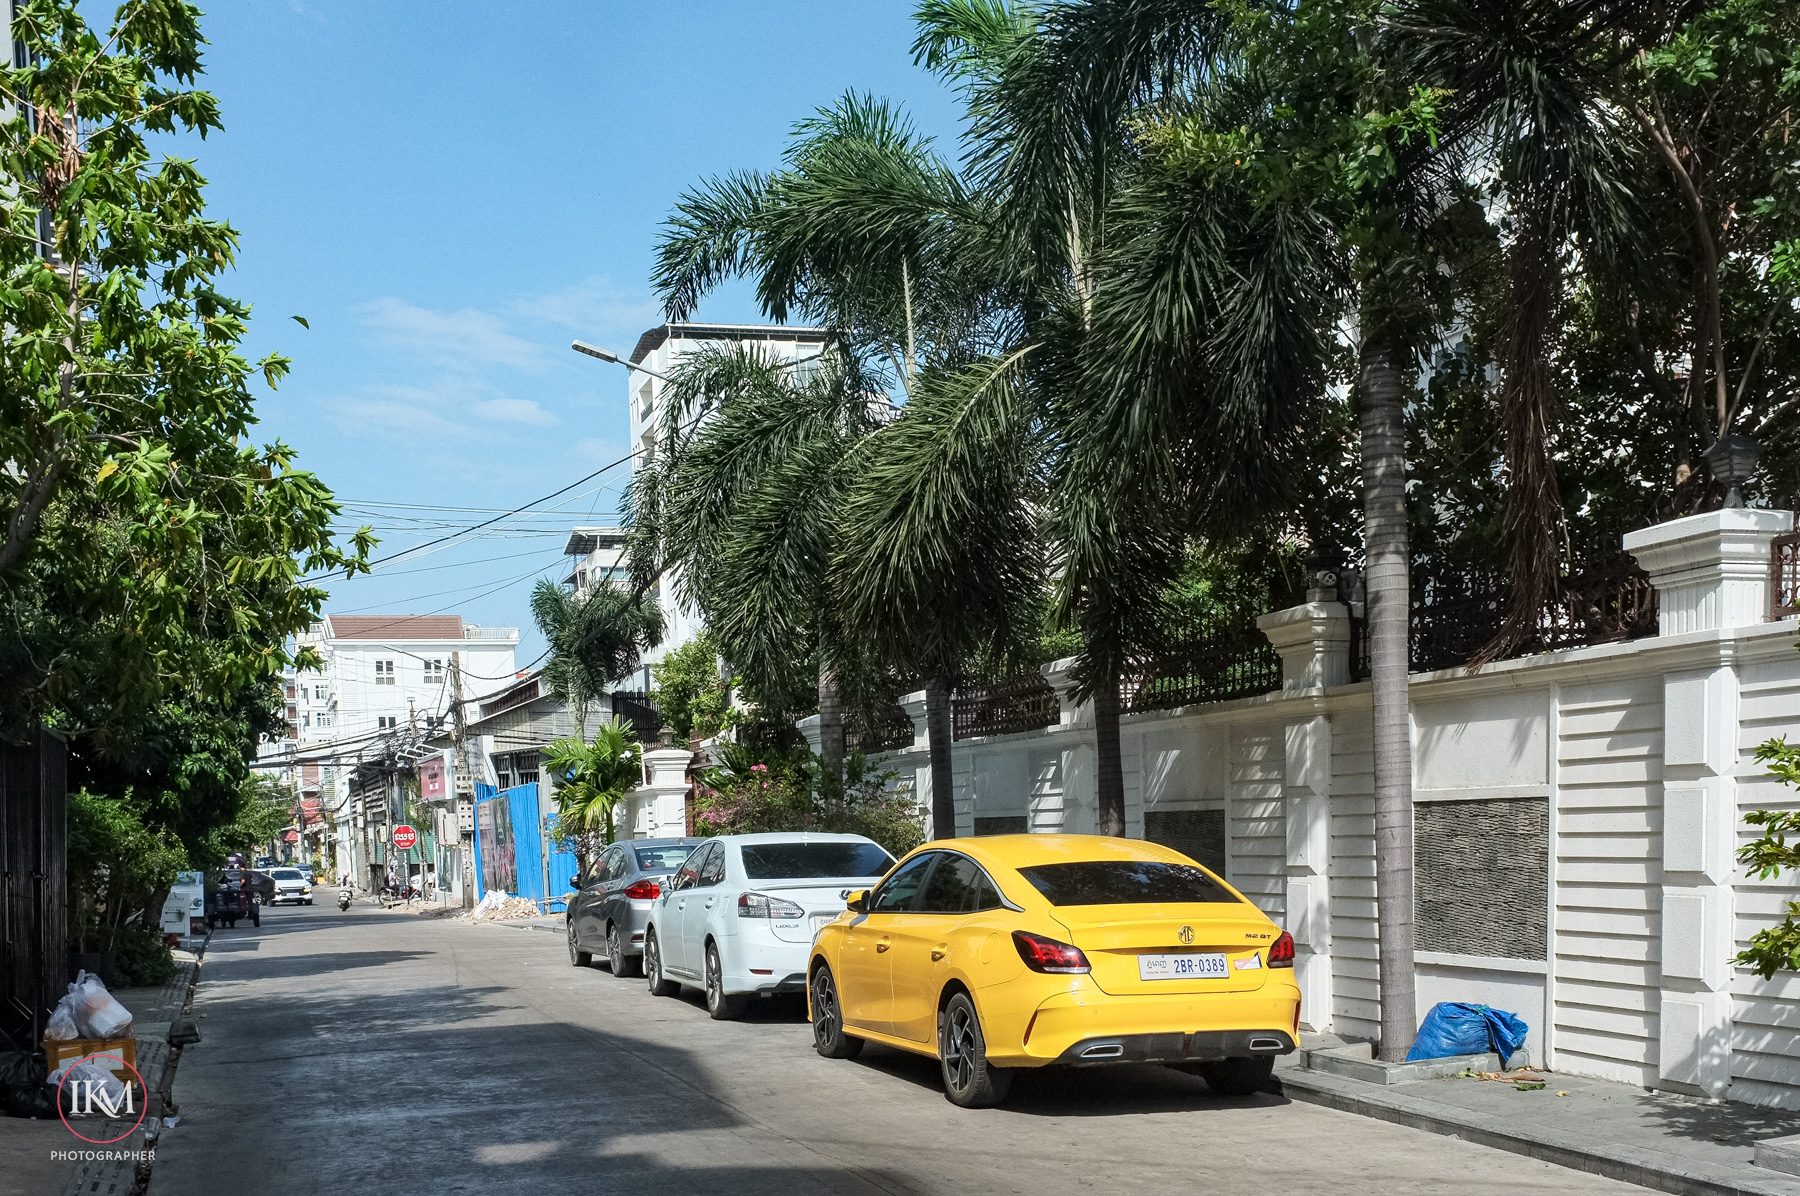
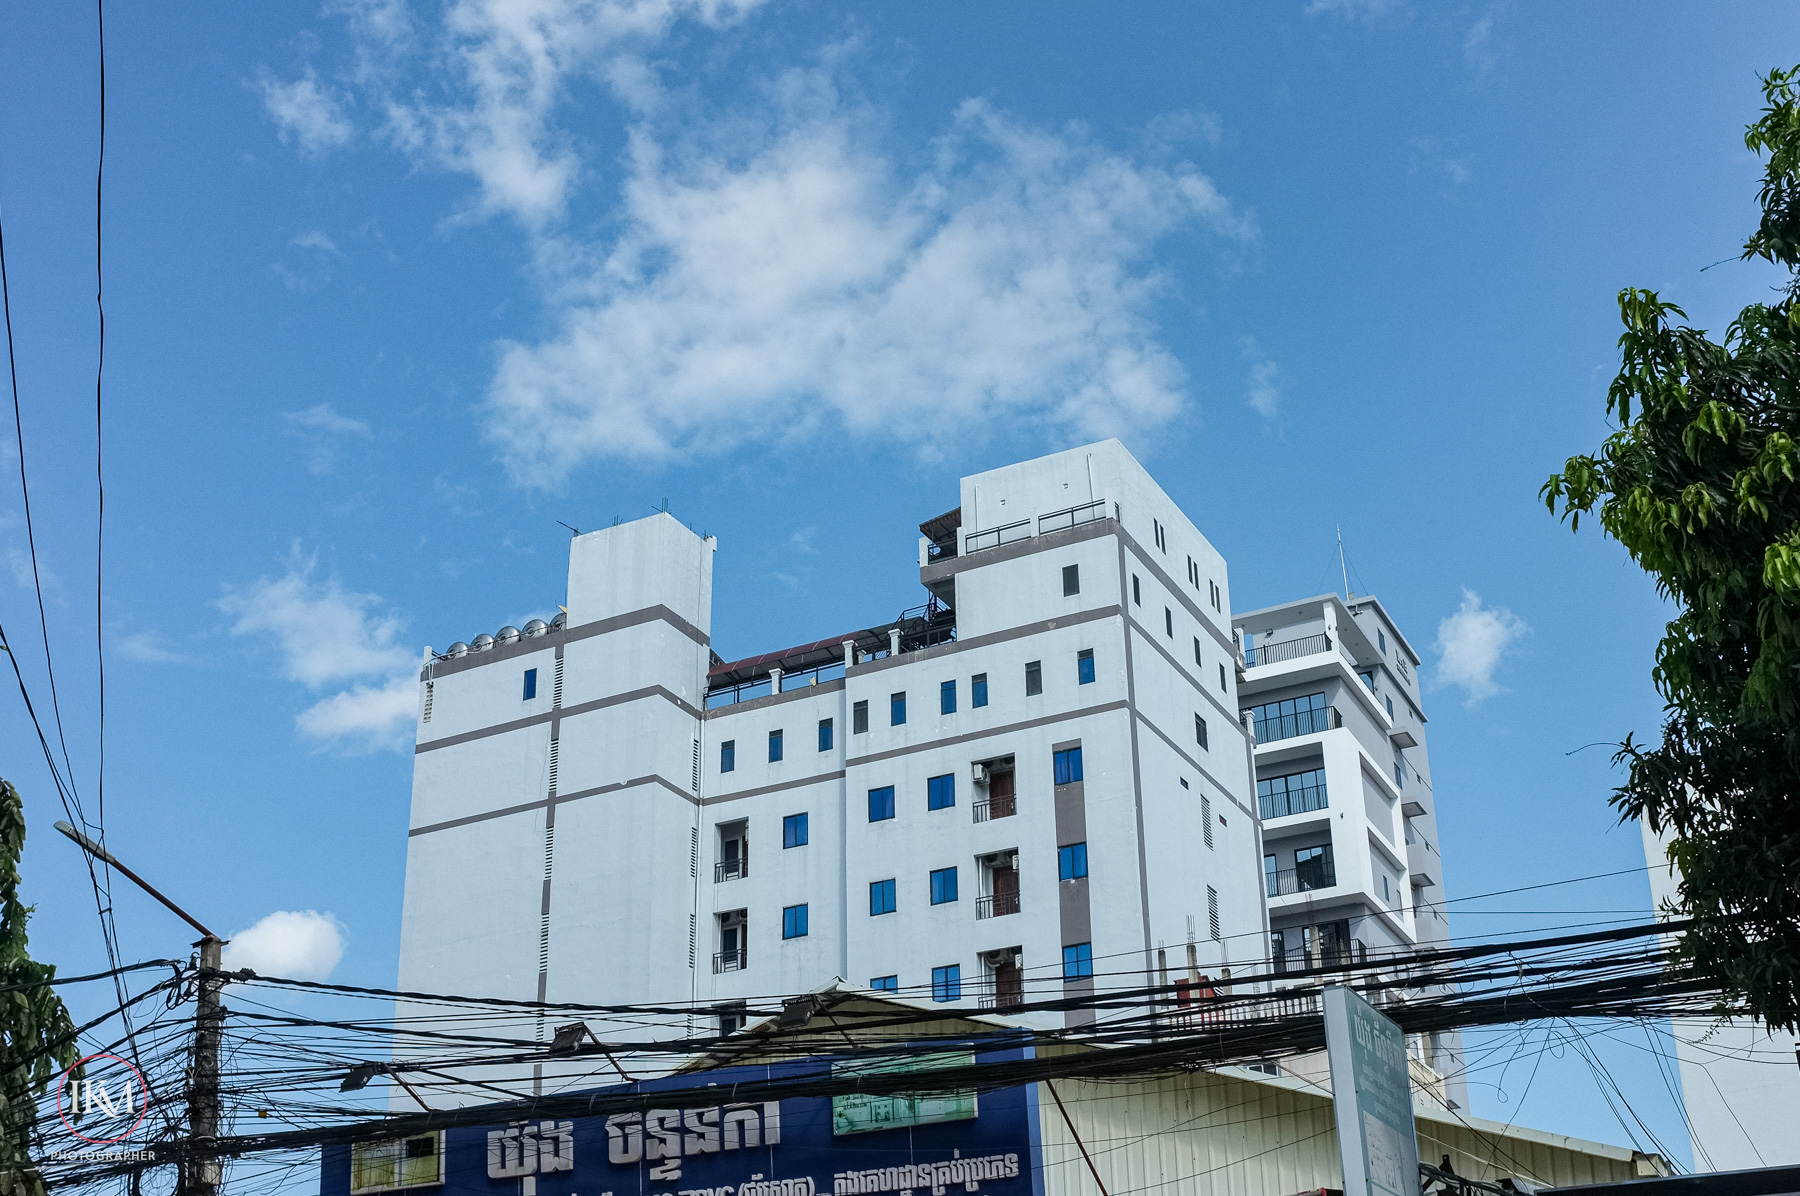
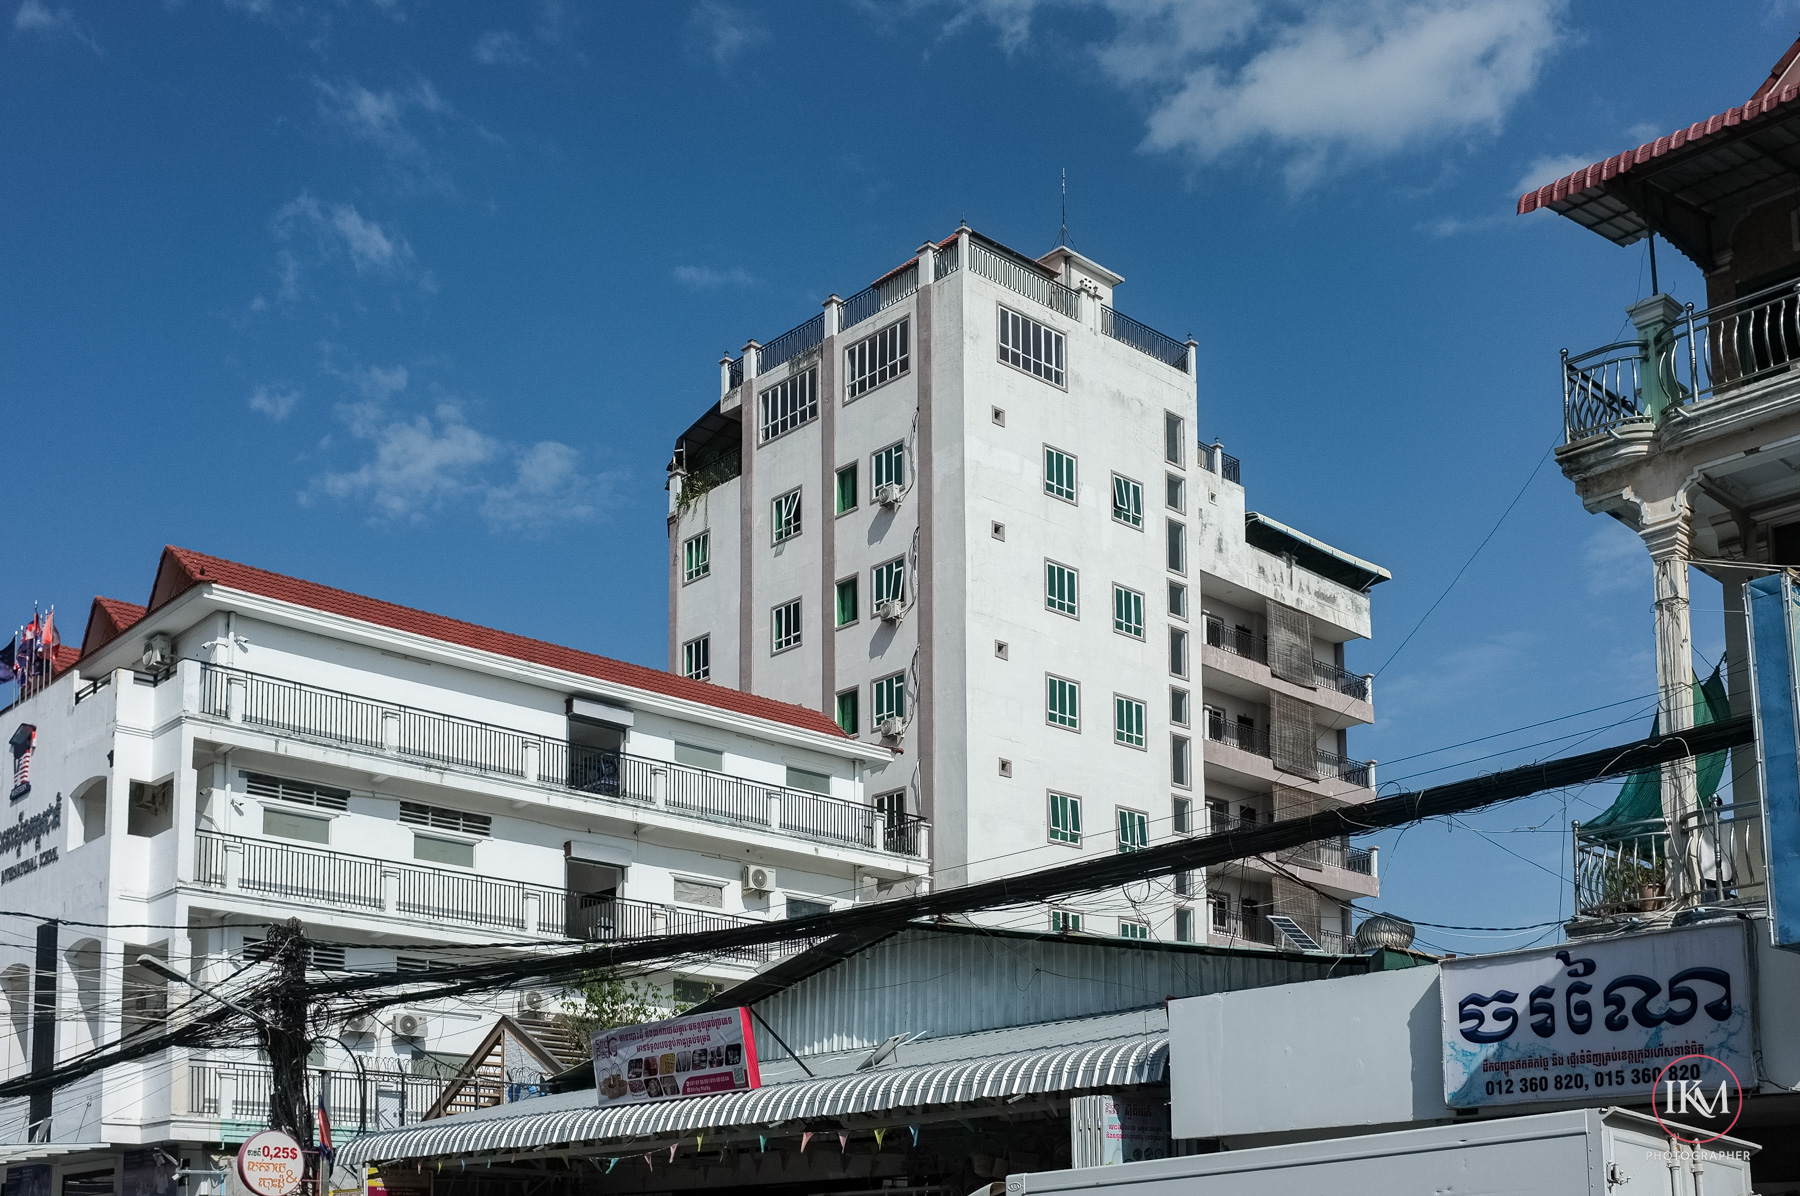
Choose the D800 if you photograph:
- Landscapes
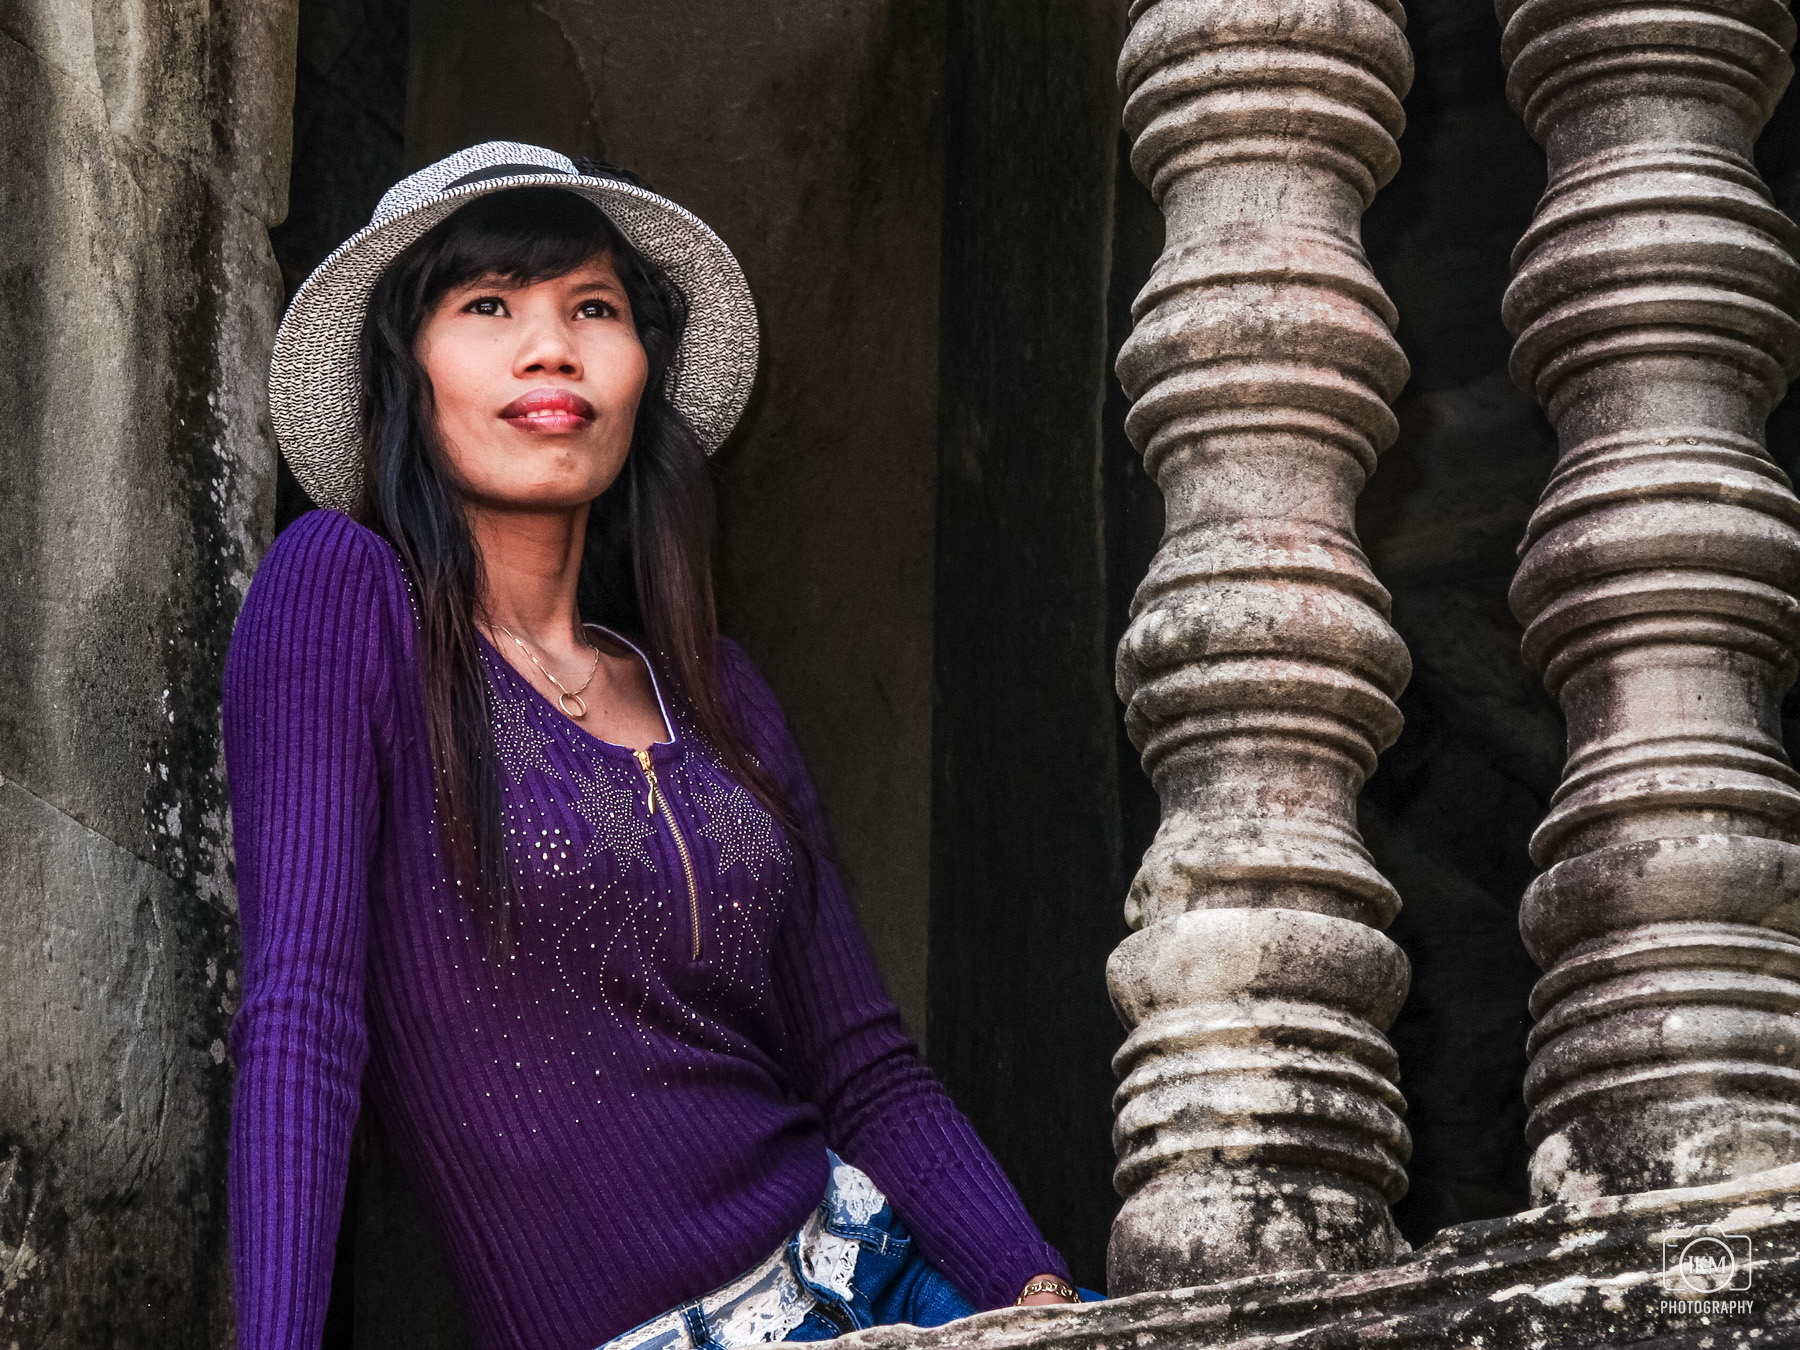
- Portraits
- Street photography
- Documentary work
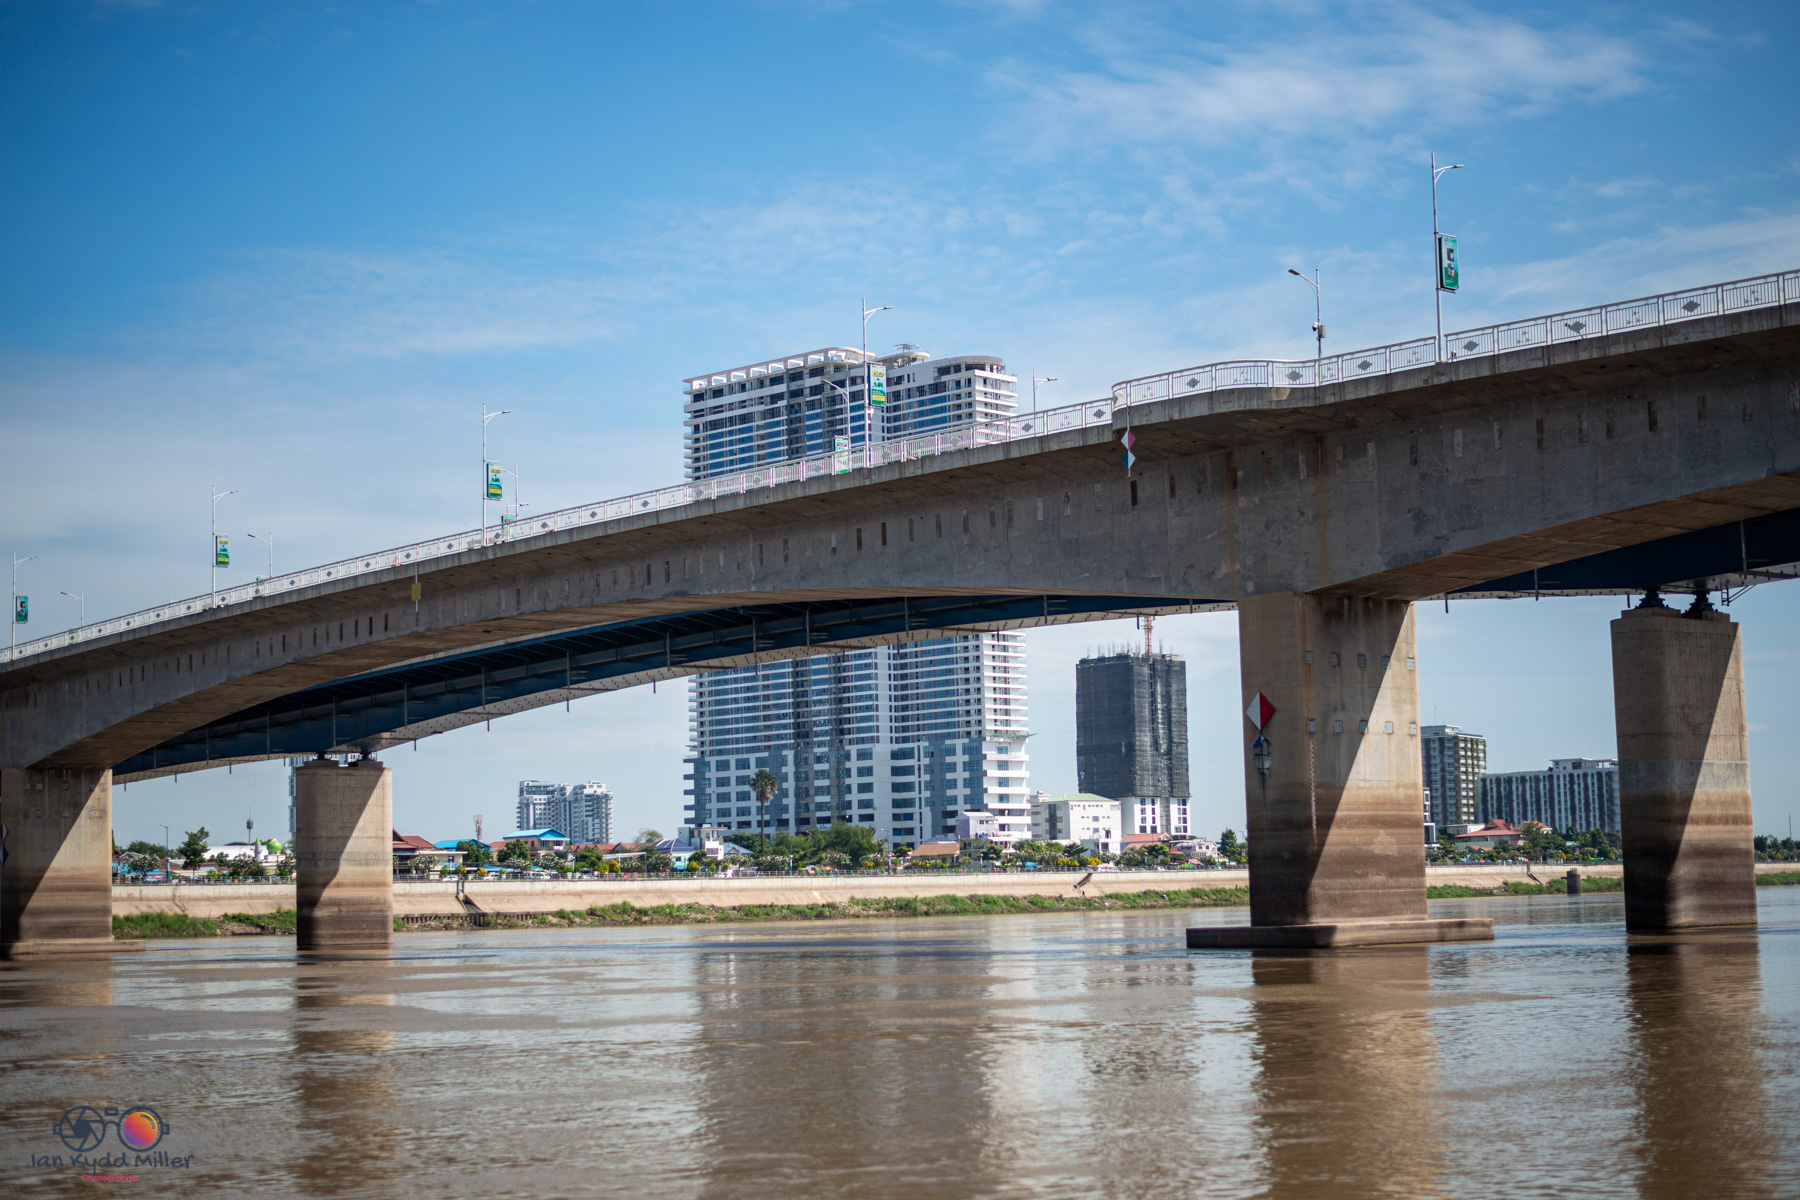
- Architecture
- Studio photography
- Fine-art photography
Look elsewhere if your main interests are:
- Fast wildlife
- Professional sports
- Heavy video production
- Frequent shooting in very dark conditions
Final thoughts
The Nikon D800 has become something of a modern classic. It was revolutionary when it launched, and unlike many cameras of its era, its strengths haven’t faded. The sensor remains superb, the build quality is exceptional, and the photographs it produces still look contemporary.