
If I could slip a single envelope into the camera bag of the photographer I was twenty-five years ago, this is what it would say.
Stop worrying.
Not because everything will work out exactly as you hope—it won’t—but because you’re worrying about almost all the wrong things.
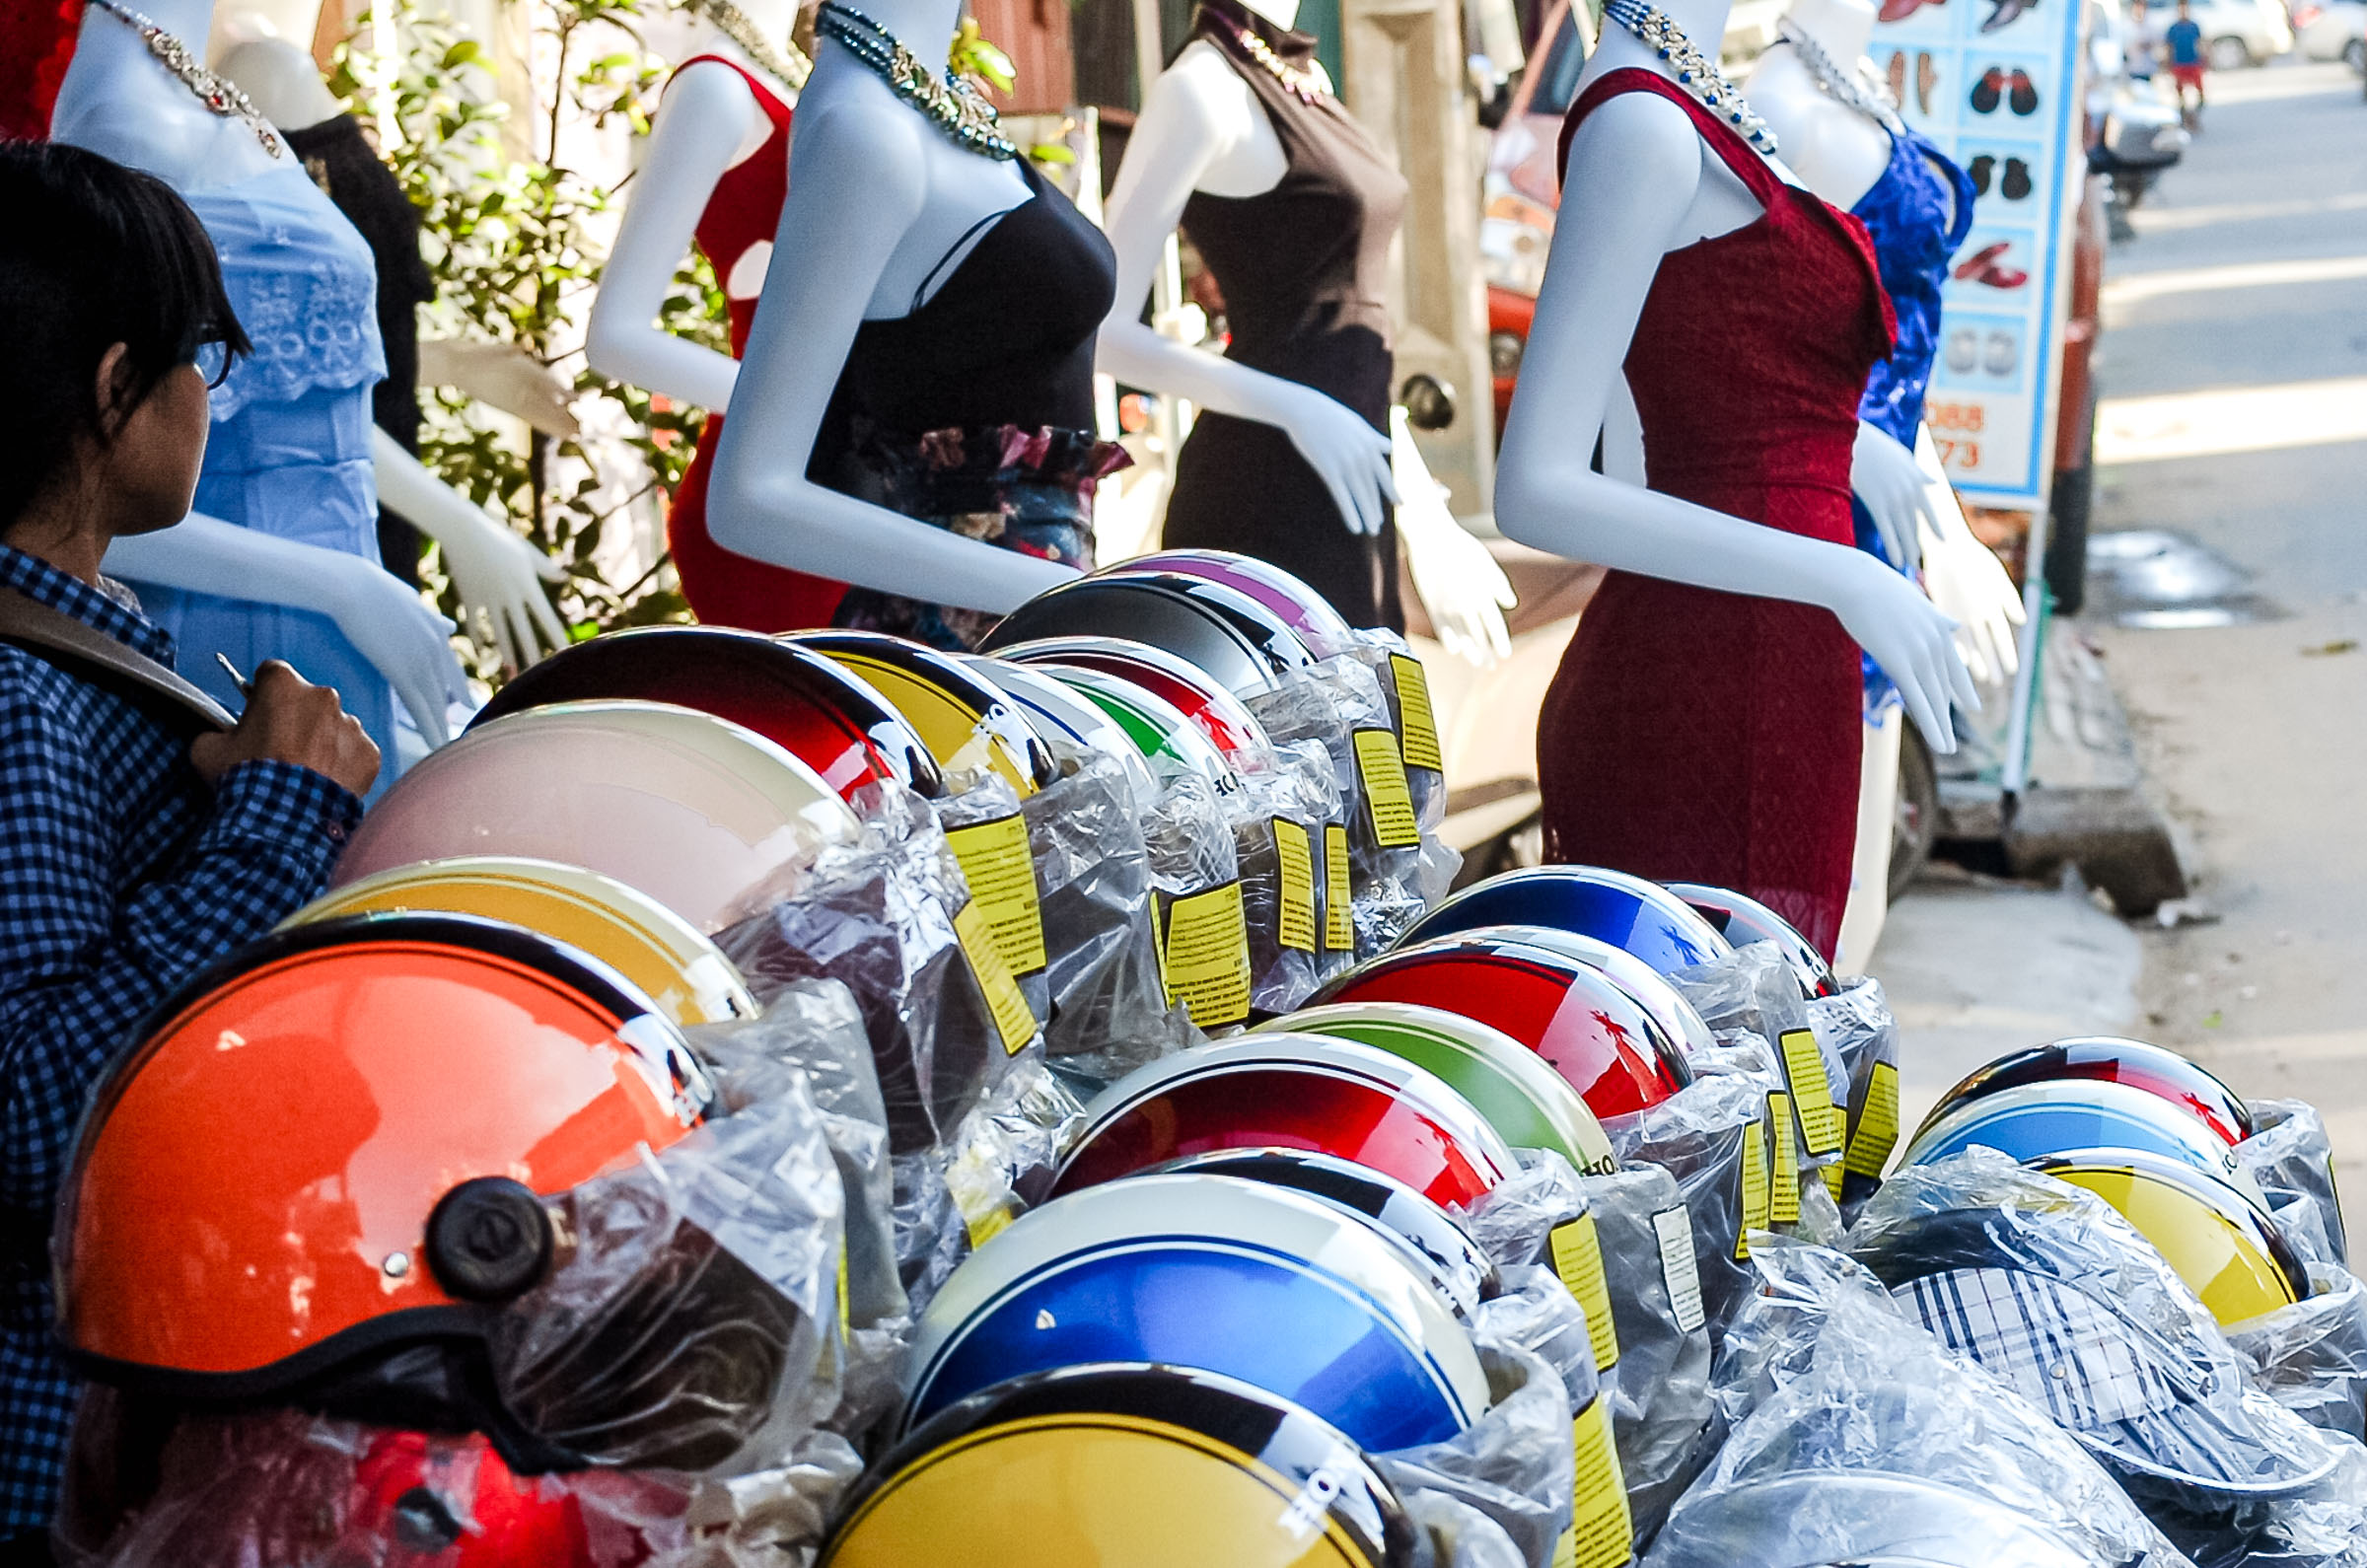
You’re spending too much time wondering whether another camera, another lens or another bag will somehow transform your photography.
It won’t.
Better equipment will certainly make some things easier. Cameras will become faster. Sensors will become cleaner. Autofocus will become astonishing. Technology will continue to improve long after you’ve stopped trying to keep up with it.
Buy good equipment when you can. Look after it. Enjoy it.
But don’t mistake it for photography. Photography happens somewhere between your eyes and your heart.
The camera simply records the outcome.

You’ll spend years reading reviews.
One day you’ll realise you’ve forgotten to read people.
You’ll compare sharpness. One day you’ll discover that the photographs you treasure most are rarely the sharpest ones.
You’ll become fascinated by lenses.
One day you’ll understand that curiosity has always been your most valuable piece of equipment.
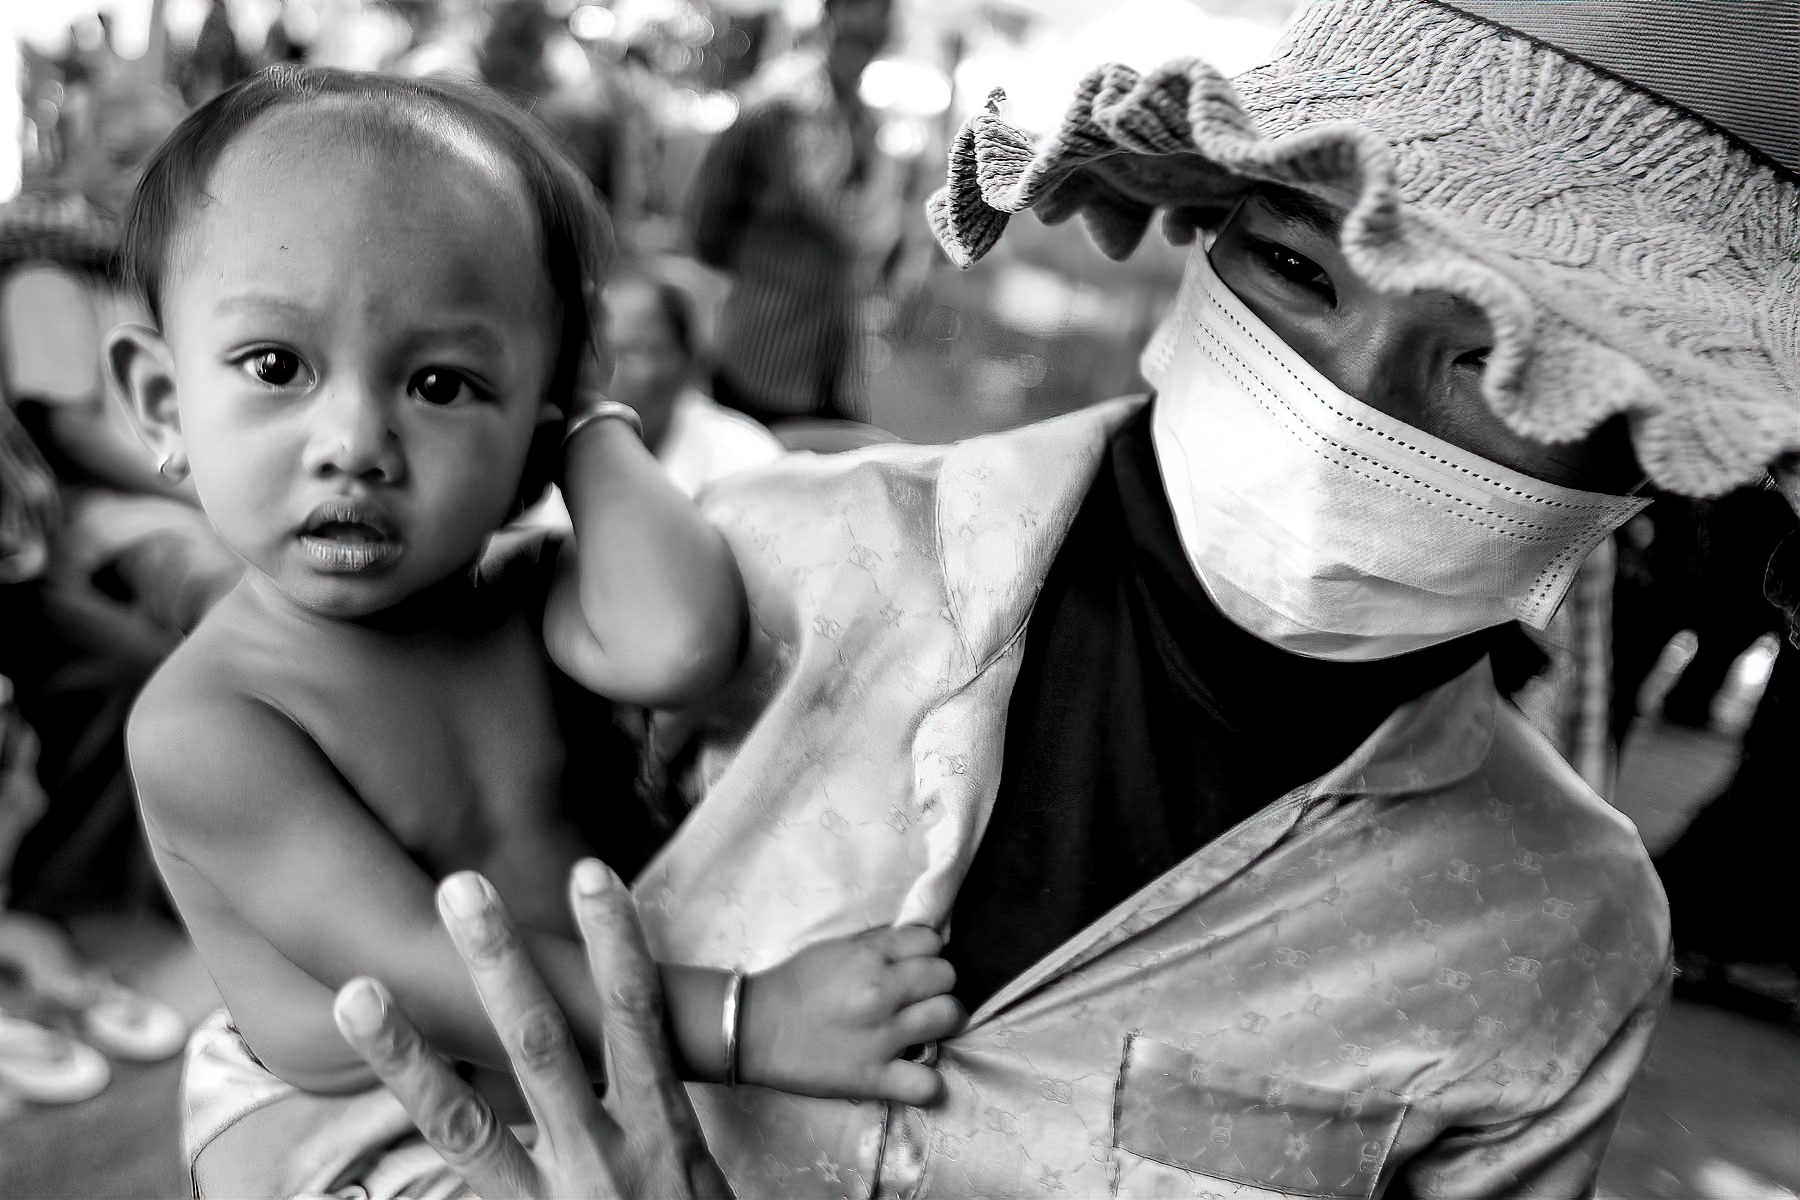
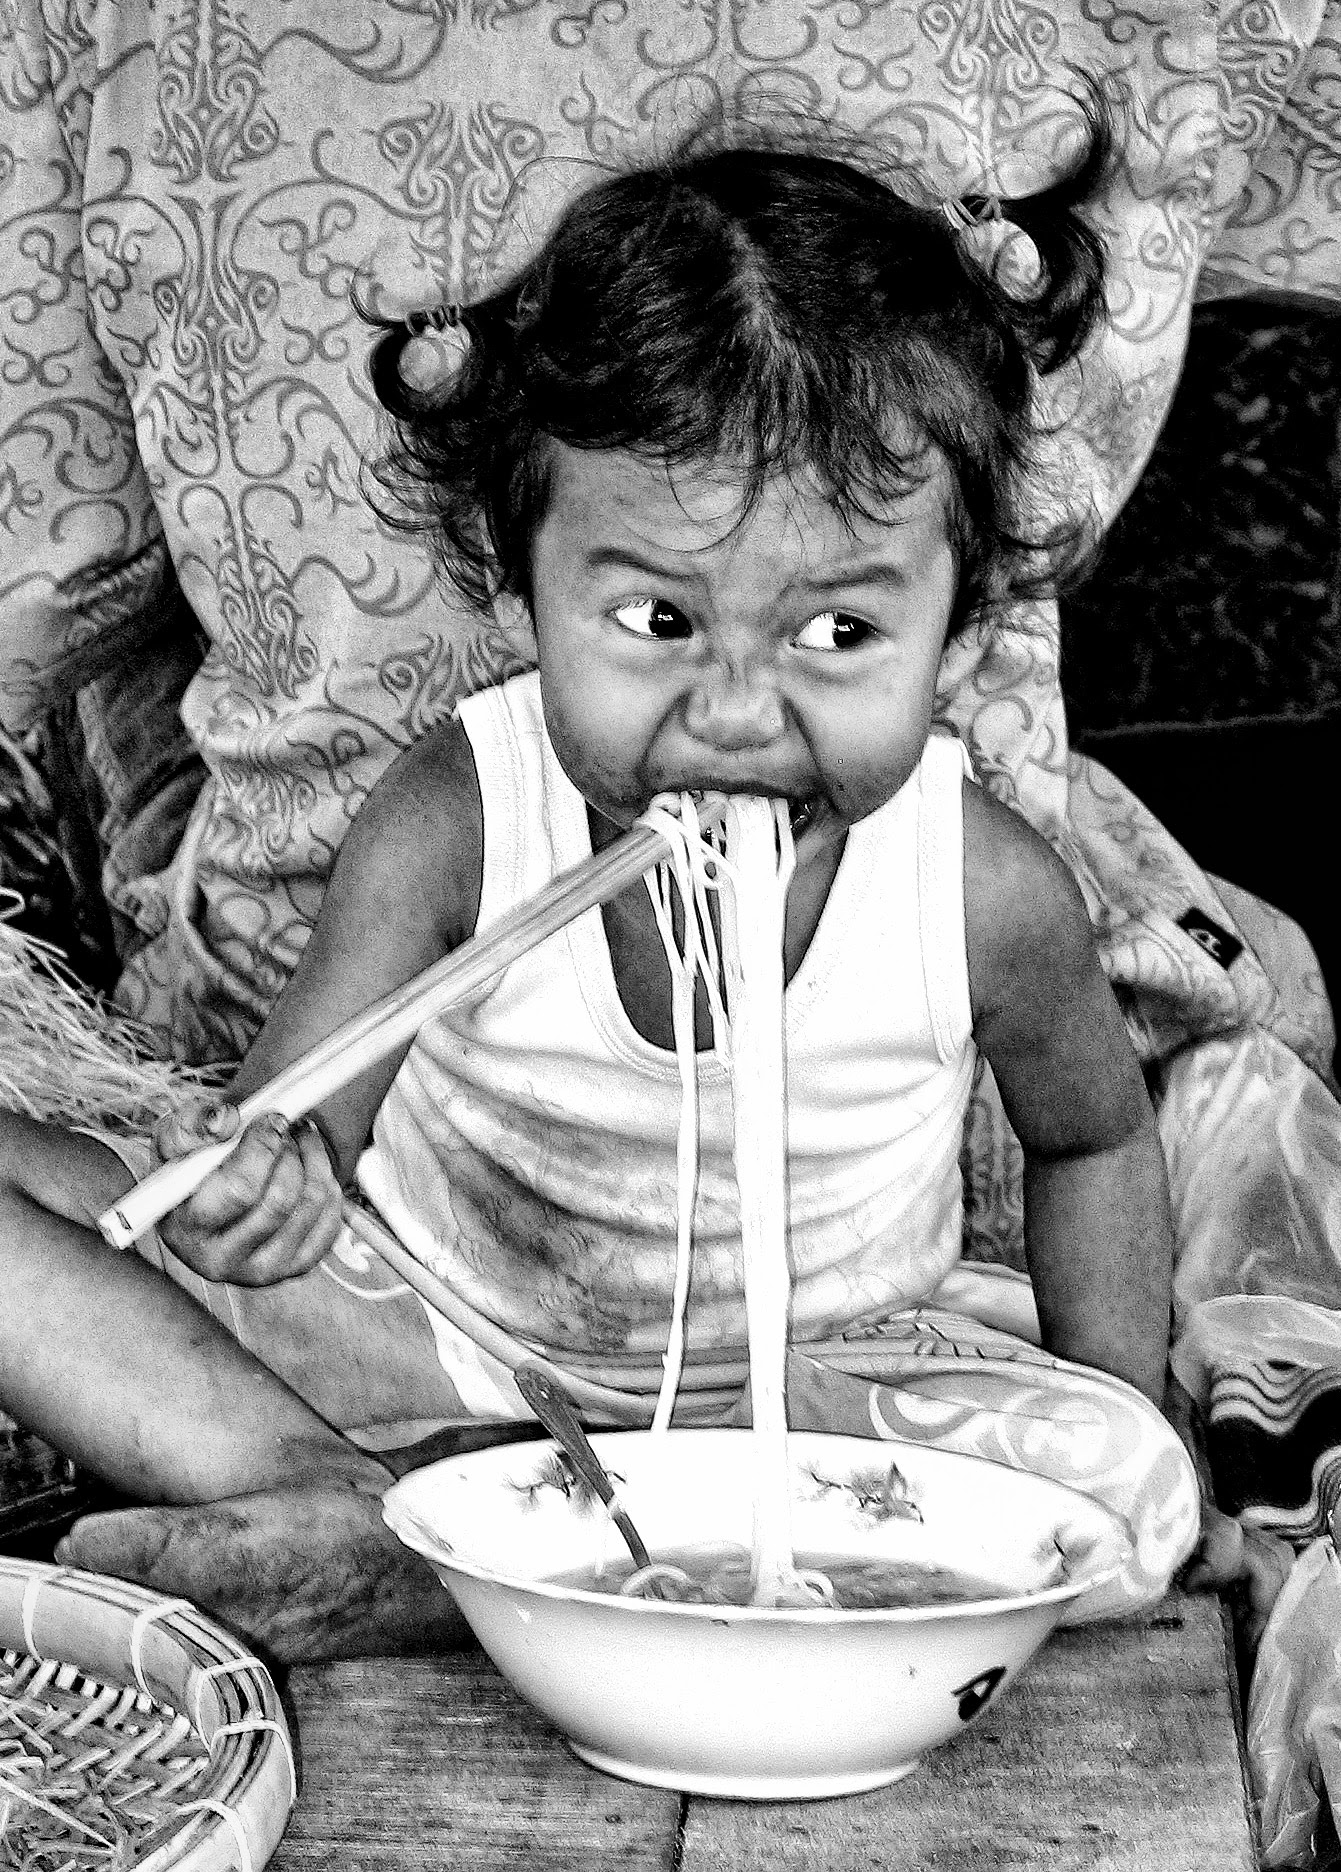
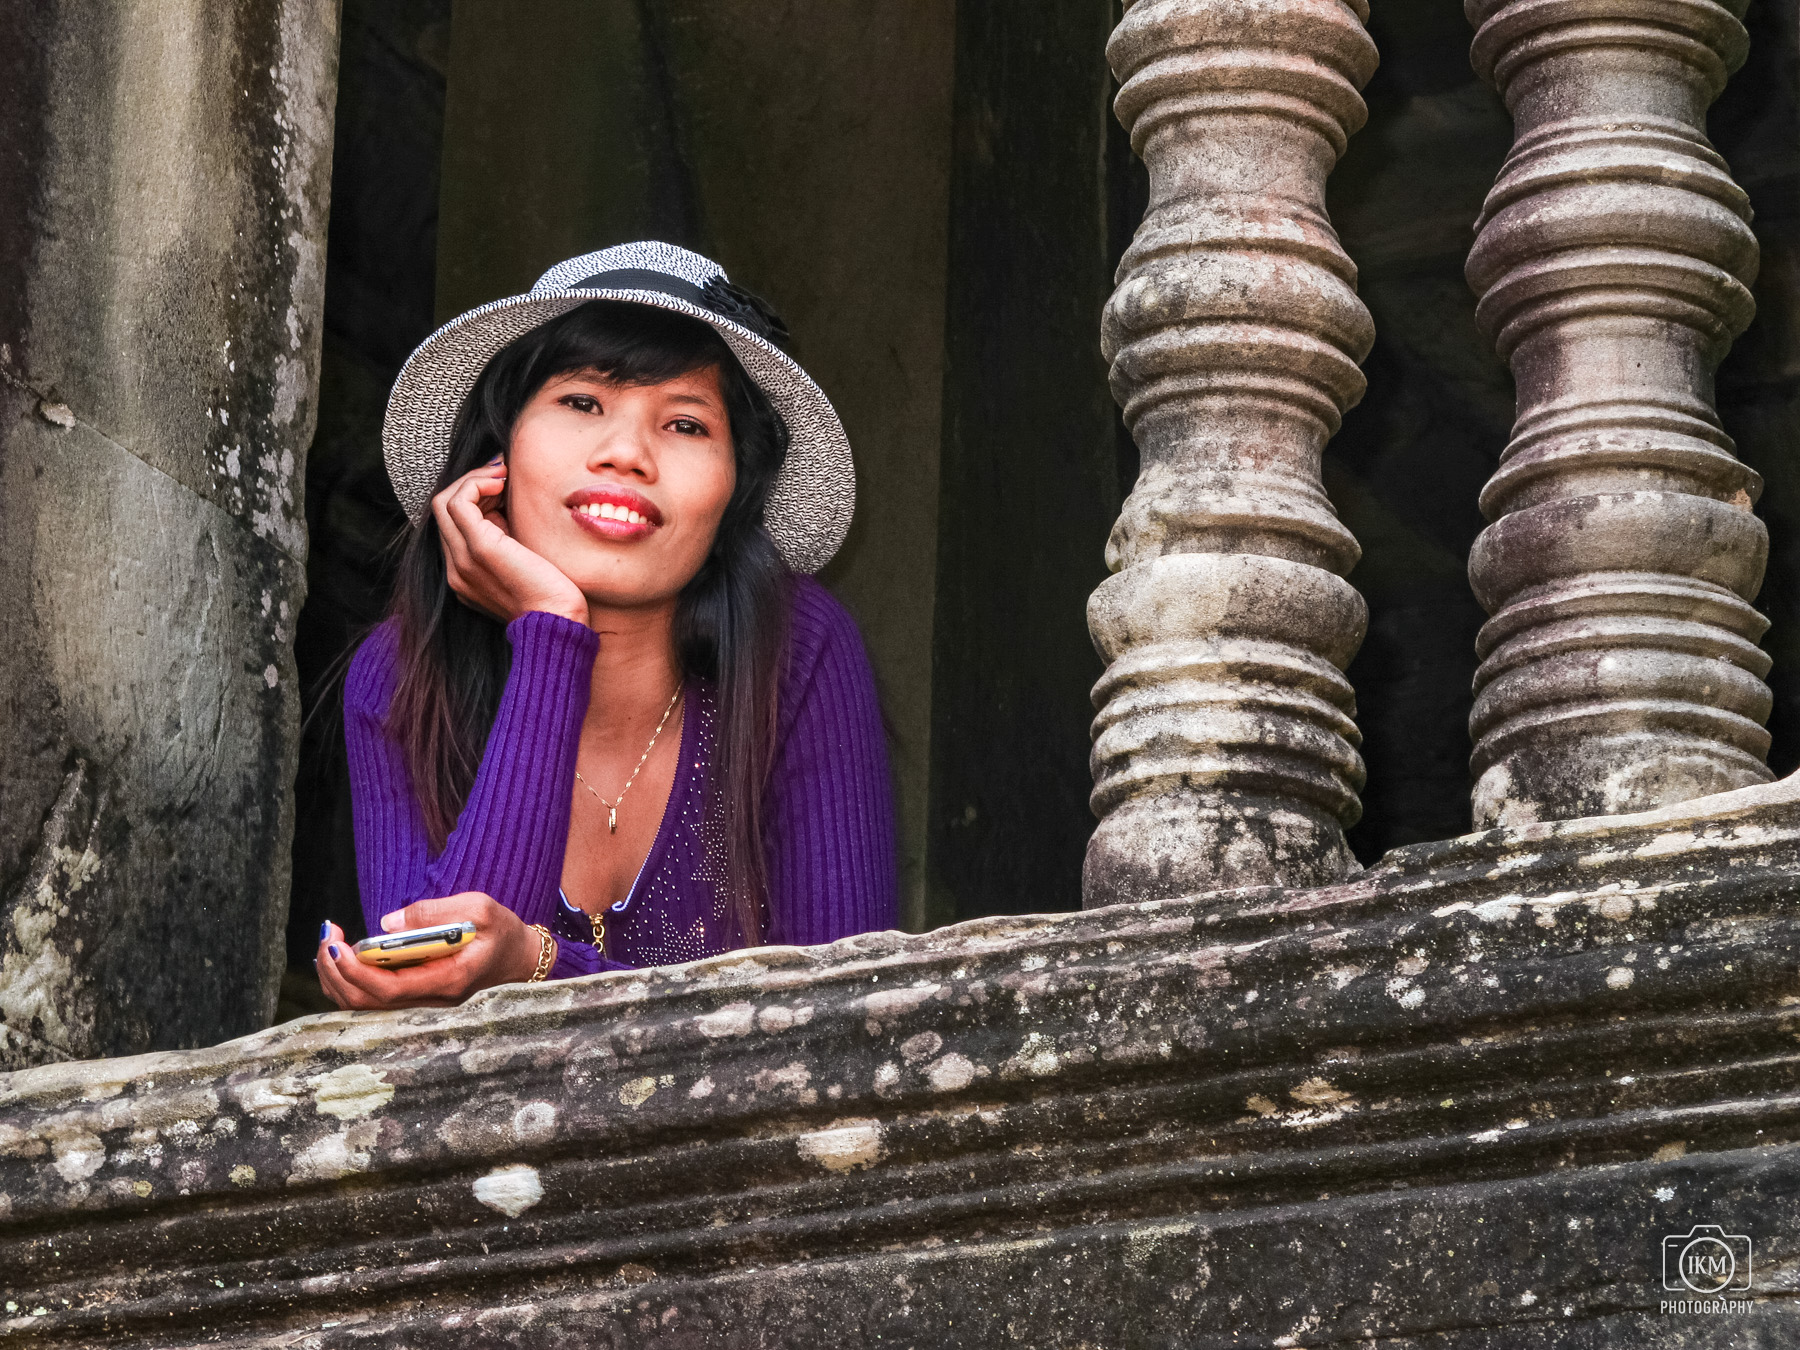
Carry it everywhere. Be kinder than you think you need to be.
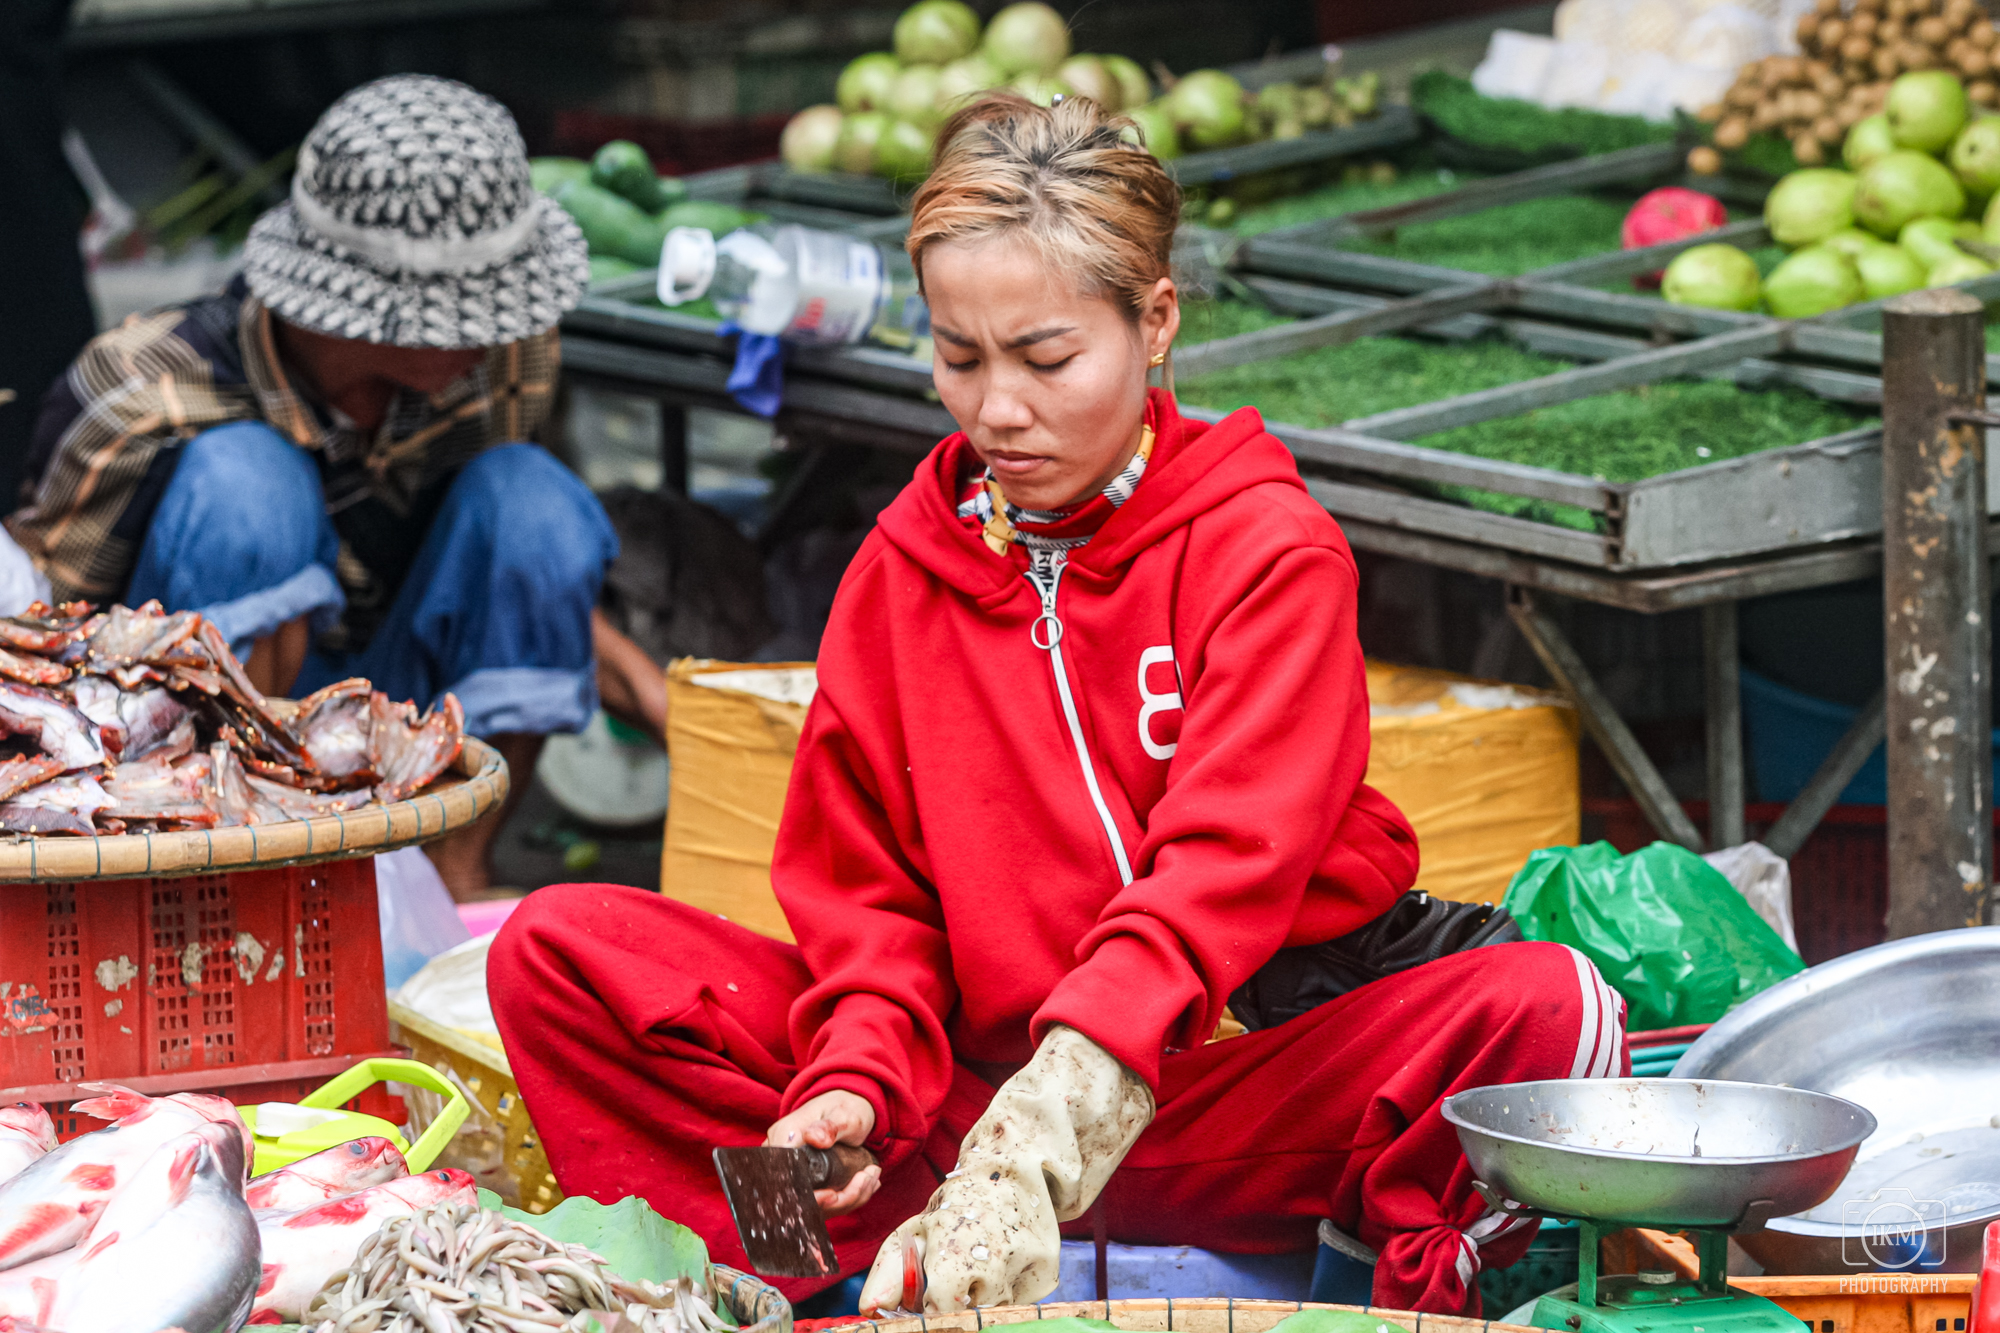
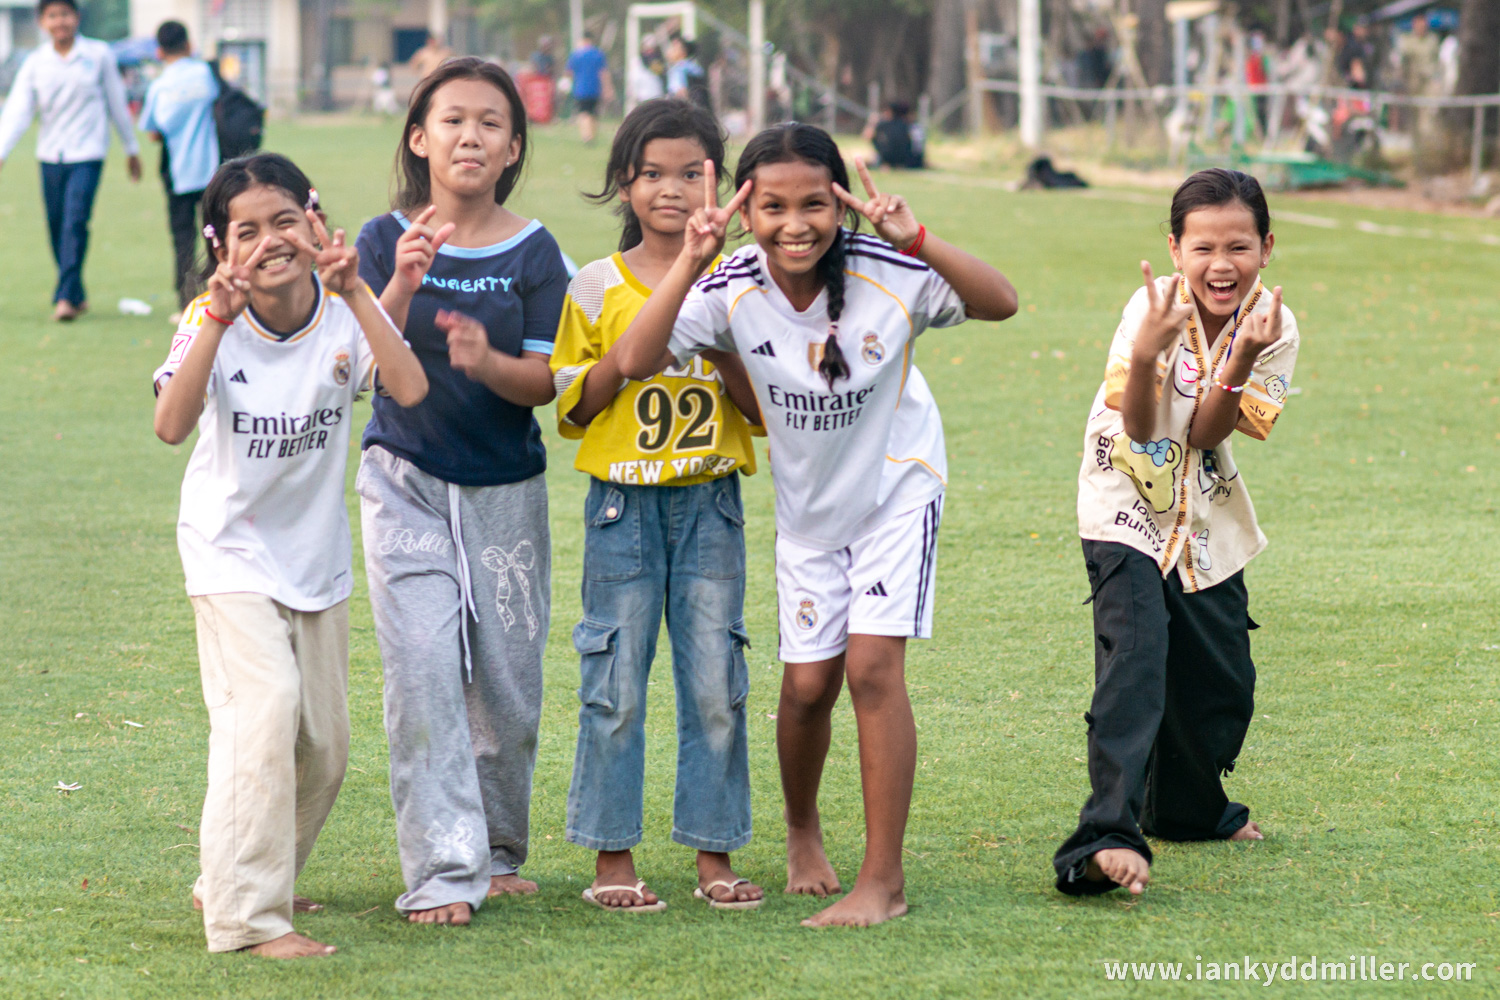
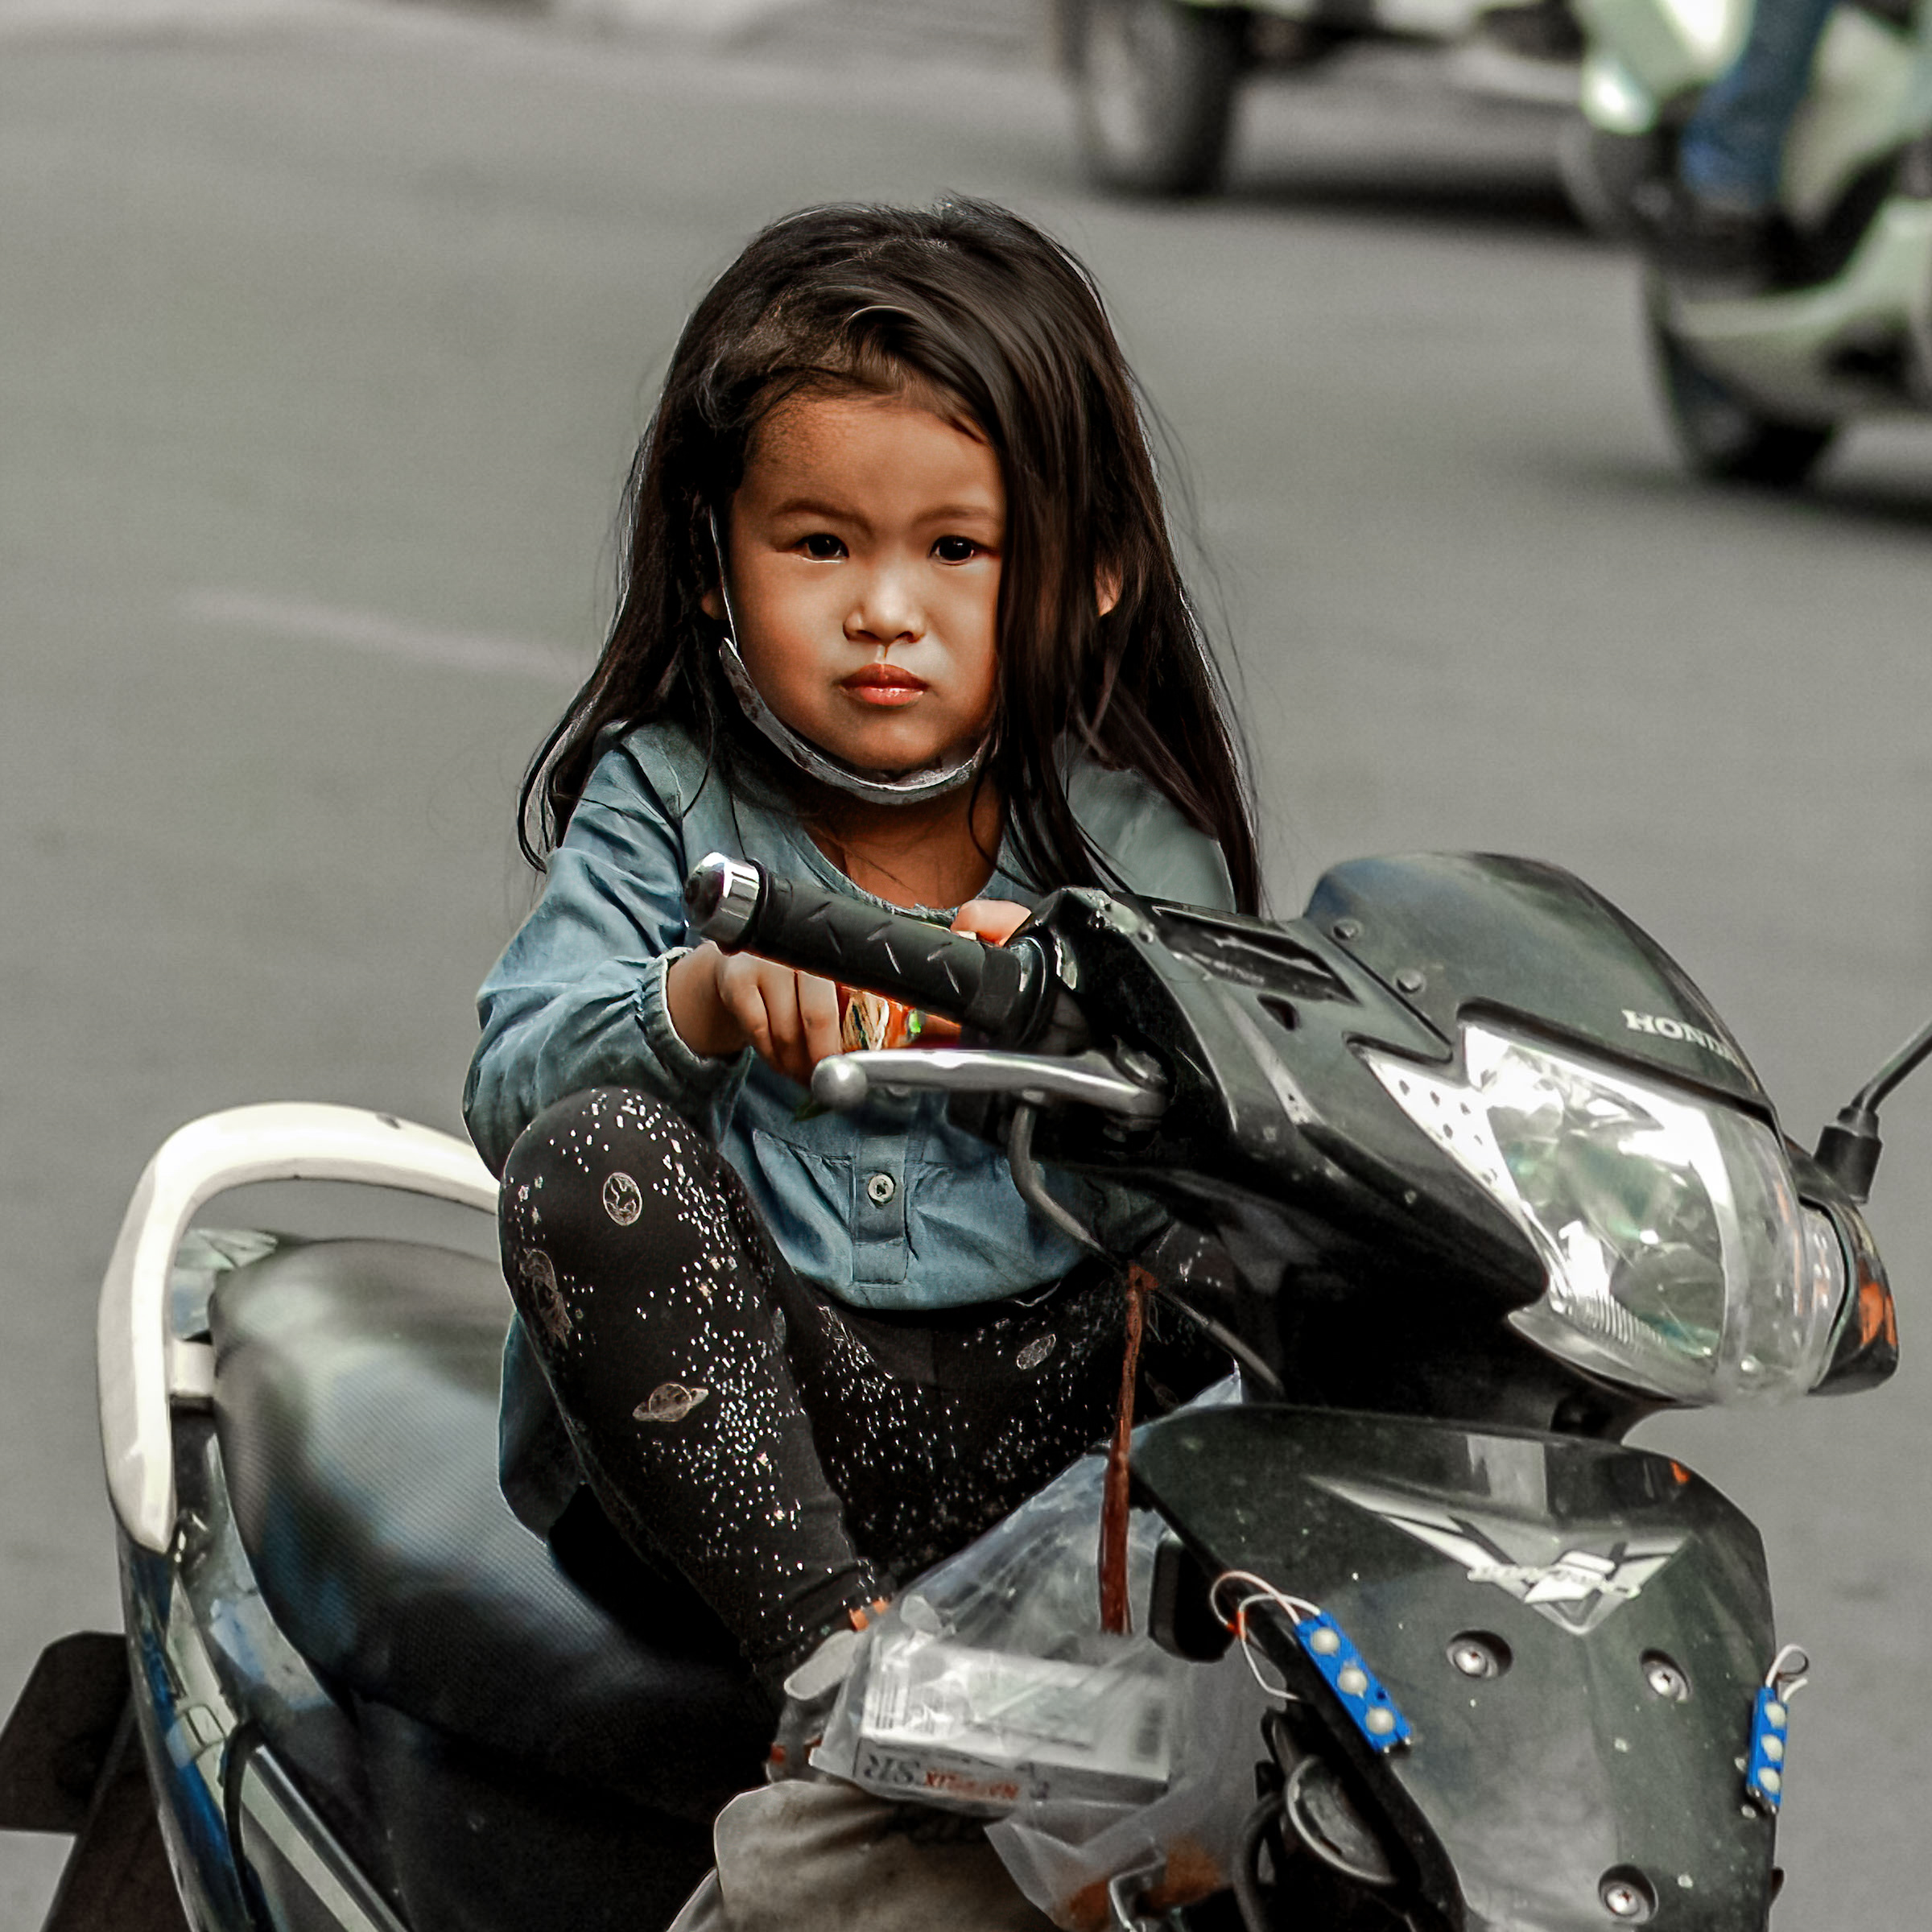
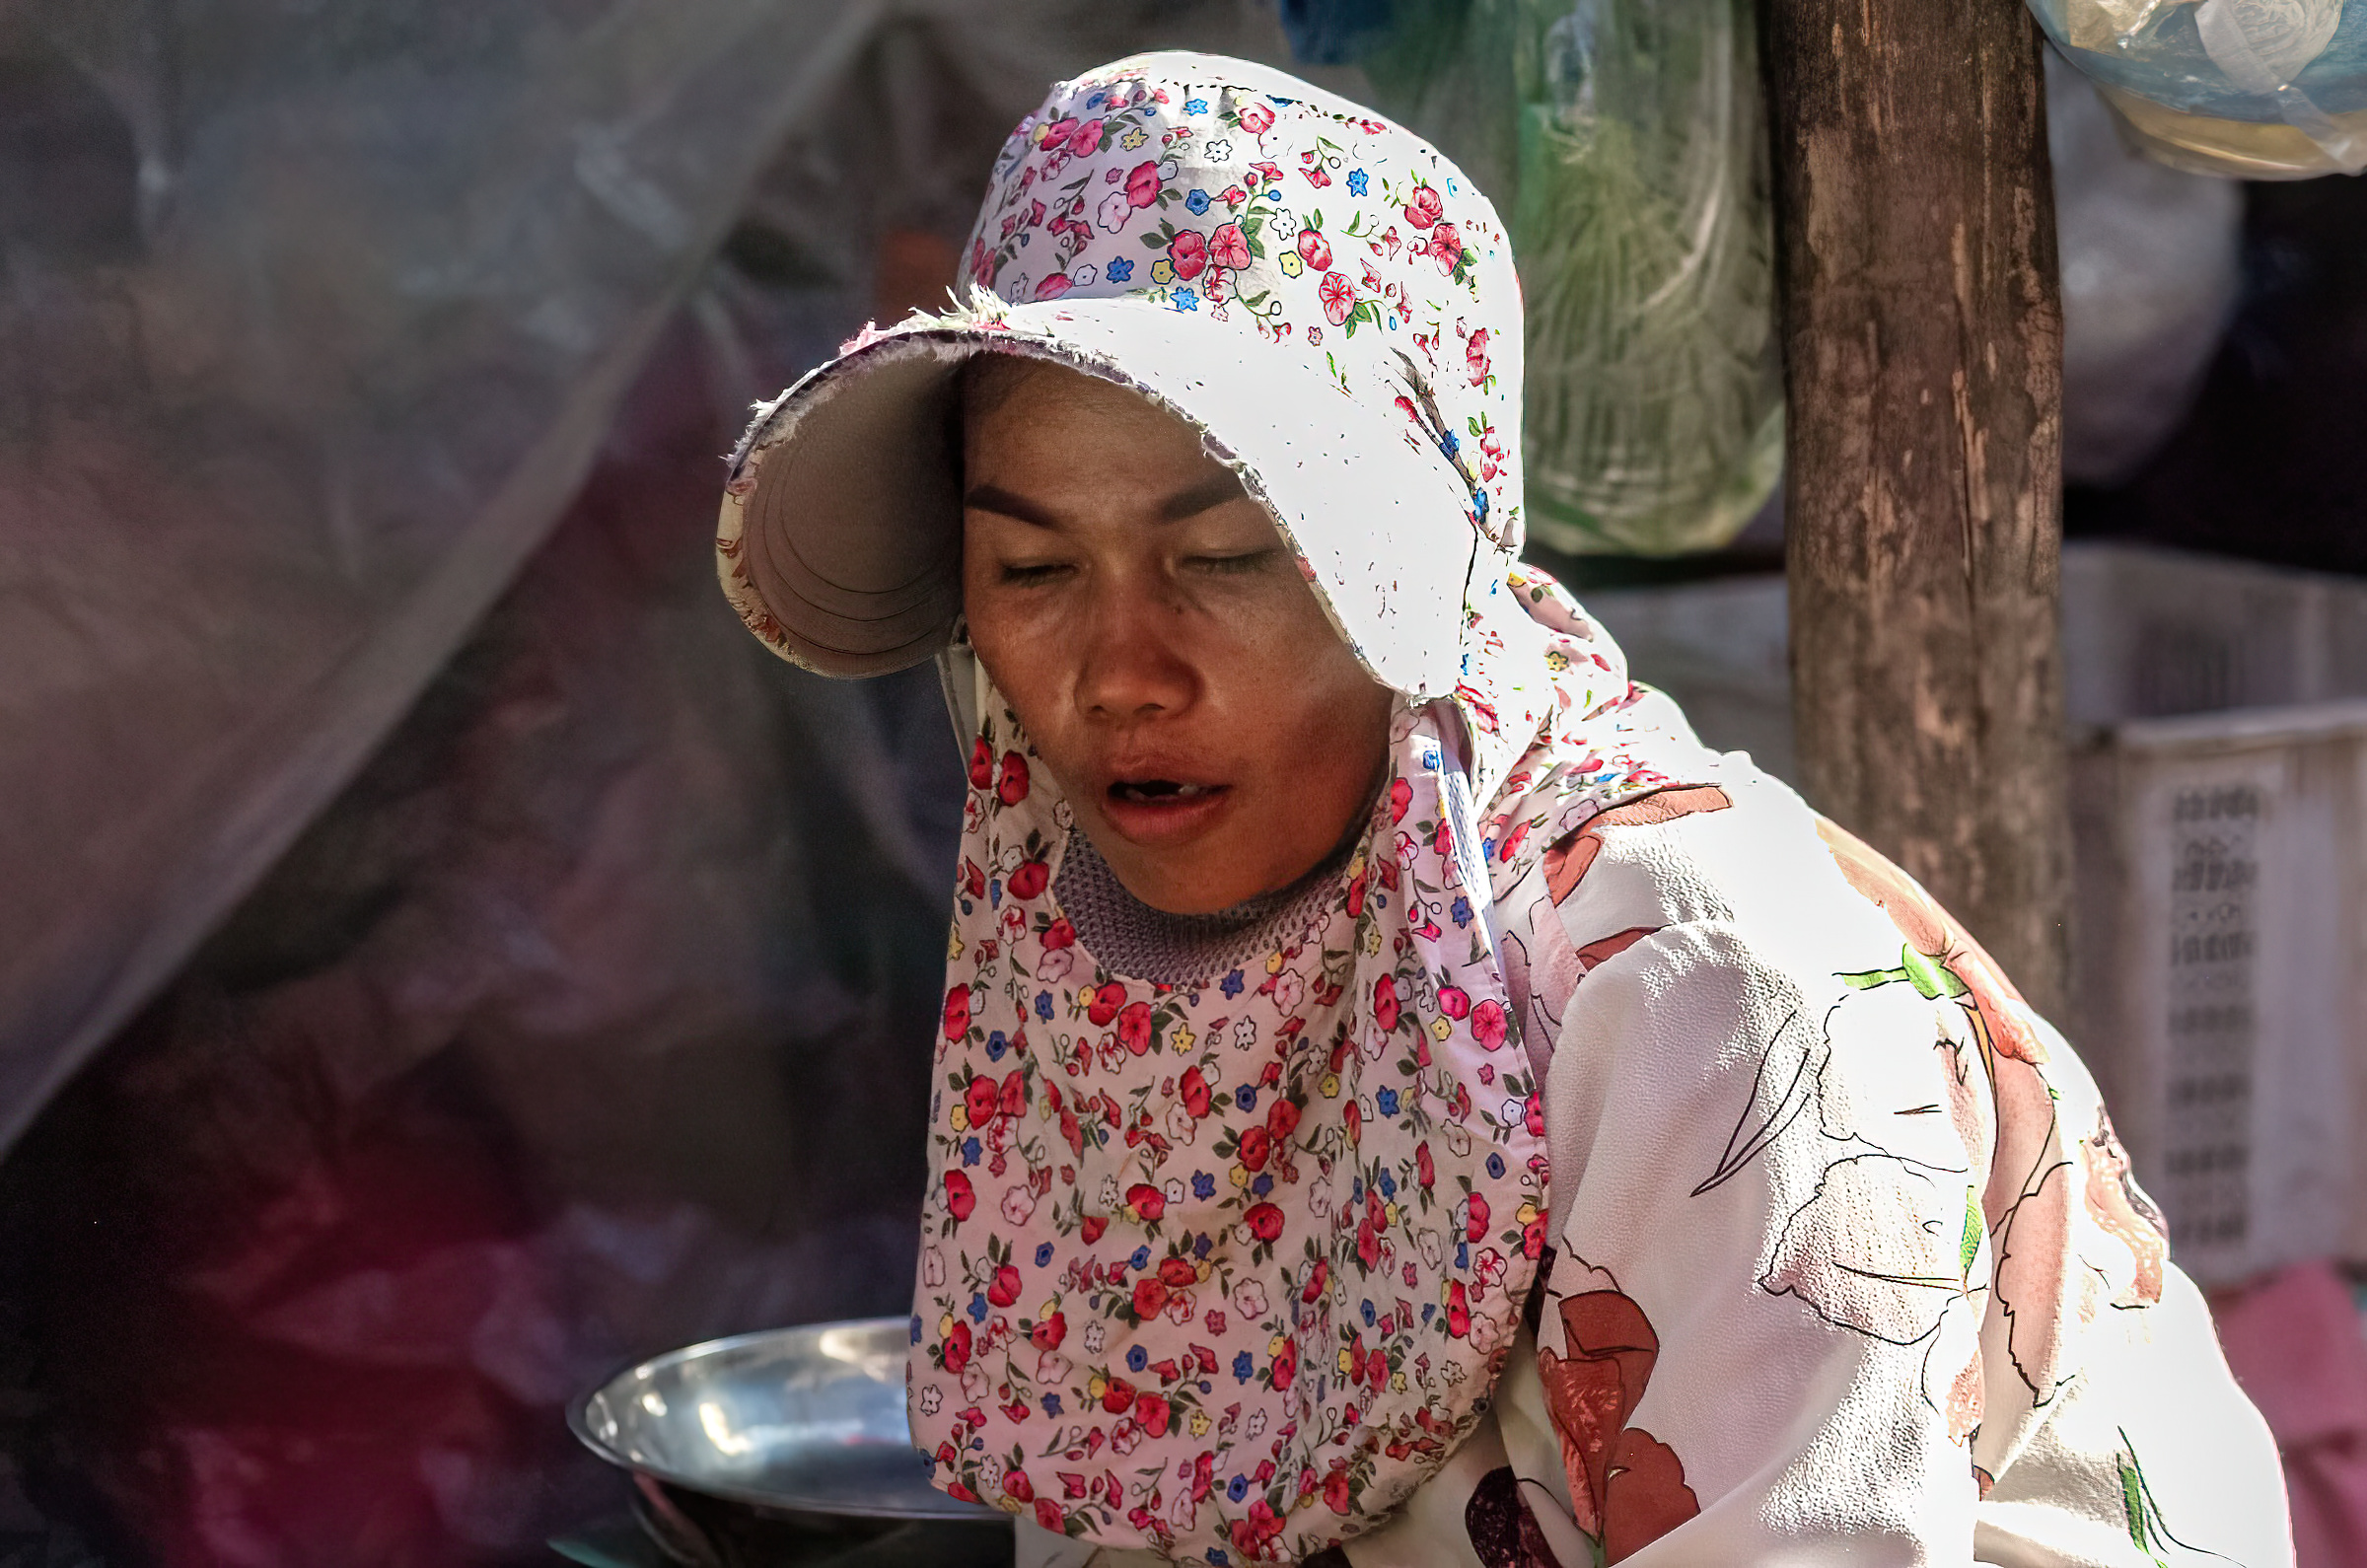
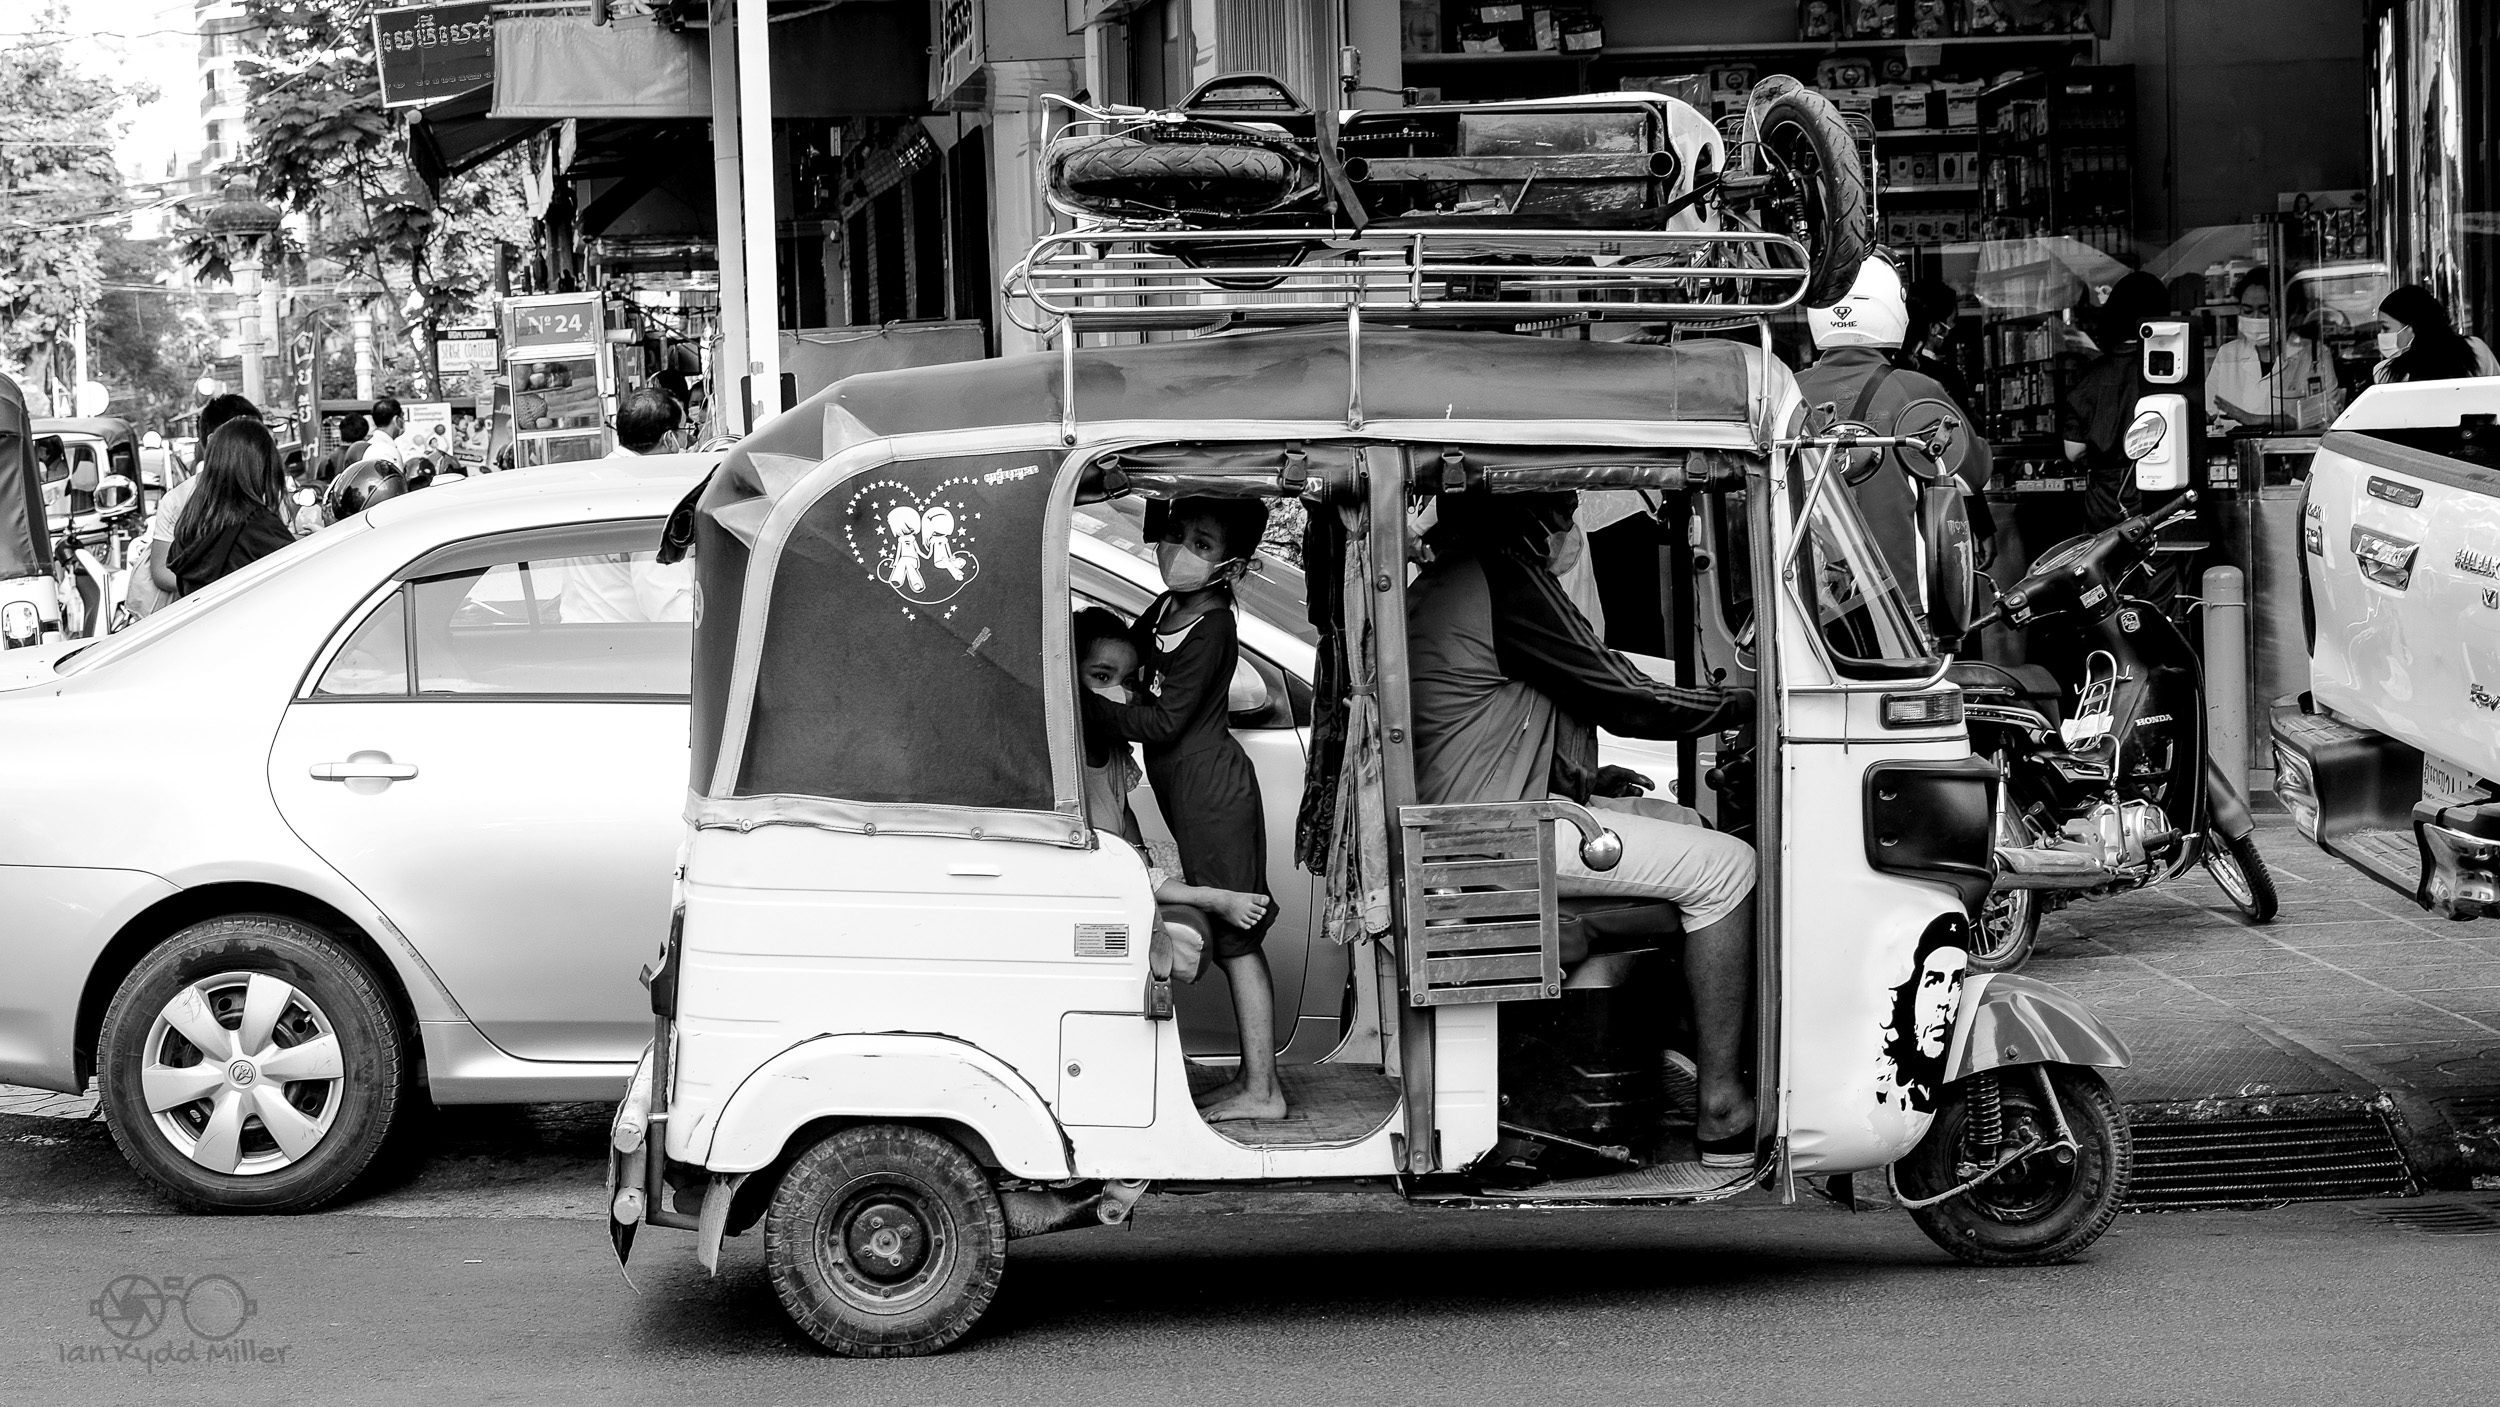
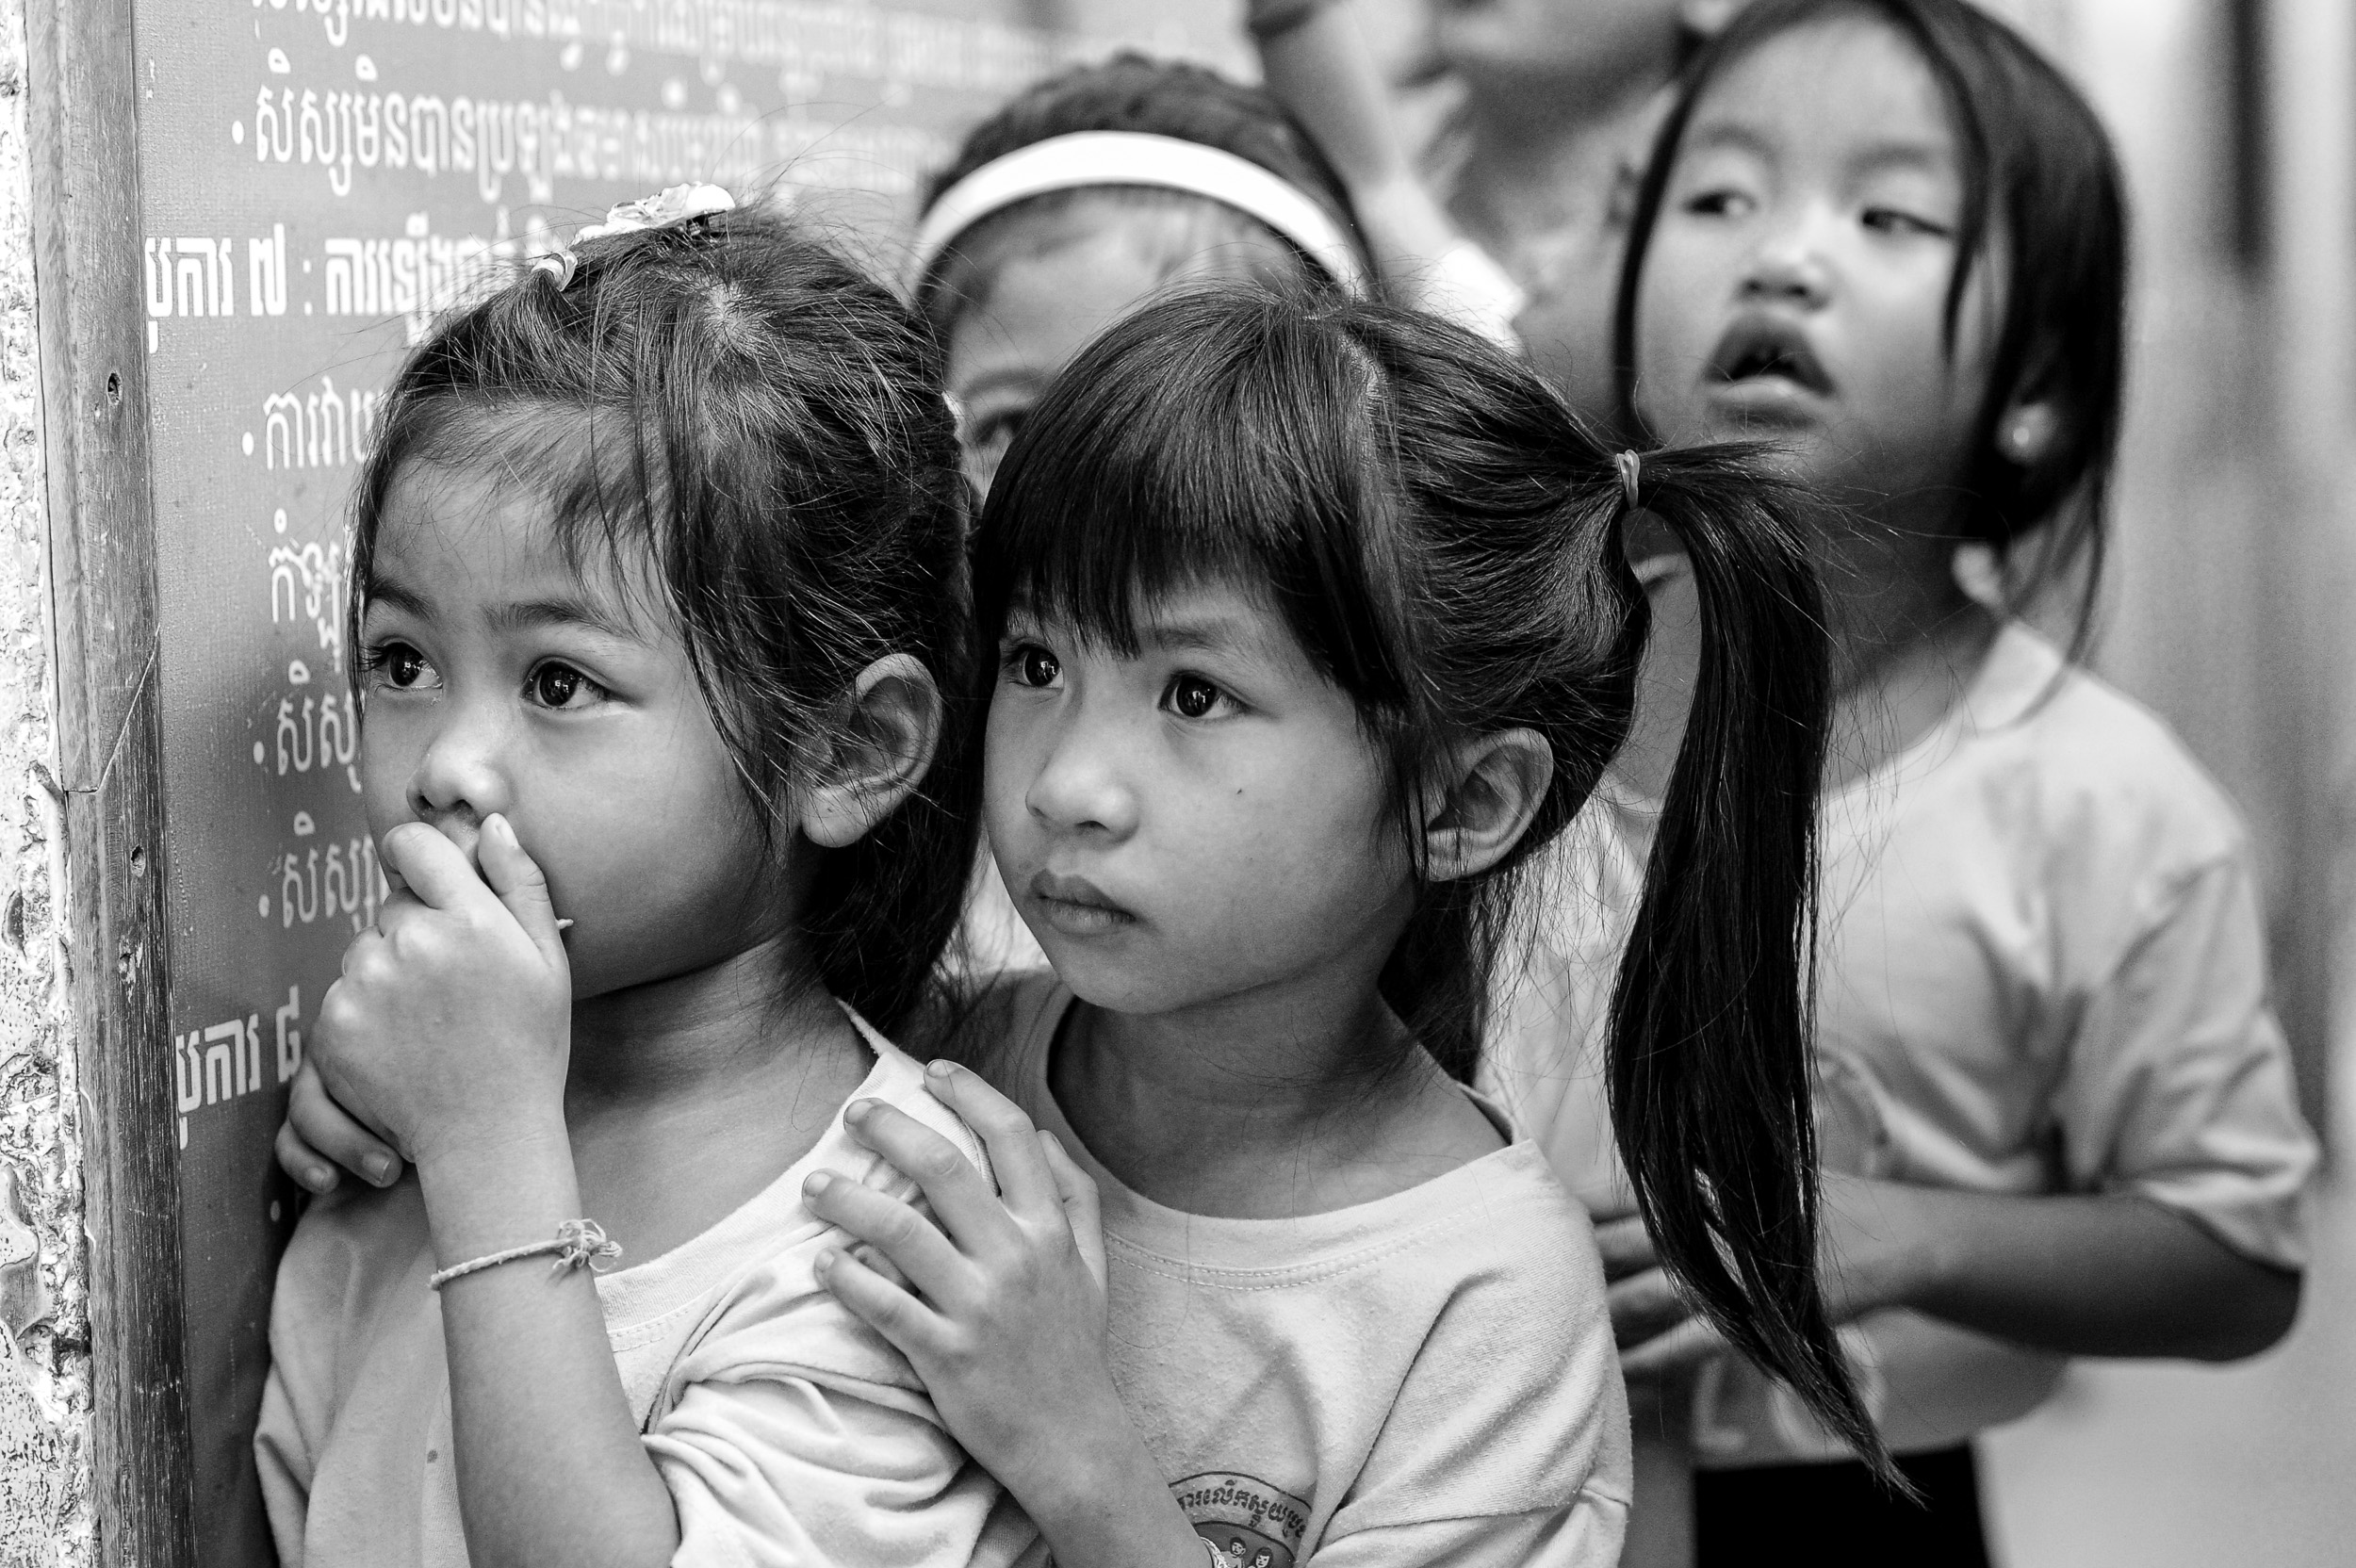
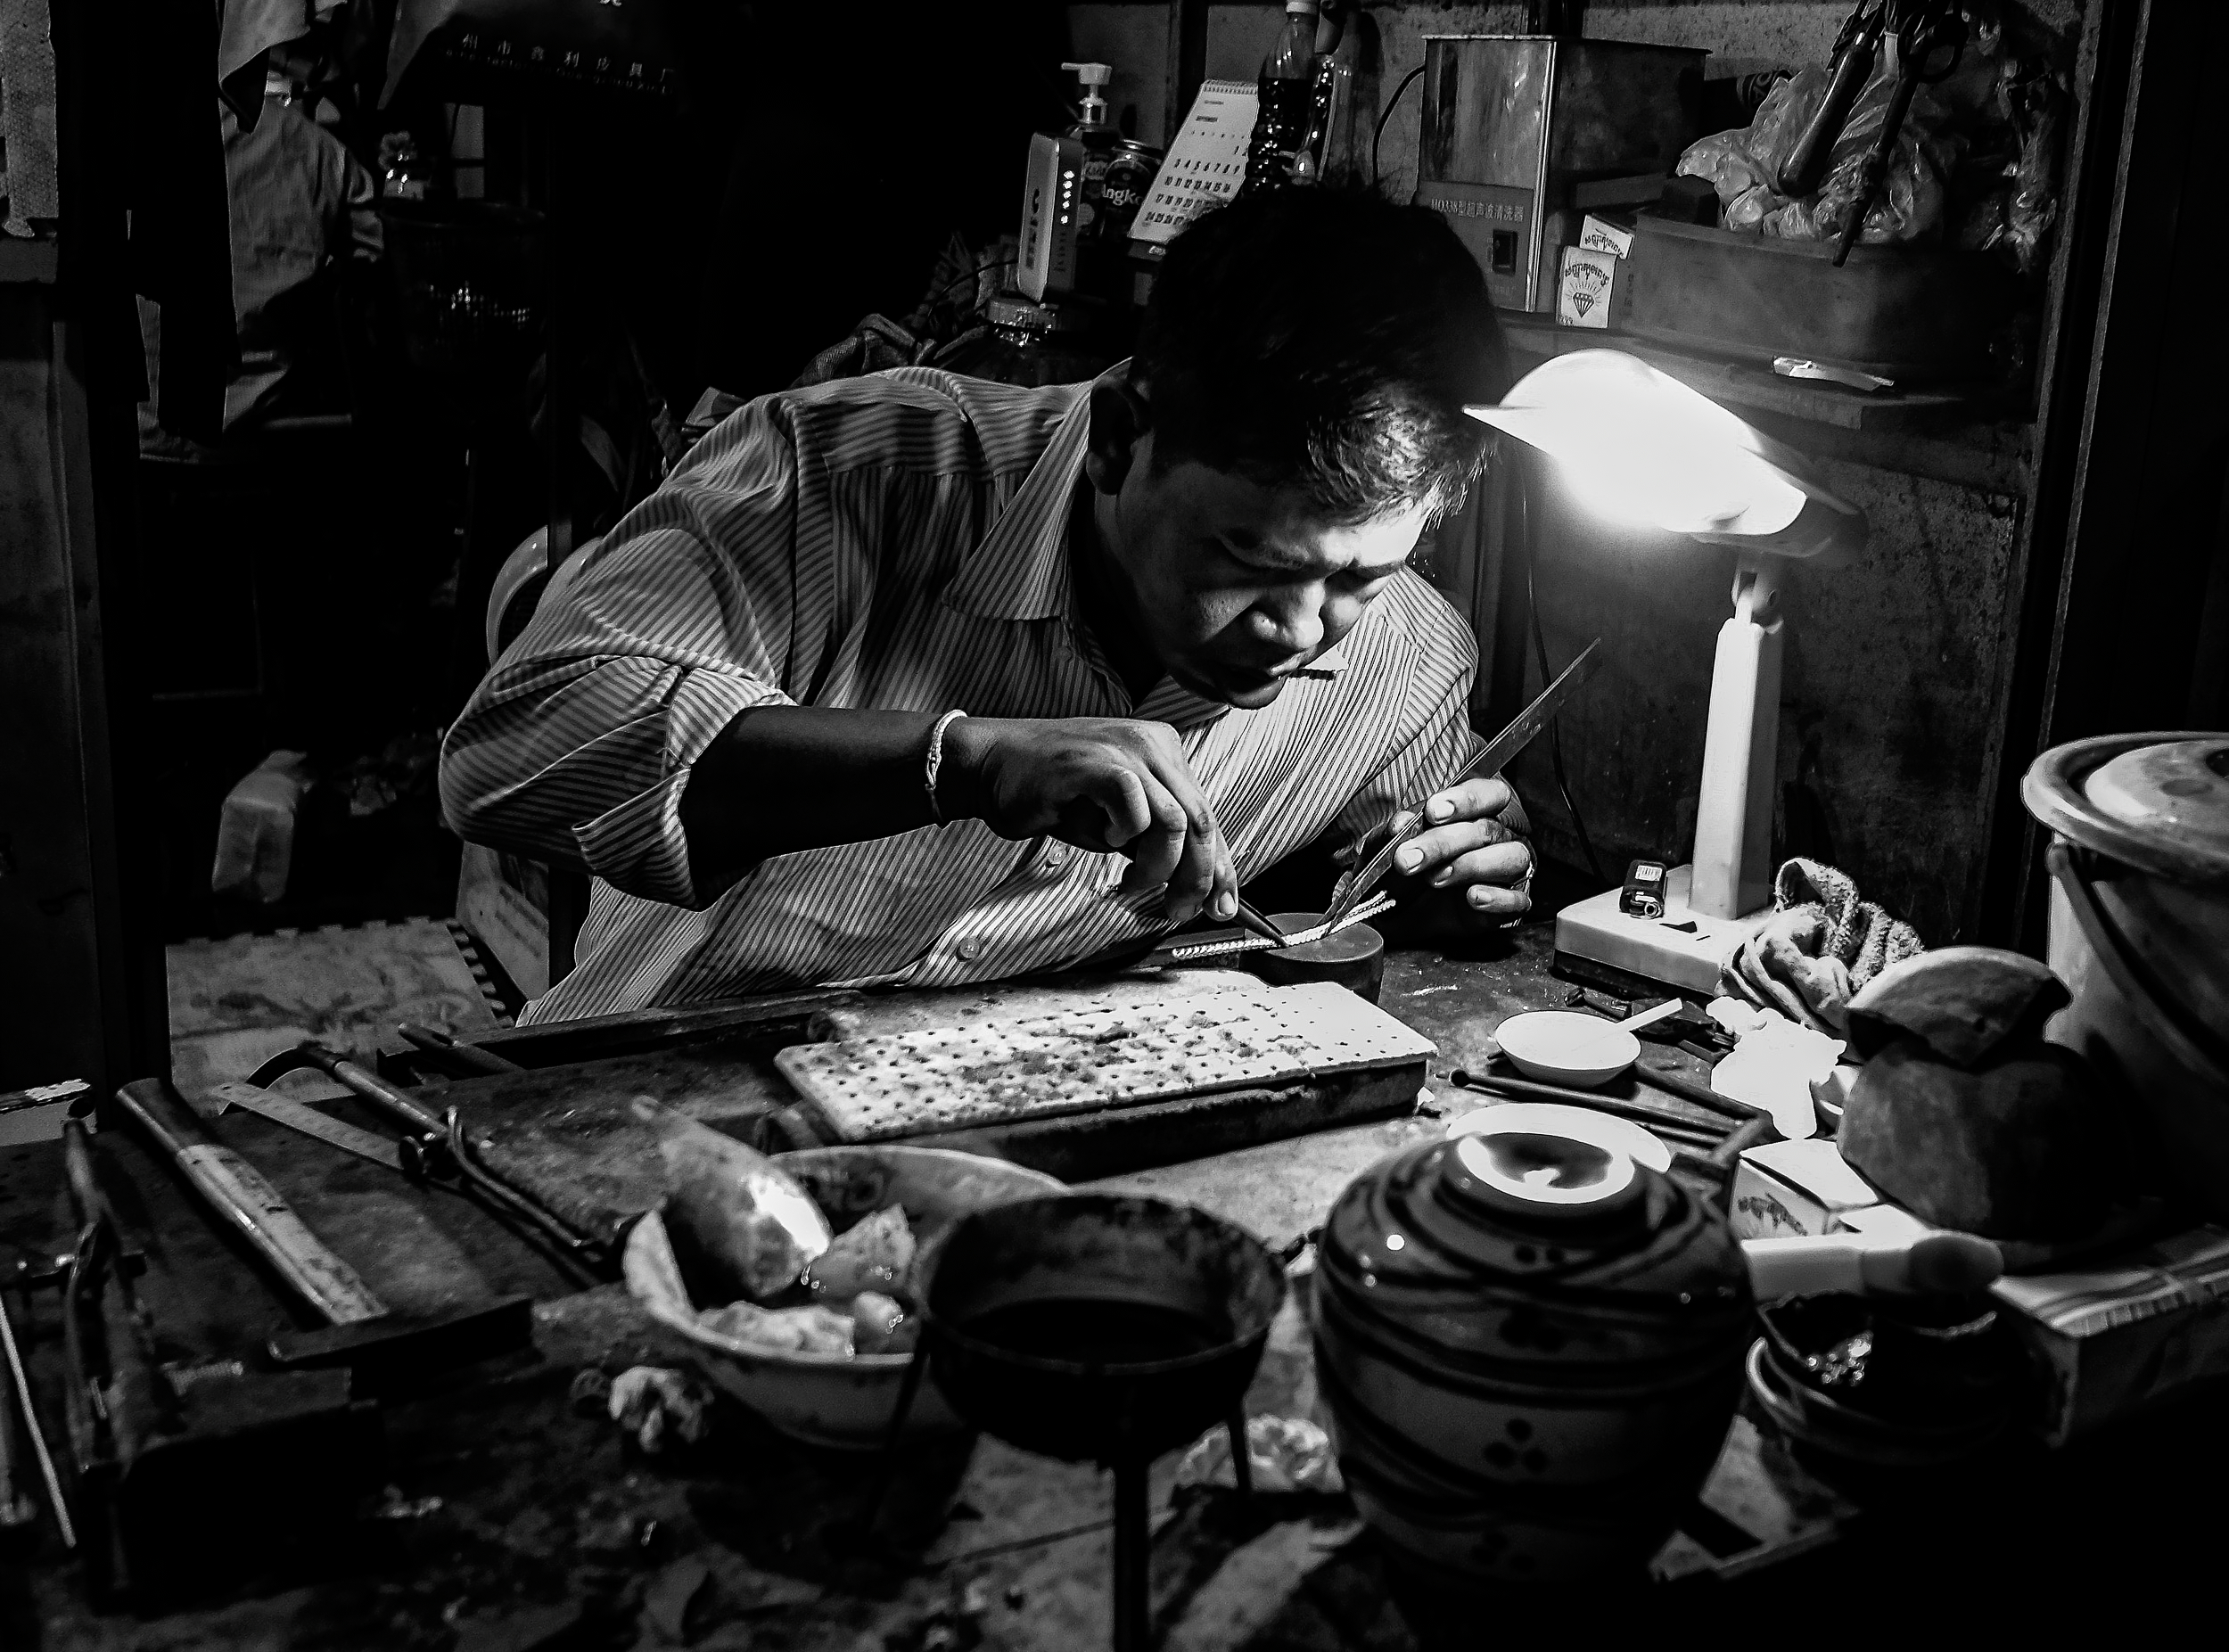
The people you photograph are not subjects.
They’re people who have trusted you with a tiny piece of their lives.
Never forget that. Treat them with respect. Listen more than you speak.
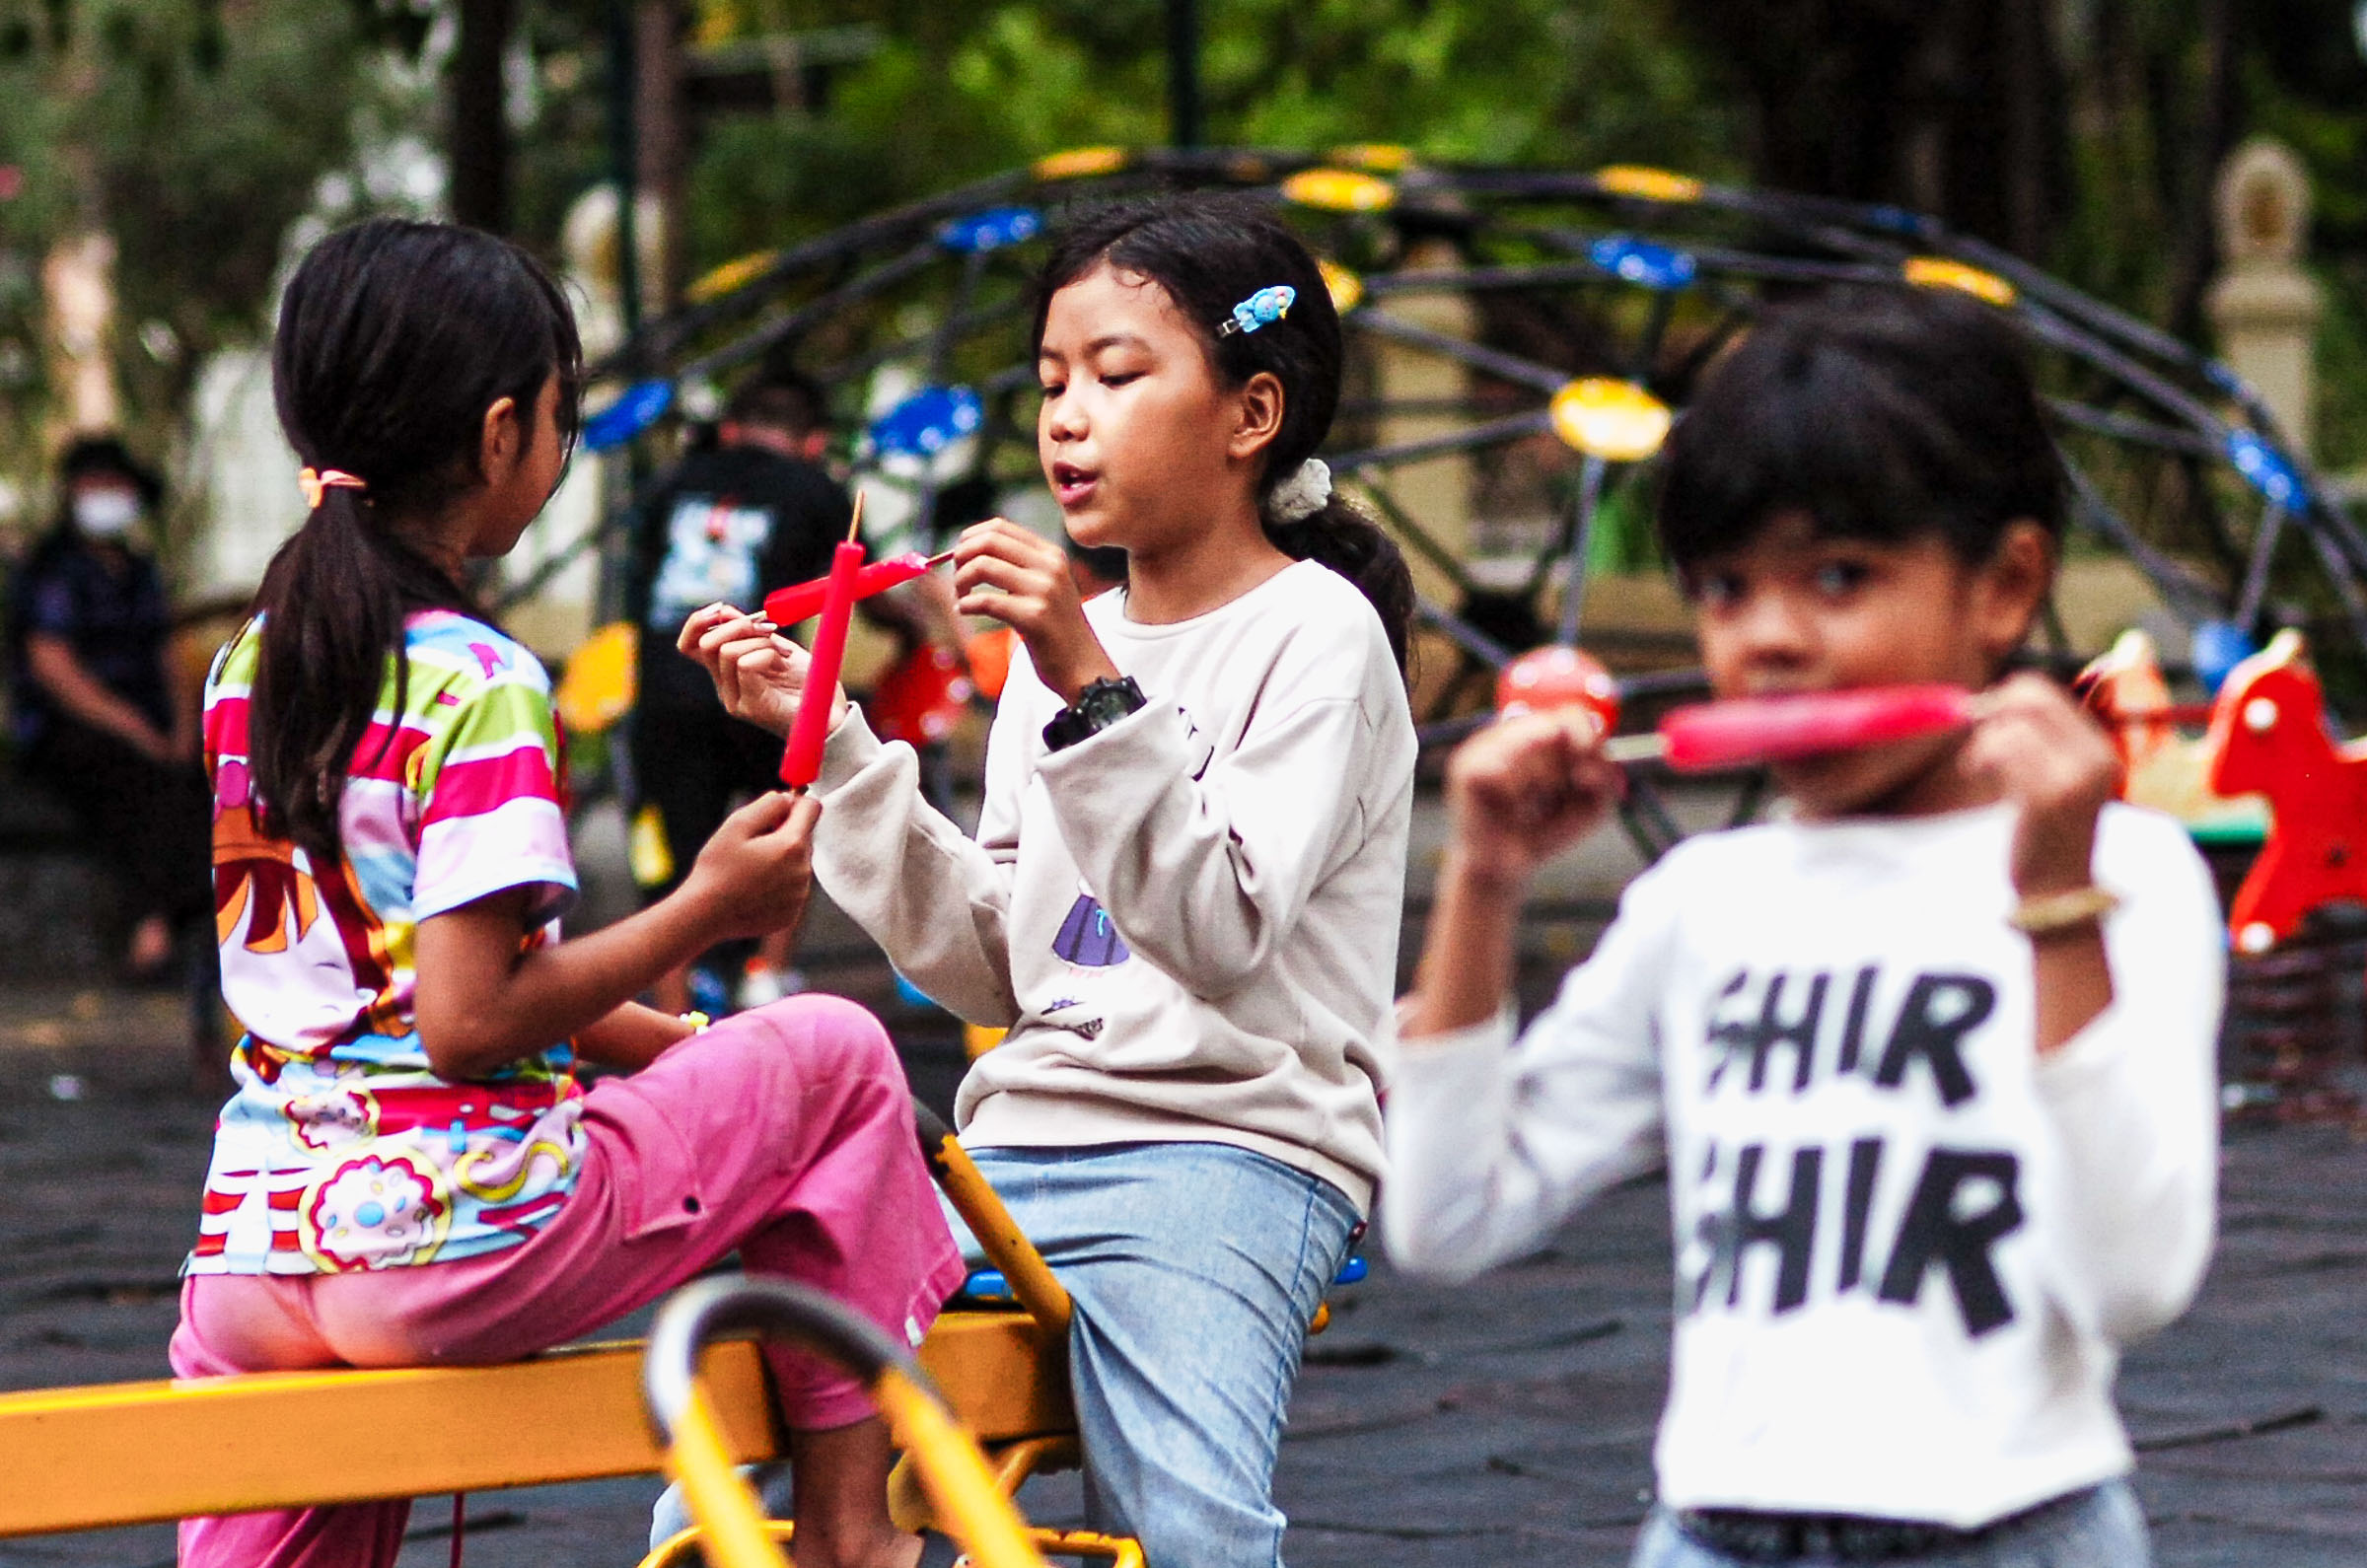
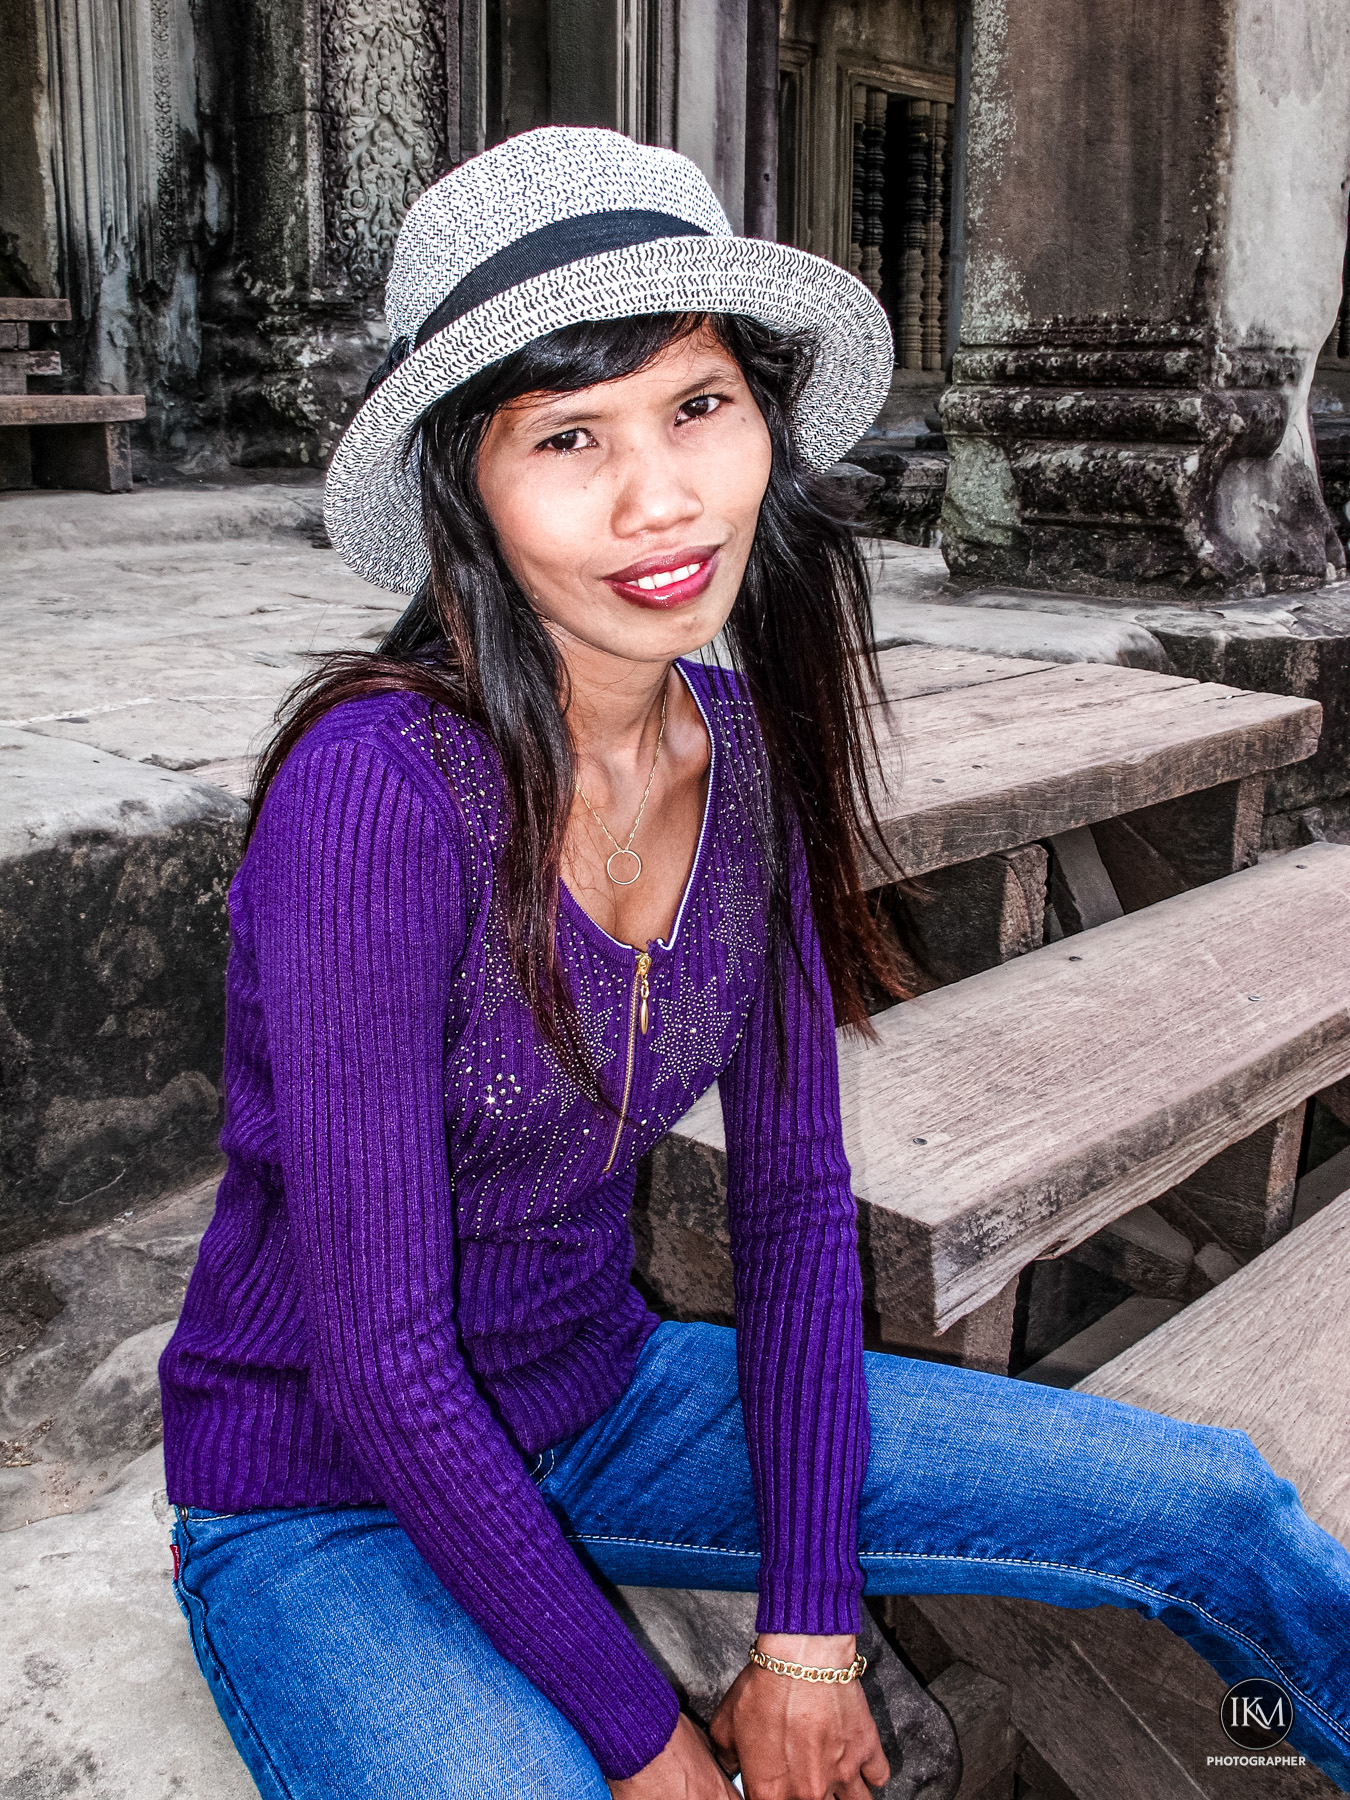
Sometimes the conversation will become more important than the photograph.
Allow that to happen.
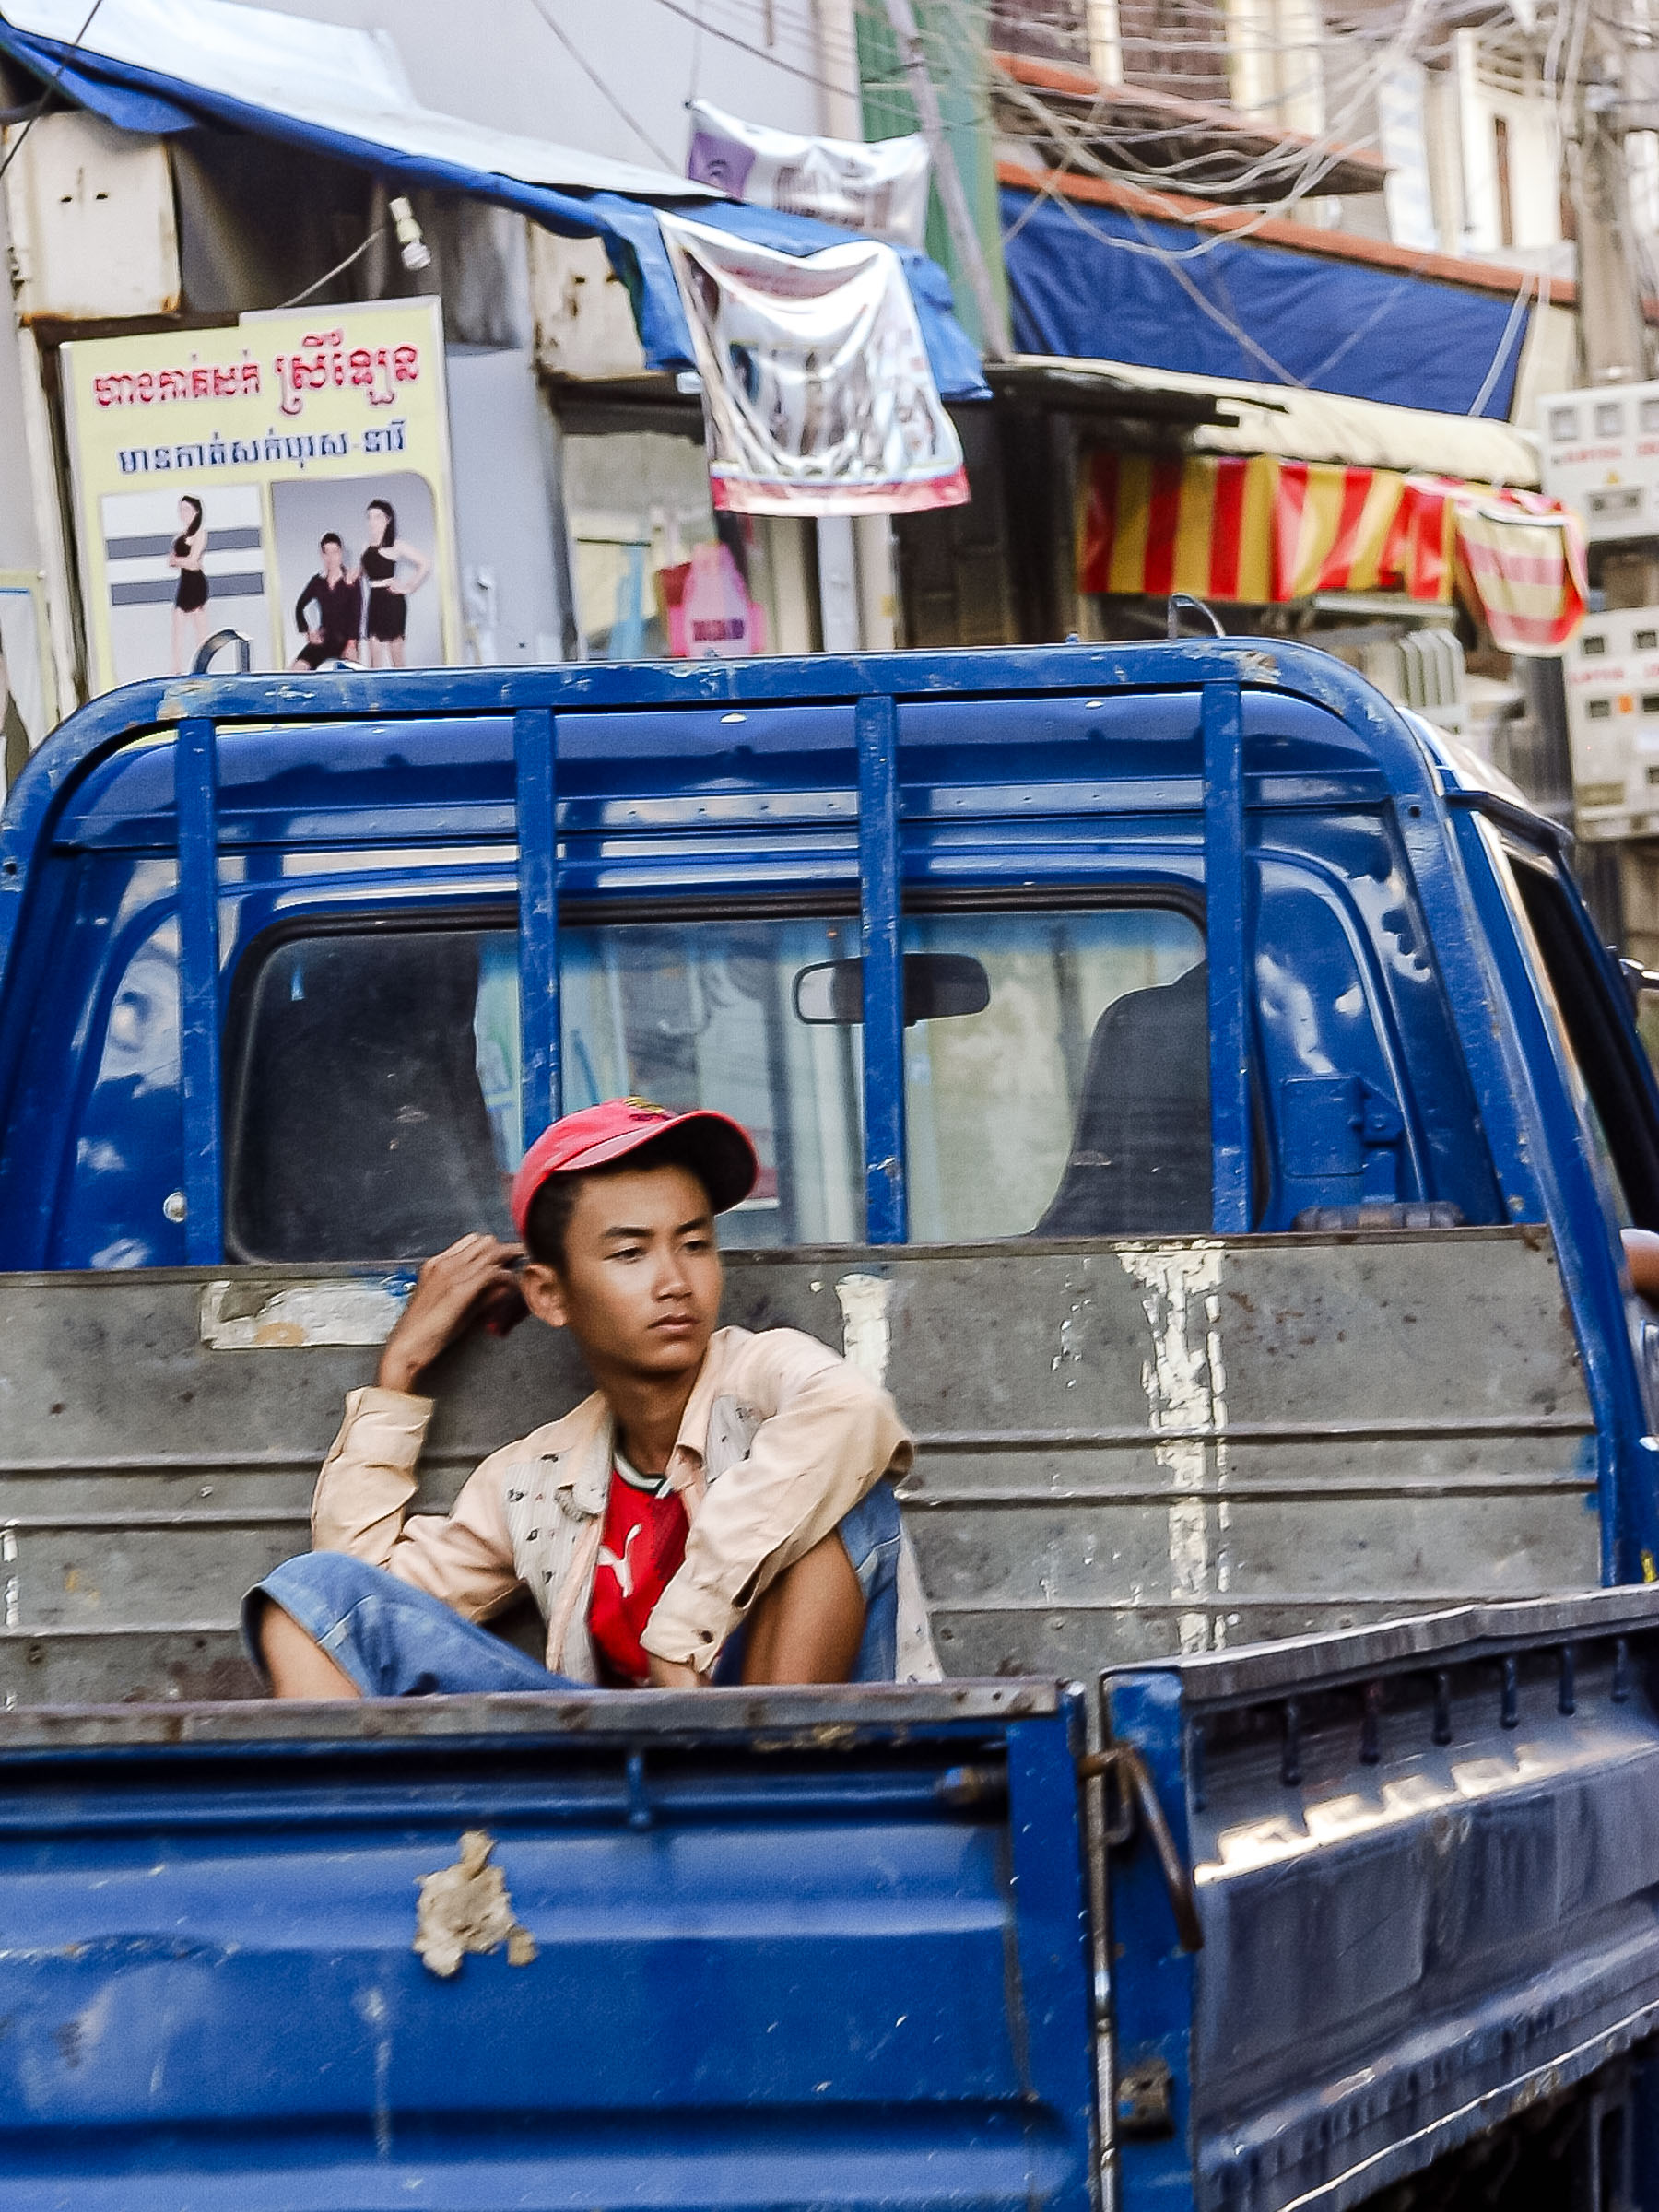
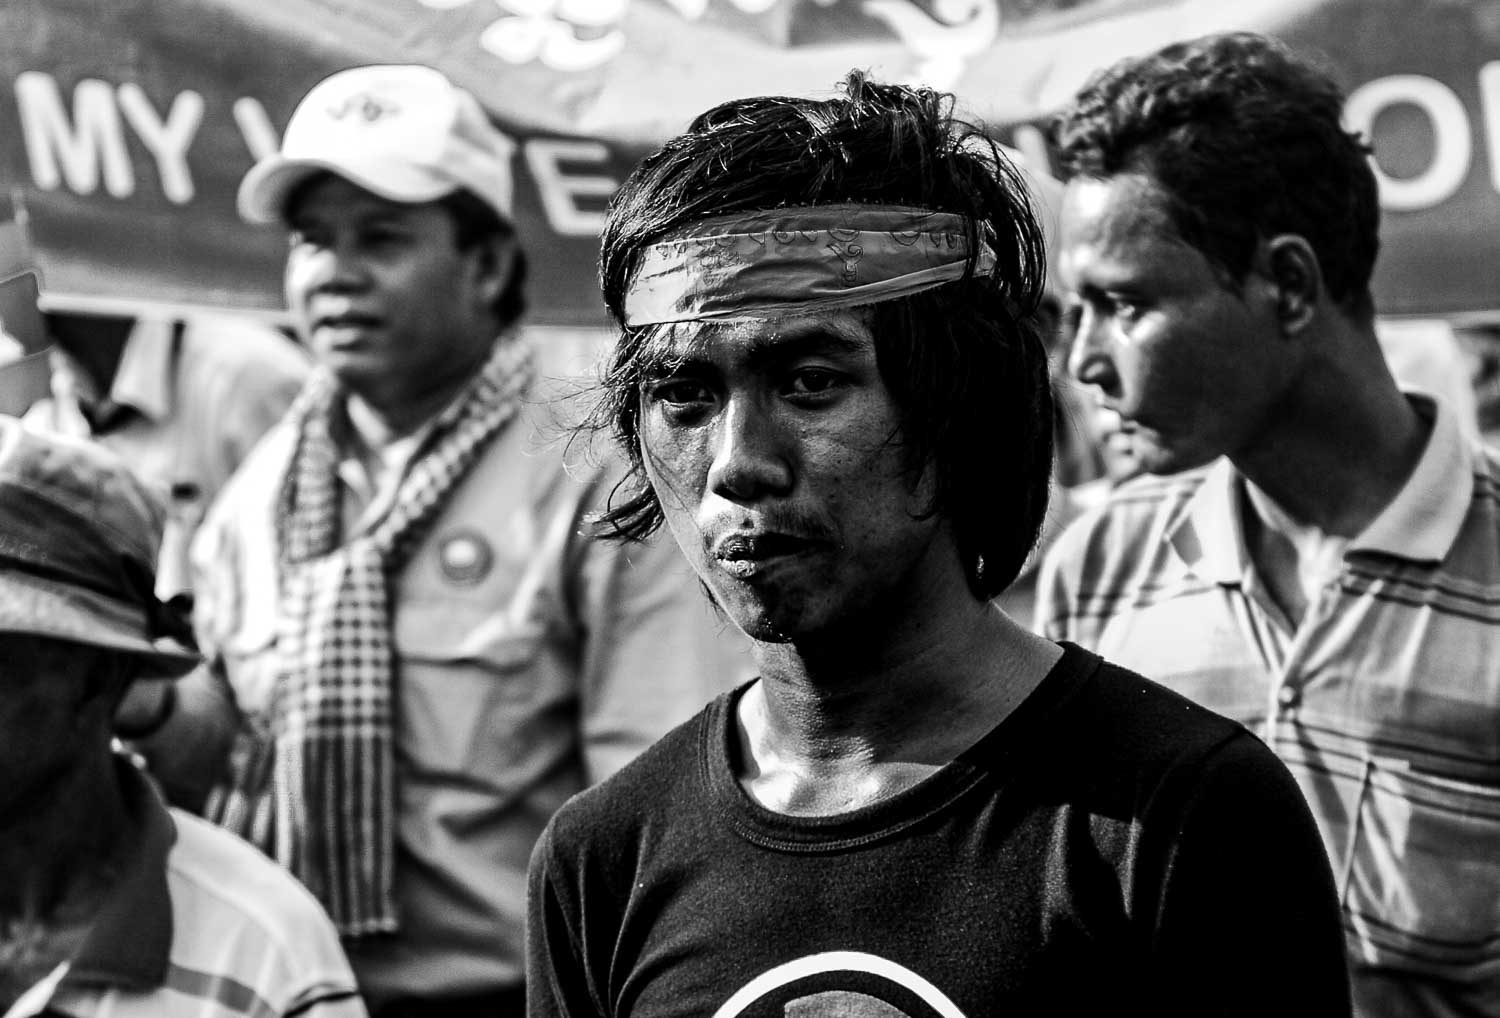
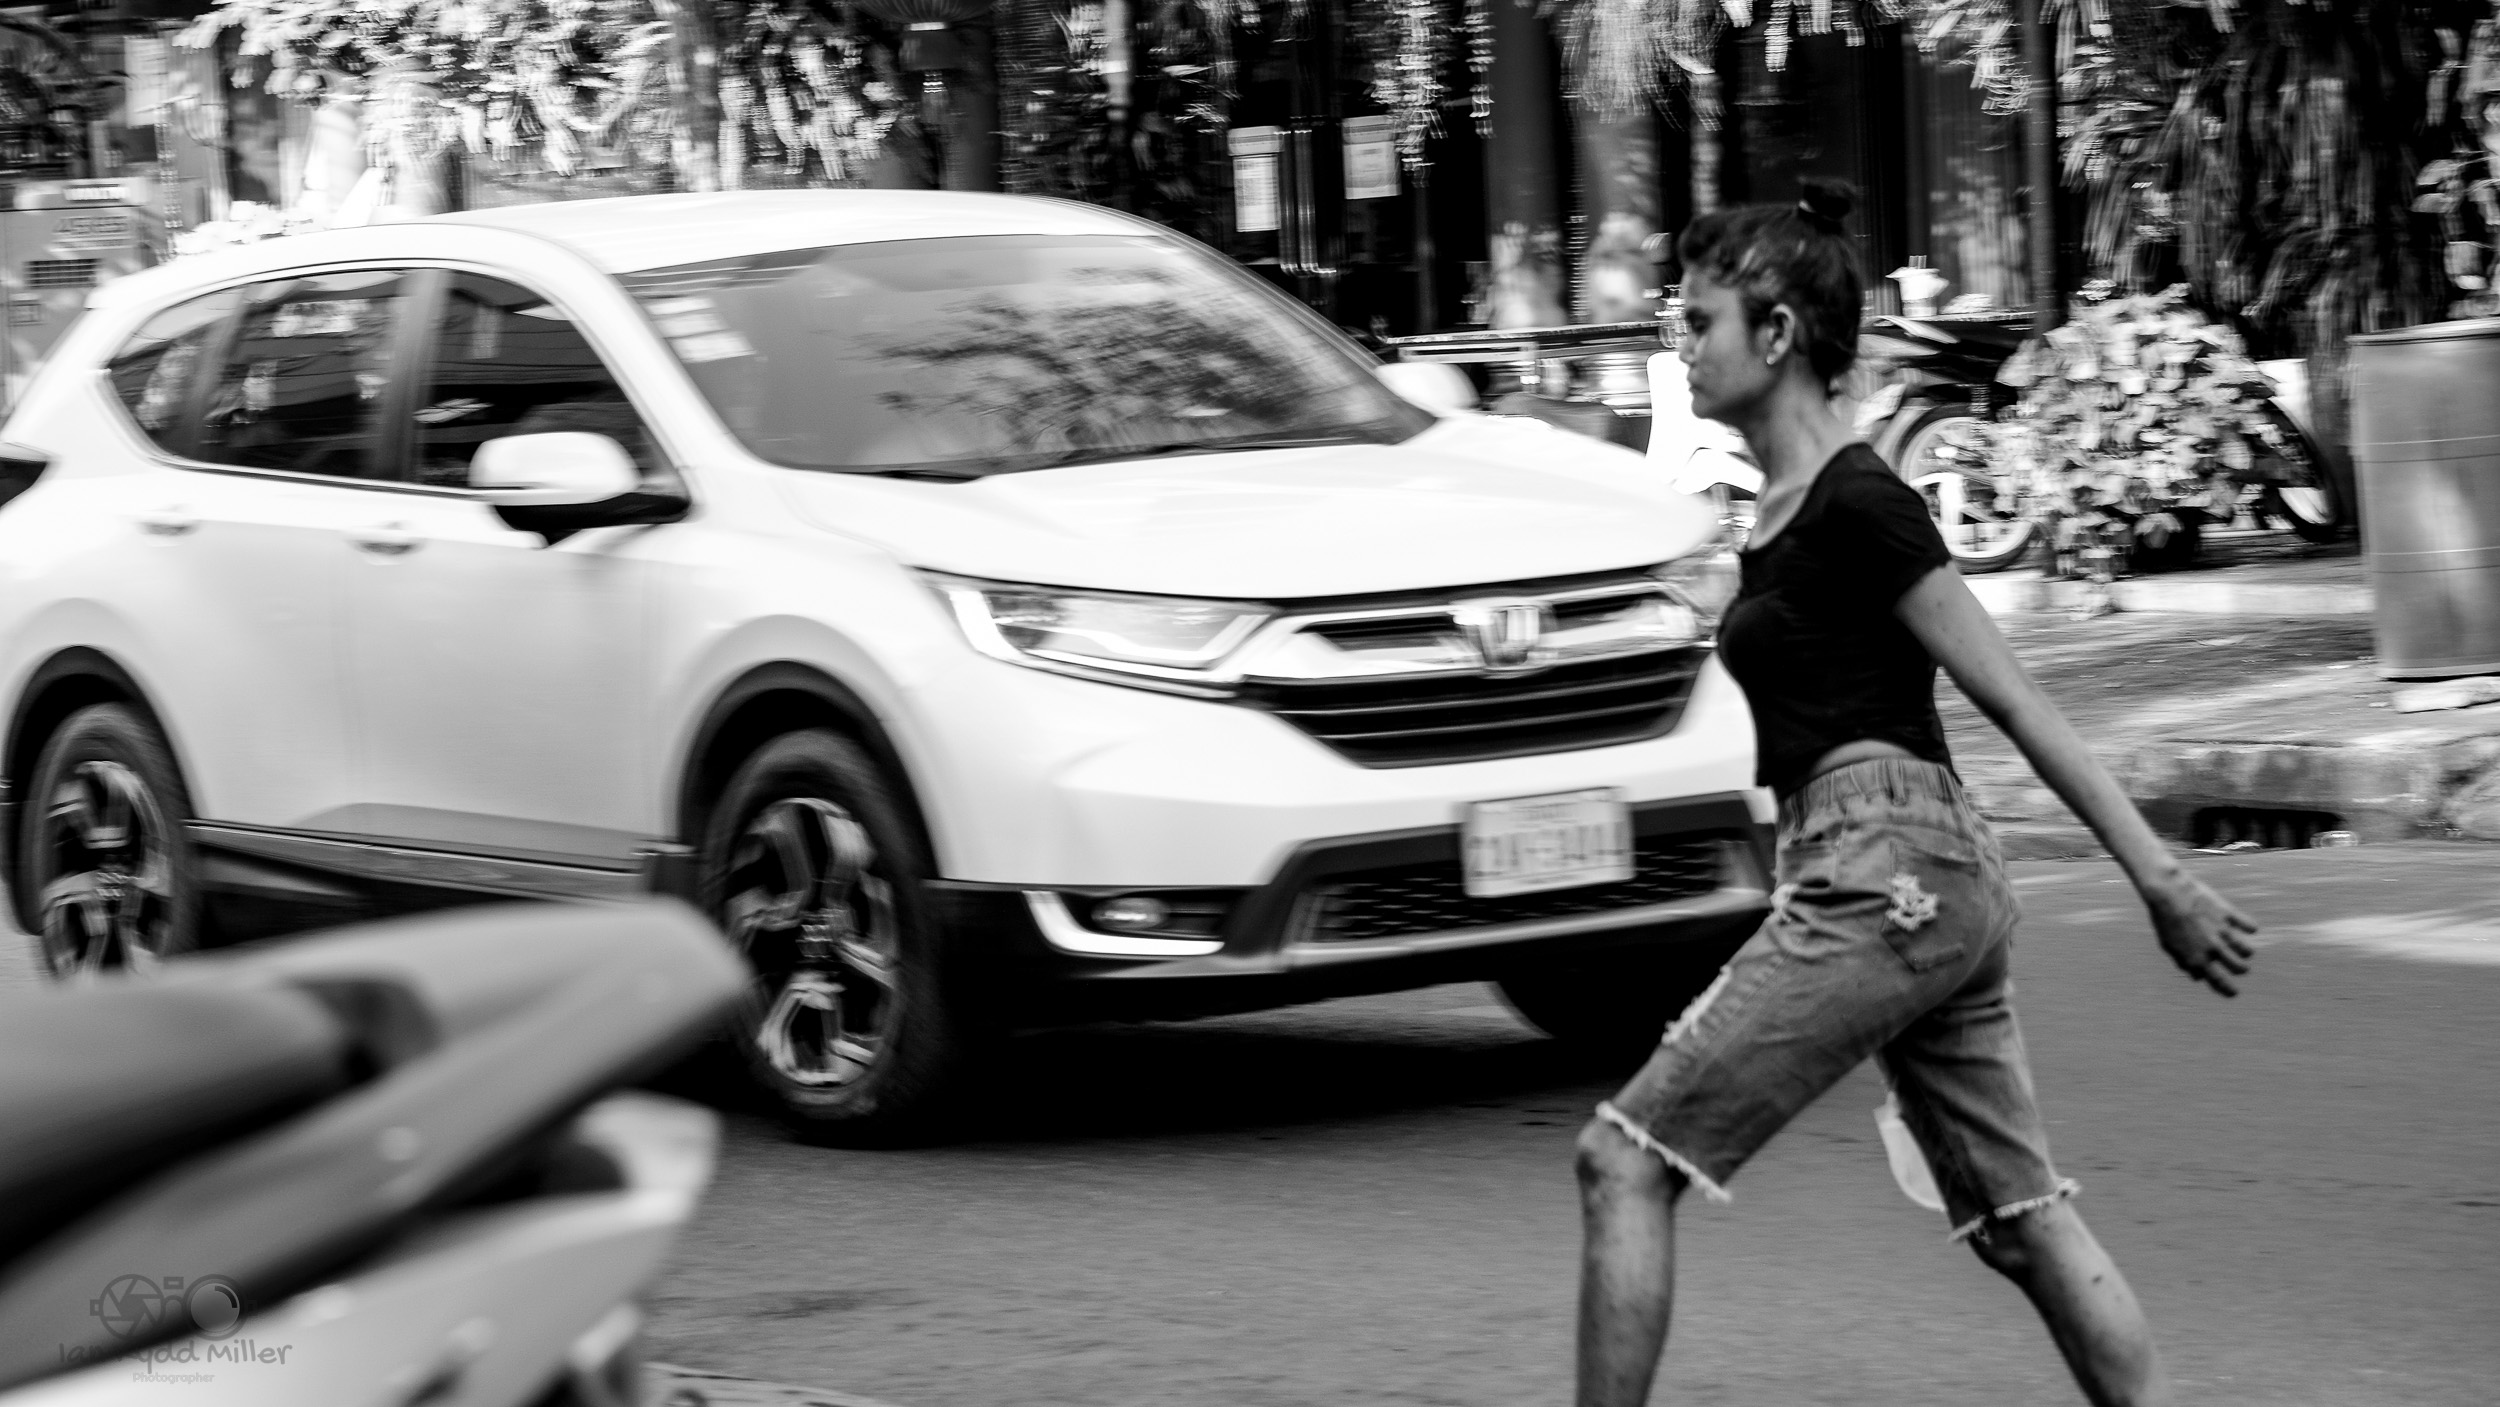
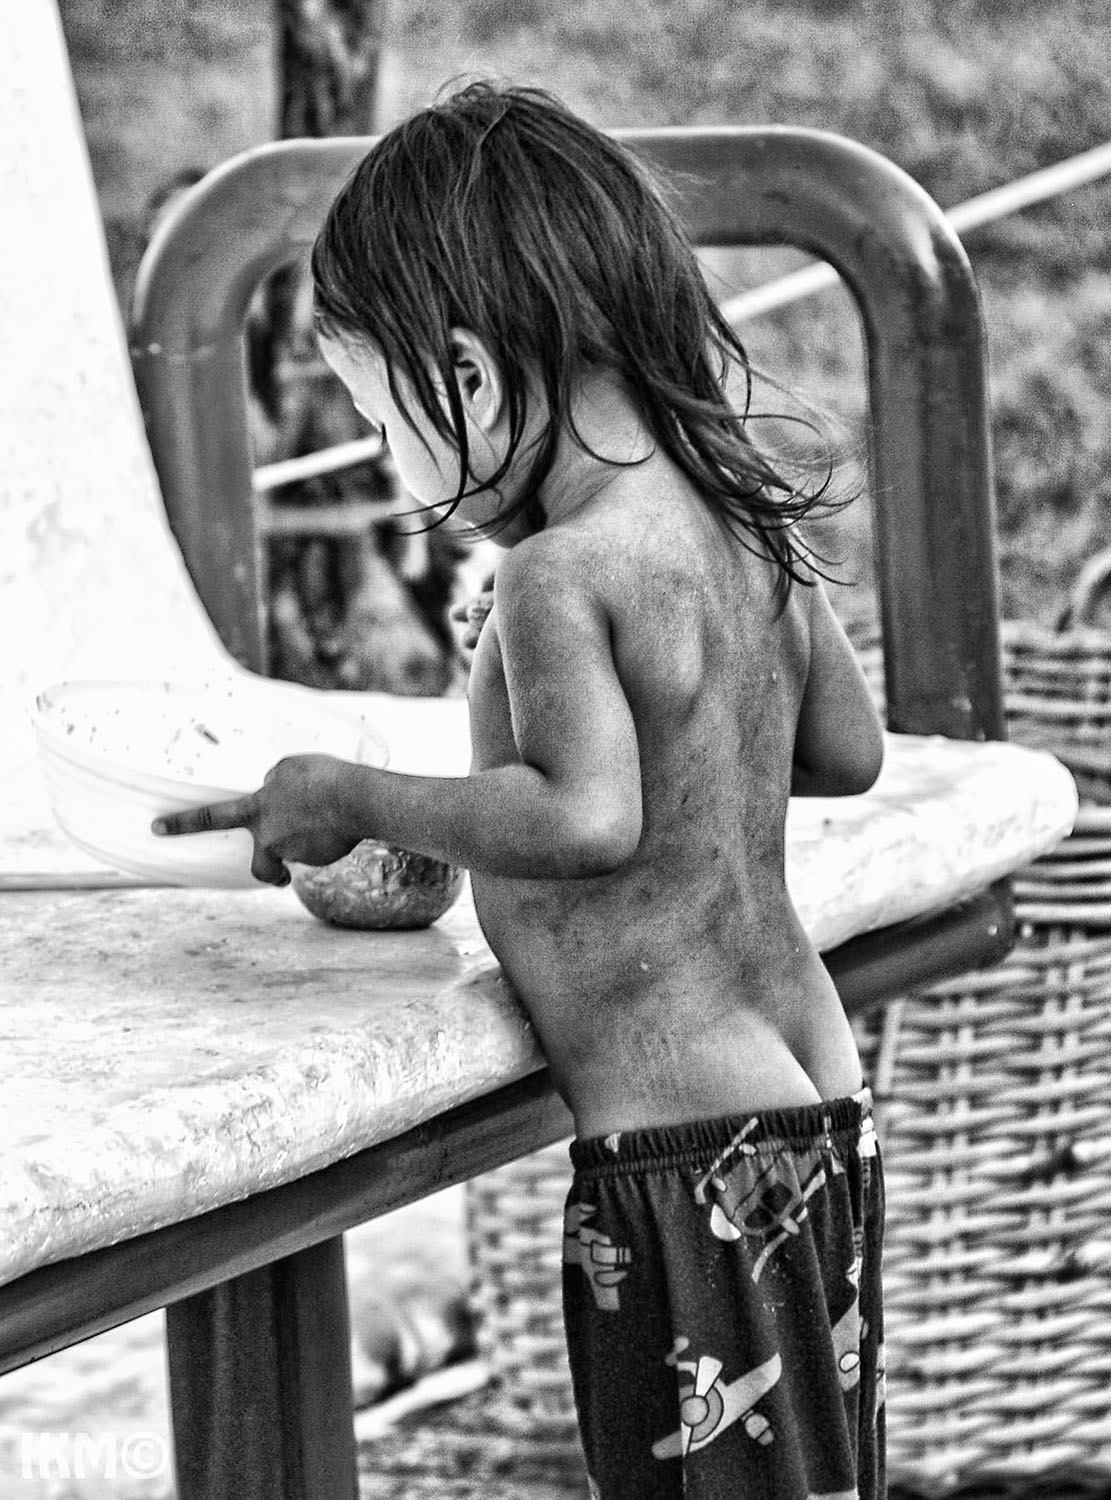
Don’t rush. The world will try to convince you that speed is everything.
It isn’t. Good photographs often belong to patient people.
Stand still. Watch. Wait.
You are under no obligation to fill every memory card you own.
Some days you’ll come home with two photographs.
Some days with none. Neither day is a failure. The walking matters too.


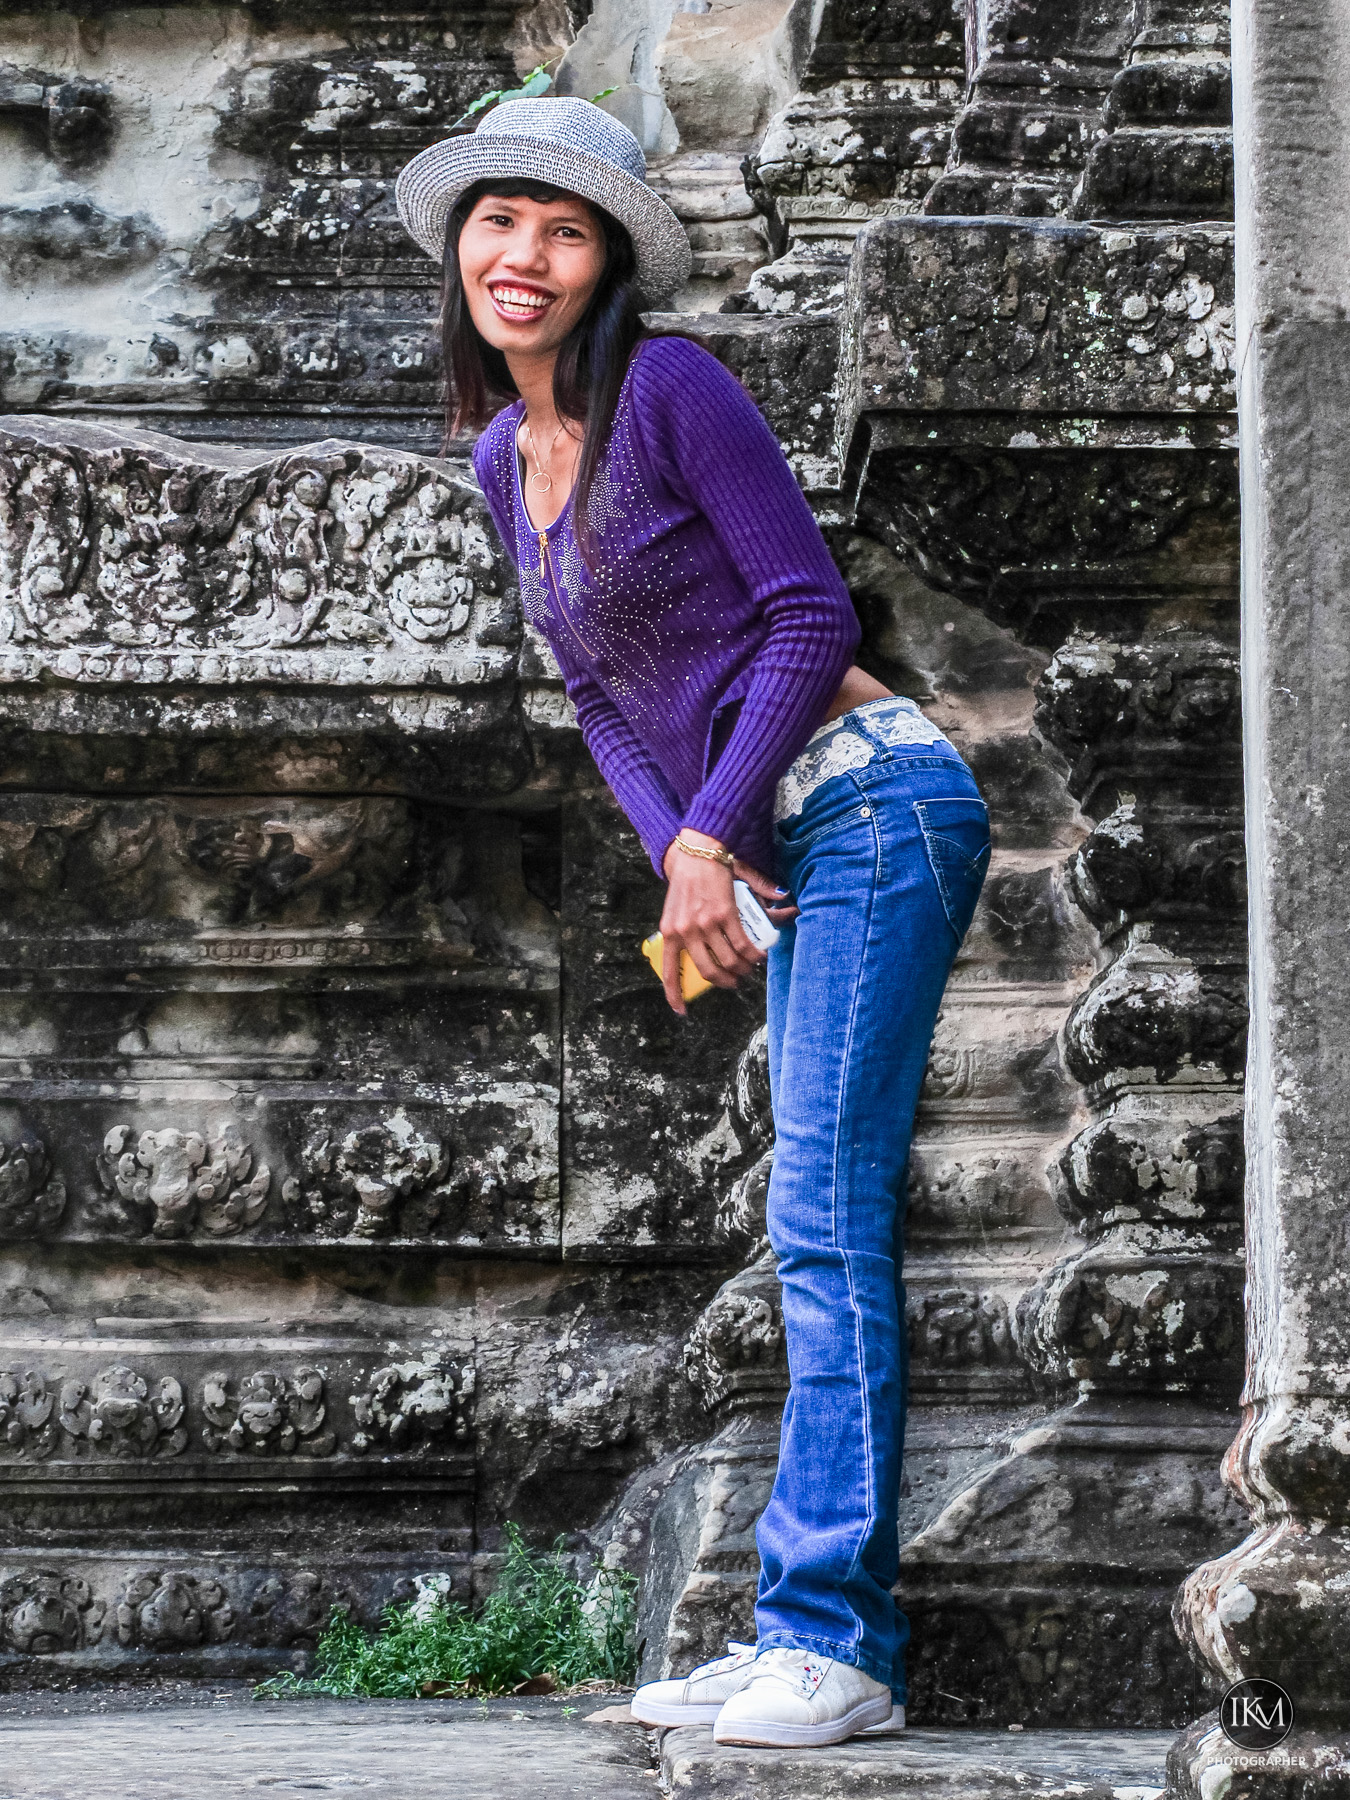
There will be times when you’ll wonder whether you’ve lost whatever it was that first made you pick up a camera. You’ll go for walks and barely raise it to your eye.
That will frighten you.
You’ll think the passion has gone forever. It hasn’t.
Sometimes creativity simply goes quiet for a while.
Leave it alone. Don’t force it.
One day an old camera or a forgotten lens will remind you why you started in the first place.
It will return as quietly as it left.
Print your photographs. Not because anyone else demands it.
Because photographs deserve to exist somewhere other than a screen that will be forgotten tomorrow. A print asks people to stop.
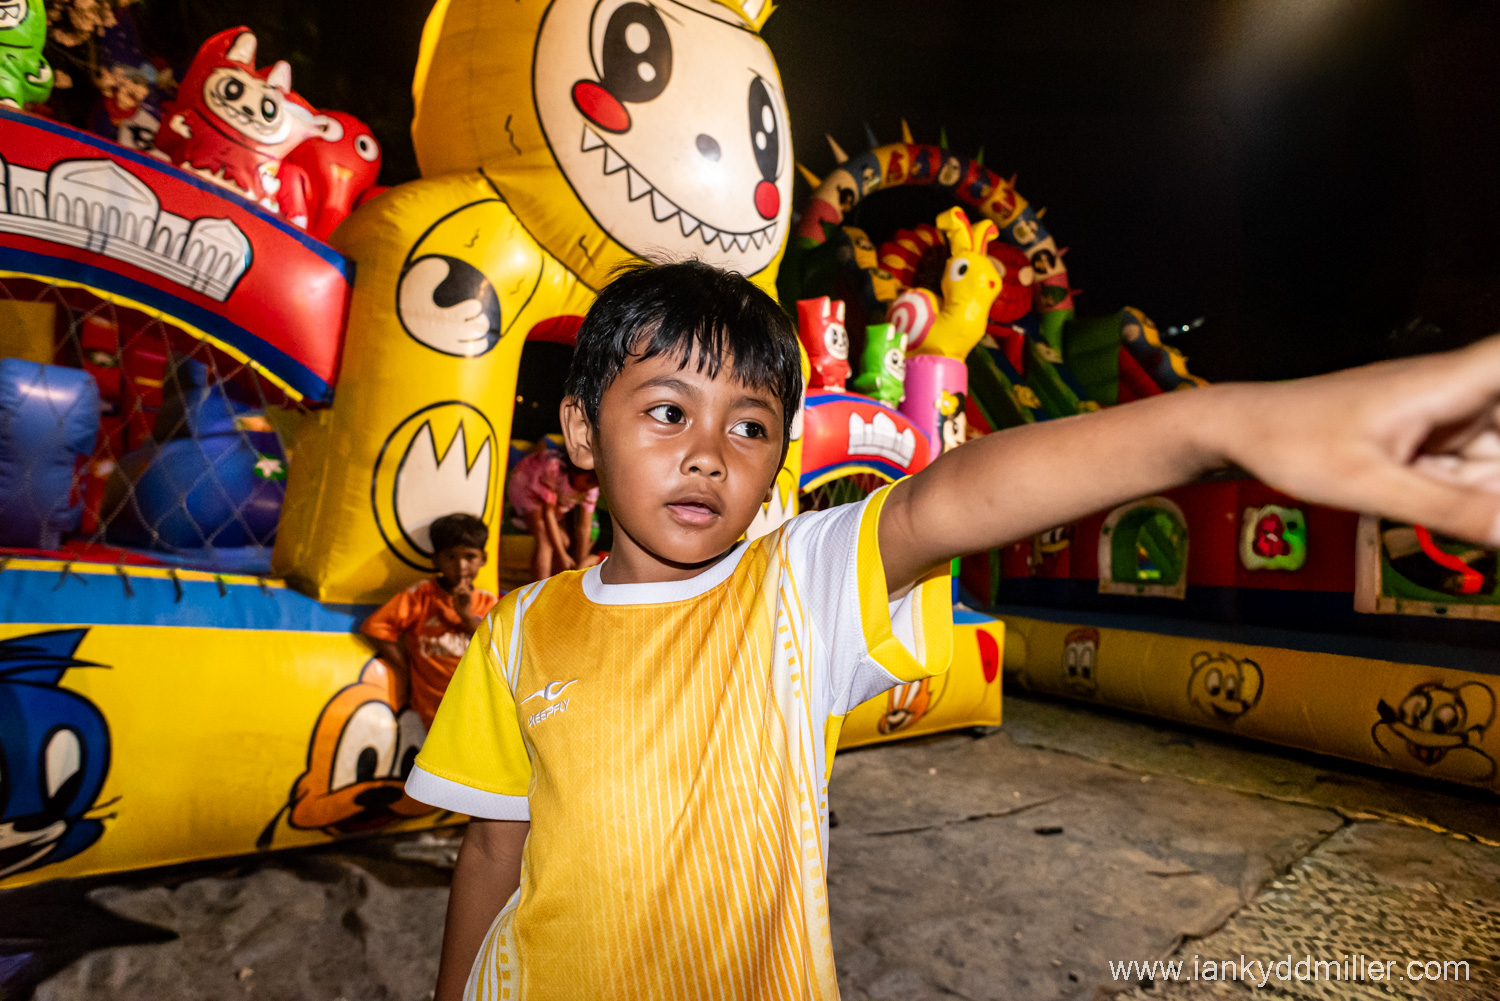
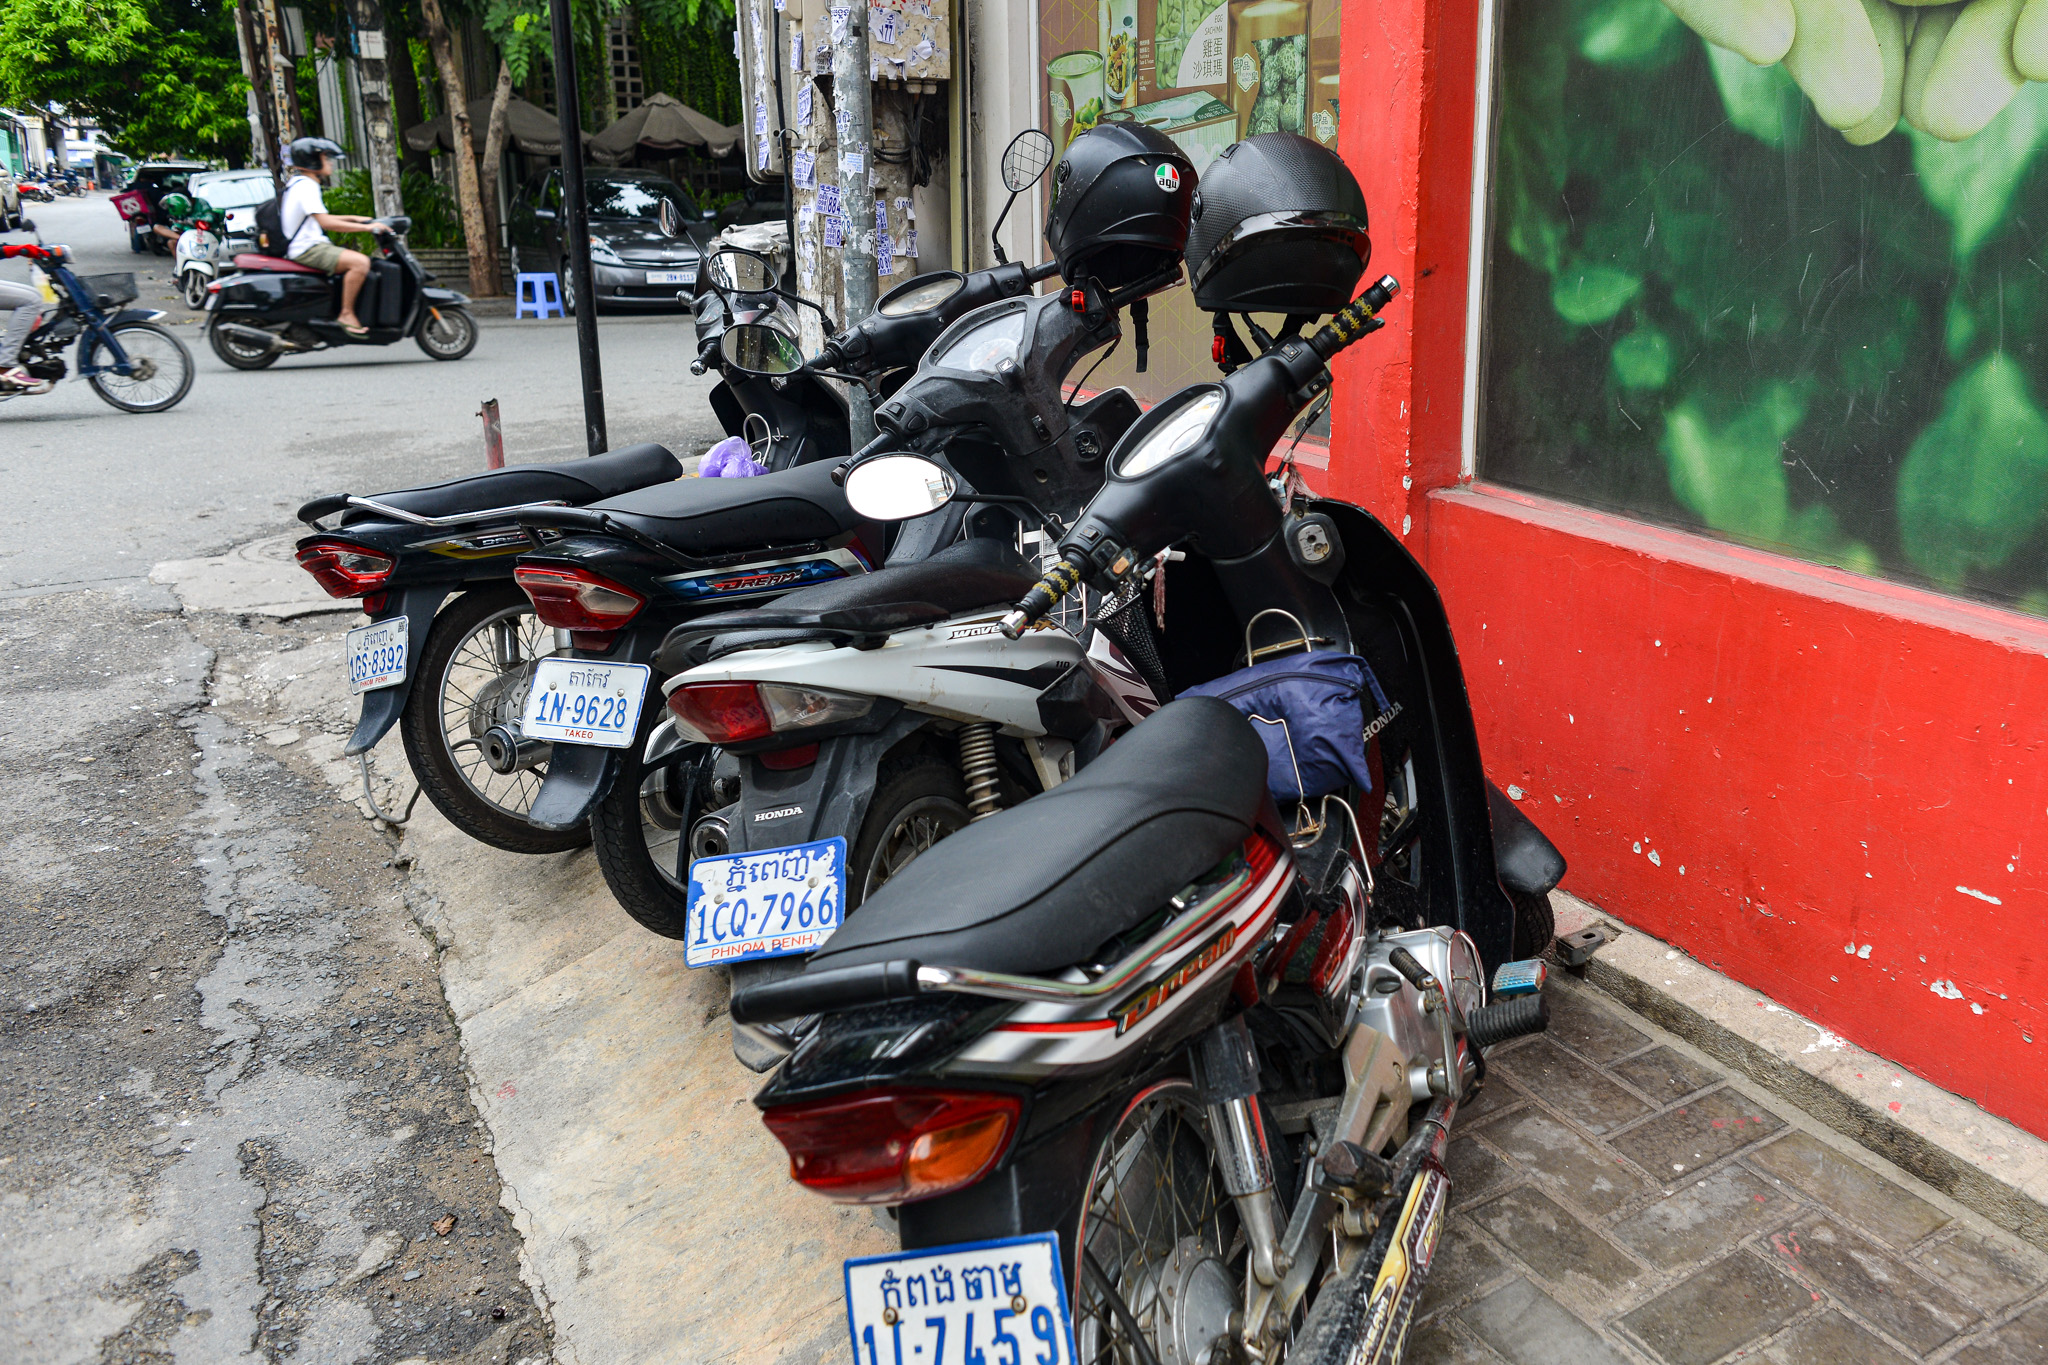
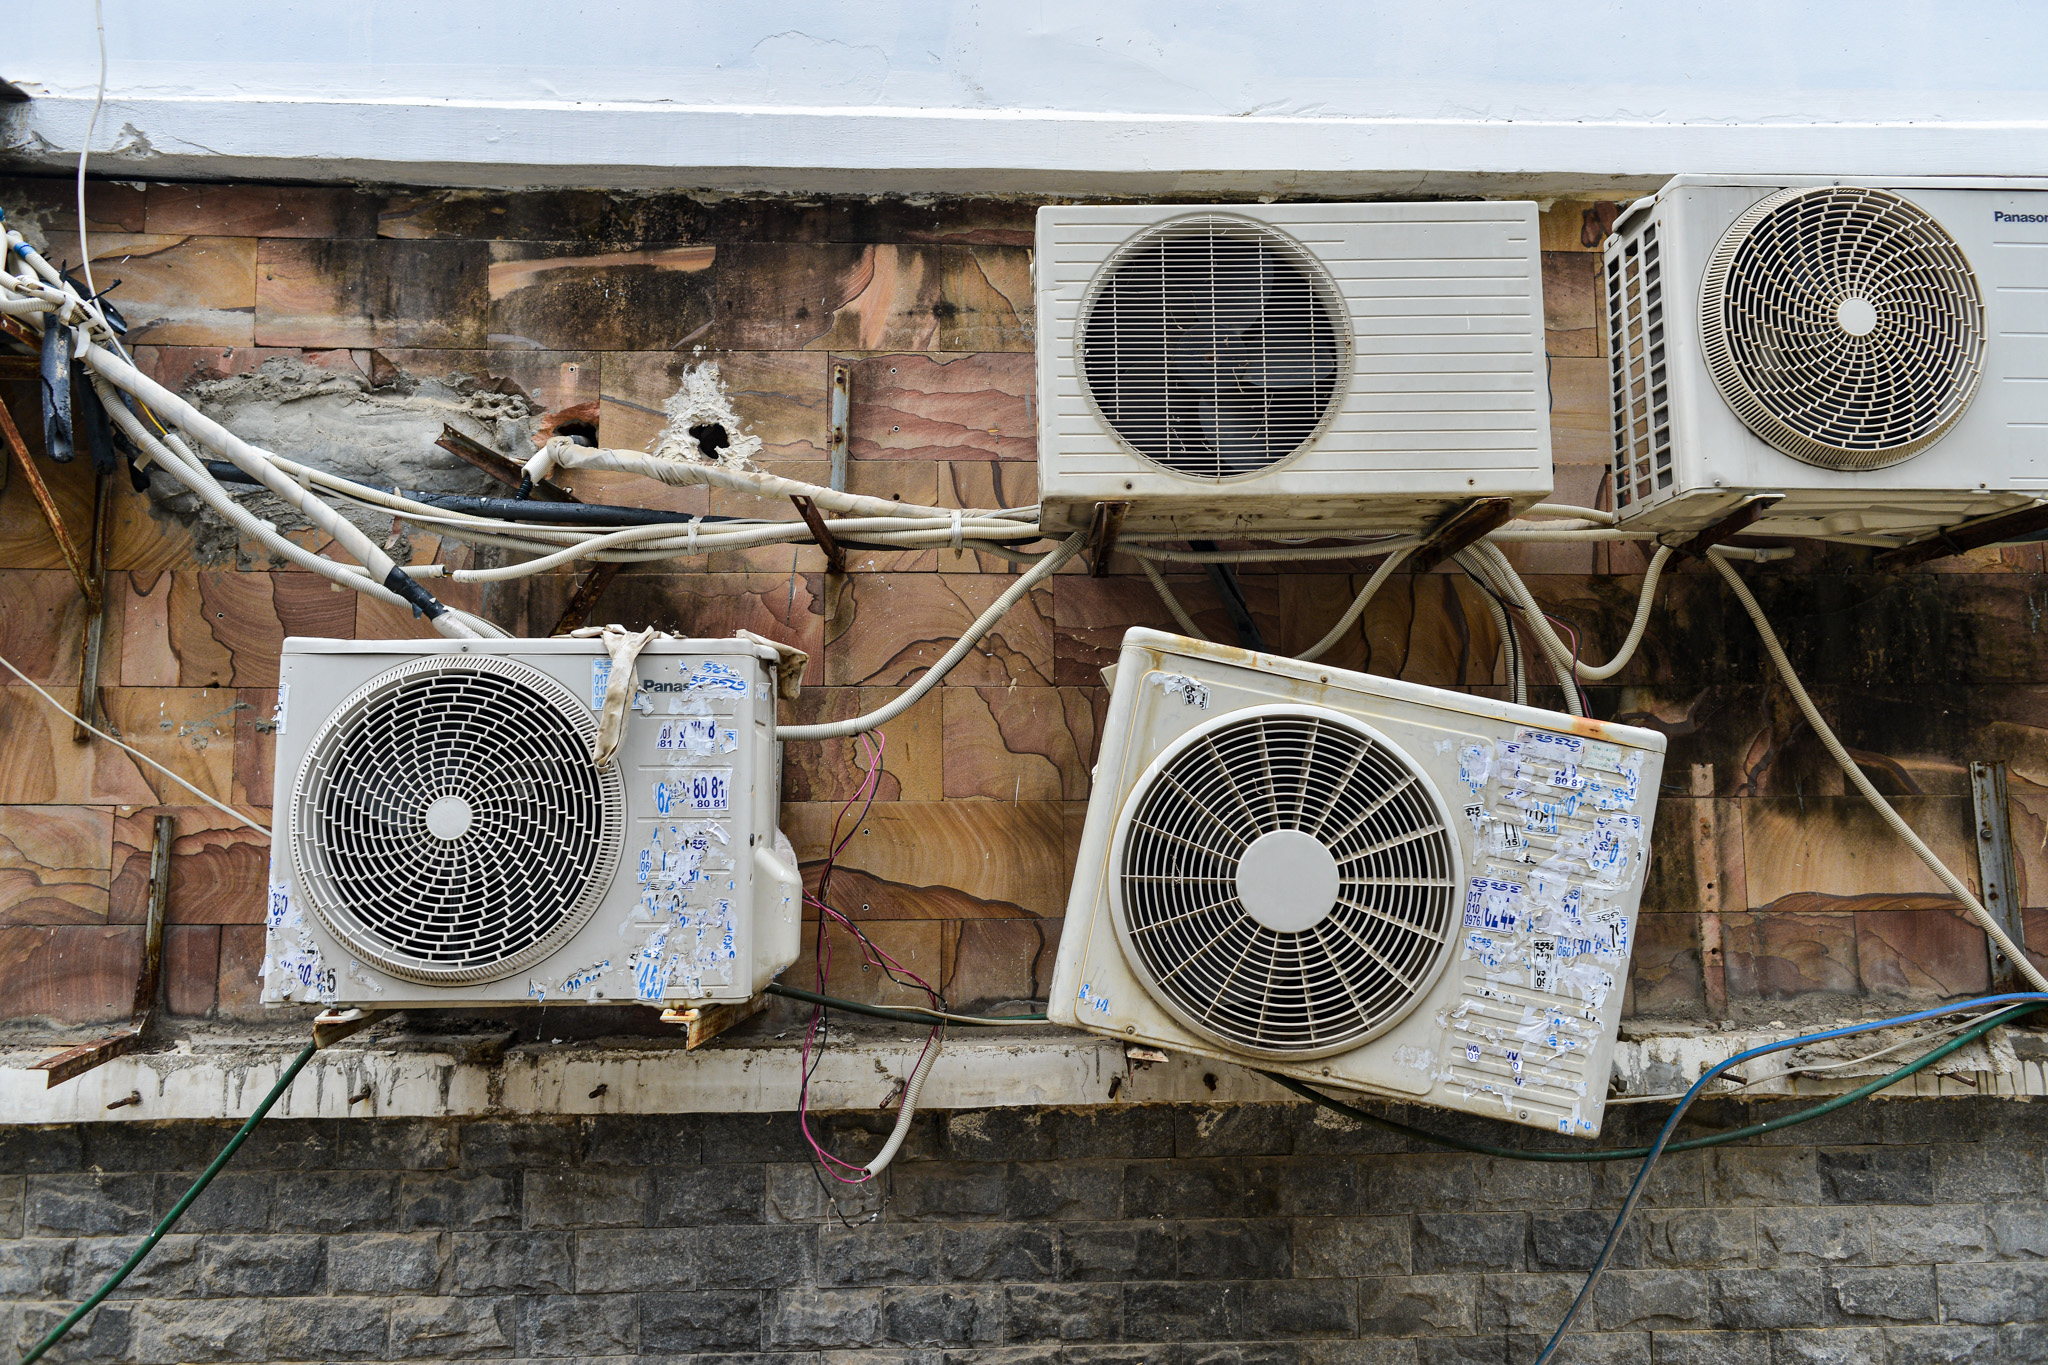
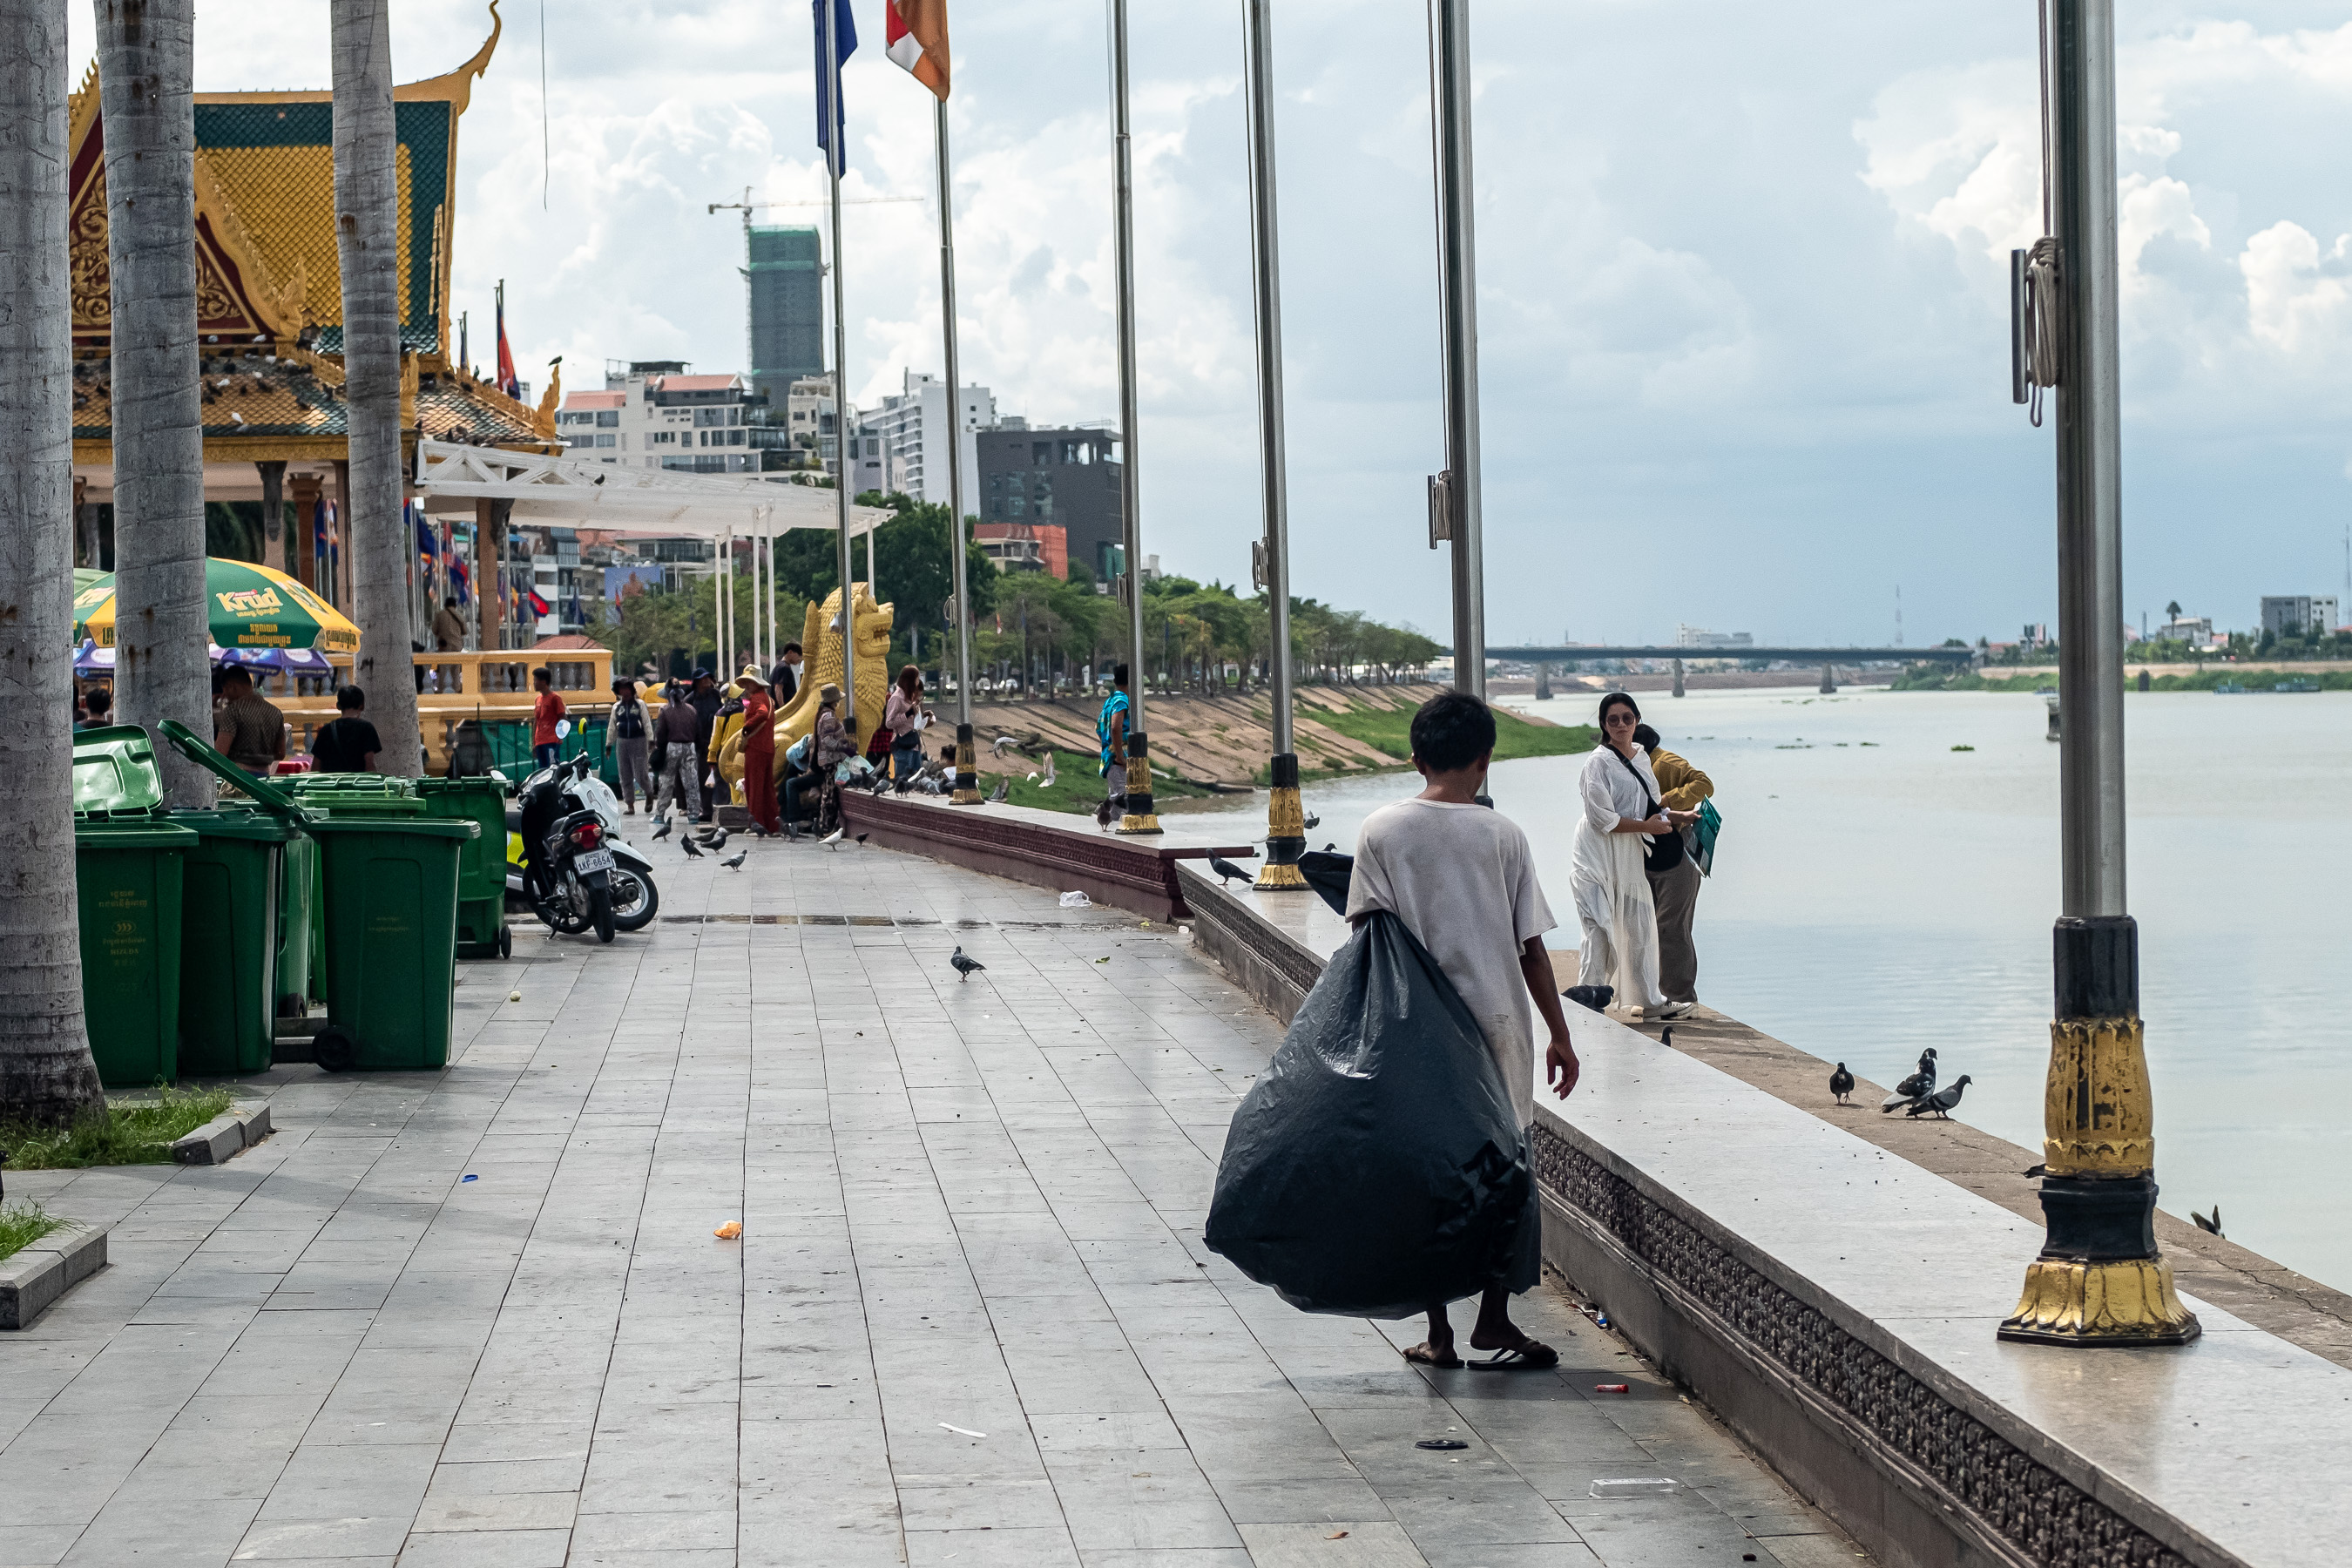
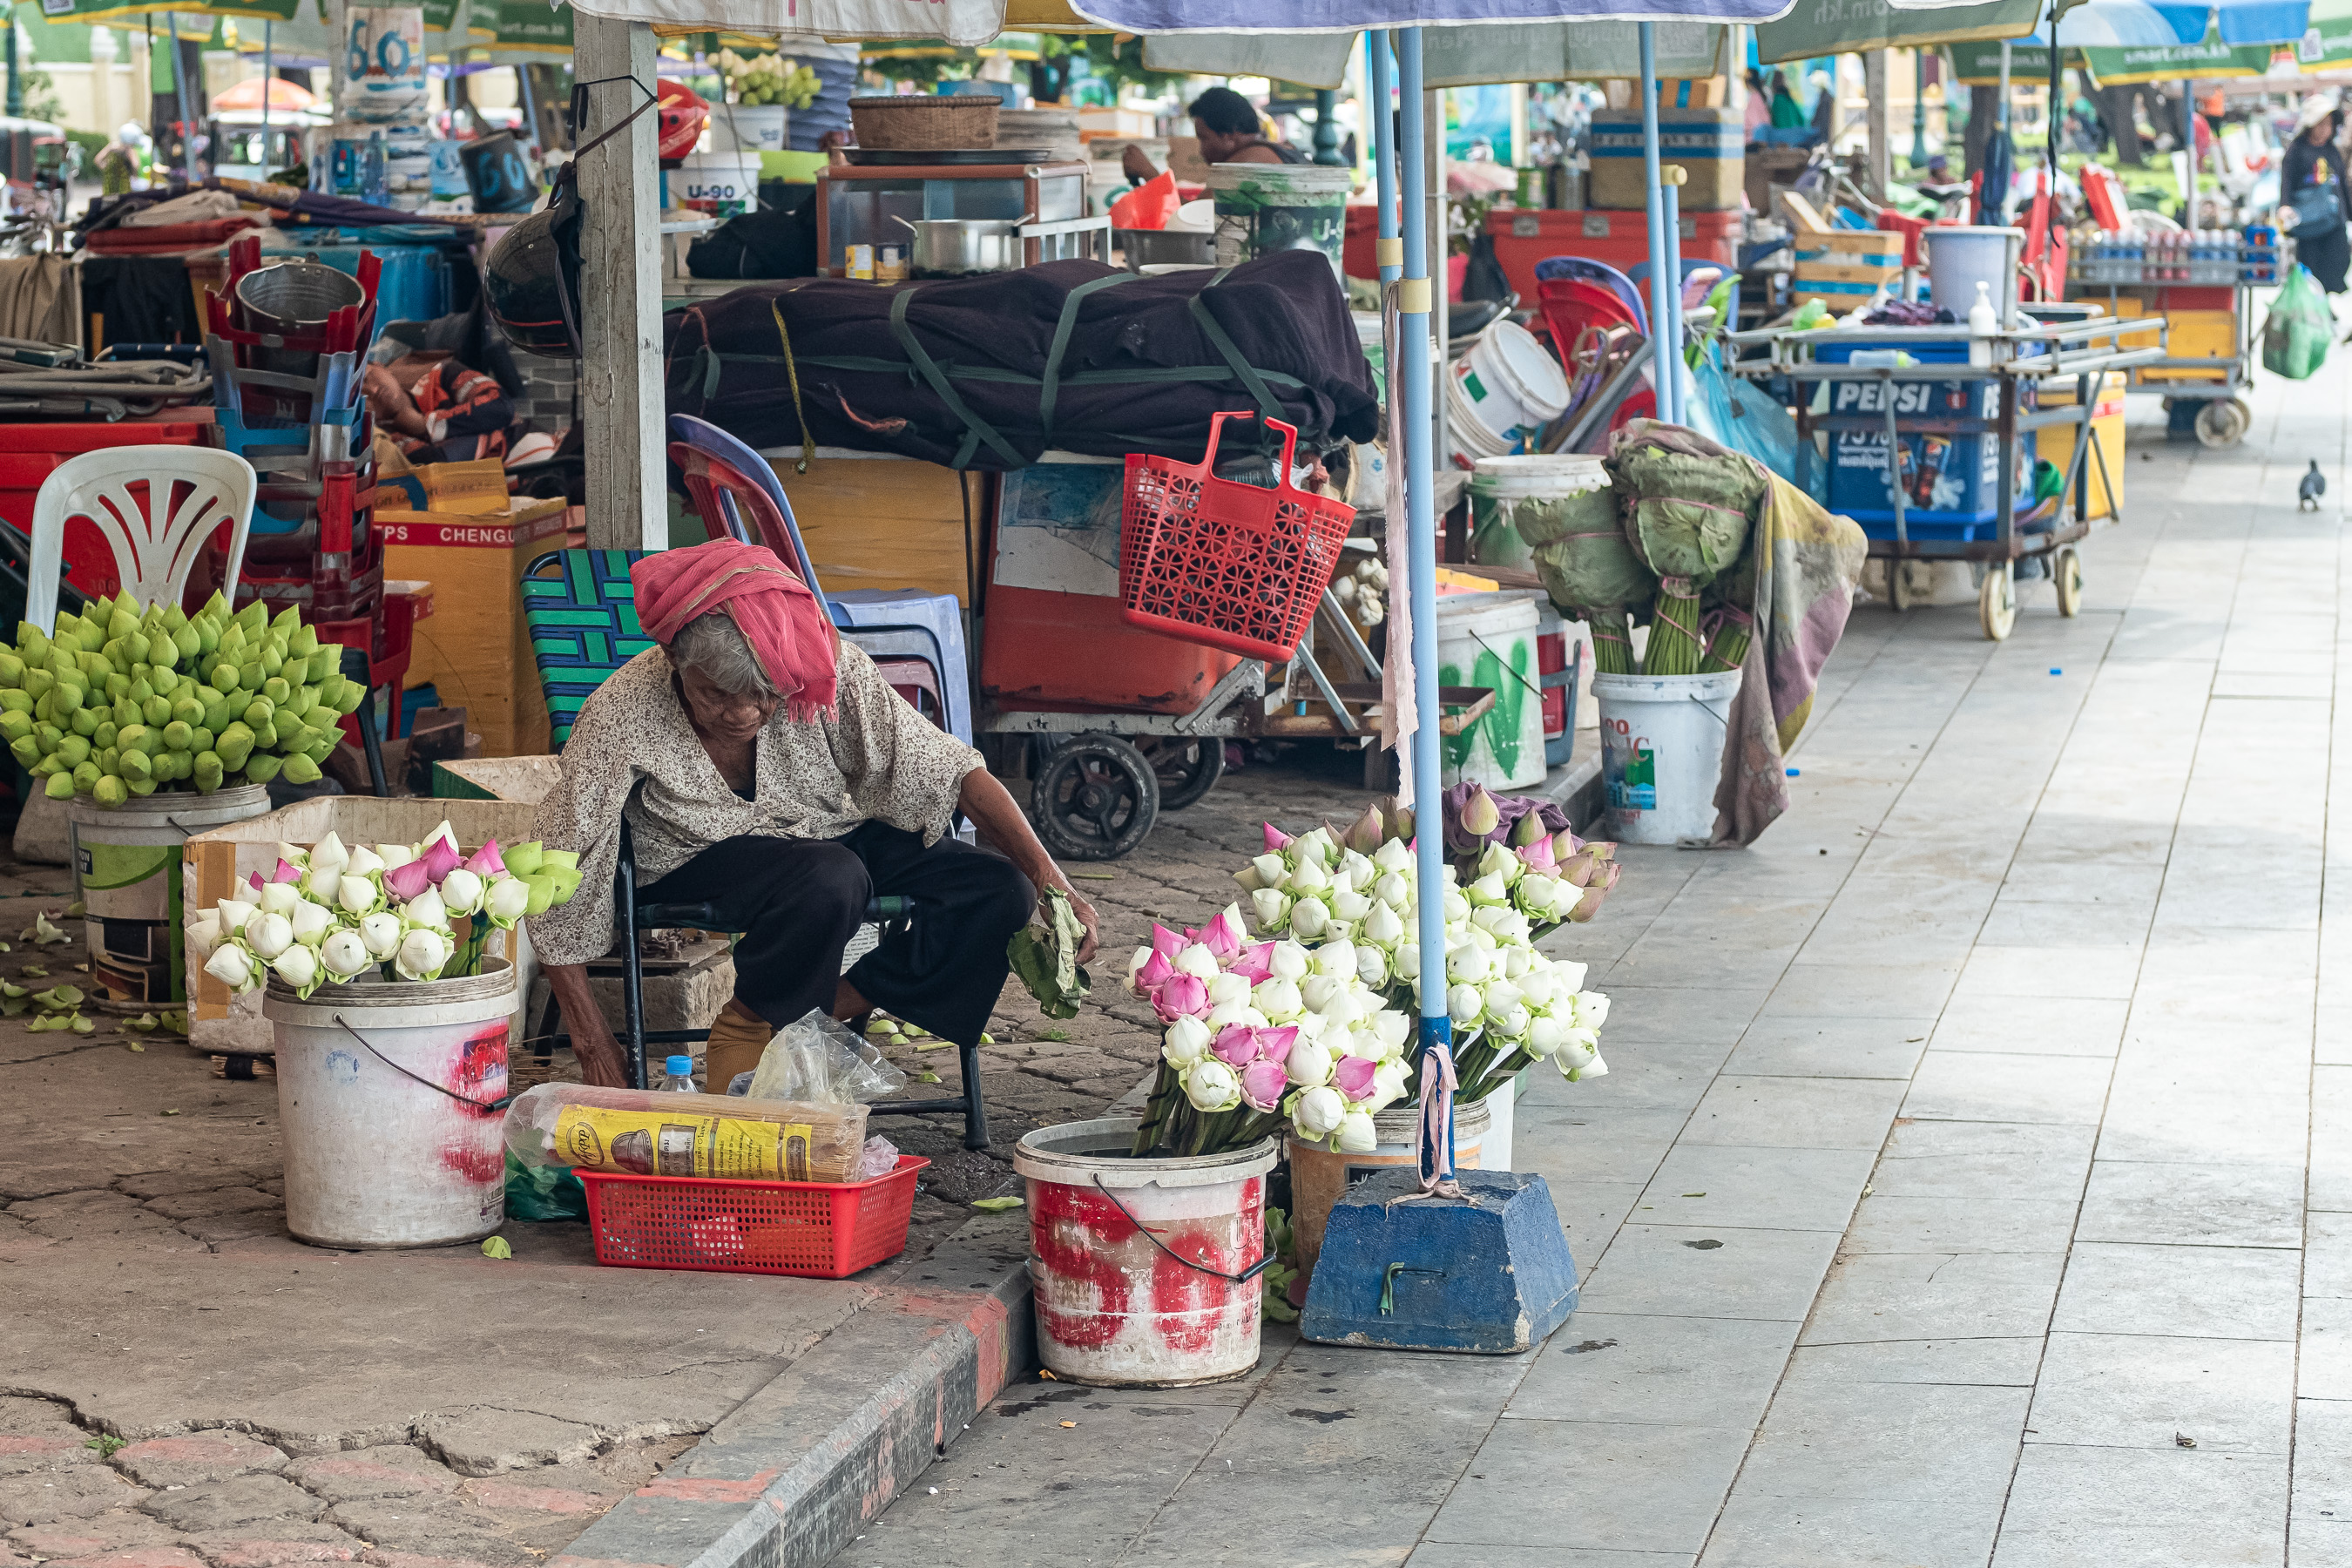
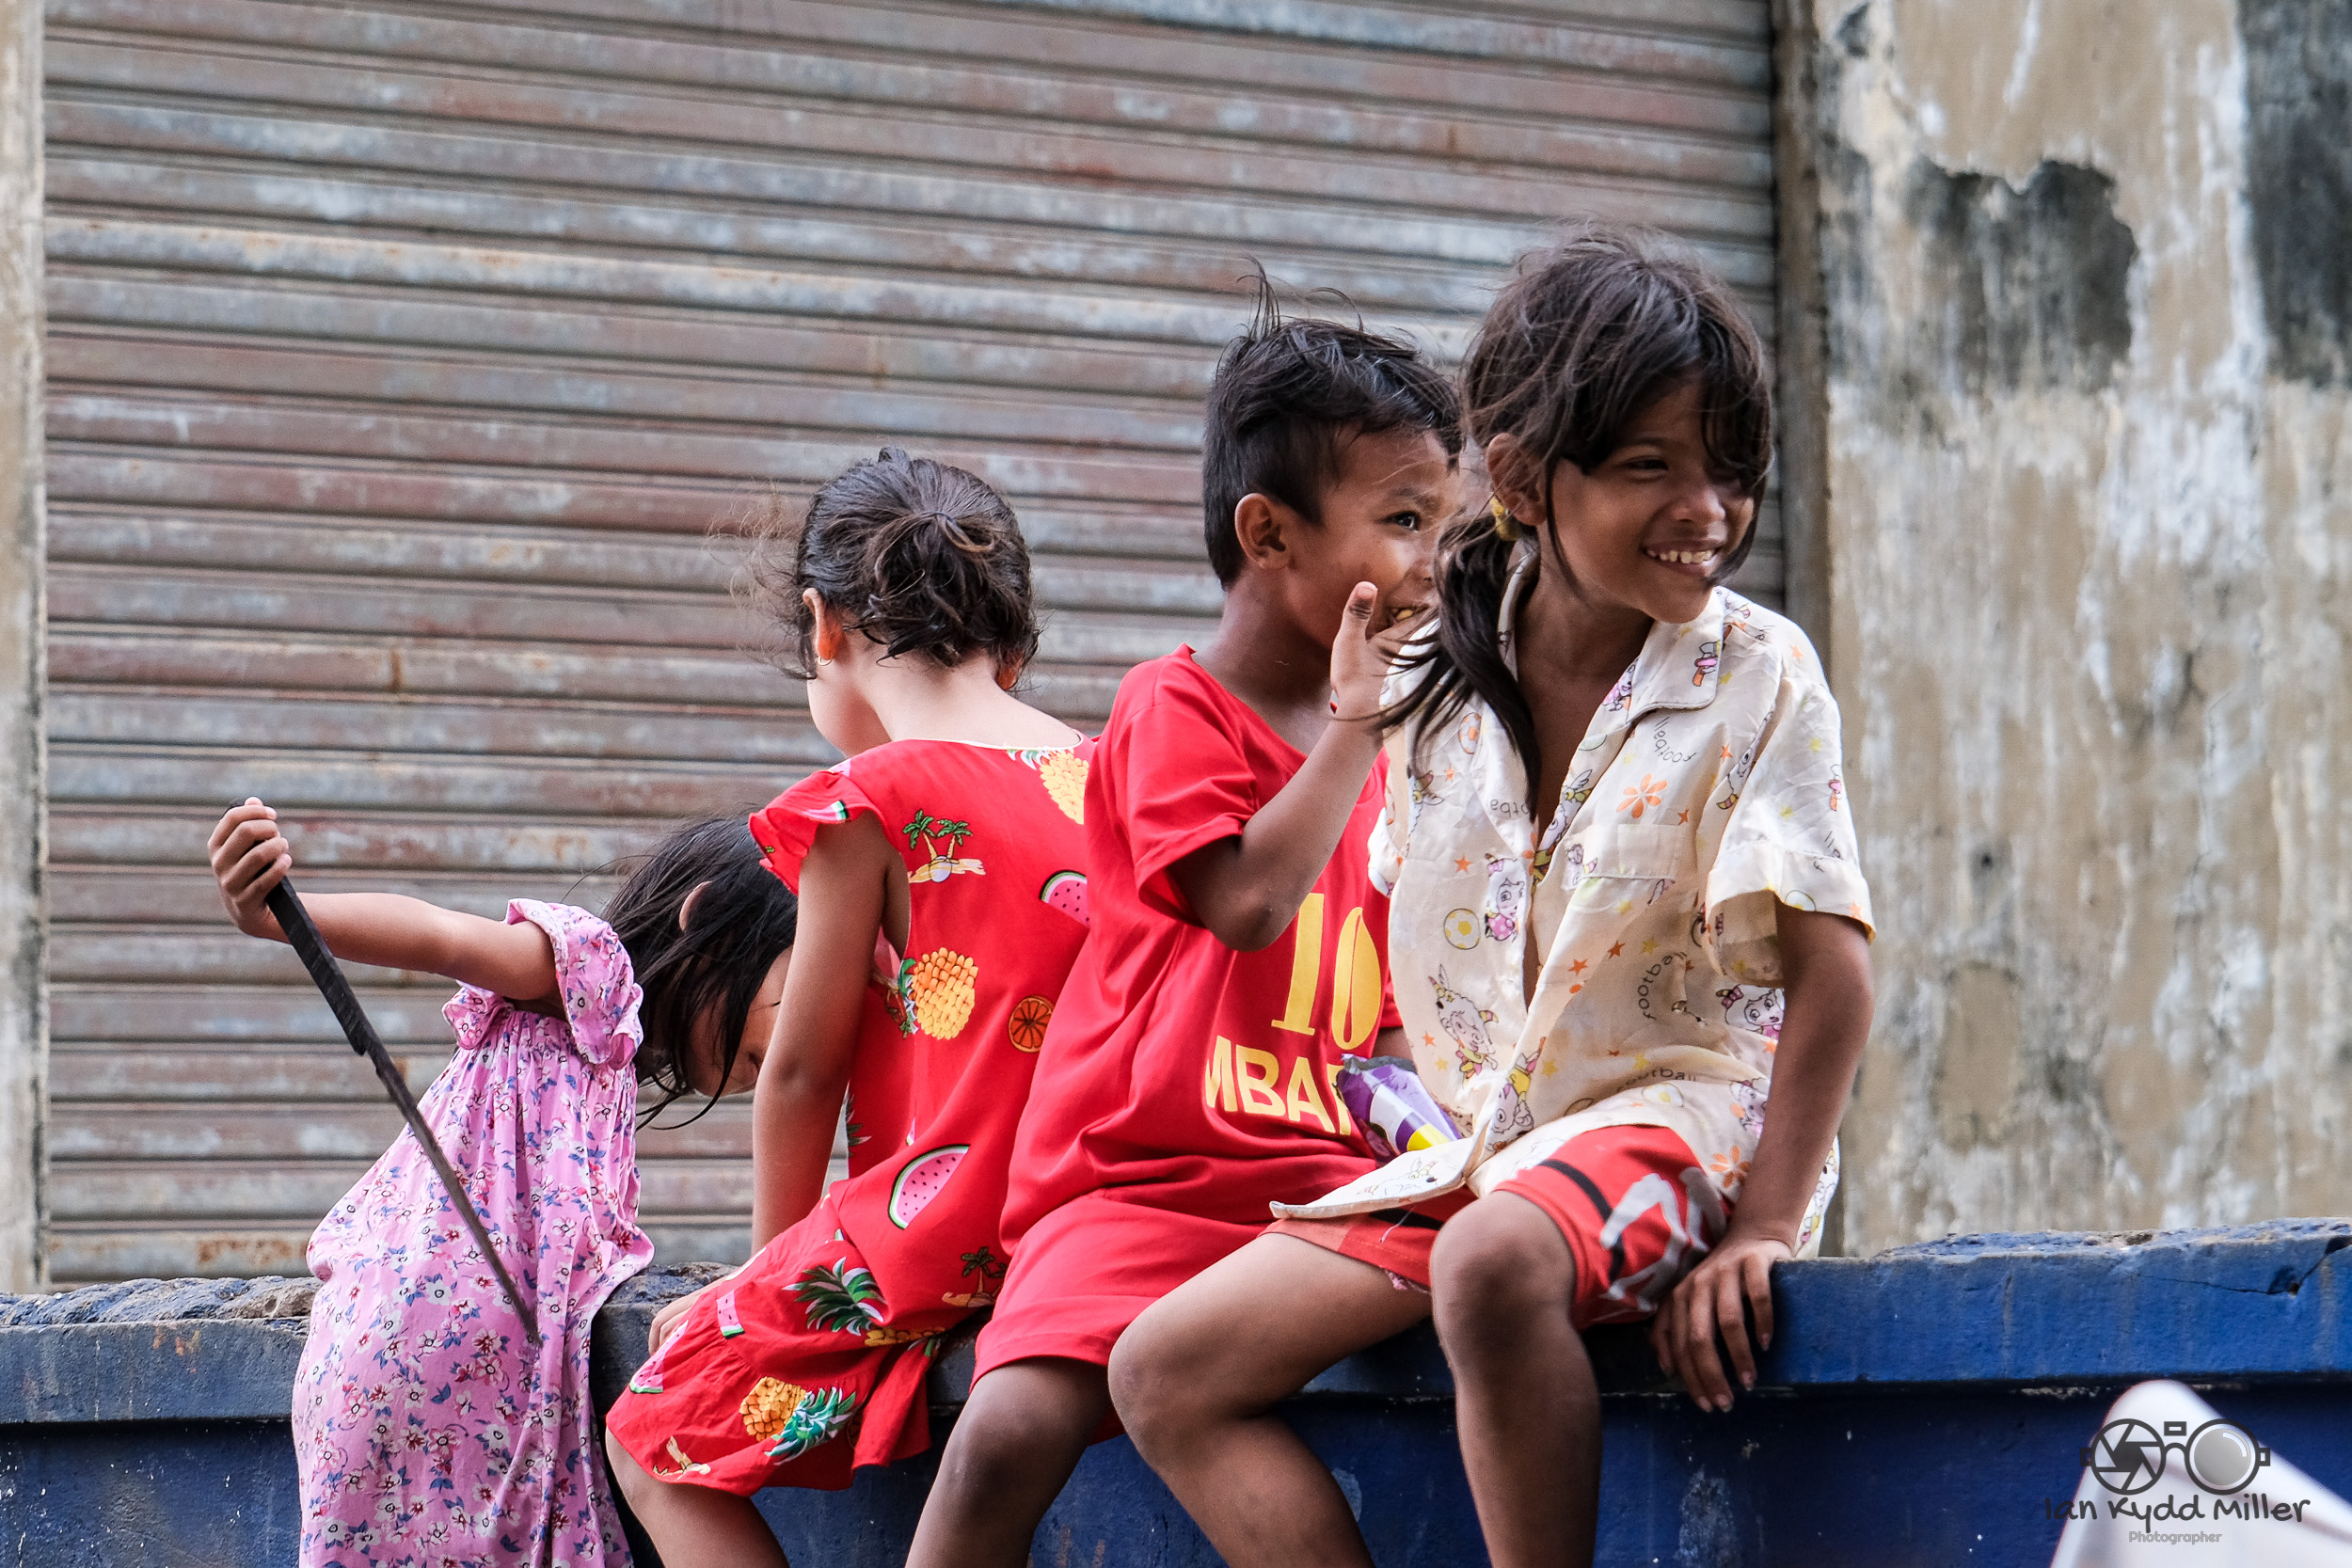
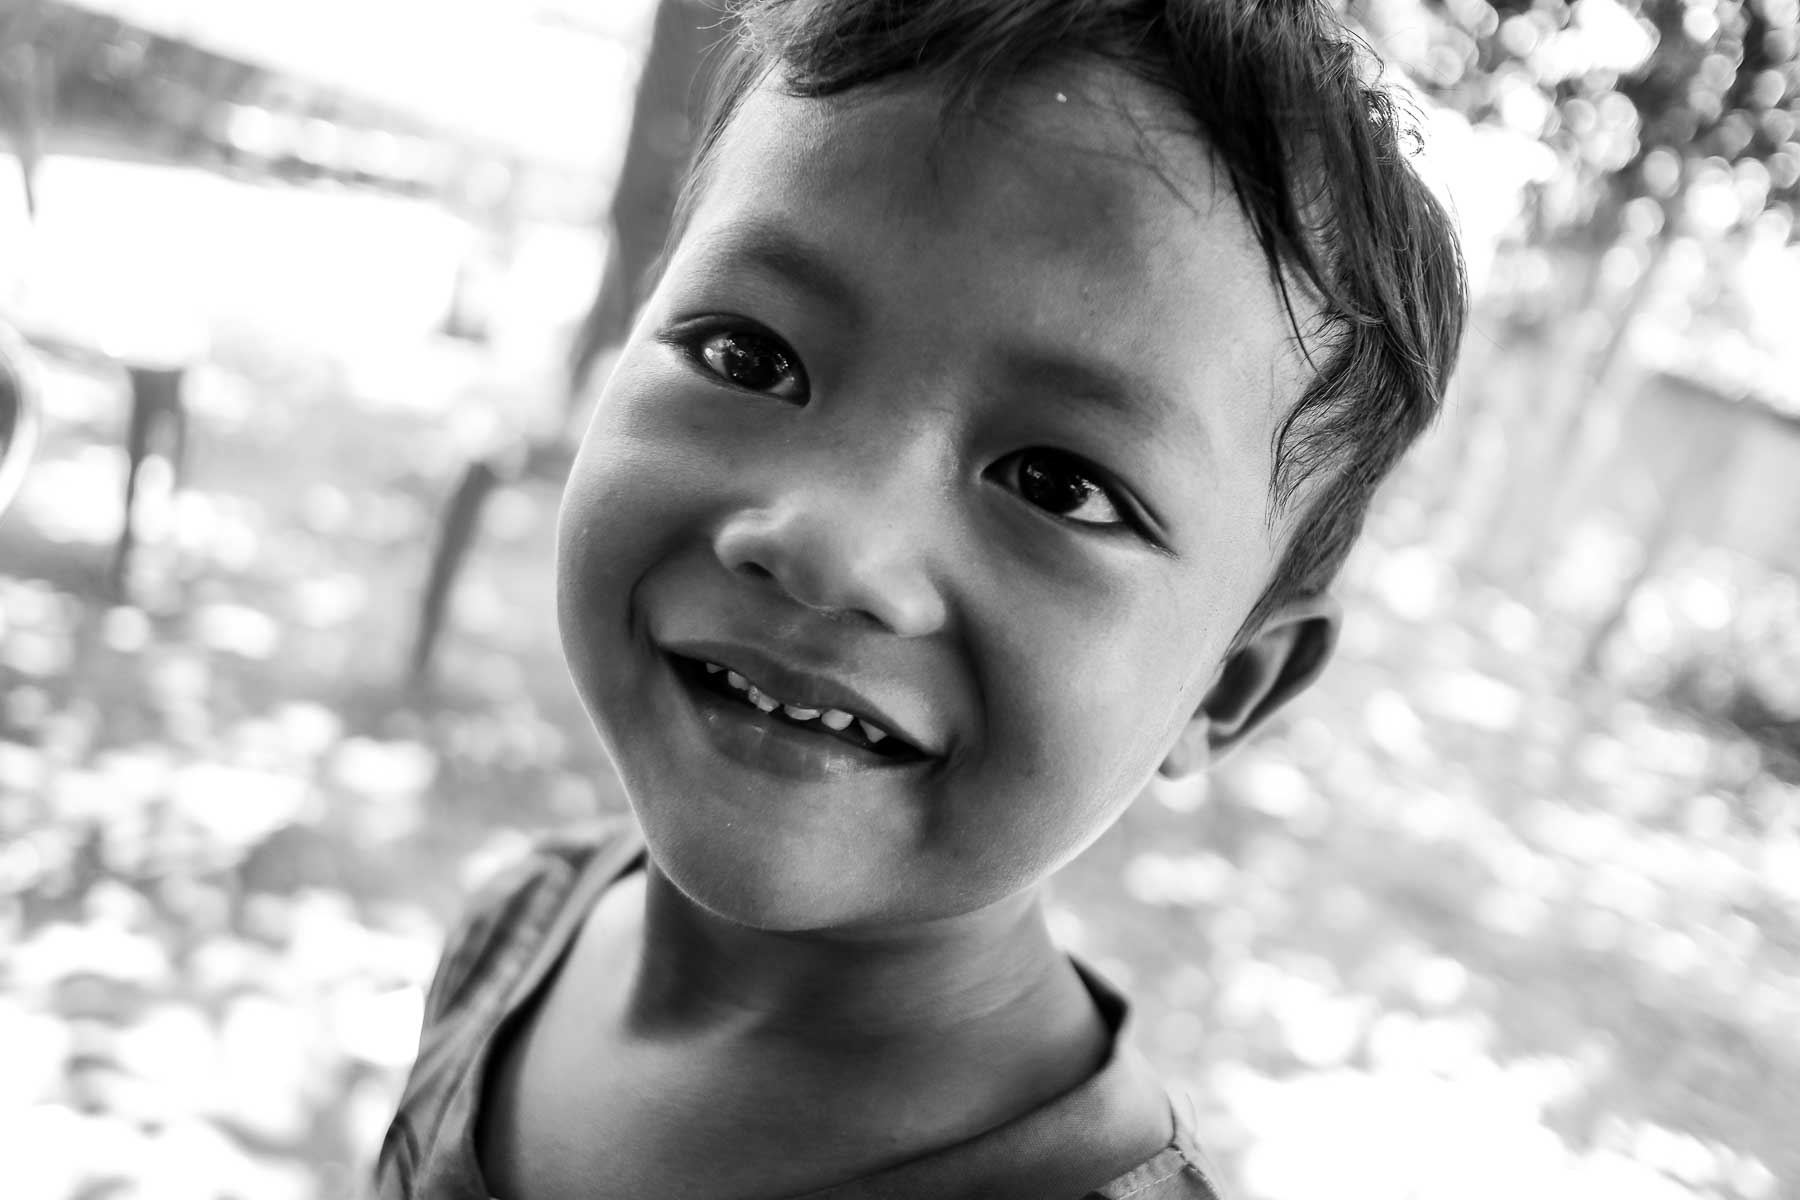
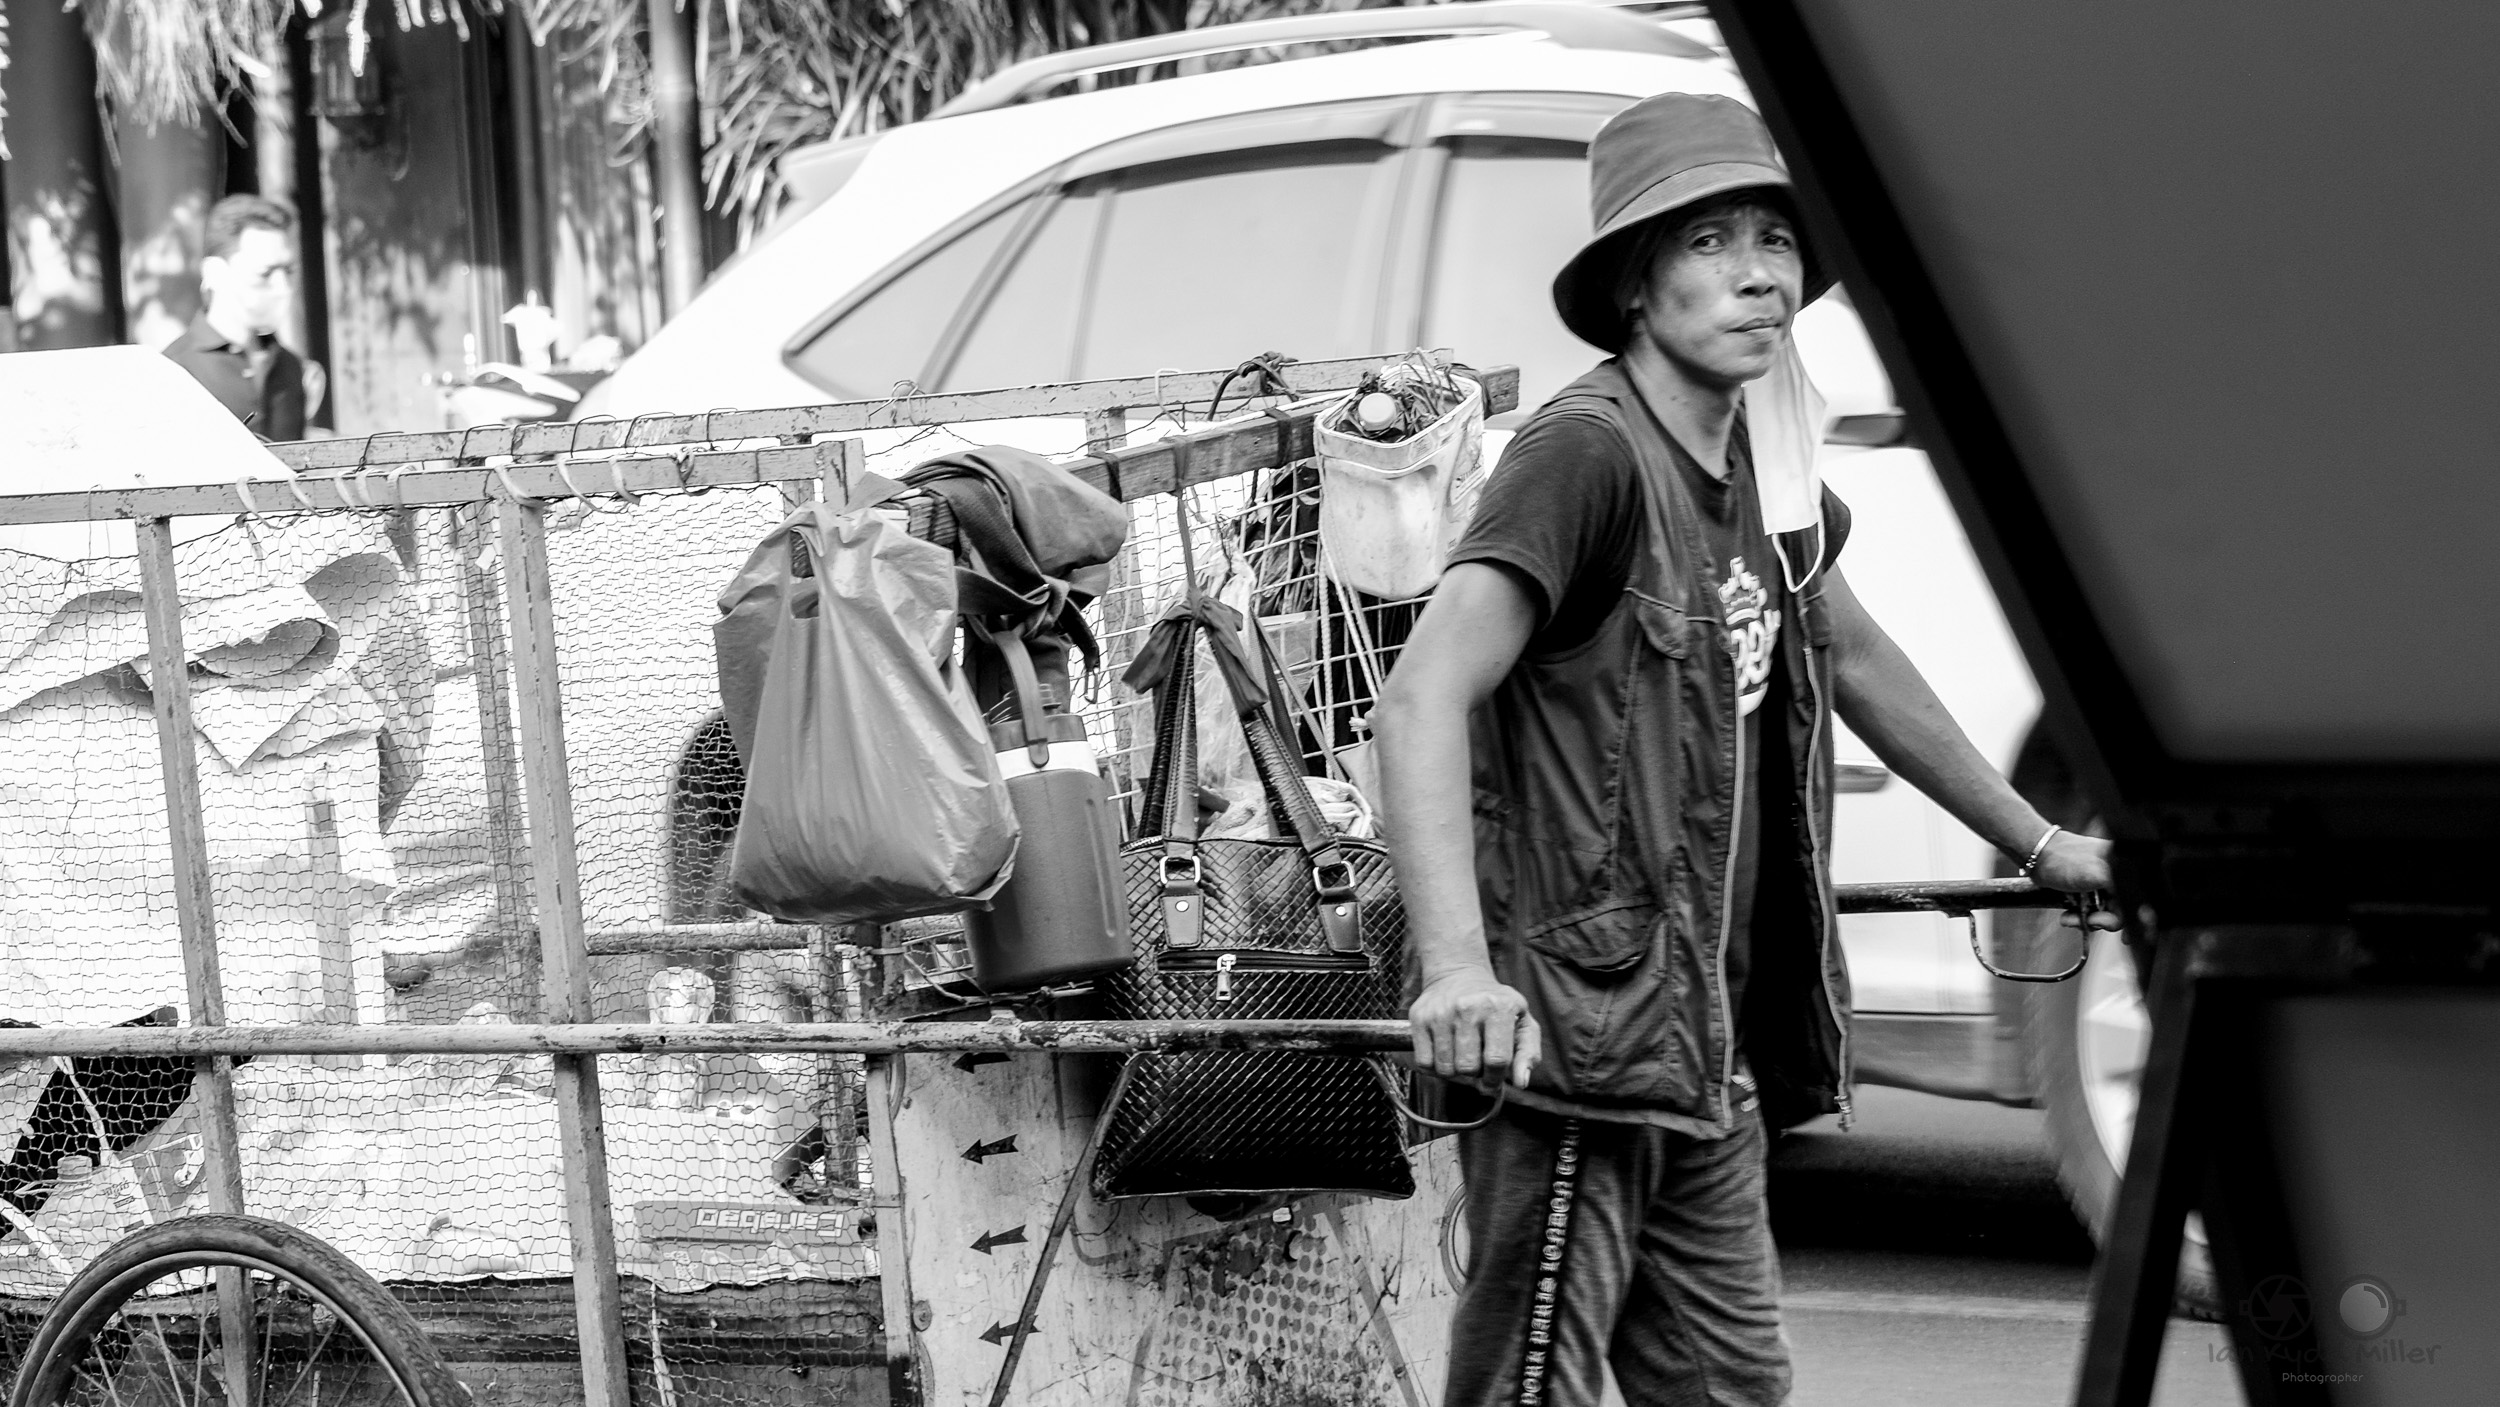
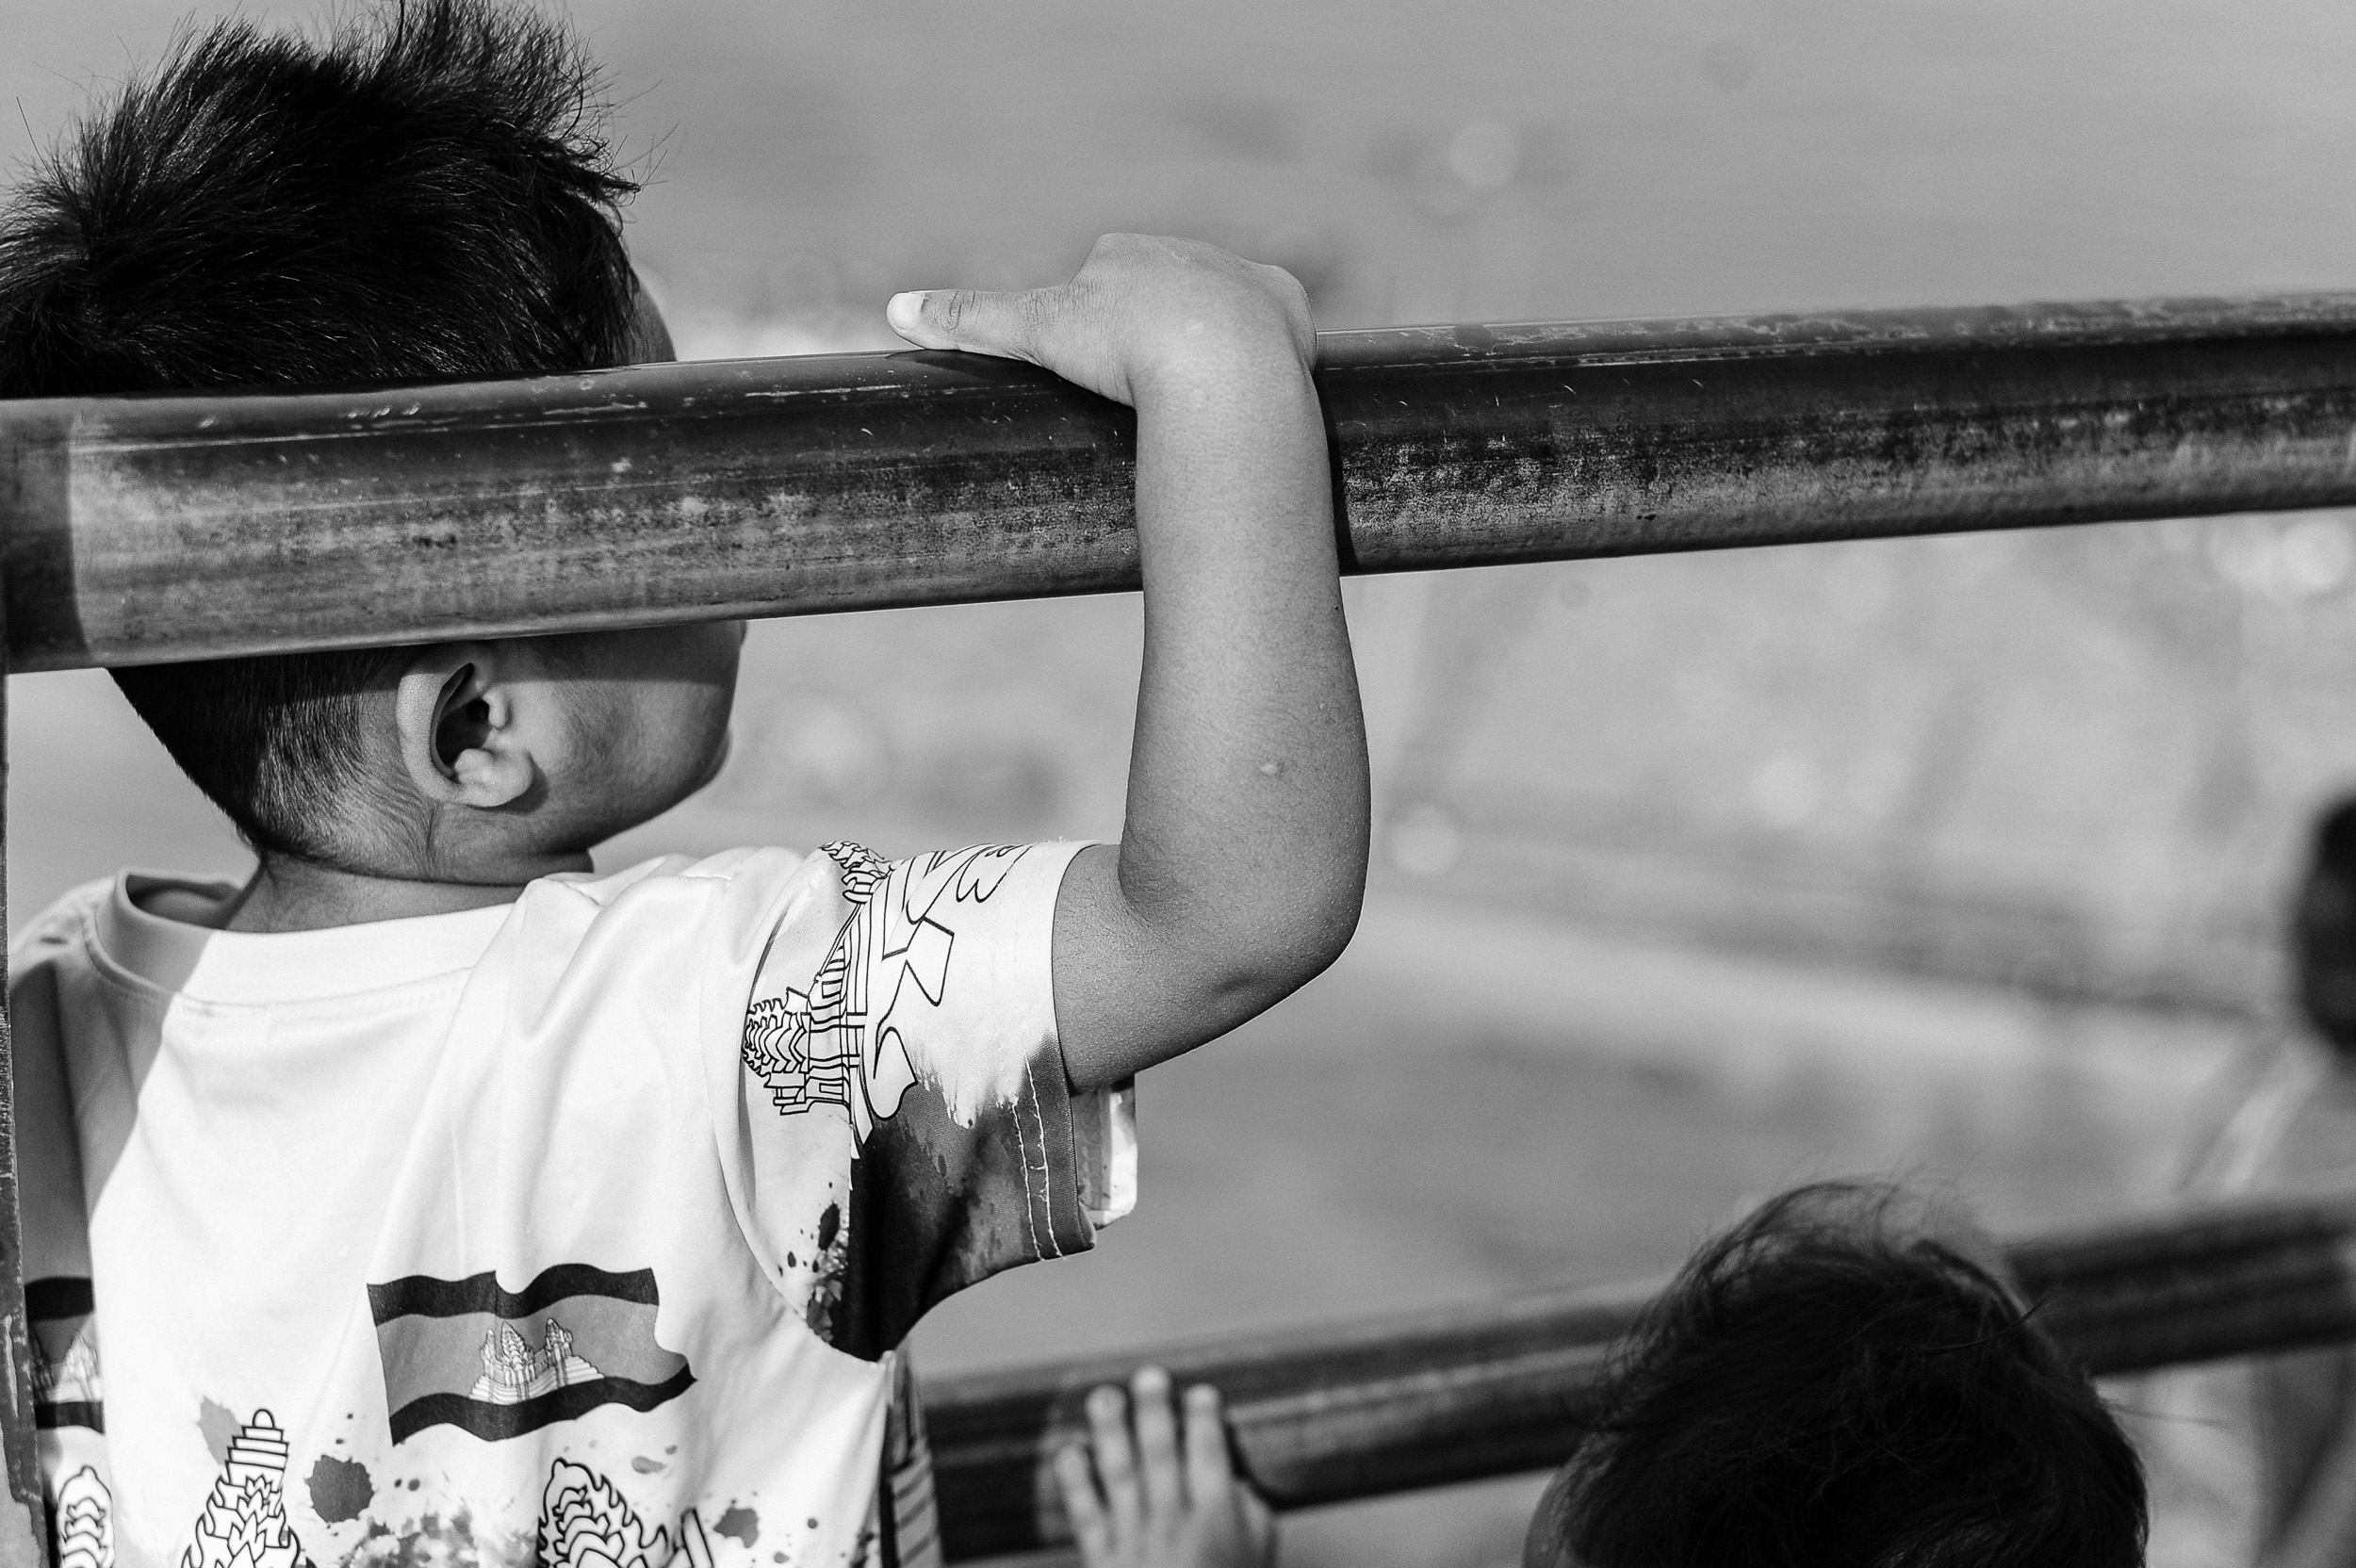
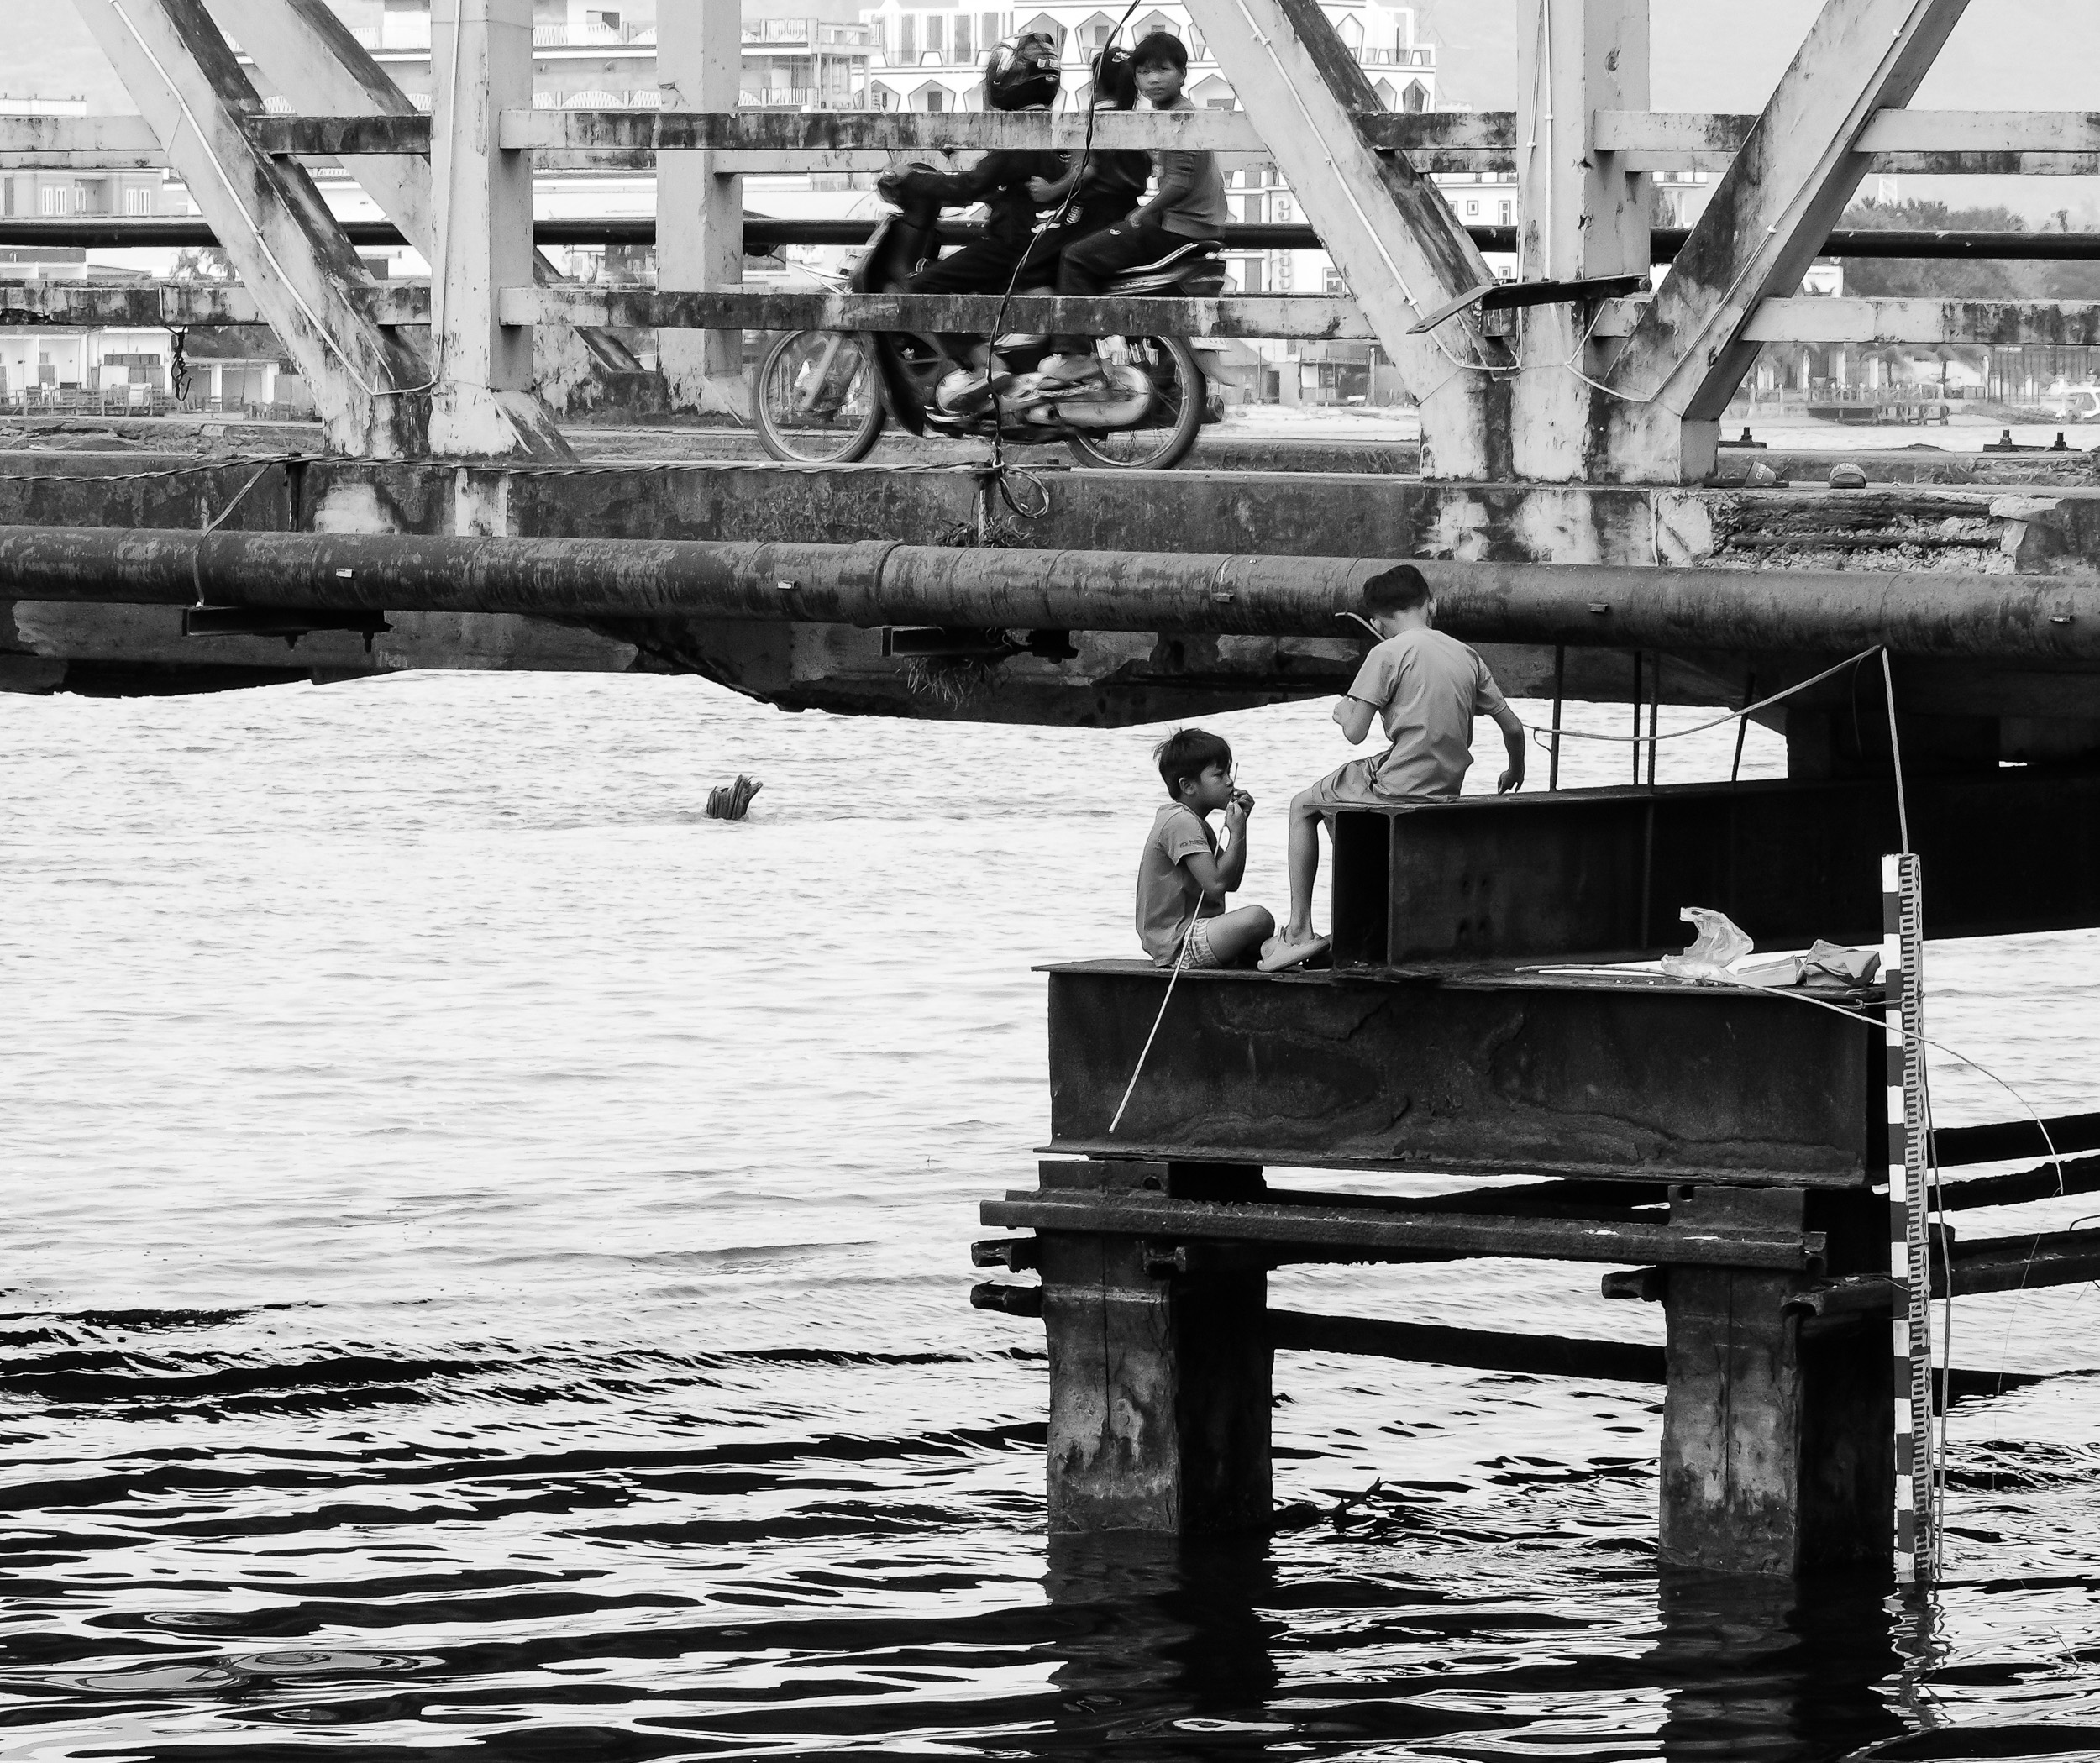
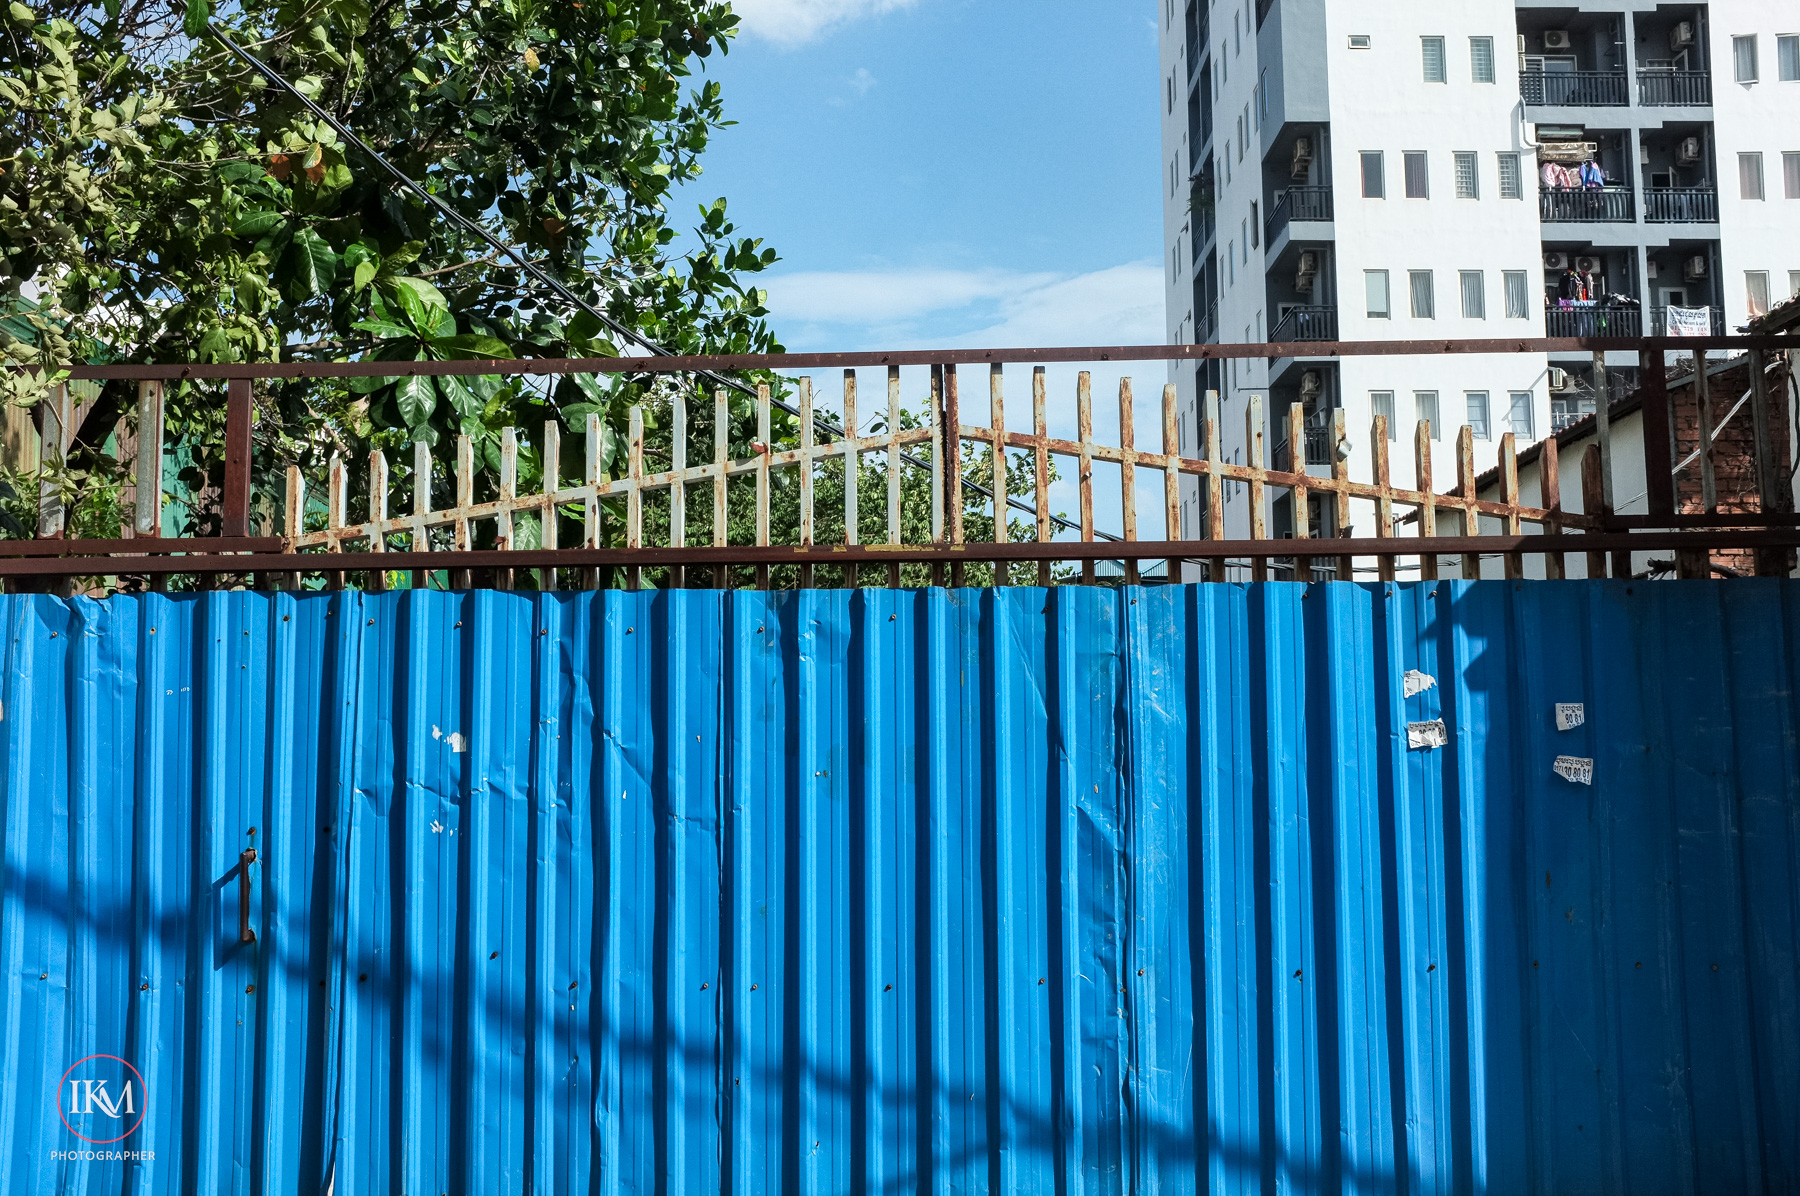
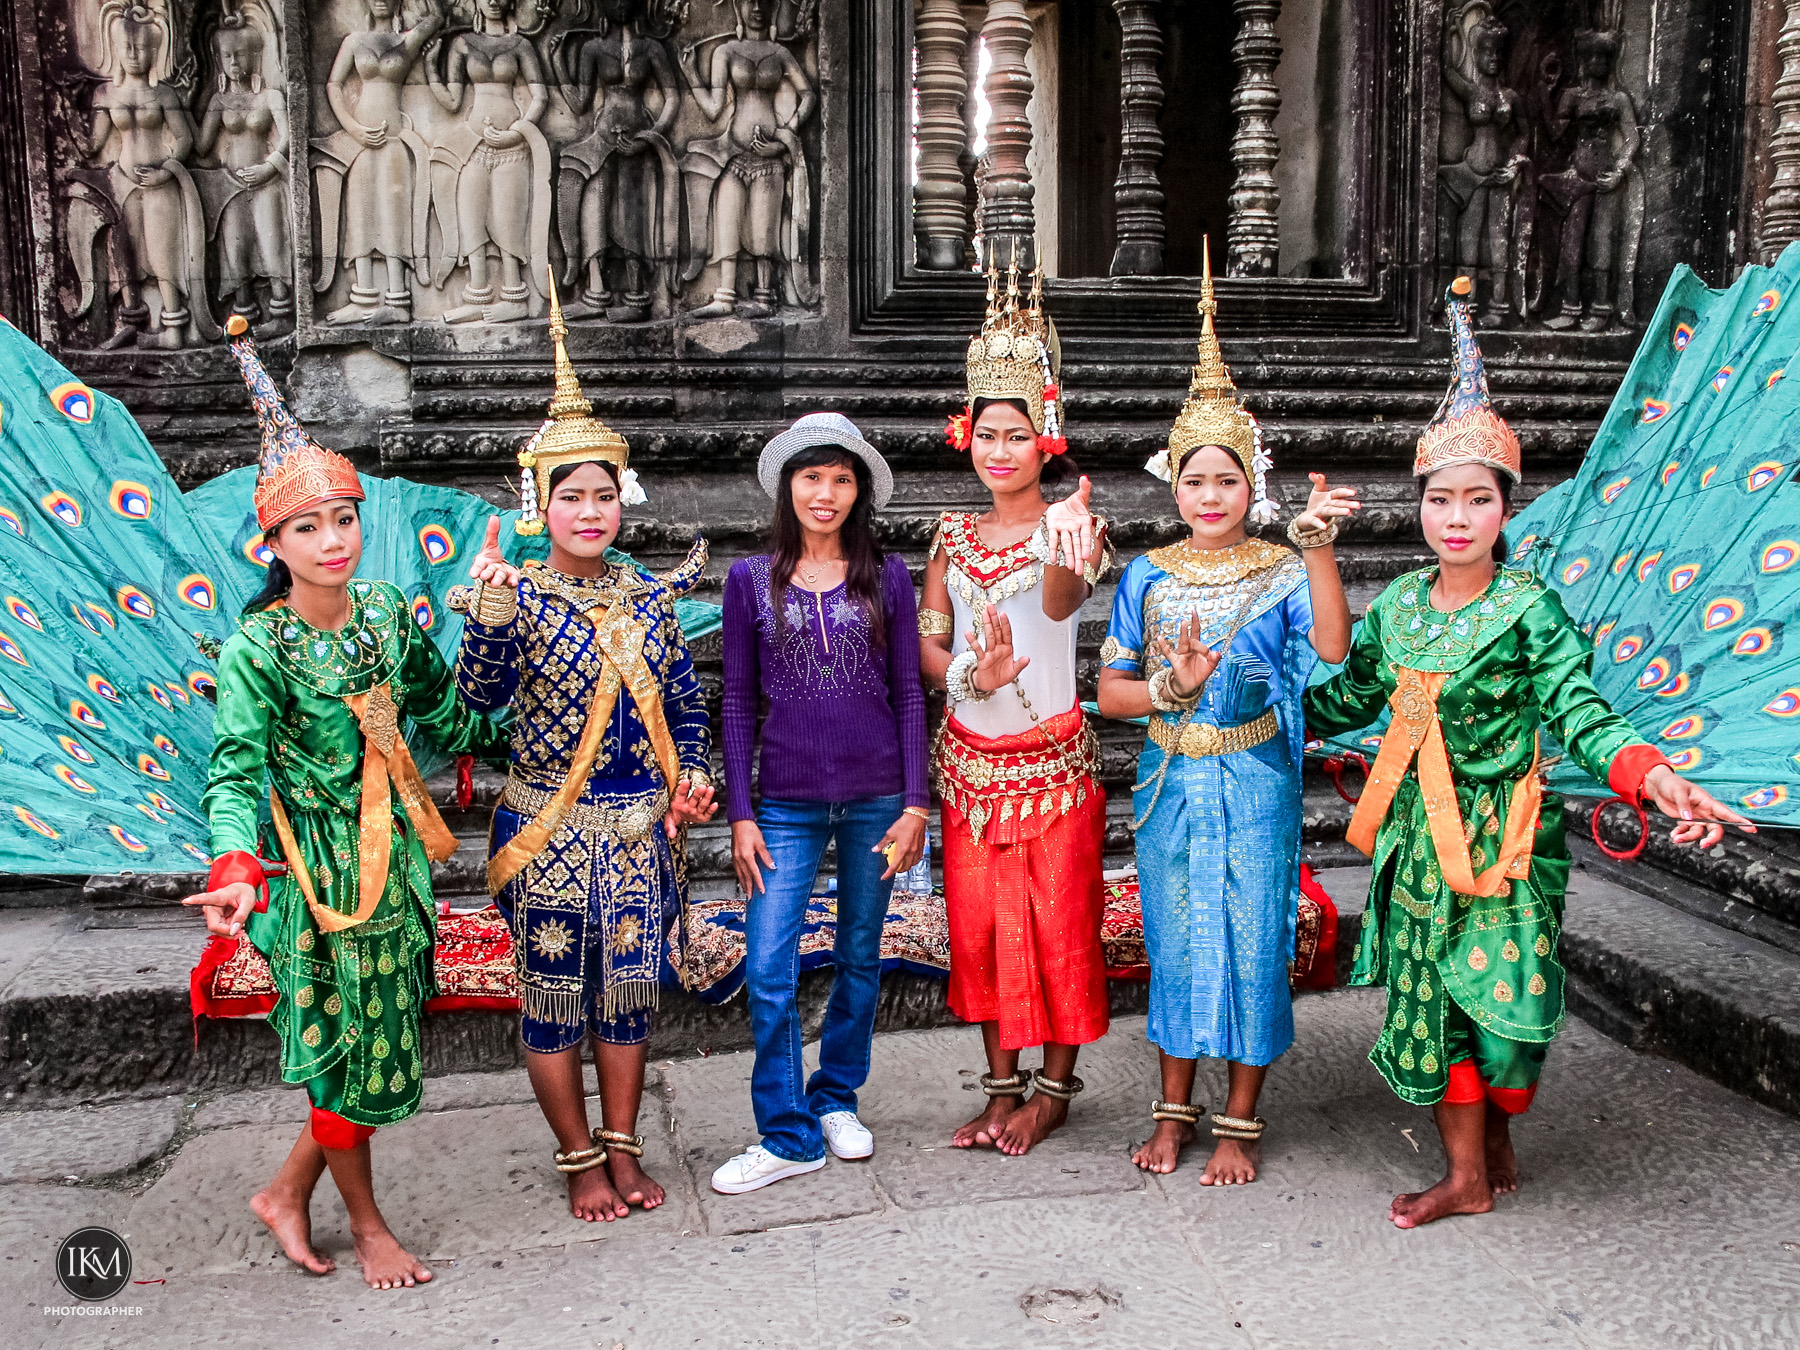
The world needs more stopping. Take more pictures of ordinary days.
At the time they won’t seem important. Years later they’ll become priceless.
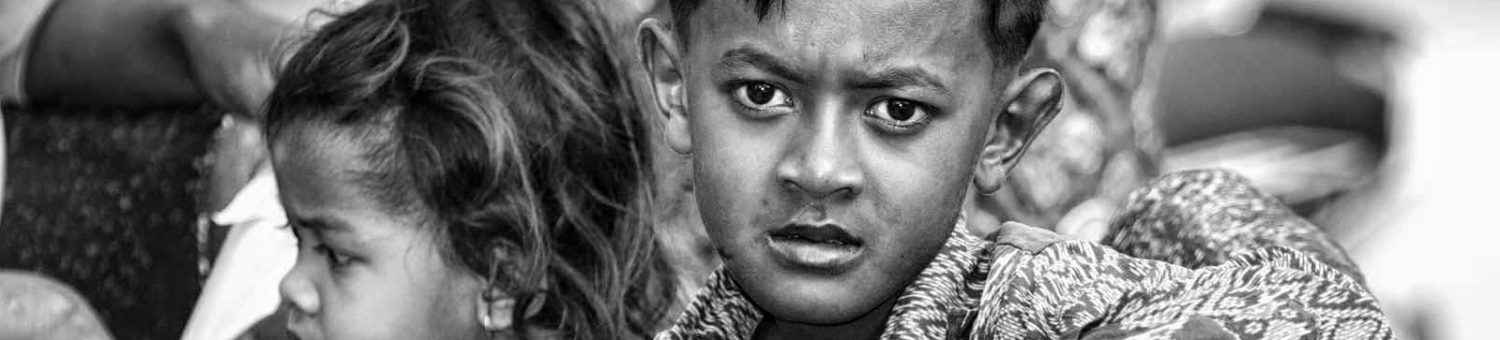
Photograph your friends. Photograph your family.
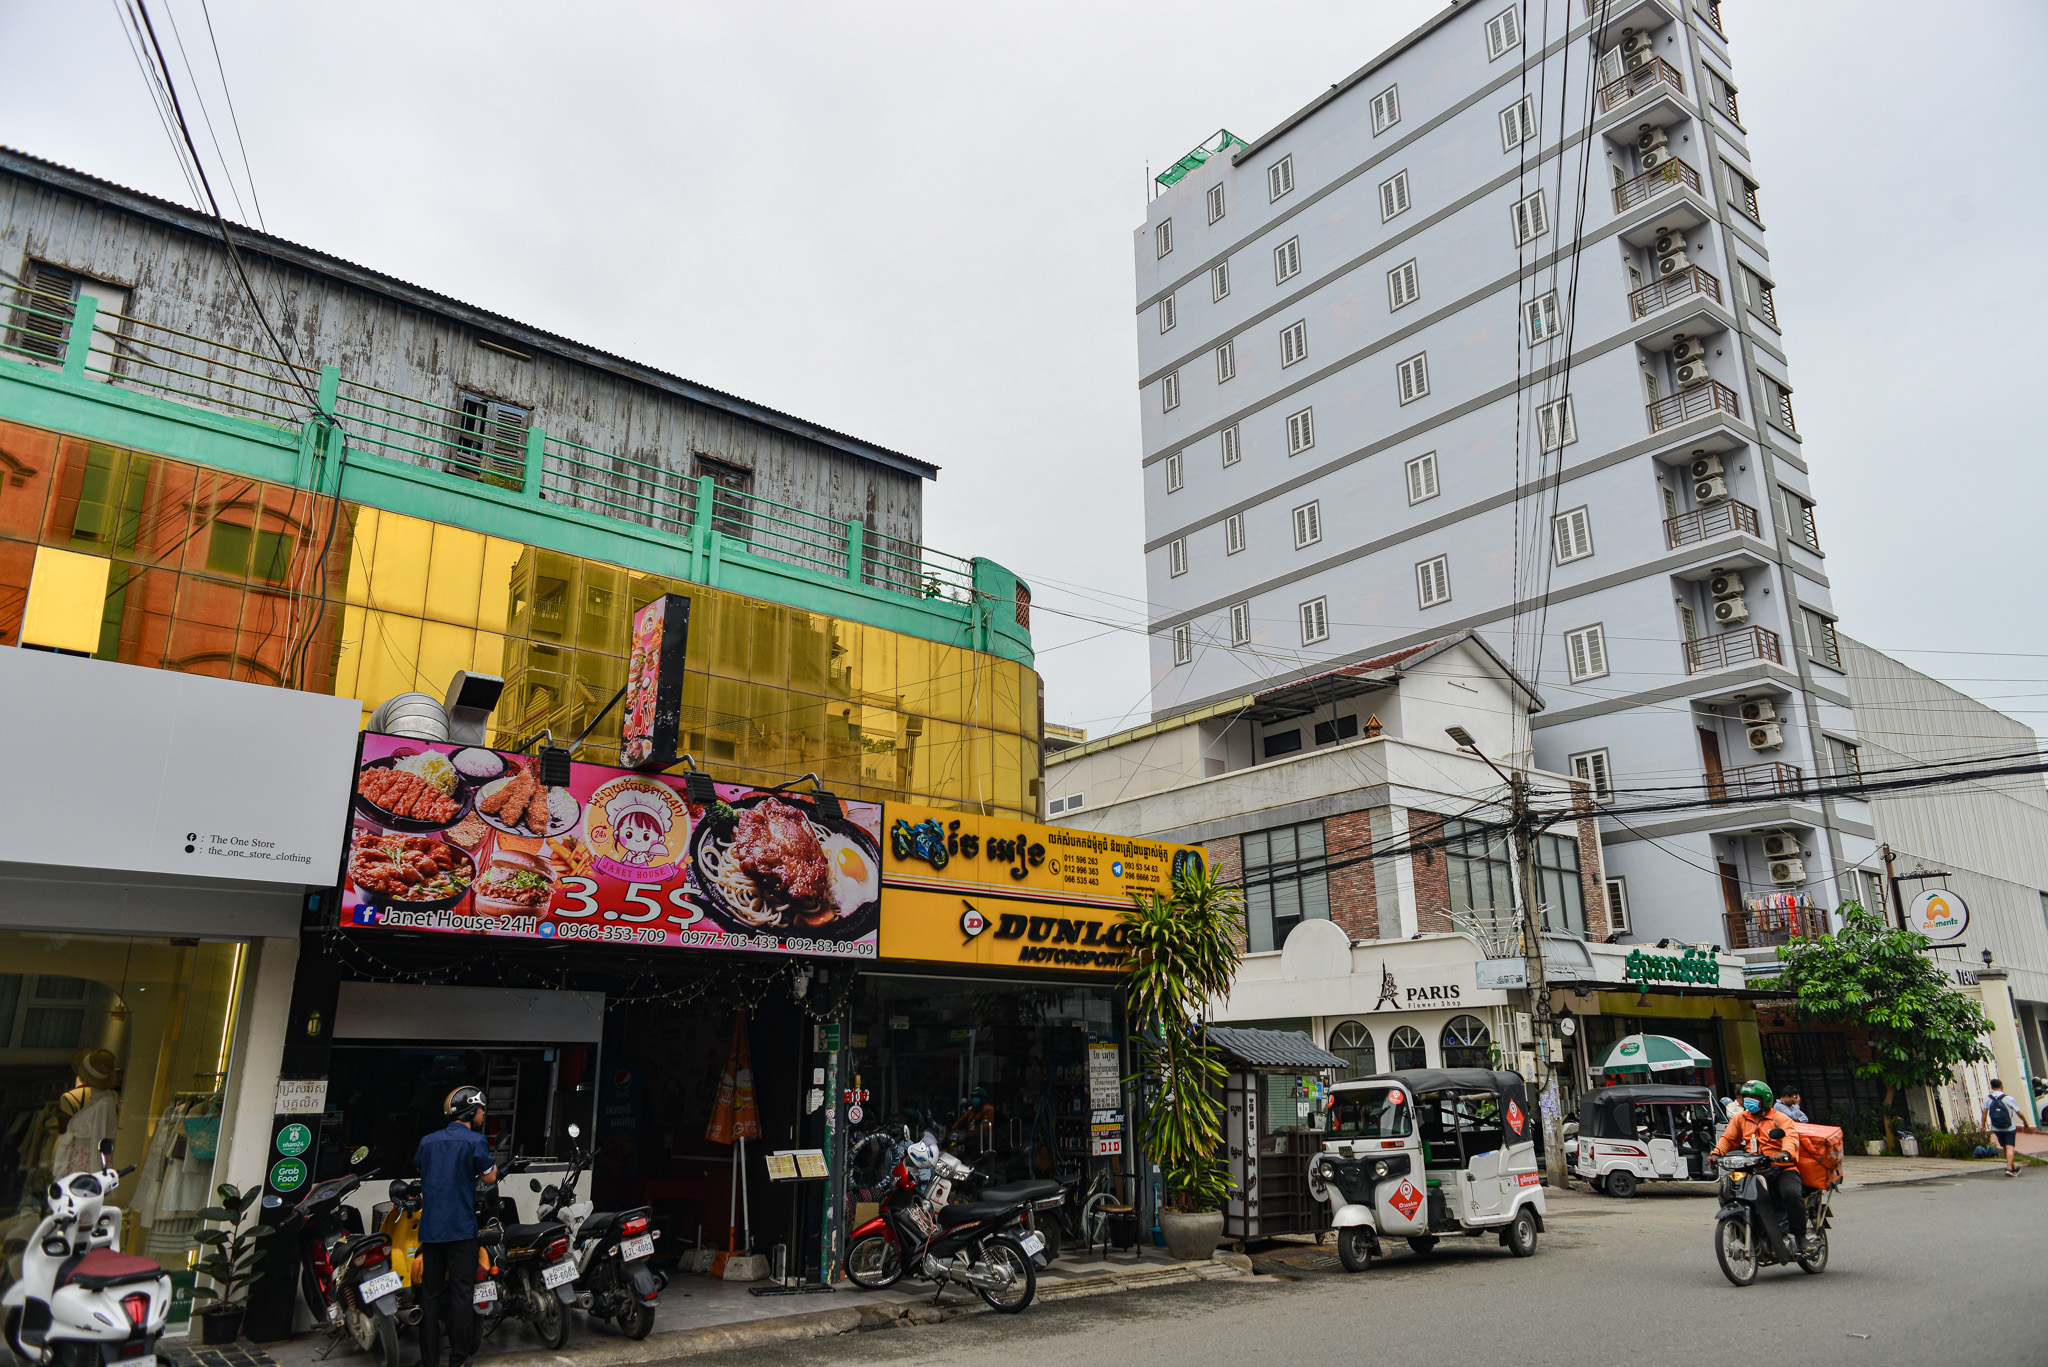
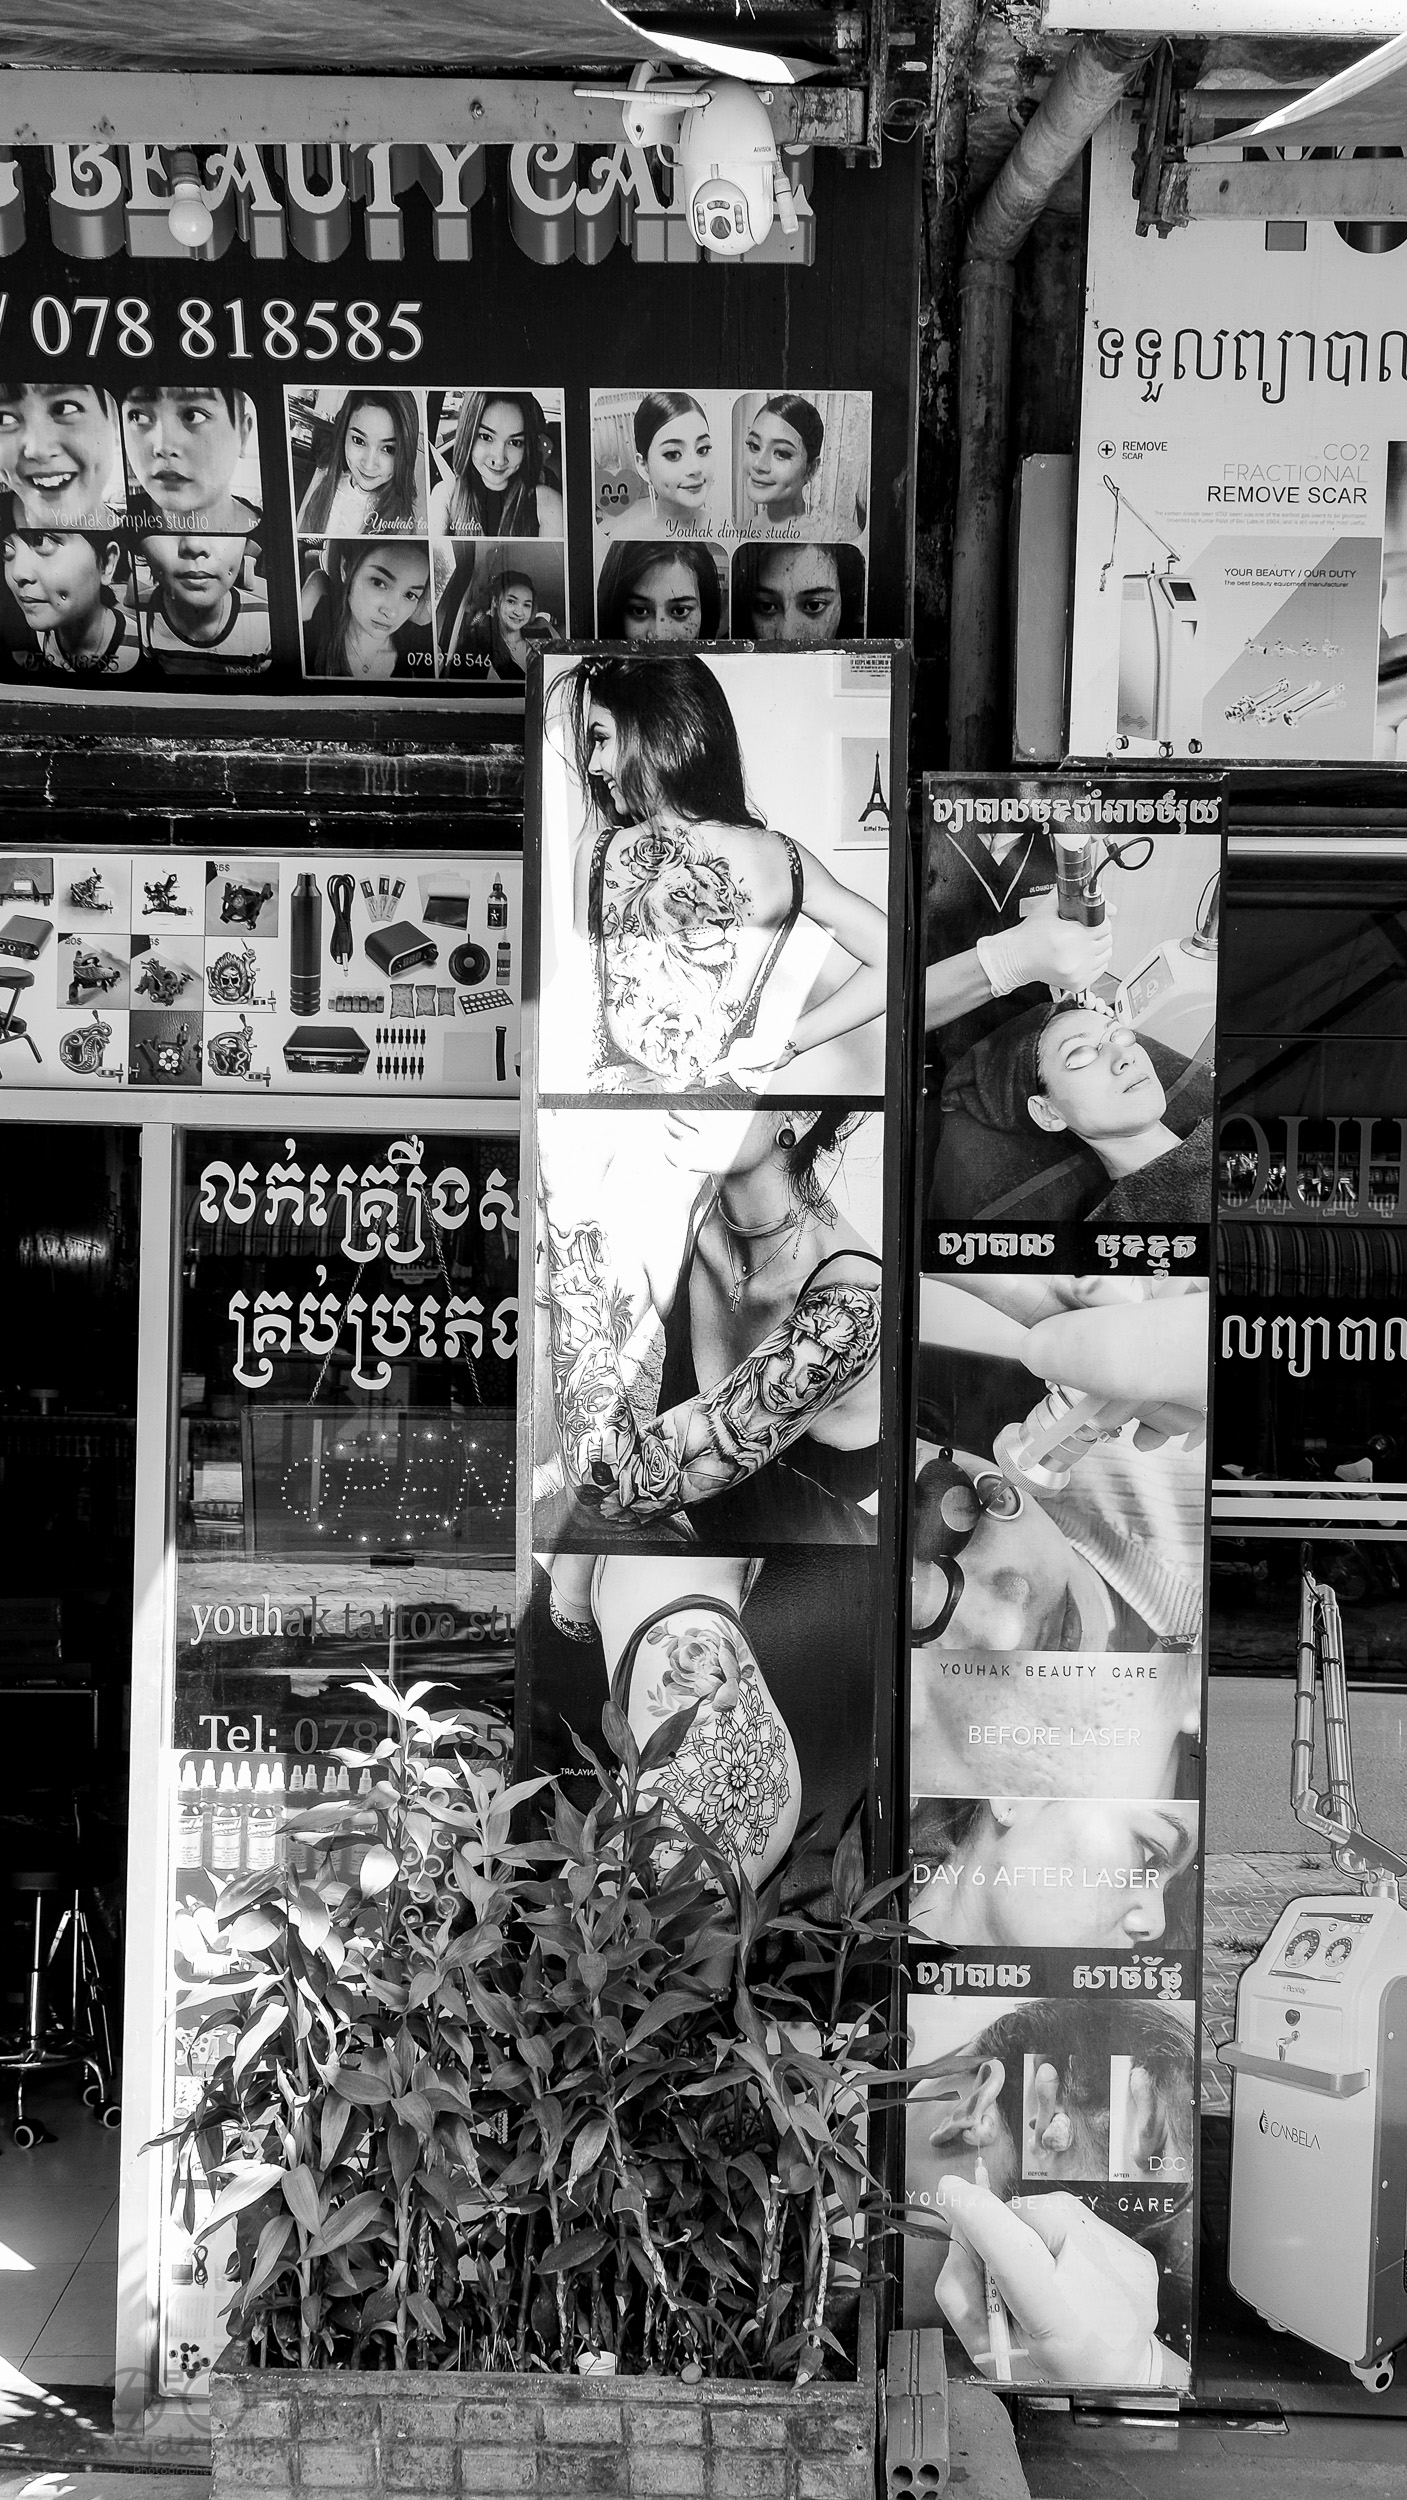
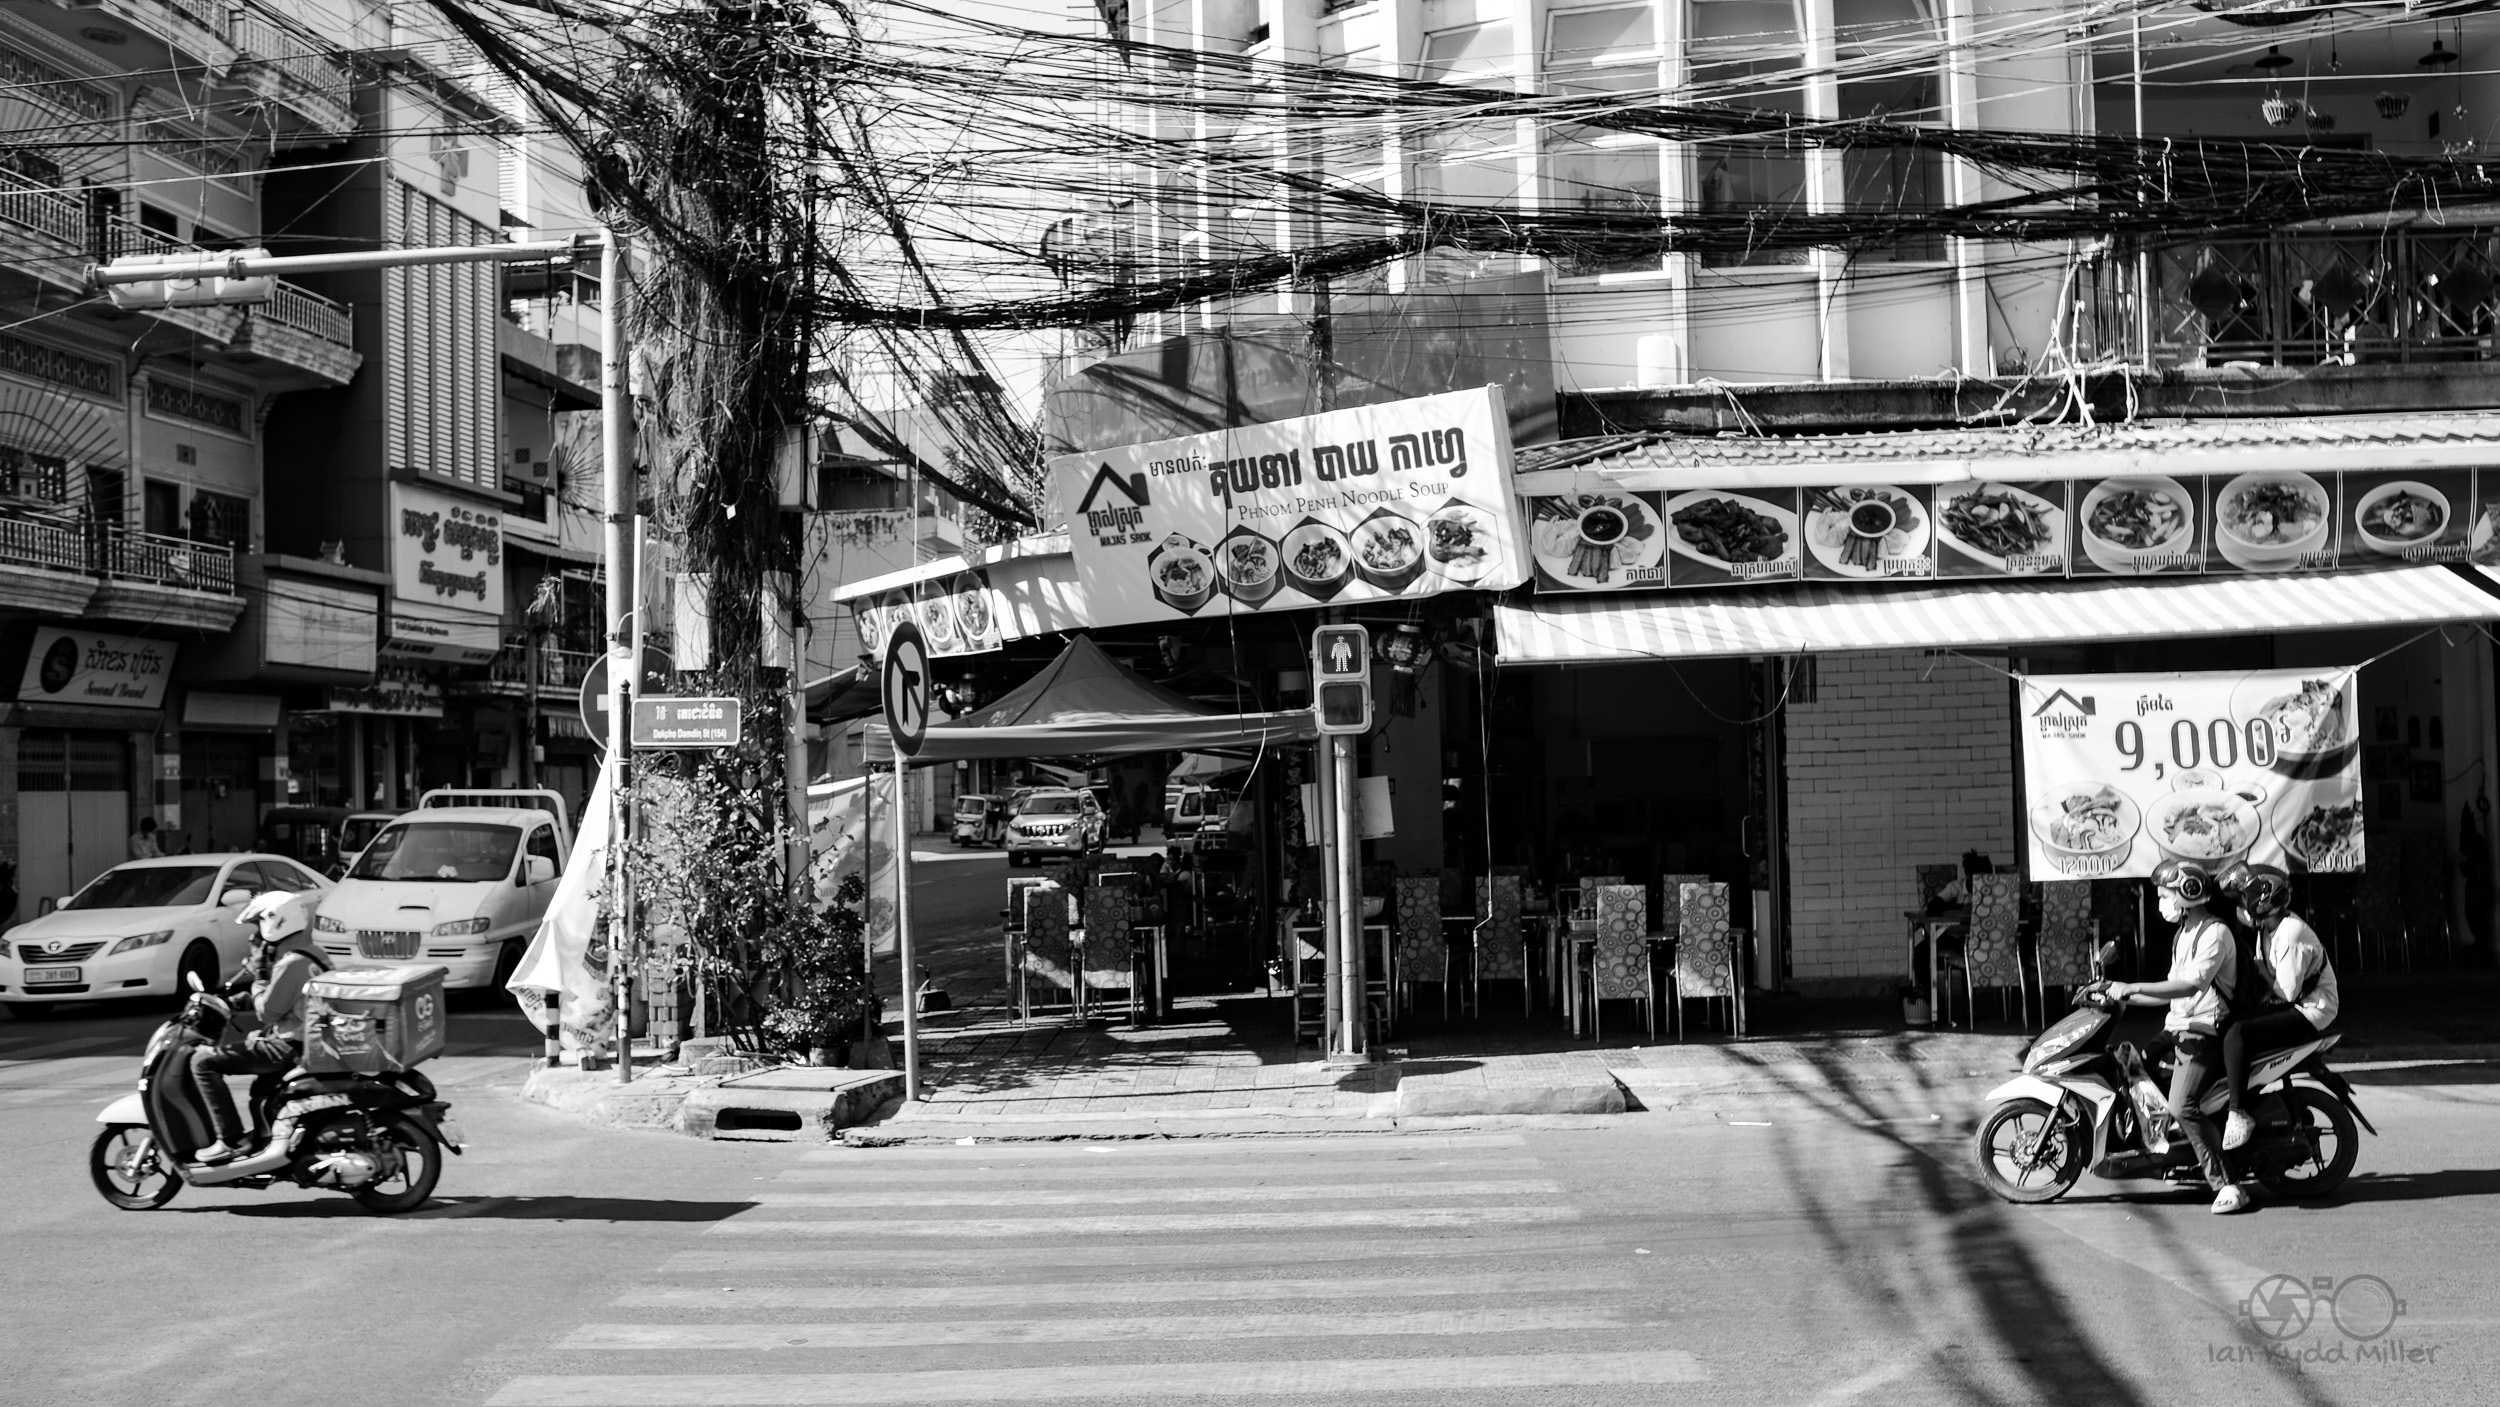
Photograph the streets you walk every day.
One day those streets will have changed beyond recognition.
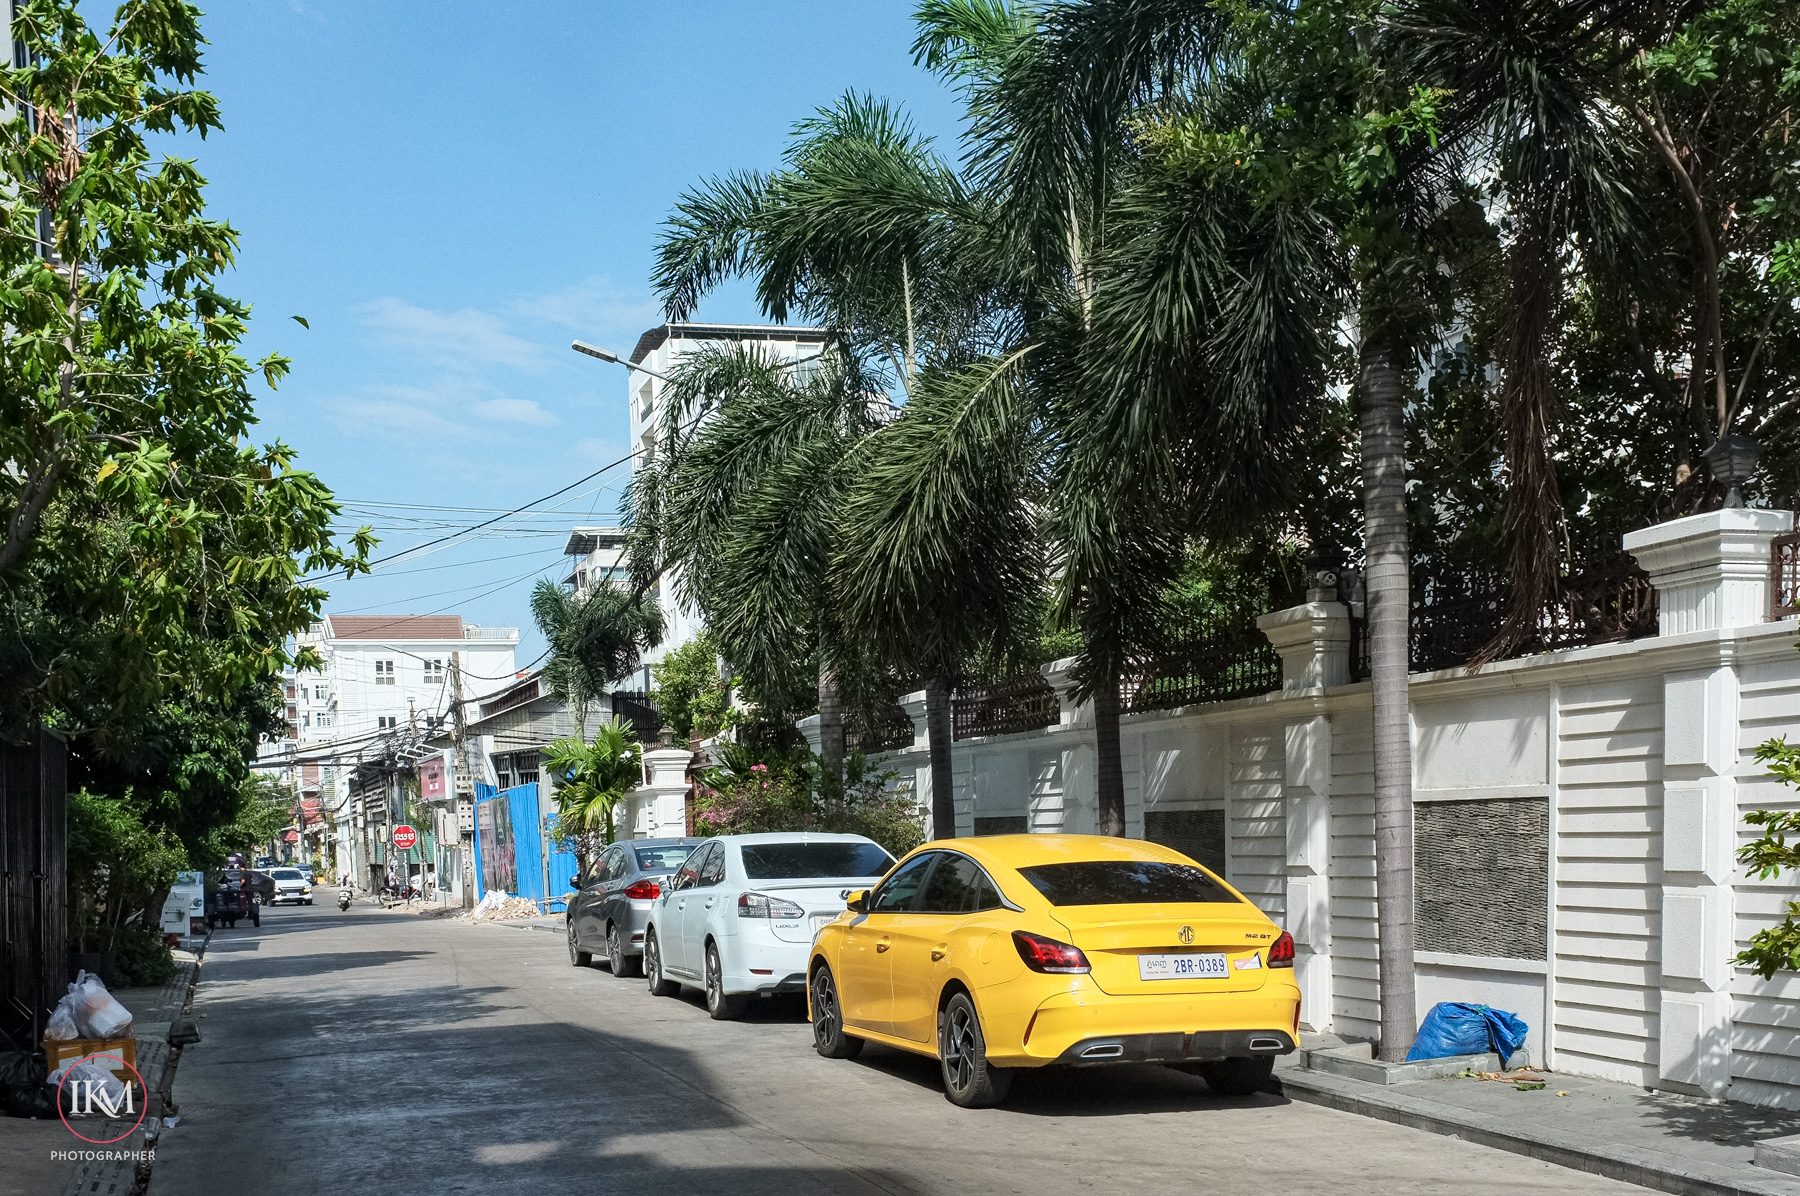
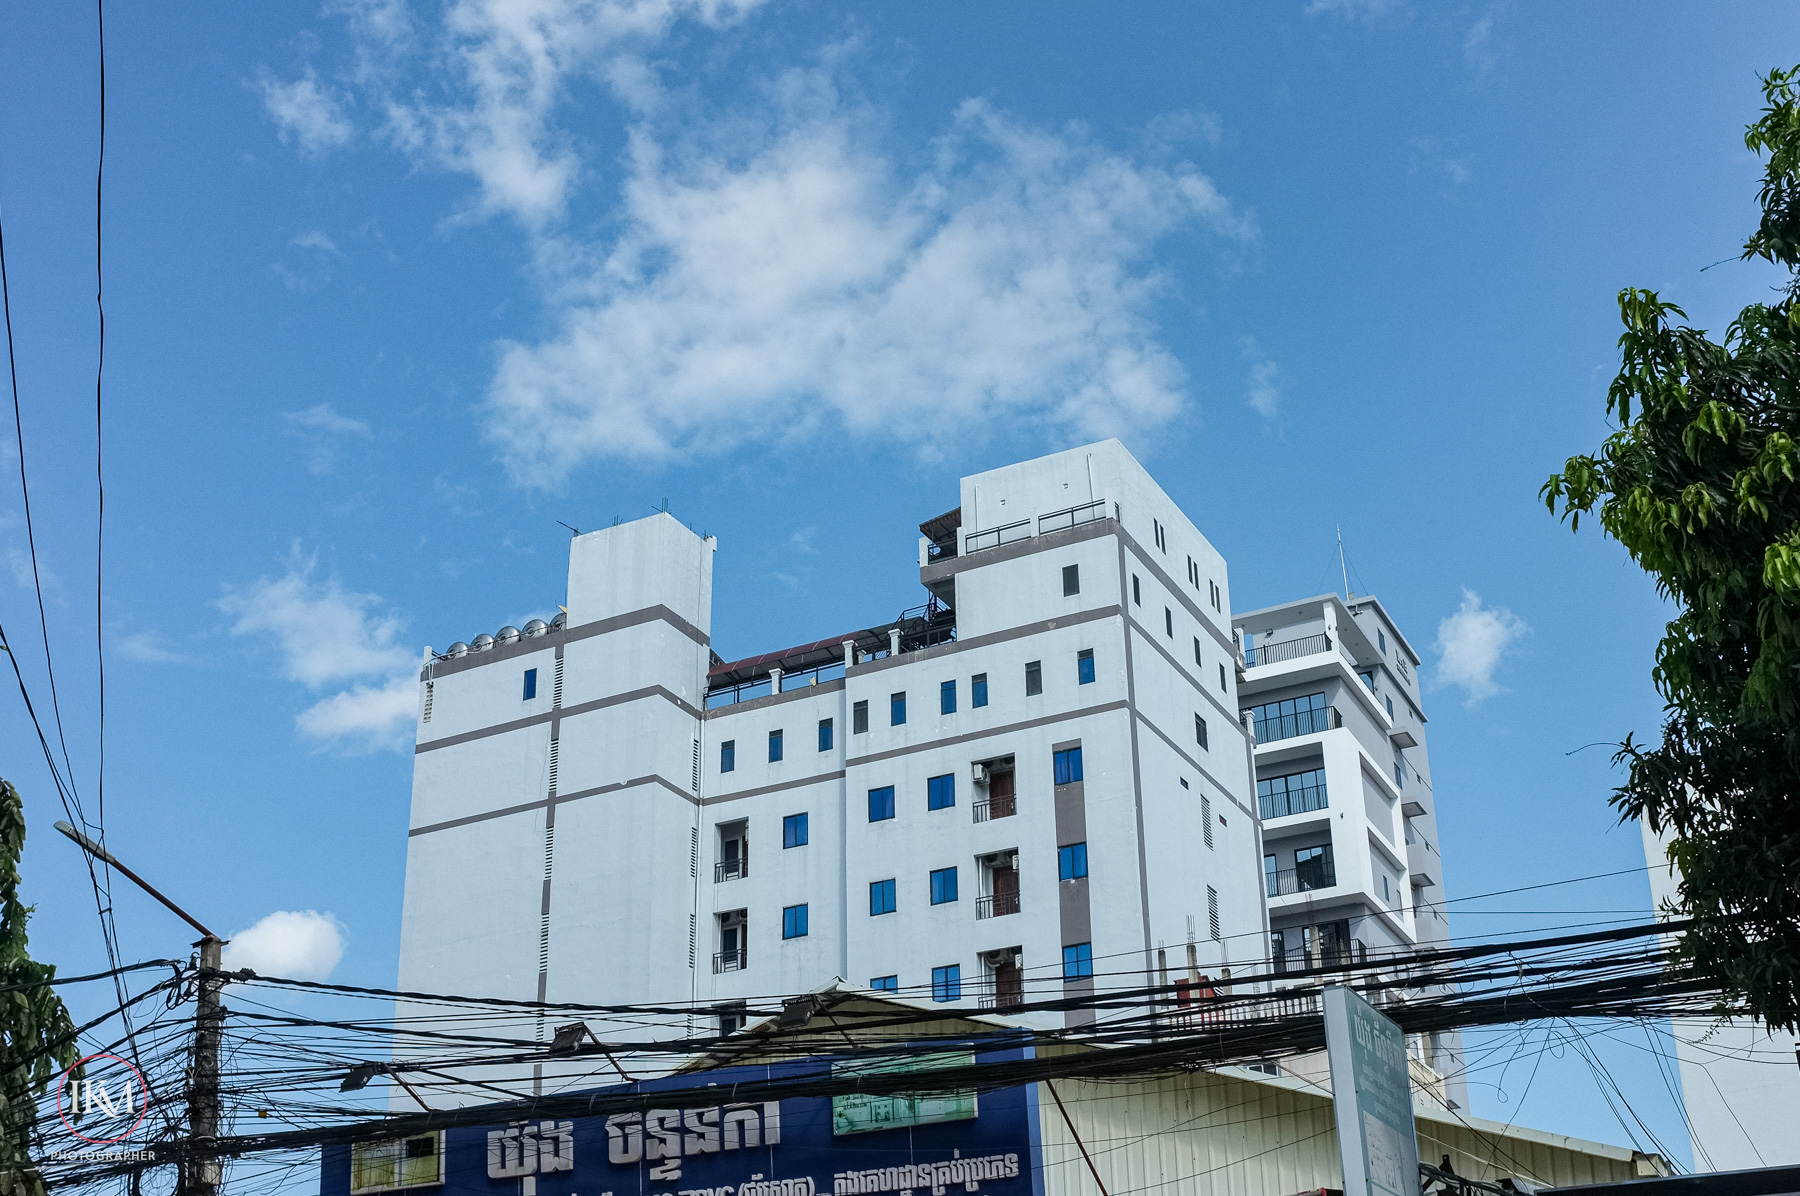
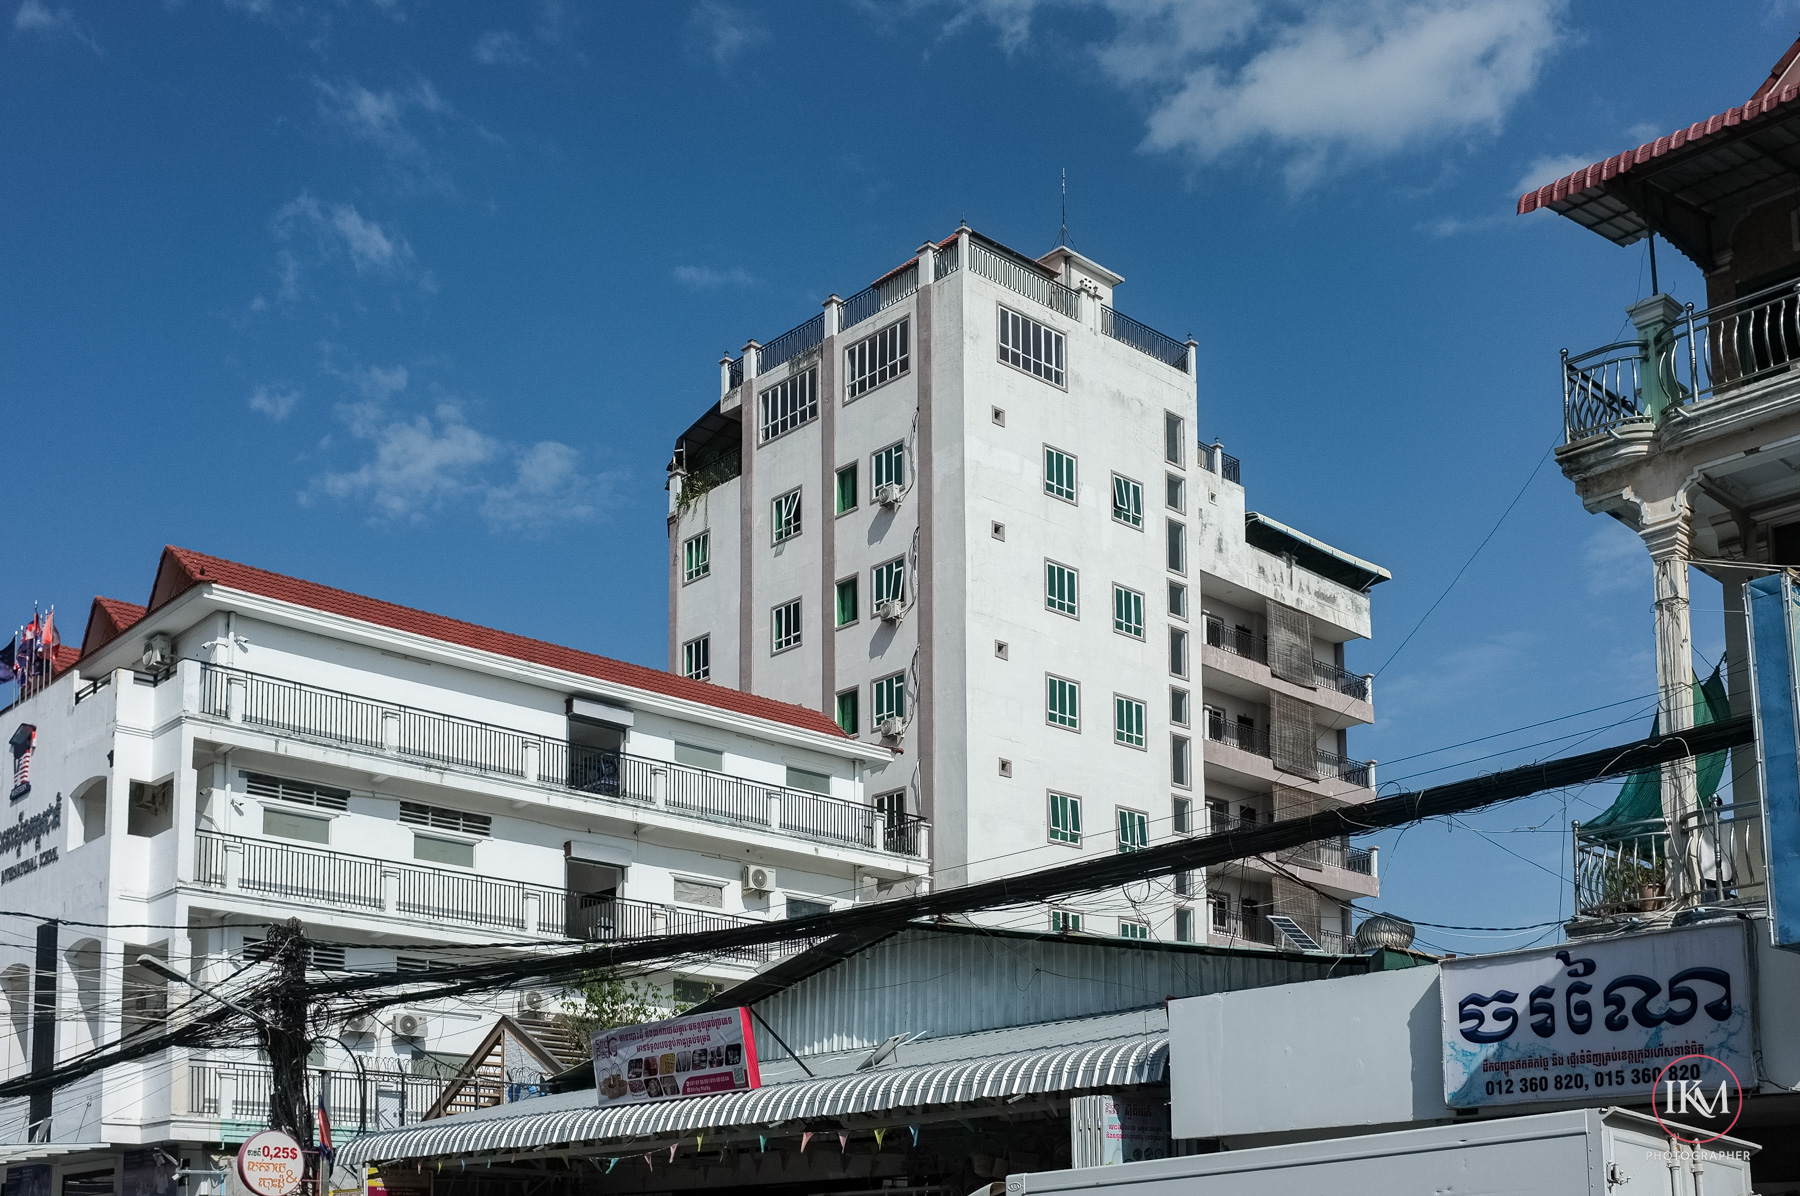

You’ll be grateful that you noticed them while they were still ordinary.
Don’t become trapped by other photographers’ opinions.
Some will tell you your camera isn’t good enough.
Others will insist your lens is too slow.
Some will dismiss cameras you’ve grown to love.
Smile politely.
Then go out and make photographs anyway.
Remember that every camera has its own character.
Some are loud. Some are quiet. Some demand attention.
Others simply become companions.
You will eventually discover that your favorite cameras aren’t necessarily the newest or the most expensive.
They’re the ones that make you want to leave the house.
Keep them. One day they’ll become old friends.
And here’s something nobody tells you when you’re young.
Photography changes. Not photography itself.
You.
The photographs you make at twenty-five won’t be the photographs you make at fifty or seventy. Nor should they be.
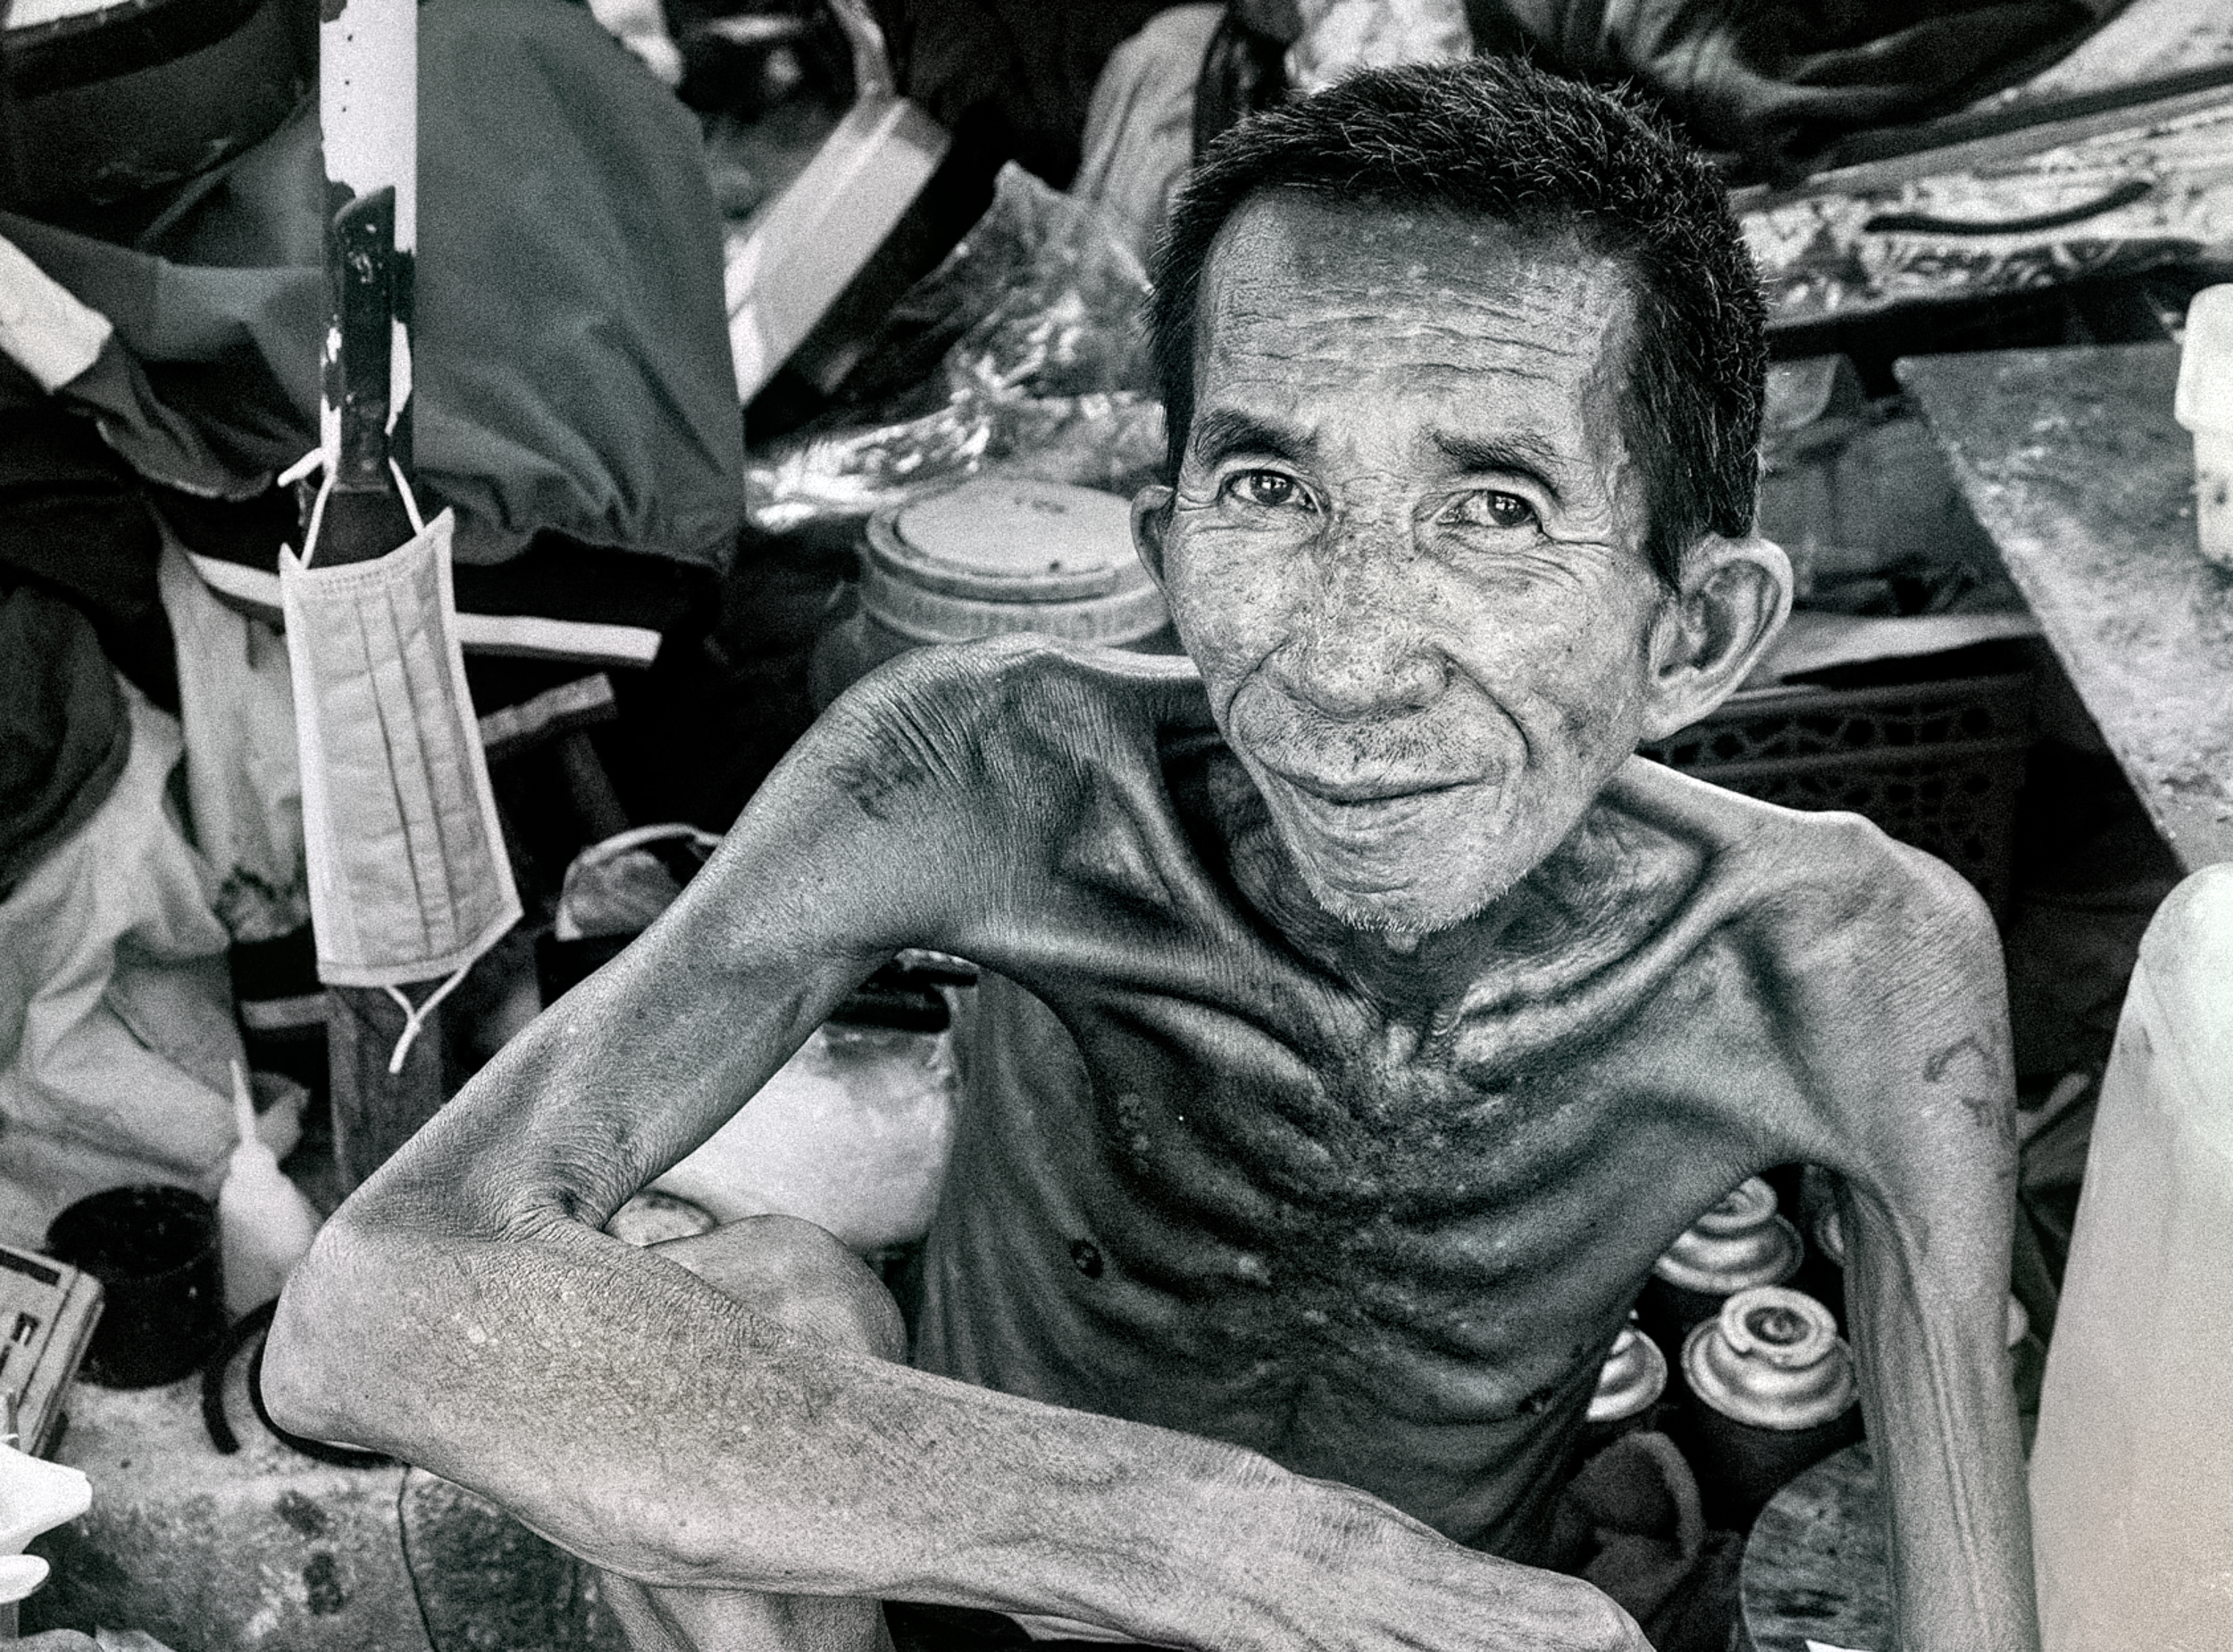
Experience changes the way you see people.
Joy changes it. Loss changes it. Love changes it. Failure certainly changes it.
Let all of those things find their way into your photographs.
Don’t try to photograph like someone else.
You already have enough famous photographers.
The world only gets one version of you.
Trust it.
Finally, remember this.
There will come a day when someone asks why you’re still carrying an old camera that everyone else considers obsolete.
You’ll smile. Not because they’re wrong.
But because you’ve finally learned something that took a lifetime to understand.
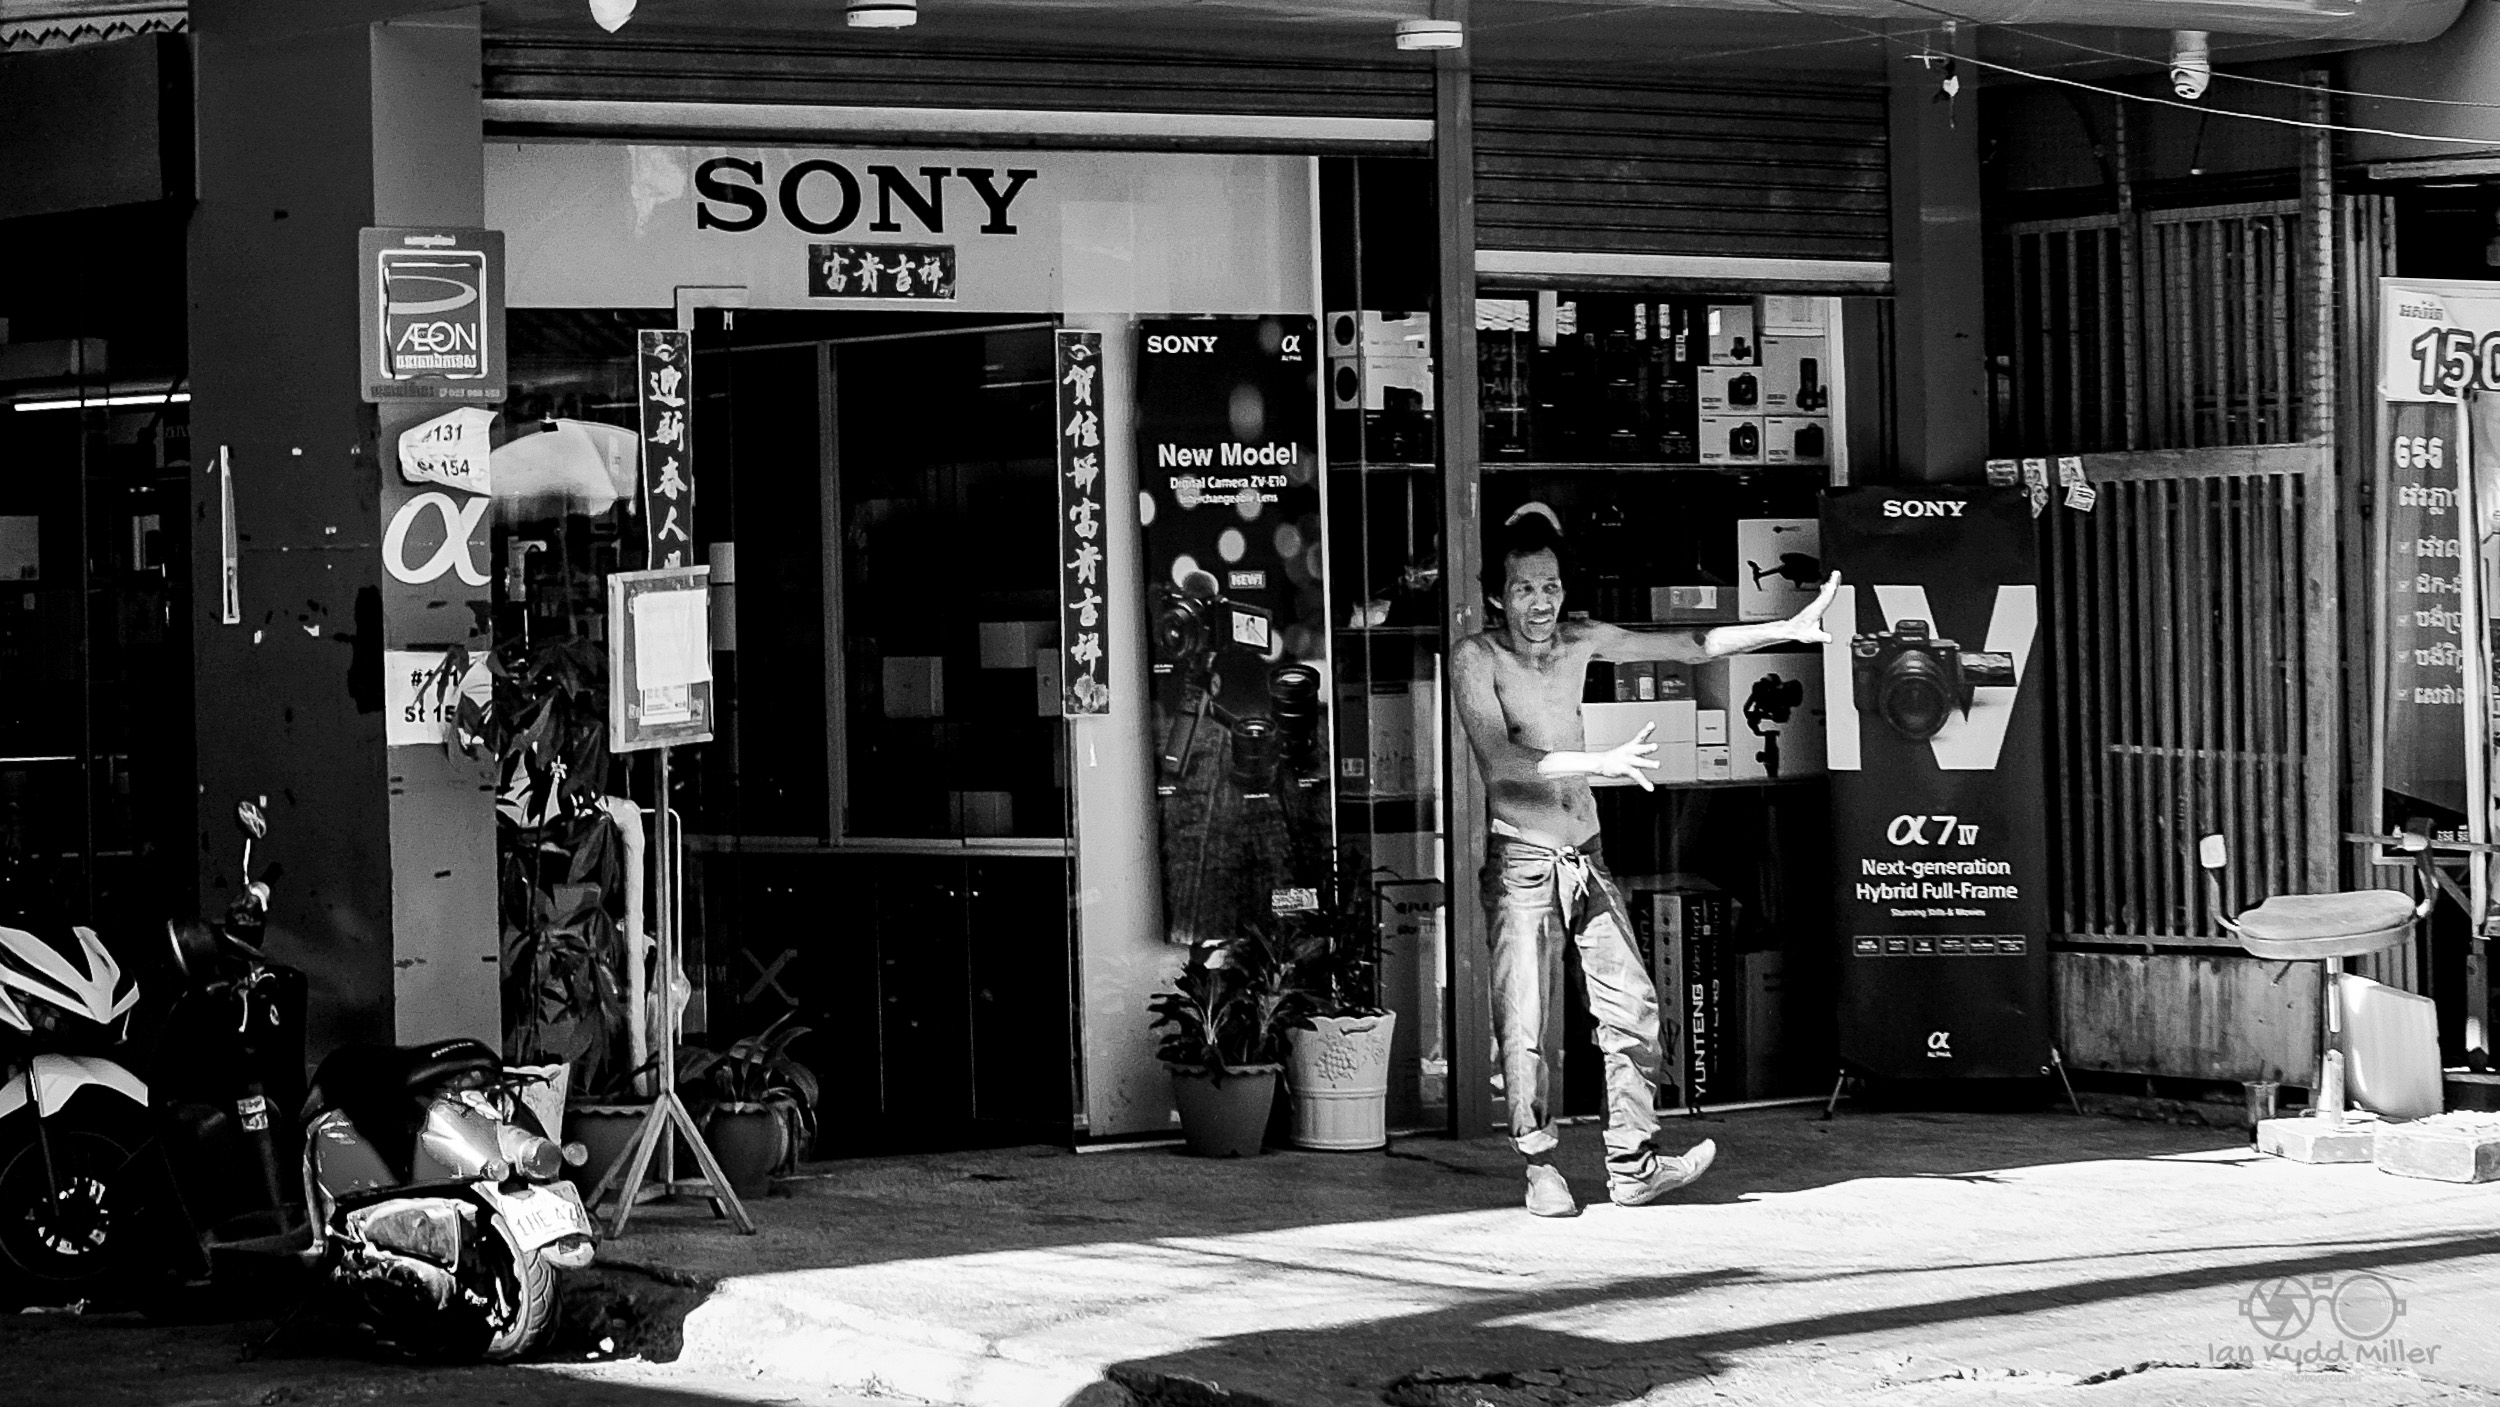
The camera was never the important part. It was simply the excuse.
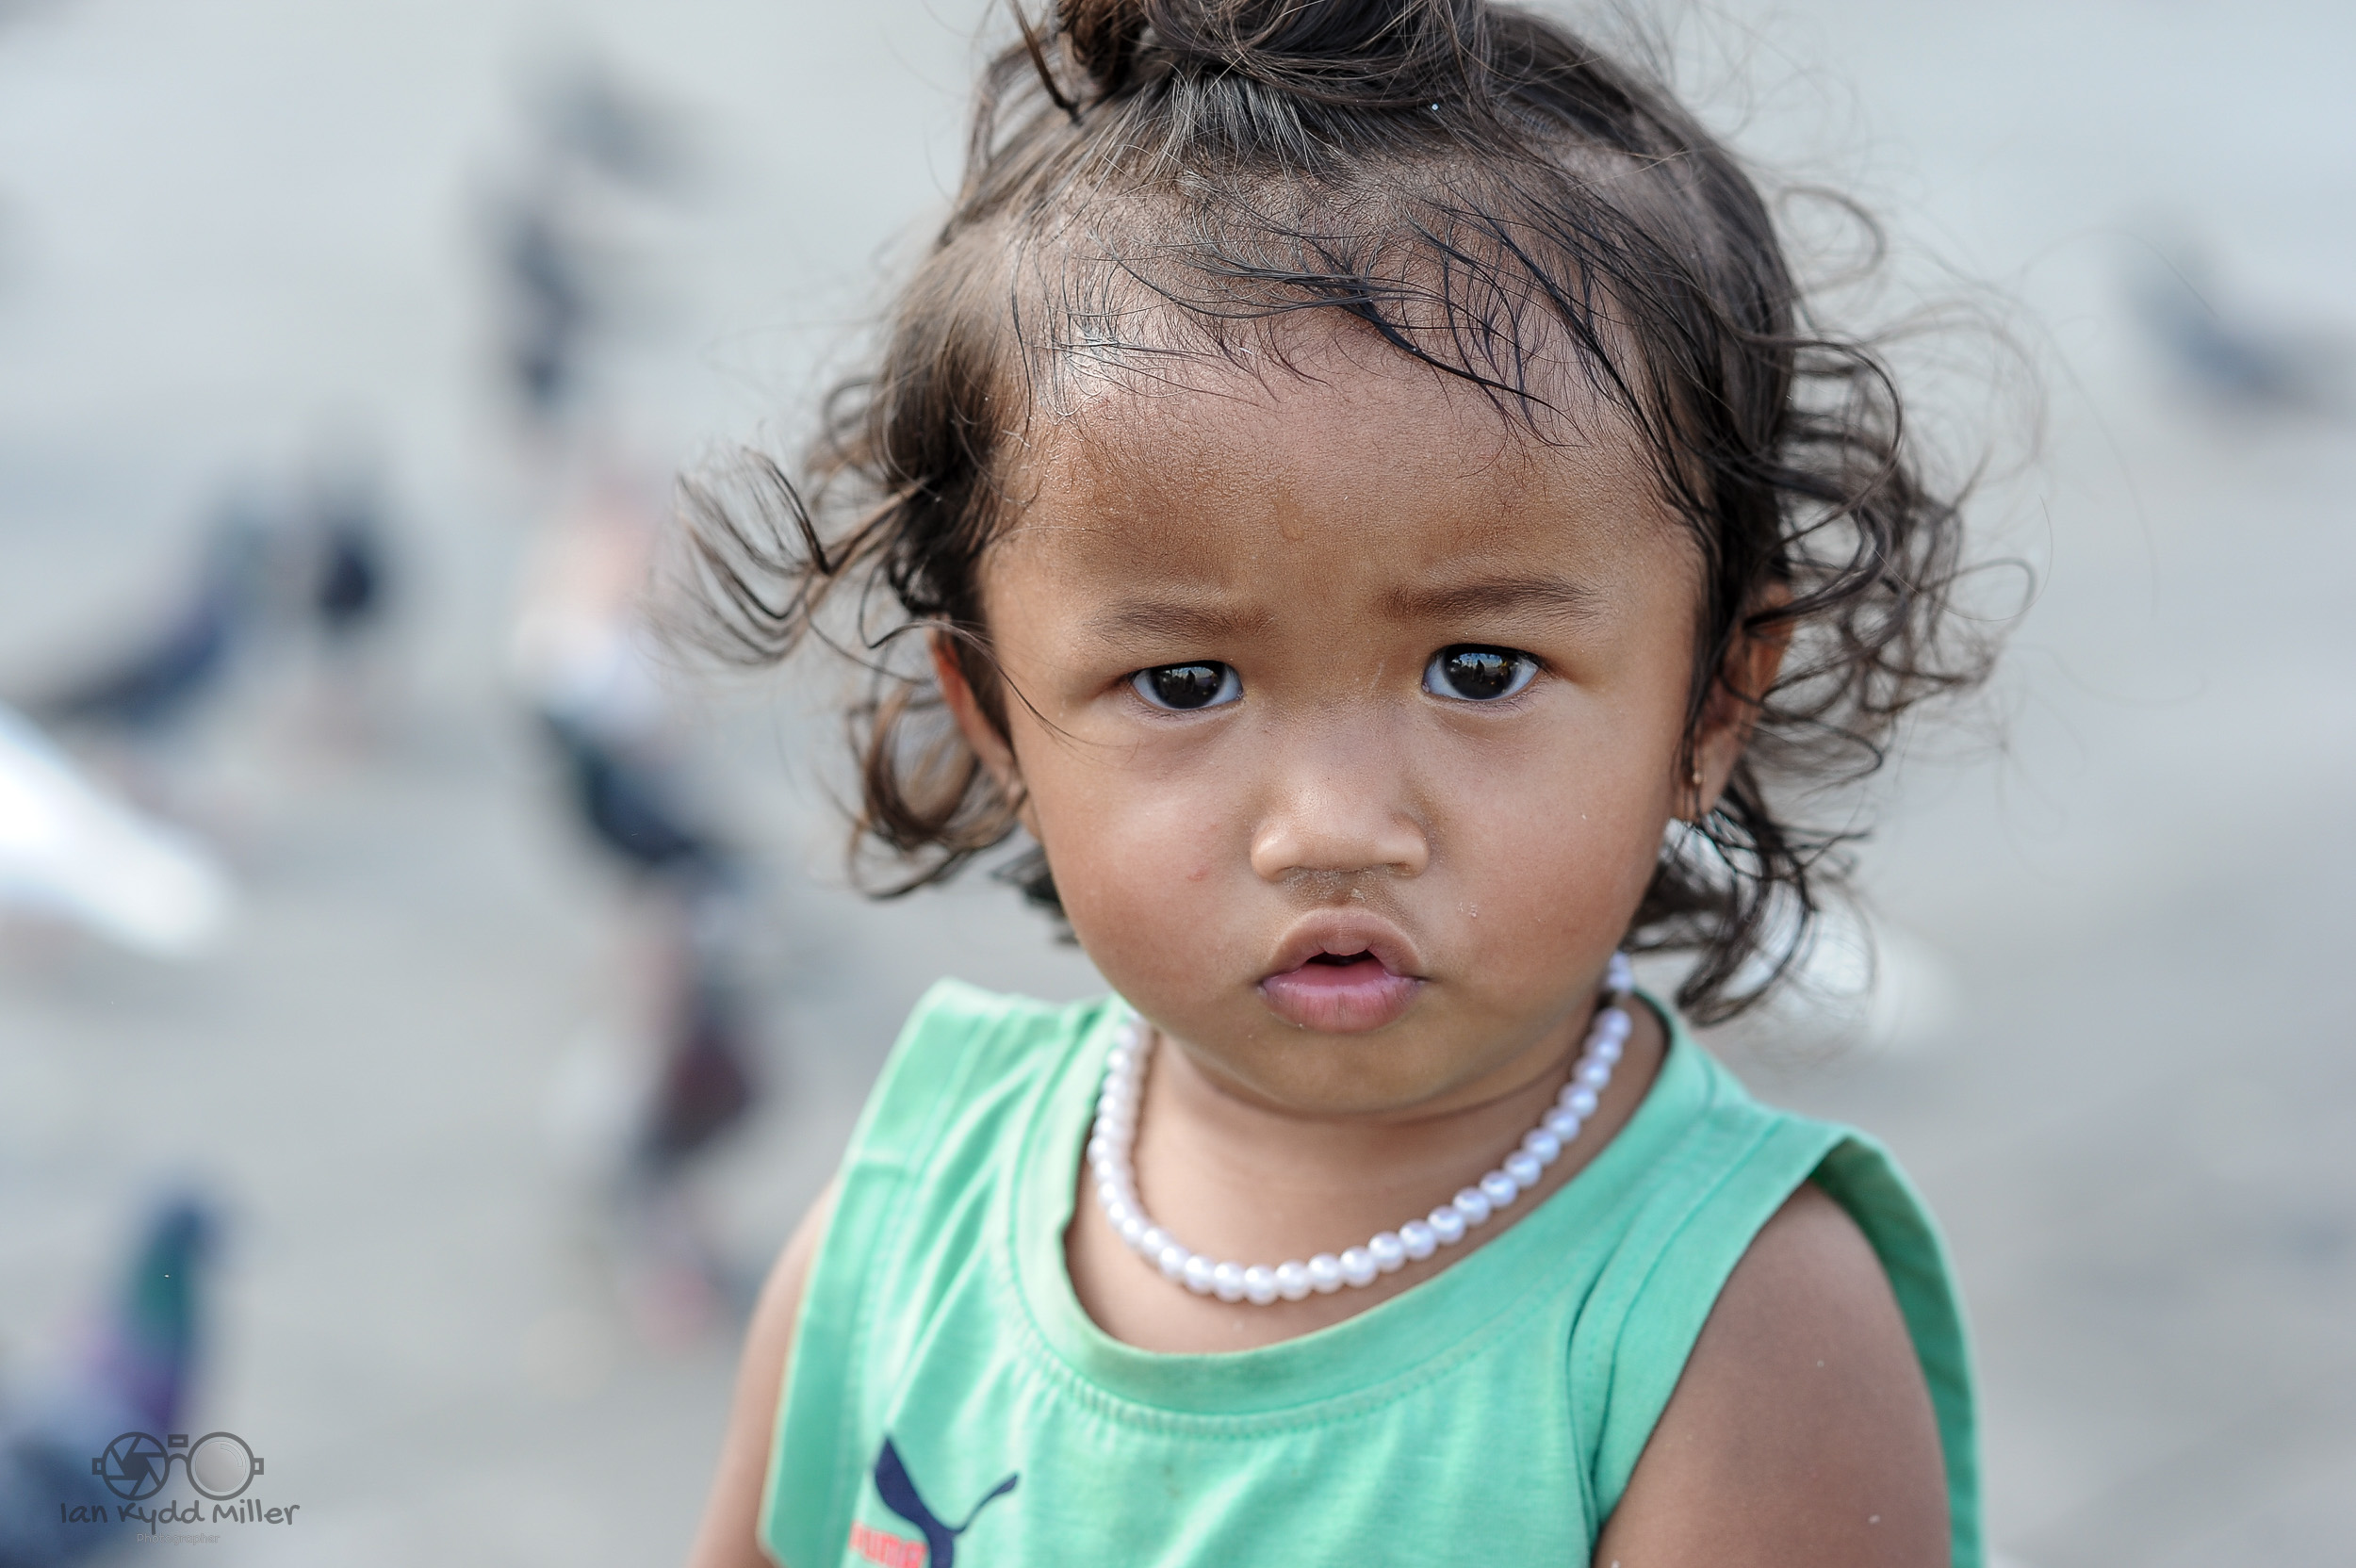
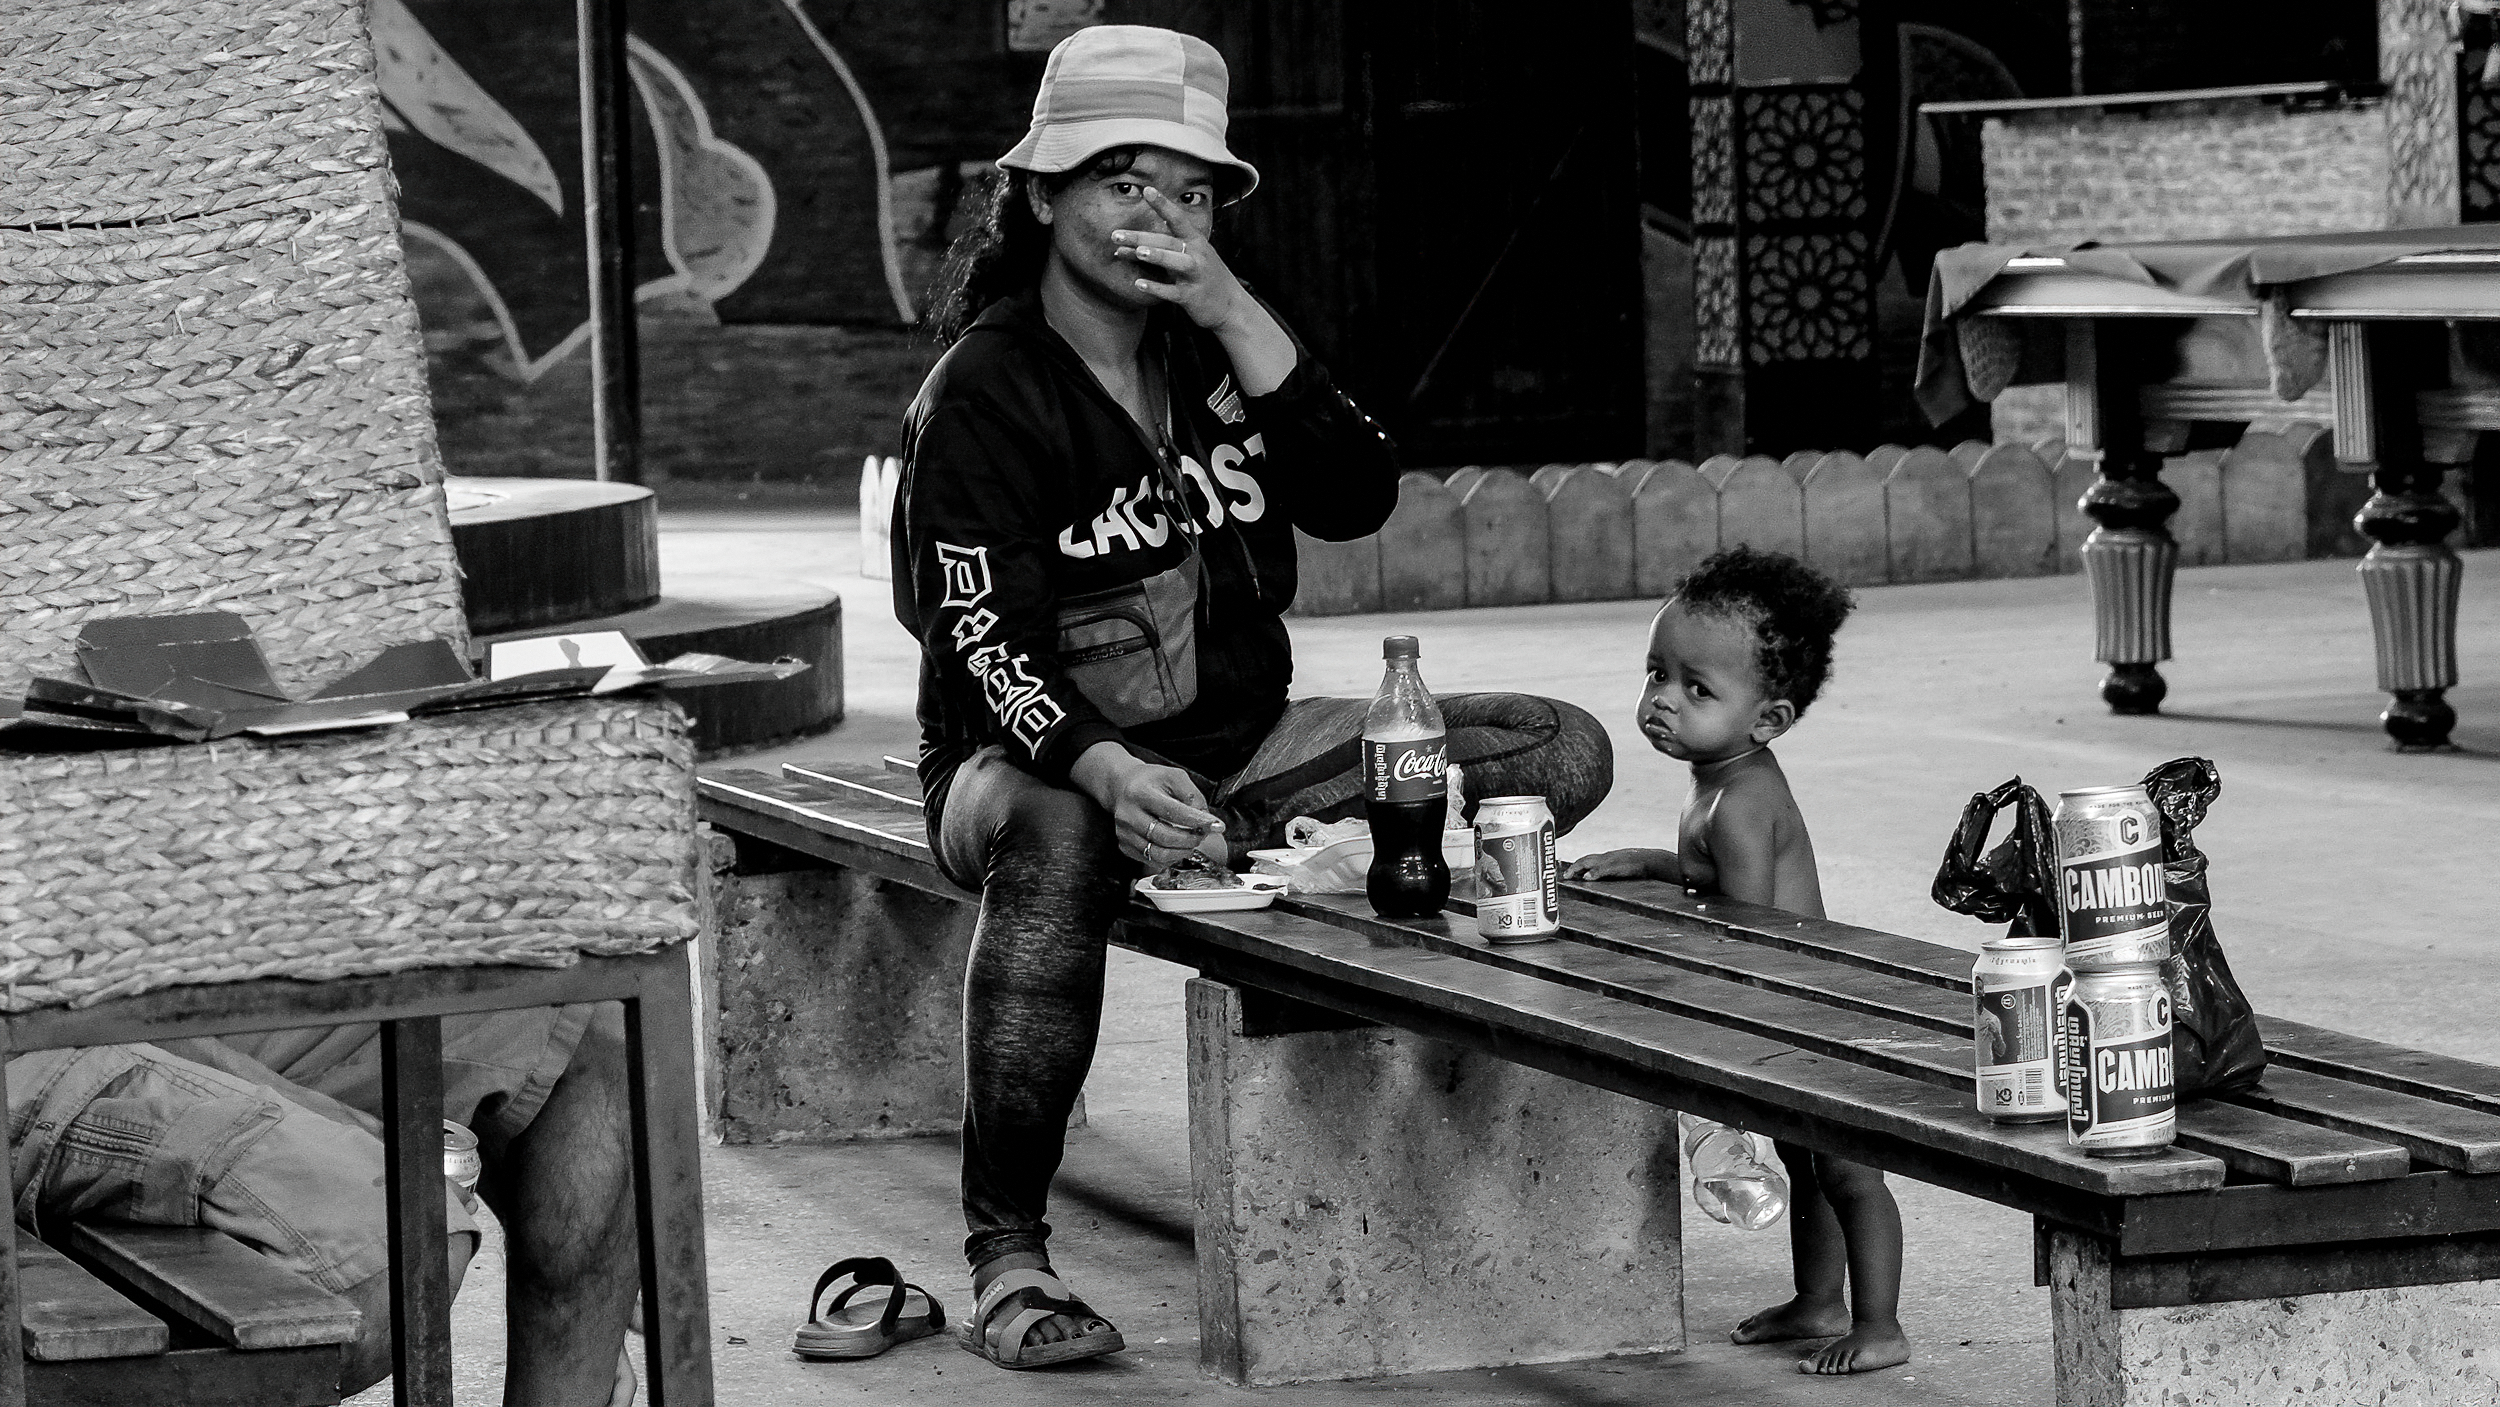
The real gift was that it persuaded you to slow down.
To wander. To notice. To meet people you would otherwise have walked straight past.
To pay attention to a world that is constantly asking you not to.
If you can do that, consistently, over the course of a lifetime, you’ll have succeeded.
Not because you’ll become famous. Not because you’ll own remarkable equipment.
Not because you’ll make perfect photographs. You’ll have succeeded because you’ll have lived as a photographer.
And believe me…
That’s more than enough.