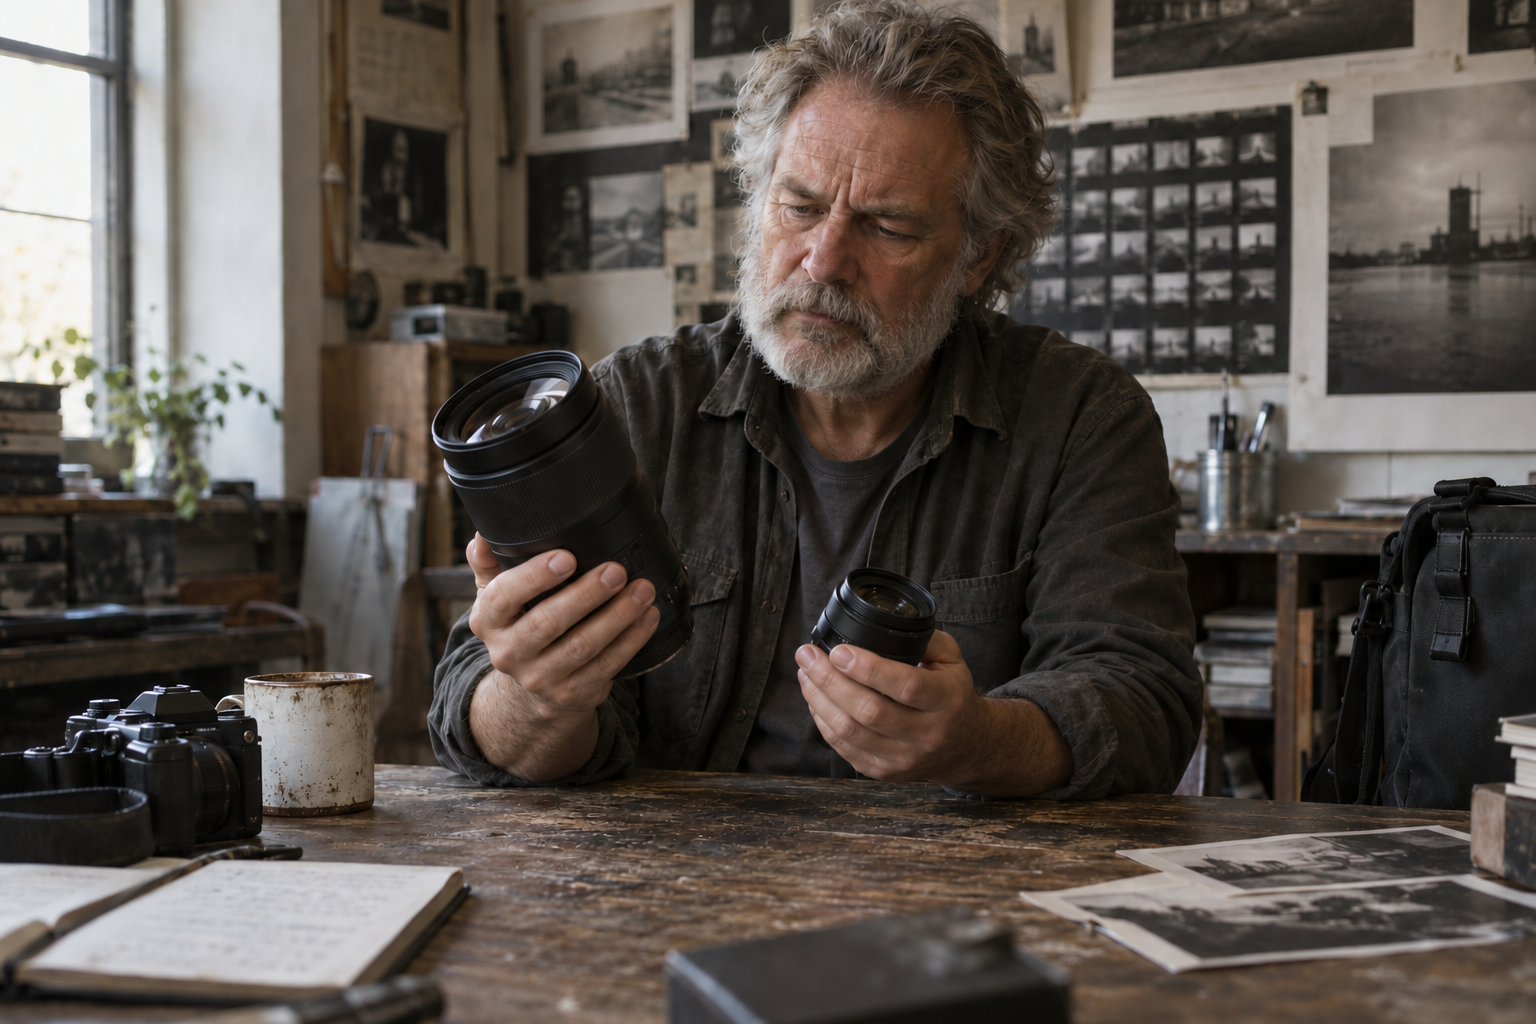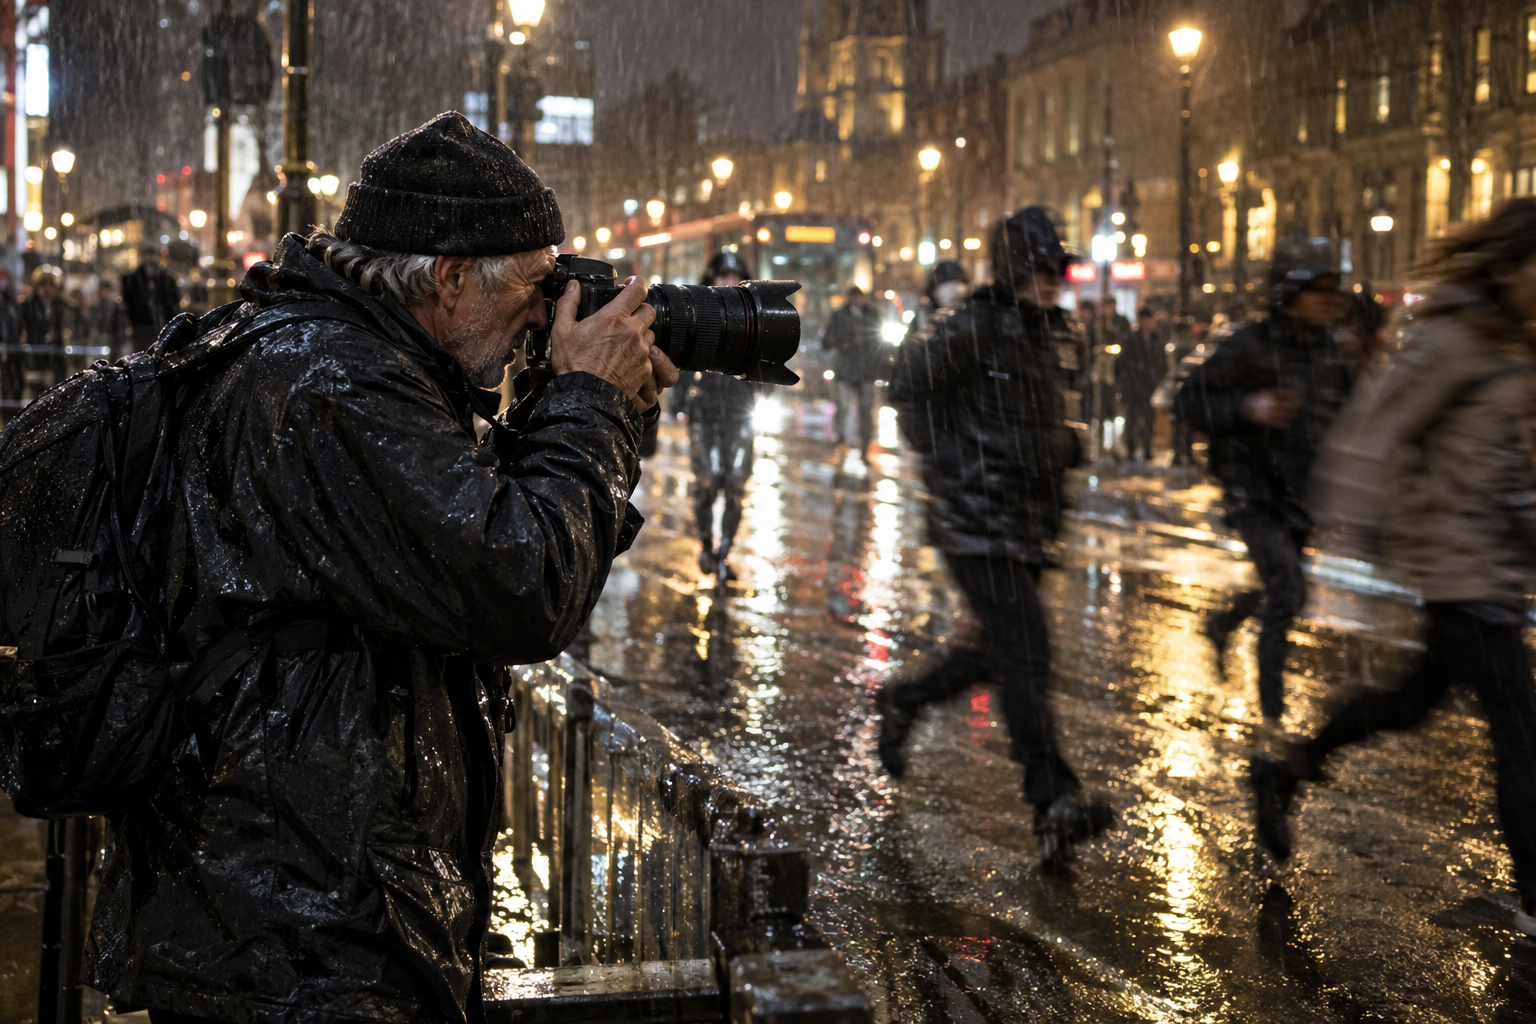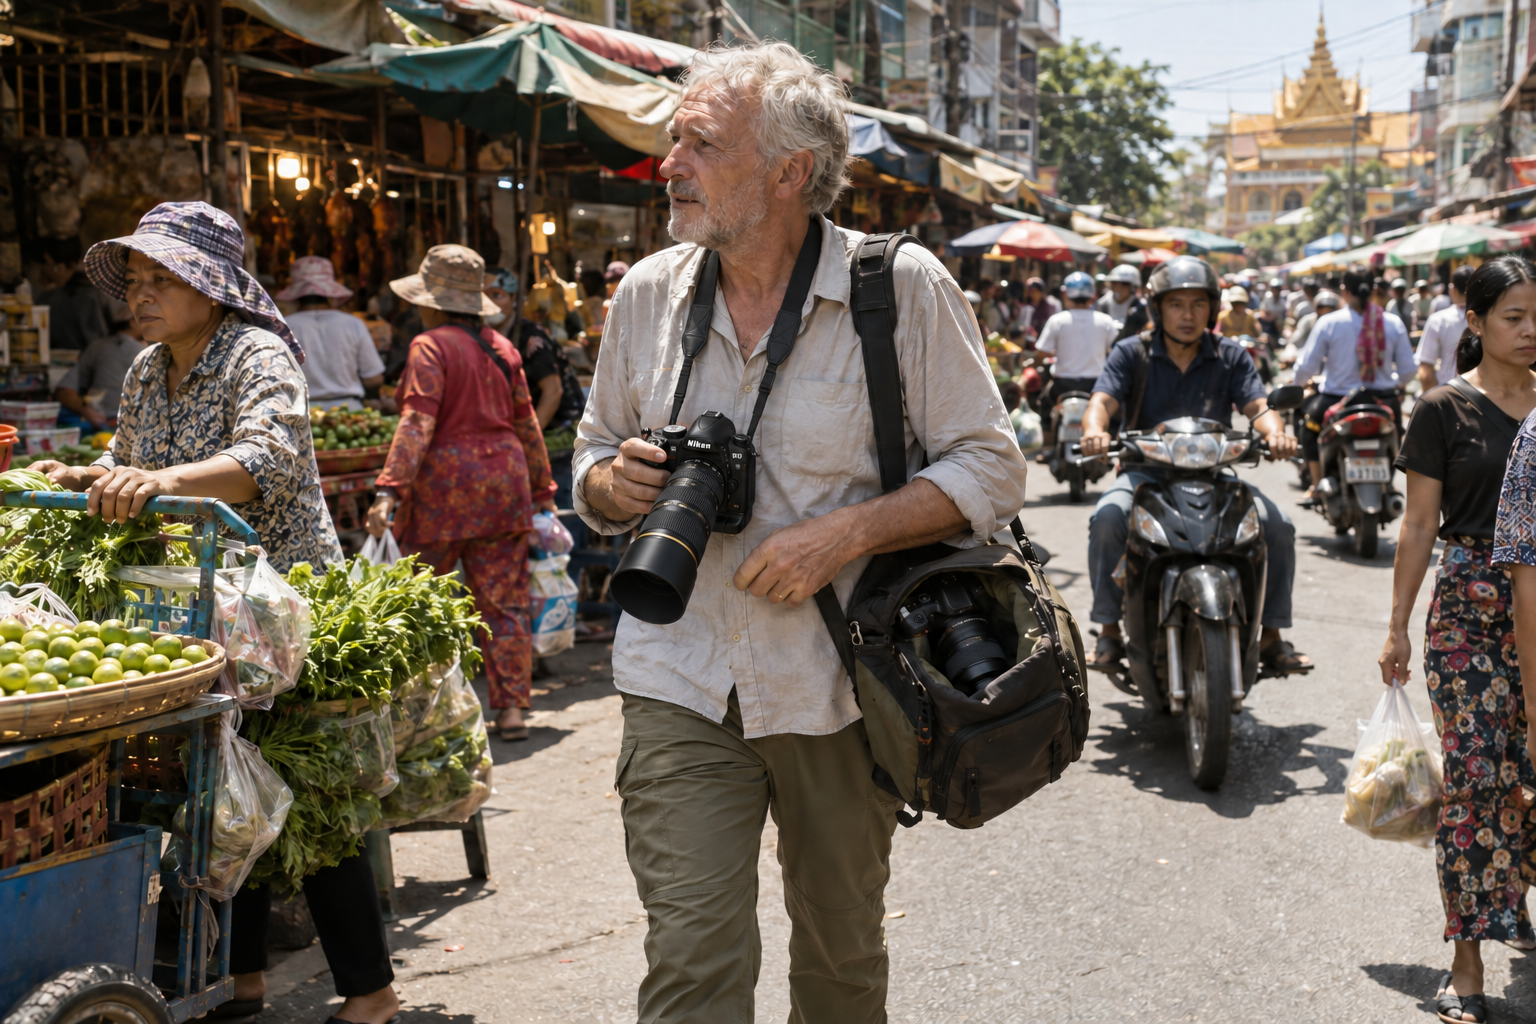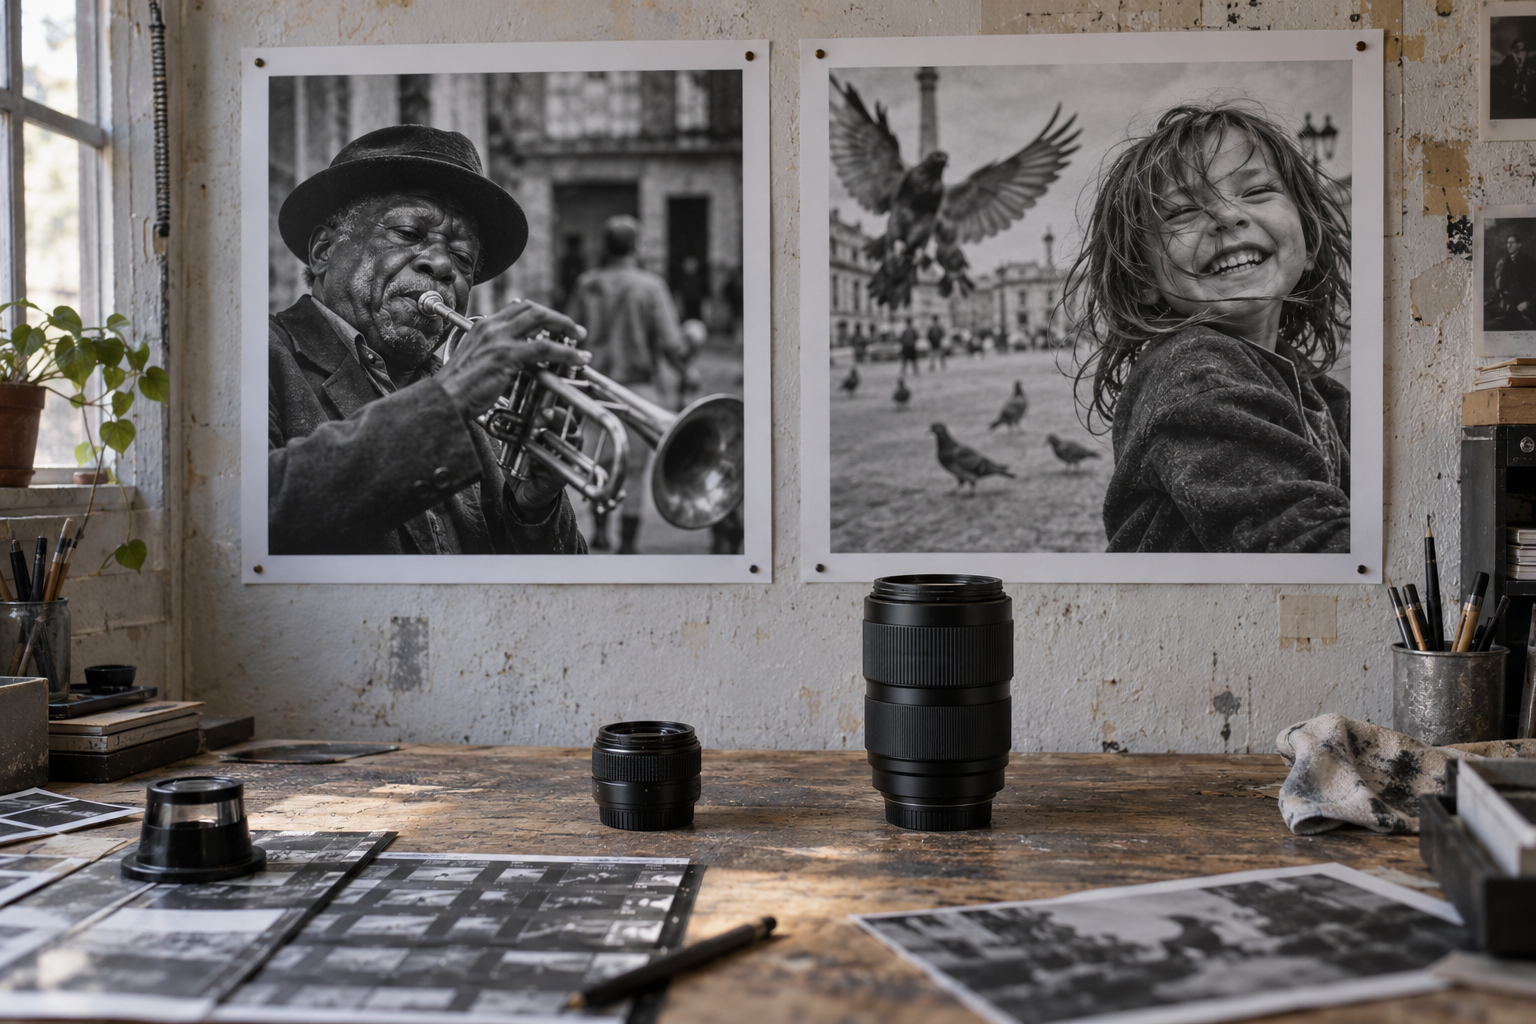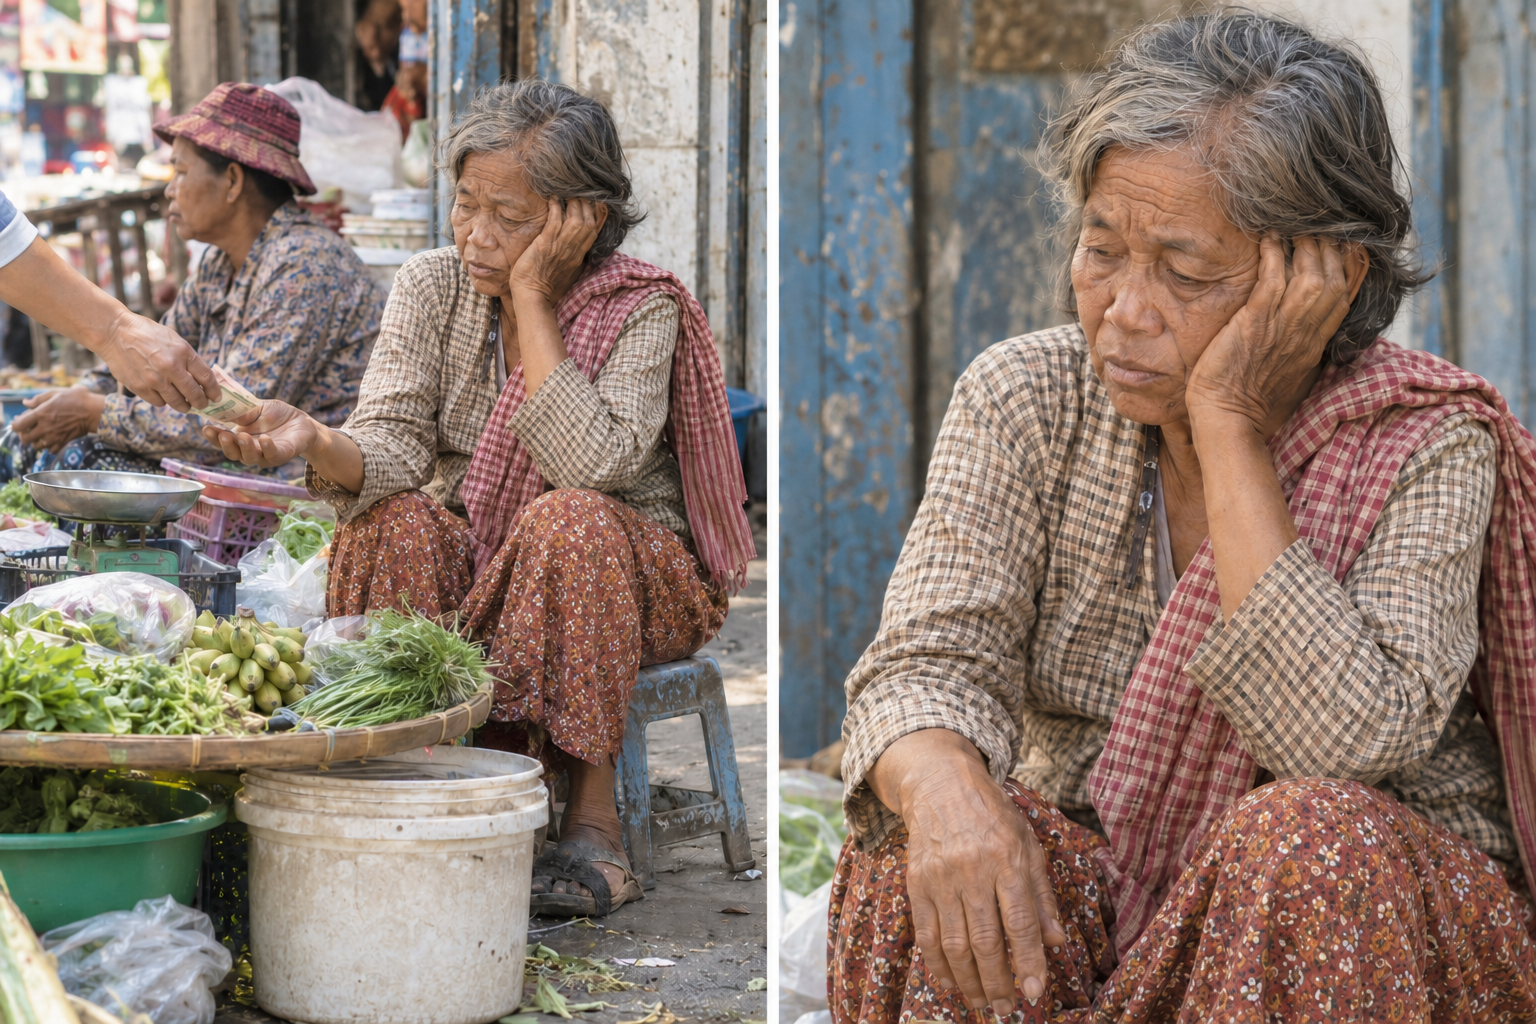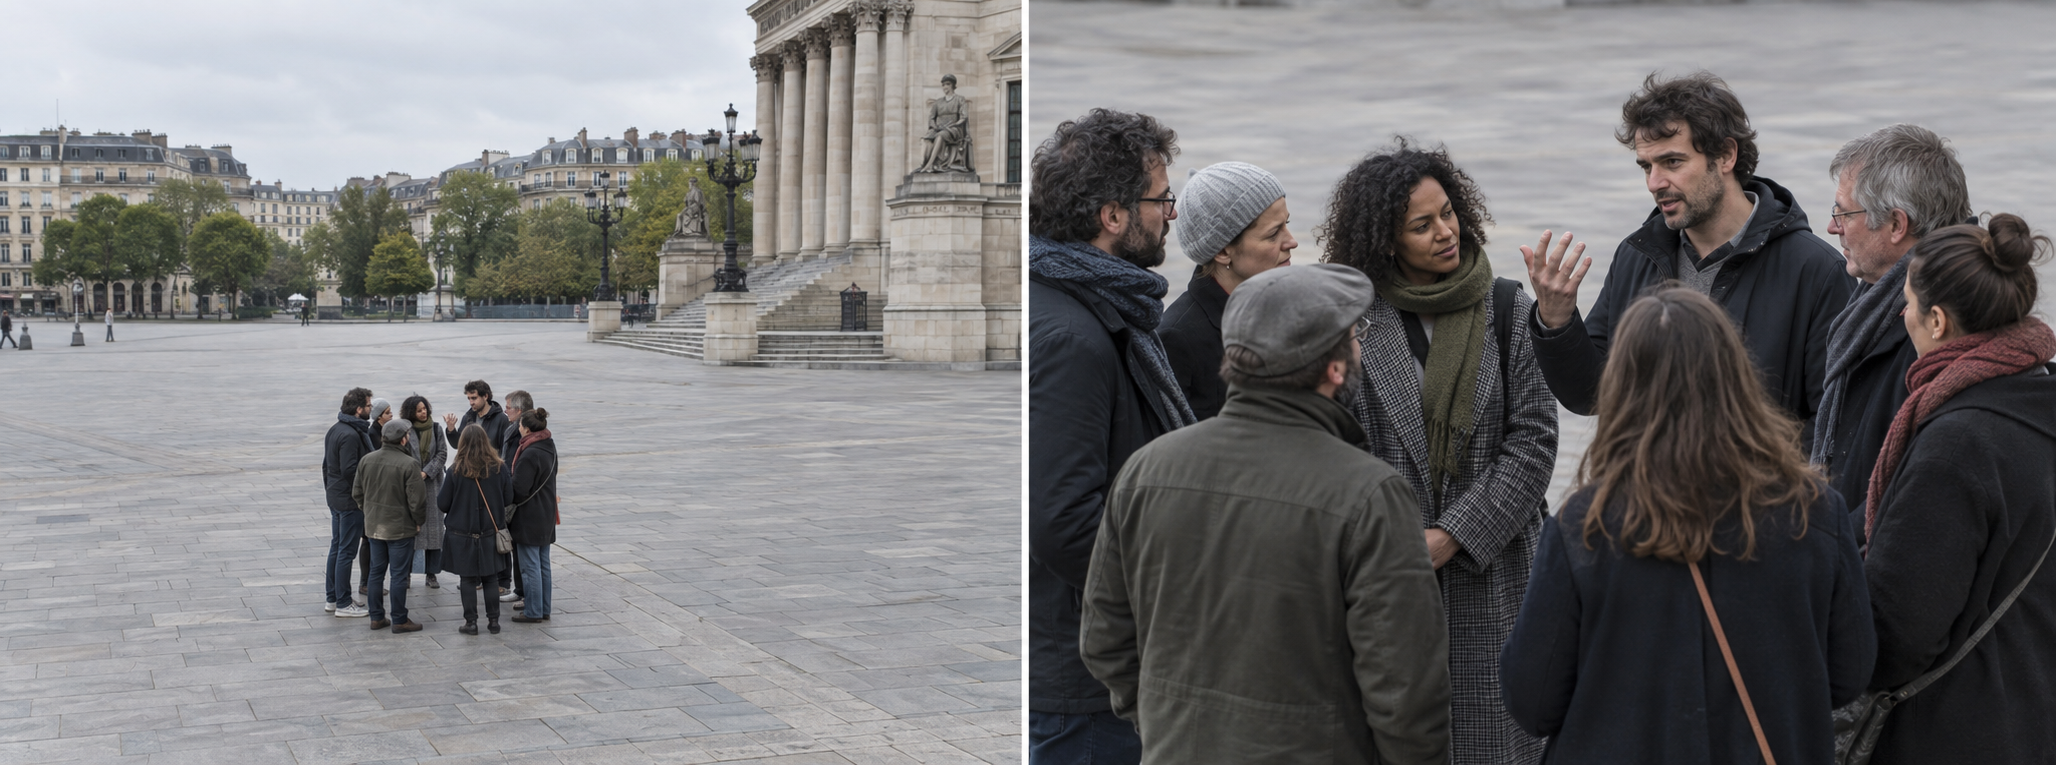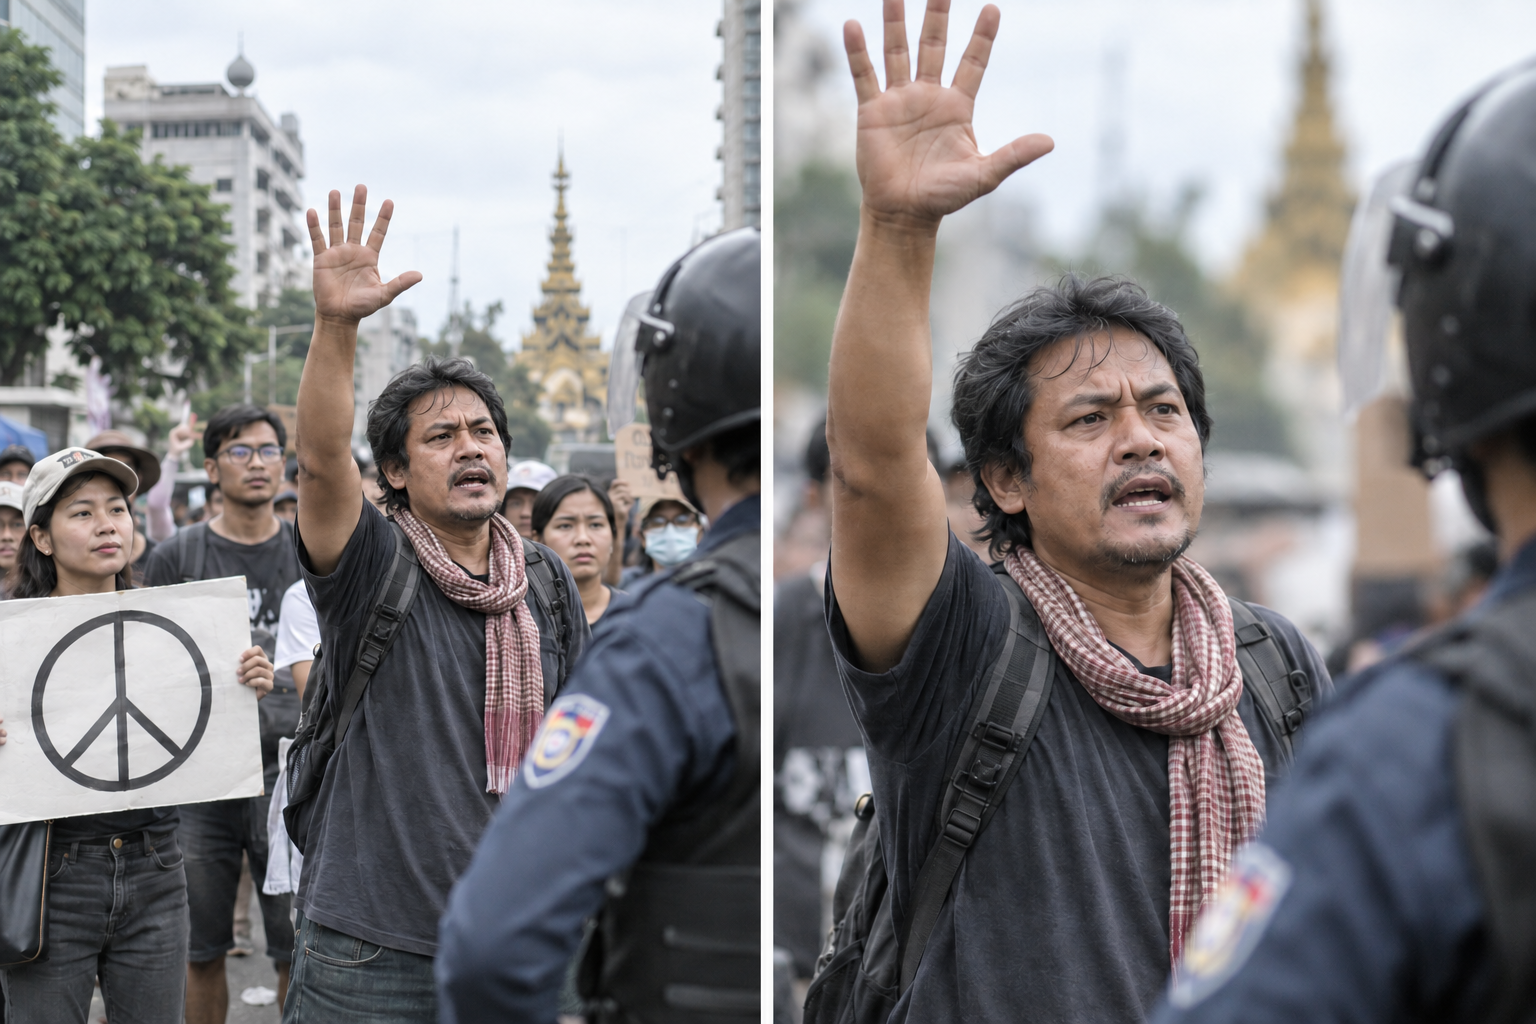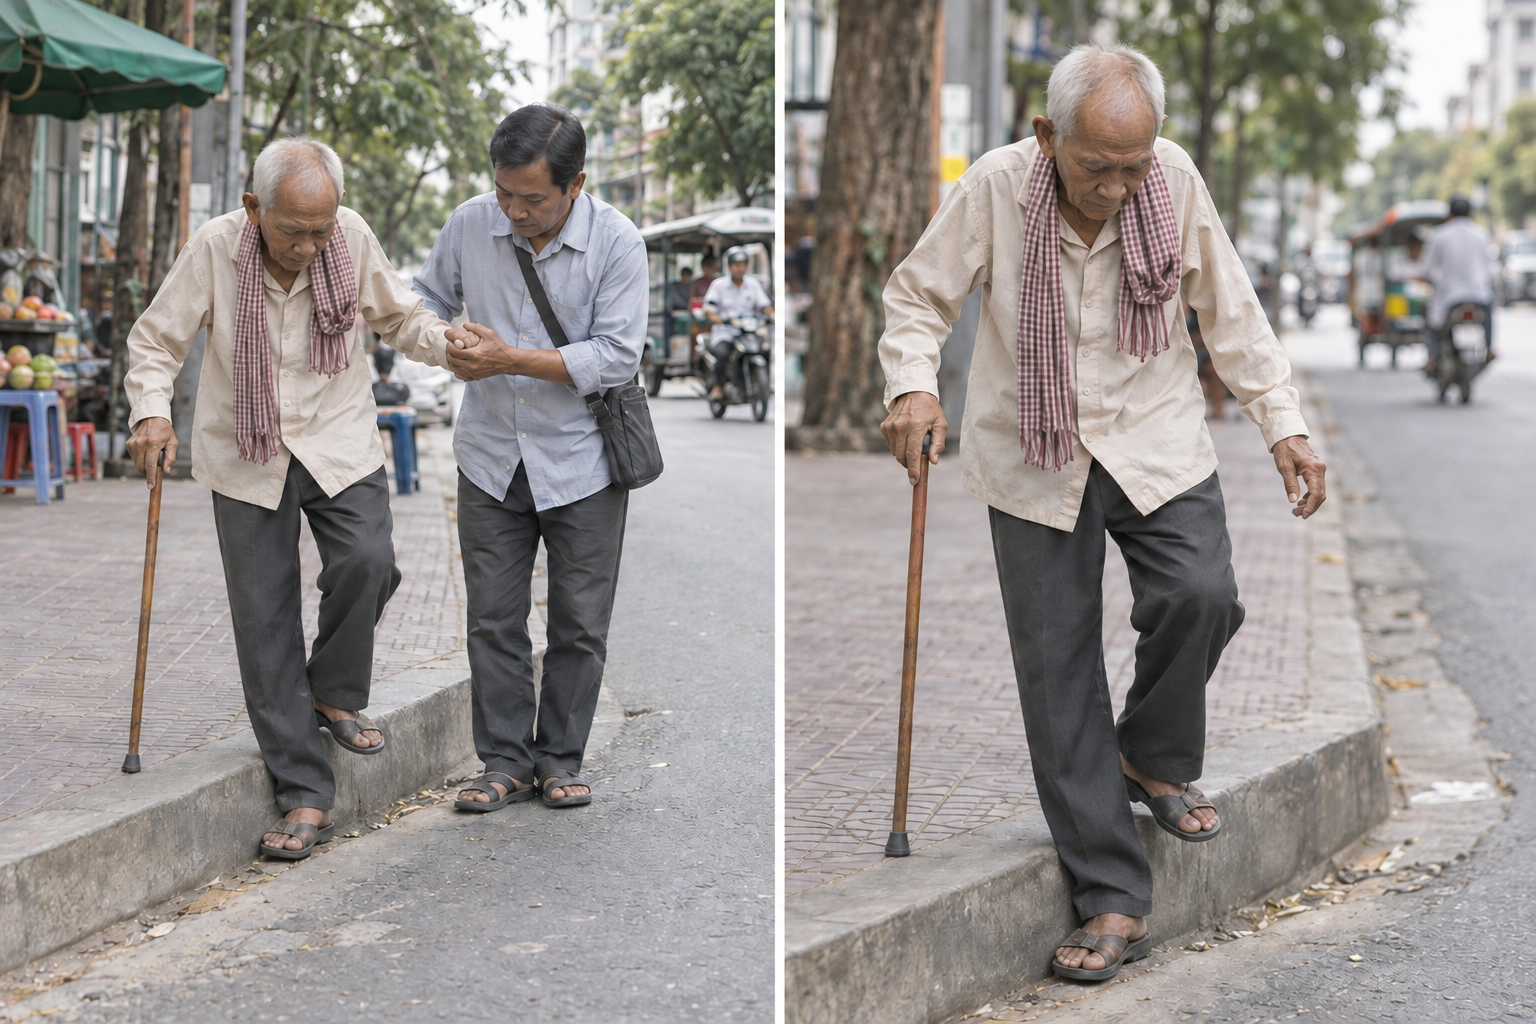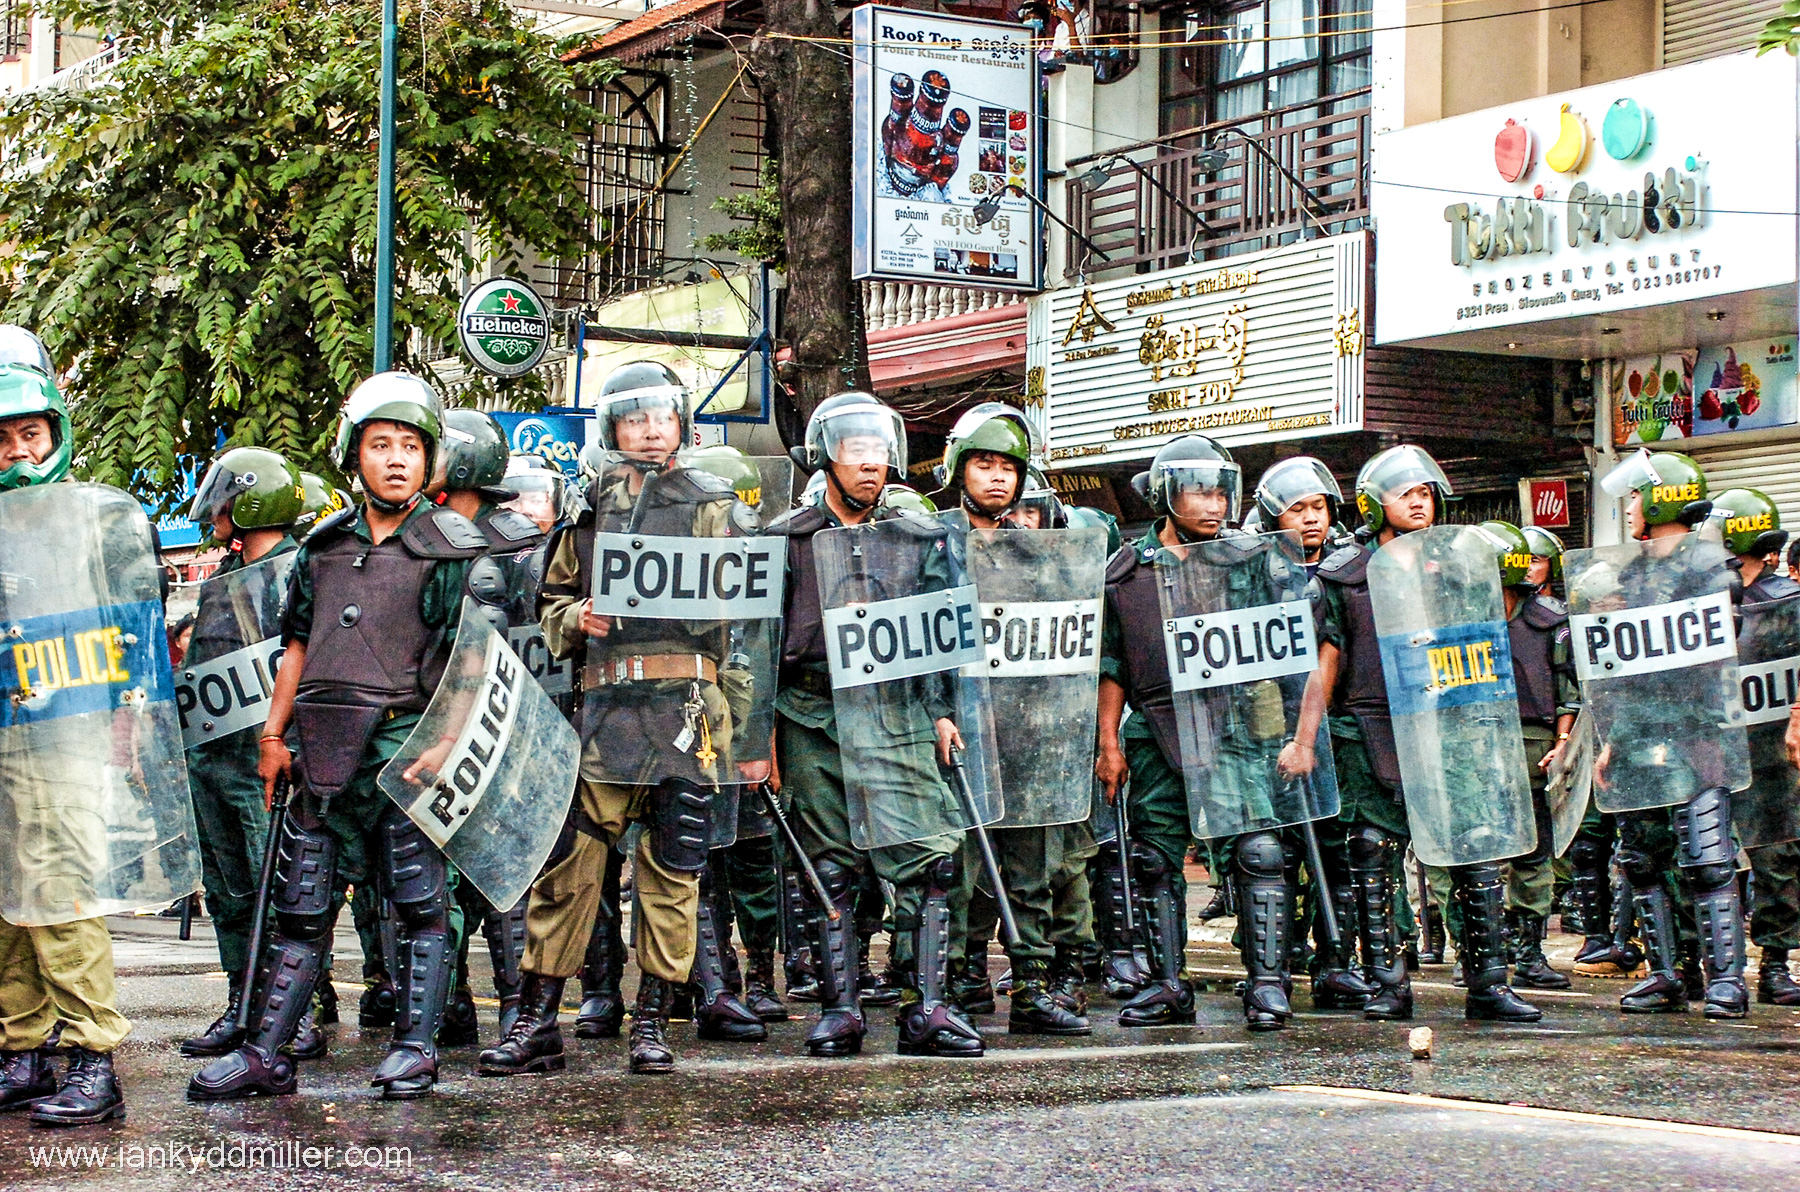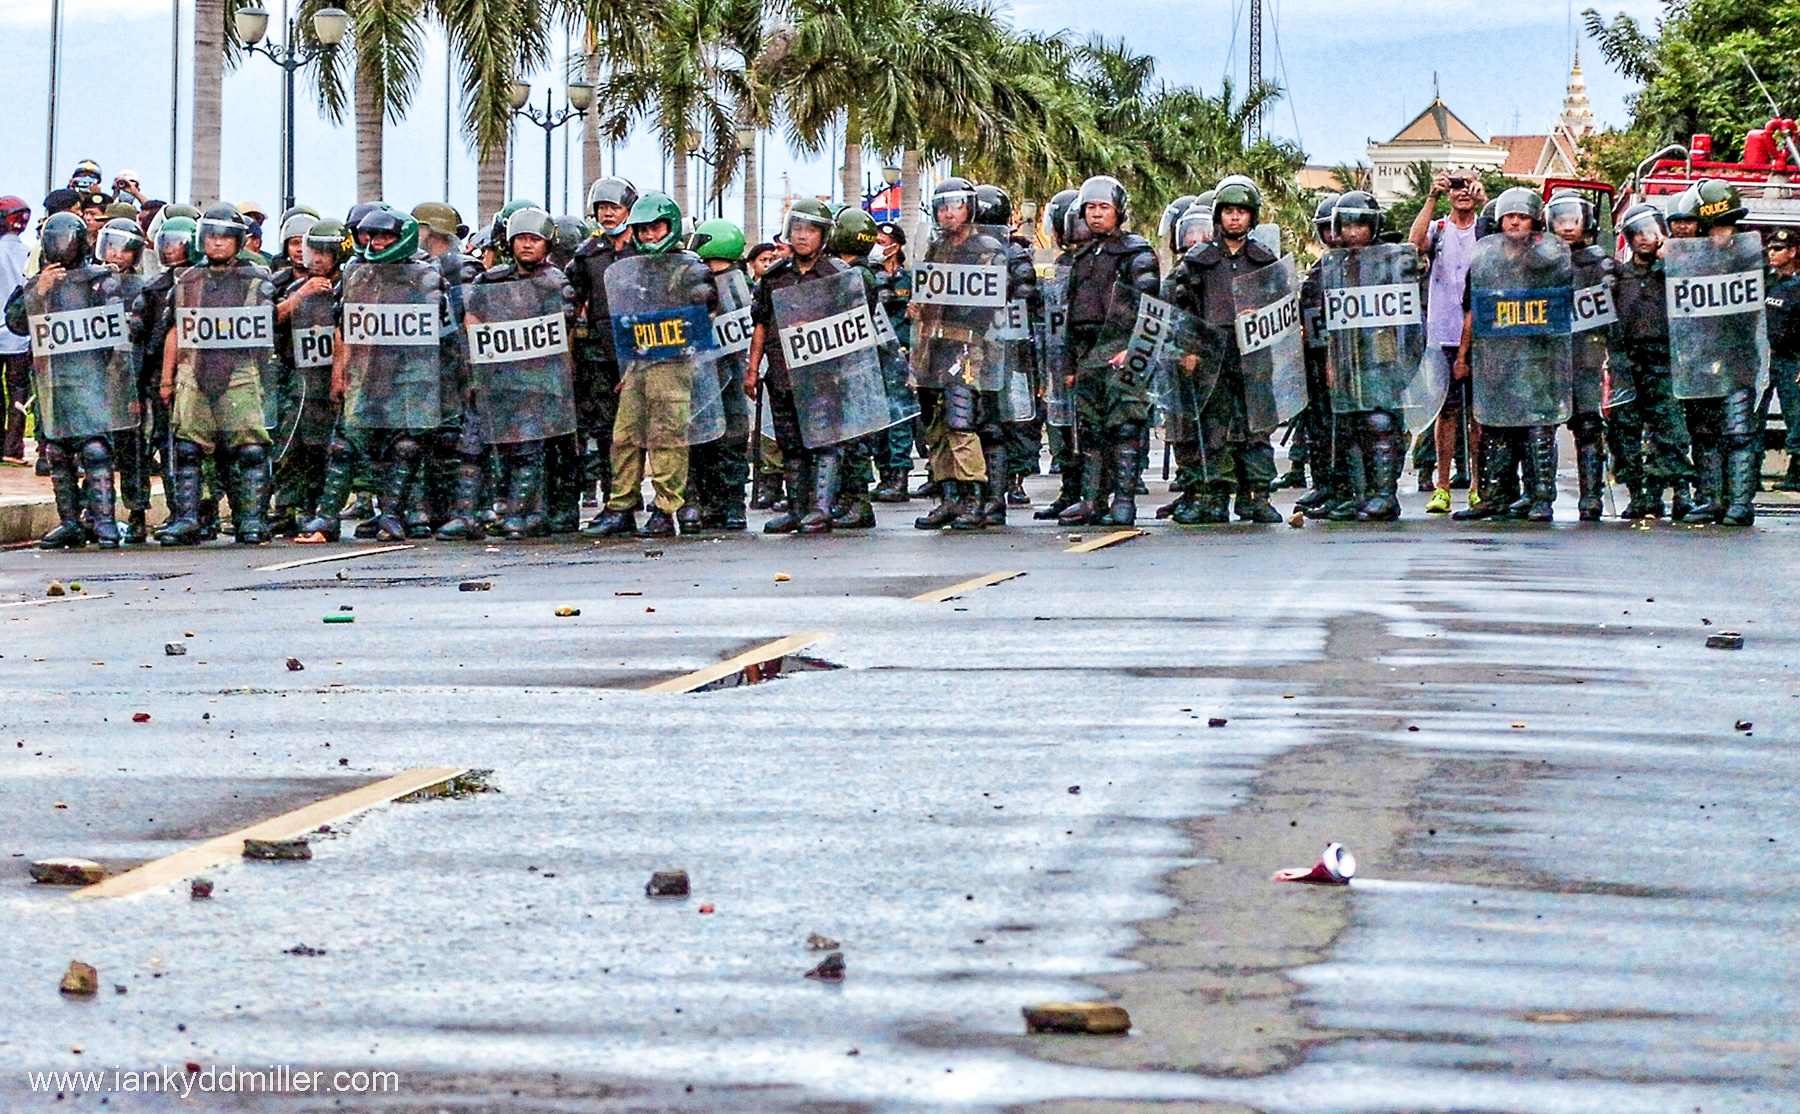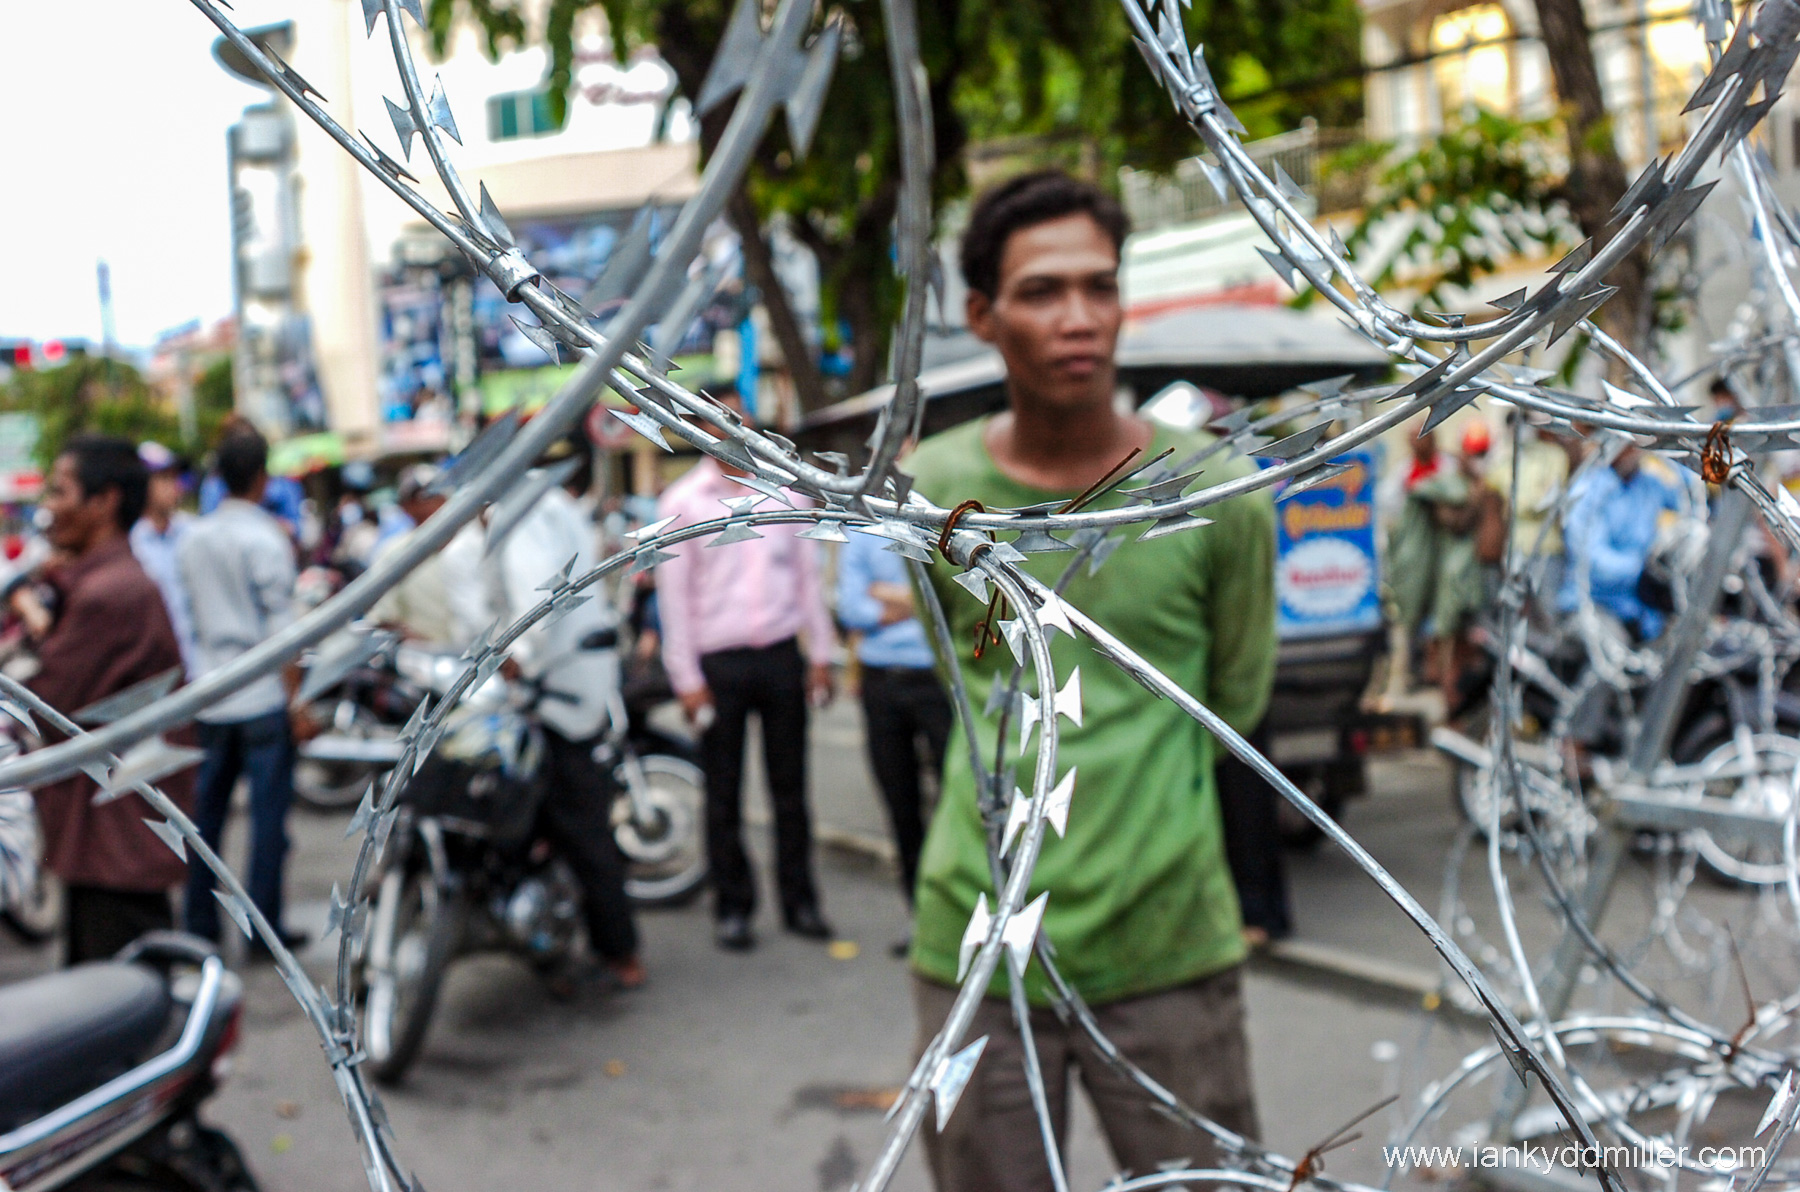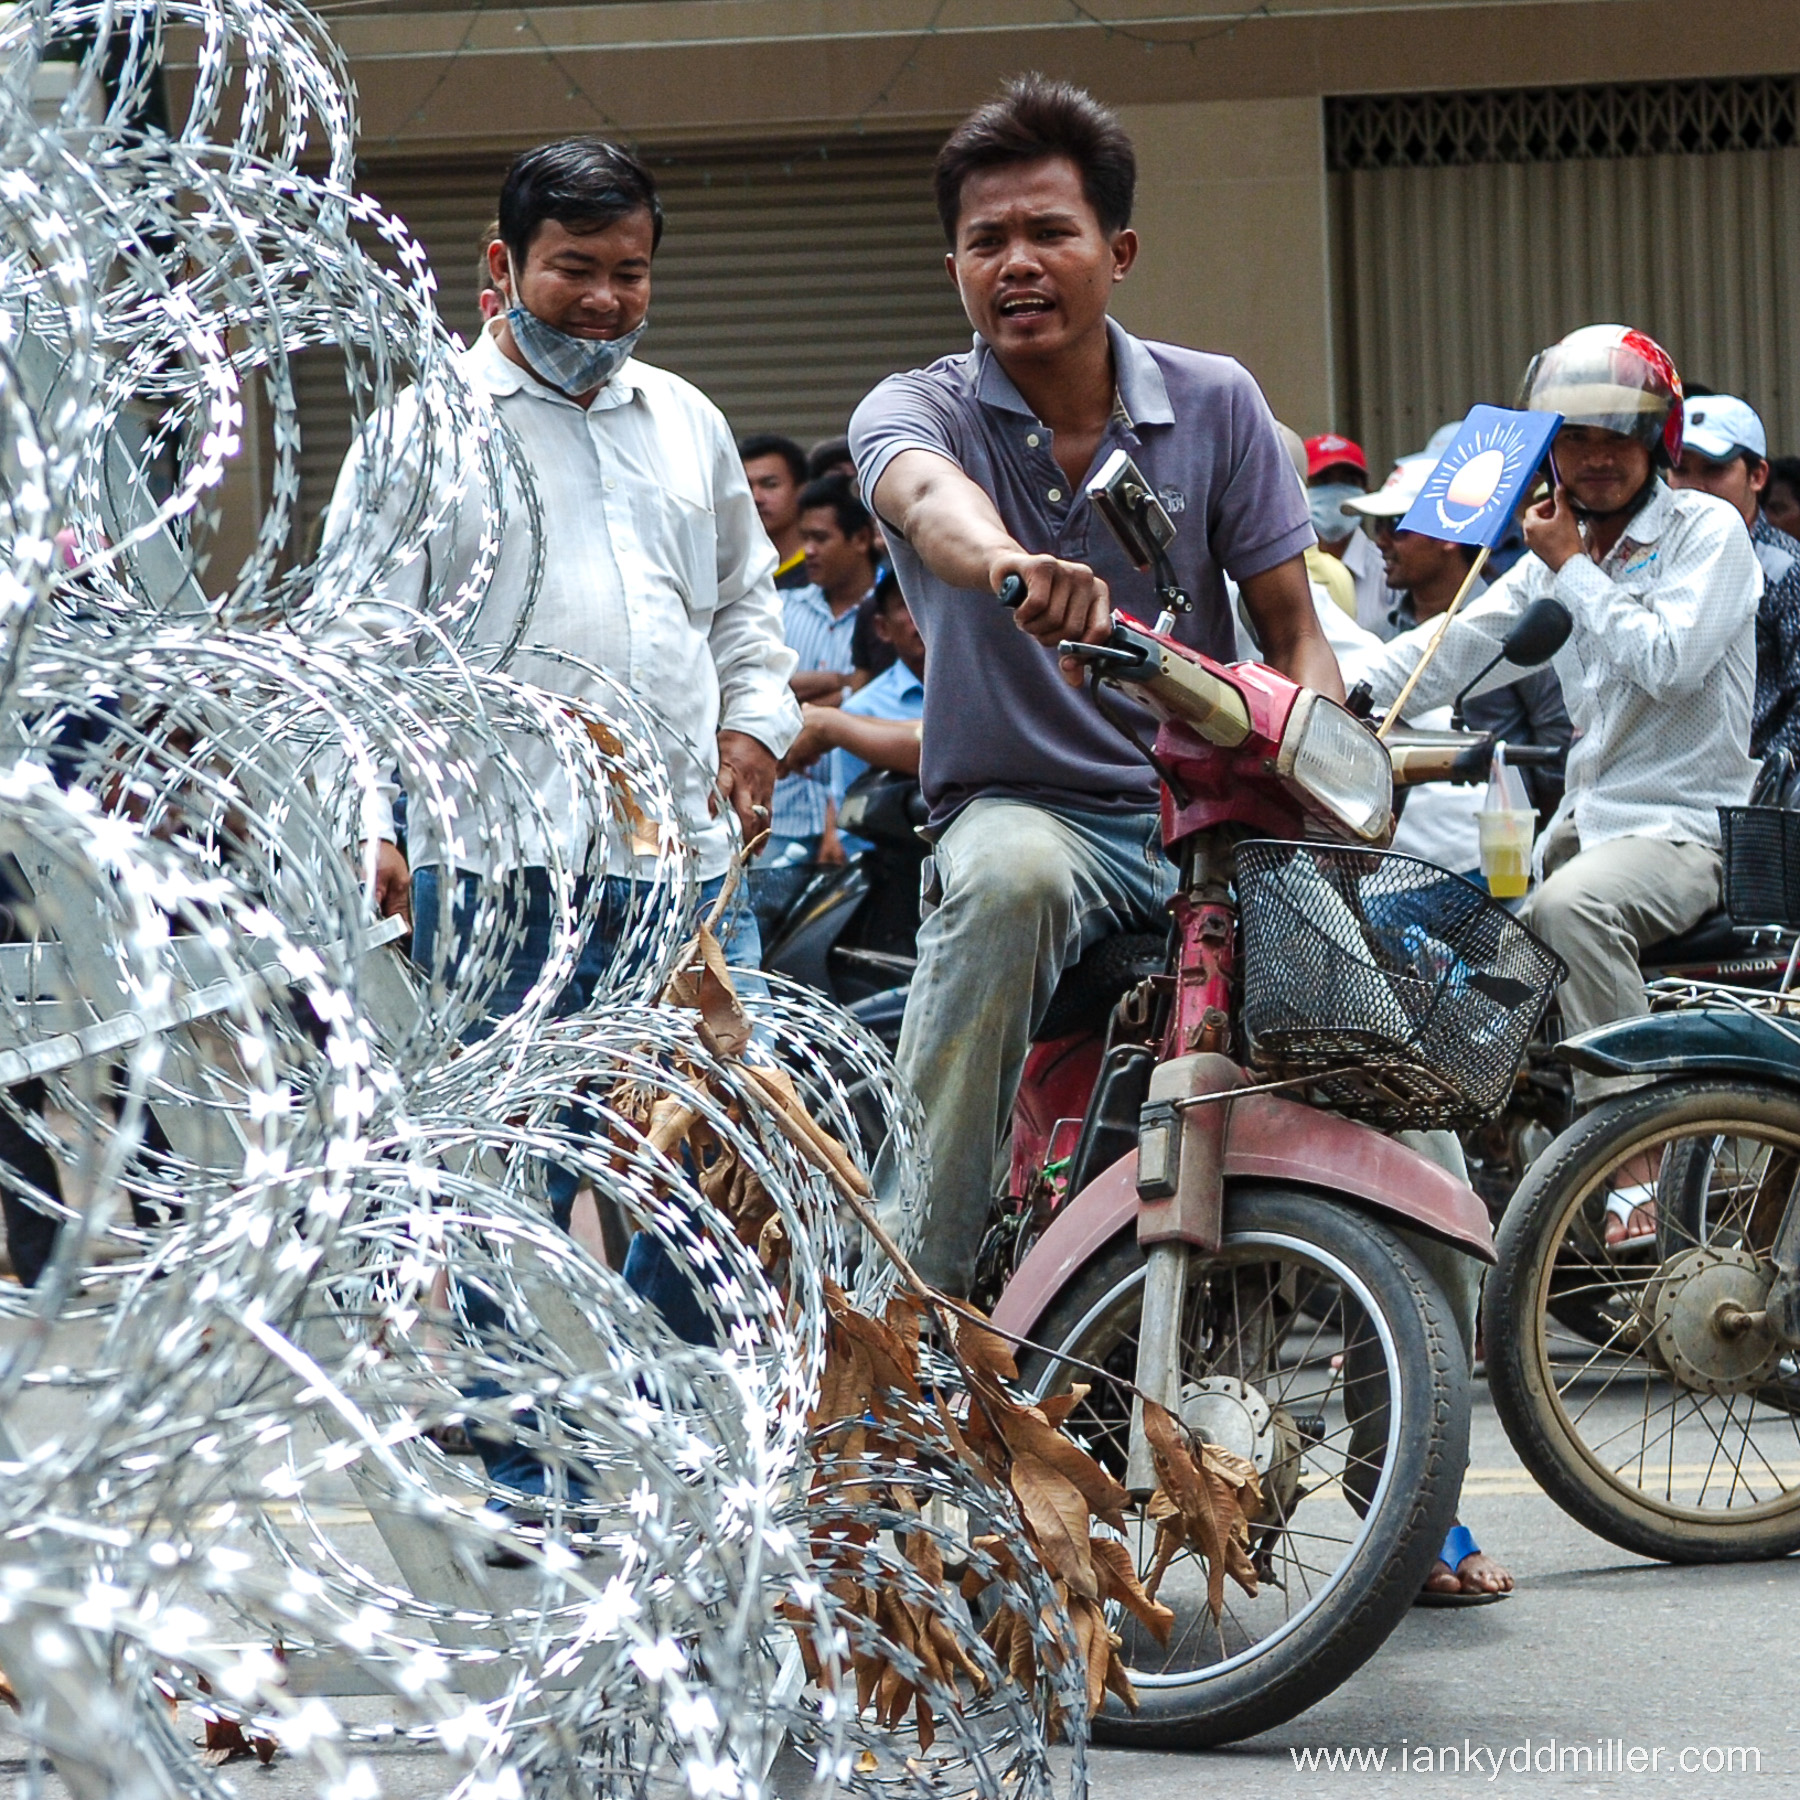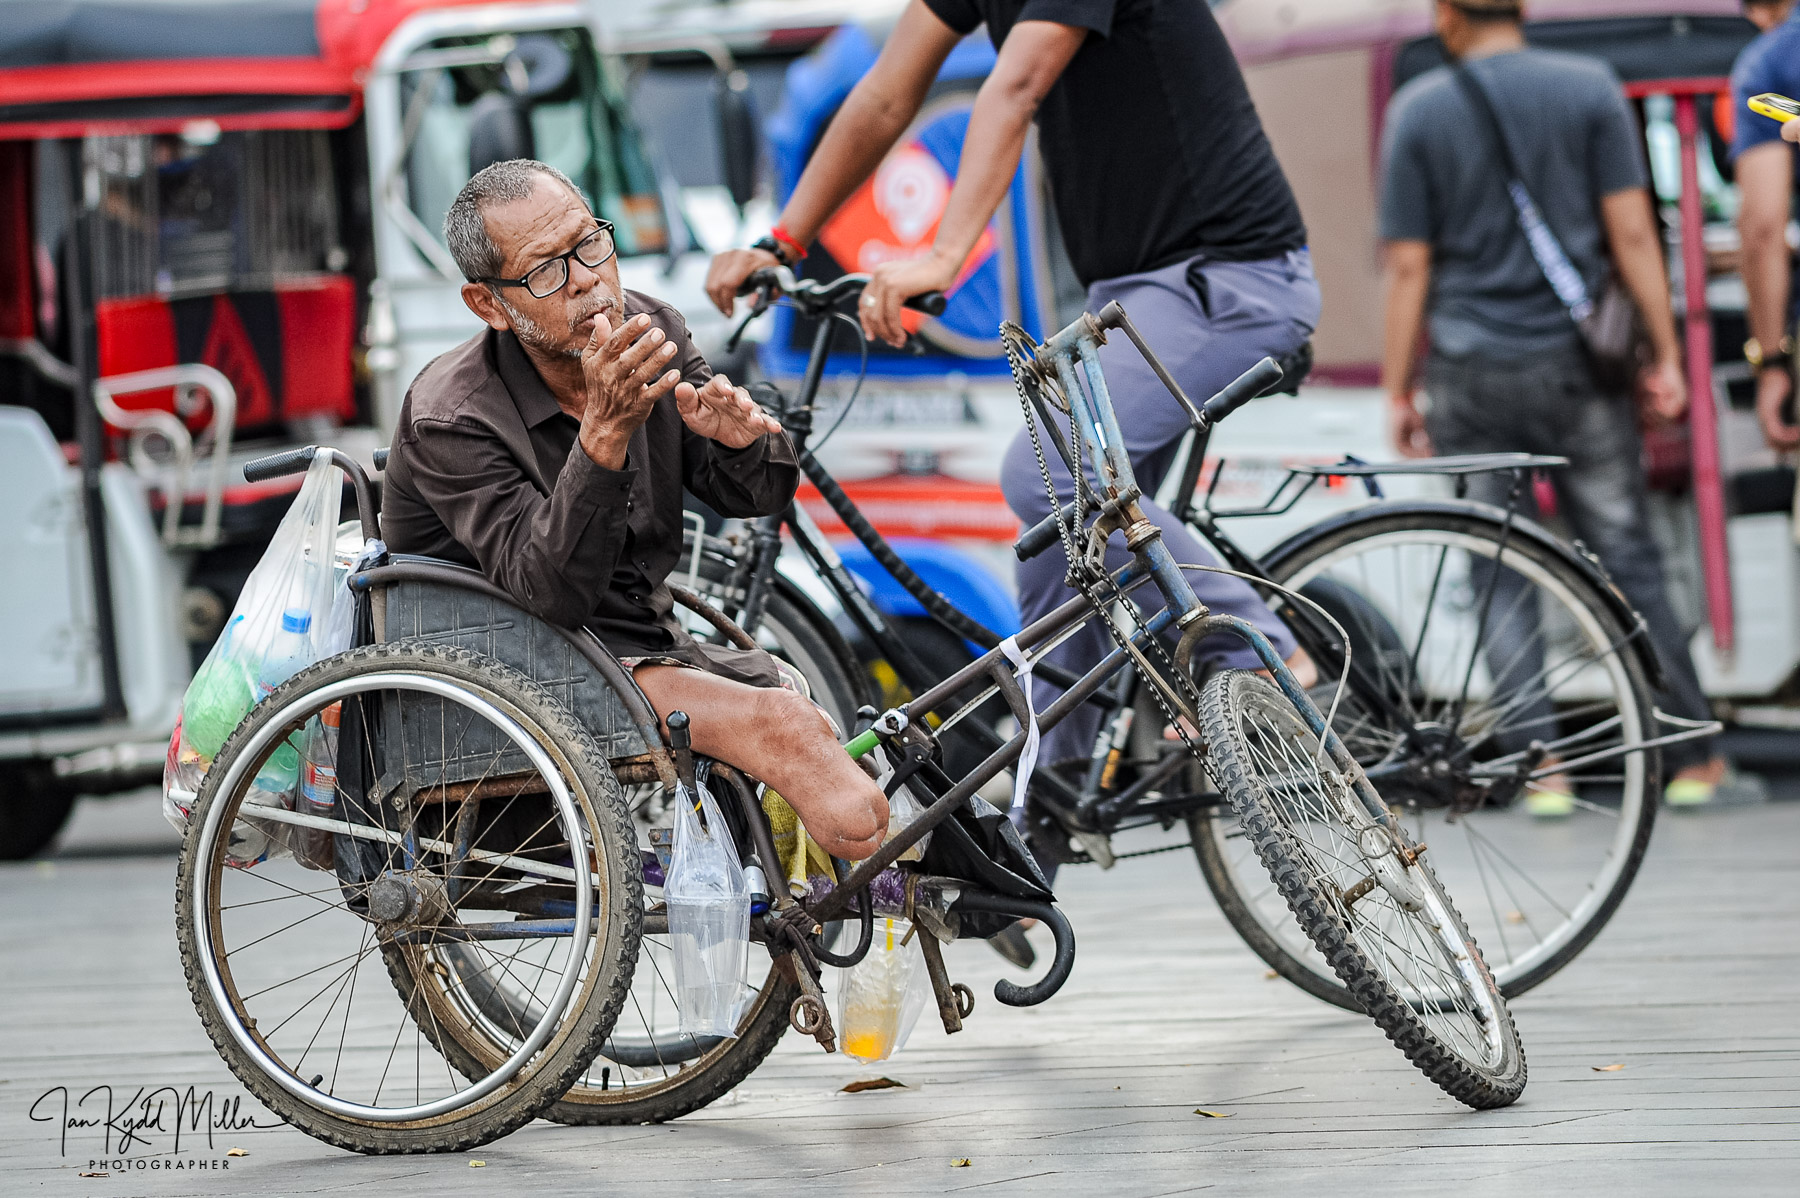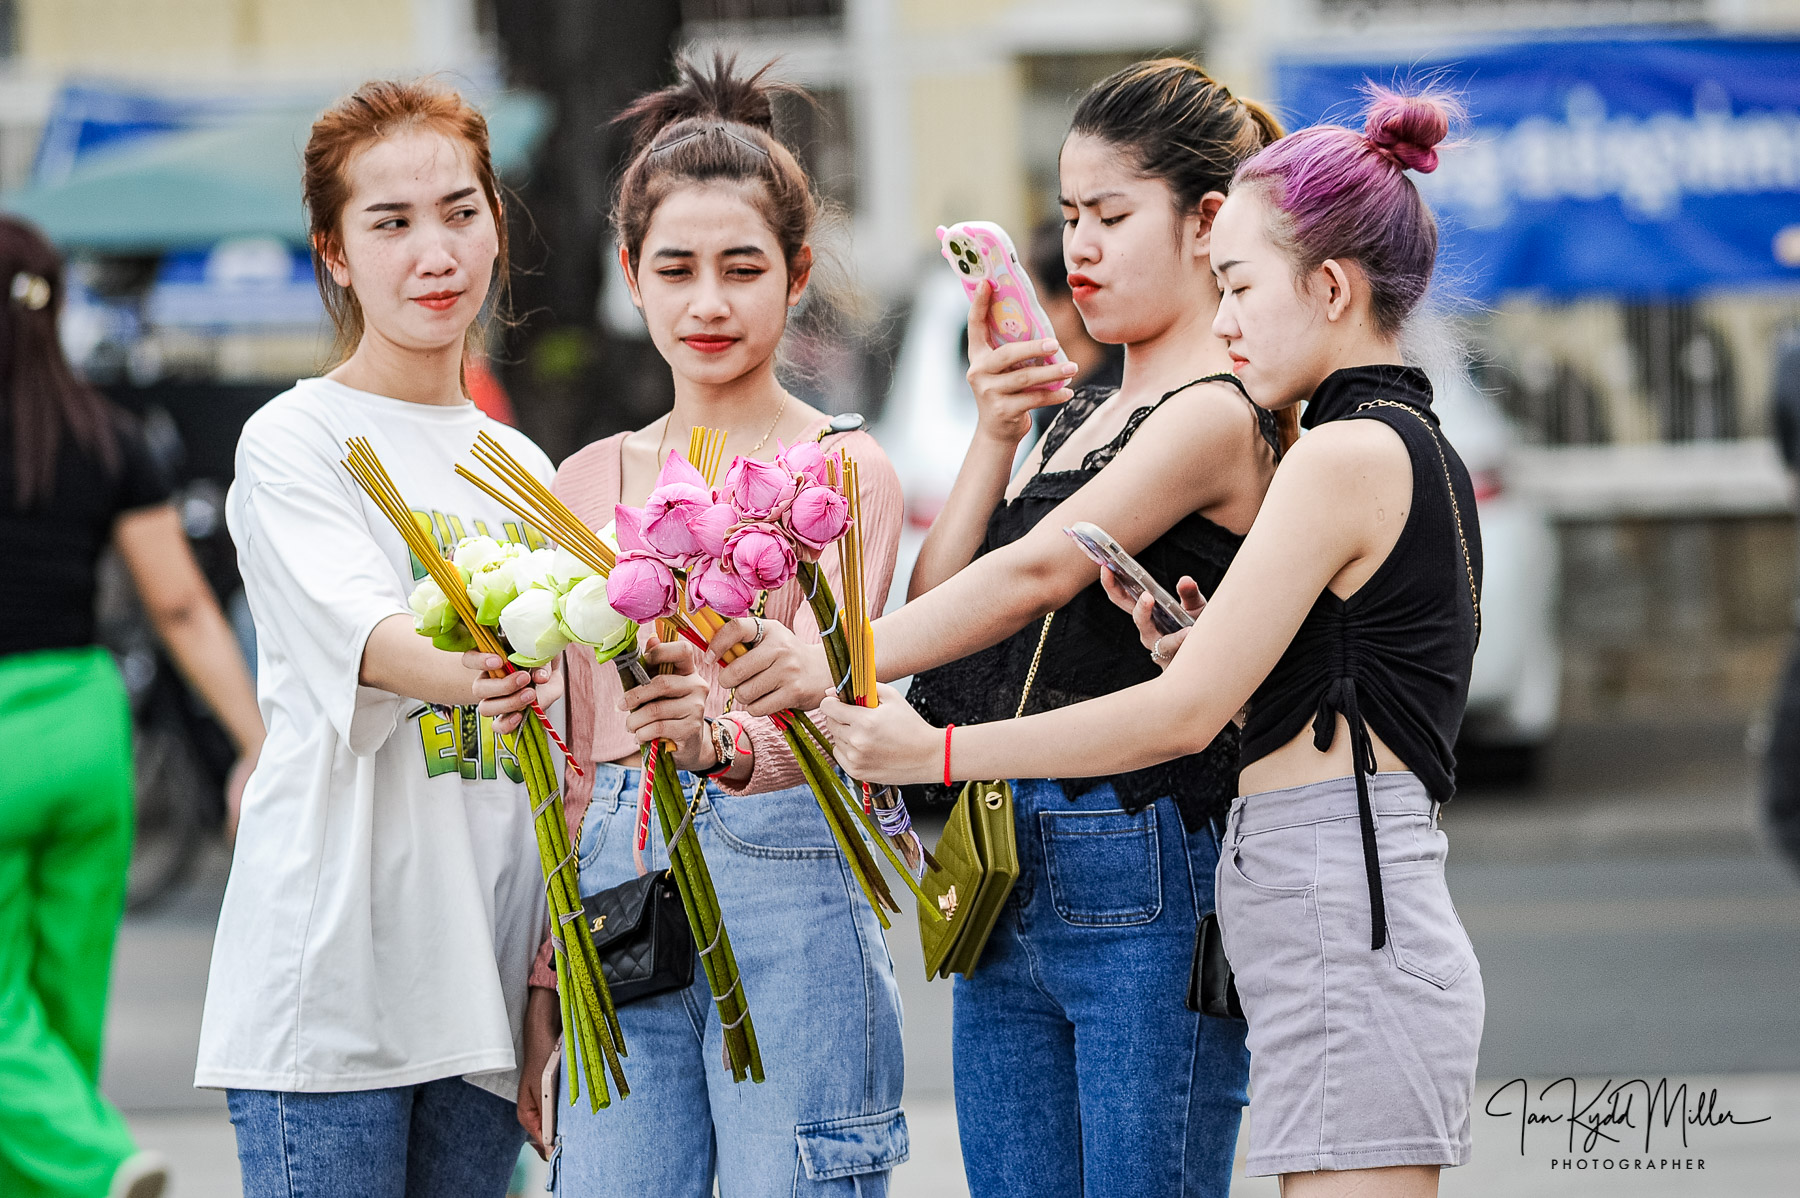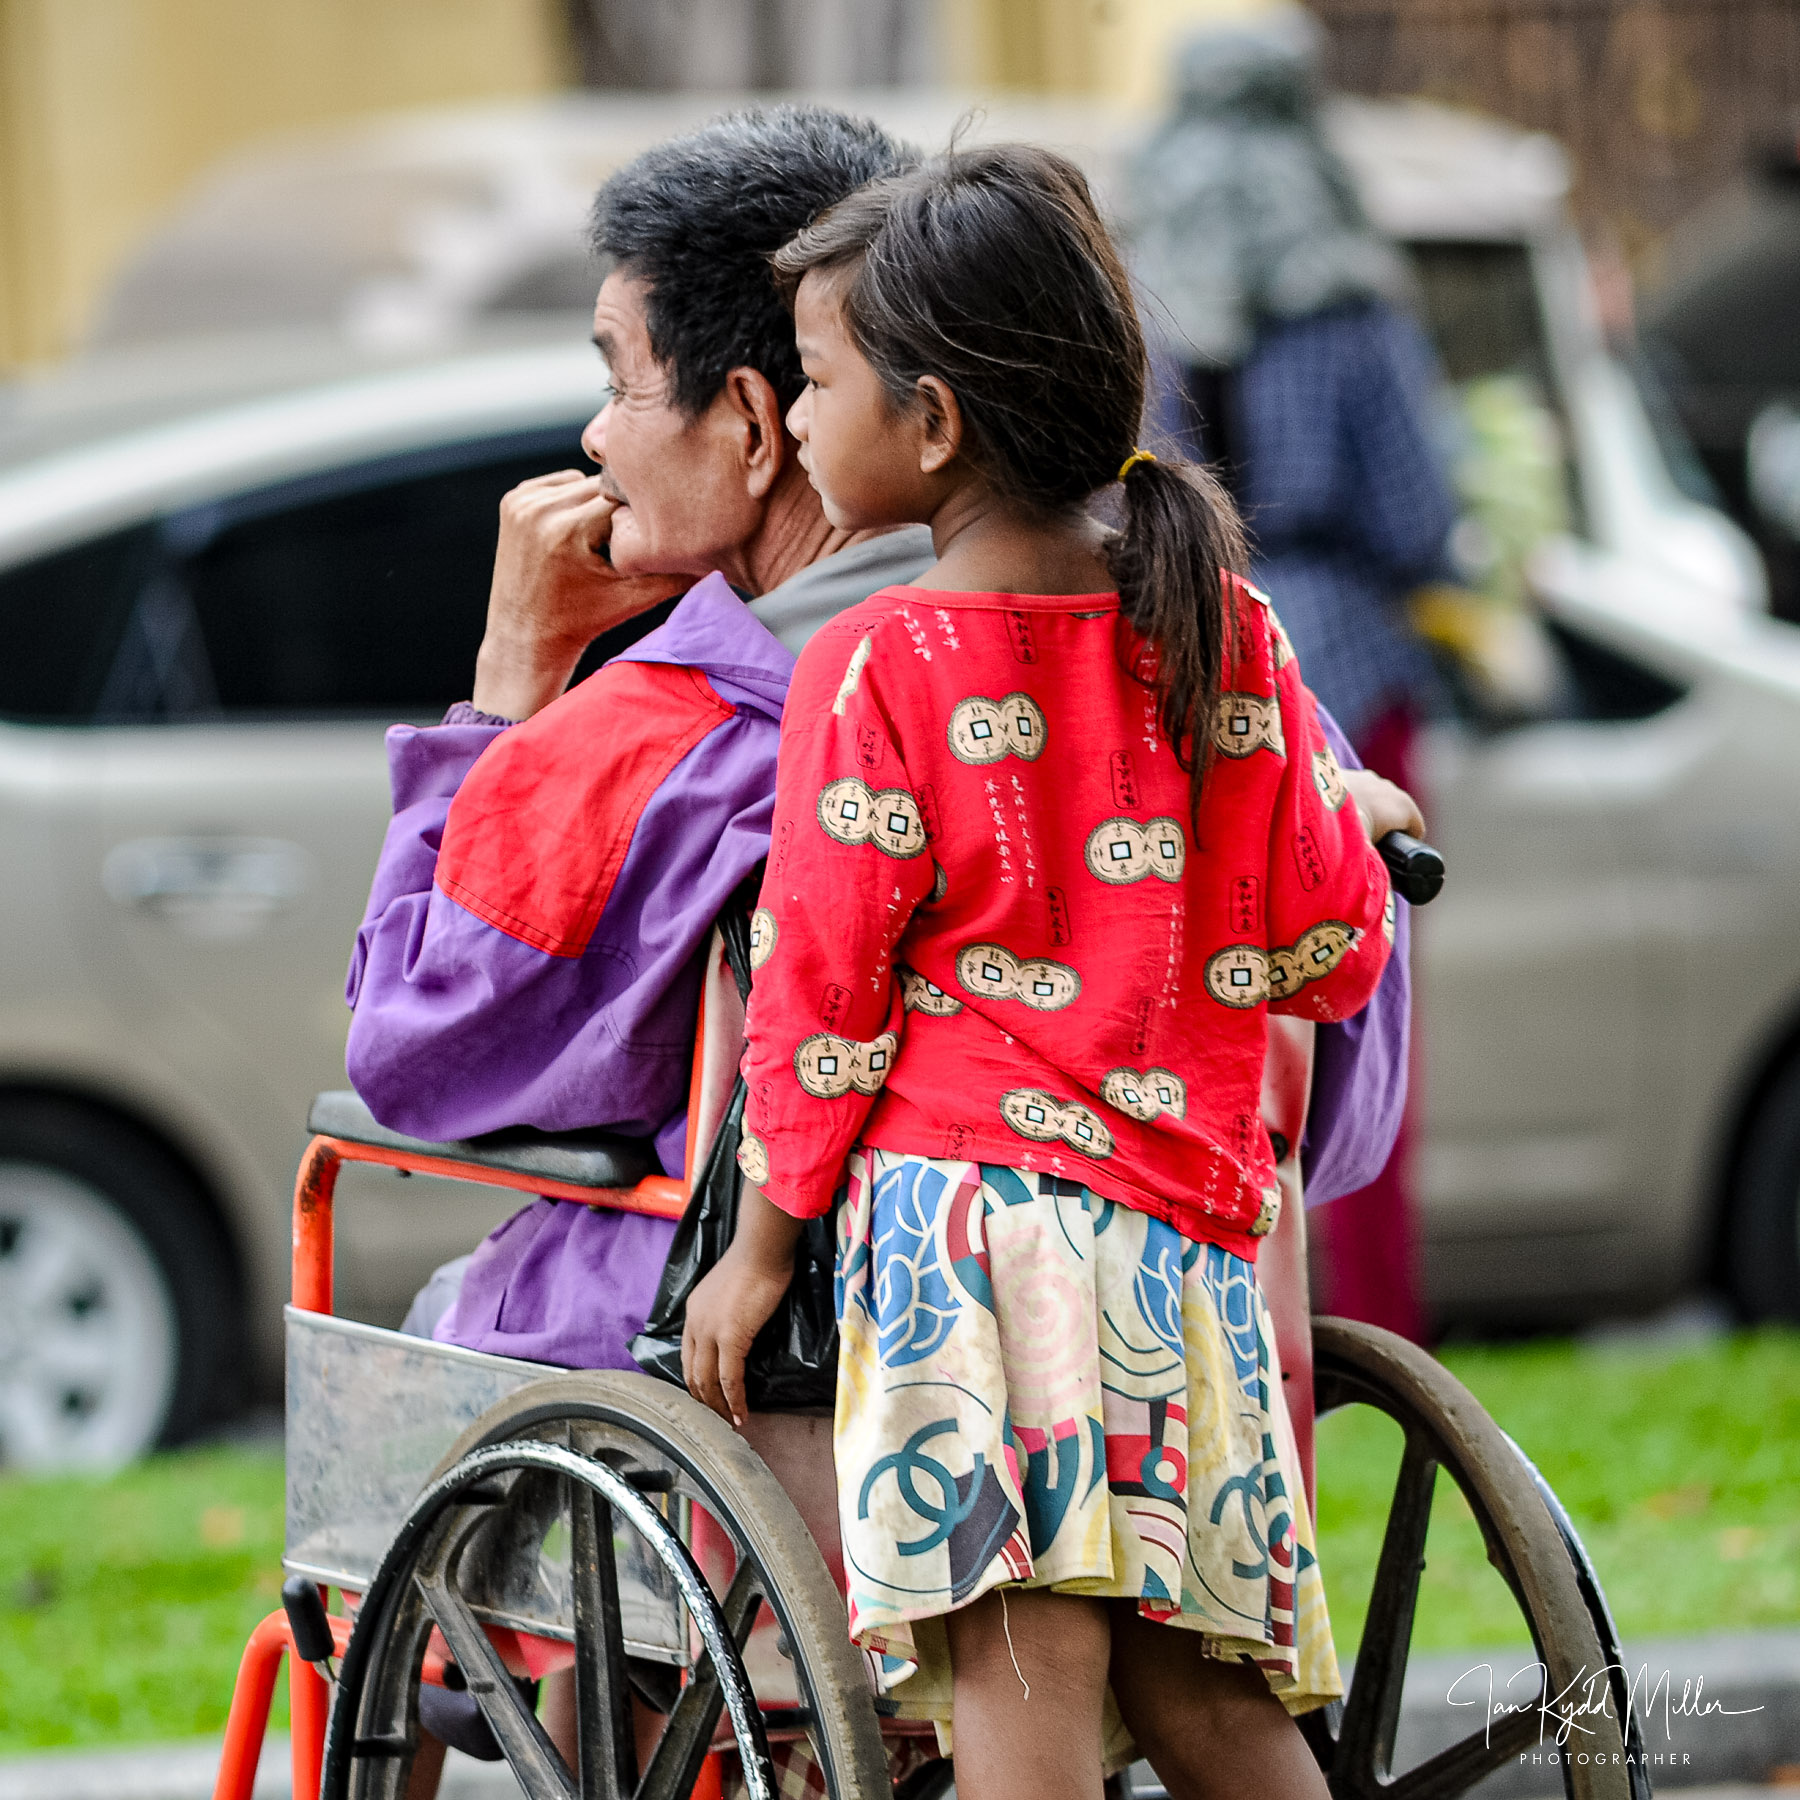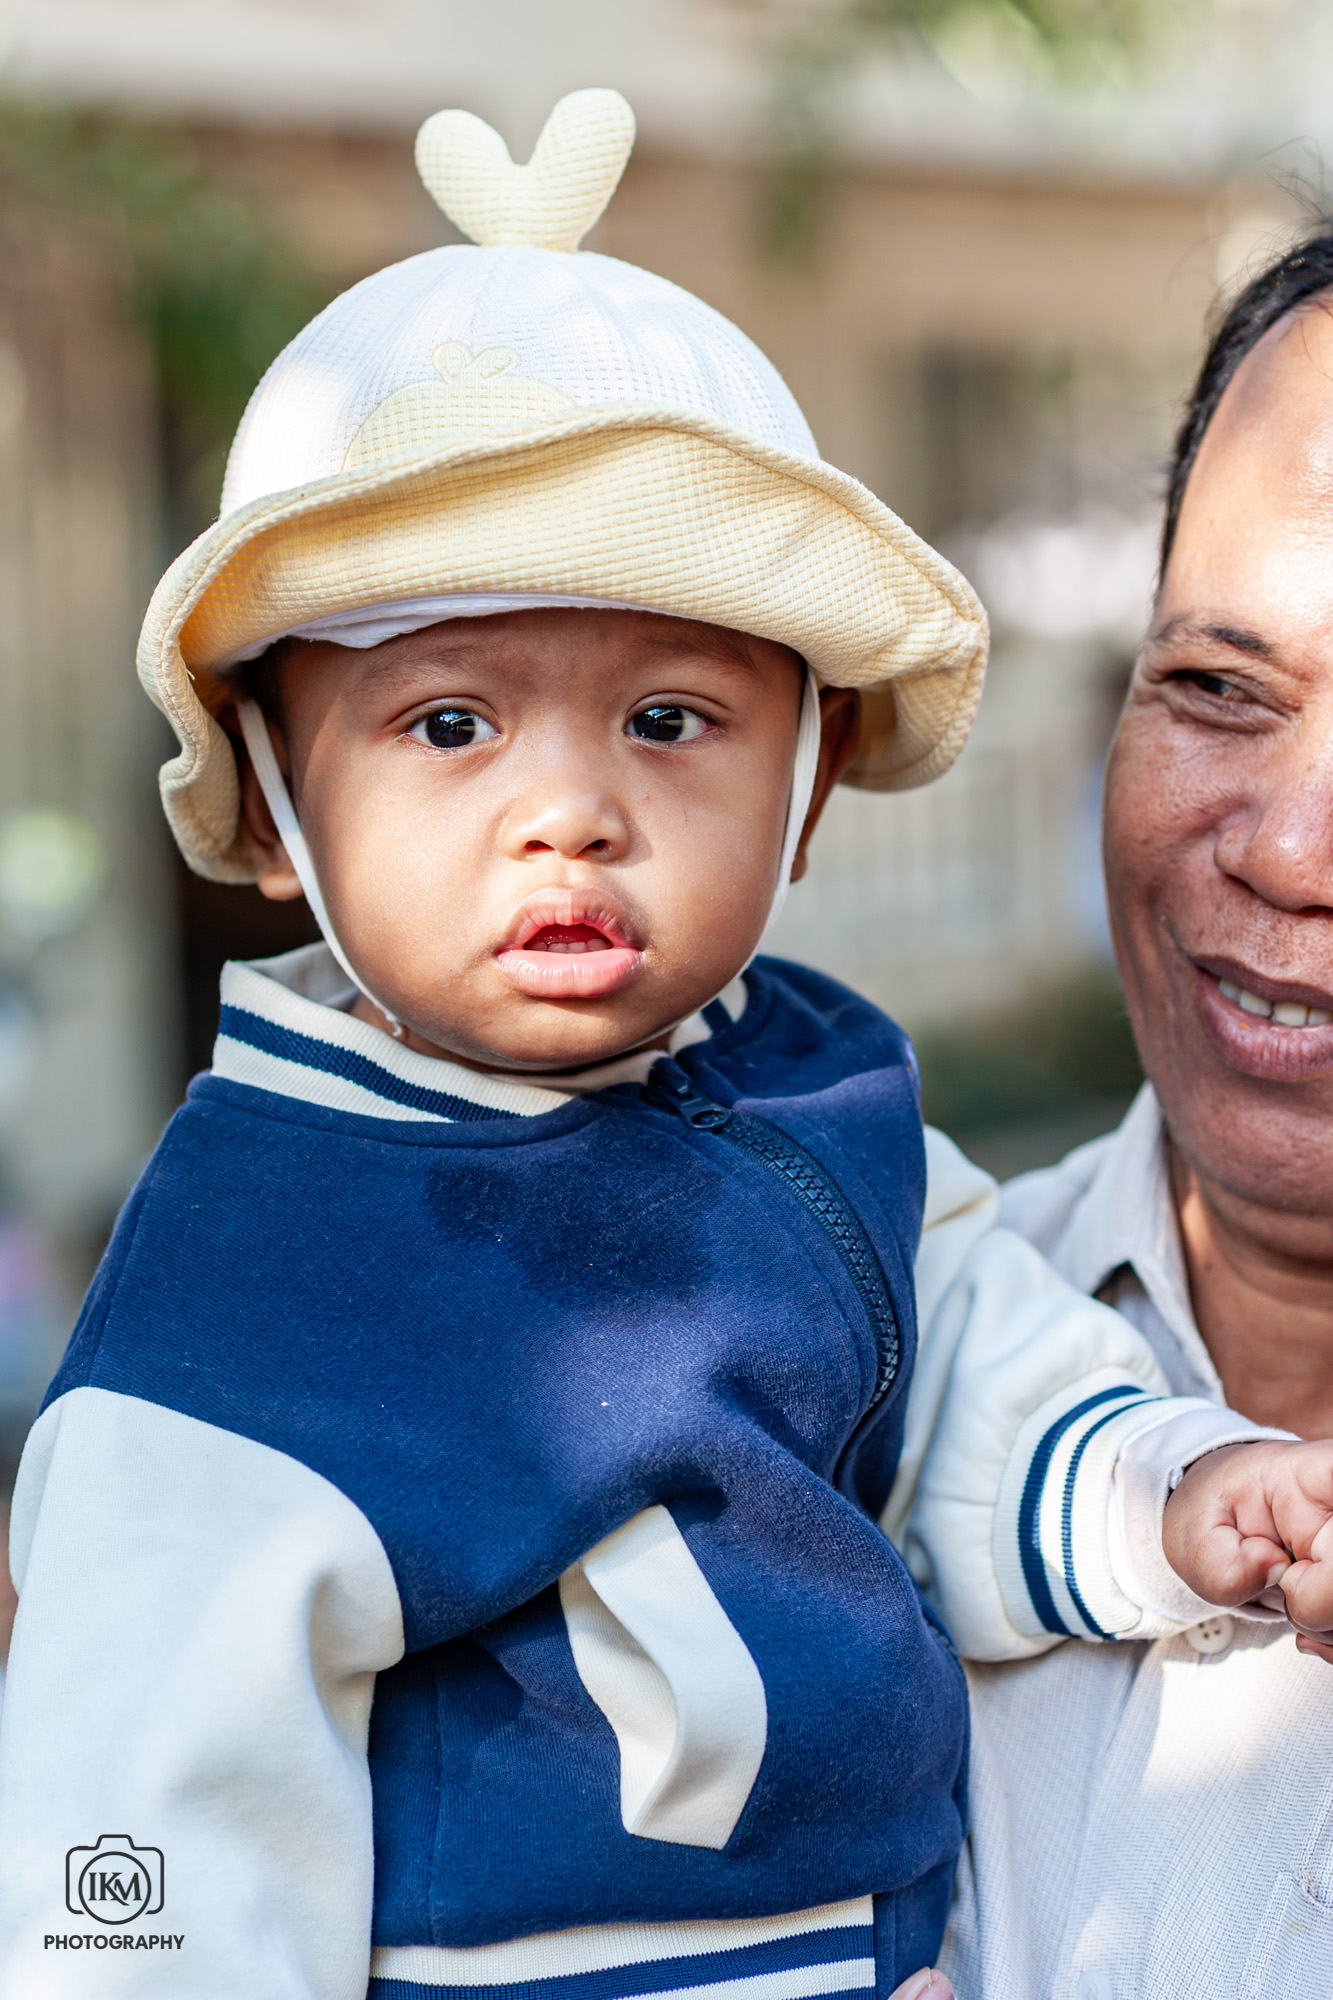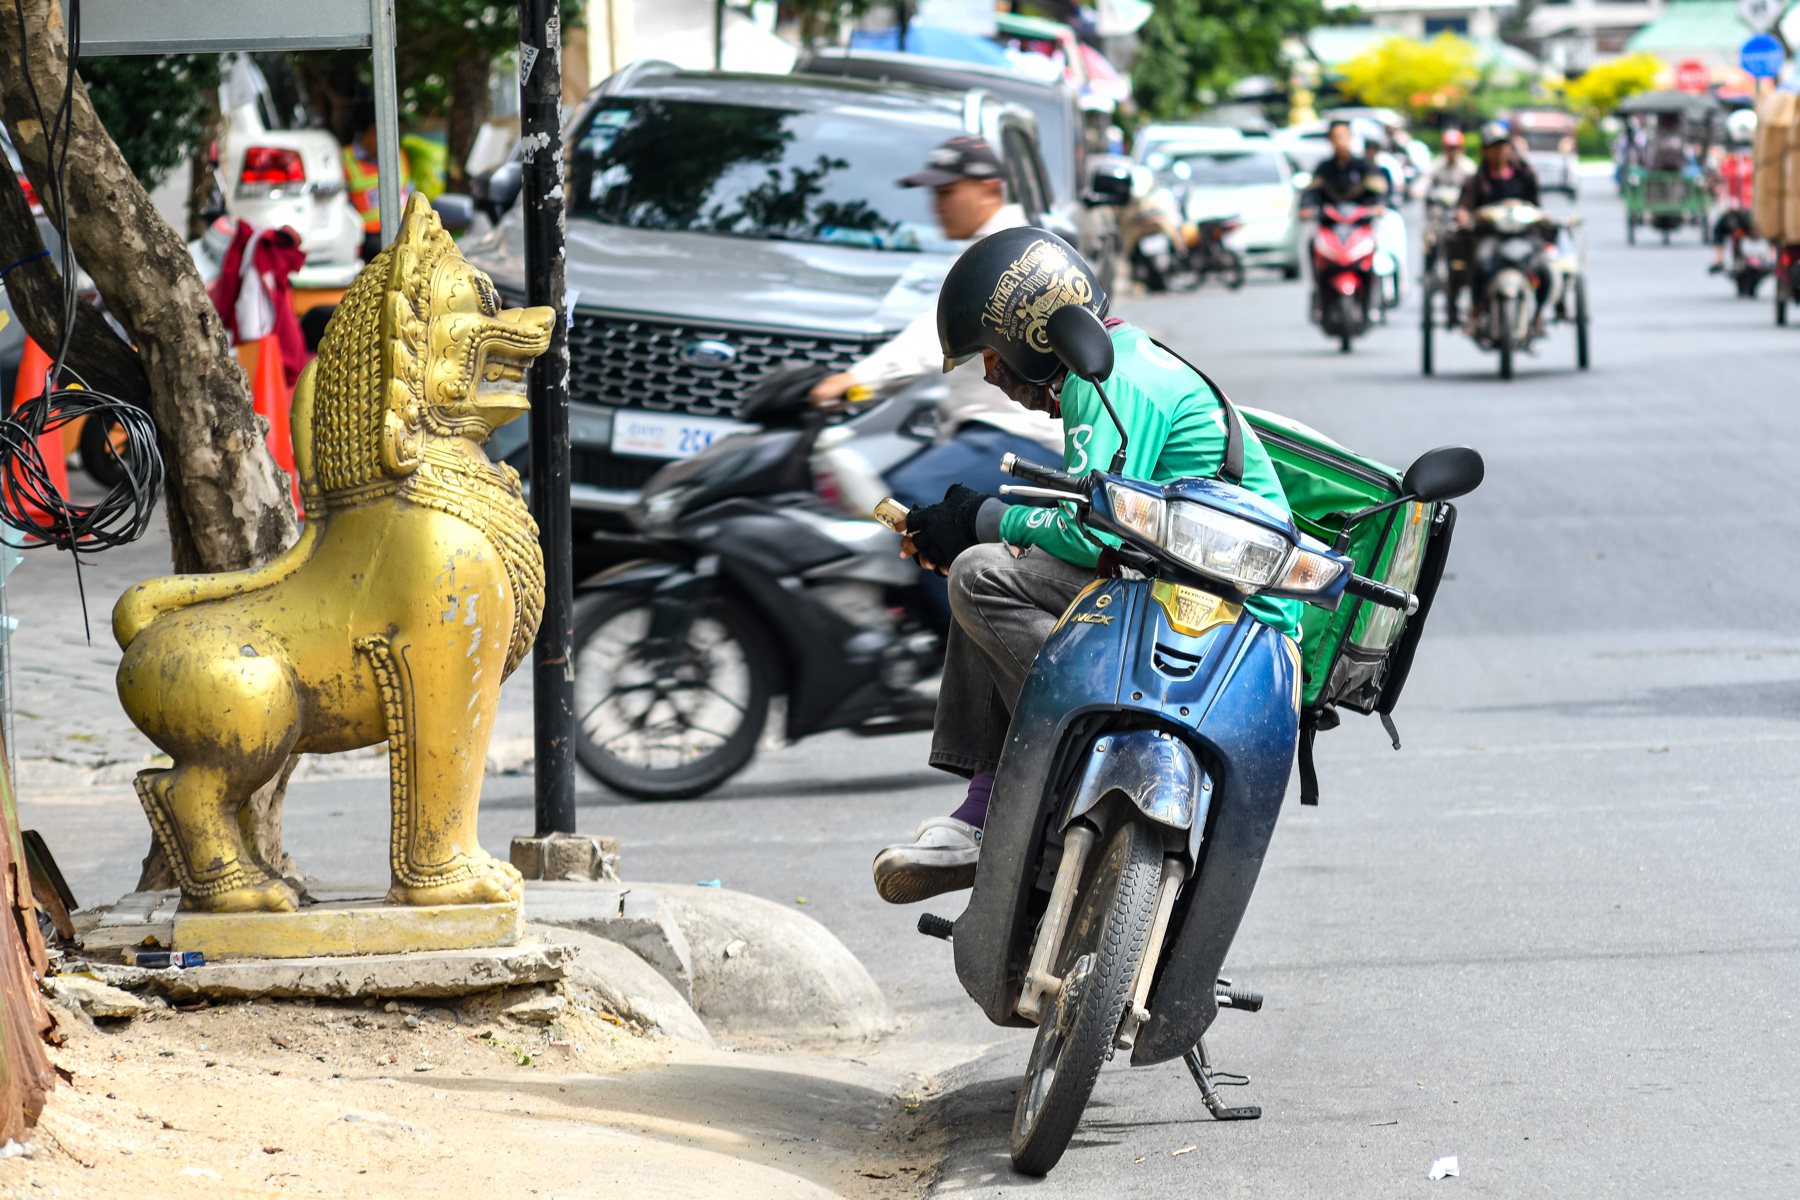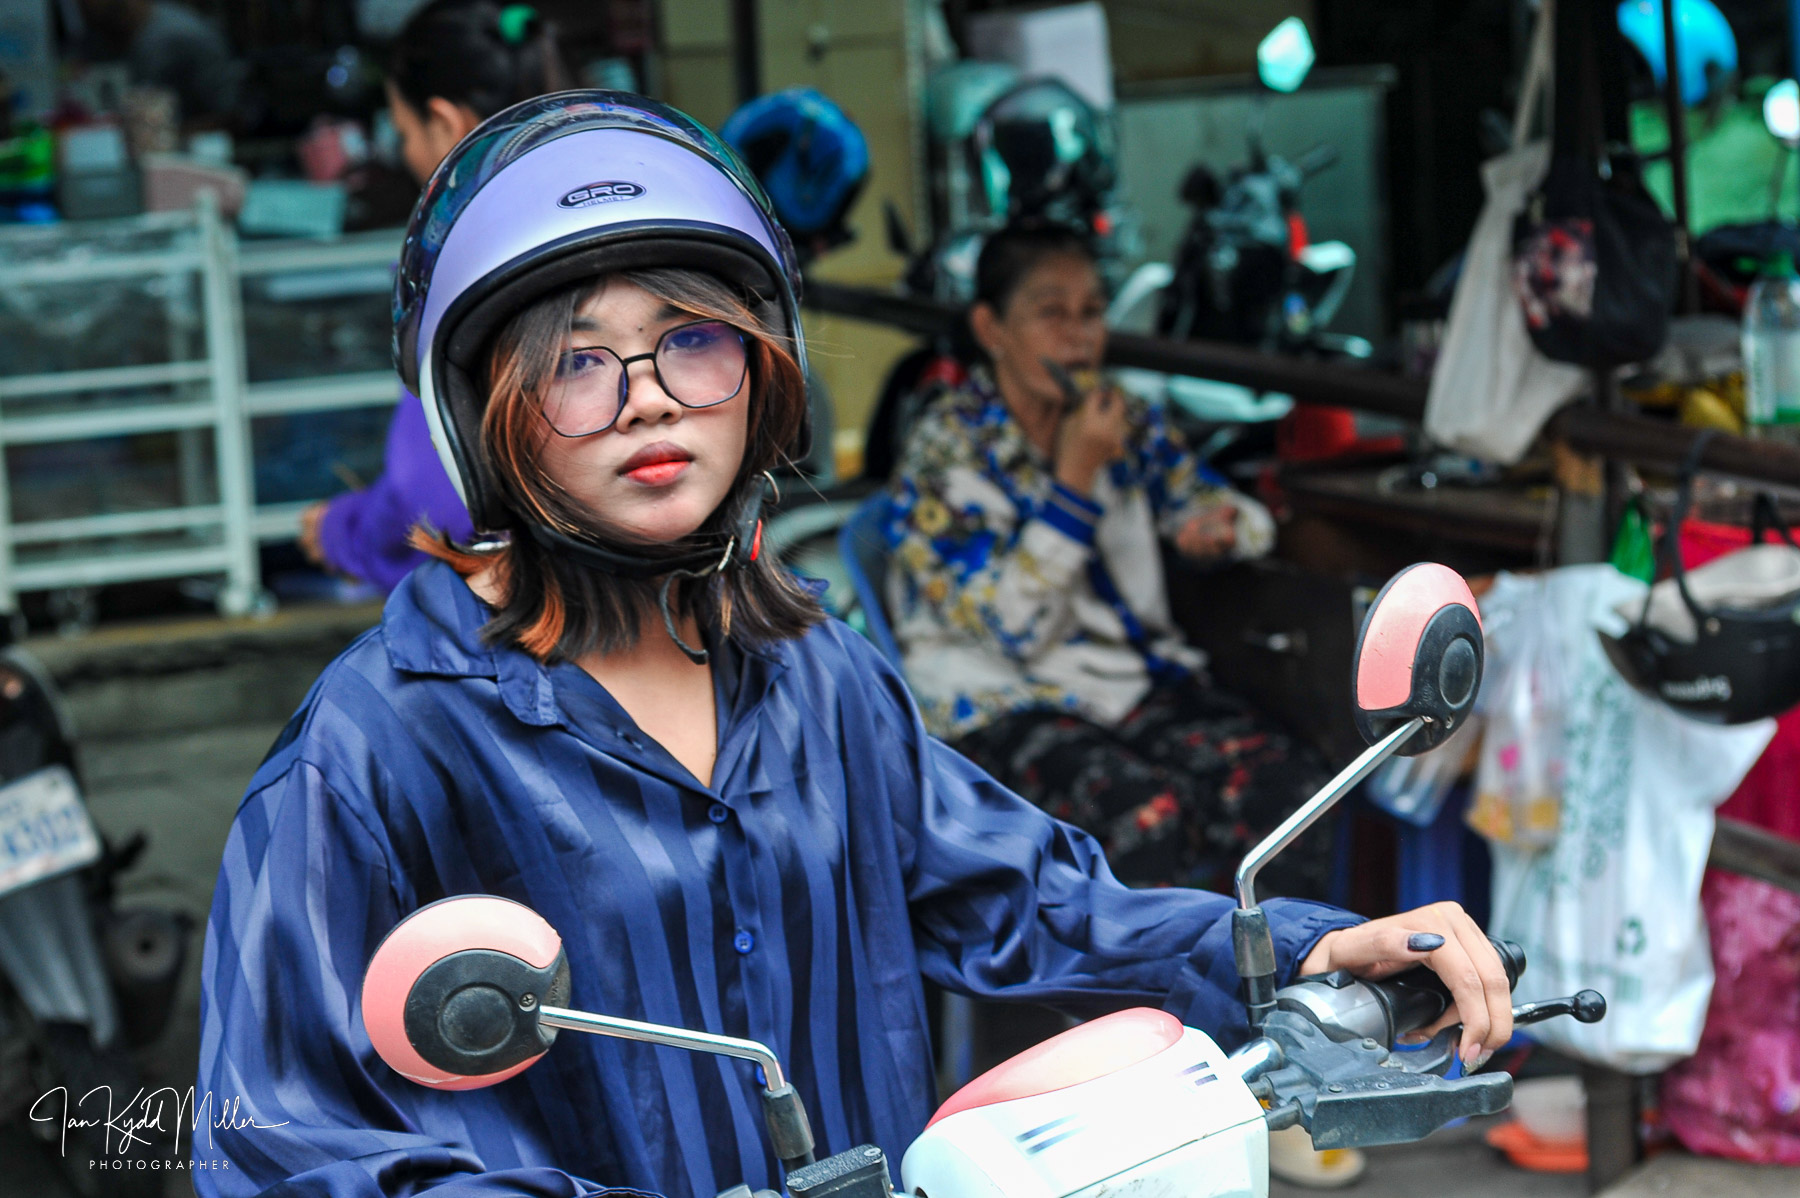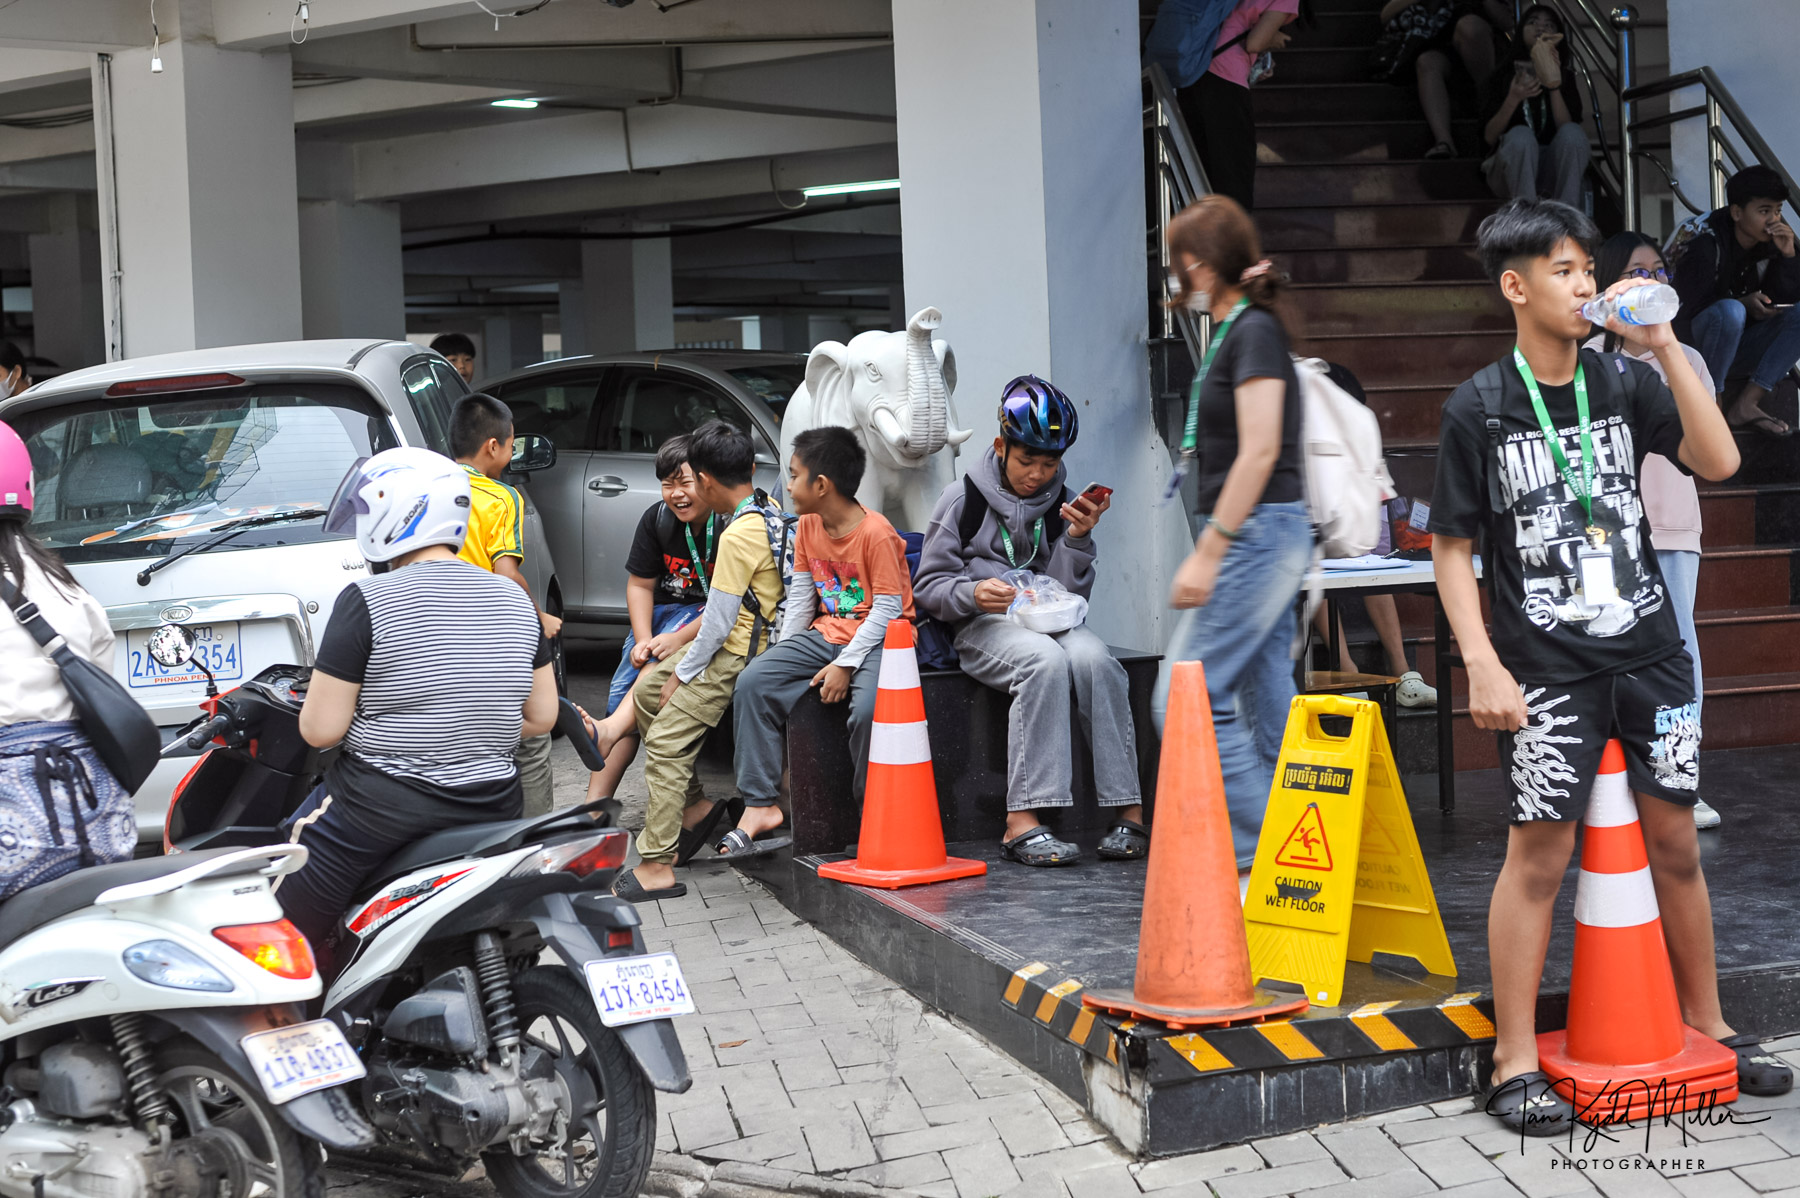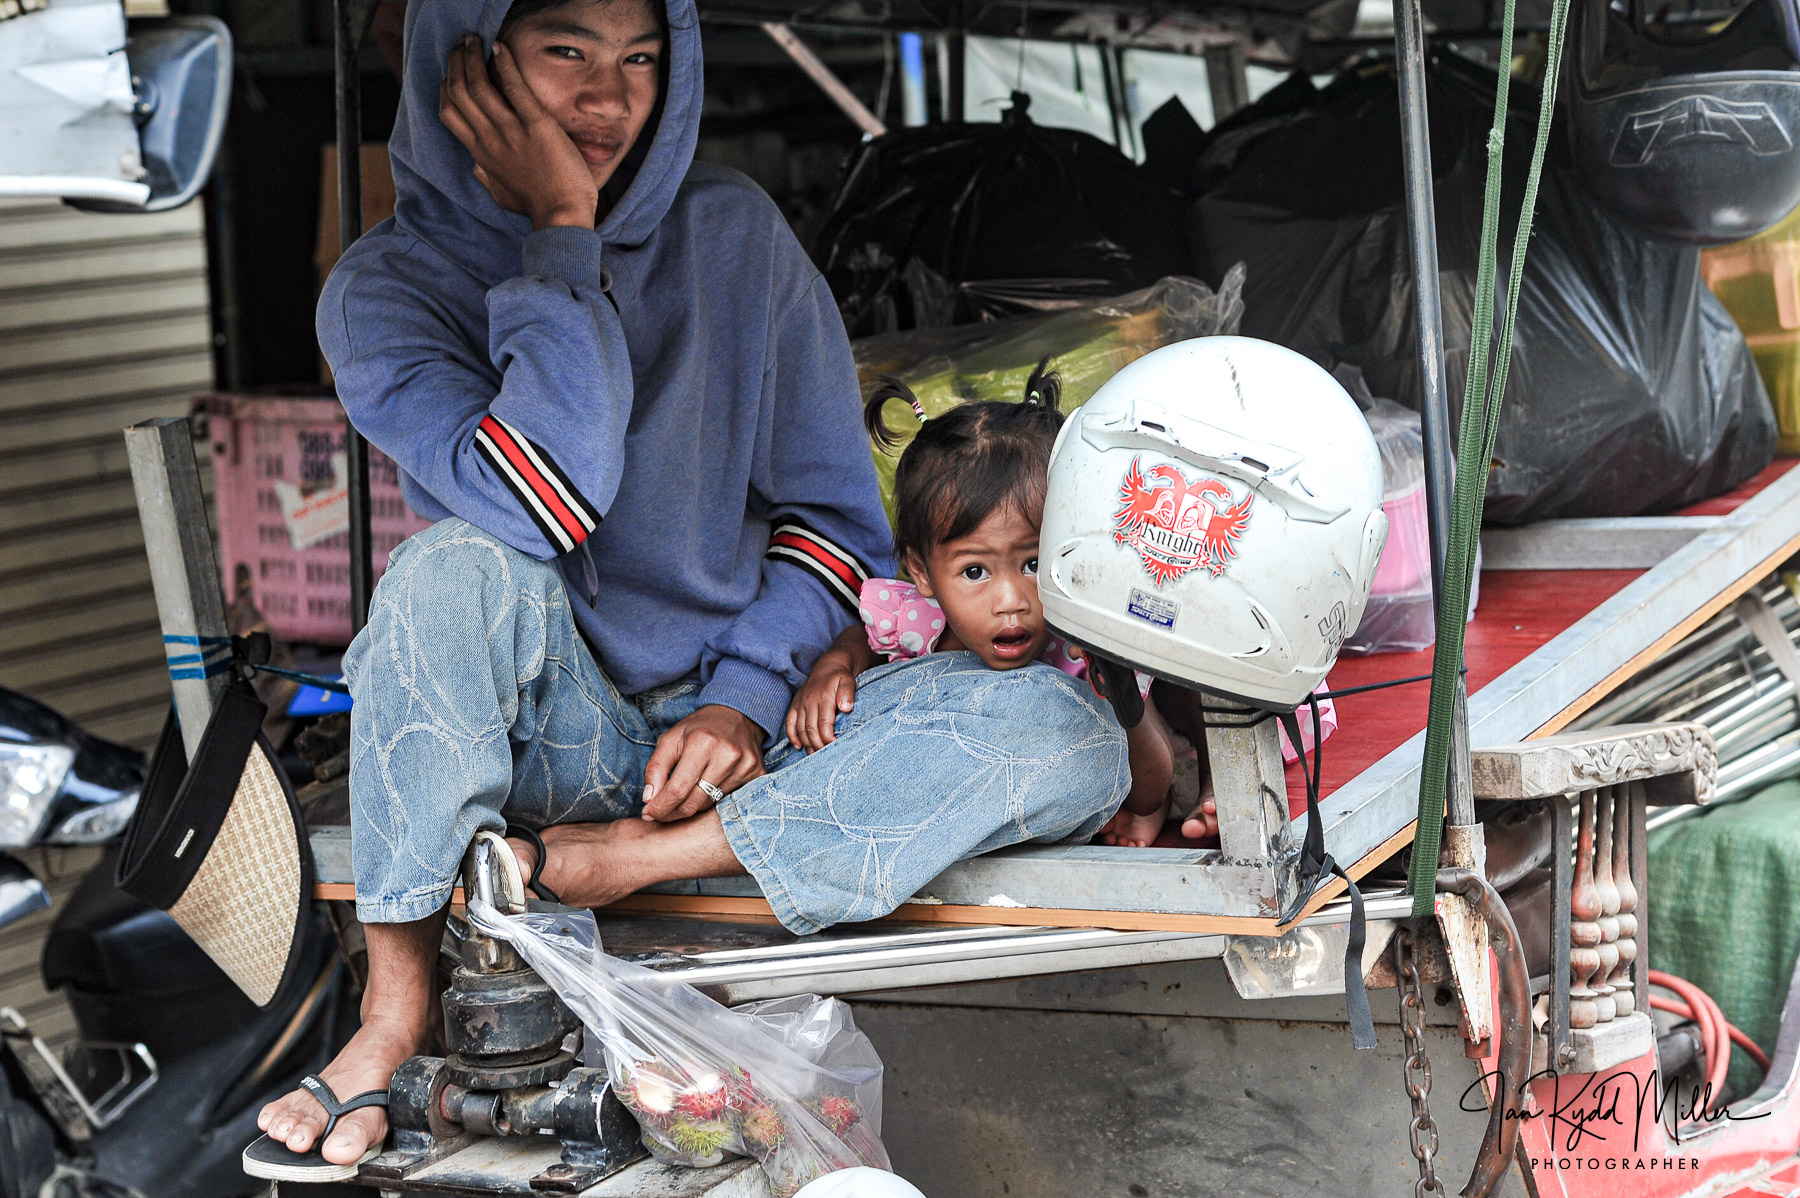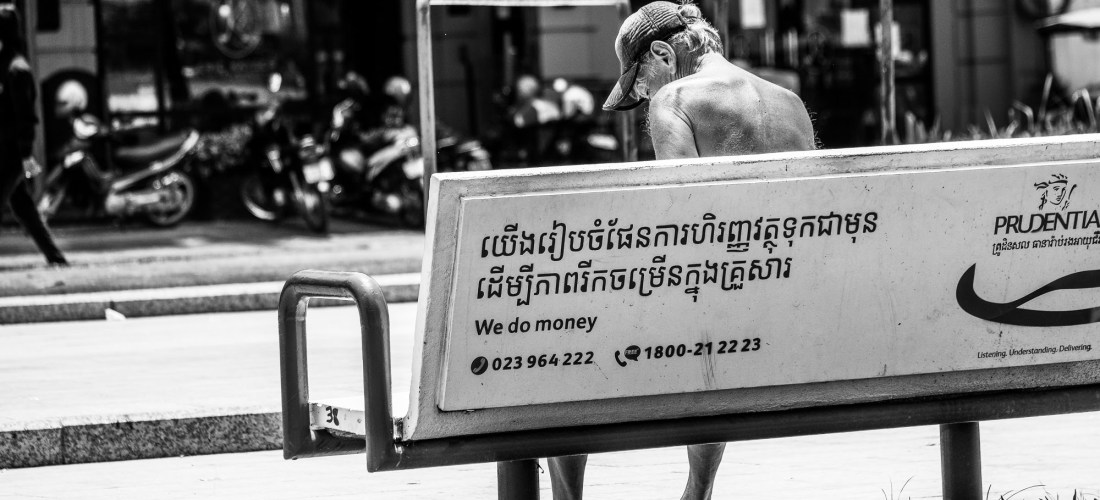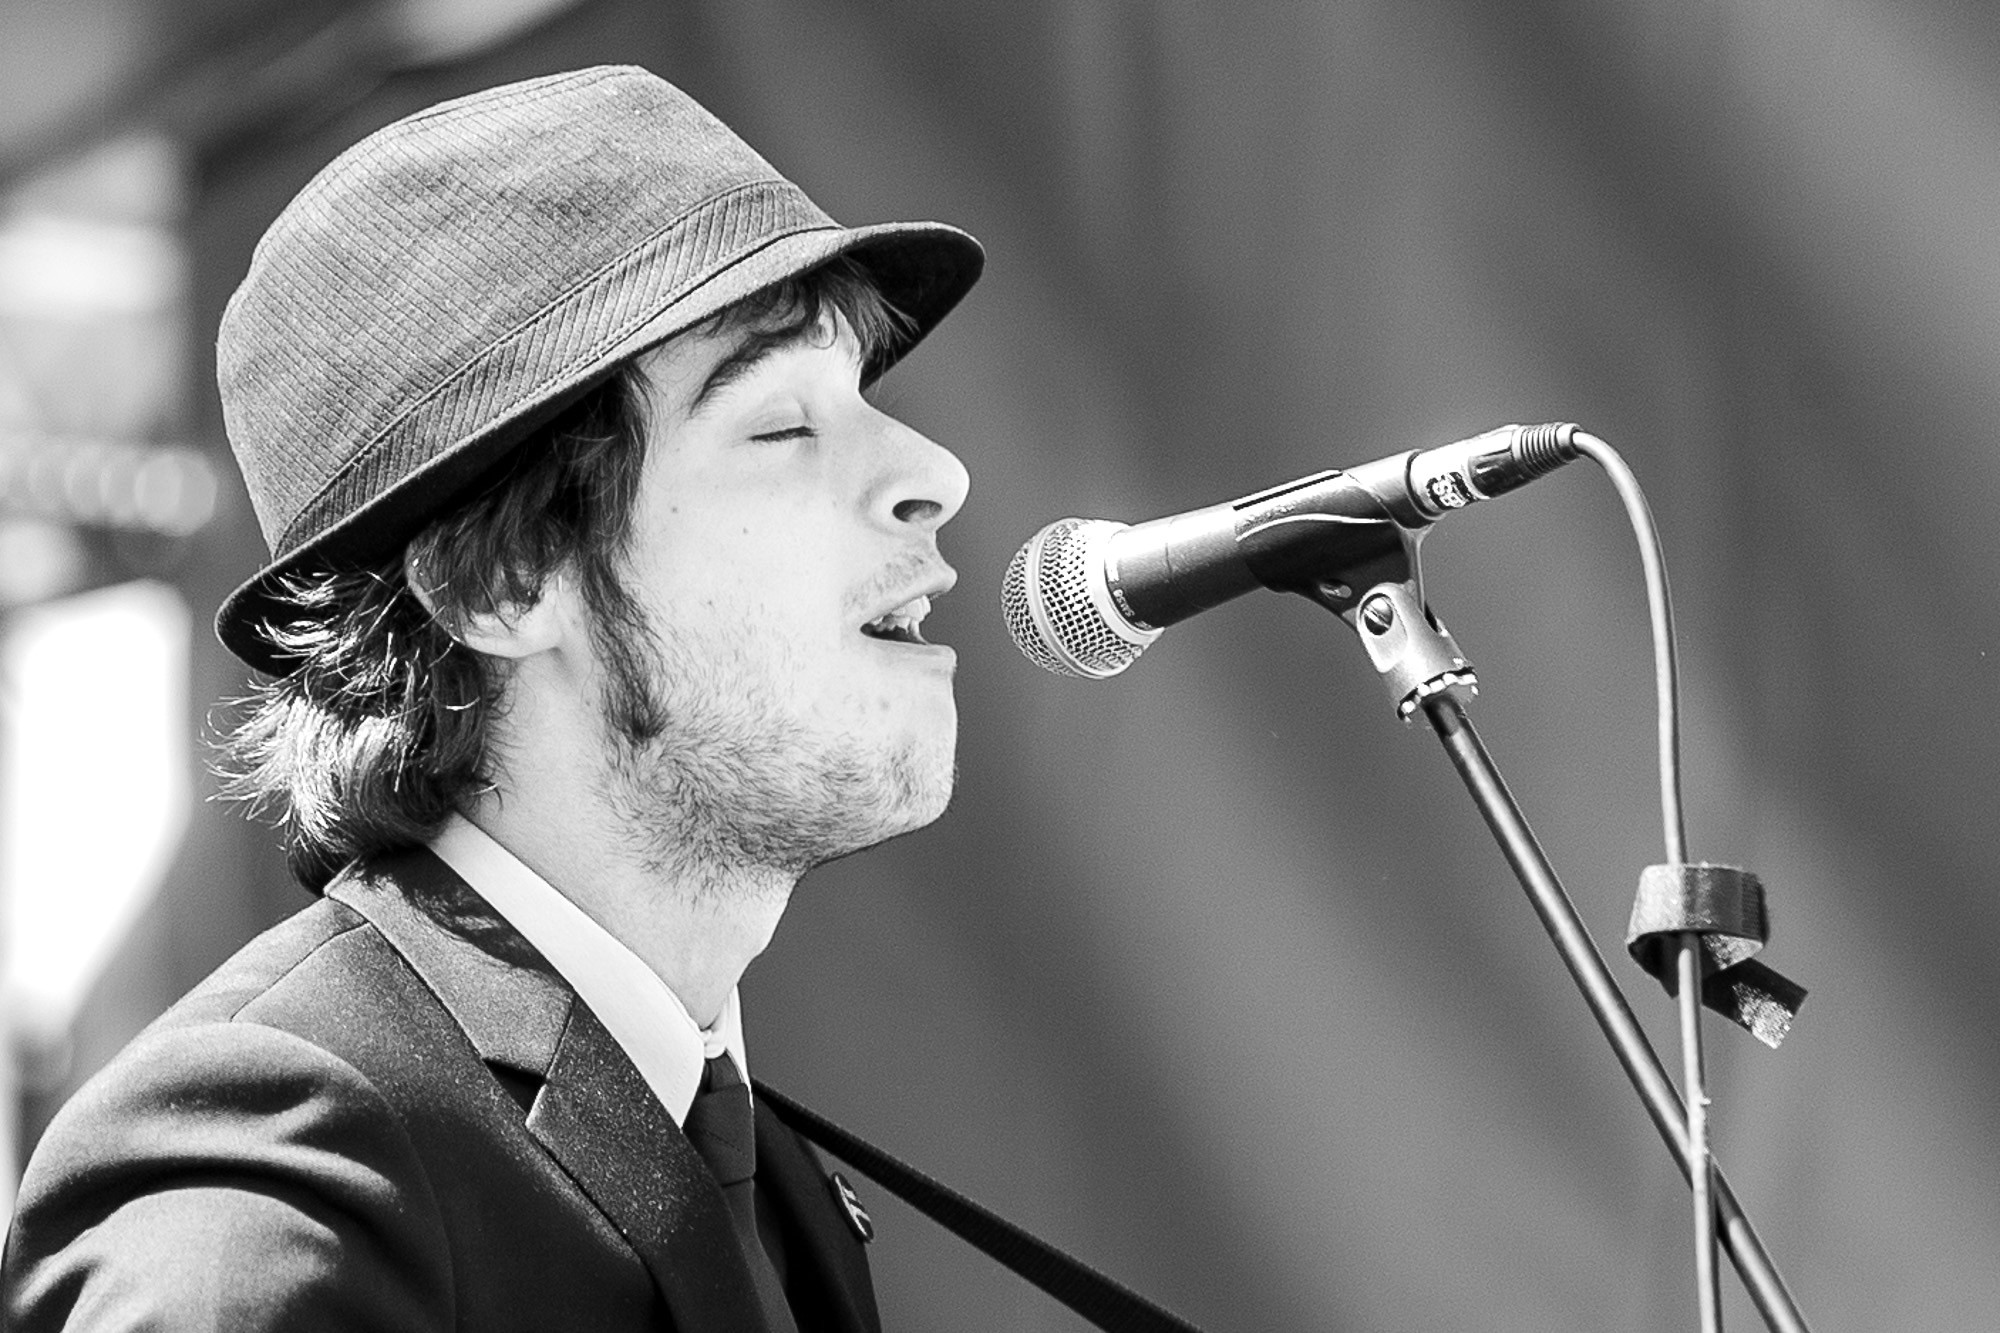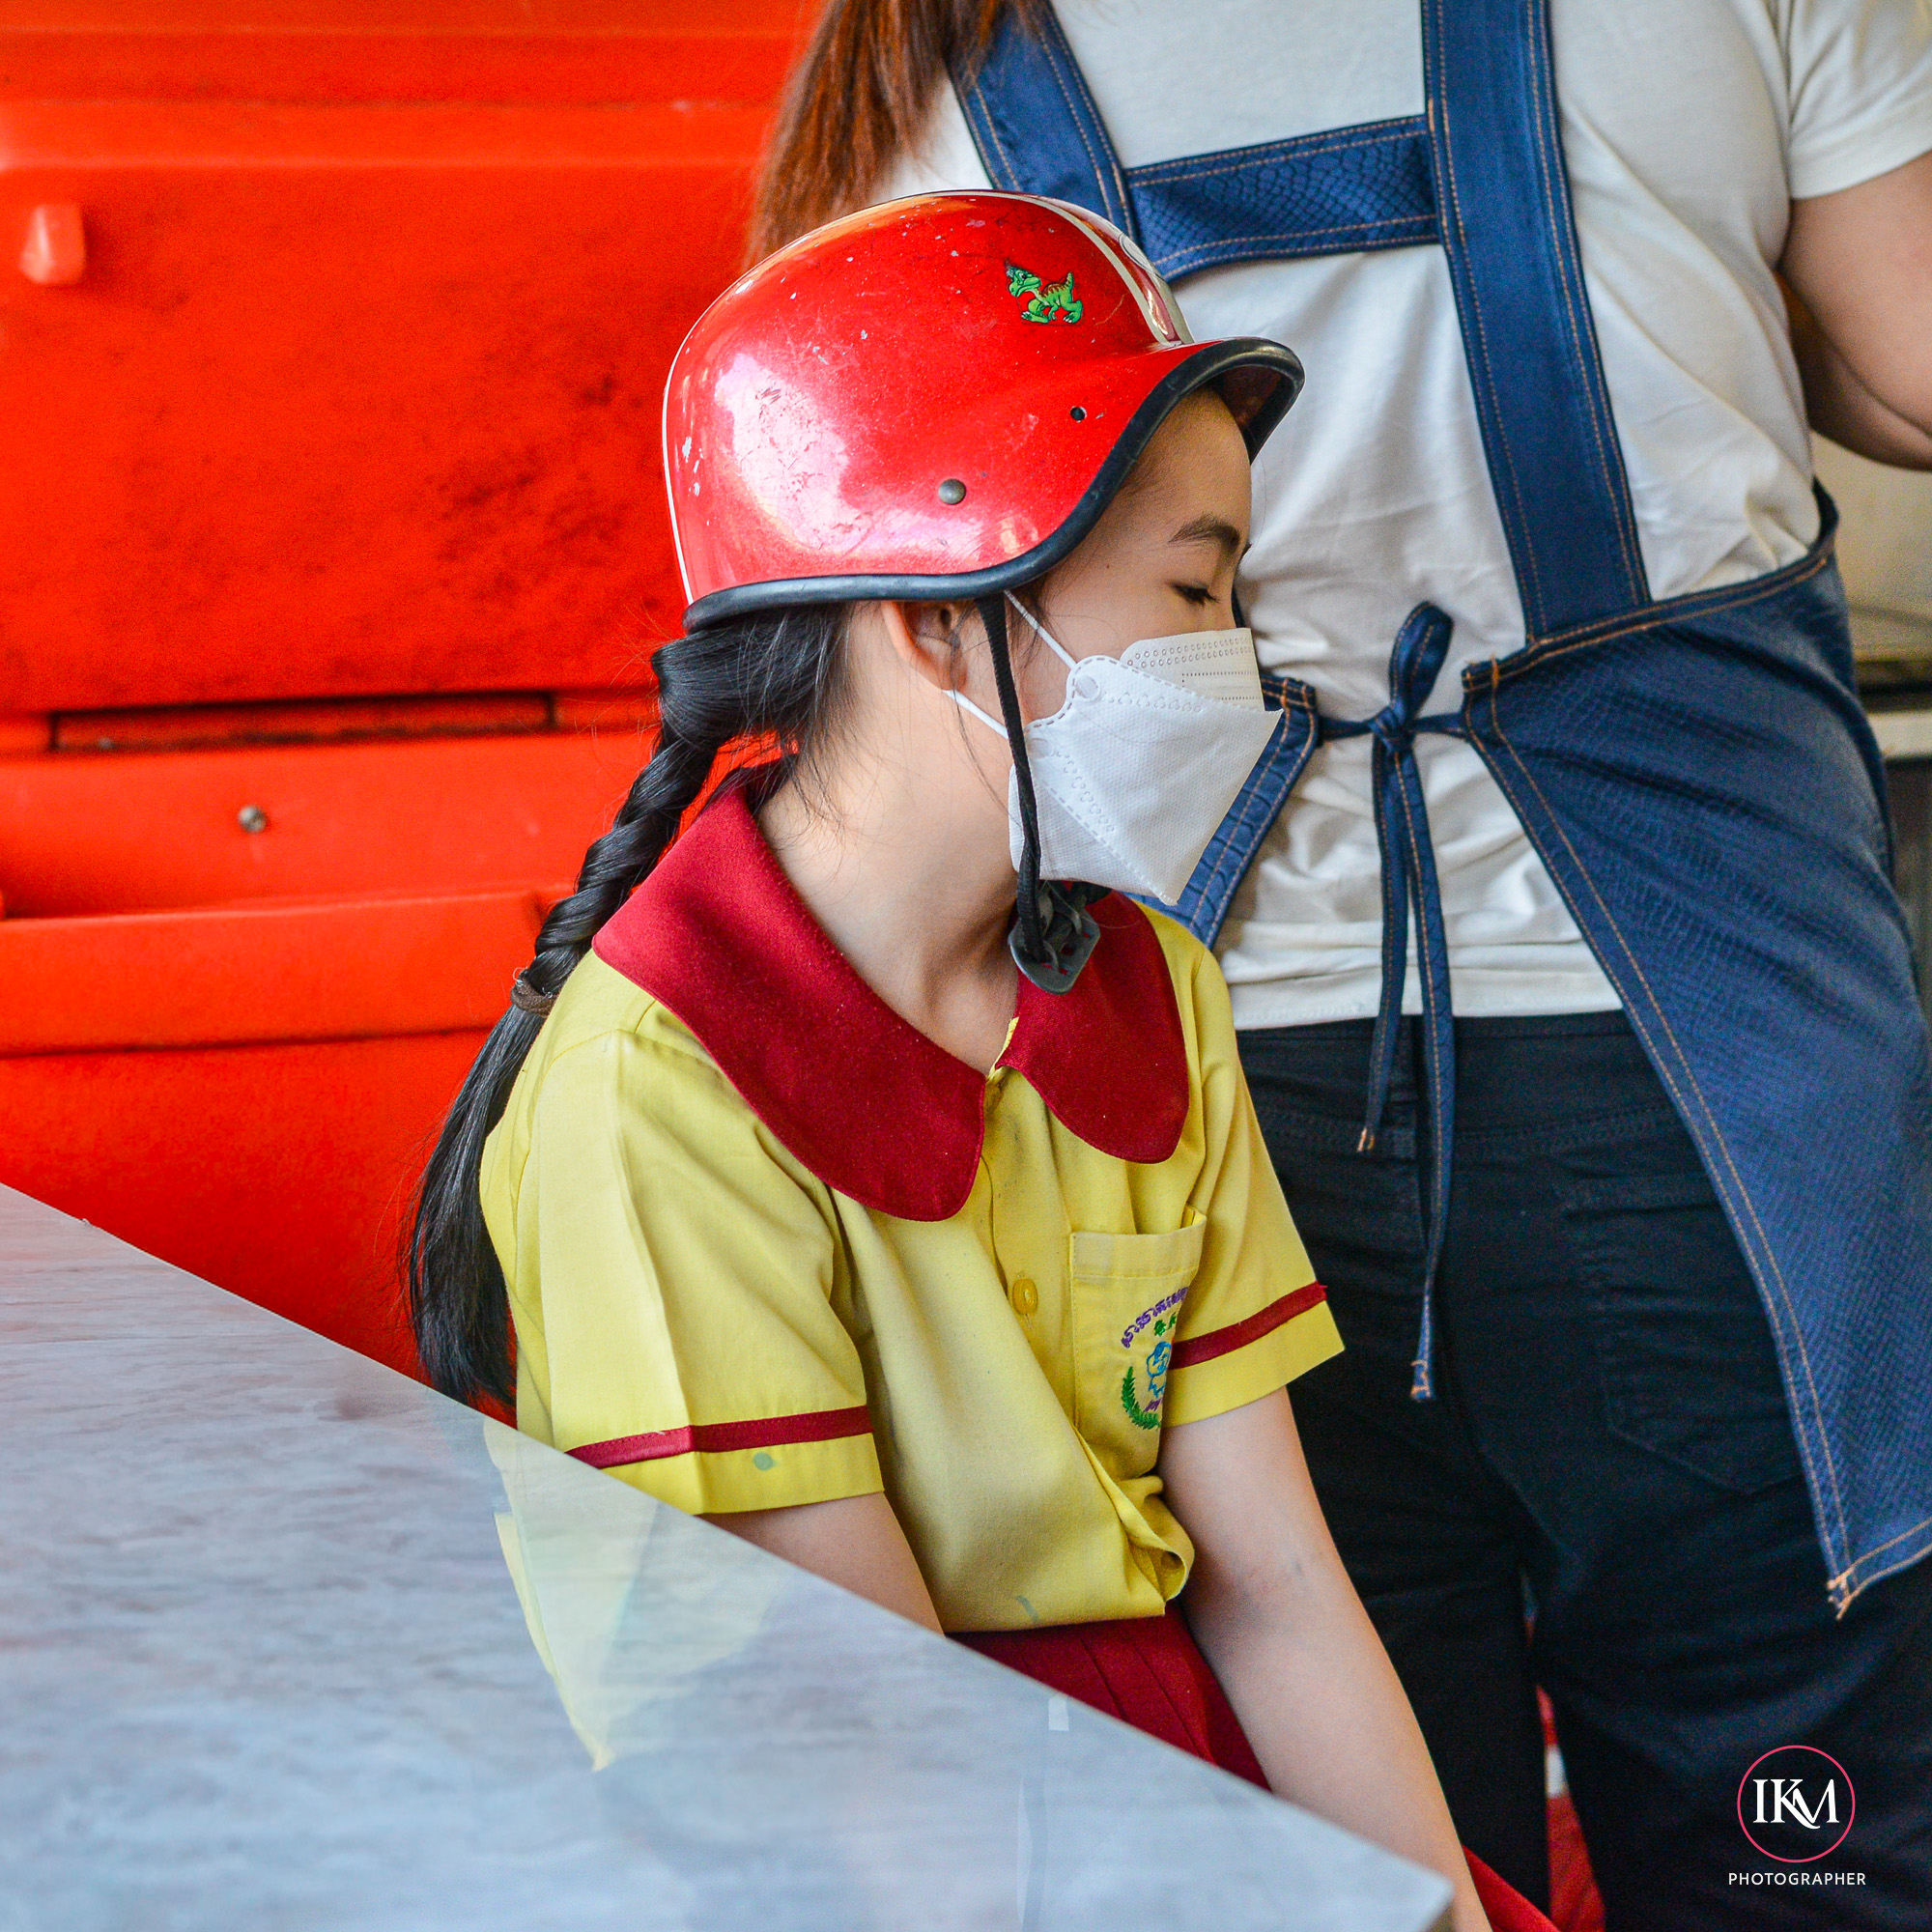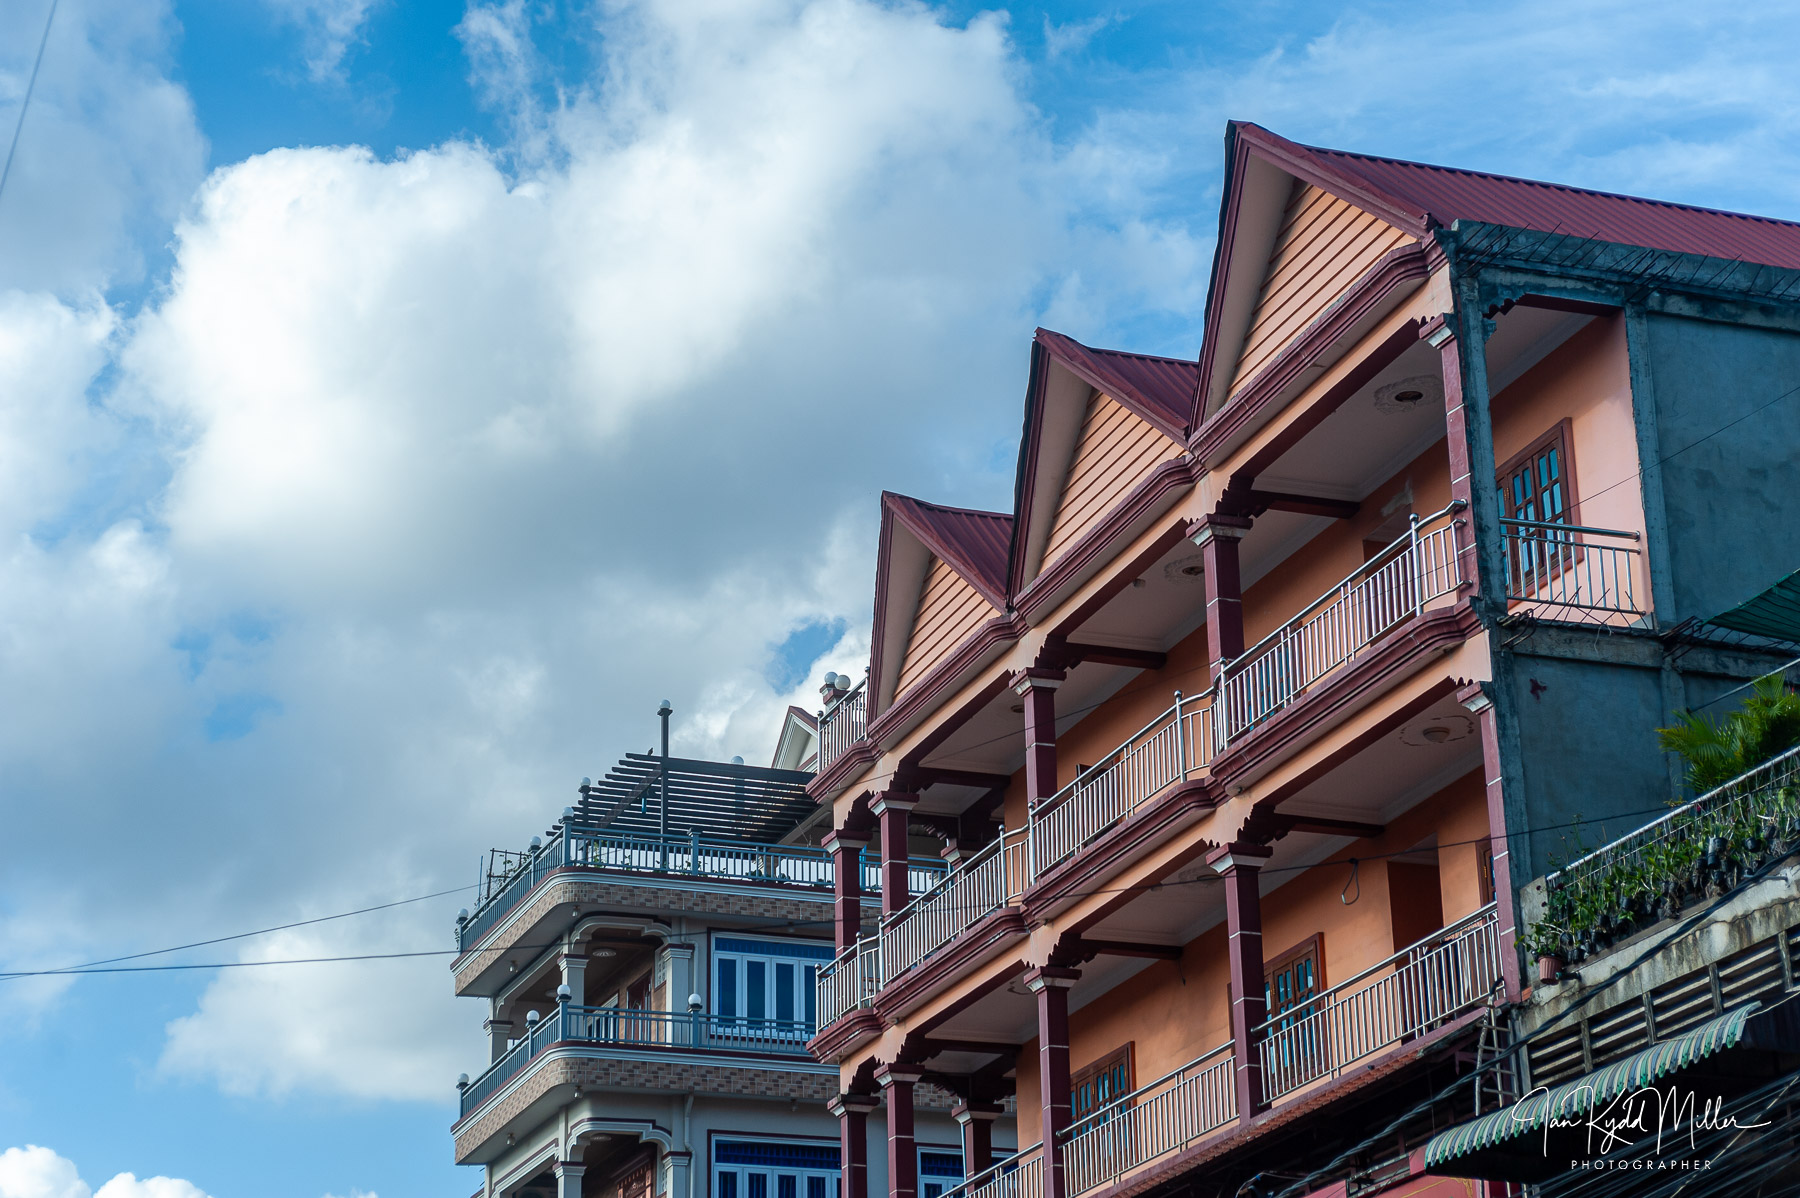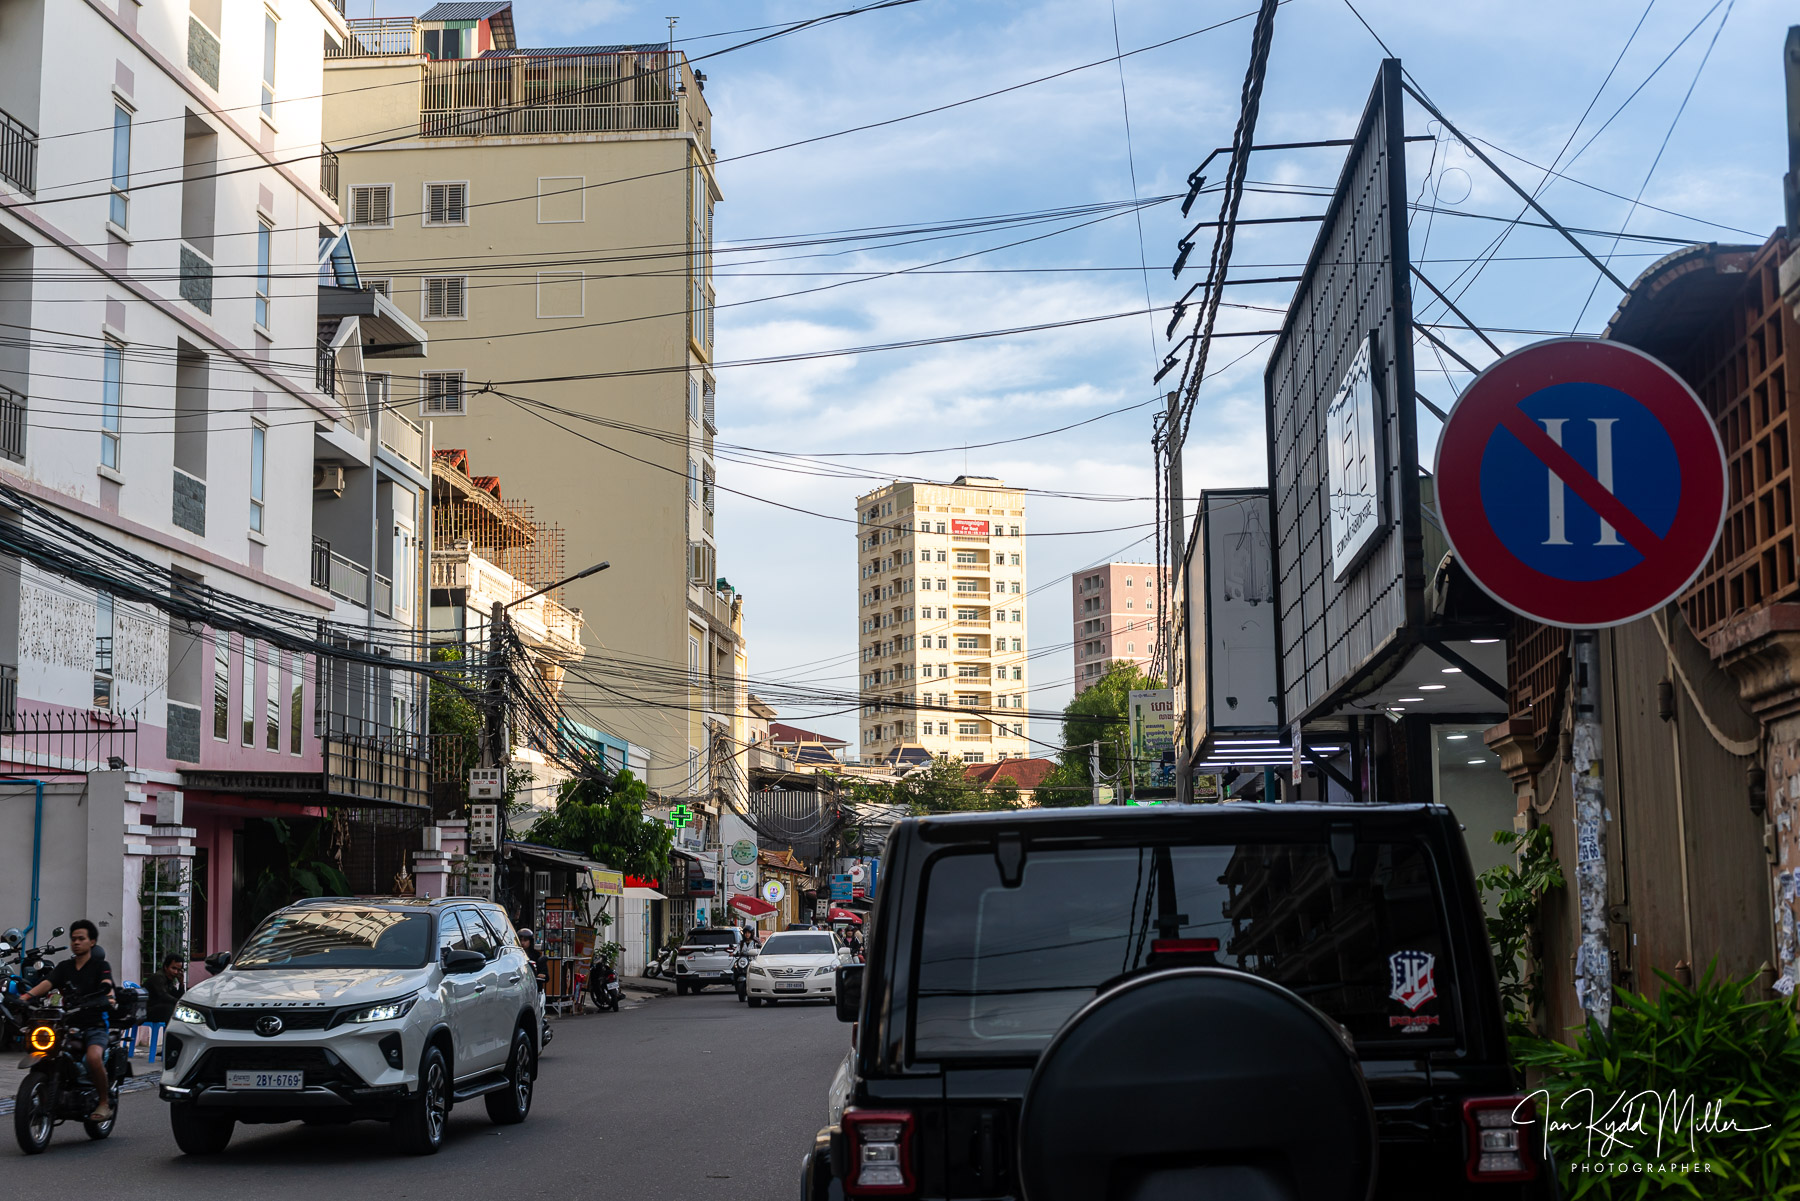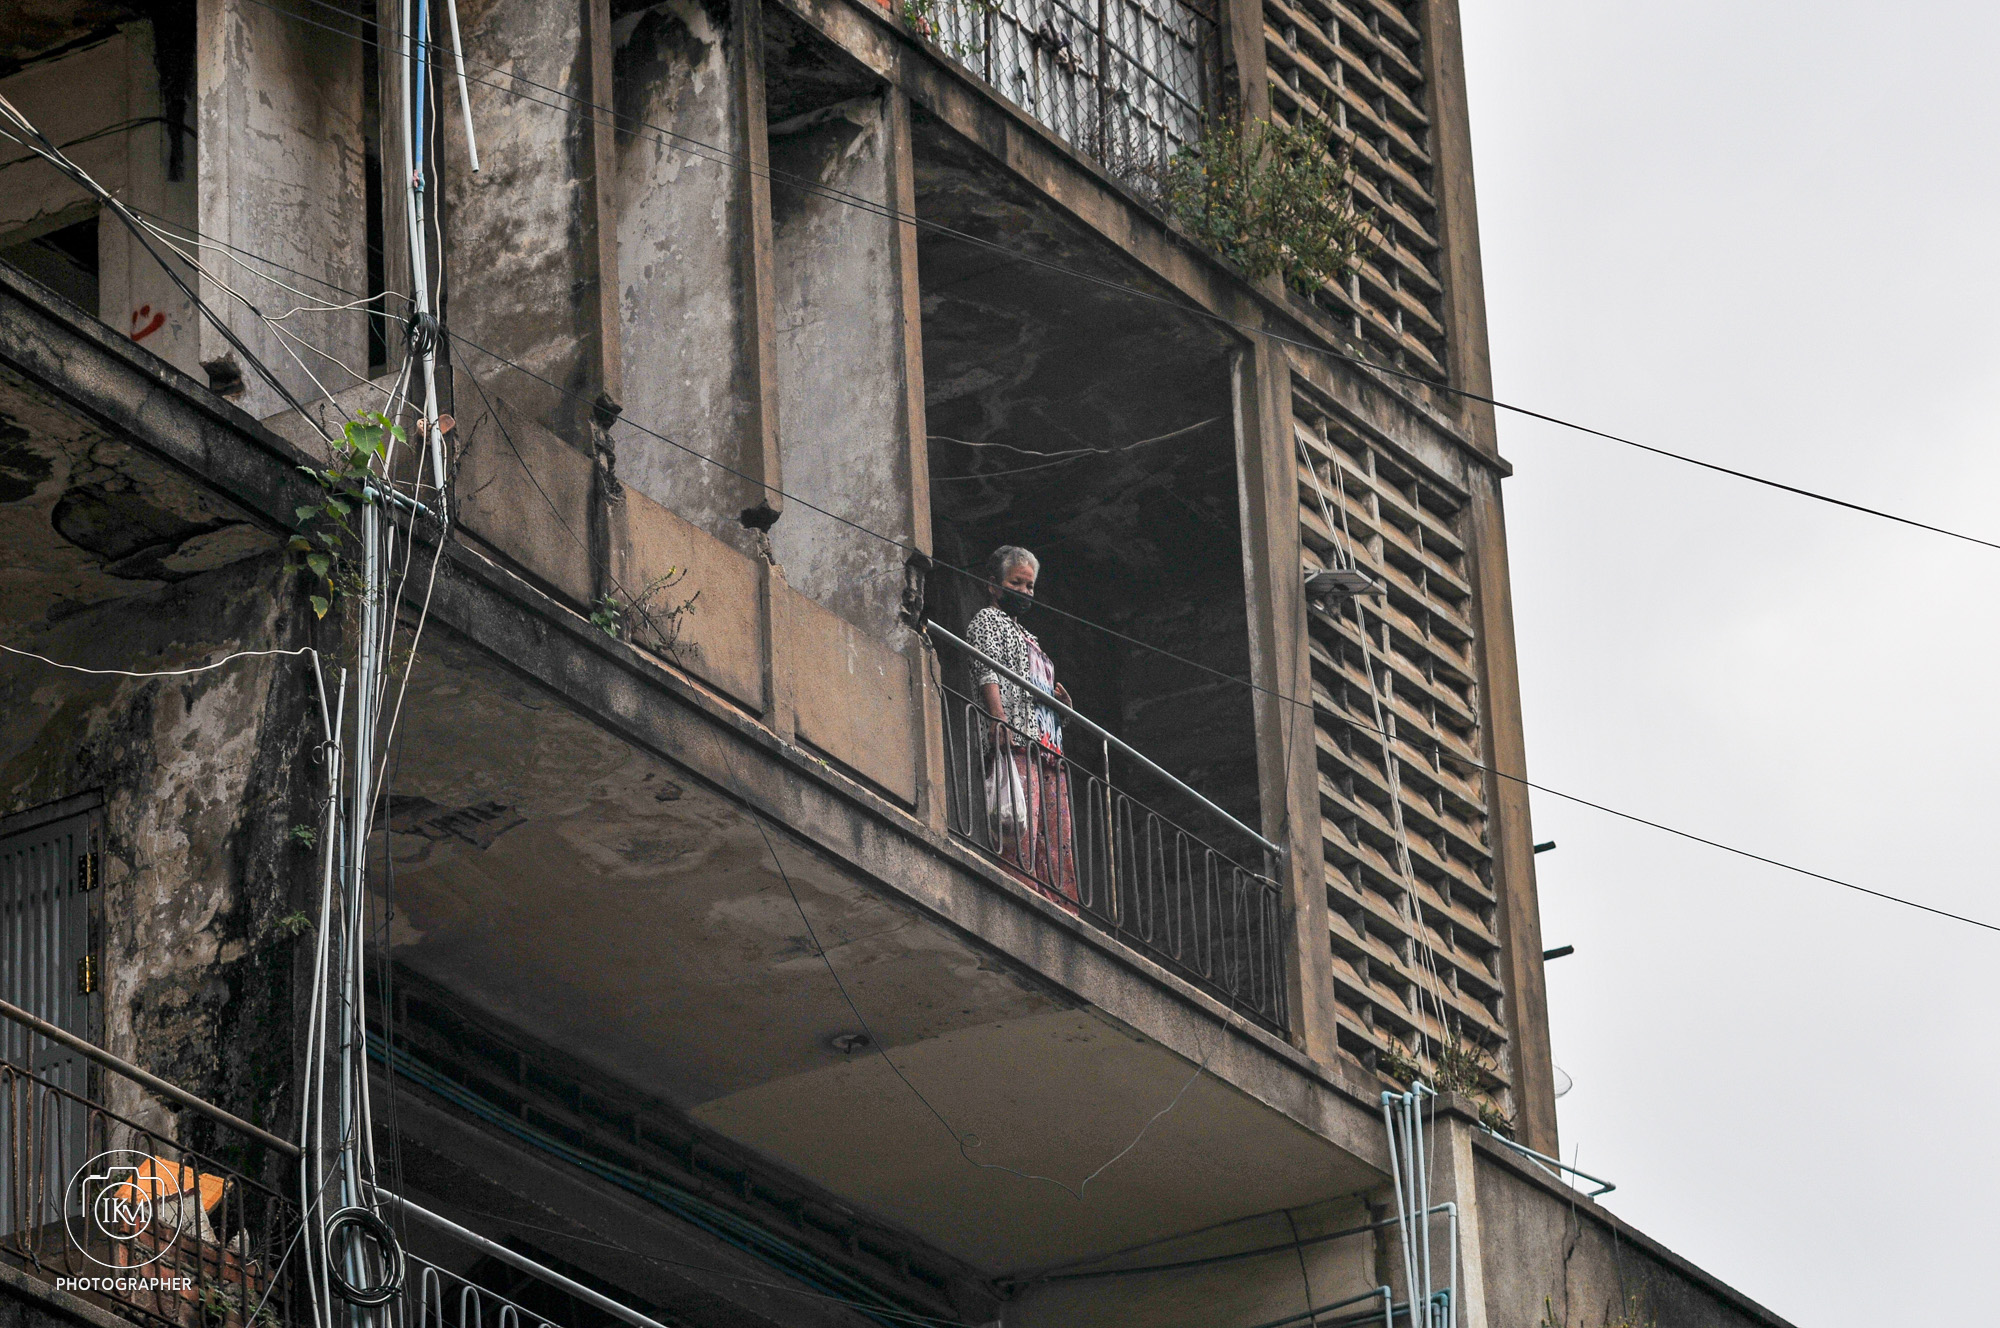

If you looked through my photographs, you might assume (wrongly) my life as a photographer has been a succession of successful moments.
You’d be wrong.
For every photograph I’ve printed, there are hundreds that deserved to remain unseen.
Frames that missed the moment.
Portraits that lacked feeling.
Days when I walked for hours and came home wondering why I’d even bothered taking a camera.
There were opportunities I recognised a second too late.
Conversations I should have started but didn’t.
People I was too nervous to approach.
Stories I walked away from because I lacked confidence or conviction.
Photography has a remarkable way of preserving success while quietly hiding failure.
No one sees the empty streets after you’ve missed the decisive moment.
No one sees the disappointment of returning home convinced that you simply weren’t seeing properly that day.
No one sees the contact sheets filled with ordinary photographs that never became extraordinary.
But every photographer knows they’re there.
Looking back now, I realise those failures taught me far more than the successful photographs ever did.
A successful photograph tells you what worked.
A failed photograph asks why it didn’t.
Those are very different conversations.
Failure taught me patience. It taught me humility. It taught me that no camera, however expensive, could rescue poor observation.
It taught me that courage is often more important than technical skill. Most of all, it taught me that disappointment is not the opposite of photography. It’s part of it.
There were times when I questioned whether I’d lost whatever had first drawn me to photography.
The camera felt heavier.
The streets seemed quieter.
The excitement I’d once felt appeared to have slipped quietly away without saying goodbye.
I honestly wondered whether that chapter of my life had ended.
It hadn’t.
The enthusiasm hadn’t disappeared.
It had simply grown tired.
Like any long friendship, photography sometimes falls silent.
Not because it’s over. Because both of you need time.
Oddly enough, it wasn’t a new camera that brought me back.
It was an old one.
It reminded me that photography had never been about perfection.
It had always been about curiosity.
That was a lesson I should probably have learned much earlier.
Failure had been trying to teach it to me all along.
These days, I no longer judge a walk by the number of photographs I make.
Some of my best days end with only a handful of exposures.
Some end with none at all. The walk still mattered. The looking still mattered. The conversations still mattered.
Photography has become less about collecting photographs and more about collecting moments of attention.
Perhaps that’s what failure was trying to teach me from the beginning.
Not every walk has to end with a masterpiece.
Not every photograph has to justify the weight of the camera around my neck.
Sometimes success is simply remaining curious enough to go out again tomorrow.
After all these years, I no longer believe the best photographers are those who fail the least.
I think they’re the ones who keep walking after failure has given them every reason to stop.
Looking back, I can honestly say that my greatest teacher was never a camera.
It wasn’t a famous photographer. It wasn’t a book. It was disappointment.
Because disappointment has a curious way of stripping away vanity and leaving only the question that really matters.
“Will you pick up the camera again tomorrow?”
For me, the answer has always been yes.
Not because I expected success.
Because I still believed there was something worth seeing around the next corner.
If youโre starting photography, focus first on mastering your cameraโs basic settings (aperture, shutter speed, ISO) and composition techniques like the rule of thirds. Begin with natural light, practice often, and donโt worry about expensive gearโskill matters more than equipment.
Learning your camera and reading its manual is one of the most underrated but powerful steps in photography. Hereโs how to approach it so it feels less like homework and more like unlocking a secret language:
๐ How to Learn Your Camera (Manual Included)
Treat the Manual as a Map
Donโt read it cover to coverโskim it like a guidebook.
Flag sections on exposure modes, focus systems, and custom settings.
Keep it nearby when practicing; itโs a reference, not a novel.
Break Down Features One at a Time
Day 1: Aperture controls โ practice depth of field.
Day 2: Shutter speed โ freeze vs blur motion.
Day 3: ISO โ noise vs brightness.
Day 4: Autofocus modes โ single, continuous, manual.
Day 5: Metering modes โ spot, center-weighted, evaluative.
Use the Manual to Decode Symbols
Those cryptic icons (sun, mountain, flower) suddenly make sense when explained.
Learn what each button doesโno more guessing mid-shoot.
Practice With Purpose
Pick one feature from the manual, then shoot only with that in mind.
Example: After reading about exposure compensation, spend an hour adjusting ยฑEV in different light.
Build Muscle Memory
Reading tells you what the button does.
Practice tells you where it is without looking.
The goal: operate your camera like an extension of your hand.
Keep Notes
Jot down quirks: โMy camera underexposes in backlightโcompensate +1 EV.โ
Over time, youโll build your own personal manual thatโs more useful than the factory one.
๐งญ Philosophy
Would you like me to design a stepโbyโstep โmanual study planโ (like a 7โday routine) so you can systematically learn your camera without overwhelm?
Buying expensive gear too earlyโskills matter more than equipment.
Would you like me to create a step-by-step 30โday beginner photography challenge so you can practice these skills systematically?
๐ธ 30-Day Beginner Photography Challenge Week 1: Getting Comfortable with Your Camera
Day 1: Take 10 photos of everyday objects in auto mode.
Day 2: Experiment with apertureโshoot the same subject at f/2.8, f/5.6, and f/11.
Day 3: Practice shutter speedโcapture a moving subject at 1/30s, 1/250s, and 1/1000s.
Day 4: Adjust ISOโshoot indoors at ISO 100, 800, and 1600.
Day 5: Learn the rule of thirdsโphotograph a subject off-center.
Day 6: Try symmetryโfind reflections or balanced patterns.
Day 7: Review your weekโs shots and note what you liked most.
Week 2: Exploring Light
Day 8: Shoot during golden hour (sunrise or sunset).
Day 9: Capture shadows at midday.
Day 10: Use window light for a portrait.
Day 11: Experiment with backlightingโsubject in front of the sun or lamp.
Day 12: Try night photographyโstreetlights, neon signs, or stars.
Day 13: Use artificial light (lamp, flashlight) creatively.
Day 14: Compare natural vs artificial lighting in similar shots.
Week 3: Composition & Creativity
Day 15: Use leading lines (roads, fences, paths).
Day 16: Frame your subject (shoot through doors, arches, foliage).
Day 17: Capture patterns or textures.
Day 18: Shoot from a low angle.
Day 19: Shoot from a high angle.
Day 20: Try minimalismโone subject against a clean background.
Day 21: Capture candid street photography (respect privacy).
Week 4: Storytelling & Editing
Day 22: Take a series of 3 photos that tell a story.
Day 23: Capture emotion in a portrait.
Day 24: Photograph movement (sports, dancing, traffic).
Day 25: Try black-and-white photography.
Day 26: Edit your photos using free apps (Snapseed, Lightroom Mobile).
Day 27: Re-shoot one of your earlier challenges with improved technique.
Day 28: Create a photo essay of 5 images on a theme (e.g., โMorning Routineโ).
Day 29: Share your best photo with friends or online for feedback.
Day 30: Reflectโcompare Day 1 vs Day 30 shots and note your progress.
๐ By the end of this challenge, youโll have practiced technical skills, creative composition, and storytellingโthe three pillars of photography.
๐ฏ Photography Technical Drills (One Setting at a Time) Aperture (Depth of Field)
Drill 1: Place a subject (like a coffee mug) on a table.
Shoot at f/2.8 โ background blurry.
Shoot at f/8 โ background sharper.
Shoot at f/16 โ everything sharp.
Goal: Notice how aperture changes background separation and focus.
Shutter Speed (Motion Control)
Drill 2: Photograph moving water (fountain, sink, or river).
Shoot at 1/1000s โ water frozen.
Shoot at 1/60s โ slight blur.
Shoot at 1/5s โ silky smooth trails.
Goal: See how shutter speed controls motion blur.
ISO (Light Sensitivity)
Drill 3: Shoot indoors with steady lighting.
ISO 100 โ clean, dark image.
ISO 800 โ brighter, slight grain.
ISO 3200 โ very bright, noticeable noise.
Goal: Understand trade-off between brightness and image quality.
Focus Modes
Drill 4: Switch between manual focus and auto focus.
Photograph a subject with cluttered background.
Try locking focus on the subject manually, then let auto focus decide.
Goal: Learn when to trust auto focus vs. manual control.
White Balance
Drill 5: Shoot the same subject under warm indoor light.
Use Auto WB โ camera guesses.
Use Tungsten WB โ cooler correction.
Use Daylight WB โ warmer tones.
Goal: See how WB changes color temperature.
Exposure Compensation
Drill 6: In aperture priority mode, photograph a bright scene.
Set -1 EV โ darker image.
Set 0 EV โ normal exposure.
Set +1 EV โ brighter image.
Goal: Learn how to quickly adjust exposure without full manual mode.
๐ Each drill should be repeated with the same subject and lighting so you can isolate the effect of that one setting.
Photography Technical Drills (One Setting at a Time) Aperture (Depth of Field)
Drill 1: Place a subject (like a coffee mug) on a table.
Shoot at f/2.8 โ background blurry.
Shoot at f/8 โ background sharper.
Shoot at f/16 โ everything sharp.
Goal: Notice how aperture changes background separation and focus.
Shutter Speed (Motion Control)
Drill 2: Photograph moving water (fountain, sink, or river).
Shoot at 1/1000s โ water frozen.
Shoot at 1/60s โ slight blur.
Shoot at 1/5s โ silky smooth trails.
Goal: See how shutter speed controls motion blur.
ISO (Light Sensitivity)
Drill 3: Shoot indoors with steady lighting.
ISO 100 โ clean, dark image.
ISO 800 โ brighter, slight grain.
ISO 3200 โ very bright, noticeable noise.
Goal: Understand trade-off between brightness and image quality.
Focus Modes
Drill 4: Switch between manual focus and auto focus.
Photograph a subject with cluttered background.
Try locking focus on the subject manually, then let auto focus decide.
Goal: Learn when to trust auto focus vs. manual control.
White Balance
Drill 5: Shoot the same subject under warm indoor light.
Use Auto WB โ camera guesses.
Use Tungsten WB โ cooler correction.
Use Daylight WB โ warmer tones.
Goal: See how WB changes color temperature.
Exposure Compensation
Drill 6: In aperture priority mode, photograph a bright scene.
Set -1 EV โ darker image.
Set 0 EV โ normal exposure.
Set +1 EV โ brighter image.
Goal: Learn how to quickly adjust exposure without full manual mode.
๐ Each drill should be repeated with the same subject and lighting so you can isolate the effect of that one setting.
Photographers donโt just โlookโโthey see differently. Their vision is trained to notice light, shapes, and stories in everyday scenes. Hereโs how they develop that way of seeing:
๐๏ธ How Photographers See the World
Light First
They notice how light falls on a subjectโsoft vs harsh, warm vs cool.
Shadows, highlights, and reflections become part of the composition.
A photographer might walk into a room and immediately think: โThat window light is perfect for a portrait.โ
Composition Everywhere
They frame scenes instinctivelyโusing the rule of thirds, leading lines, or symmetry.
Even without a camera, they imagine how a moment would look cropped in a rectangle.
Everyday objects (a coffee cup, a street sign) become potential subjects.
Details Others Miss
Textures, patterns, and contrasts stand out.
They notice how colors interactโlike a red umbrella against a grey sky.
Small gestures or fleeting expressions become the heart of an image.
Storytelling Mindset
Photographers see beyond objectsโthey look for meaning.
A single image can suggest mood, emotion, or narrative.
Example: A childโs shoes by the door might tell a story of play, rest, or anticipation.
Constant Awareness
Theyโre always scanningโanticipating moments before they happen.
Street photographers, for instance, watch body language and predict interactions.
Nature photographers notice subtle changes in clouds, wind, or animal behavior.
๐ง Training Yourself to See Like a Photographer
Slow down: Pause before snappingโask, โWhatโs the light doing here?โ
Frame with your eyes: Pretend your hands are a viewfinder and crop the world.
Practice mindfulness: Notice colors, shadows, and shapes in daily life.
Shoot intentionally: Donโt just captureโdecide why youโre taking the photo.
๐ In short: photographers see light, composition, and story where others just see objects.
For street photographyโespecially when photographing peopleโyou want settings that balance speed, flexibility, and discretion. Hereโs a streetโready setup most photographers rely on:
๐ถ Street-Ready Camera Settings for People
Mode
Aperture Priority (A/Av): Lets you control depth of field while the camera adjusts shutter speed.
Manual Mode: If youโre confident, set both aperture and shutter speed for consistency.
Aperture
f/5.6 โ f/8: Keeps subjects sharp while allowing some background context.
Wide apertures (f/2.8) isolate subjects, but risk missing focus in fast-moving scenes.
Shutter Speed
1/250s or faster: Freezes walking motion.
1/500s+: Essential for cyclists, runners, or quick gestures.
ISO
Auto ISO with a cap (e.g., 3200): Keeps exposure balanced as light changes quickly on the street.
Lens Choice: 35mm or 50mm prime lenses are classicsโnatural perspective, fast aperture, compact size.
โก Quick Street Setup (Daylight)
Mode: Aperture Priority
Aperture: f/5.6
Shutter Speed: 1/250s (minimum)
ISO: Auto (cap at 1600โ3200)
Focus: AF-C, zone focus
WB: Auto
๐ This setup gives you sharp subjects, contextual backgrounds, and flexibility for unpredictable street moments.
Bokeh is the aesthetic quality of the outโofโfocus areas in a photo, usually seen as soft, creamy background blur that makes the subject stand out. It comes from the Japanese word โboke,โ meaning โblur,โ and depends on lens design, aperture, and distance.
๐ What Bokeh Really Is
Definition: Bokeh refers to how the lens renders outโofโfocus points of light, not just blur itself.
Origin: From Japanese โbokeโ (ใใฑ), meaning โblurโ or โhaze.โ
Appearance: Often seen as round or hexagonal highlights in the background, especially when shooting wide open.
Focal Length: Longer lenses (85mm, 135mm) produce more pronounced bokeh.
โจ Good vs. Bad Bokeh
Good Bokeh: Smooth, creamy, pleasing blur that isolates the subject.
Bad Bokeh: Harsh, distracting shapes or nervous edges that compete with the subject.
Example: A portrait with soft circular highlights behind the subject = good bokeh. Jagged or polygonal highlights = less pleasing.
๐ท How to Achieve Bokeh
Use a fast lens (e.g., 50mm f/1.8 or 85mm f/1.4).
Shoot wide open (lowest fโstop).
Get close to your subject while keeping the background far away.
Include point light sources (fairy lights, street lamps) for visible bokeh balls.
๐จ Creative Uses
Portraits: Isolate faces against dreamy backgrounds.
Street Photography: Neon signs and traffic lights become artistic bokeh.
Nature: Flowers or leaves blurred into soft color washes.
โ ๏ธ Things to Watch Out For
Overdoing bokeh can make images look gimmicky.
Cheap lenses may produce โbusyโ or distracting bokeh.
Not all situations benefitโsometimes context in the background is important.
๐ In short: bokeh is about the quality of blur, not just the amount. Itโs a creative tool to direct attention and add atmosphere.
Exposure mistakes are some of the most common frustrations for beginnersโand the good news is, your camera tells you when youโve made them if you know how to read the signs. Letโs break it down:
โ Common Exposure Mistakes (and How to Read Them)
Overexposure (Too Bright)
Symptoms in the photo: Washedโout highlights, white skies with no detail, pale skin tones.
Histogram clue: Graph bunched up on the right side.
Fix: Lower ISO, use faster shutter speed, or stop down aperture (higher fโnumber).
Underexposure (Too Dark)
Symptoms in the photo: Loss of shadow detail, muddy blacks, subjects hard to see.
Histogram clue: Graph bunched up on the left side.
Fix: Raise ISO, slow down shutter speed, or open aperture (lower fโnumber).
Blown Highlights
Symptoms: Bright areas (like clouds or reflections) turn pure white with no texture.
Histogram clue: Spike at the far right edge.
Fix: Use exposure compensation (-EV), or meter for the highlights.
Crushed Shadows
Symptoms: Dark areas lose detail, becoming solid black.
Histogram clue: Spike at the far left edge.
Fix: Increase exposure slightly (+EV), or use fill light/reflectors.
Mixed Lighting Confusion
Symptoms: Correct exposure in one part, but another part is too bright/dark.
Histogram clue: Spread across both ends, with gaps in the middle.
Fix: Spot meter on your subject, or bracket exposures.
Relying Only on the LCD
Mistake: Judging exposure by how the photo looks on the screen (which can be misleading in bright sunlight).
Better: Always check the histogramโitโs the most reliable exposure reading.
๐ Quick Reading Drill
Take a photo in bright daylight โ check histogram (likely rightโheavy).
Take a photo indoors with no flash โ check histogram (likely leftโheavy).
Adjust one setting at a time until the histogram is balanced (spread across the middle without clipping at edges).
๐ Exposure isnโt about โperfect brightnessโโitโs about controlling detail in highlights and shadows. Once you learn to read the histogram, youโll stop guessing and start shooting with confidence.
Exposure mistakes happen when one part of the exposure triangle (aperture, shutter speed, ISO) is set without balancing the othersโor when the cameraโs meter is misled by tricky lighting. Letโs break down the most common errors and why they occur:
๐งช Exposure Mistakes and Why They Happen
Overexposure (Too Bright)
Why it happens:
Aperture too wide (f/1.8 in bright daylight).
Shutter speed too slow (1/30s outdoors).
ISO too high (ISO 1600 in sunlight).
Meter fooled by dark subjects (camera brightens too much).
Result: Washedโout highlights, white skies, pale skin tones.
Underexposure (Too Dark)
Why it happens:
Aperture too narrow (f/16 indoors).
Shutter speed too fast (1/1000s at night).
ISO too low (ISO 100 in dim light).
Meter fooled by bright subjects (camera darkens too much).
Result: Muddy shadows, loss of detail, subjects hard to see.
Blown Highlights
Why it happens:
Bright areas (clouds, reflections, neon lights) exceed sensorโs dynamic range.
Camera exposes for shadows, sacrificing highlight detail.
Result: Pure white patches with no texture.
Crushed Shadows
Why it happens:
Dark areas fall below sensorโs dynamic range.
Camera exposes for highlights, sacrificing shadow detail.
Result: Solid black areas with no recoverable detail.
Mixed Lighting Errors
Why it happens:
Scene has extreme contrast (bright window + dark room).
Meter averages exposure, leaving both highlights and shadows compromised.

Result: One part of the image looks fine, the other is unusable.
Trusting the LCD Instead of the Histogram
Why it happens:
LCD brightness varies depending on environment.
In sunlight, photos look darker than they are; indoors, brighter.
Result: Misjudged exposure decisions.
๐ How to Read Exposure Mistakes
Histogram:
Bunched left = underexposed.

Bunched right = overexposed.

Spikes at edges = clipping (lost detail).

Light Meter:
Needle left = too dark.
Needle right = too bright.
Centered = balanced exposure (though not always โperfectโ artistically).
๐ In short: exposure mistakes happen when light, subject, and settings arenโt balanced. The histogram is your best truthโtellerโit shows whether youโre losing detail in highlights or shadows.
Optical performance: Highโquality lenses deliver sharper images, better color rendition, and smoother bokeh. They can make even entryโlevel camera bodies perform like professional tools.
Lowโlight capability: Expensive cameras often have larger sensors and better ISO performance, allowing clean images in dim conditions.
Autofocus speed & accuracy: Modern lenses and cameras track subjects more reliably, especially in sports or wildlife photography.
Durability: Professional gear is often weatherโsealed and built to withstand heavy use.
โ ๏ธ The Limits of Gear
Skill matters more: As John Mak notes, โbetter gear does help take better pictures, but the story your photo tells is more important than technical aspectsโ.
Composition & timing: Iconic photos throughout history were taken with modest equipment. Vision and timing outweigh megapixels.
Learning curve: Beginners may not benefit from advanced gear if they havenโt mastered fundamentals like exposure, framing, and light.
Risk of dependency: Believing gear equals progress can distract from developing creativity and storytelling.
โ๏ธ Balanced Perspective
Aspect
HighโQuality Gear
Photographerโs Skill
Sharpness & resolution
Improves technical image quality
Can be compensated with technique (tripod, careful focus)
Lowโlight shooting
Cleaner files, faster lenses
Creative use of light sources, long exposures
Autofocus
Faster, more reliable
Anticipation, manual focus discipline
Bokeh & rendering
Creamier blur, richer color
Composition and subject choice define impact
Storytelling
Neutral โ gear doesnโt add meaning
Vision, timing, and narrative make photos memorable
๐ Expert Consensus
Lens quality often matters more than camera body quality โ lenses are the โeyesโ of the system.
Better gear expands possibilities but doesnโt replace skill โ itโs a tool, not a shortcut.
True improvement comes from practice, study, and creative exploration.
โจ Conclusion
Gear quality enhances technical performance but does not define artistry. A better camera and lens can help you capture sharper, cleaner, and more versatile images, but becoming a better photographer requires vision, practice, and storytelling. The best path is to master fundamentals first, then upgrade gear when your skills demand it.
Verdict:Better gear improves possibilities; better skills make photographs. I tend to use the best gear I can afford, lenses and camera, but it does not make me a better photographer IMO.
Key considerations: Do you prioritise resolution and cropping or lowโlight headroom and tactile handling?
Clarifying questions to frame the post: Which primes do you favour; do you shoot more daylight or night street work; is portability or ruggedness more important?
Decision points for readers: Choose a primary body for the job (high resolution vs low light), keep a consistent RAW workflow, and match prime focal lengths to your shooting style.
Why these bodies matter
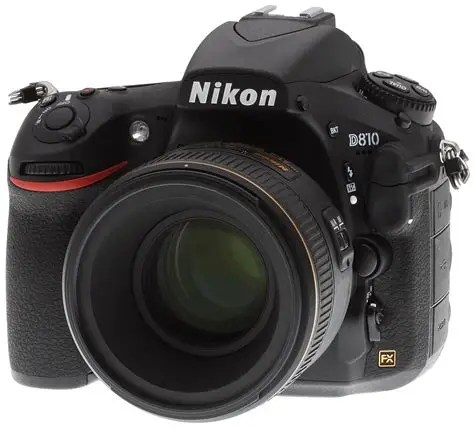
Nikon D810 delivers 36.3MP fullโframe resolution and a wide ISO range, making it ideal when detail and cropping latitude matter.
Nikon D300S is a rugged DX workhorse with 12.3MP, weather sealing, and reliable handlingโbuilt for deliberate street work.
Nikon D700 brought fullโframe ergonomics and lowโnoise files in a compact body, with ~12MP that many still prize for tonality and handling.
Nikon D800 introduced 36MP fullโframe resolution that rewards sharp glass and careful technique.
Nikon D3S remains a lowโlight specialist with exceptional highโISO performance and professional durability.
Lenses and setups
Core approach: Use highโquality primes; the glass defines look more than megapixels.
Recommended focal lengths:35mm for context; 50mm for natural perspective; 85mm for portraits and distance; use short tele on the D800/D810 for tight editorial crops.
Sample kits: D300S + 35mm f/1.8 for light, fast street; D3S + 50mm/85mm f/1.4 for night; D800/D810 + premium primes for highโdetail work.
How limitations shape style
Lower megapixel bodies encourage decisive composition and embrace of grain as aesthetic.
Highโresolution bodies change your workflow: sharper technique, steadier support, and premium glass become essential.
Lowโlight specialists let you capture moments others miss, expanding creative possibilities after dark.
Practical tips and workflow
Expose for highlights and protect midtones on older sensors; shoot RAW and apply selective noise reduction.
Keep ISO conservative on D300S/D700; use D3S for highโISO freedom.
Maintain lens care and a consistent edit style to preserve camera character.
Let lenses lead: prime rendering, microโcontrast, and bokeh shape the final image more than sensor specs.
Risks tradeโoffs and actionable steps
Tradeโoffs: Older bodies lack modern conveniences (WiโFi, fastest AF, greatest dynamic range). Action: pick one body as your daily driver and a second as a specialist to avoid workflow fragmentation.
Noise and recovery limits: Older sensors have less headroom. Action: expose carefully, bracket when possible, and use modern denoise tools selectively.
Value vs needs: If you need cuttingโedge AF or extreme high ISO, consider supplementing with a modern body; otherwise, invest in sharp primes and technique.
Closing thought Paired with highโquality primes, the D300S, D700, D800, D3S, and D810 form a versatile, characterful system that rewards intentional seeing: the lenses you choose and the way you shoot will define your voice more than the newest sensor.
The Nikon D810 is widely regarded as an extraordinary fullโframe DSLR, thanks to its 36.3โmegapixel sensor, superb dynamic range, and professionalโgrade build. Even in 2025, it remains a strong choice for photographers who value highโresolution stills, robust ergonomics, and versatility across genres.
ISO range: Native ISO 64โ12,800 (expandable to 32โ51,200), offering clean files even in low light.
Autofocus: 51โpoint AF system with 15 crossโtype sensors, reliable for portraits, landscapes, and moderate action.
Speed: 5 fps continuous shooting (7 fps in DX crop mode with battery grip).
Video: Full HD 1080p at 60 fps, with flat picture profiles for grading.
Build: Magnesium alloy body, weatherโsealed, designed for professional durability.
๐ Performance in Practice
Landscape & studio: Extraordinary sharpness and dynamic range make it ideal for fineโart and commercial work.
Portraits & weddings: Skin tones are rendered beautifully, with excellent colour depth.
Astrophotography: Low ISO 64 base and wide dynamic range give clean star fields and nightscapes.
Wildlife & sports: While capable, its 5 fps burst rate and slower AF compared to newer DSLRs/mirrorless bodies make it less suited for fast action.
โ ๏ธ Tradeโoffs
Weight: At ~880 g (body only), itโs heavier than modern mirrorless cameras.
Speed: Burst shooting and AF tracking lag behind newer models like the Nikon D850 or Z series.
Video limitations: No 4K recording, which is now standard in newer cameras.
Age: Released in 2014, so while still excellent, it lacks some modern conveniences (touchscreen, WiโFi integration).
โจ Why Itโs Still Extraordinary
Image quality: Among the best fullโframe DSLRs ever made, with files that rival medium format.
Value: In 2025, itโs significantly cheaper on the used market, making it a bargain for highโresolution stills.
Legacy: The D810 remains a โdream cameraโ for many photographers, especially those focused on landscapes, portraits, and studio work.
Key takeaway: The Nikon D810 is a legendary DSLR โ extraordinary for detail, dynamic range, and reliability. While newer cameras surpass it in speed and video, it remains a superb tool for still photography and a worthy investment even today.
The Yongnuo 100mm f/2 (Nikon F mount version) will mount and function on the Nikon D300S, giving you an effective 150mm f/2 equivalent field of view due to the APSโC crop factor. Itโs a budget telephoto prime mainly suited for portraits and shallowโdepthโofโfield work, though autofocus performance and build quality are not on par with Nikonโs native lenses.
๐ธ Compatibility & Setup
Mount: The lens is made for Nikon F mount, so it fits directly on the D300S without adapters.
Crop factor: On the D300S (DX sensor), the 100mm focal length behaves like ~150mm, giving a tighter telephoto look.
Aperture: f/2 maximum aperture allows strong subject isolation and lowโlight shooting.
Autofocus: Uses a DC motor โ serviceable but slower and noisier than Nikonโs AFโS lenses.
๐ Strengths
Portraits: Flattering compression and shallow depth of field.
Price: Considerably cheaper than Nikonโs 105mm f/2 DC or 85mm f/1.8 options.
Optics: Multiโcoated glass reduces flare and ghosting.
Manual control: AF/MF switch and focus distance indicator included.
โ ๏ธ Limitations & Tradeโoffs
Autofocus speed: Not ideal for fast action; better for posed or slower subjects.
Build quality: Plastic construction feels less robust than Nikonโs pro primes.
Sharpness: Acceptable in centre, but edges soften wide open โ stopping down improves results.
Firmware quirks: Some users report occasional compatibility issues; firmware updates may help.
๐ฏ Practical Use on D300S
Portraiture: Excellent budget option for headshots and upperโbody framing.
Street/urban detail: The 150mm equivalent reach isolates architectural or candid details.
Lowโlight: f/2 aperture helps, though ISO performance of the D300S is limited compared to modern bodies.
Bottom line: On the Nikon D300S, the Yongnuo 100mm f/2 is a budget telephoto portrait lens that delivers shallow depth of field and decent optical quality, but with compromises in autofocus speed and build. If you value affordability and donโt mind working around its quirks, itโs a useful addition; if reliability and speed are critical, Nikonโs native primes are stronger choices.
Initial Thoughts.
Had the lens a couple of day and am finding the AF and Exposure both a little inconsistent, I think maybe it is in need of a firmware update but need to find the correct cable to attach to my computer.
In a world chasing megapixels, mirrorless speed, and AI-driven autofocus, the Nikon D3S stands quietly in the cornerโunbothered, unbroken, and still deeply capable. Released in 2009, it was Nikonโs first full-frame DSLR to truly master low-light performance. Today, itโs more than a relic. Itโs a reminder: that restraint, reliability, and character still matter.
Iโve used the D3S in clinics, on the street, and in moments of care. Itโs never asked for attention. Itโs just done the work.
๐ง What Made the D3S Special
12.1MP Full-Frame Sensor Not flashy by todayโs standards, but beautifully tuned. Files are clean, balanced, and emotionally honest. The lower resolution encourages intentional framing and thoughtful printing.
ISO Performance That Changed the Game At the time, ISO 12,800 was revolutionary. Even today, the D3S holds its own in low lightโespecially in documentary work where grain isnโt a flaw, but a feeling.
Tank-Like Build Magnesium alloy body. Weather sealing. Shutter rated to 300,000 actuations. This camera was built for war zones, operating rooms, and long nights in the rain.
Dual CF Slots Redundancy and reliability. For those who print, archive, and teach, this matters more than speed.
No-Nonsense Ergonomics Everything falls to hand. No touchscreens. No distractions. Just tactile control and muscle memory.
๐ช Why It Still Matters
1. It Slows You Downโin a Good Way
The D3S isnโt about rapid-fire bursts or eye-detection AF. Itโs about presence. You compose with care. You anticipate. You listen to the scene.
2. It Honors the Print
The files from the D3S print beautifully. Tonal transitions are smooth. Highlights roll off gently. Blacks hold depth. For those who see printing as completion, the D3S delivers.
3. Itโs a Teaching Tool
For students learning restraint, the D3S is ideal. It forces intentionality. It rewards patience. It teaches that gear doesnโt make the imageโvision does.
4. It Carries Legacy
This camera has seen things. Itโs been in the hands of photojournalists, volunteers, and quiet documentarians. Using it feels like joining a lineageโnot chasing a trend.
๐งญ Who Is It For Today?
Documentarians who value reliability over novelty
Educators who want to teach presence, not presets
Street photographers who prefer quiet strength to flashy specs
Archivists and printers who care about tonal integrity
Anyone who believes that interesting pictures come from how you see, not what you shoot with
๐ Final Thought: Enoughness in a Shutter Click
The Nikon D3S isnโt just relevantโitโs resonant. It reminds us that photography isnโt about chasing perfection. Itโs about showing up. Seeing clearly. Printing with care.
In a time of constant upgrades, the D3S whispers: You already have enough. Now go make something that matters.
The legacy of a photographer, much like any artist, is often preserved through the enduring impact of their work. Photography, as a form of art and expression, captures moments in time that speak to future generations, conveying emotions, experiences, and perspectives that transcend the temporal boundaries.
The photographs taken, the stories they tell, and the emotions they evoke can become part of the collective human experience.
Through exhibitions, publications, and digital archives, a photographer’s work can continue to be discovered and appreciated long after they have left the proverbial ‘darkroom in the sky.’ Moreover, the influence on students, peers, and the photography community can ripple outward, perpetuating their artistic vision and approach.
In this way, the essence of a photographer’s life and passion can be remembered and celebrated, ensuring that their contributions to the art of photography are not forgotten but continue to inspire and resonate. The true measure of a photographer’s remembrance may not solely rest in the recognition of their name, but rather in the lasting significance of their work and its ability to connect with others across time and space.