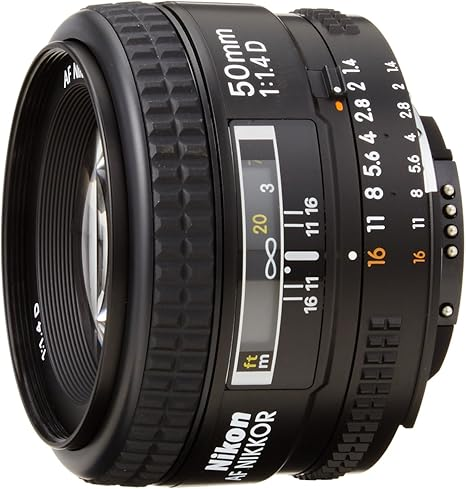
🎯 The Case for Better Gear
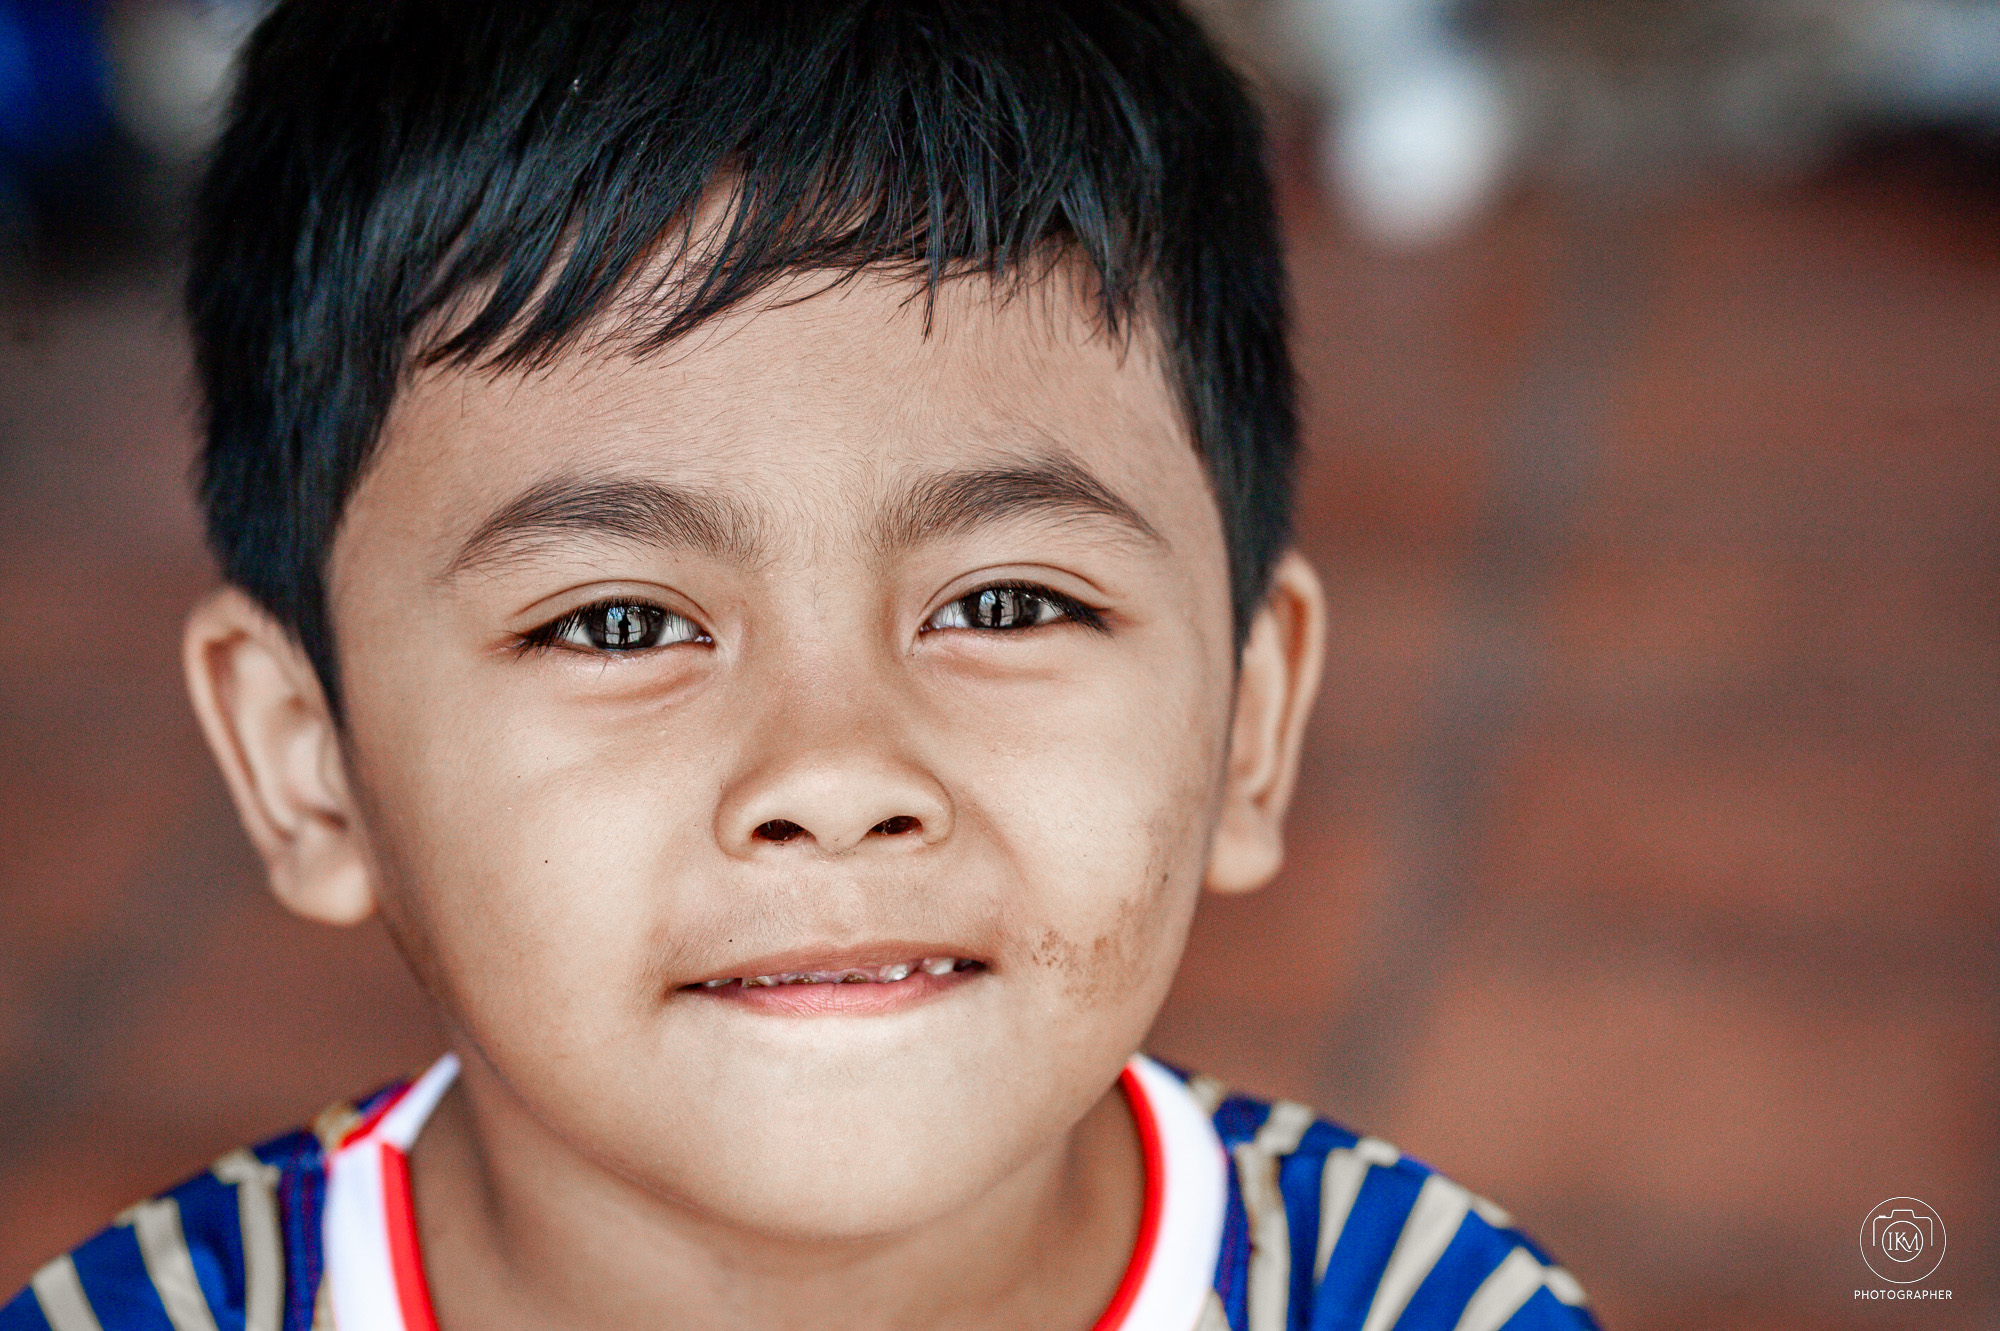
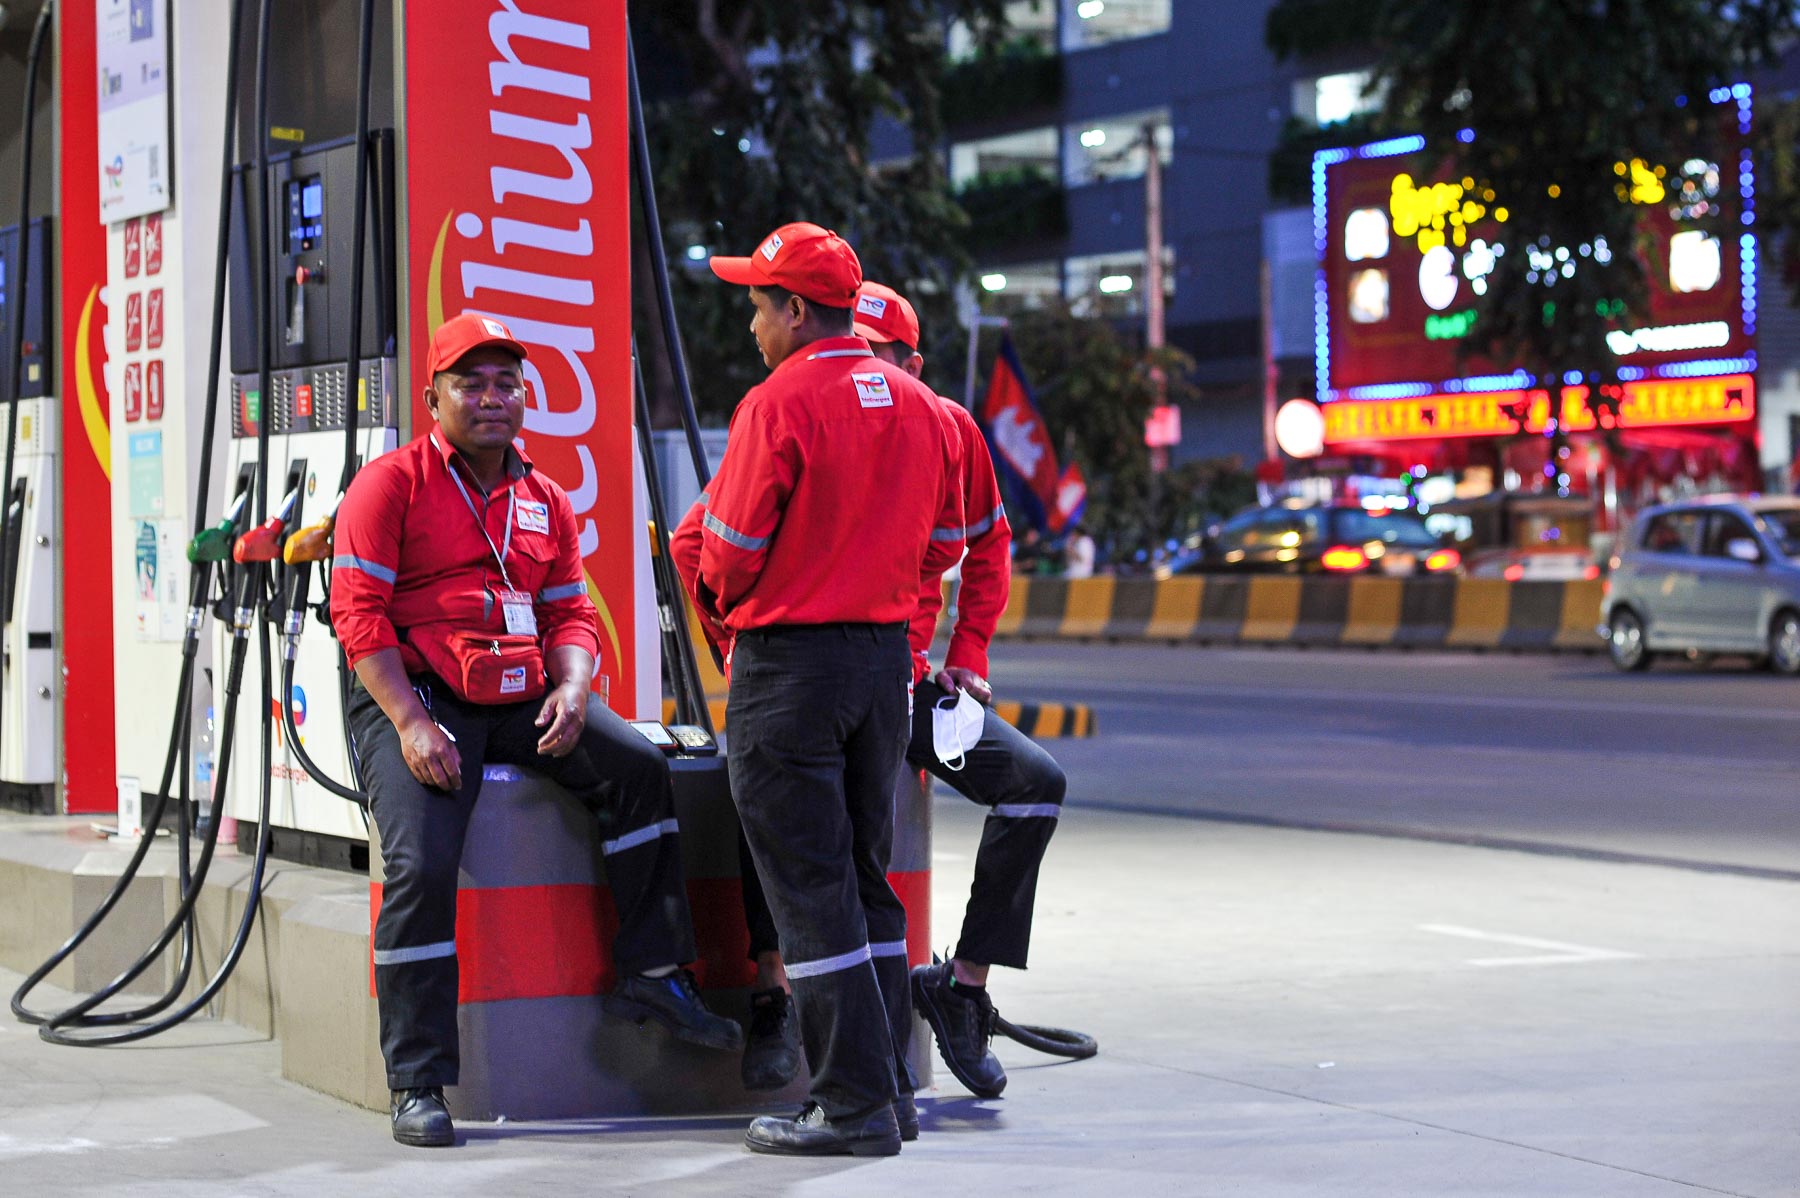
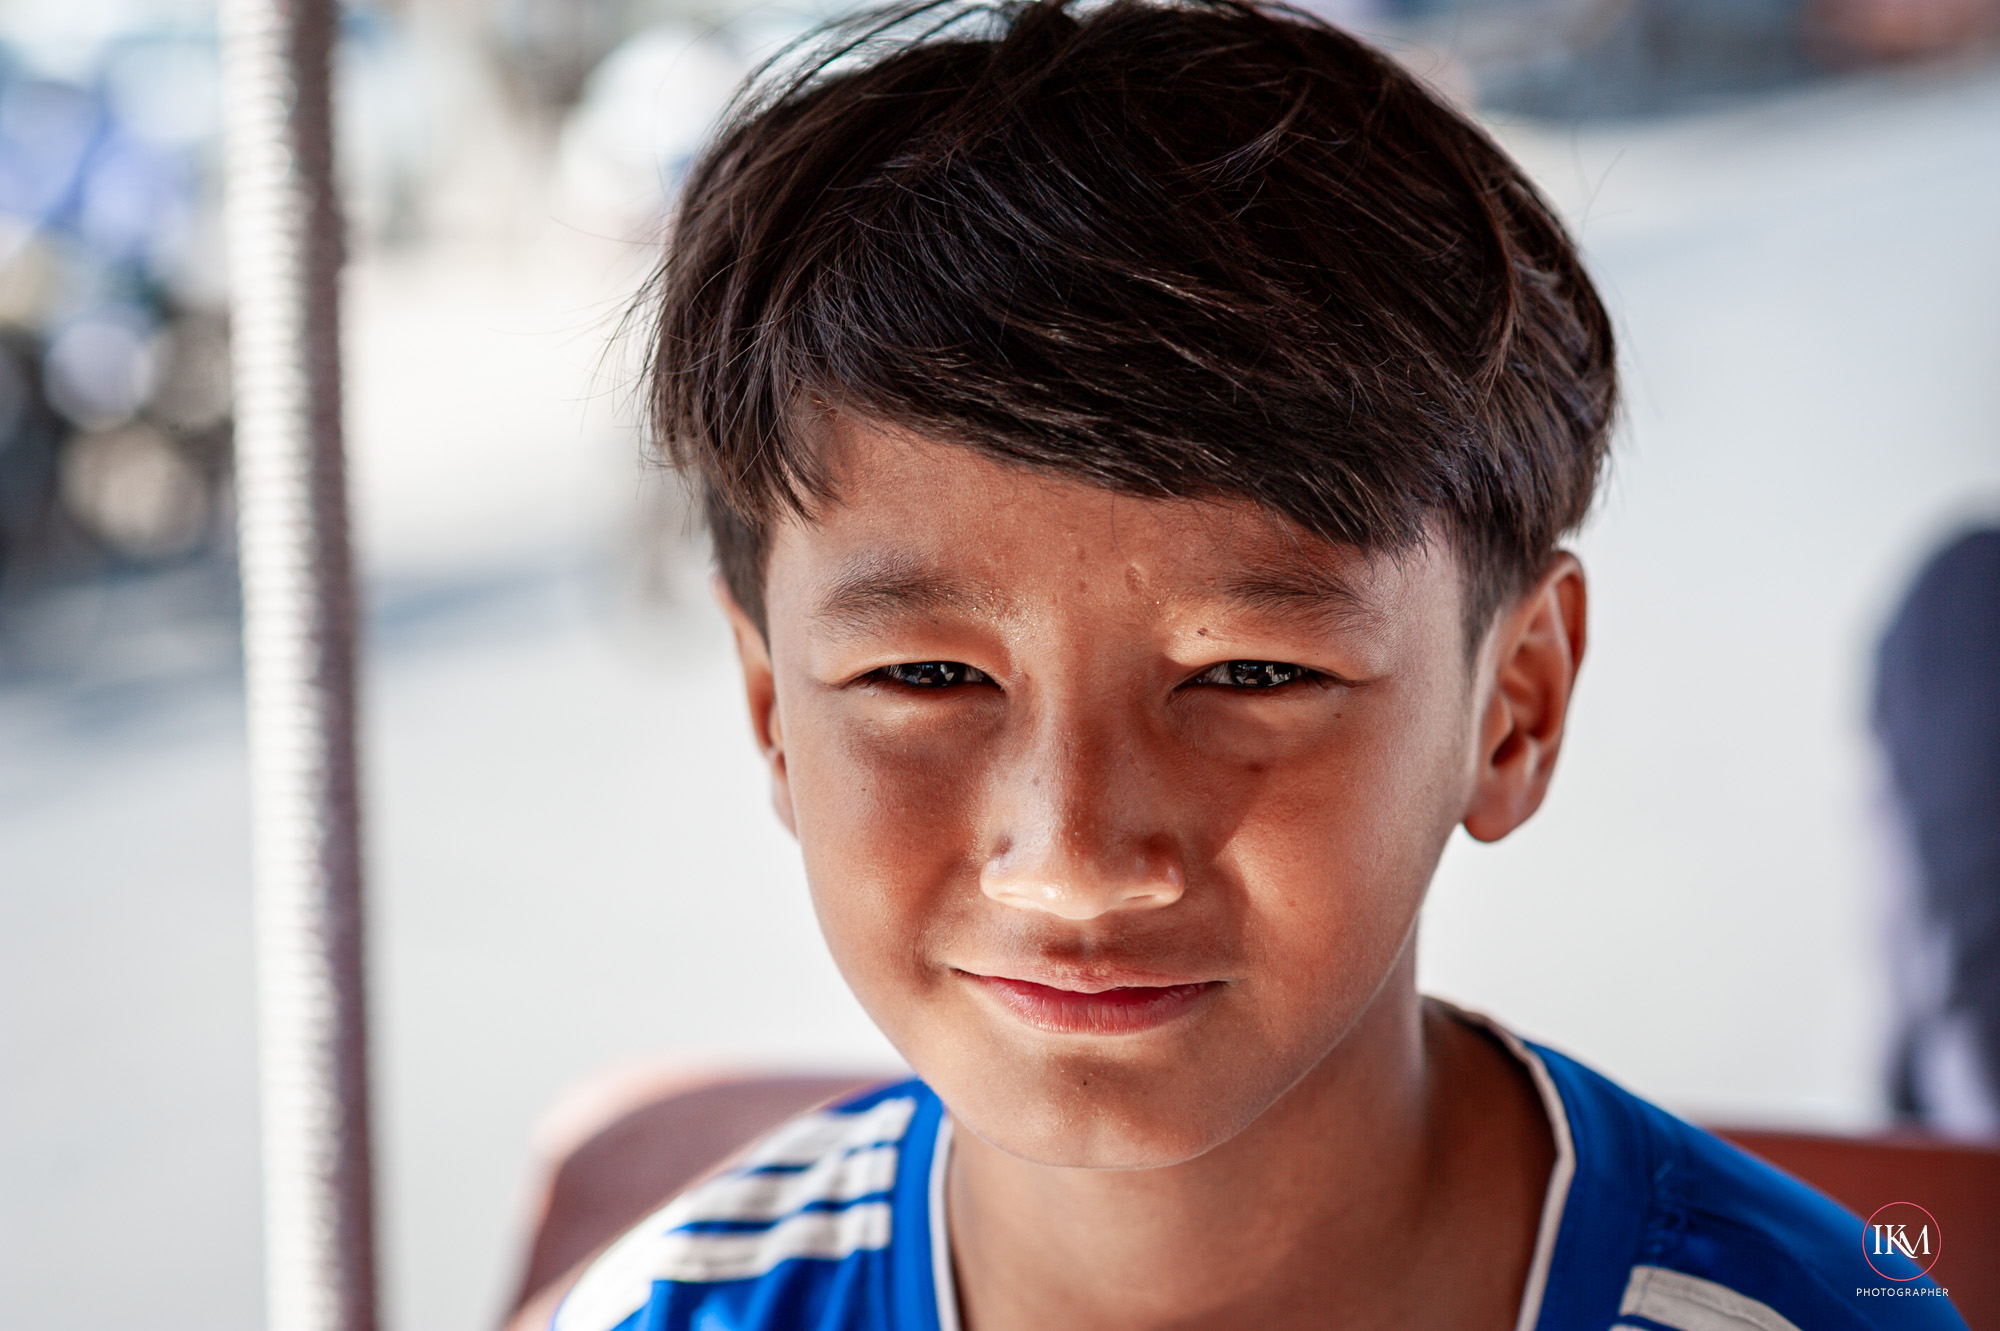
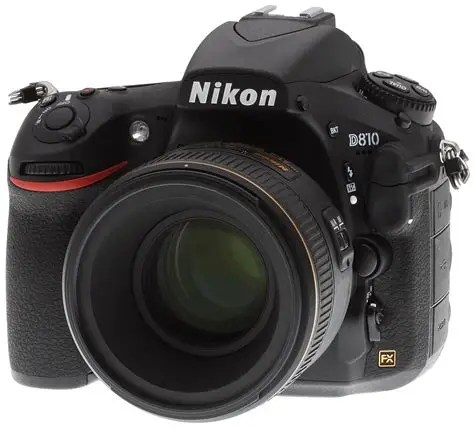
- Optical performance: High‑quality lenses deliver sharper images, better color rendition, and smoother bokeh. They can make even entry‑level camera bodies perform like professional tools.
- Low‑light capability: Expensive cameras often have larger sensors and better ISO performance, allowing clean images in dim conditions.
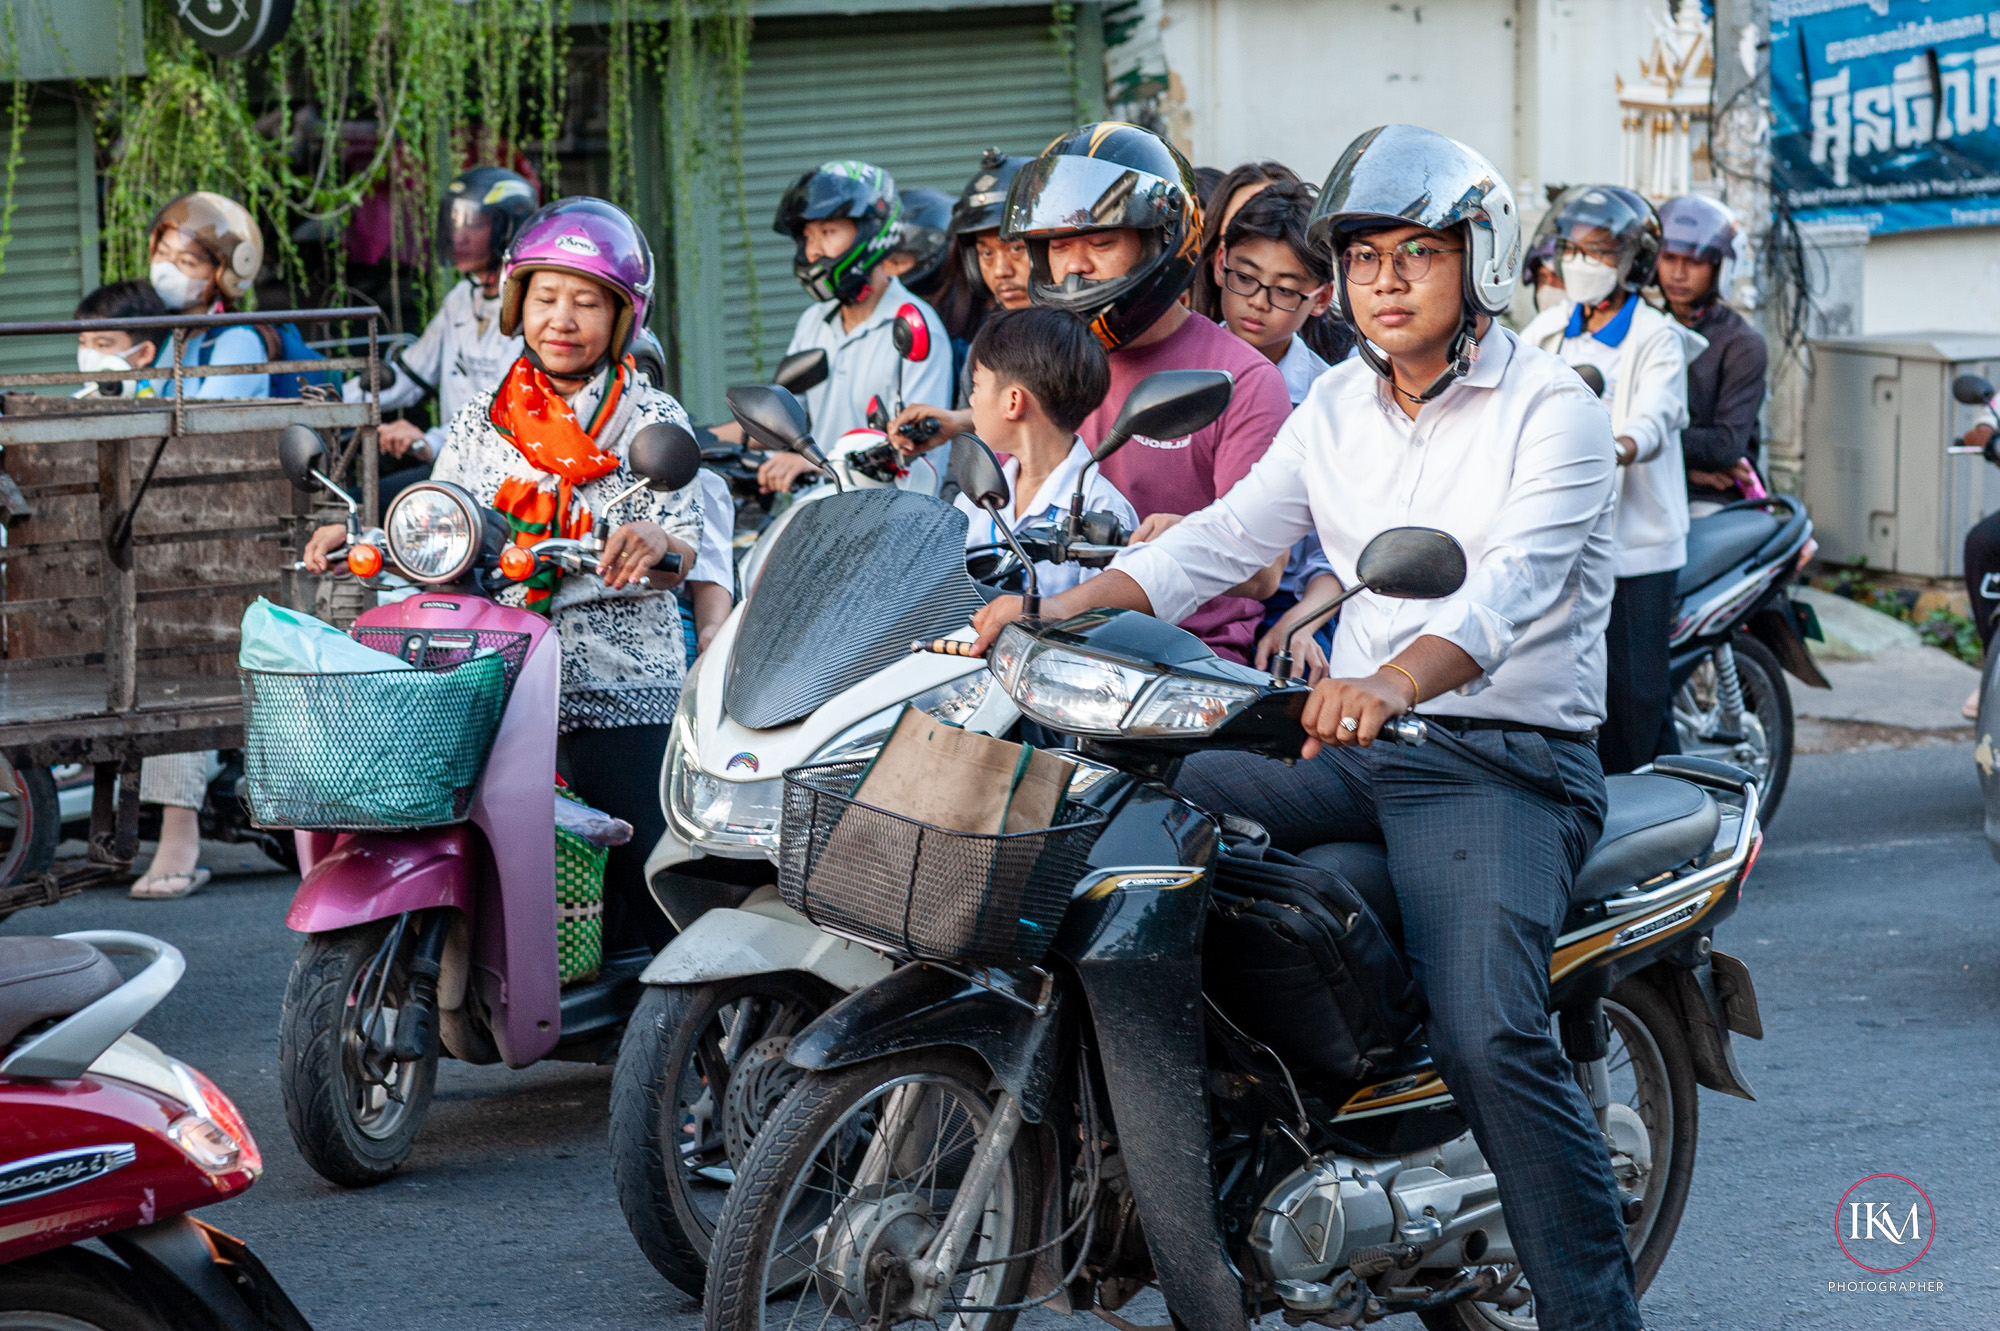
- Autofocus speed & accuracy: Modern lenses and cameras track subjects more reliably, especially in sports or wildlife photography.
- Durability: Professional gear is often weather‑sealed and built to withstand heavy use.
⚠️ The Limits of Gear
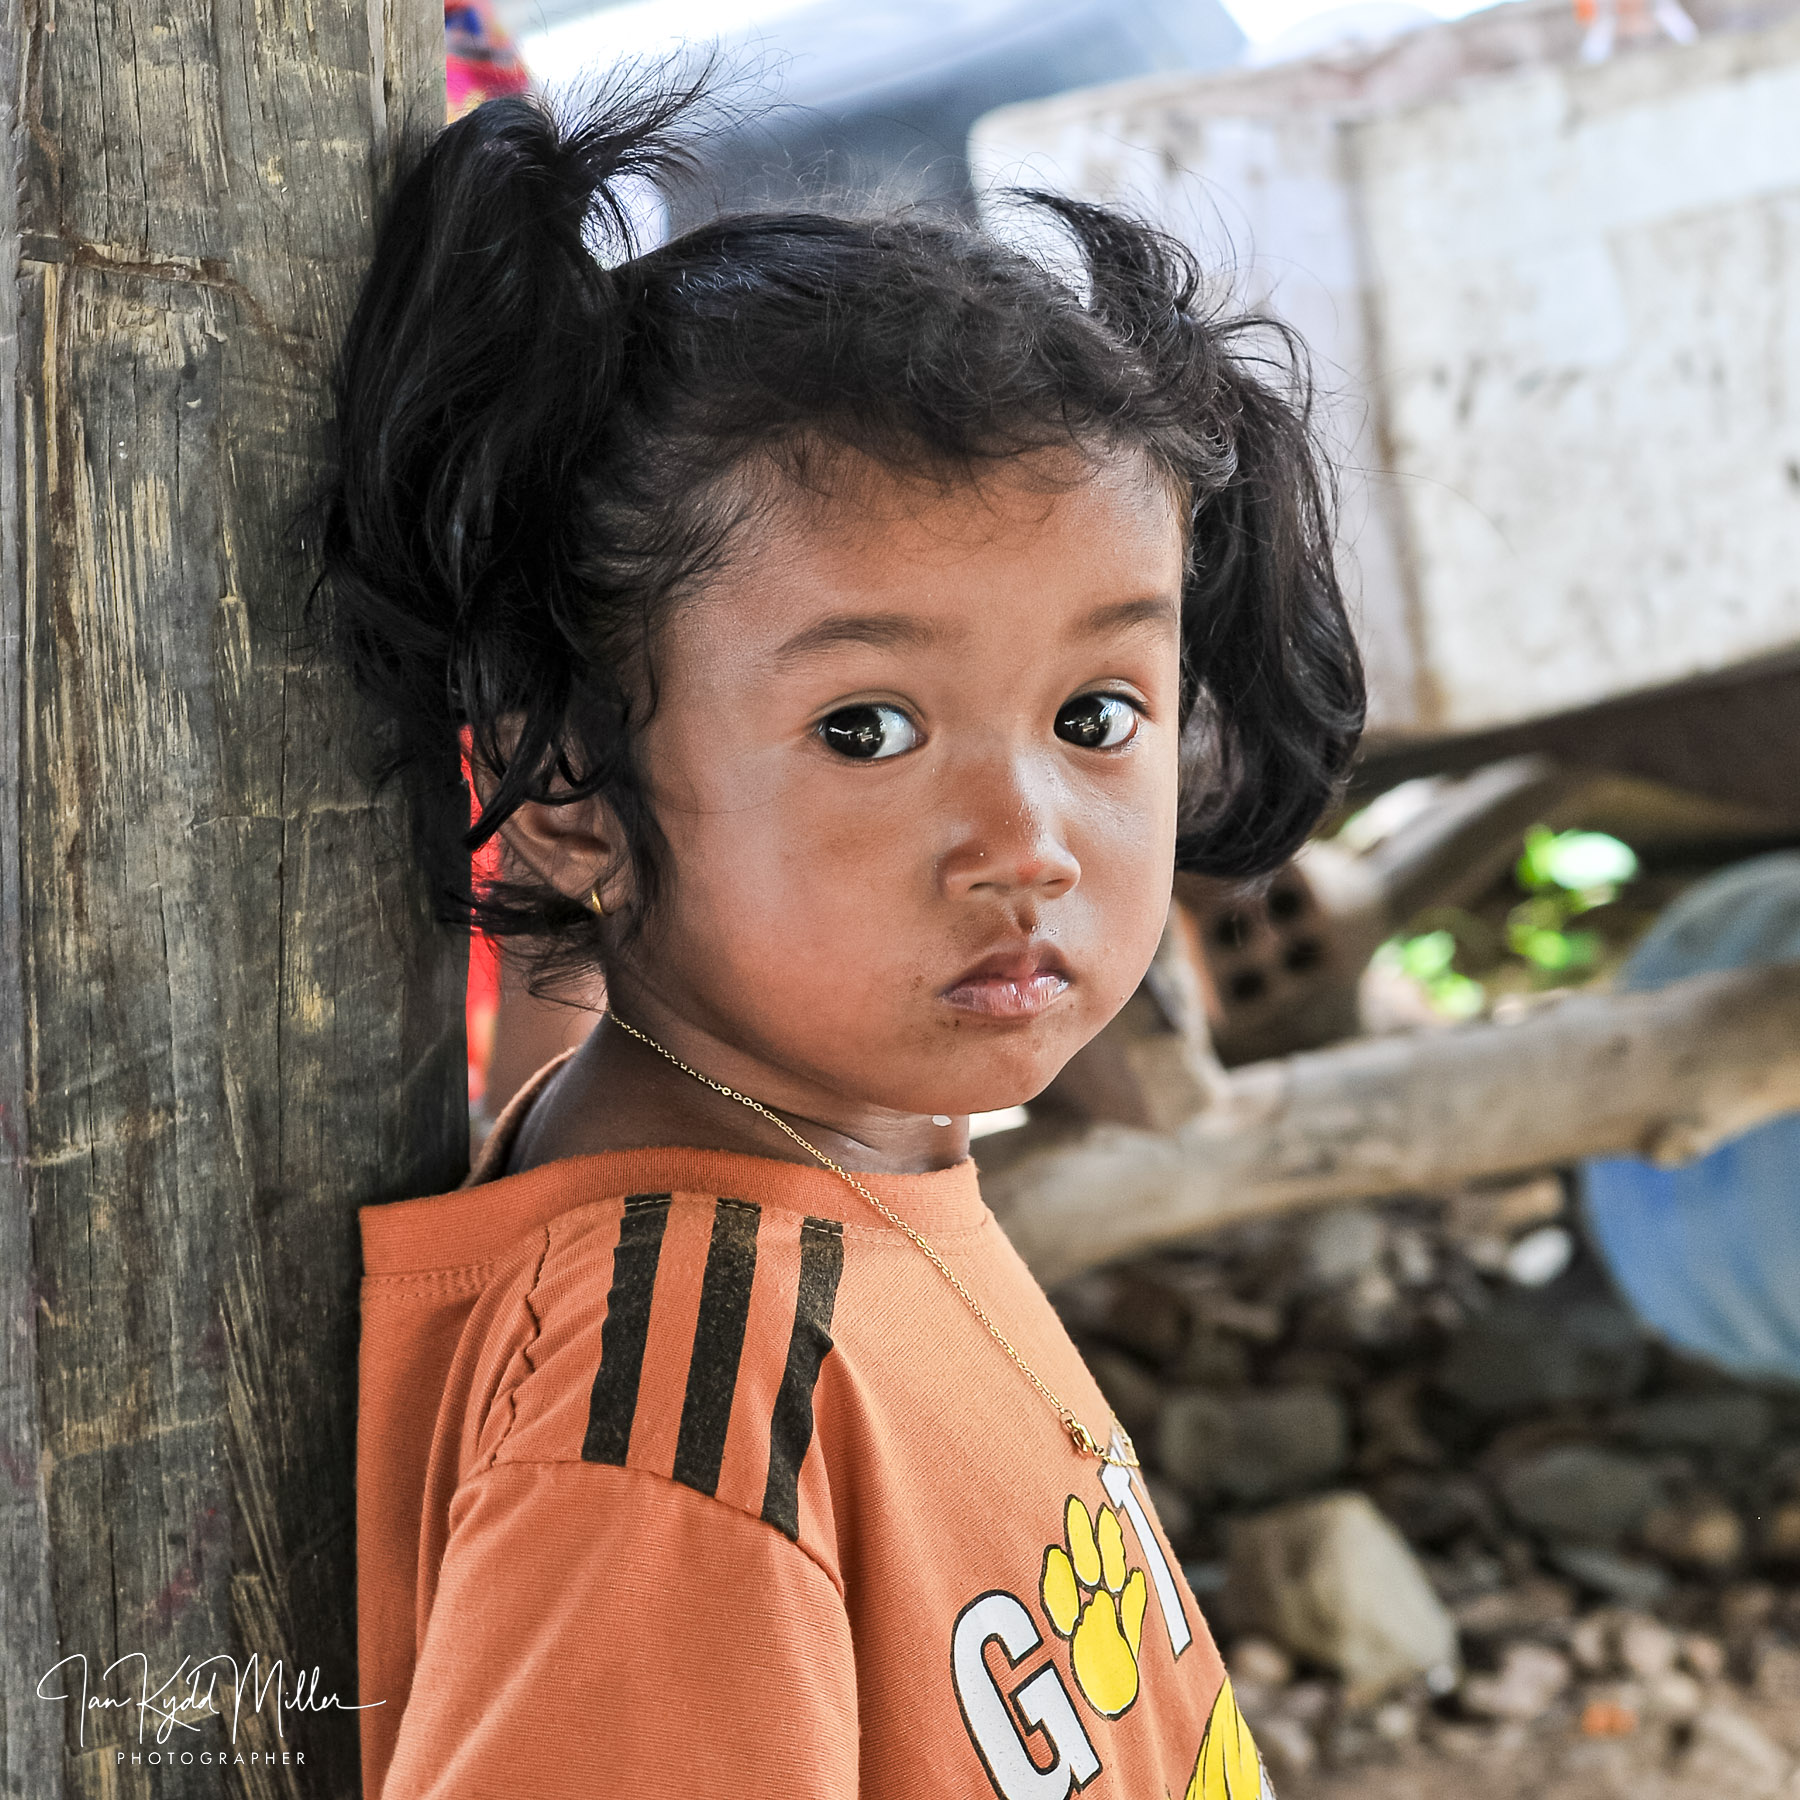
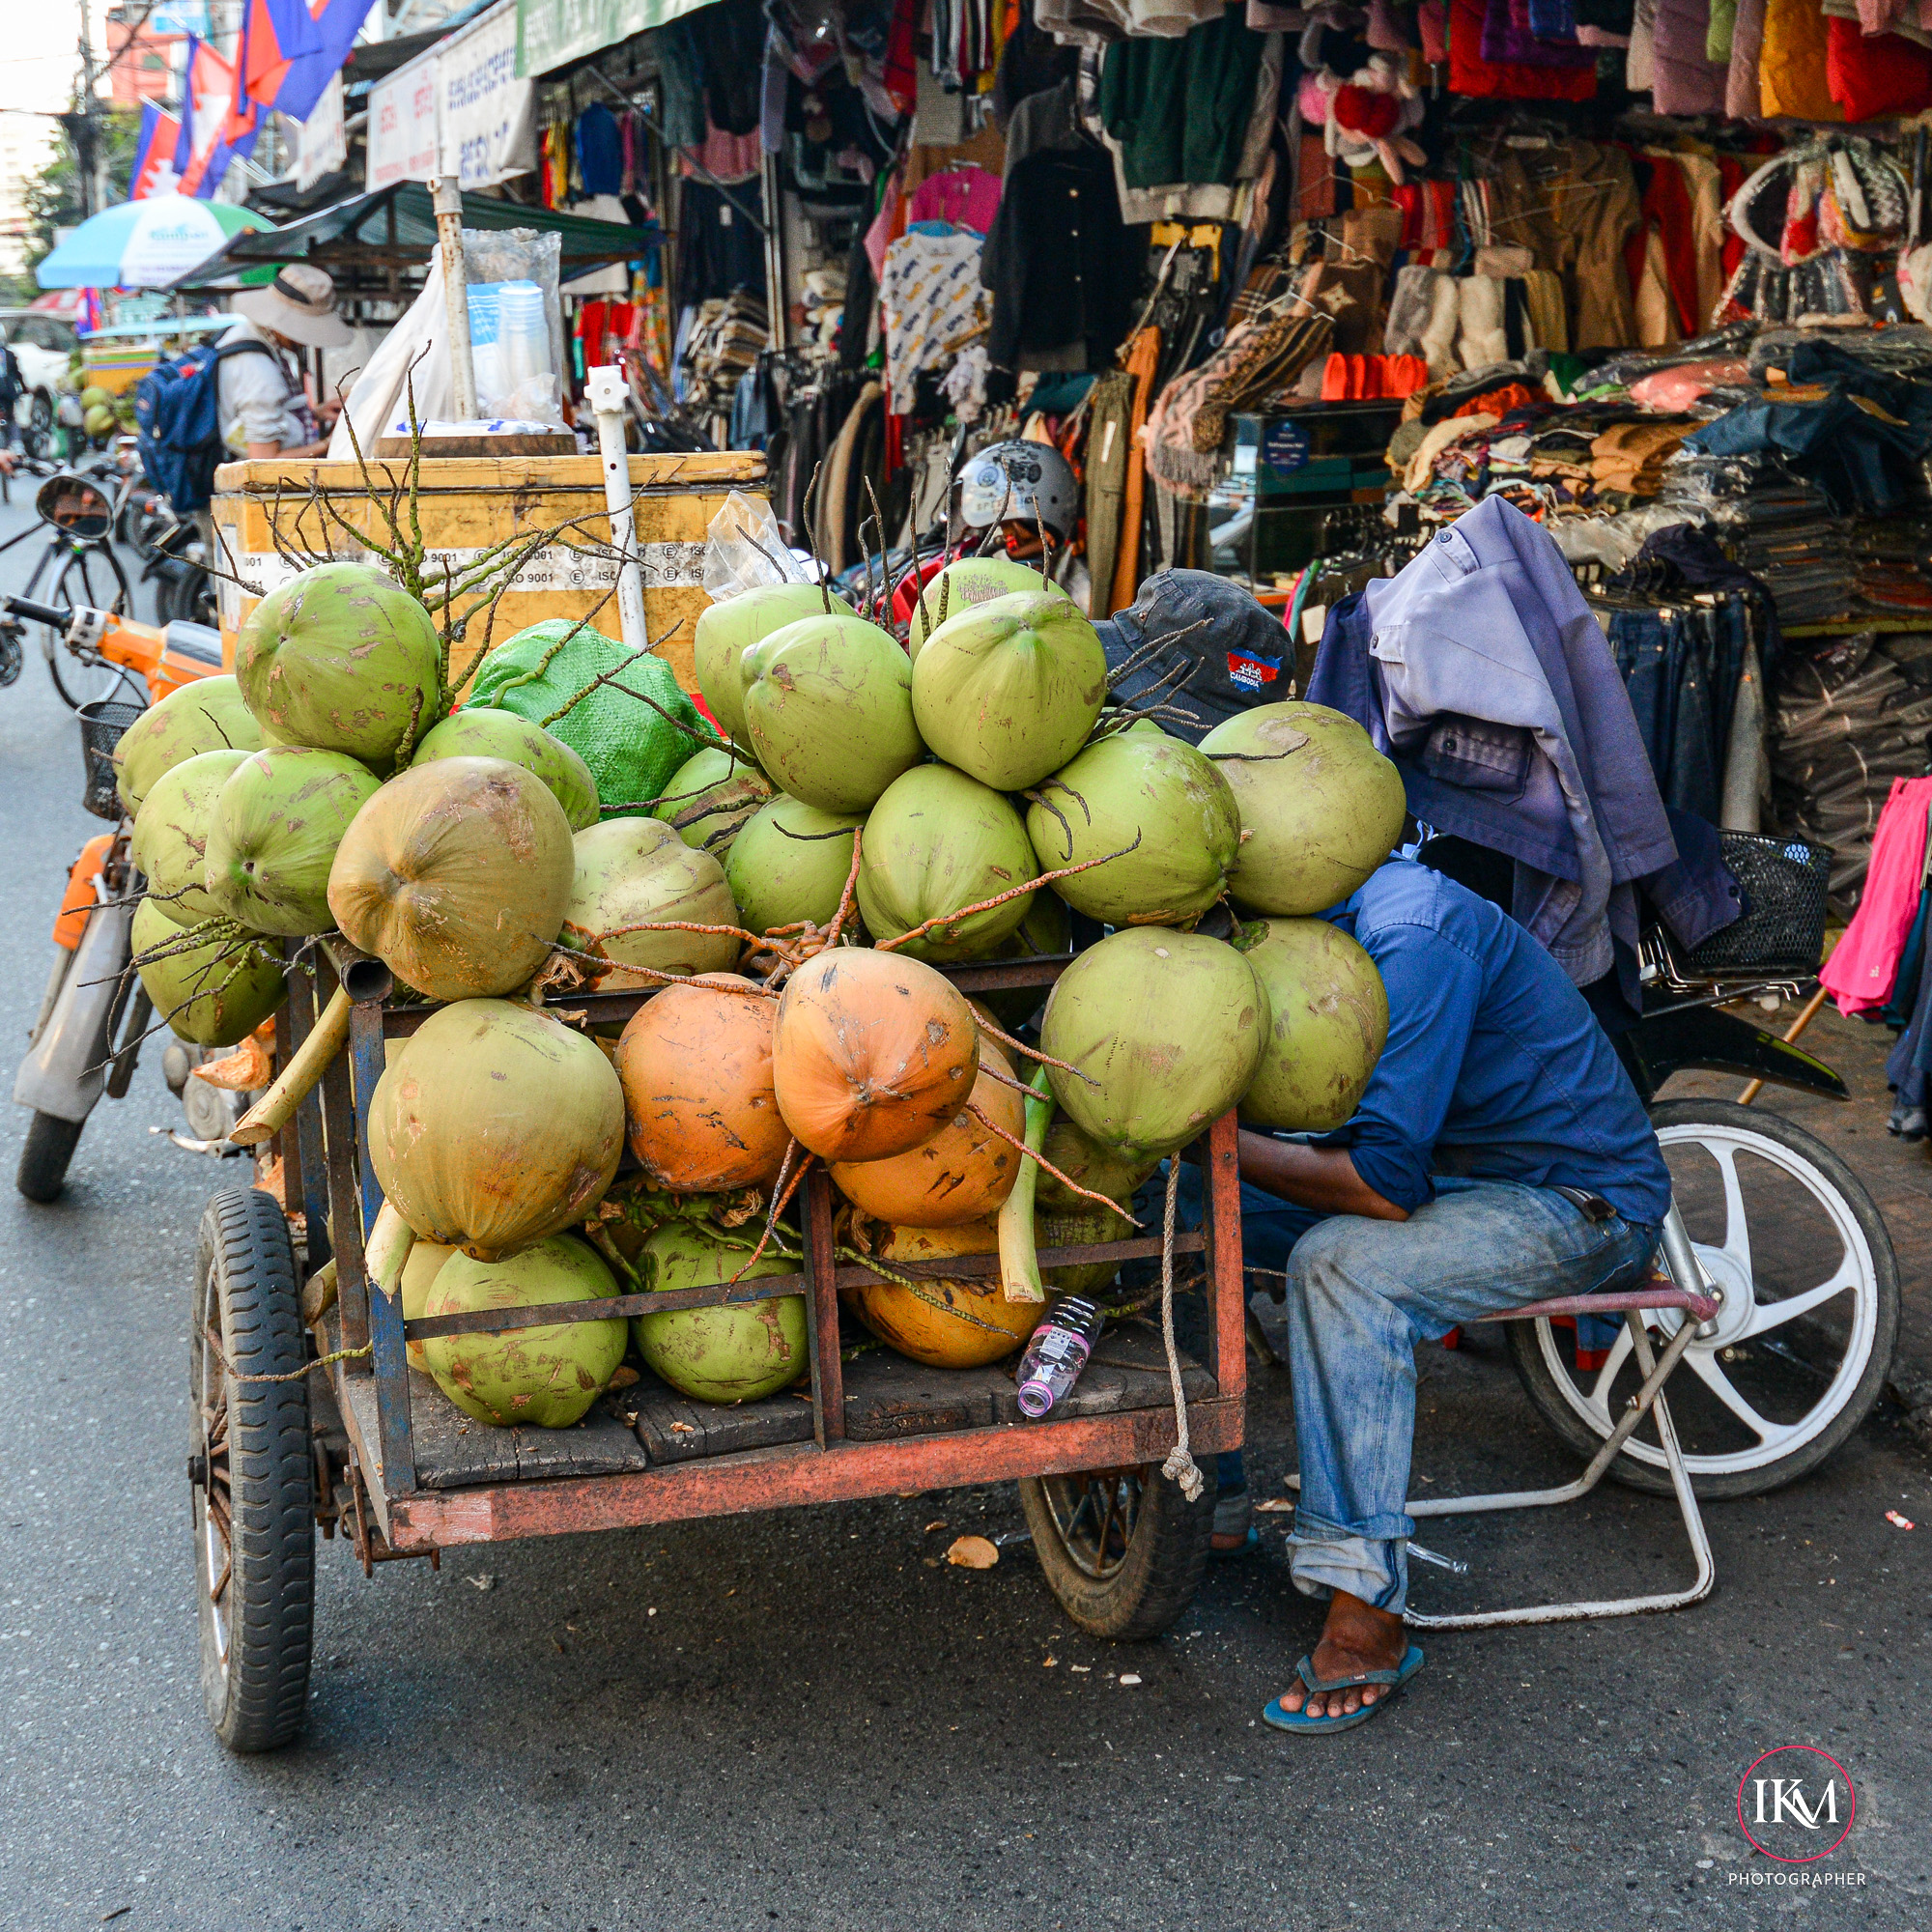
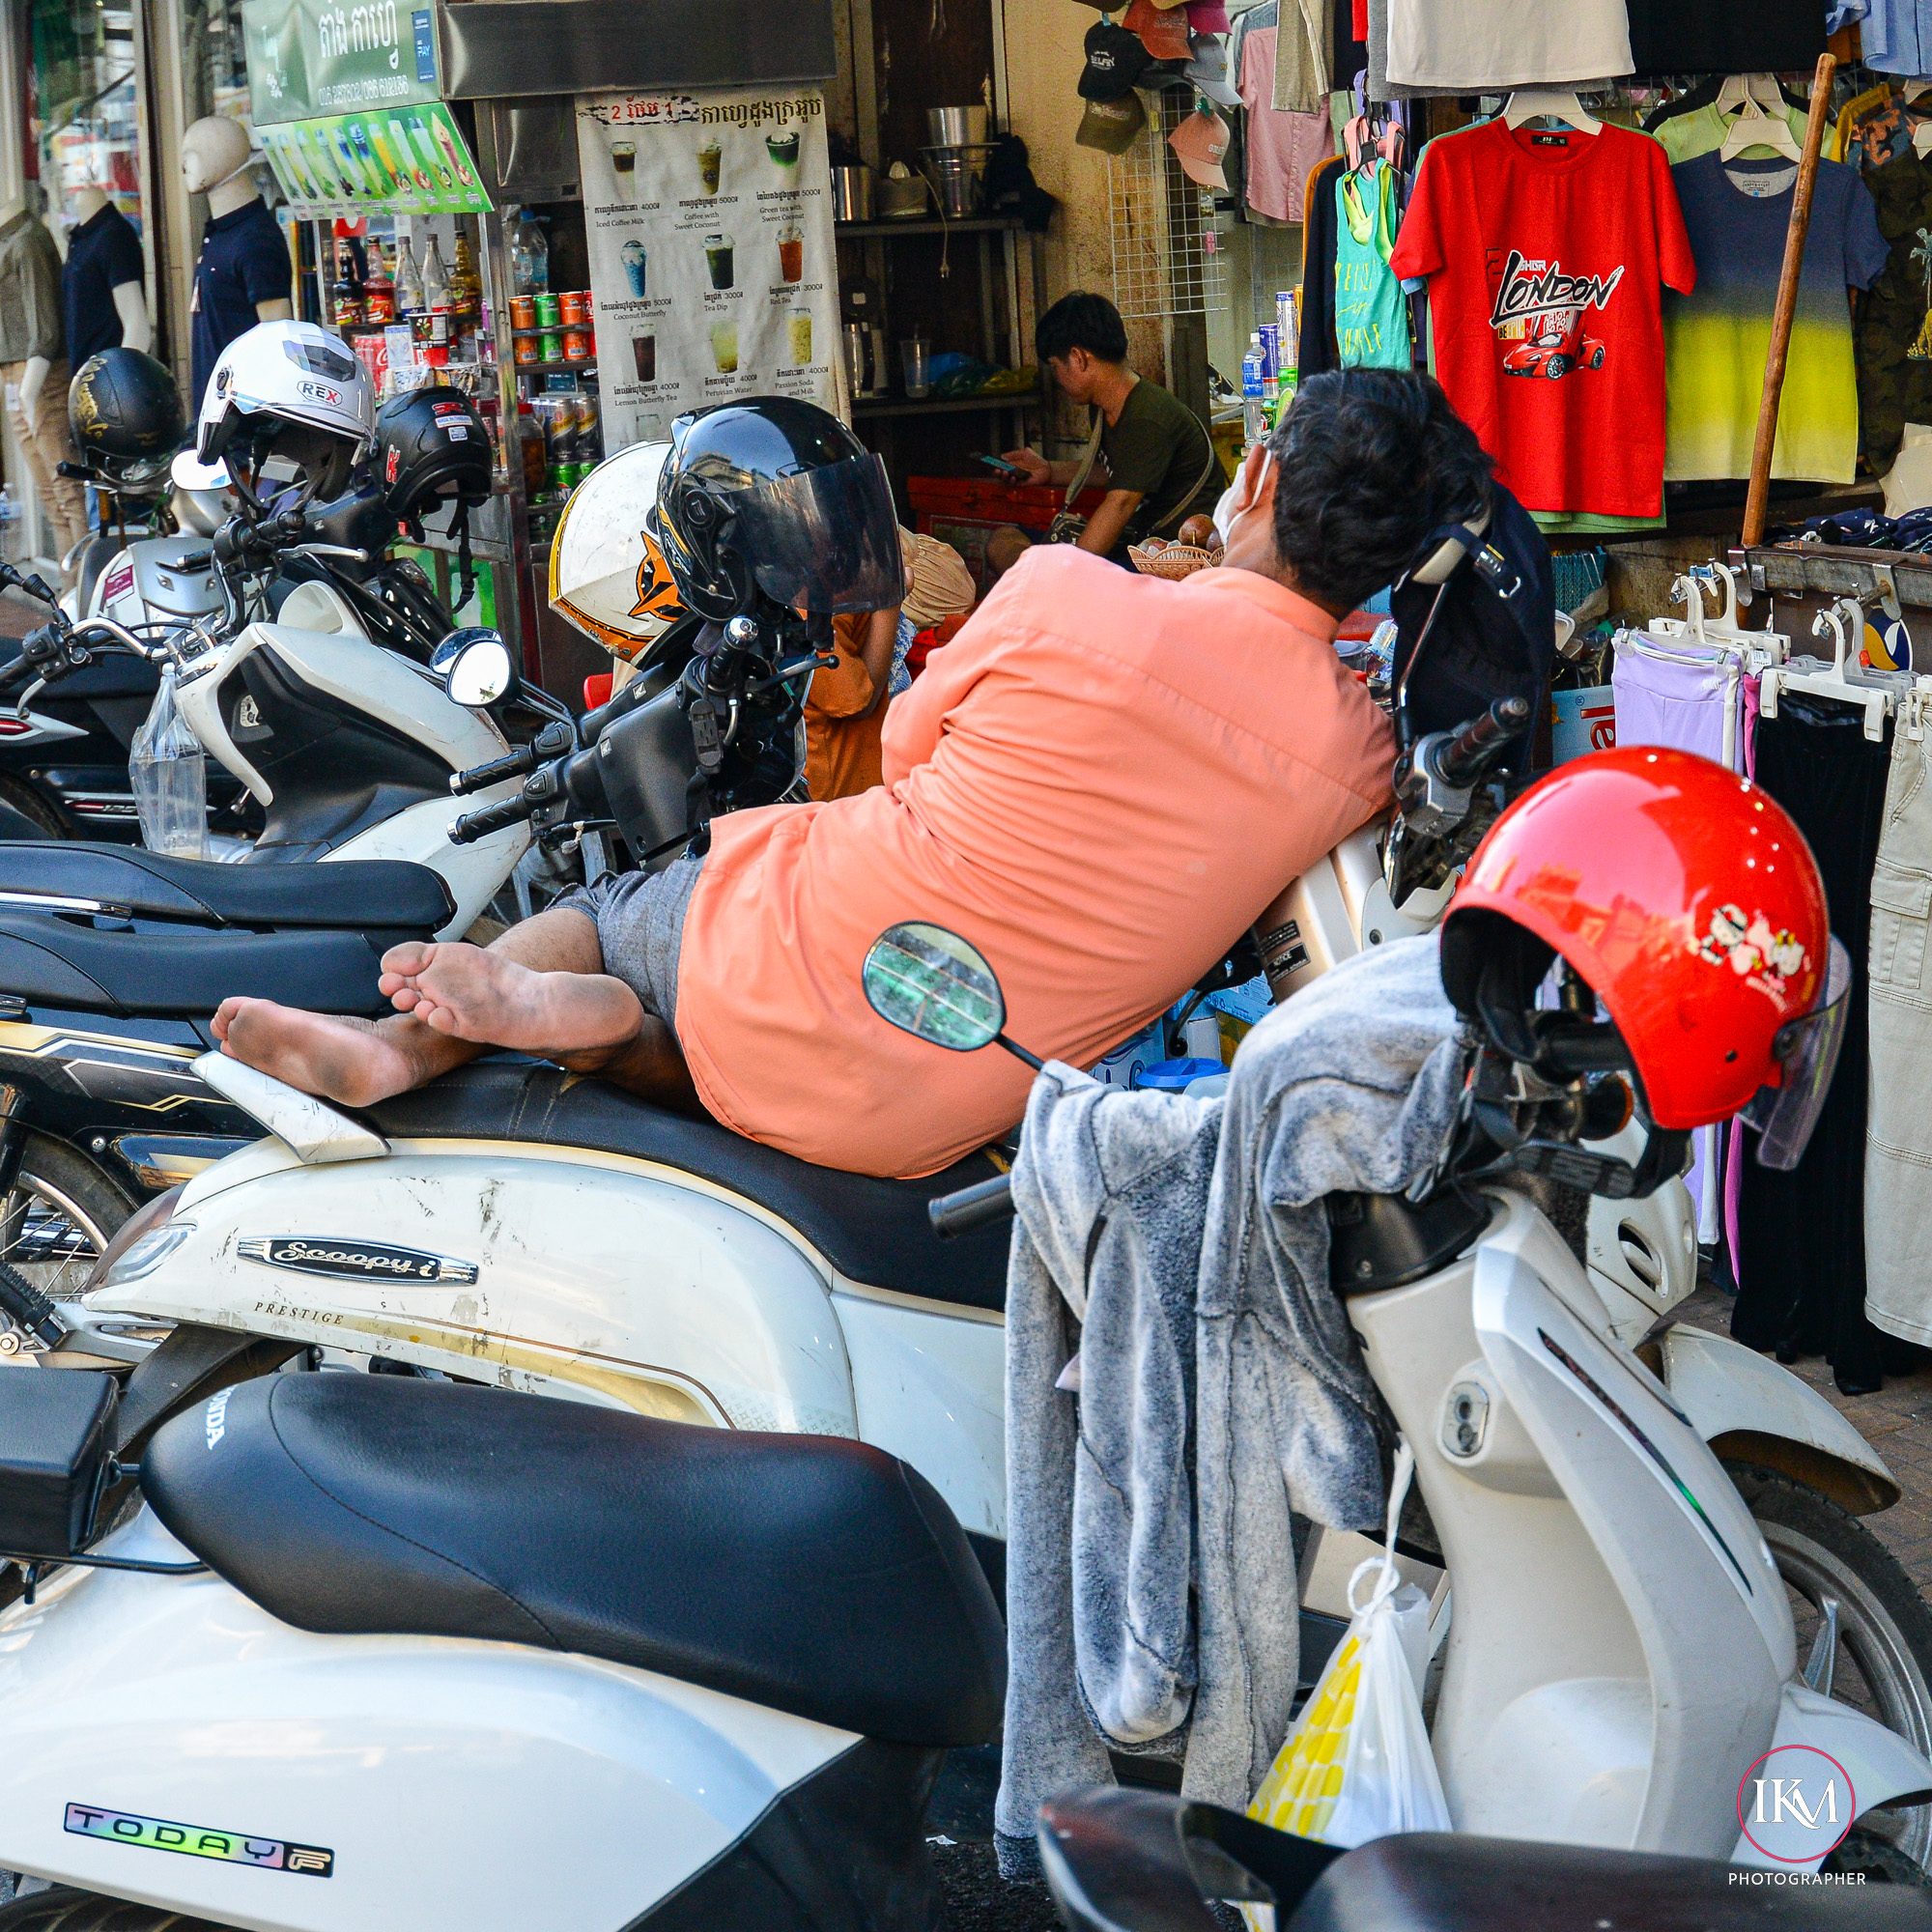
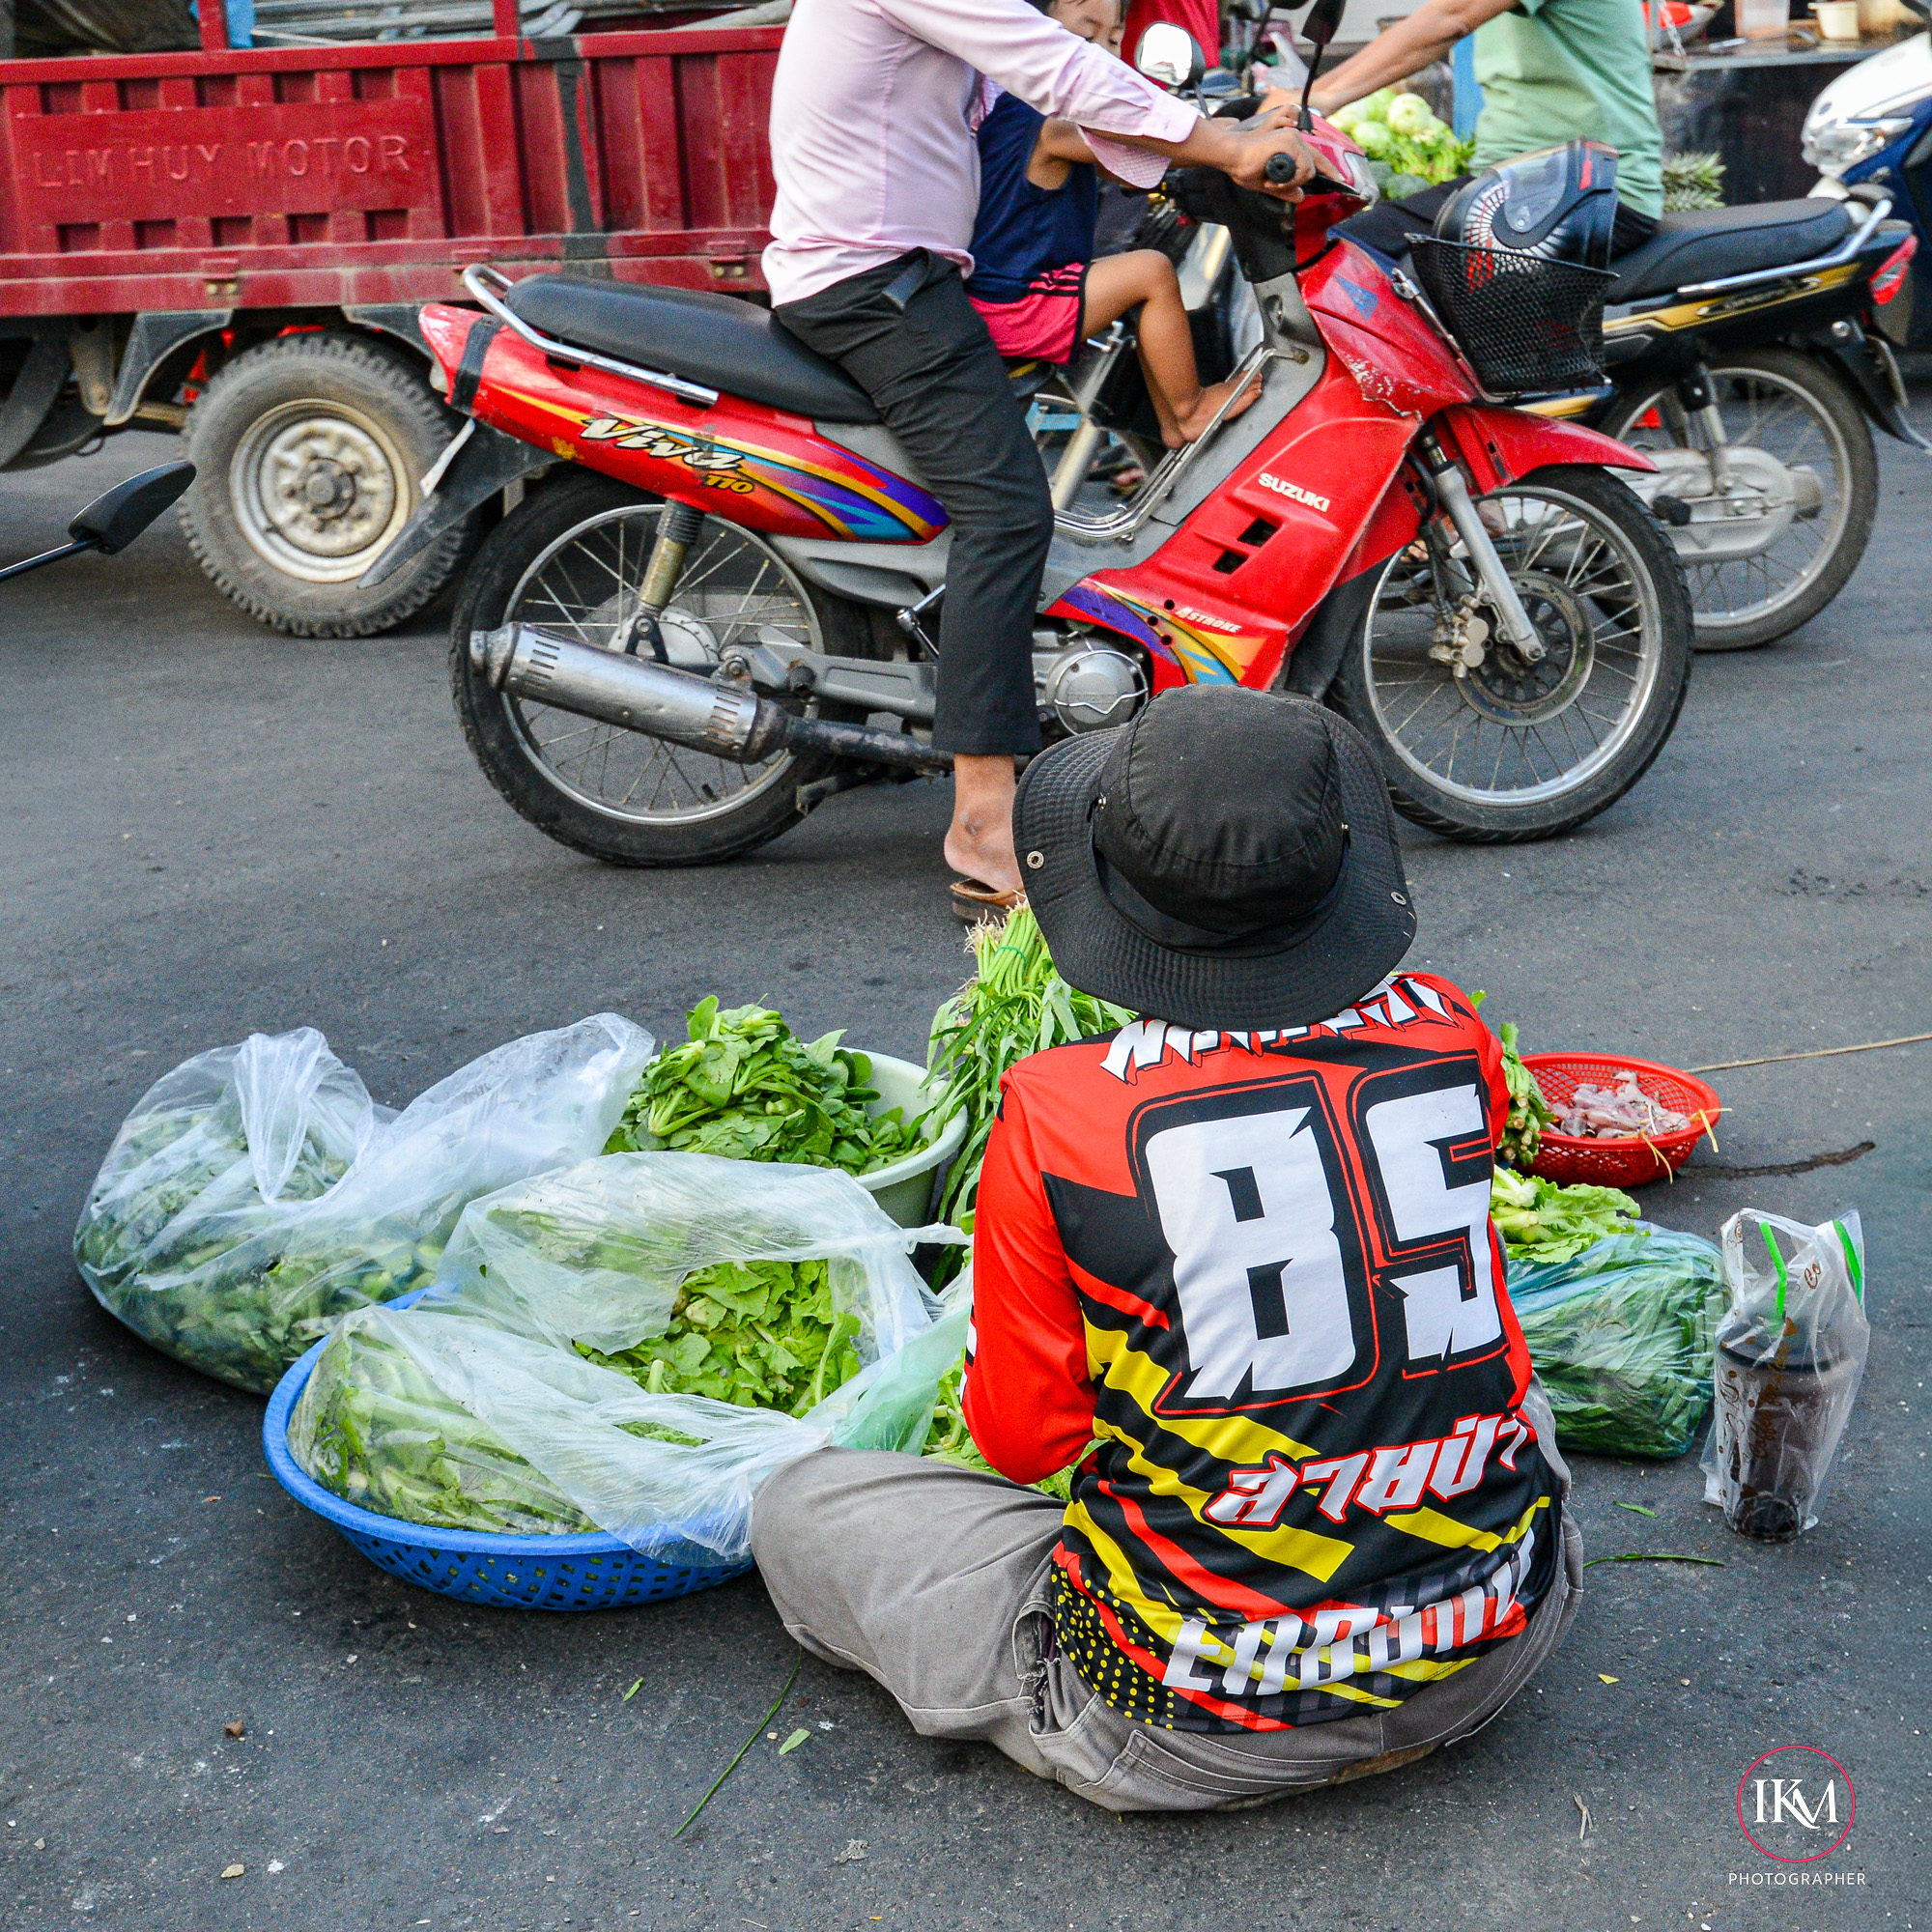
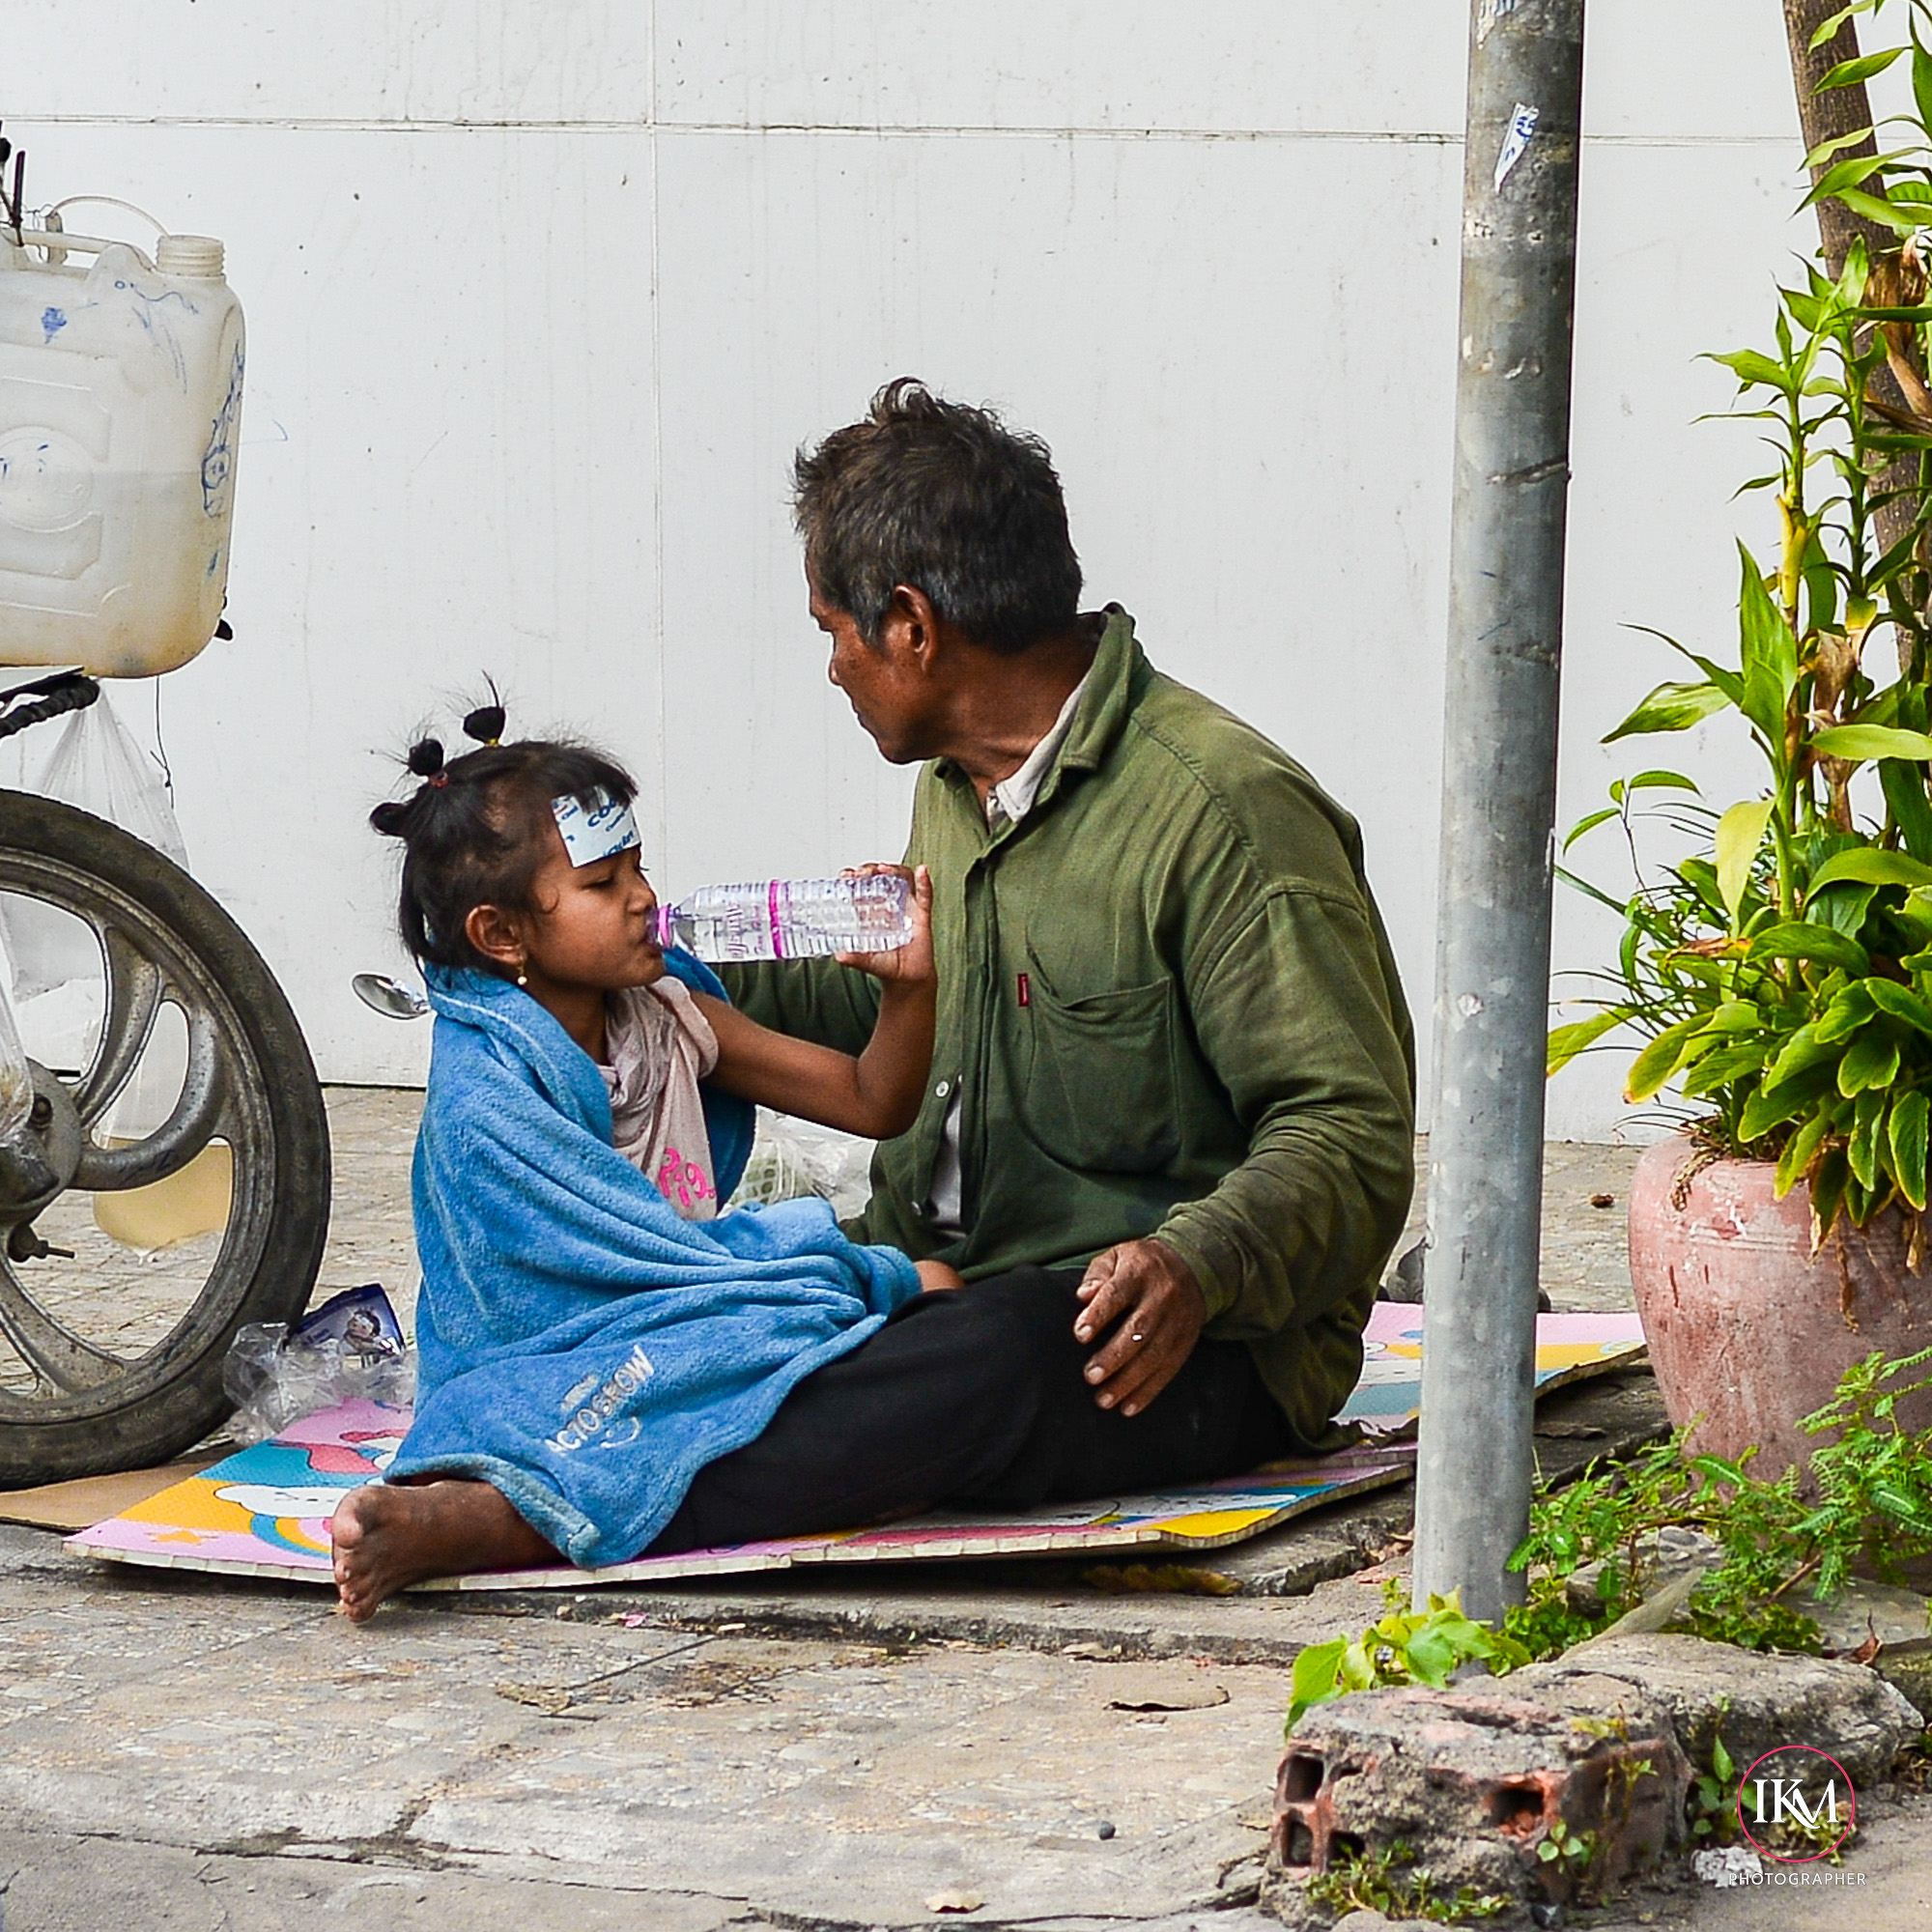
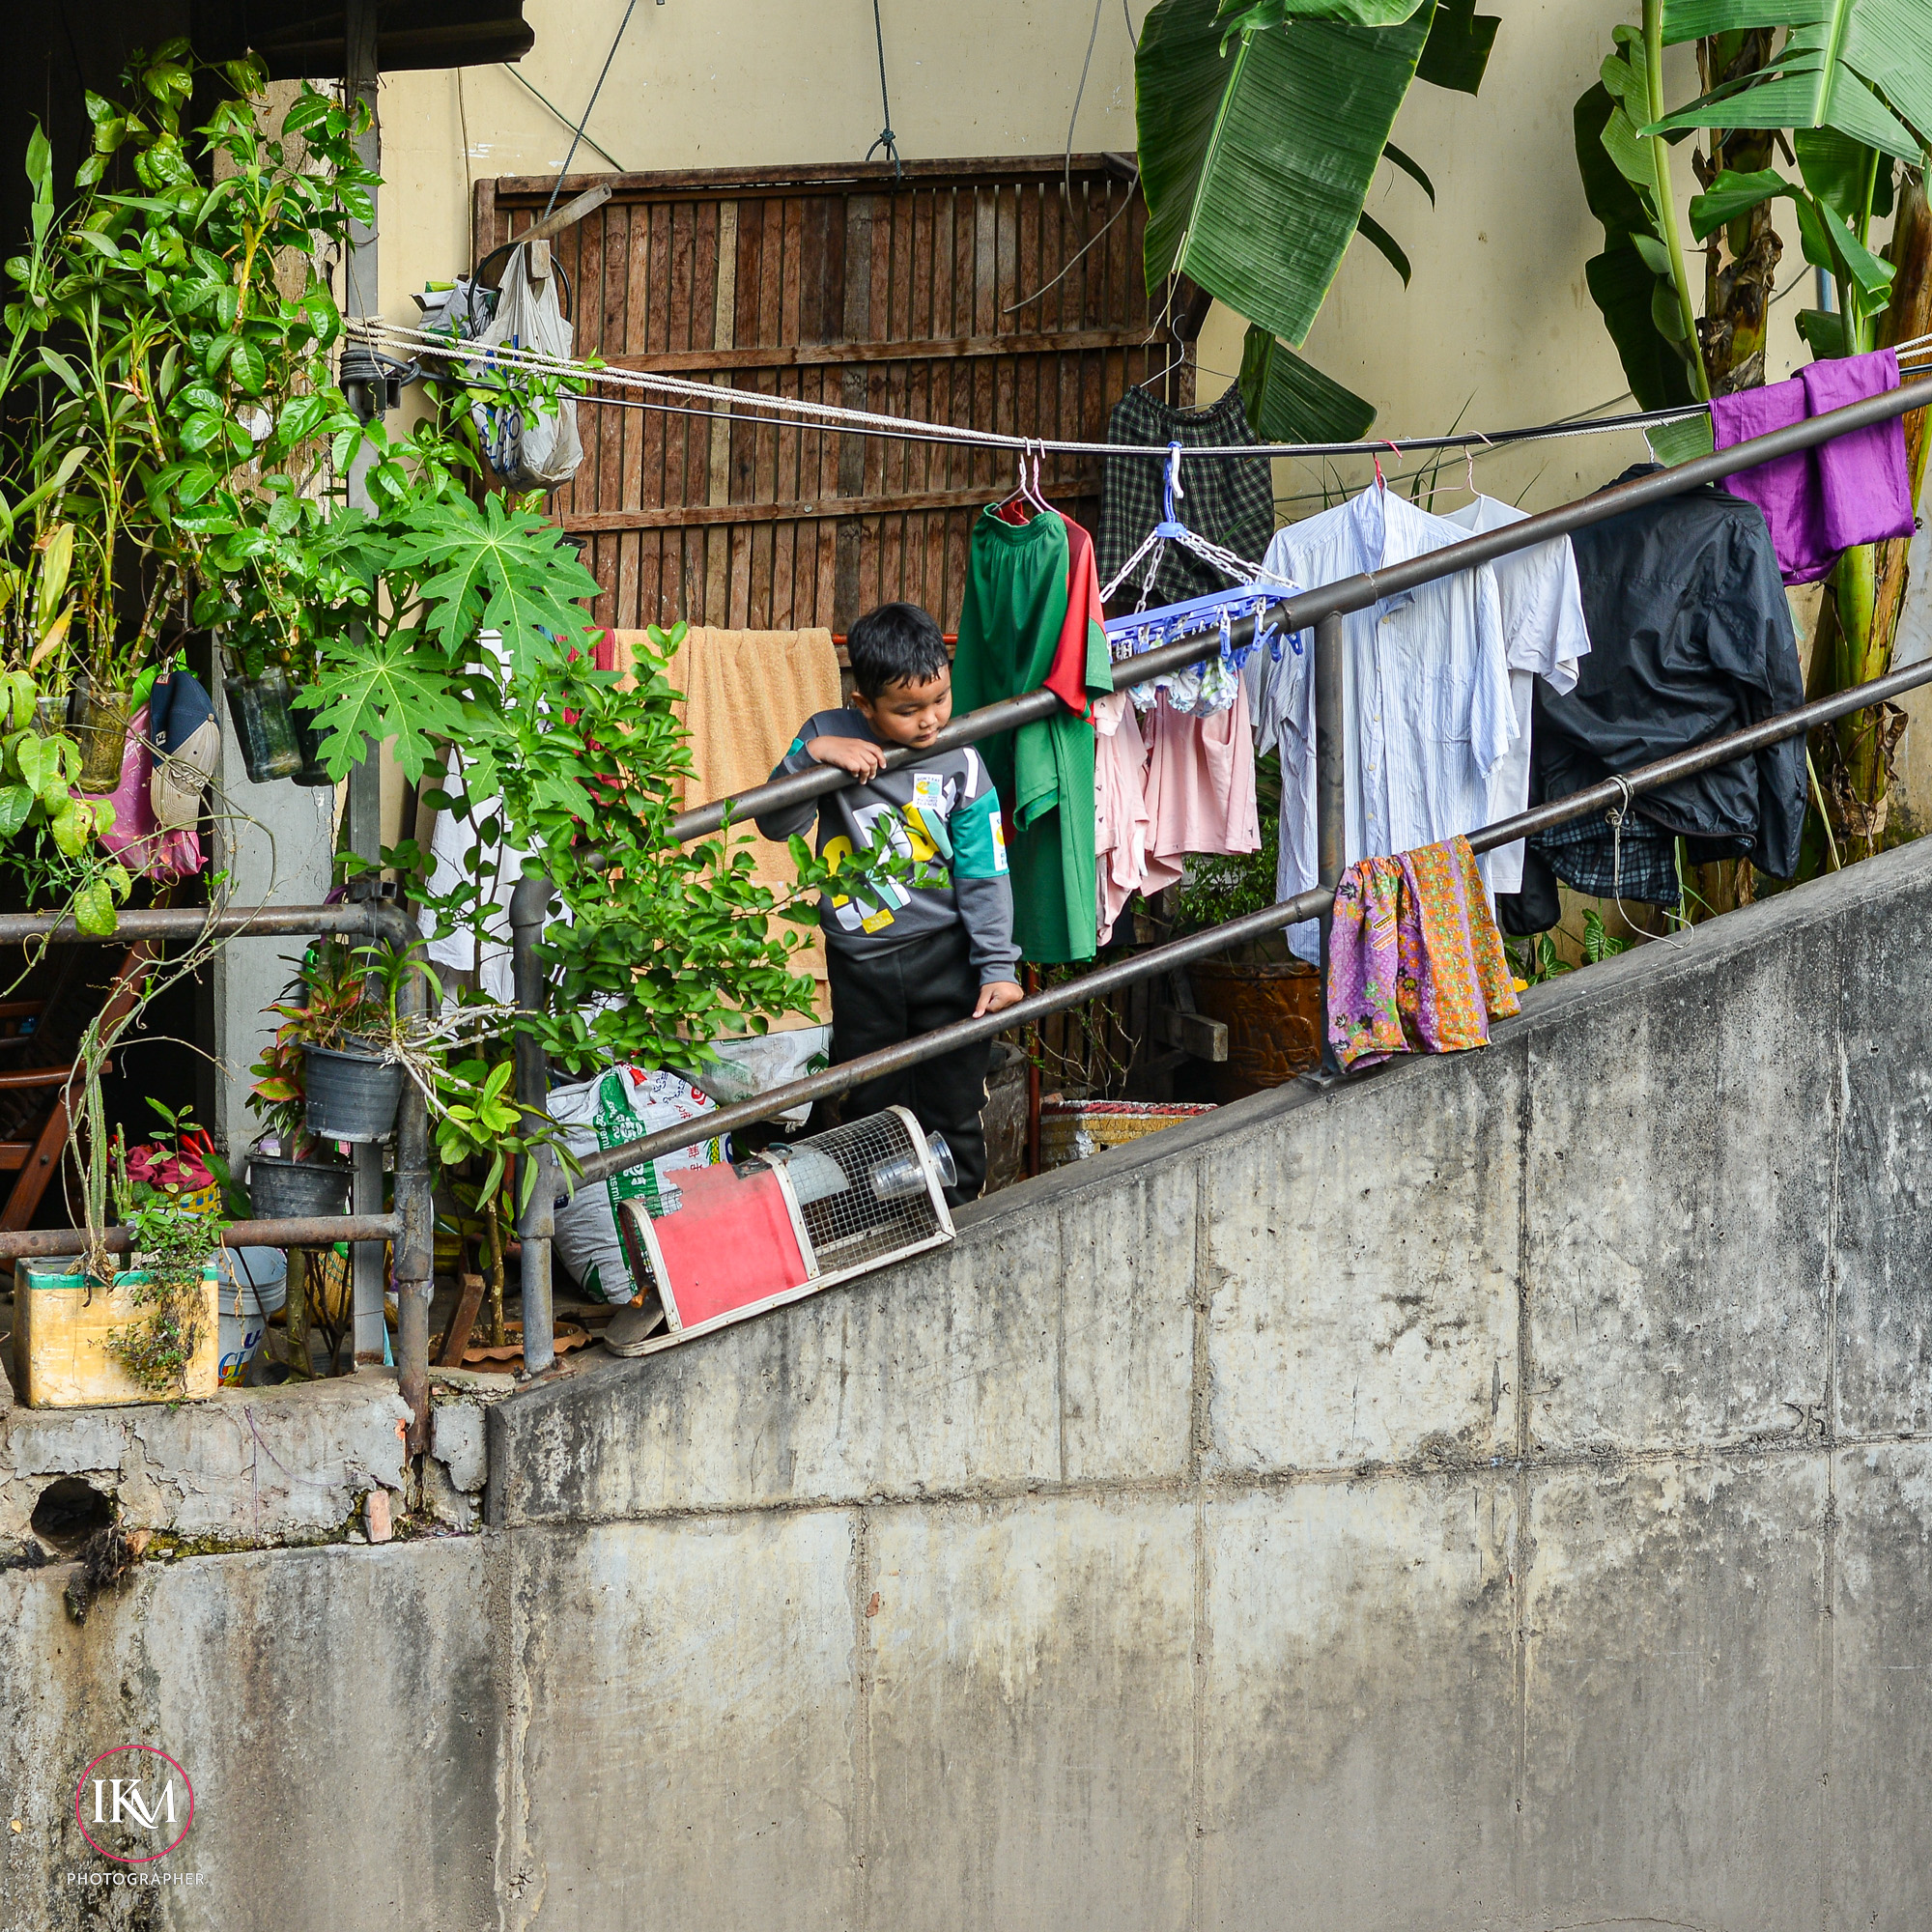
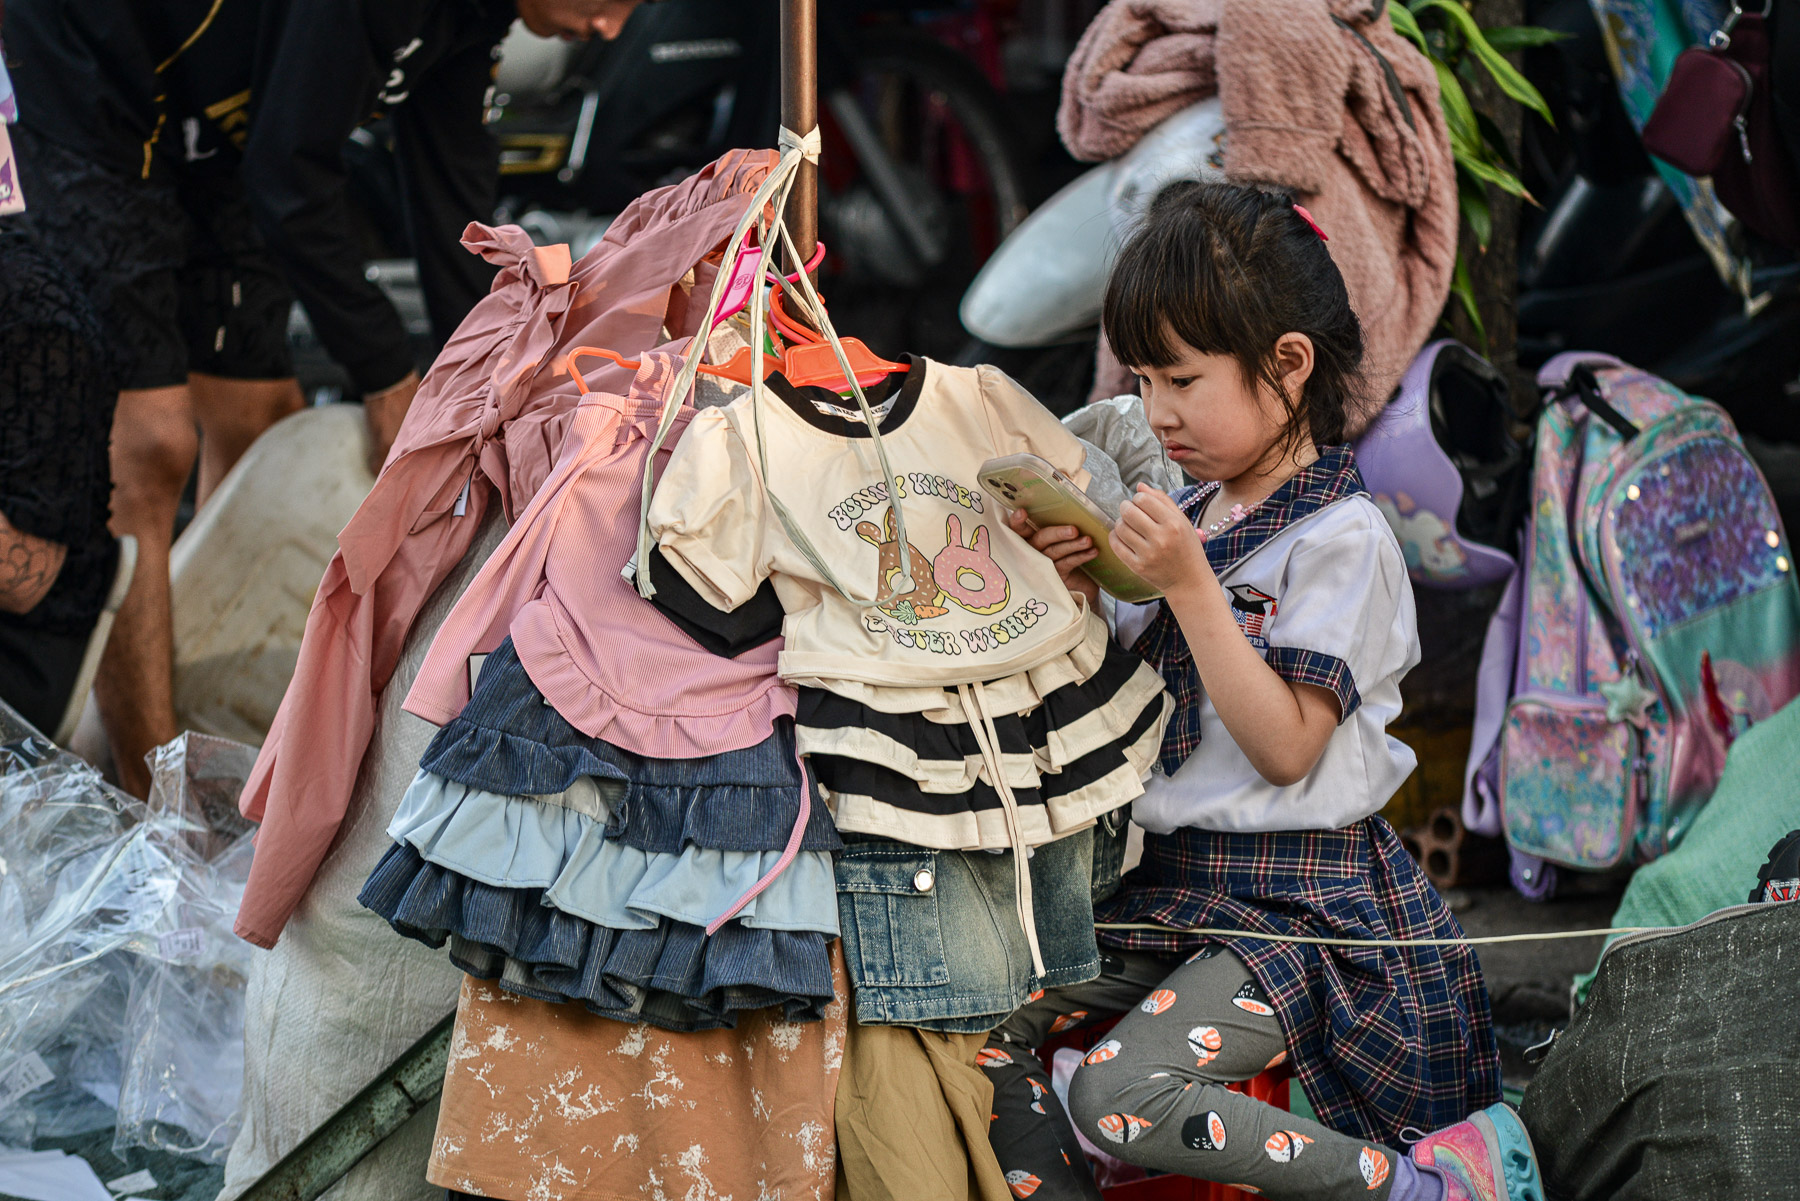
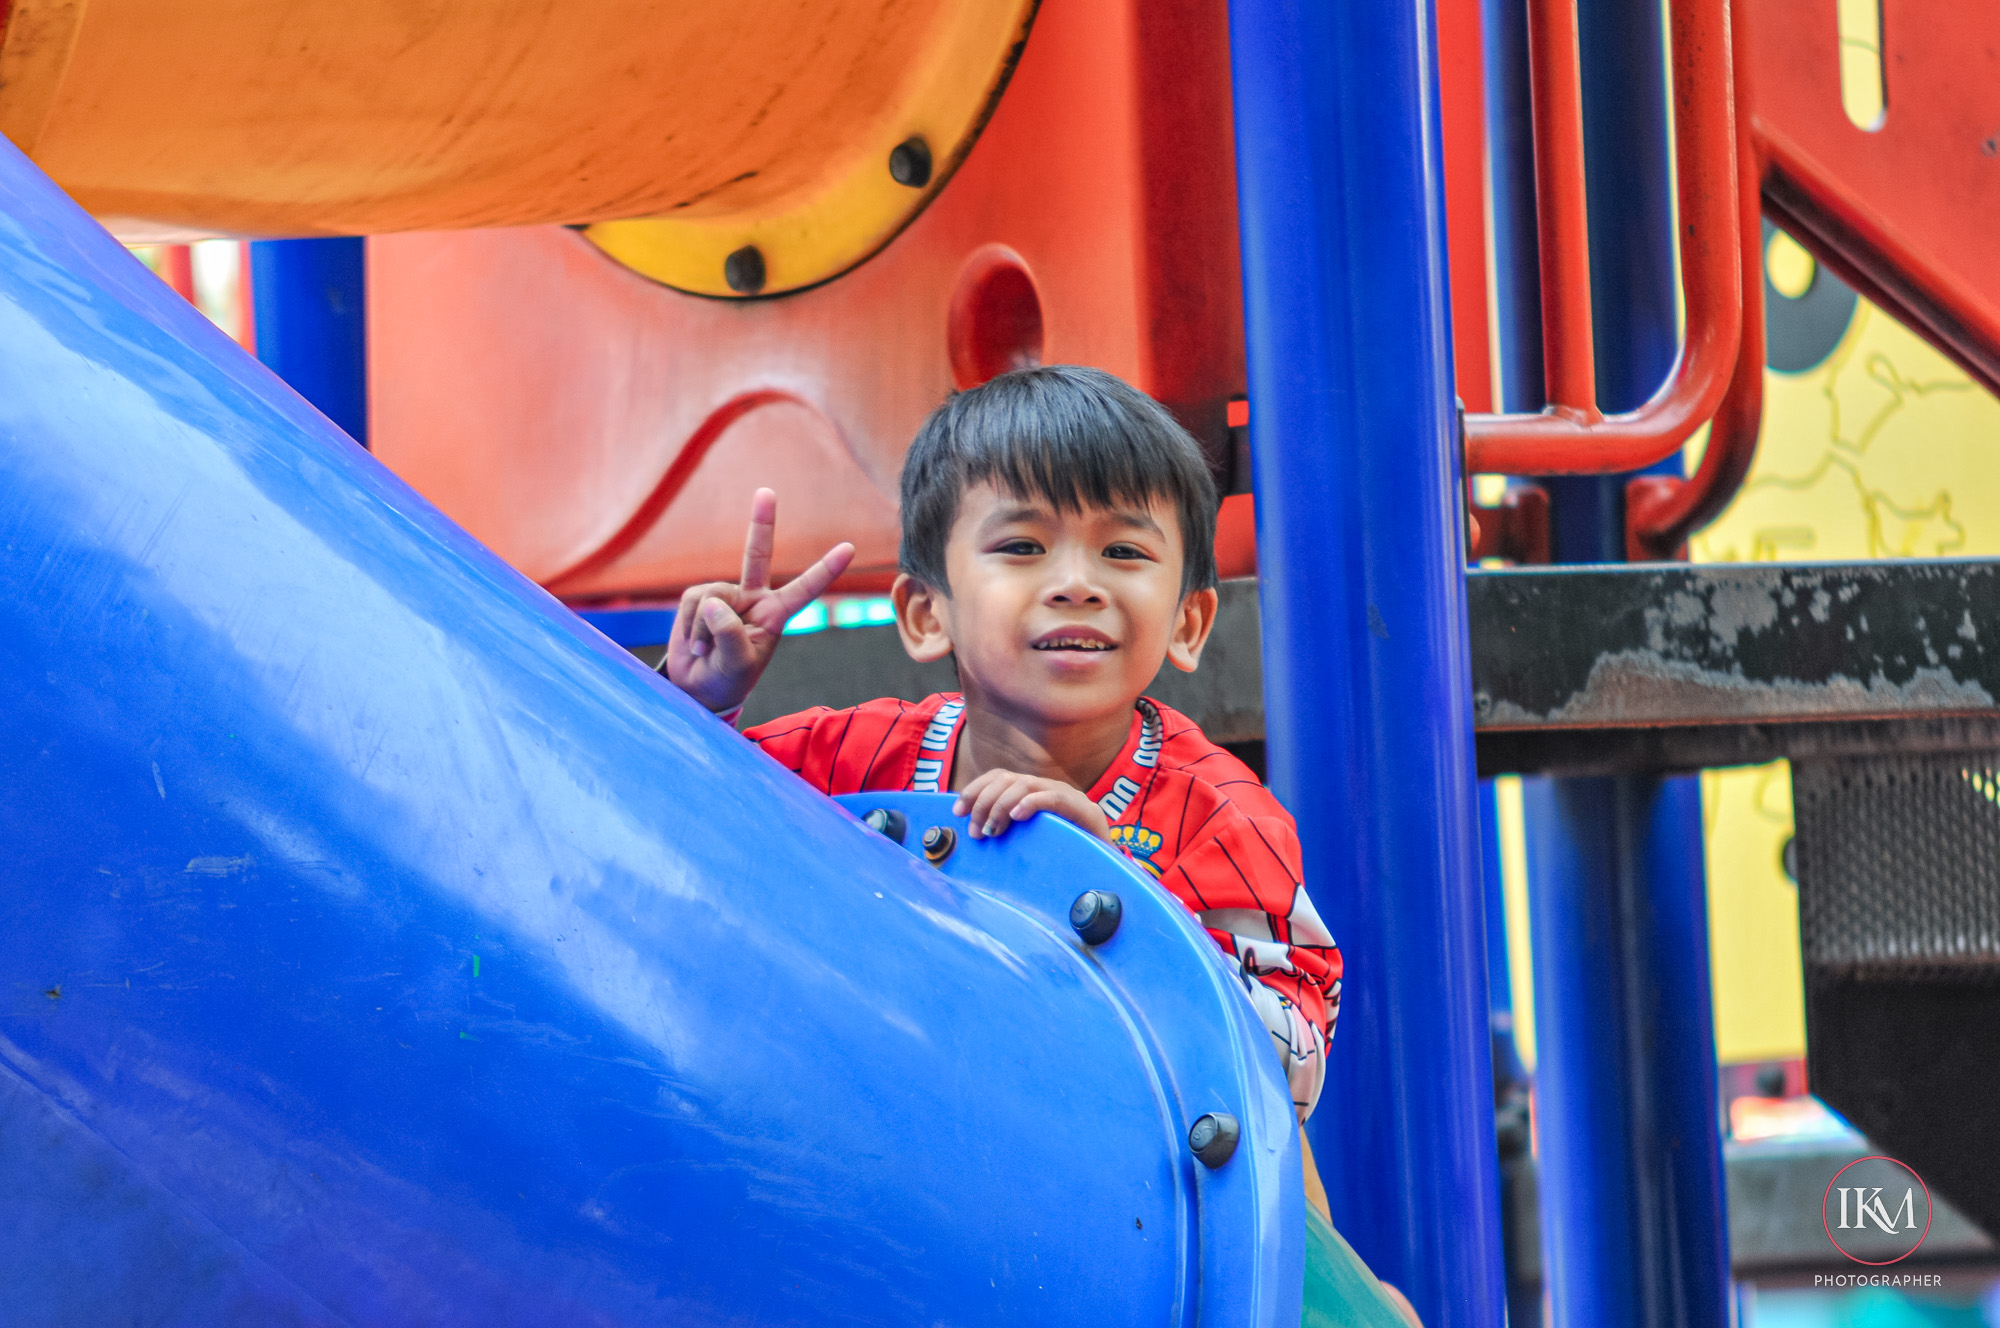
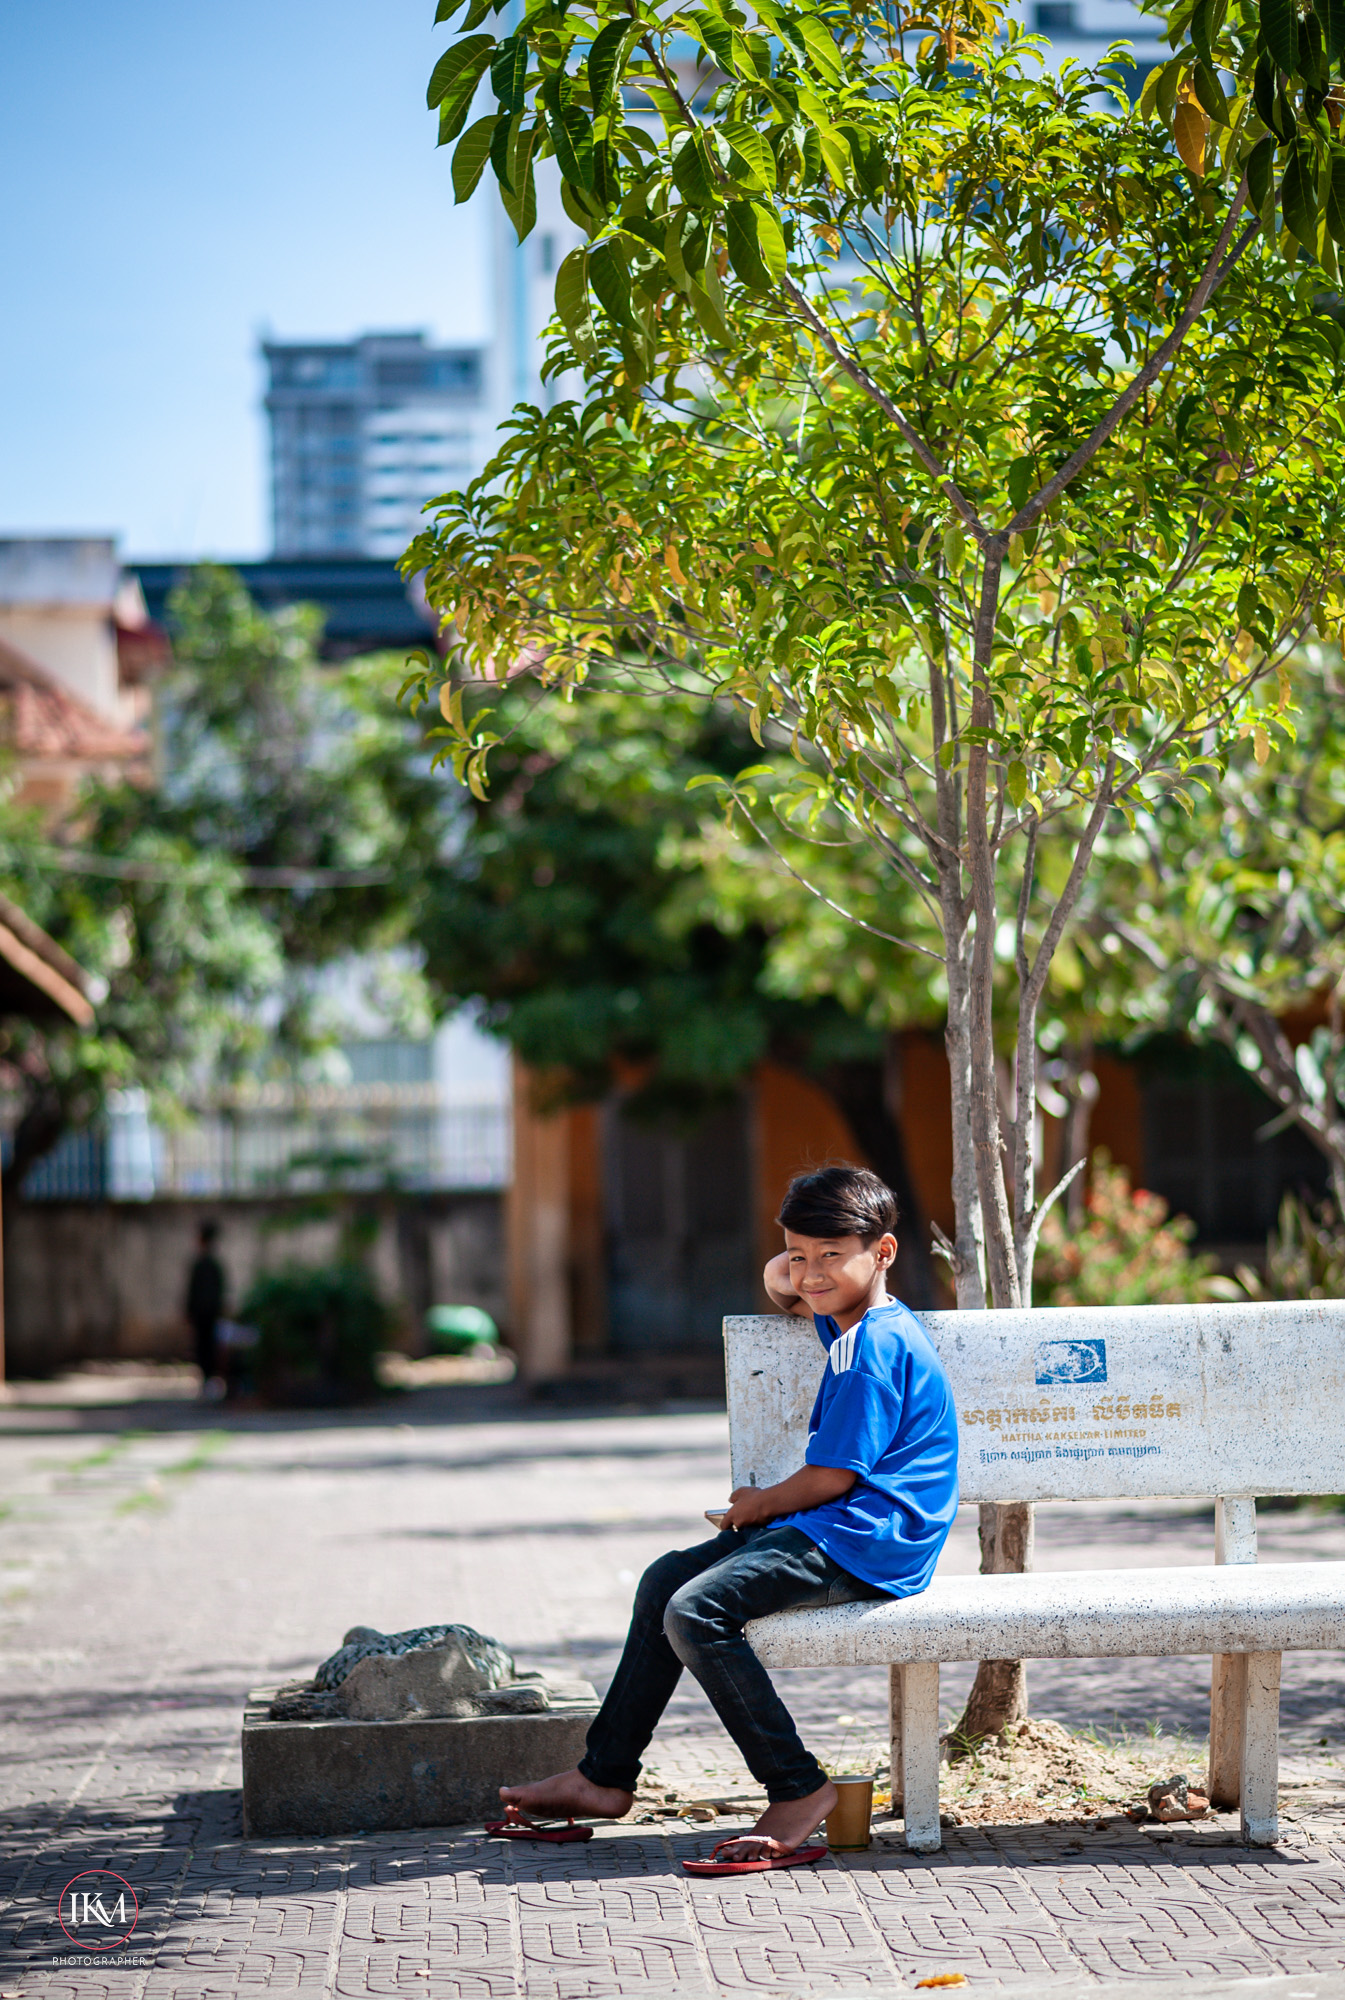
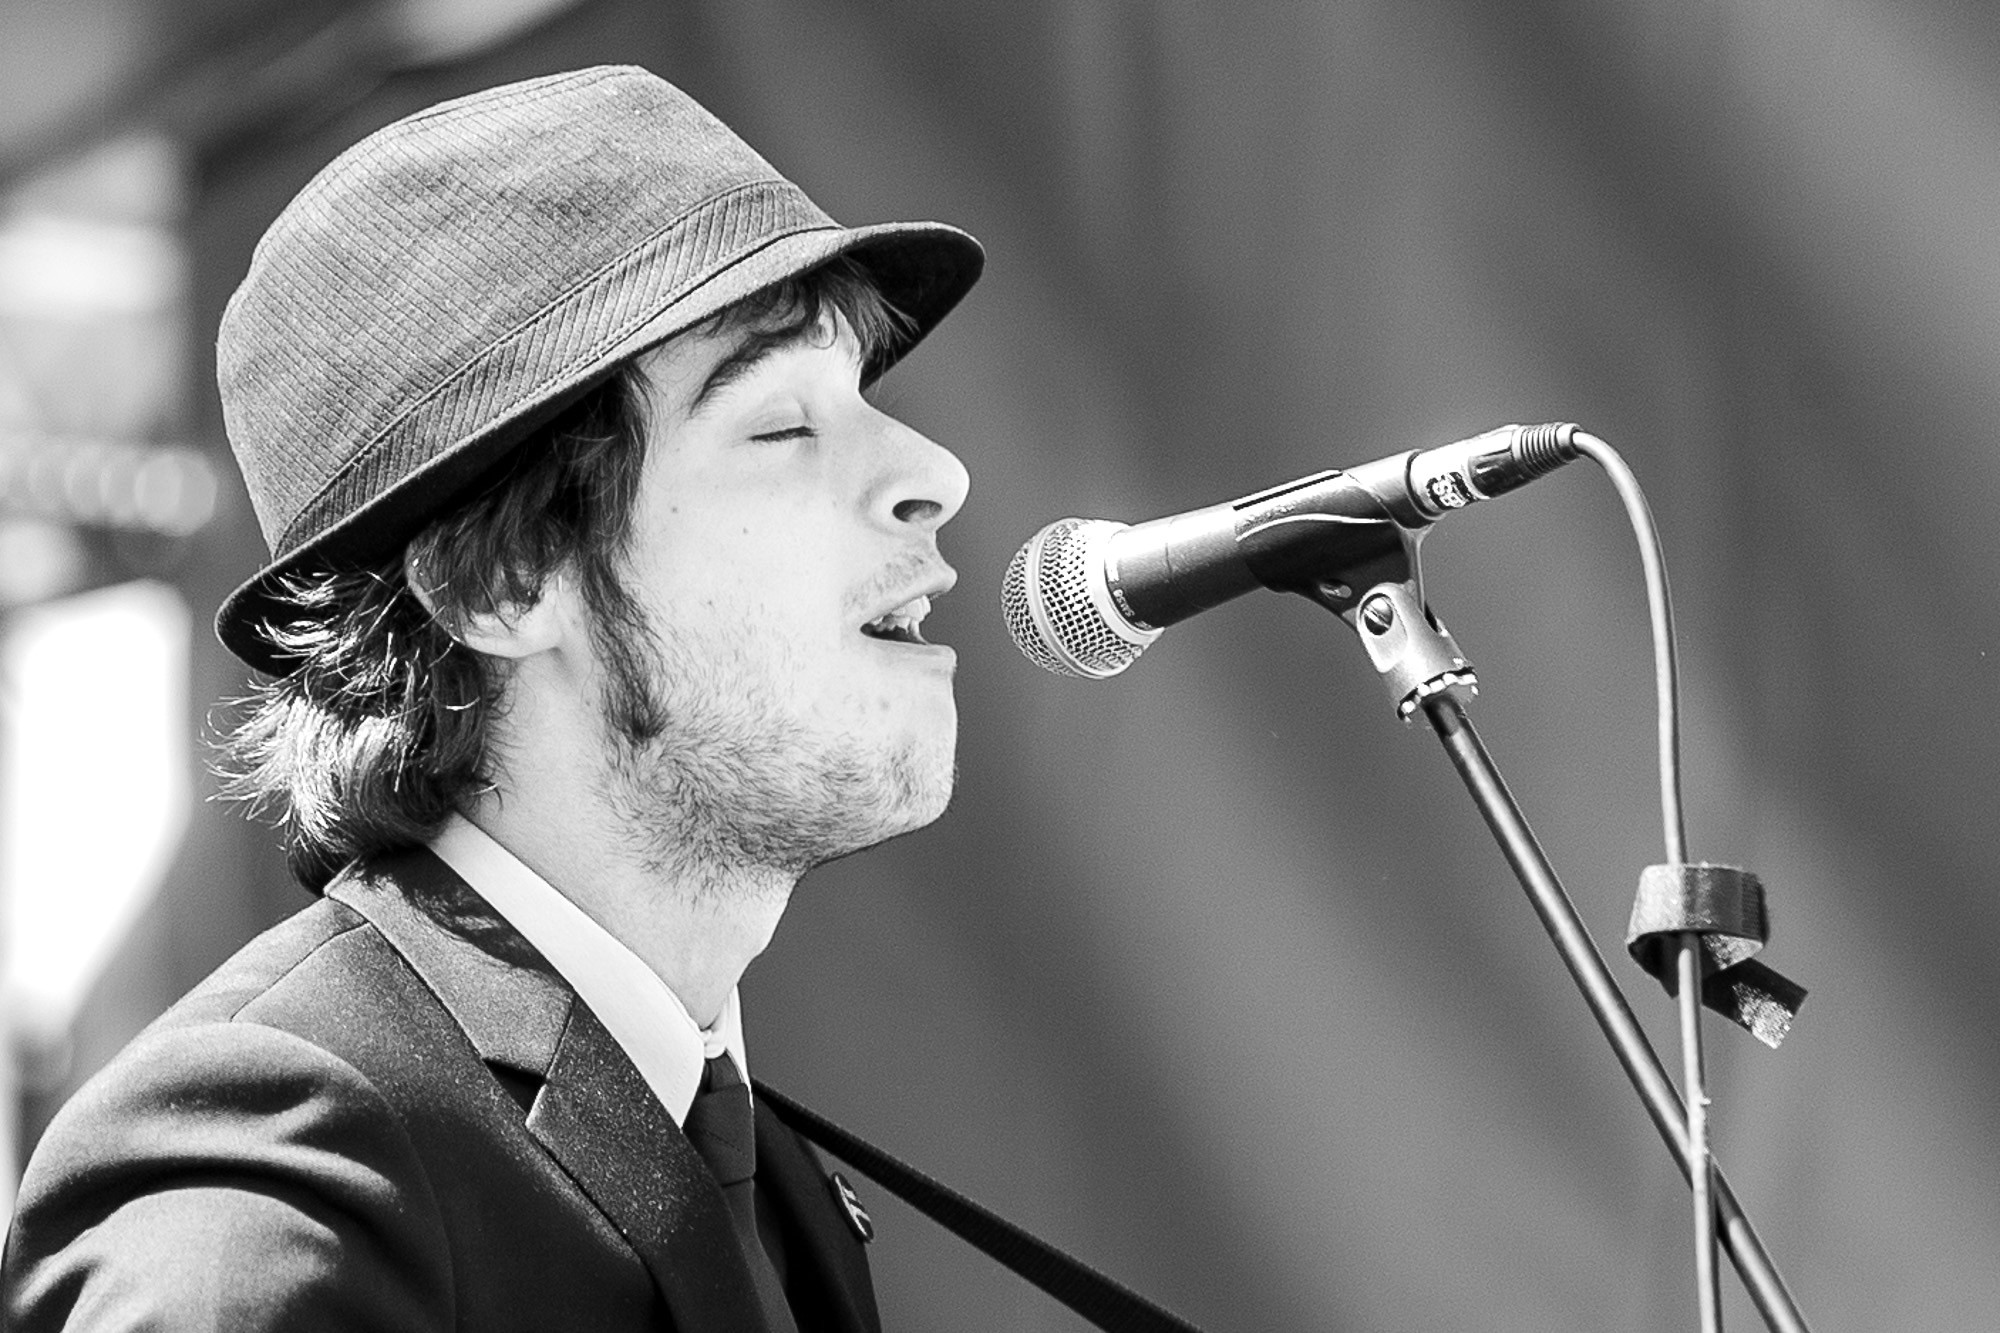
- Skill matters more: As John Mak notes, “better gear does help take better pictures, but the story your photo tells is more important than technical aspects”.
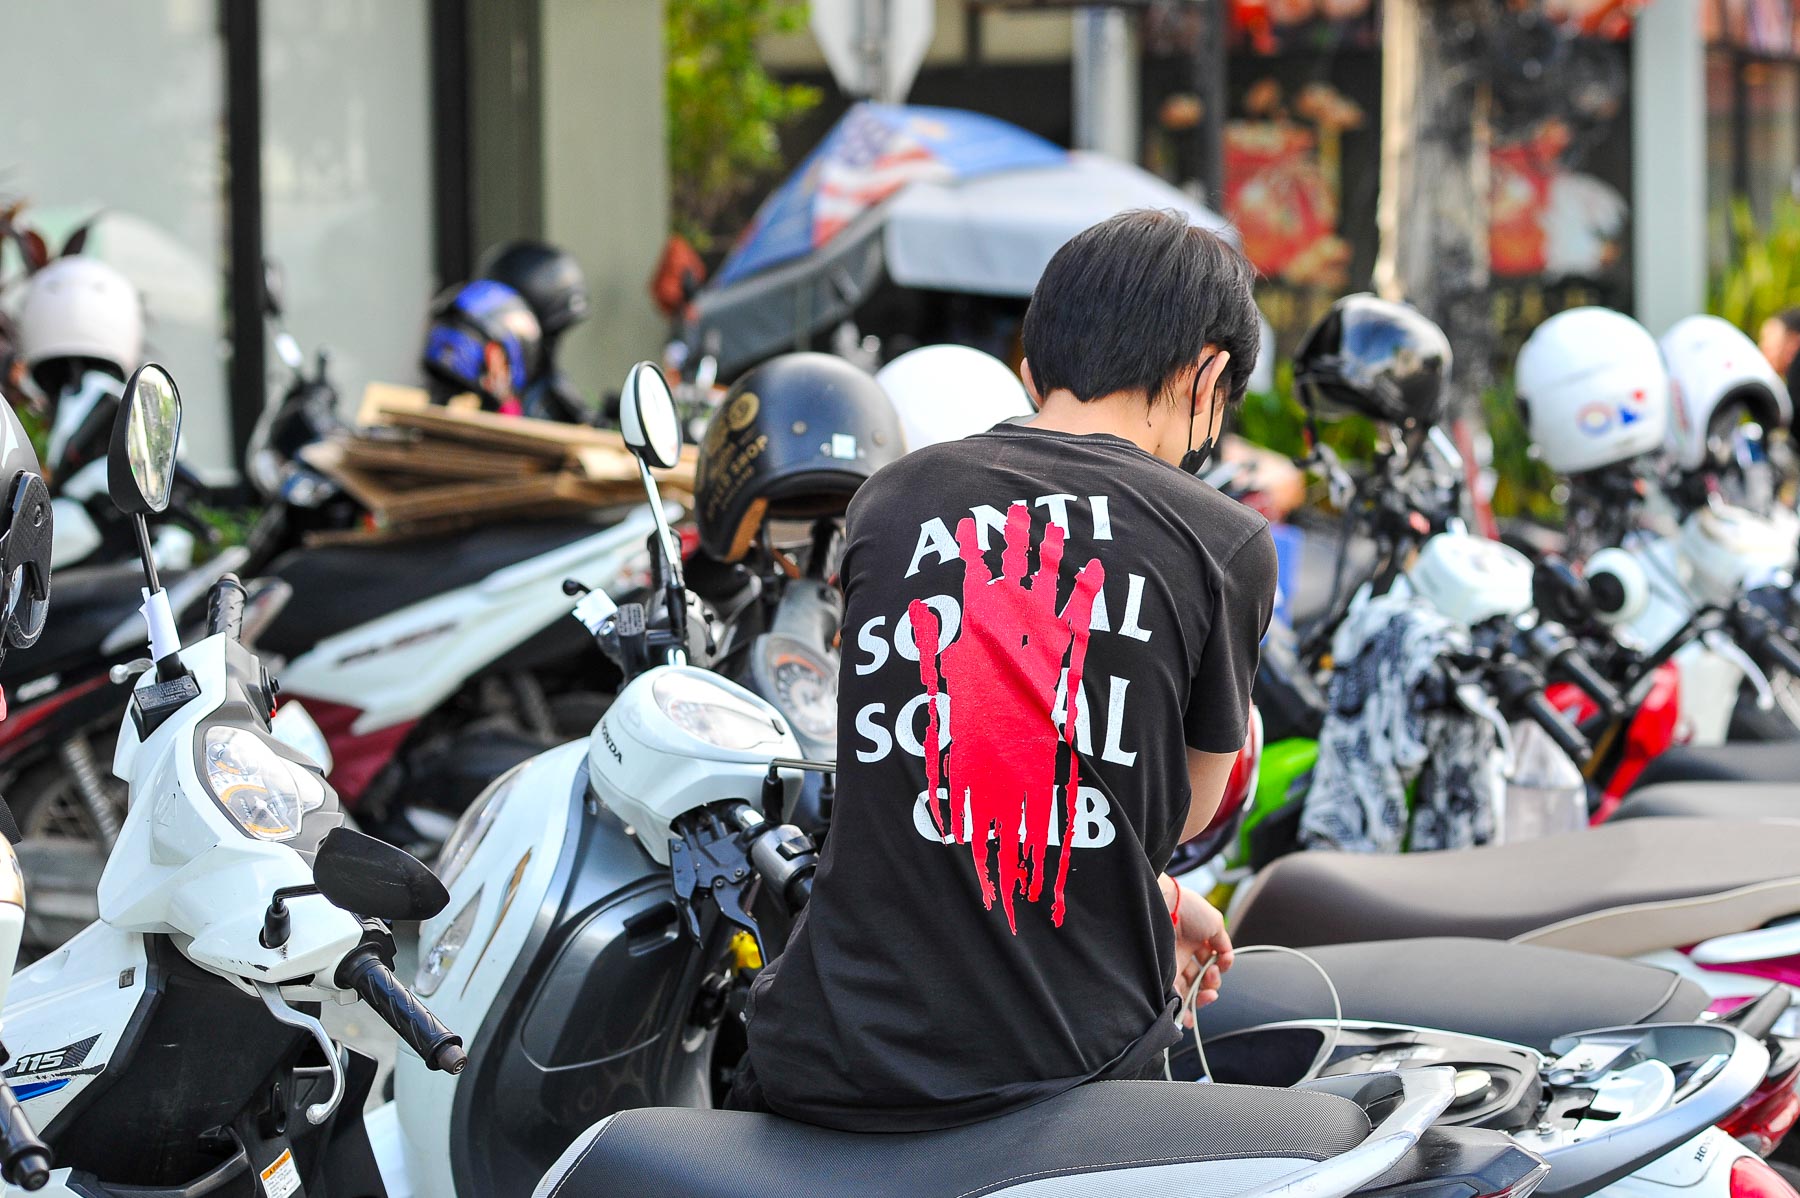
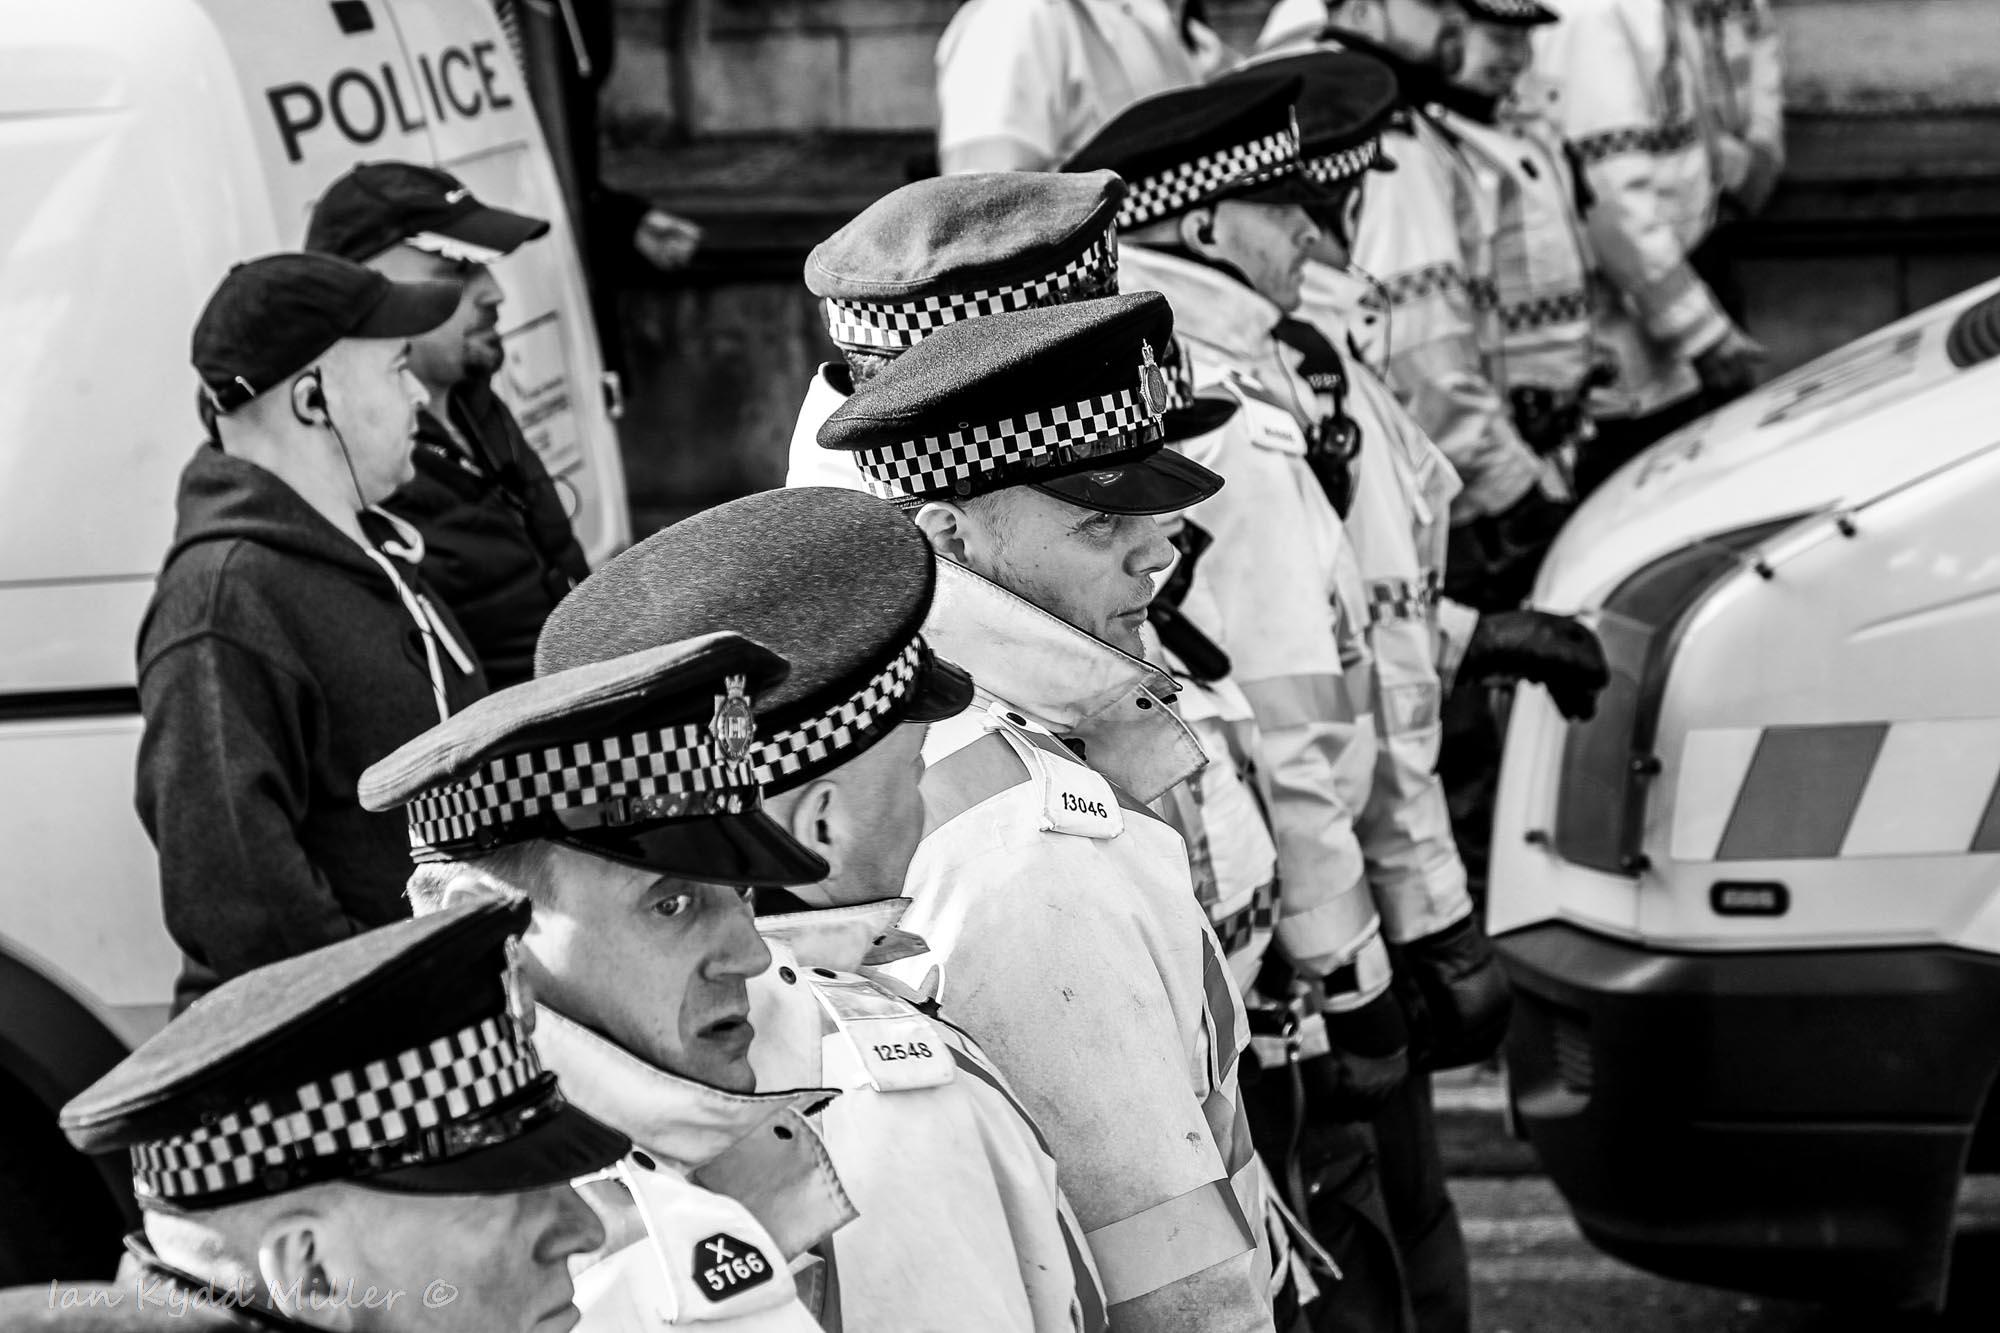
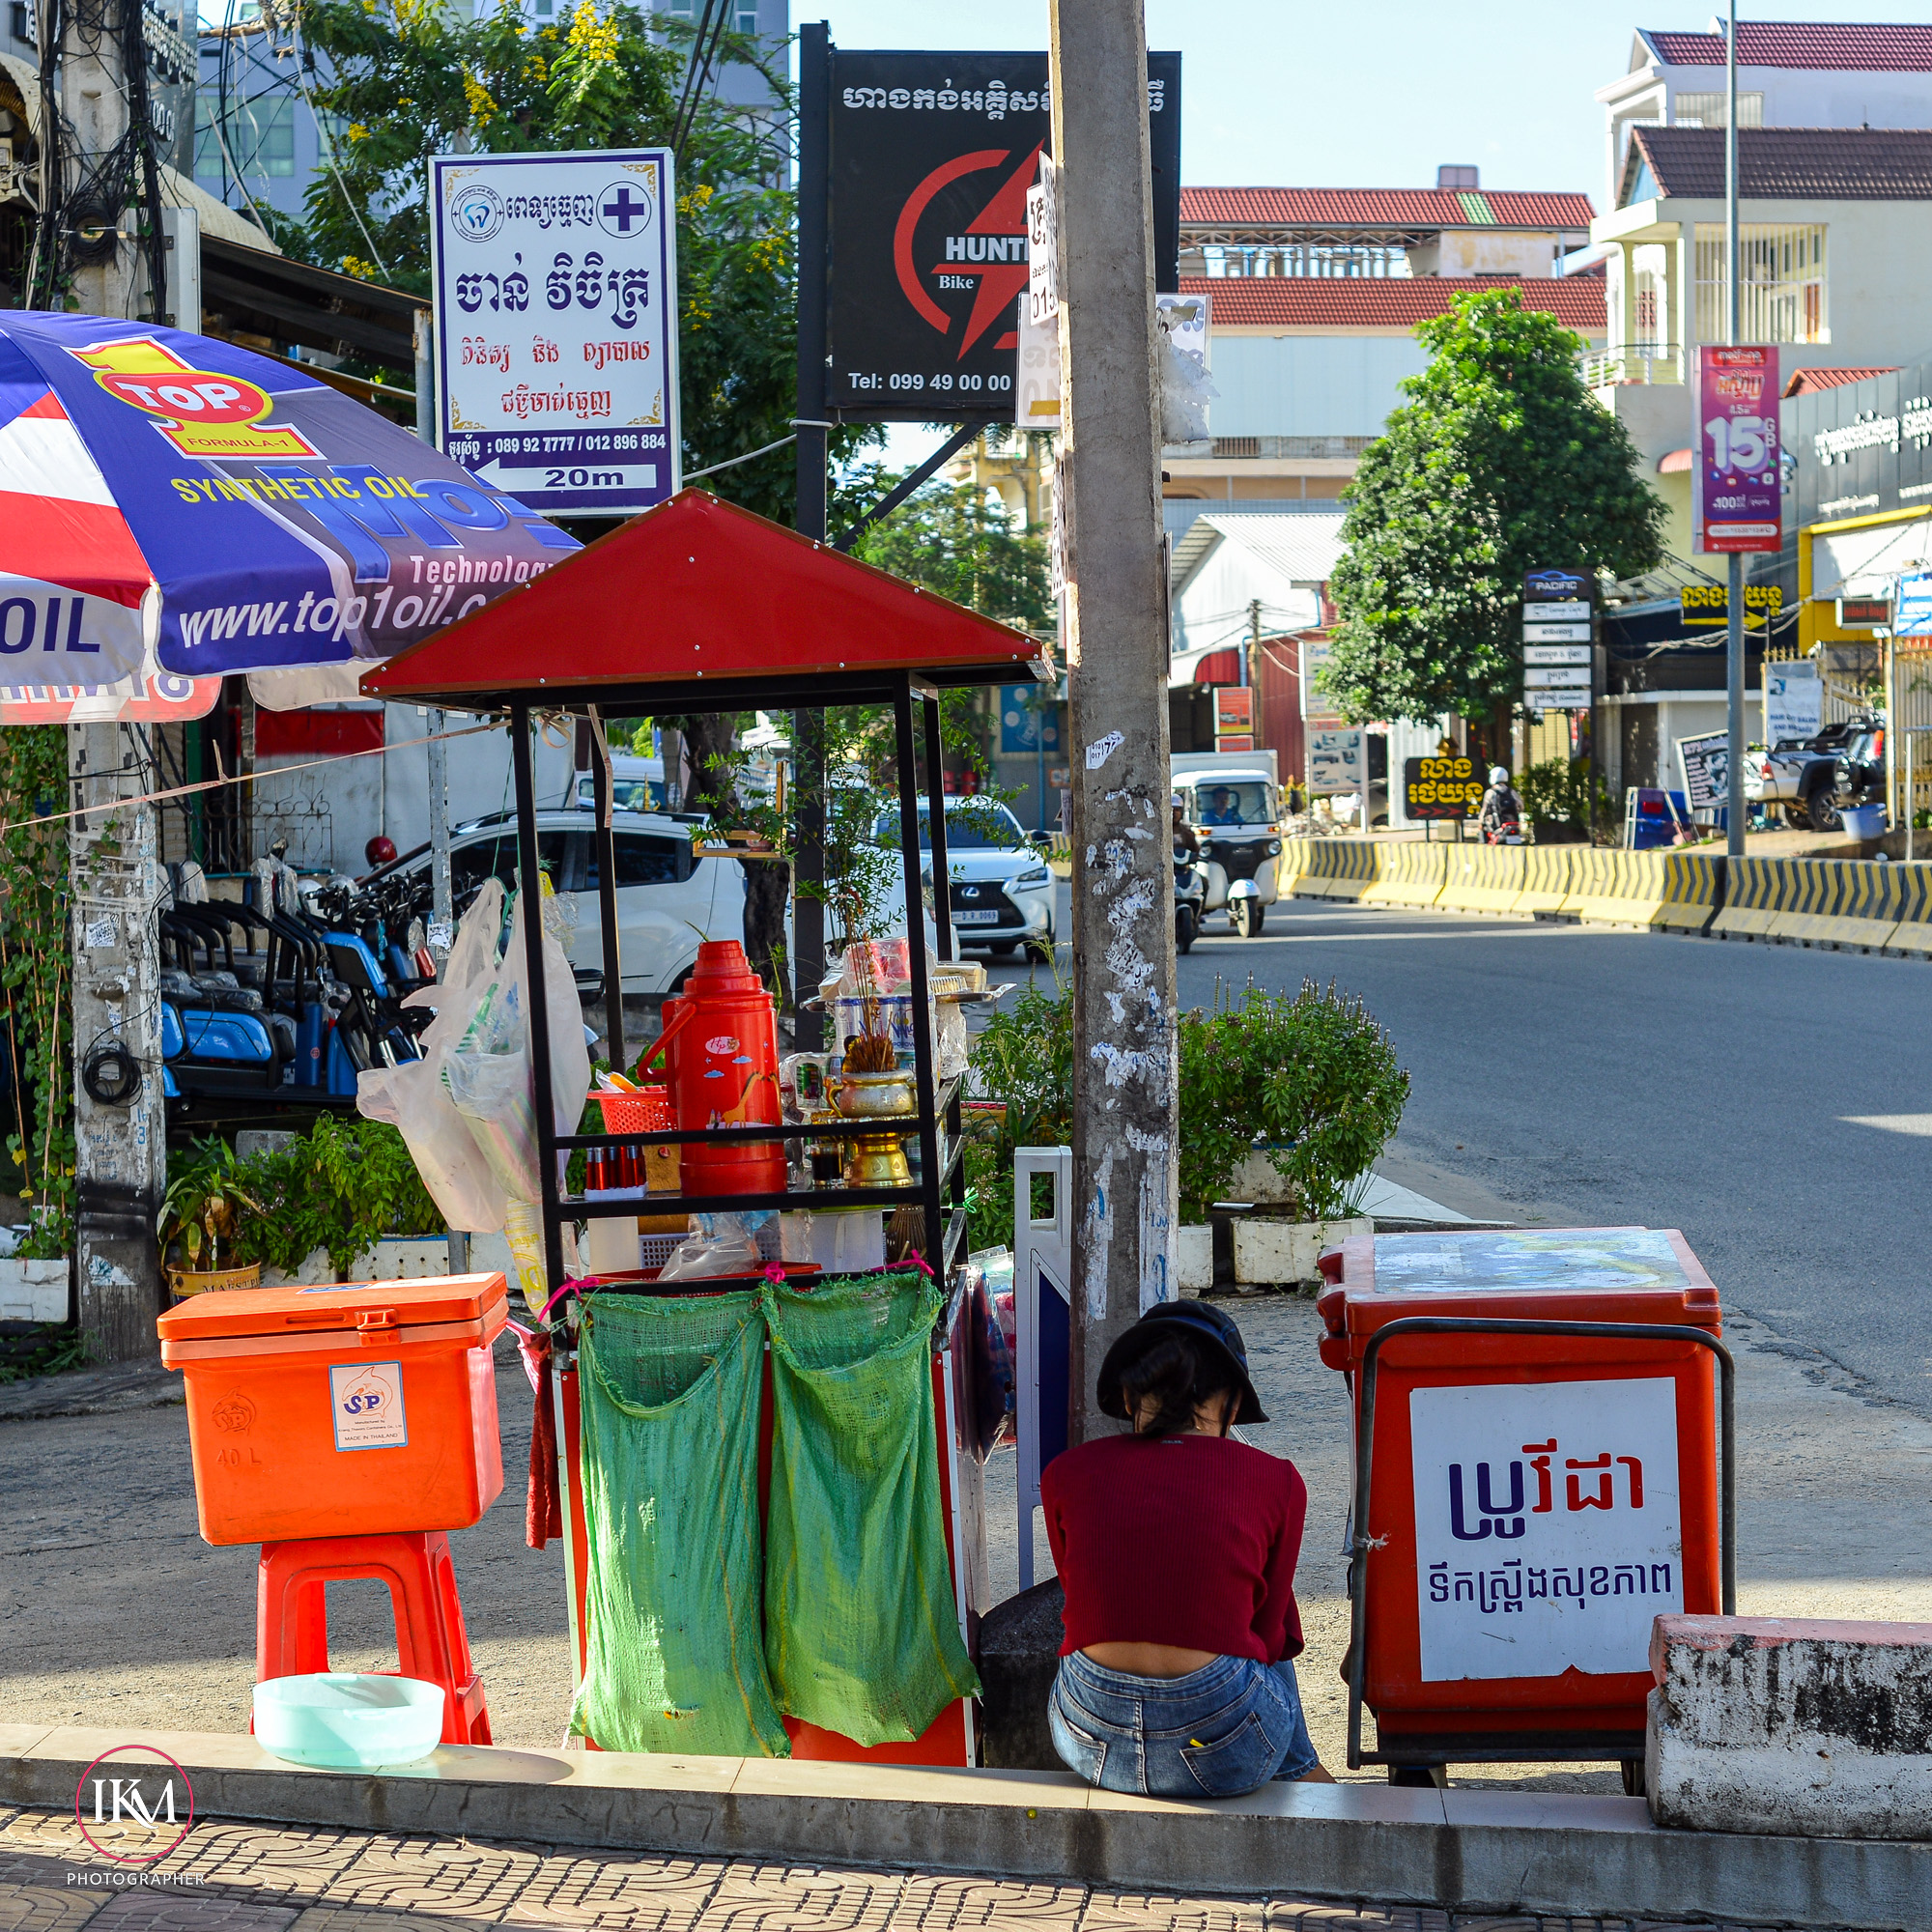
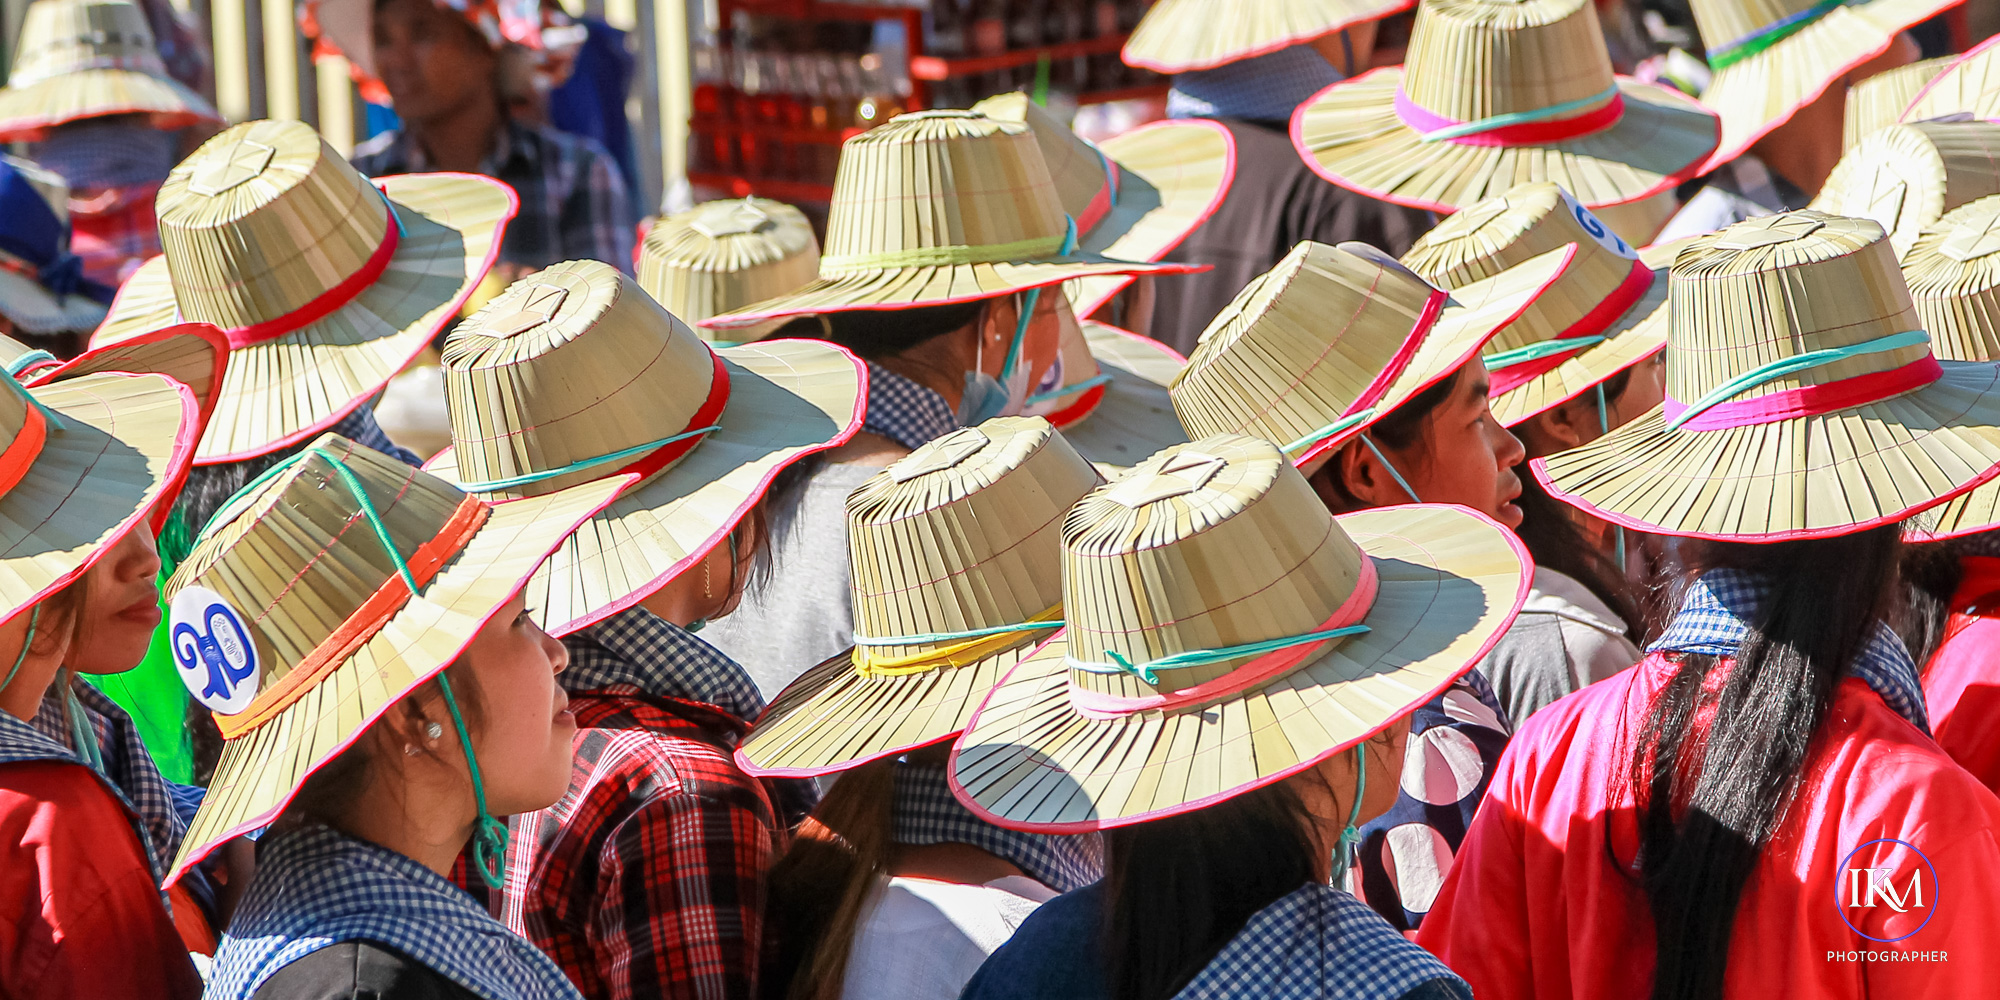
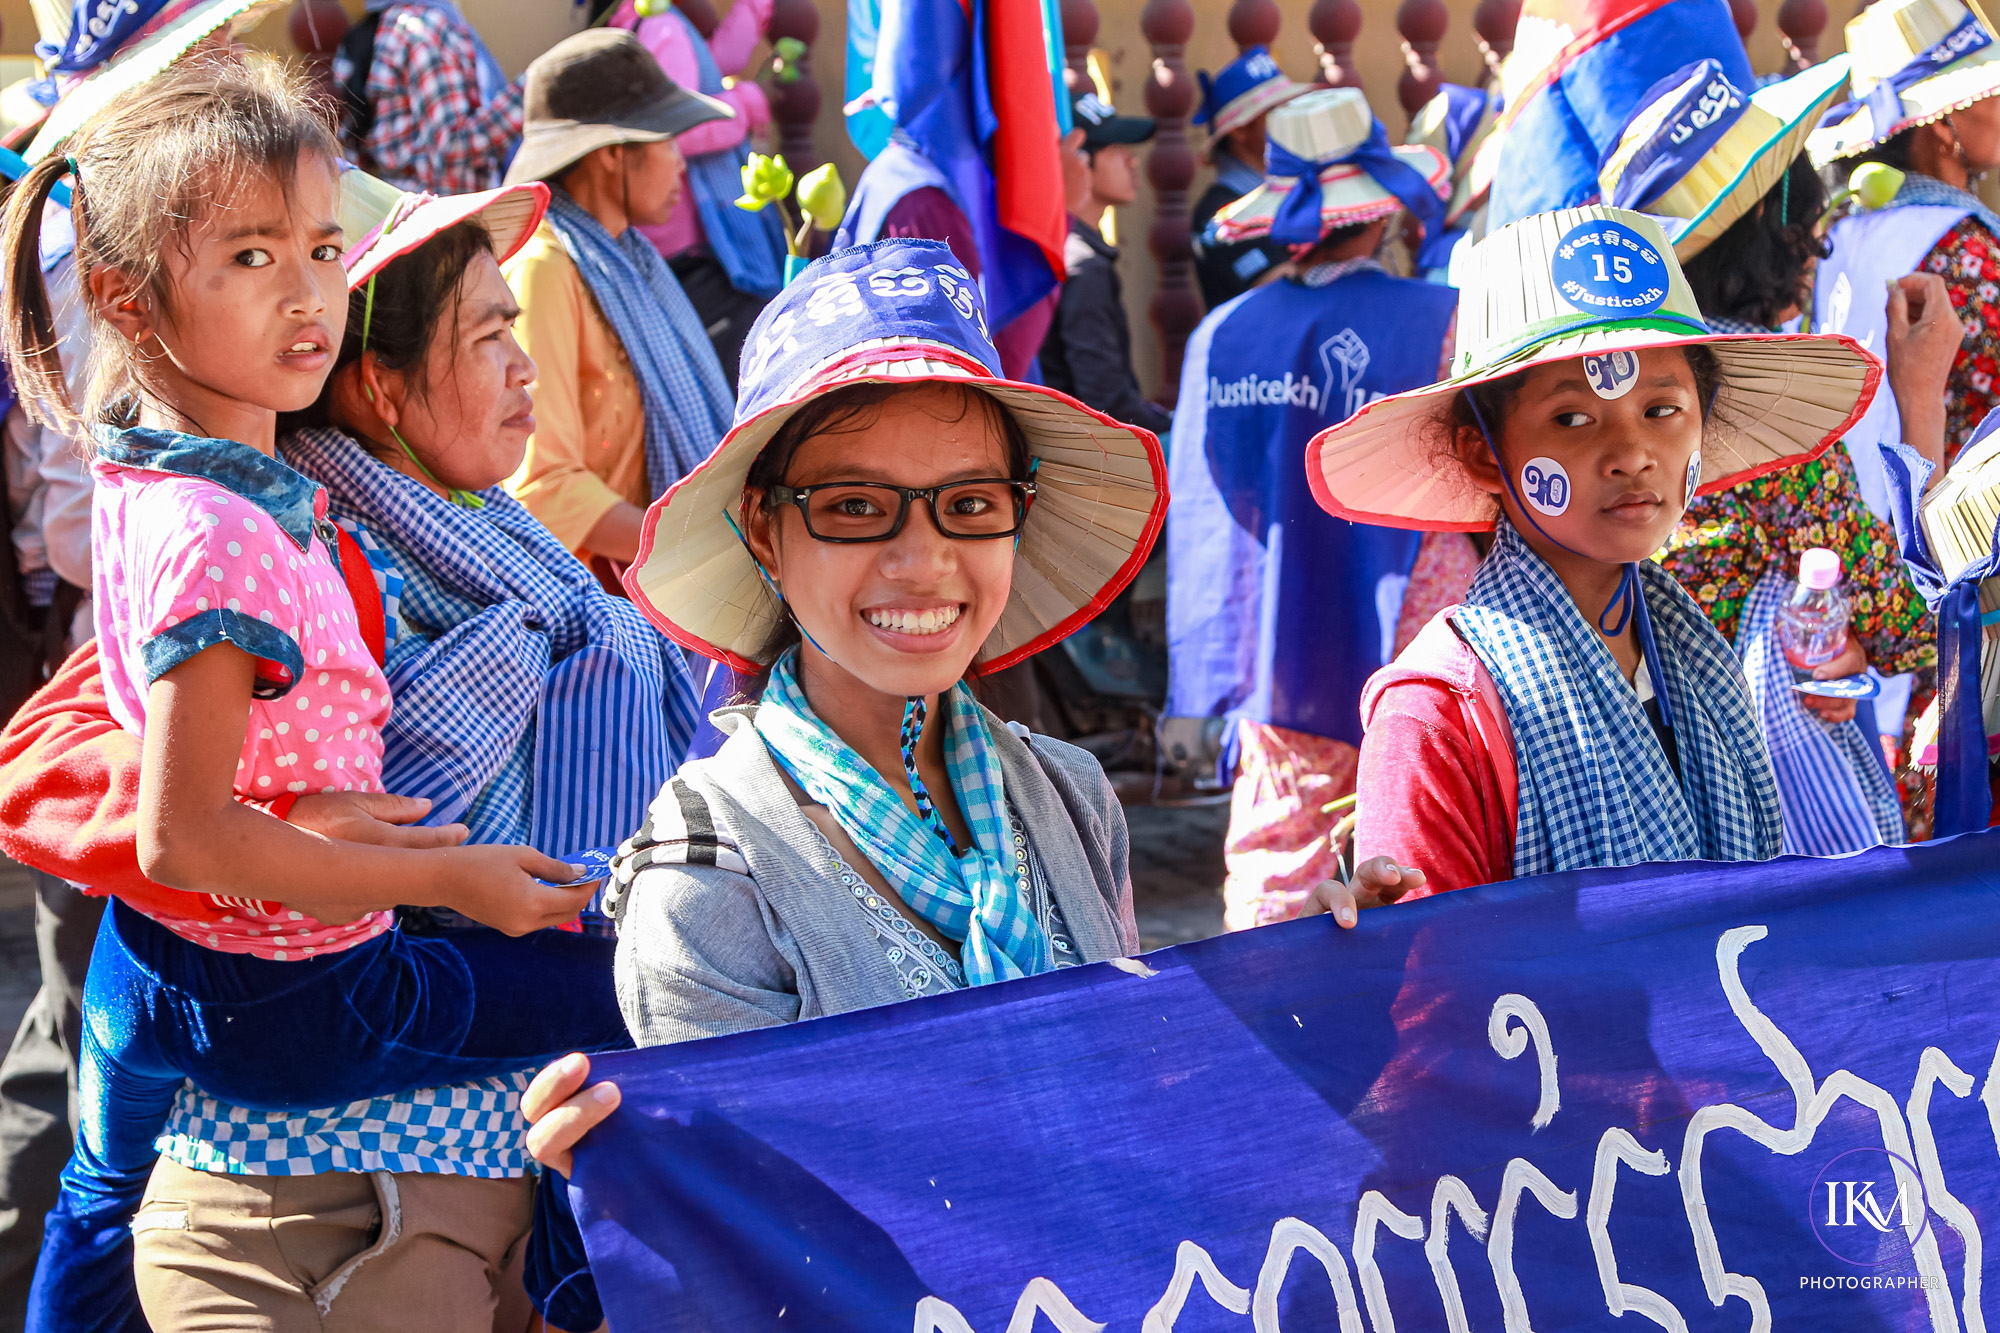
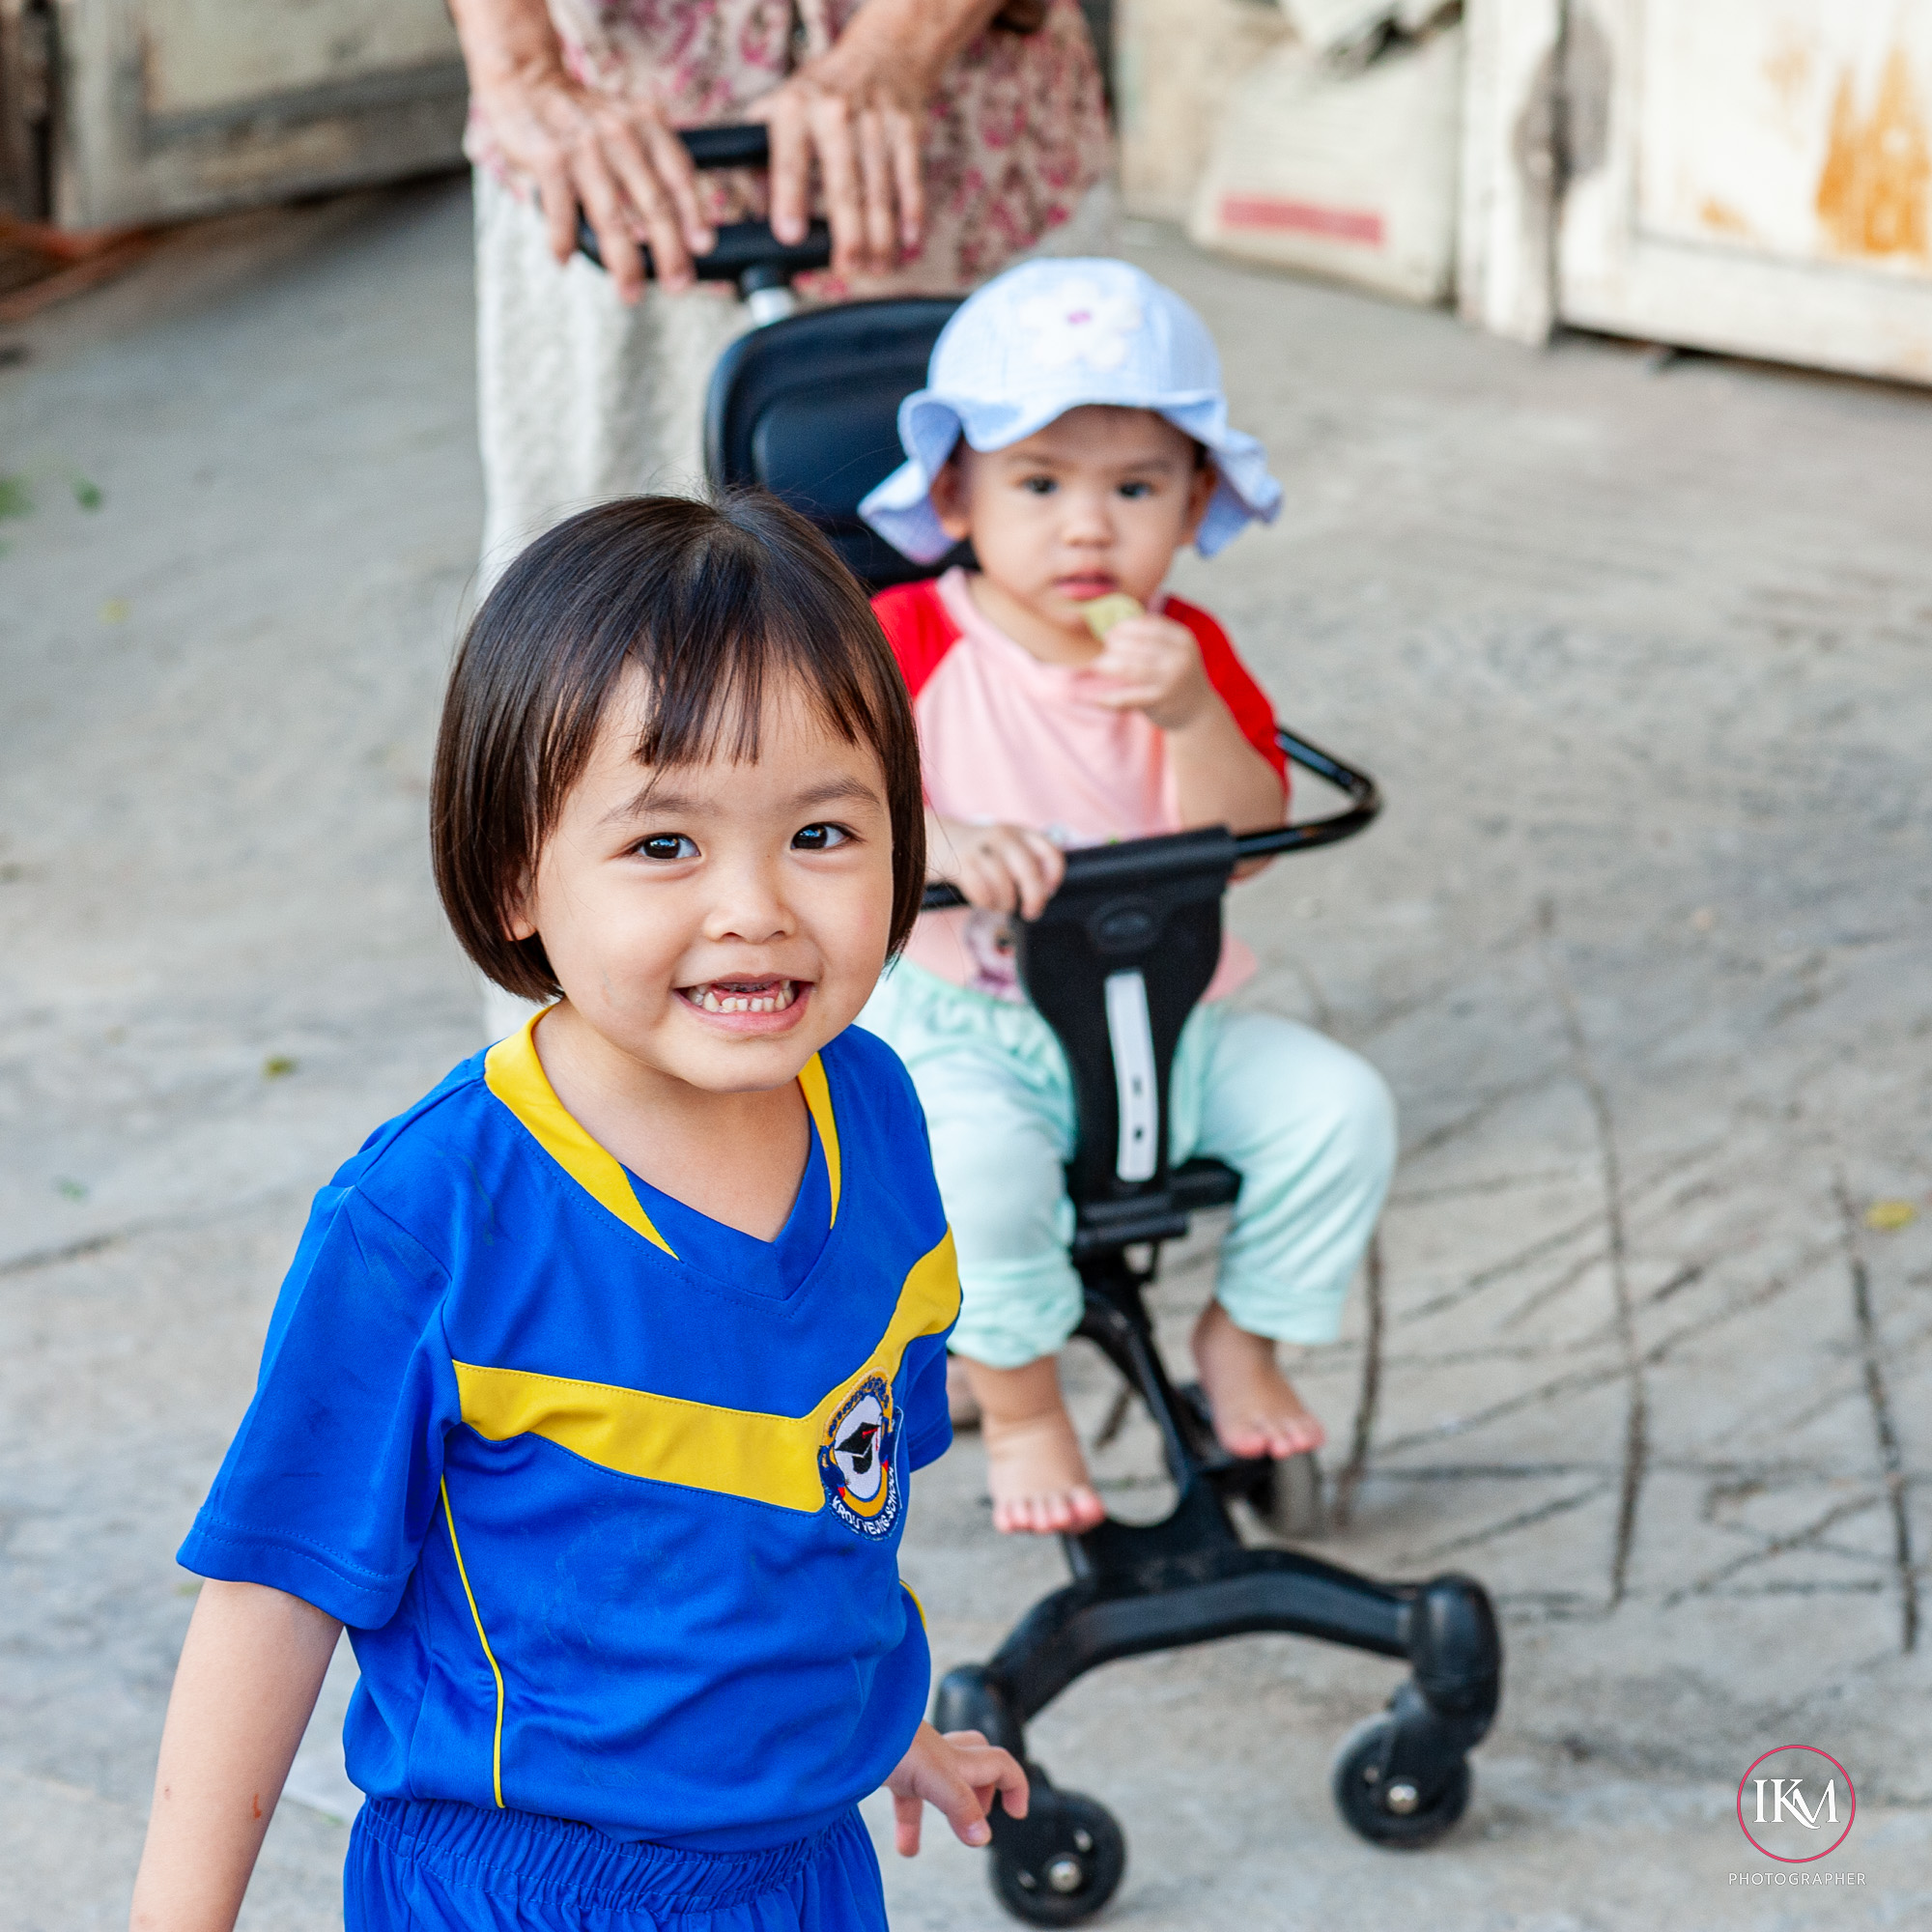
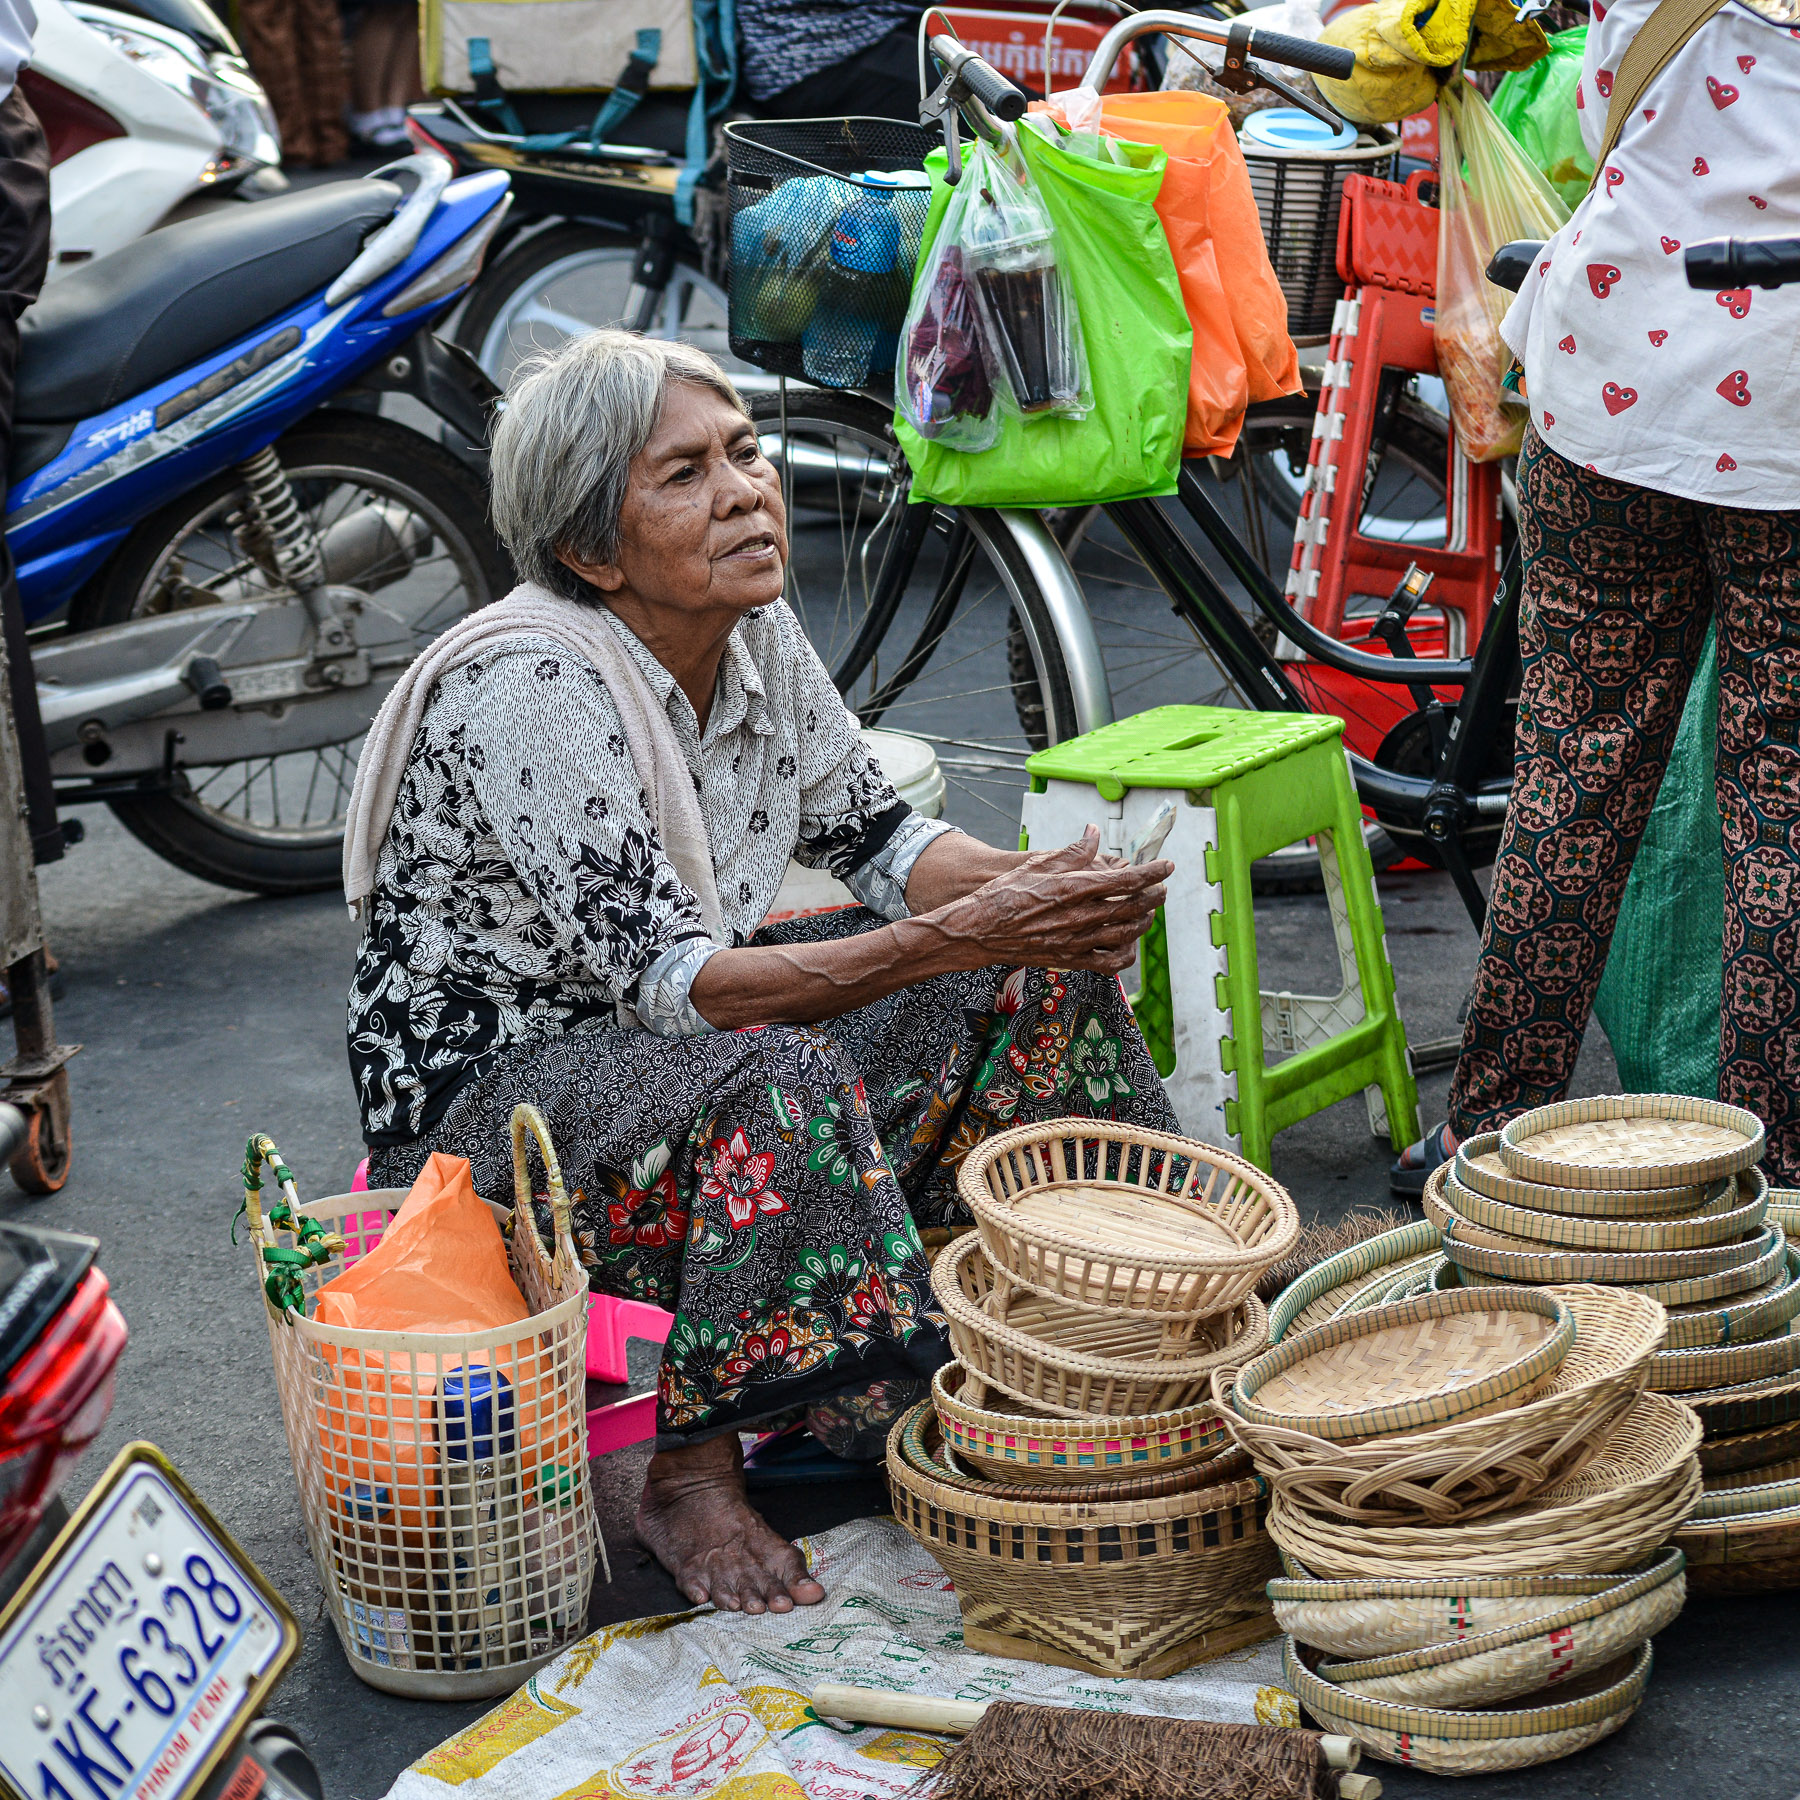
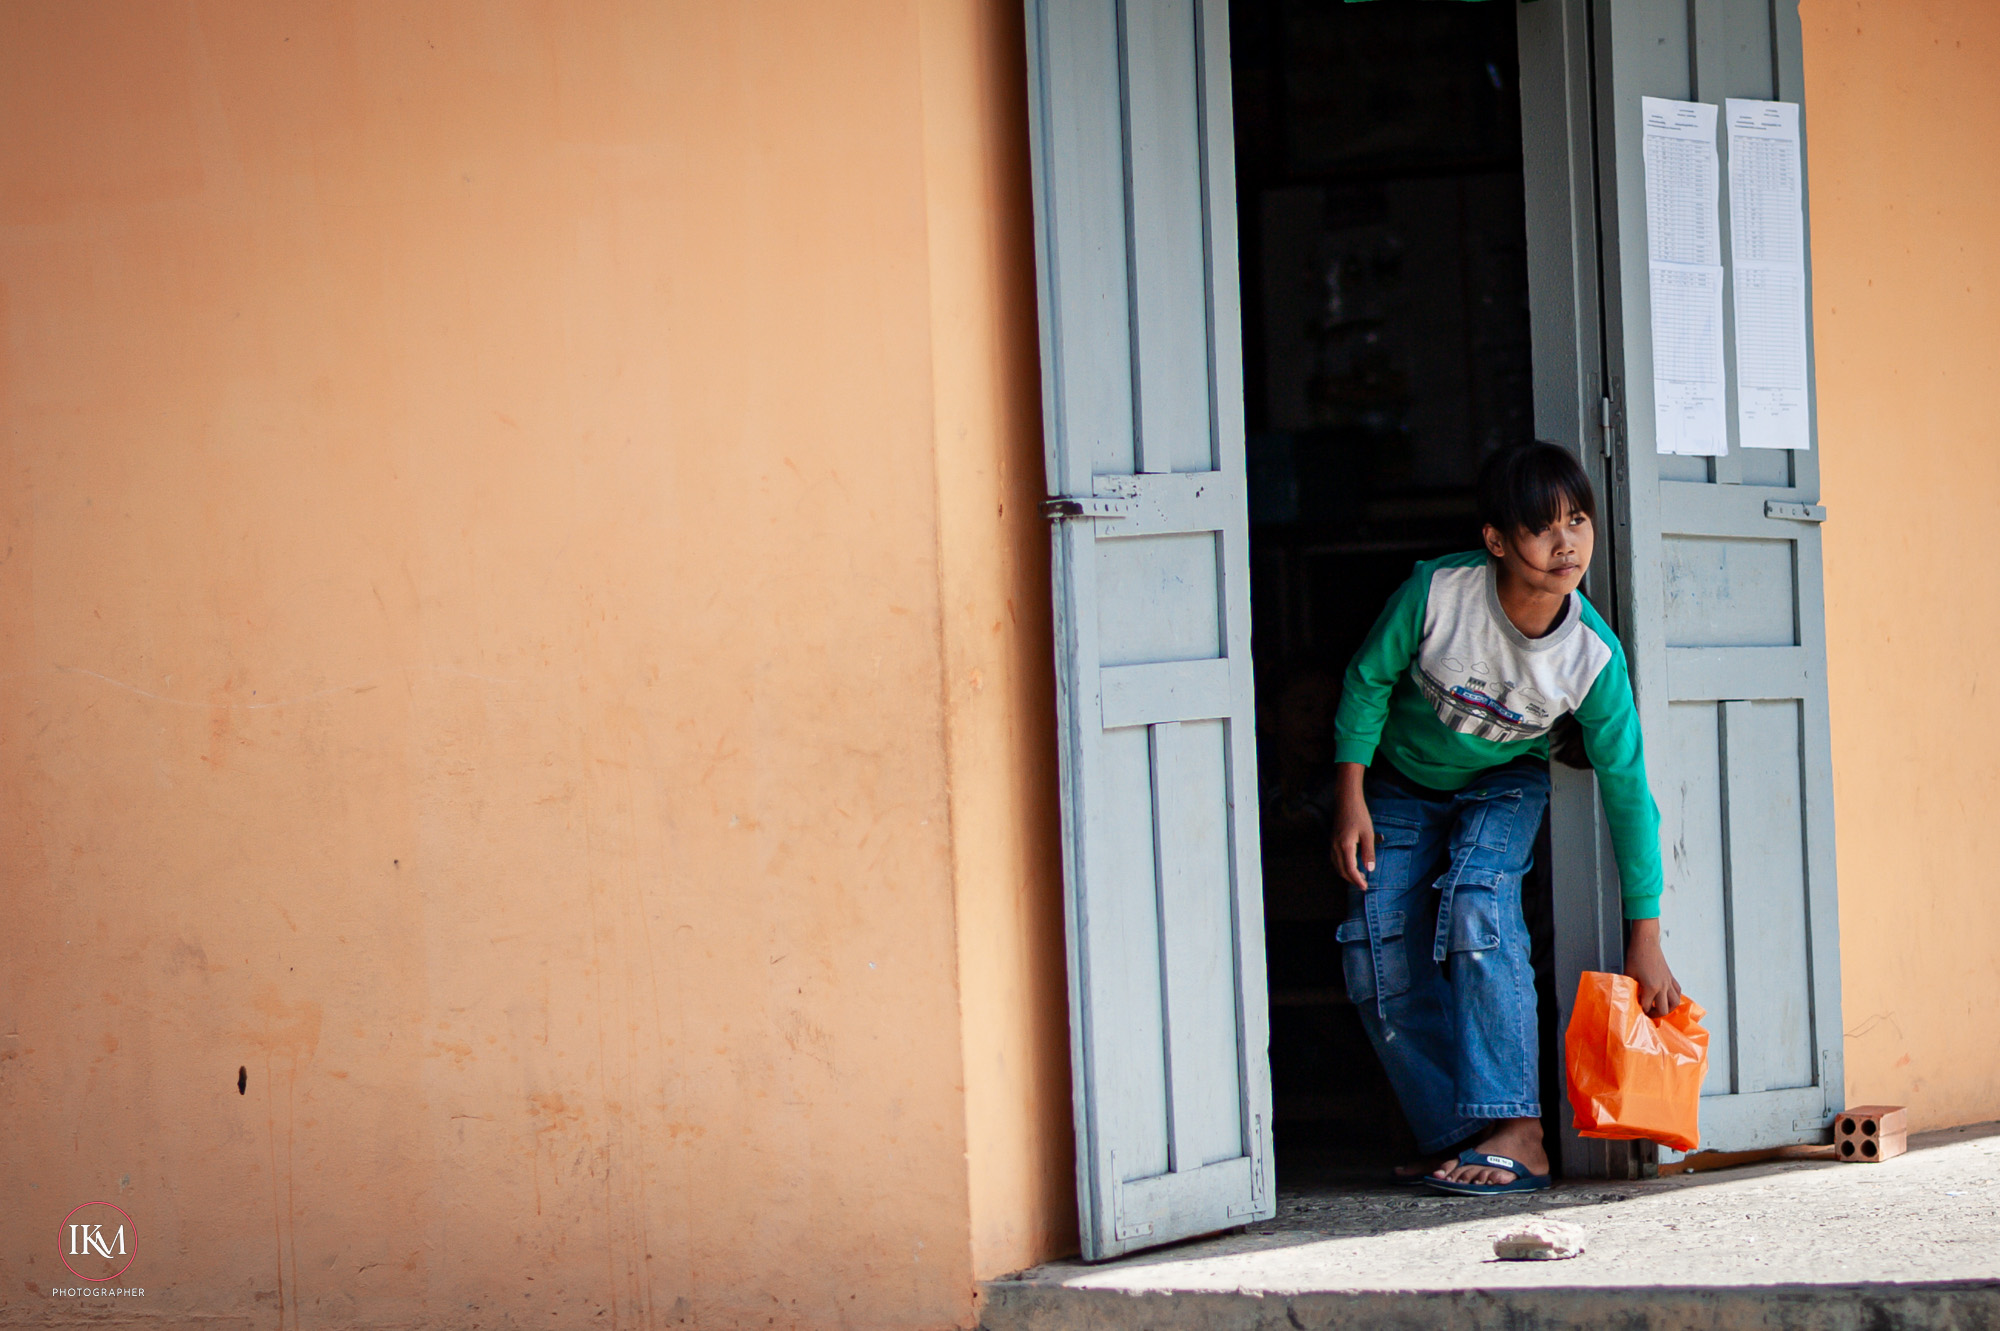
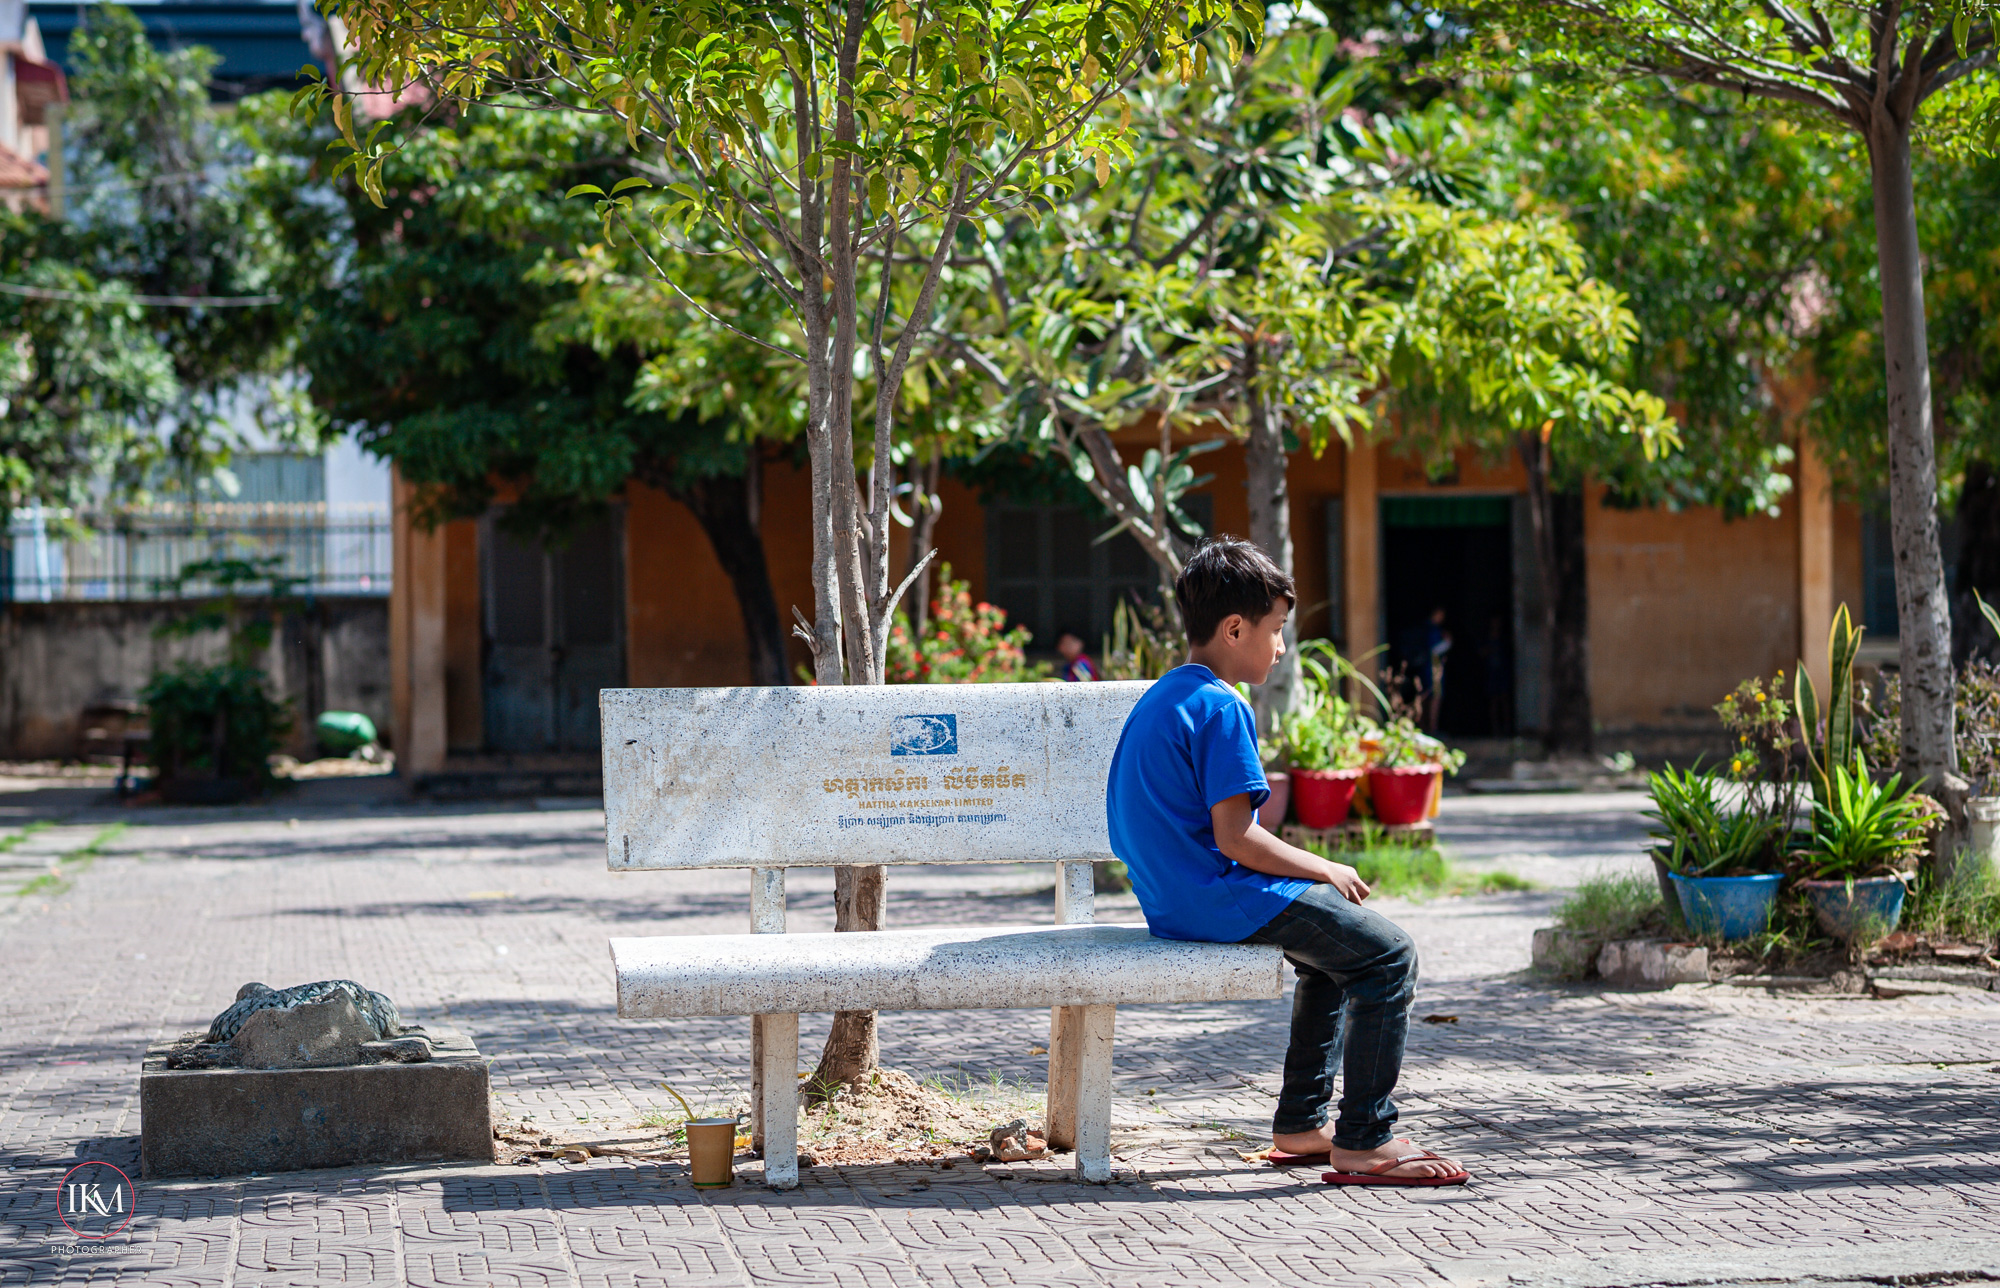
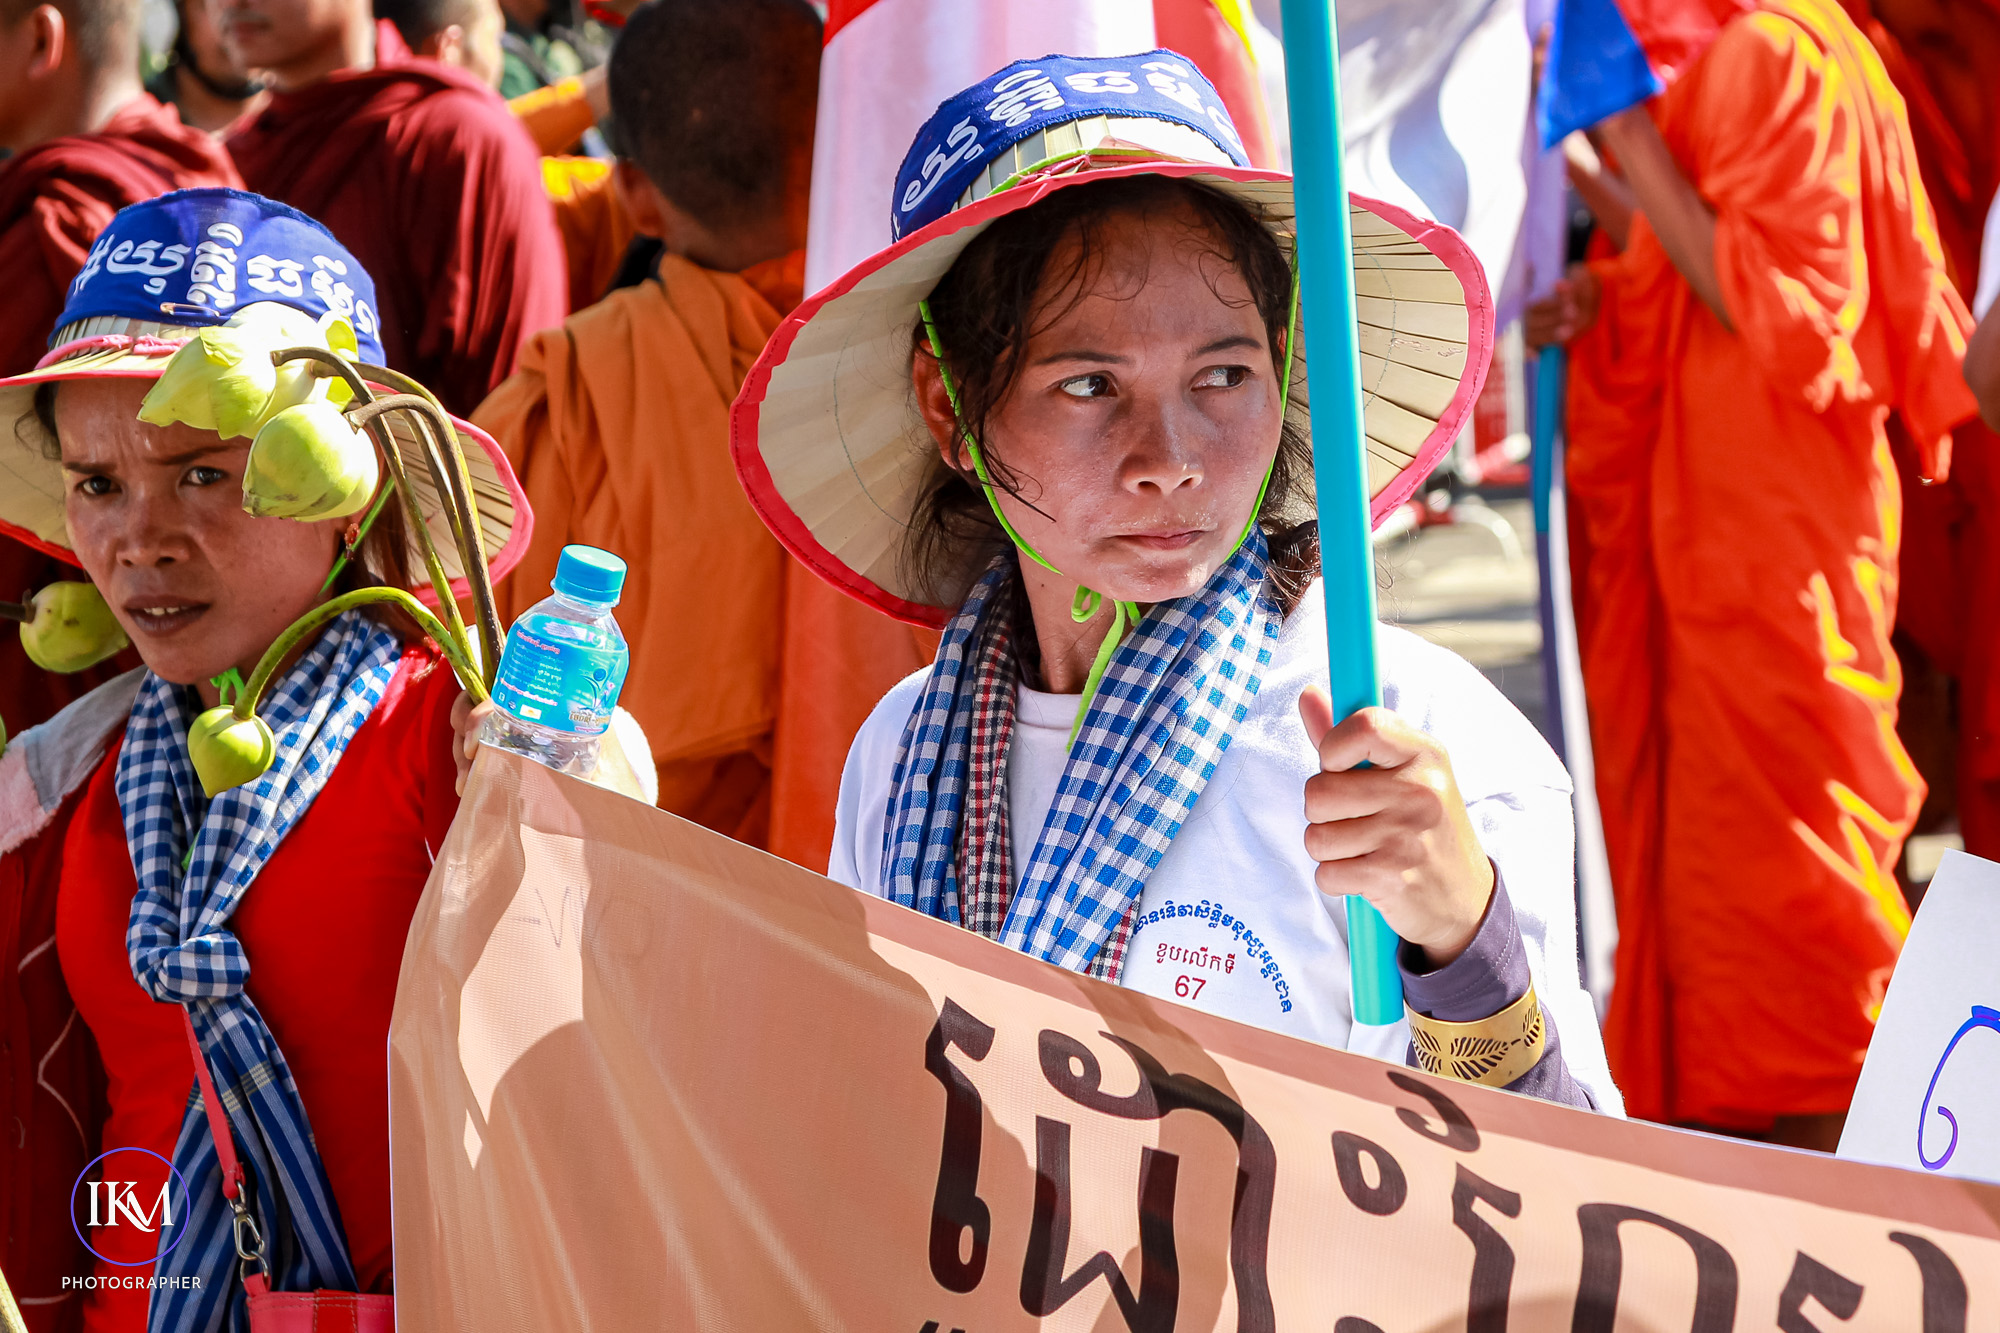
- Composition & timing: Iconic photos throughout history were taken with modest equipment. Vision and timing outweigh megapixels.
- Learning curve: Beginners may not benefit from advanced gear if they haven’t mastered fundamentals like exposure, framing, and light.
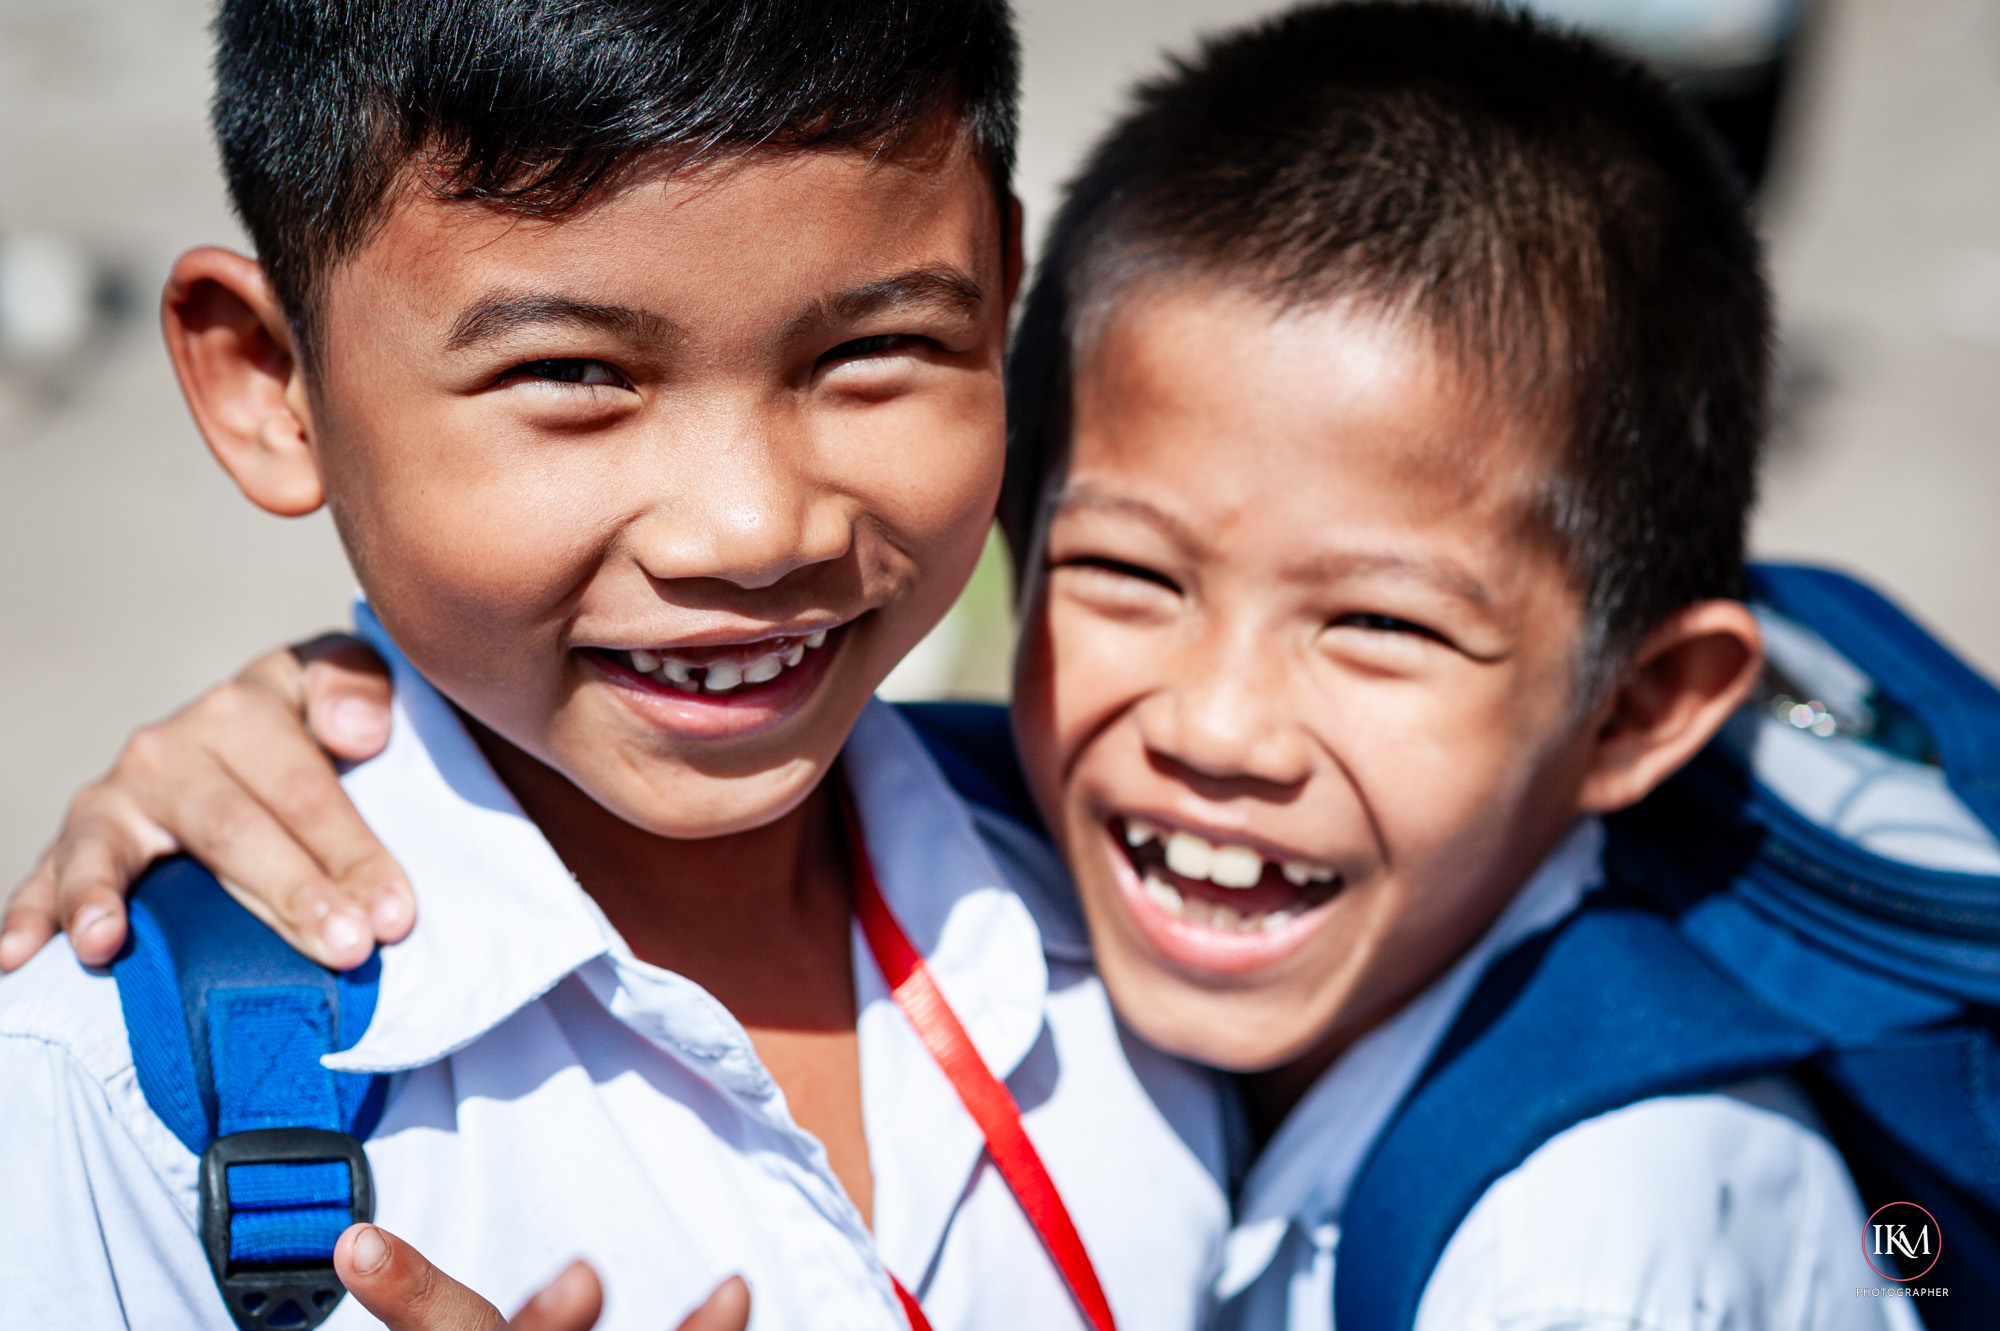
- Risk of dependency: Believing gear equals progress can distract from developing creativity and storytelling.
⚖️ Balanced Perspective
| Aspect | High‑Quality Gear | Photographer’s Skill |
|---|---|---|
| Sharpness & resolution | Improves technical image quality | Can be compensated with technique (tripod, careful focus) |
| Low‑light shooting | Cleaner files, faster lenses | Creative use of light sources, long exposures |
| Autofocus | Faster, more reliable | Anticipation, manual focus discipline |
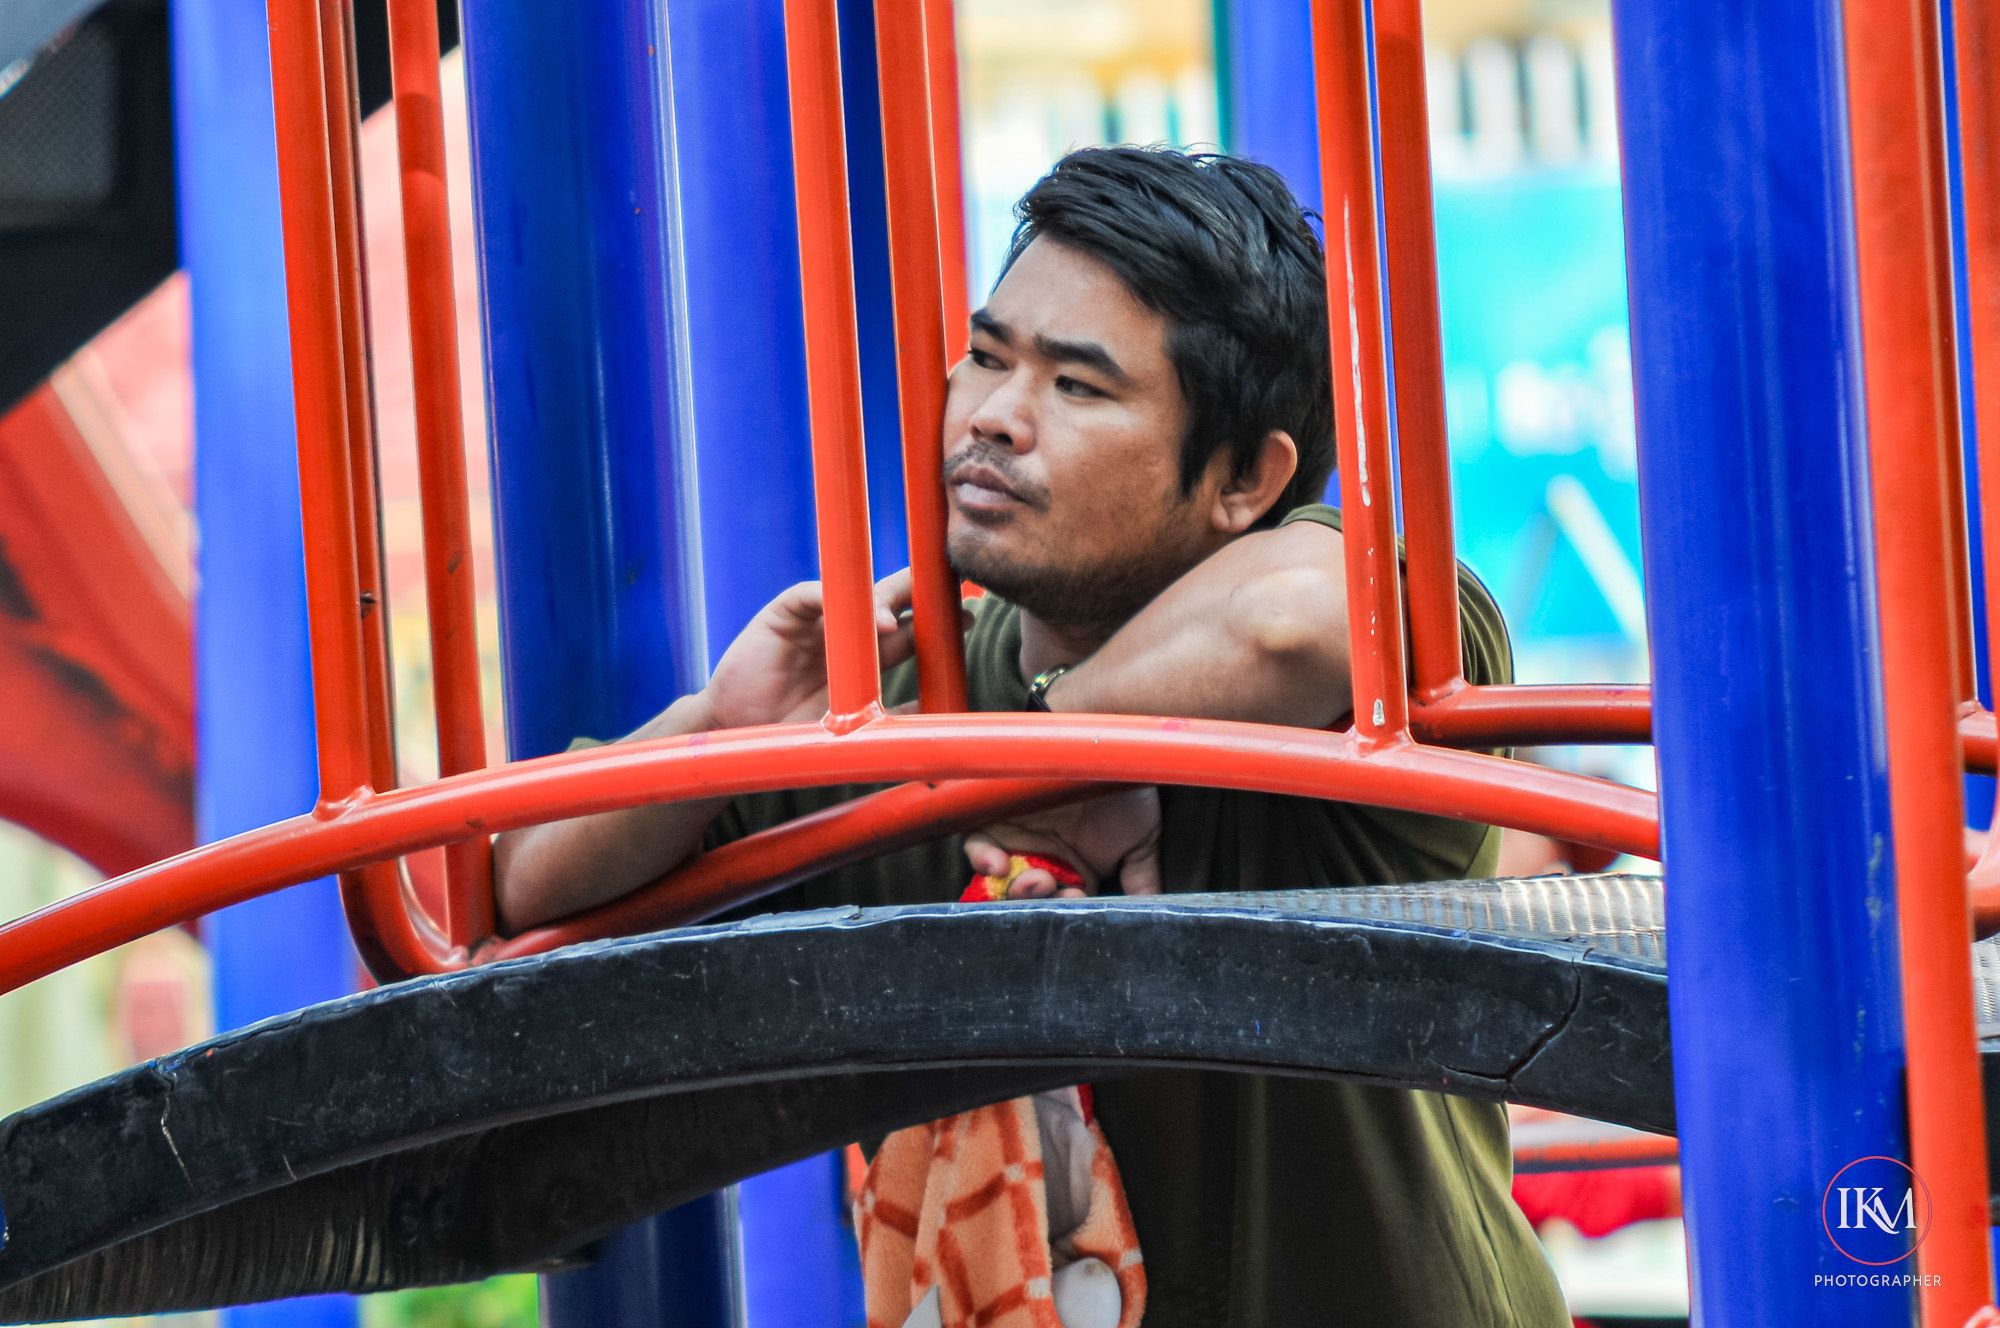
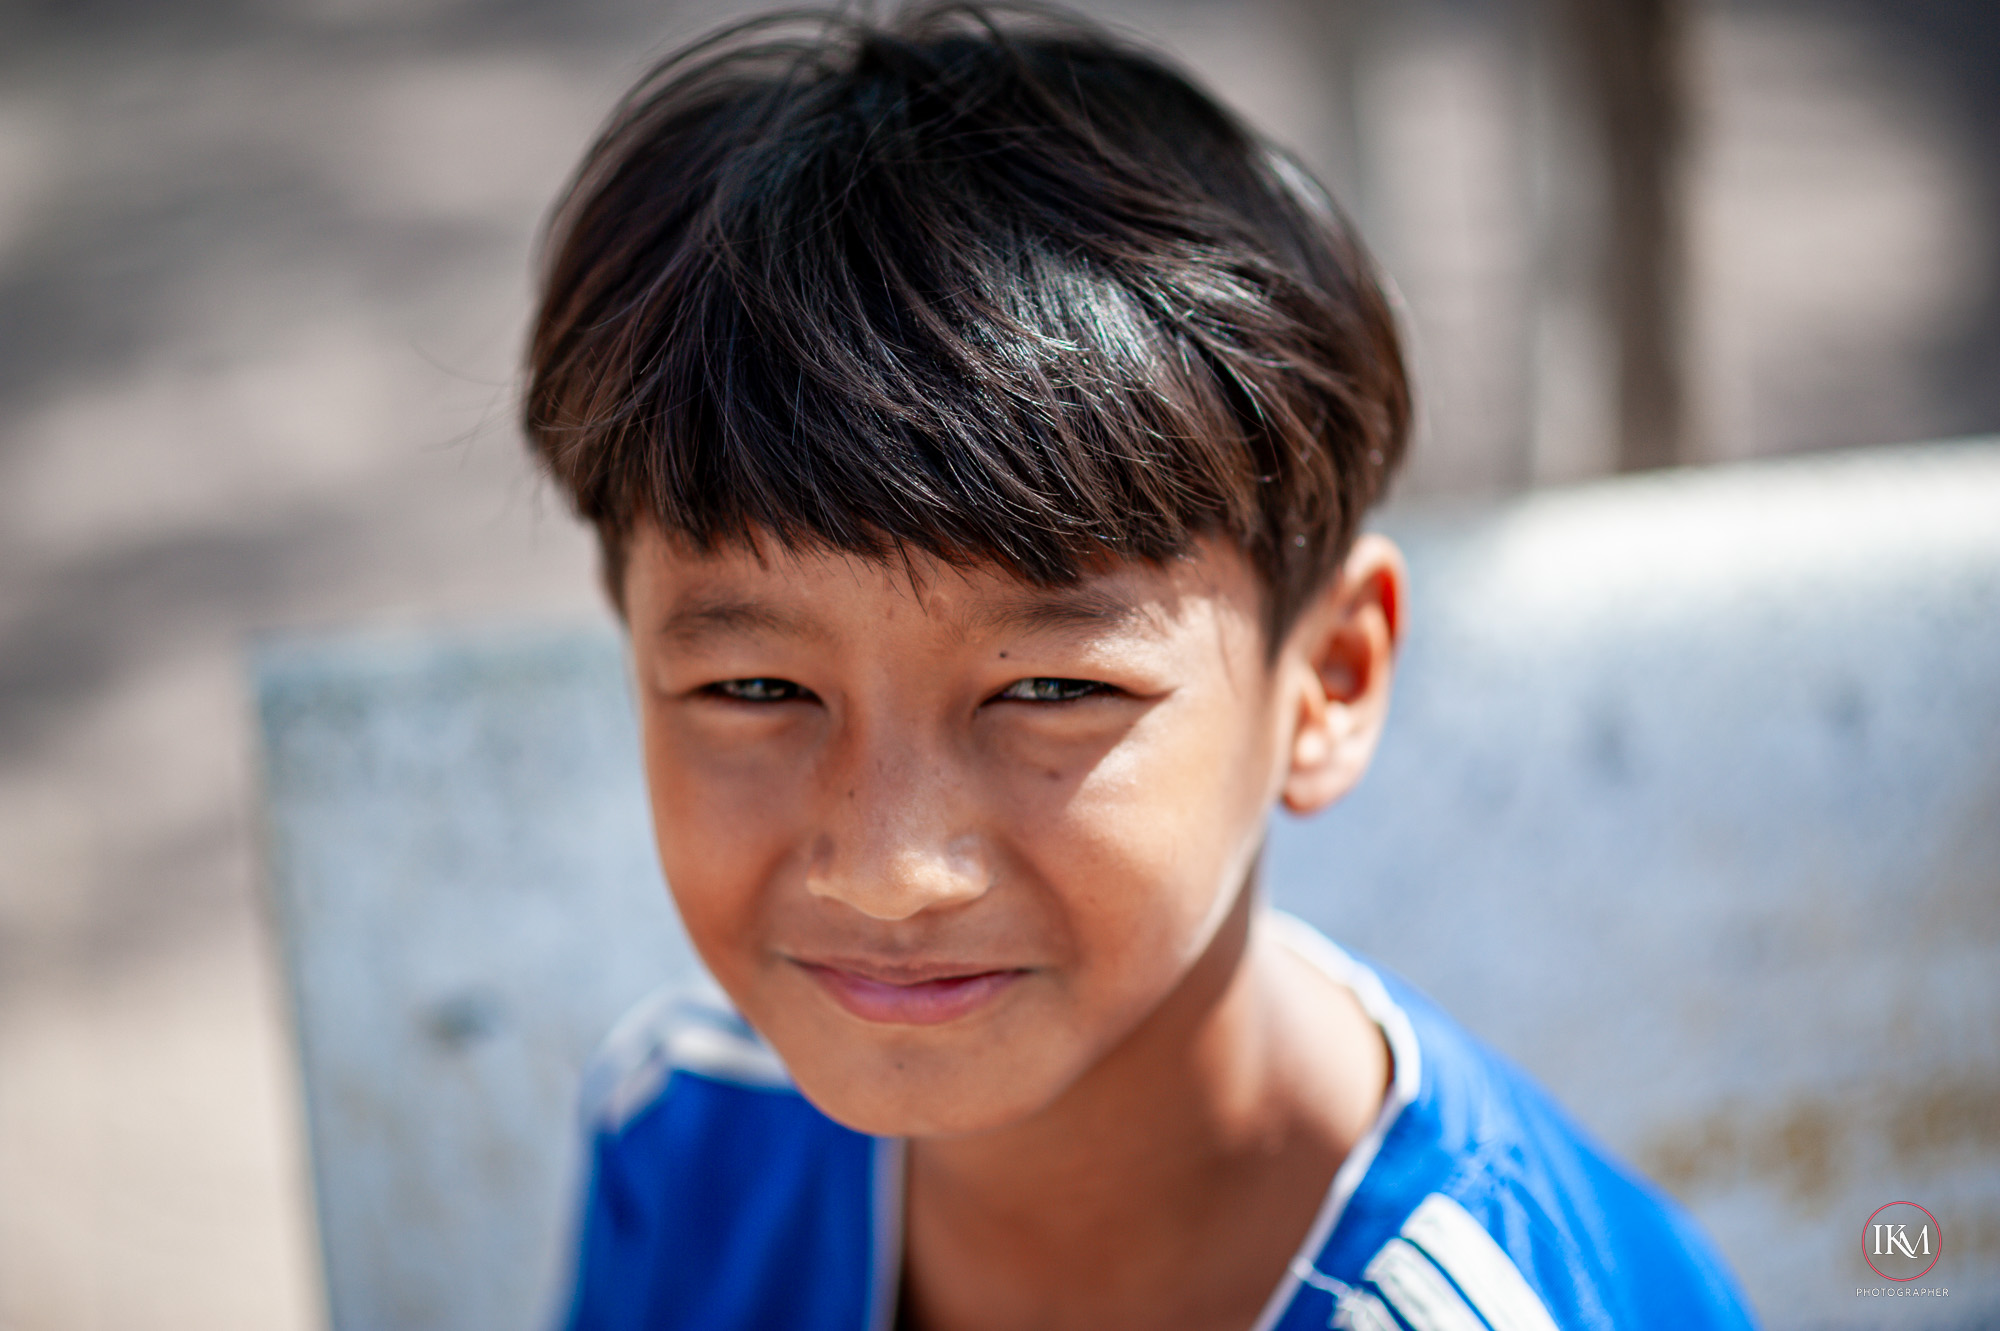
| Bokeh & rendering | Creamier blur, richer color | Composition and subject choice define impact |
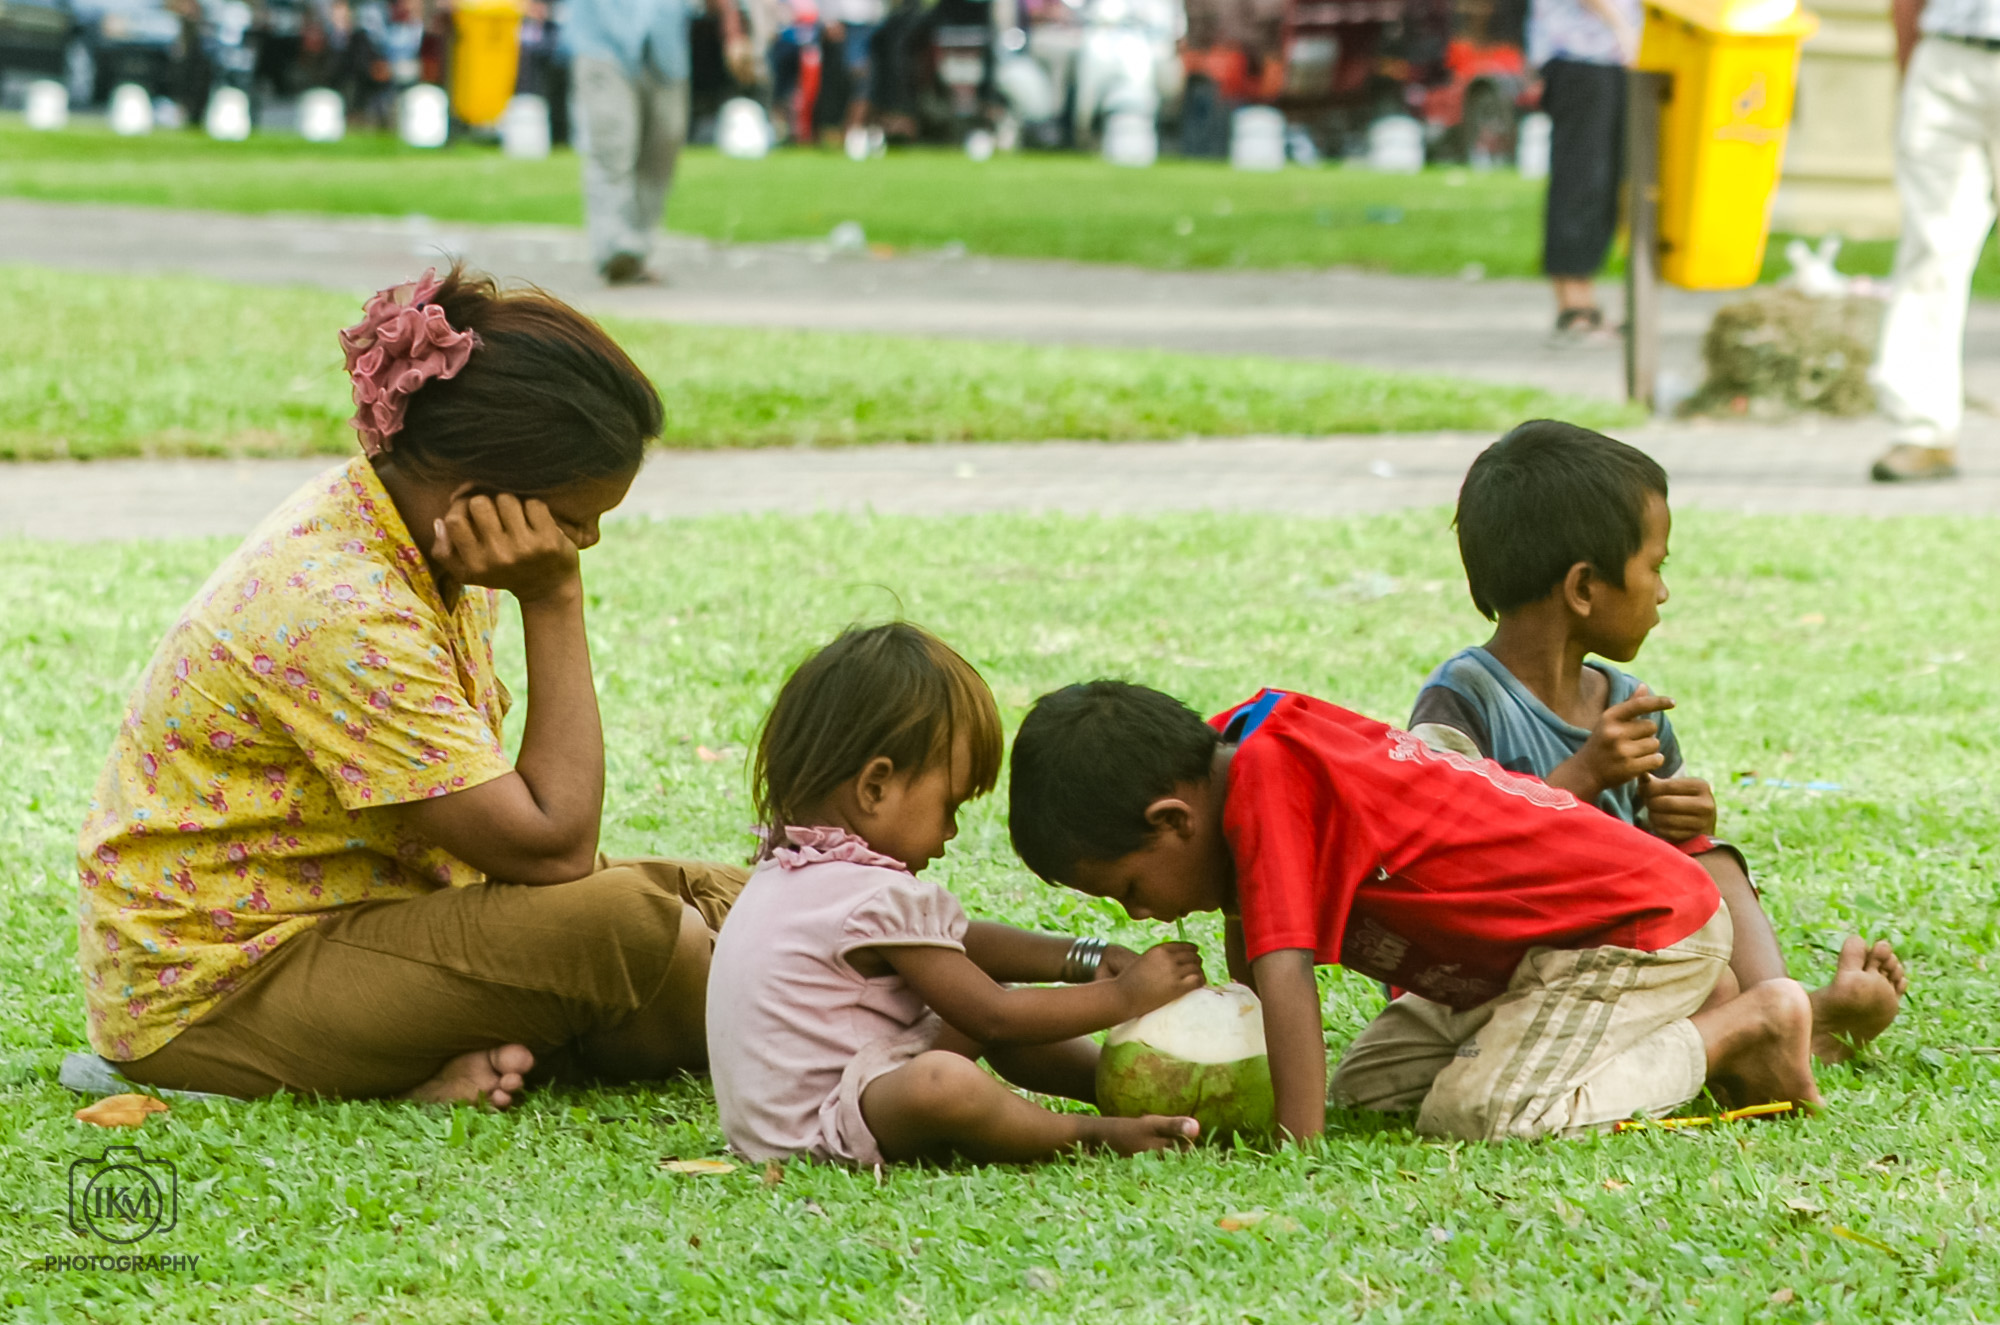
| Storytelling | Neutral — gear doesn’t add meaning | Vision, timing, and narrative make photos memorable |
🌍 Expert Consensus
- Lens quality often matters more than camera body quality — lenses are the “eyes” of the system.
- Better gear expands possibilities but doesn’t replace skill — it’s a tool, not a shortcut.
- True improvement comes from practice, study, and creative exploration.


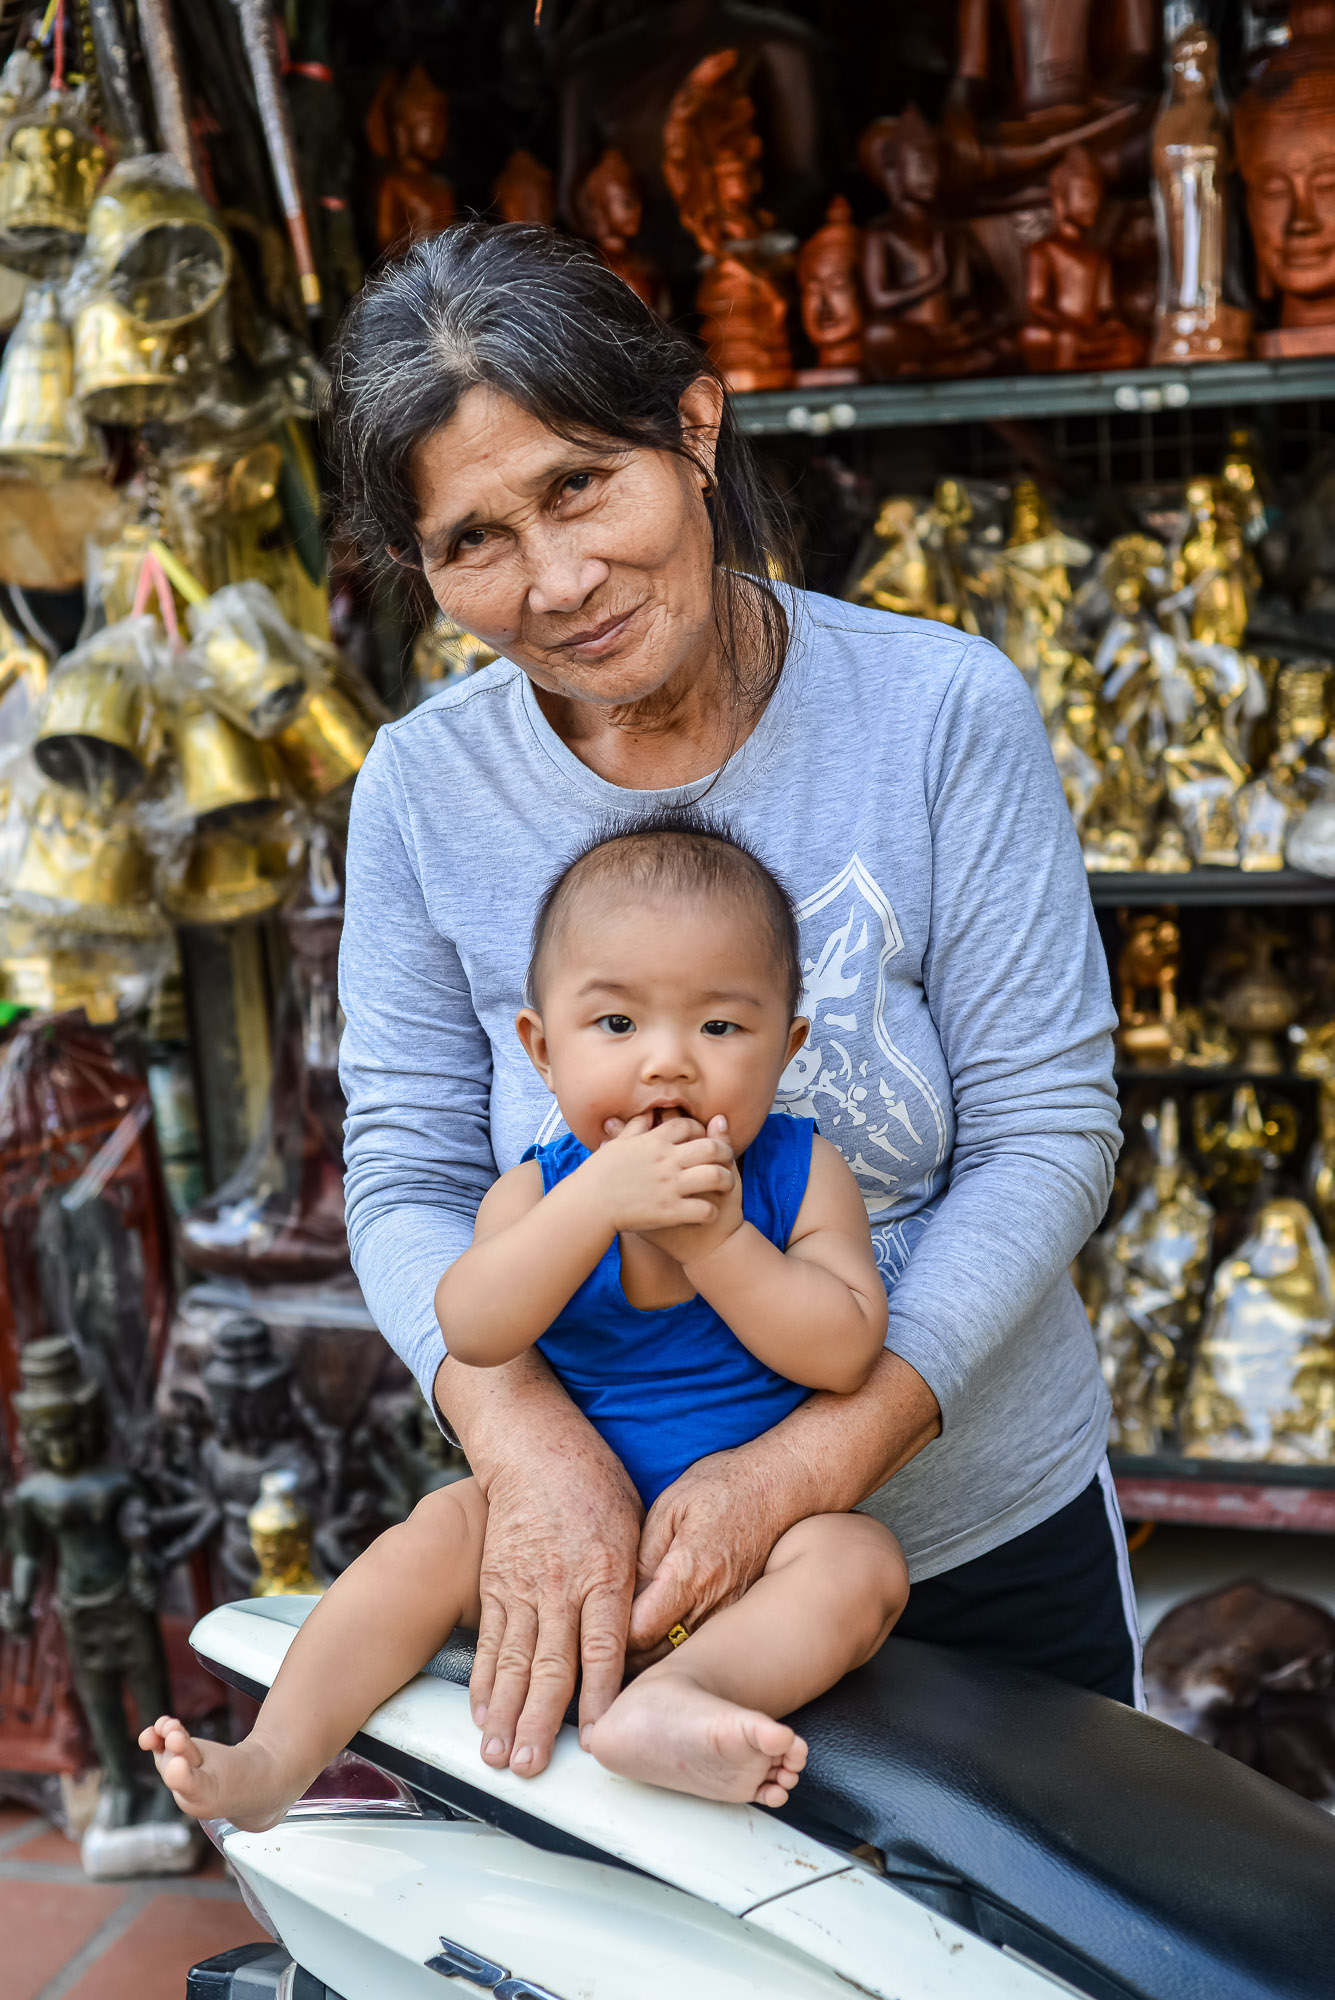
✨ Conclusion
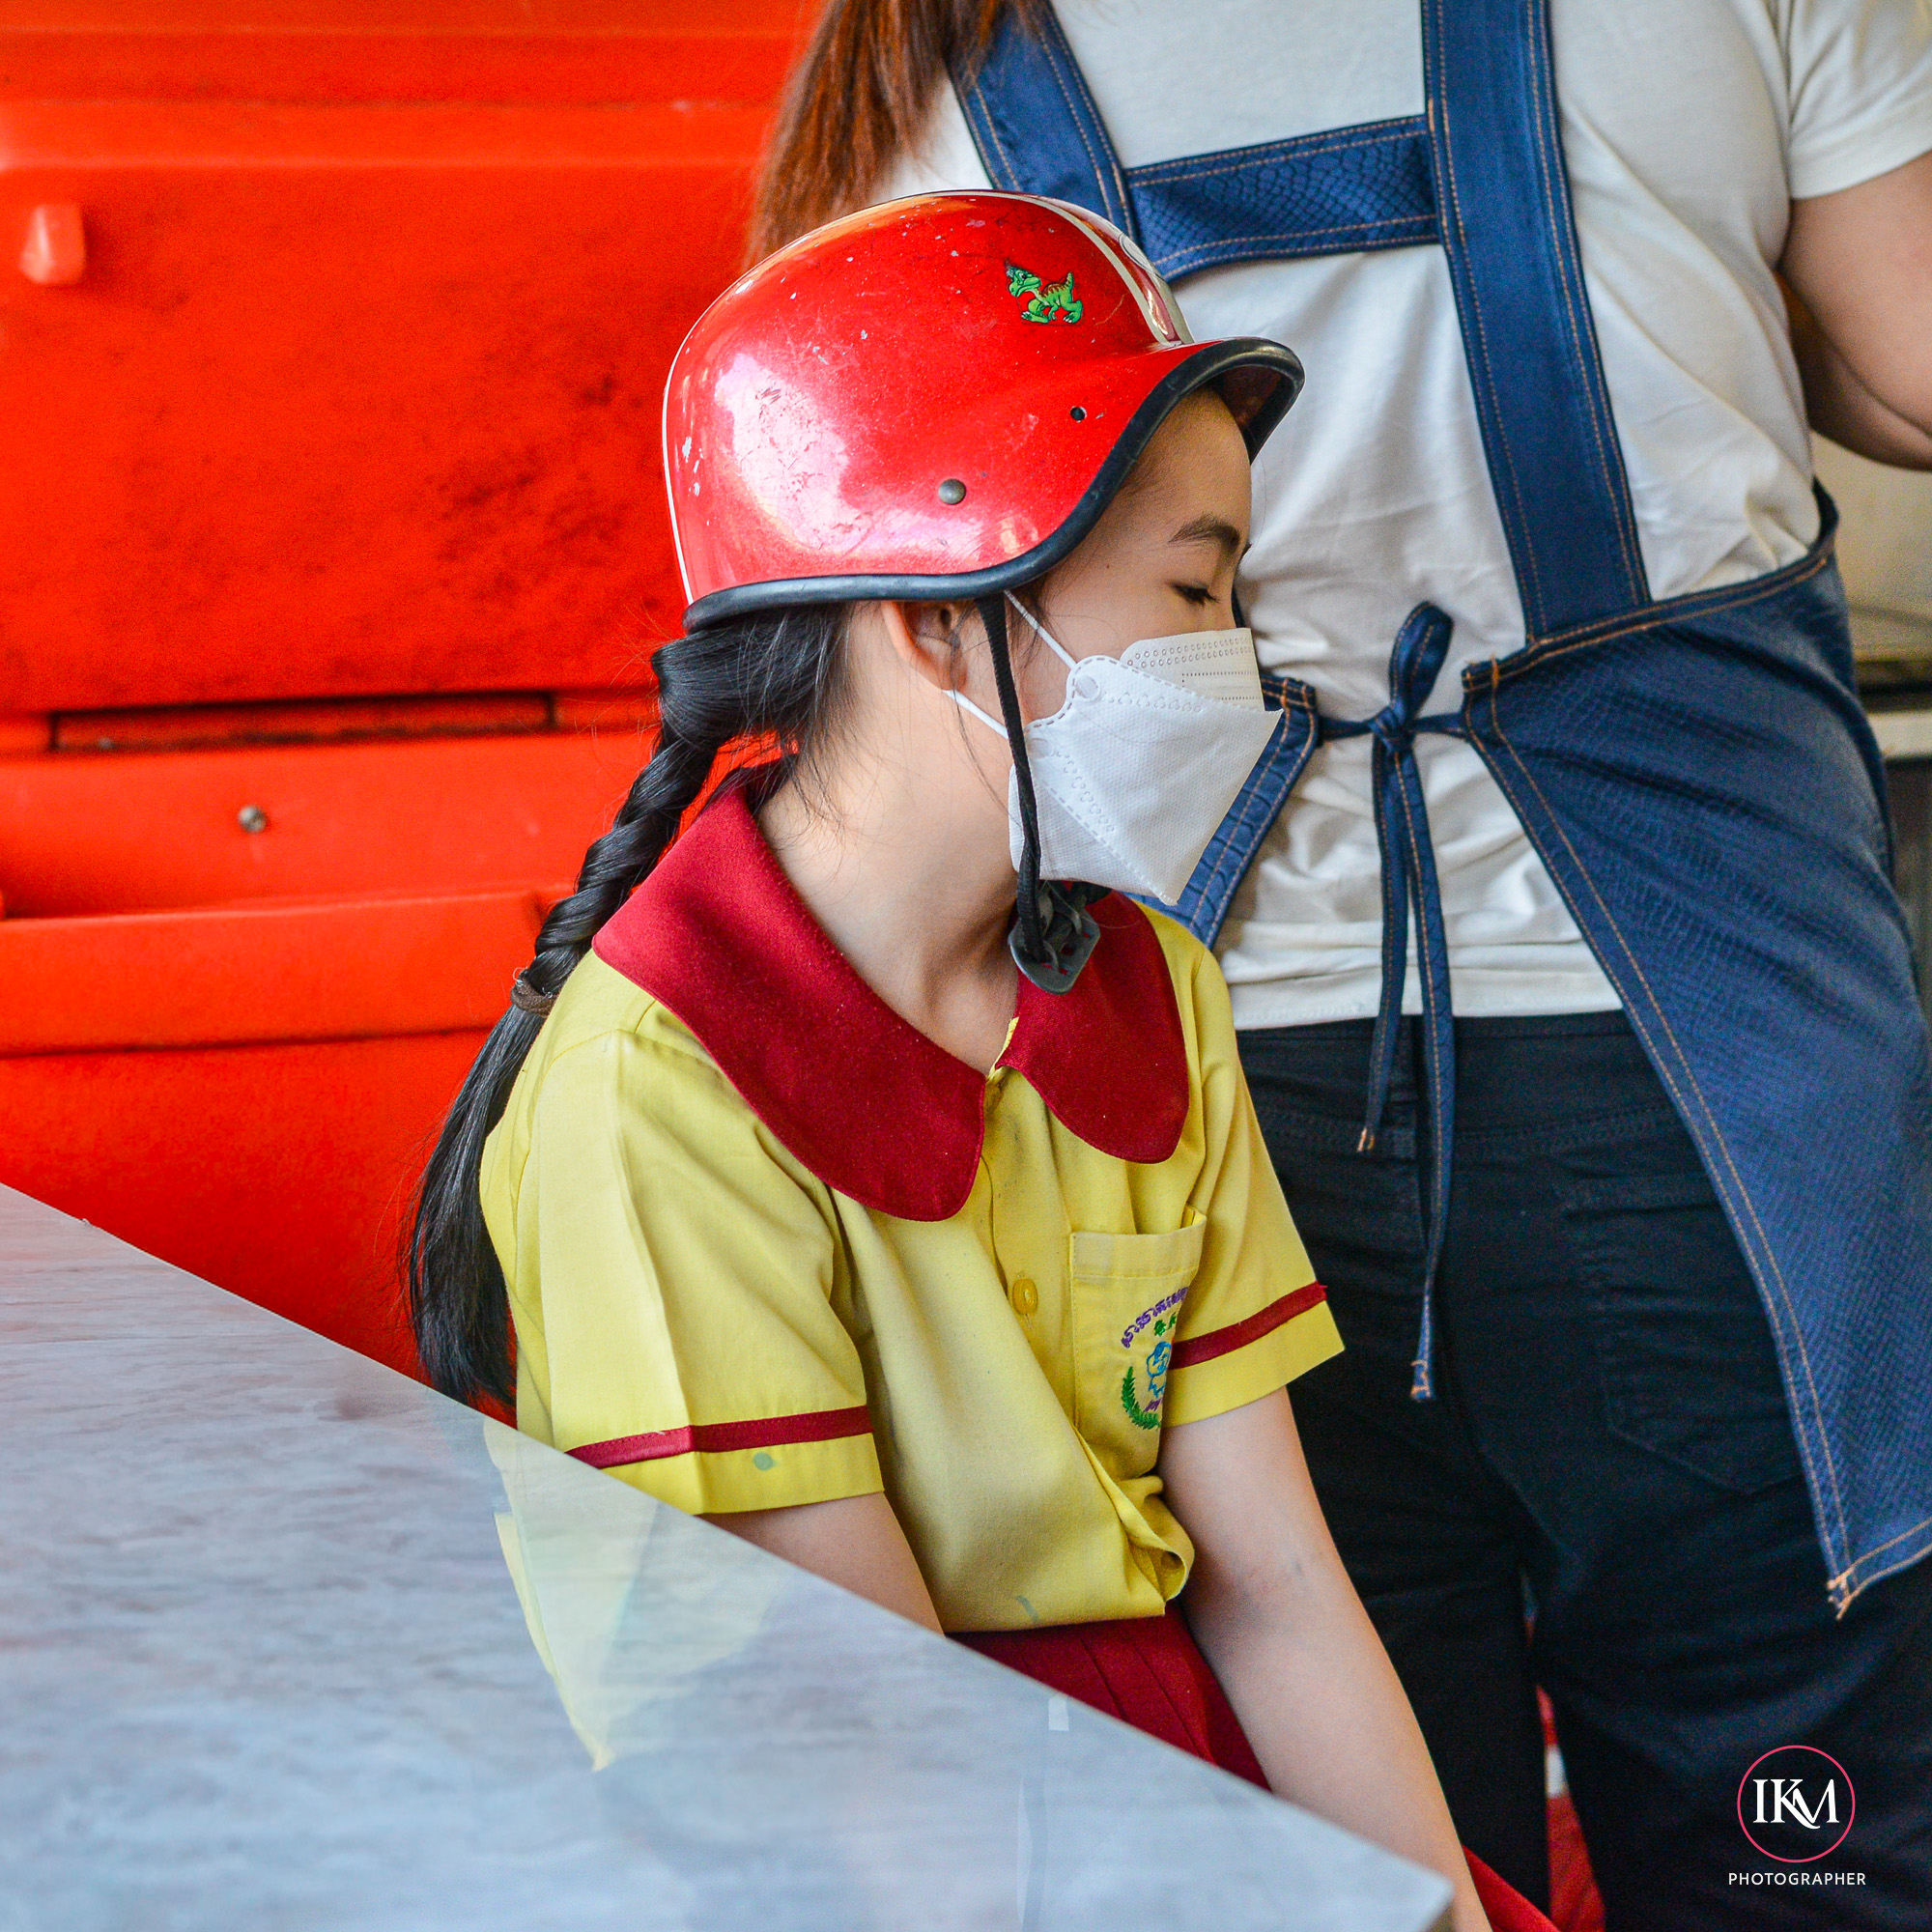
Gear quality enhances technical performance but does not define artistry. A better camera and lens can help you capture sharper, cleaner, and more versatile images, but becoming a better photographer requires vision, practice, and storytelling. The best path is to master fundamentals first, then upgrade gear when your skills demand it.
Verdict: Better gear improves possibilities; better skills make photographs. I tend to use the best gear I can afford, lenses and camera, but it does not make me a better photographer IMO.