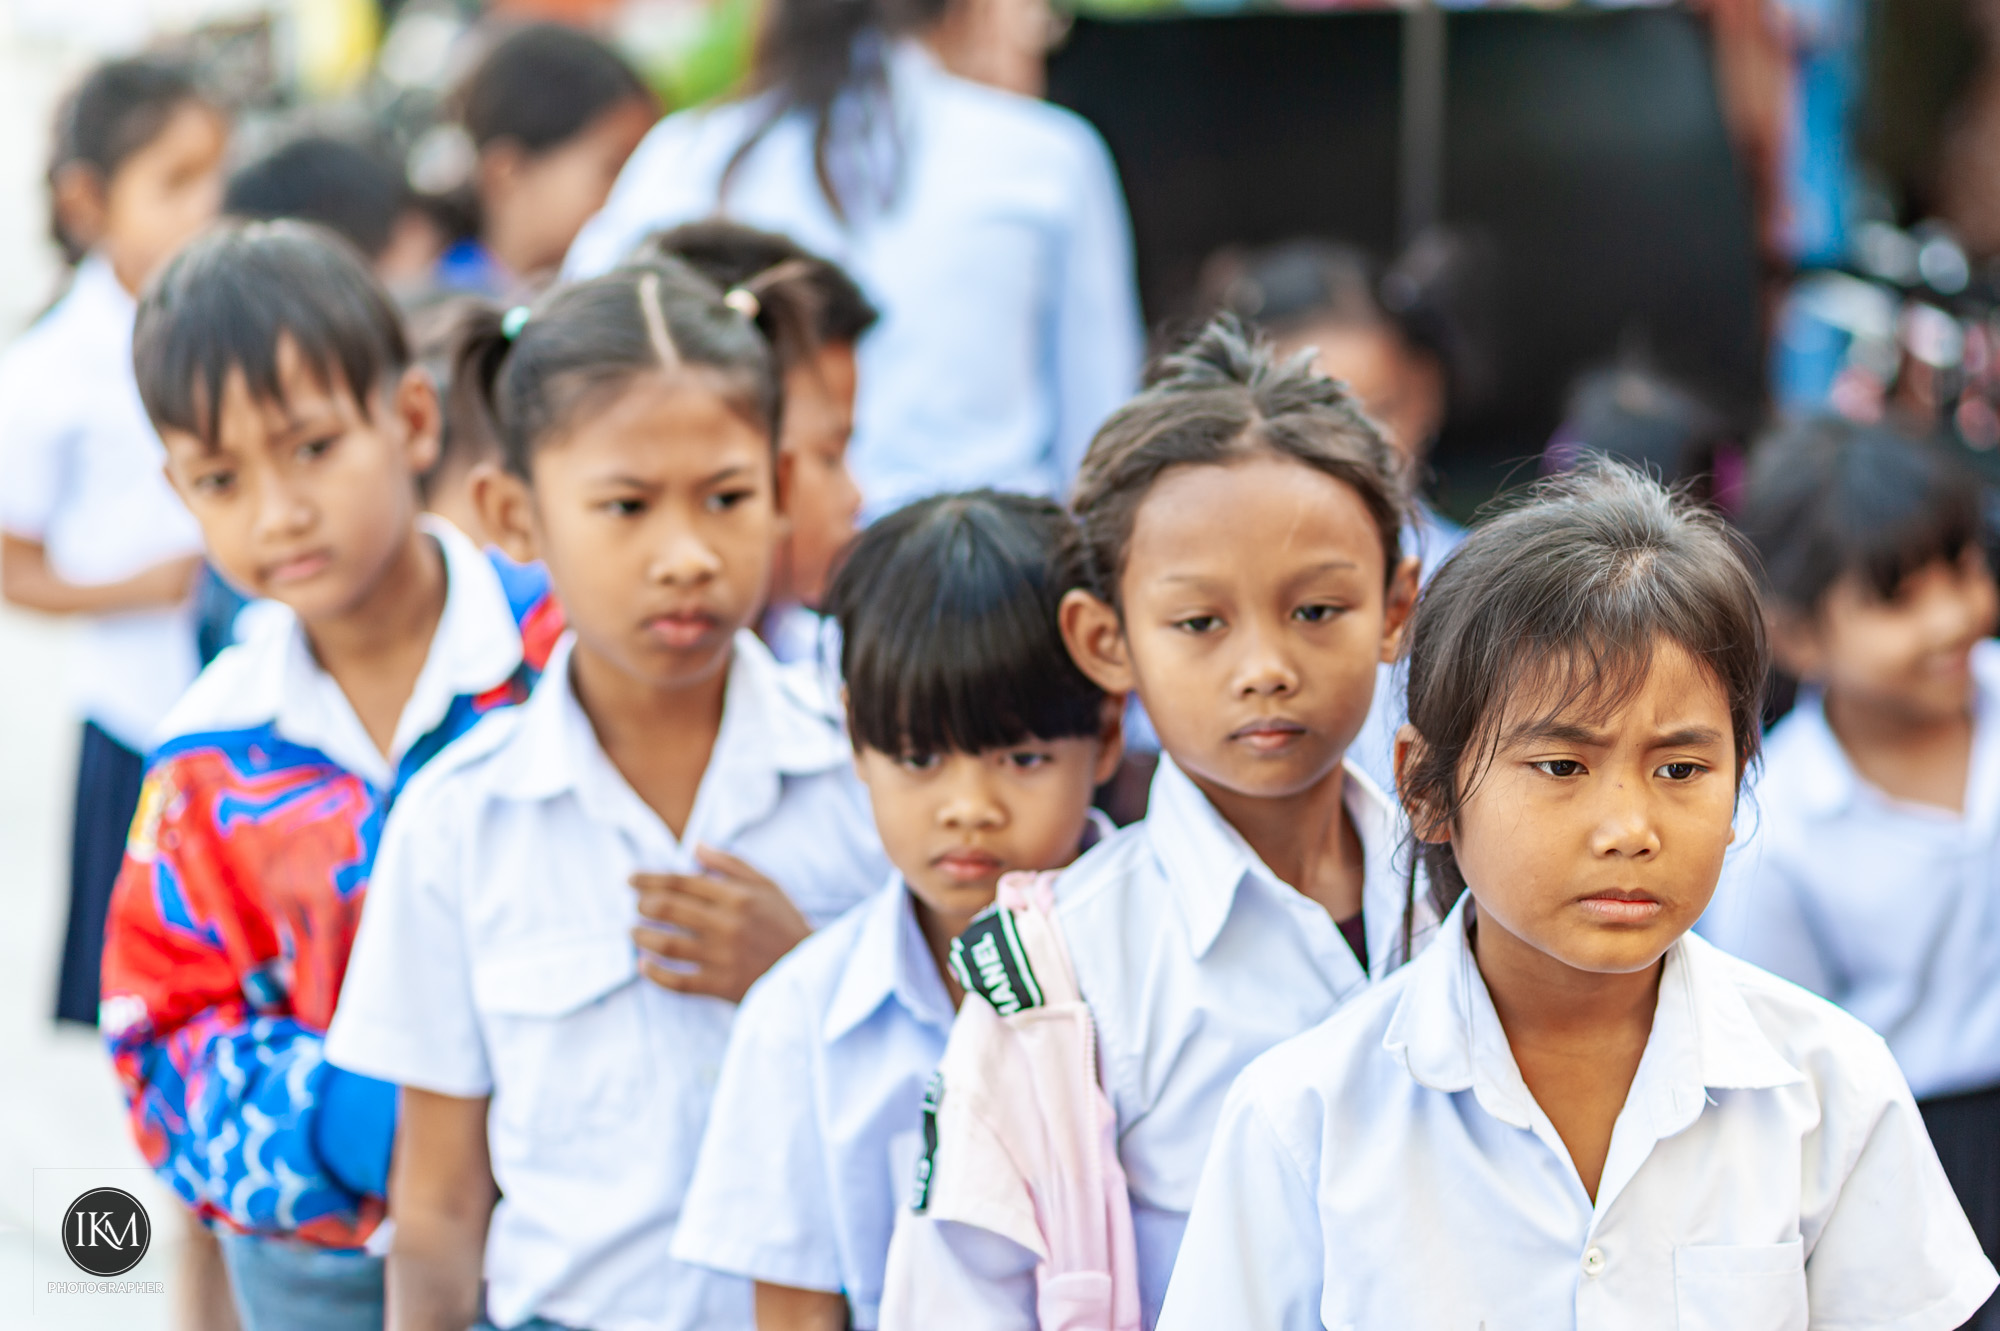
They’re not saying Cambodians are scammers.
They’re reacting to the sense that Cambodia has become a permissive environment for scams, especially compared with its neighbors.
The label spread through:
- travel forums
- expat communities
- Chinese & Southeast Asian social media
- investigative reporting on cyber-fraud
🏗️ 1. A regional hub for industrial scam operations
Cambodia is now internationally linked to large-scale scam compounds, especially:

- romance scams
- crypto / “pig-butchering” fraud
- fake trading platforms
- online gambling
Key locations often mentioned:
- Sihanoukville
- Poipet
- Bavet
- Phnom Penh outskirts
These aren’t petty cons—they’re organized, transnational operations, often run by Chinese crime syndicates.
Critically:
- many “workers” are trafficked or coerced
- passports confiscated
- violence used to enforce quotas
So Cambodia appears in UN reports, NGO briefings, and international media again and again.

🏛️ 2. Weak enforcement and selective protection
Cambodia has anti-fraud laws.
The issue is enforcement that looks uneven and politicized.
Common perceptions:
- some compounds raided, others untouched
- owners linked to political or military elites
- bribes settling investigations
- victims afraid to report crimes
This creates the idea that scams are tolerated as long as powerful people benefit.
That perception—more than raw crime numbers—drives the nickname.
🧳 3. High-visibility scams affecting foreigners
Visitors often encounter:
- inflated “foreigner pricing”
- fake tickets or permits
- bogus police fines
- rental and deposit scams
- tour or transport bait-and-switch
None are unique to Cambodia—but the frequency and lack of recourse make them memorable.
Travelers warn each other. The term sticks.
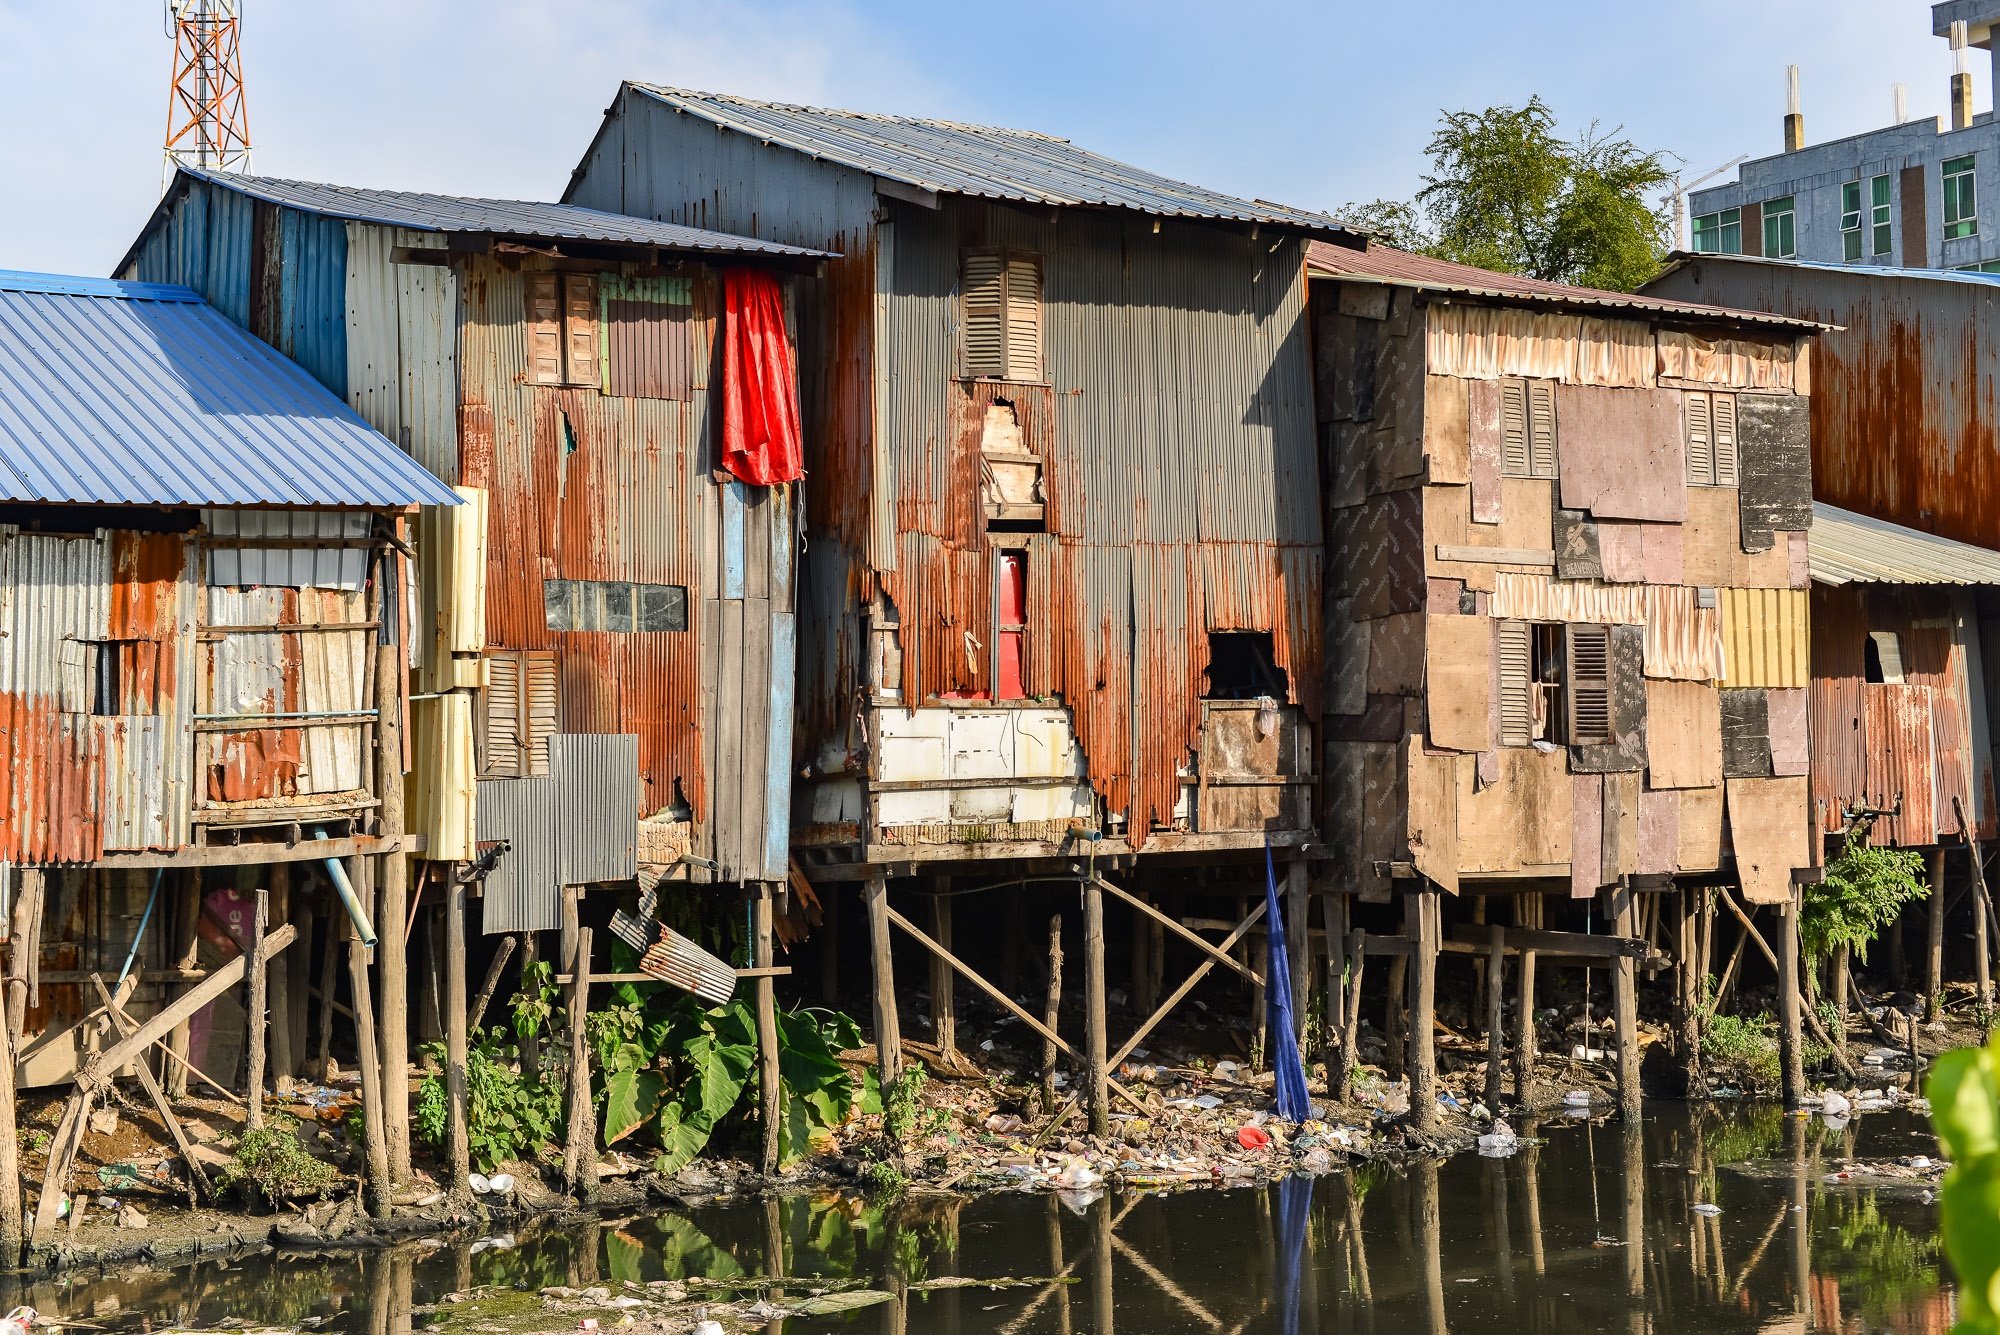
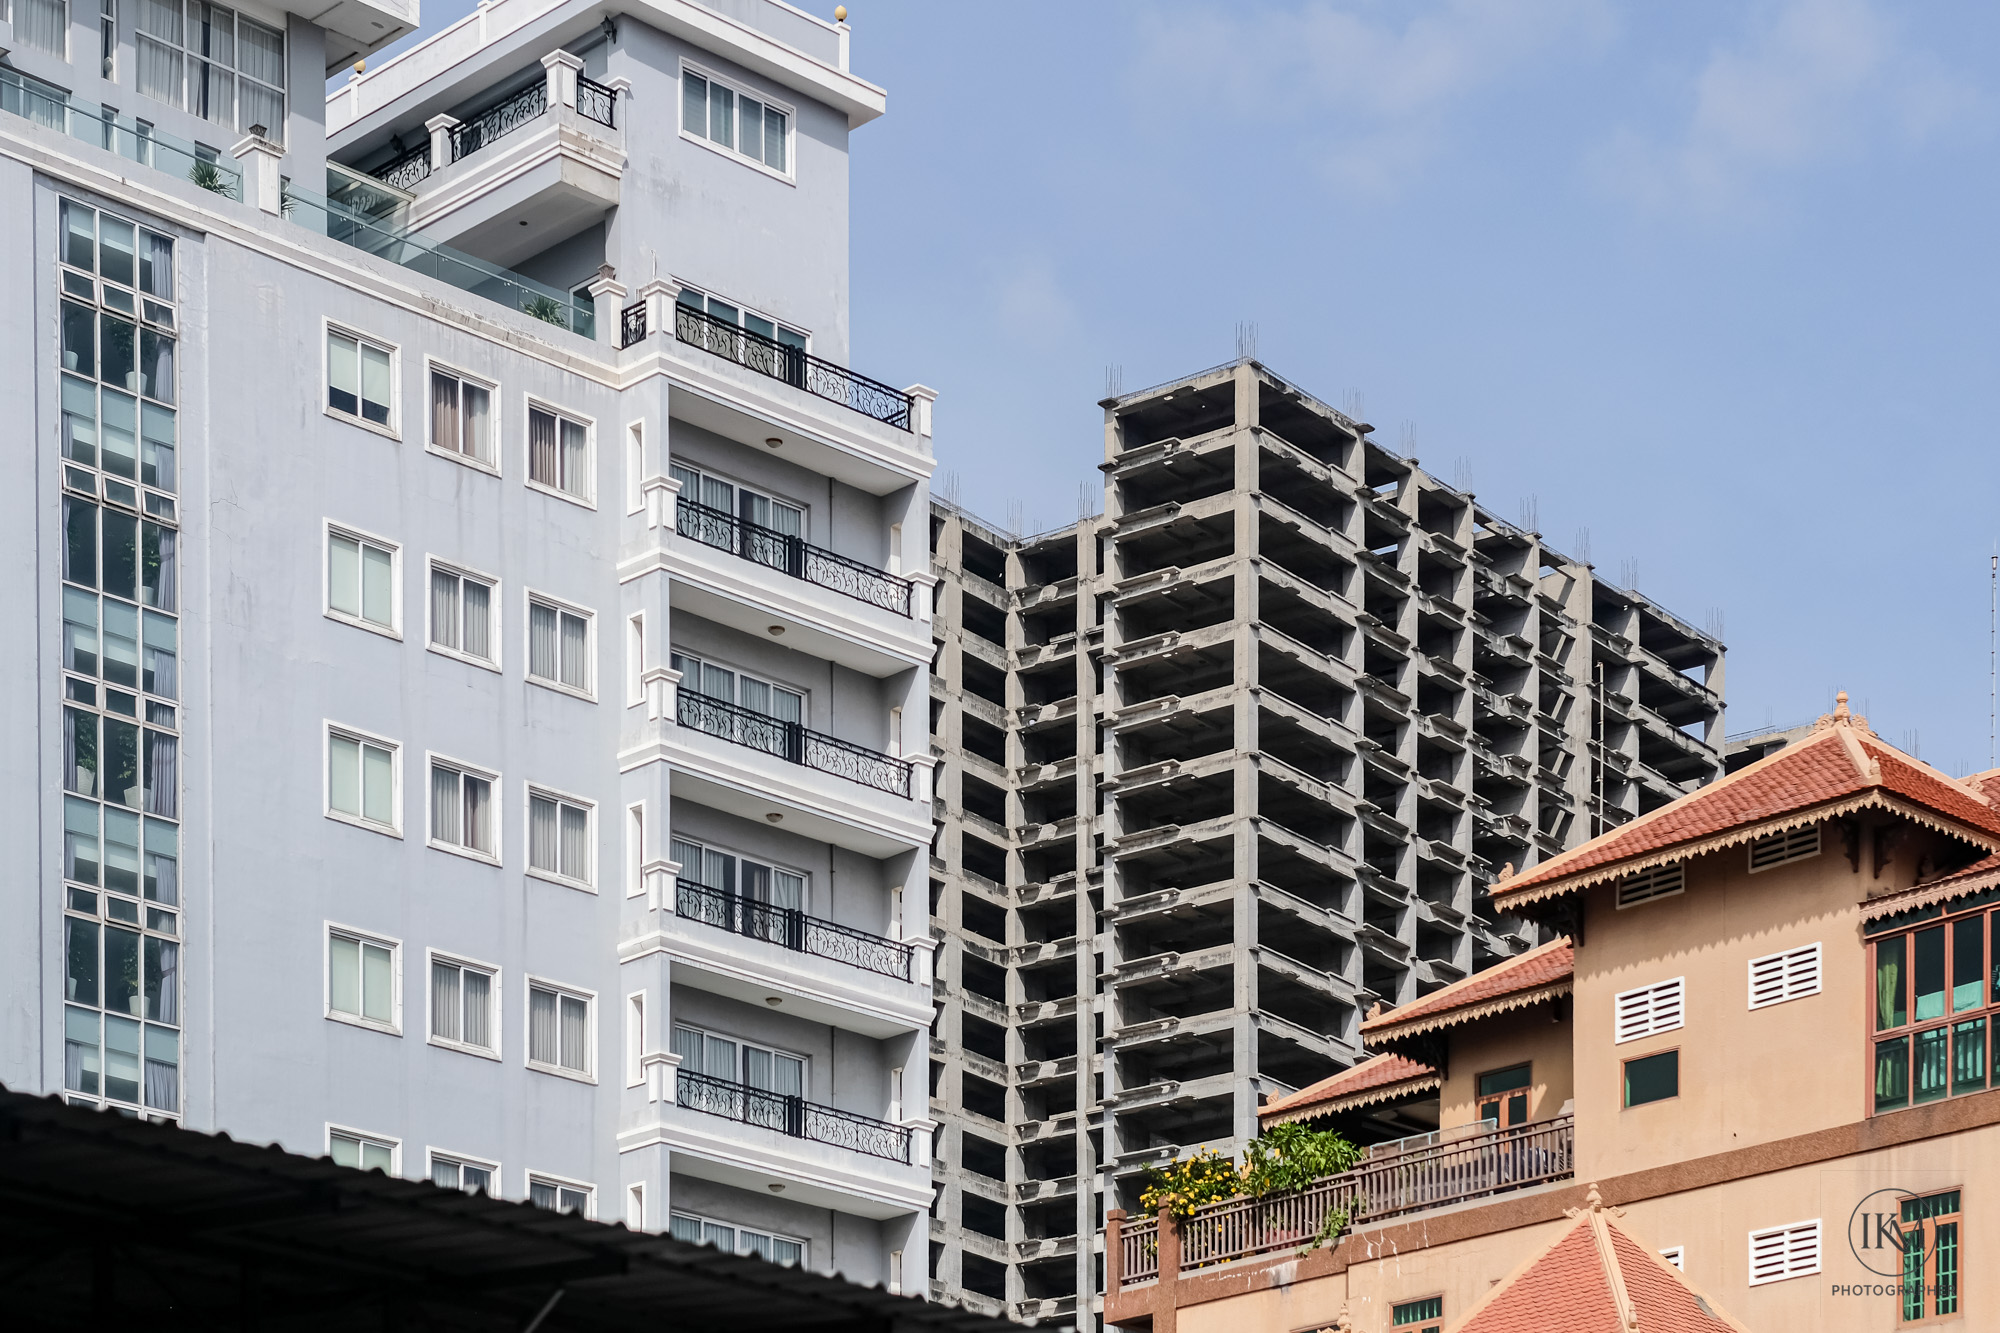
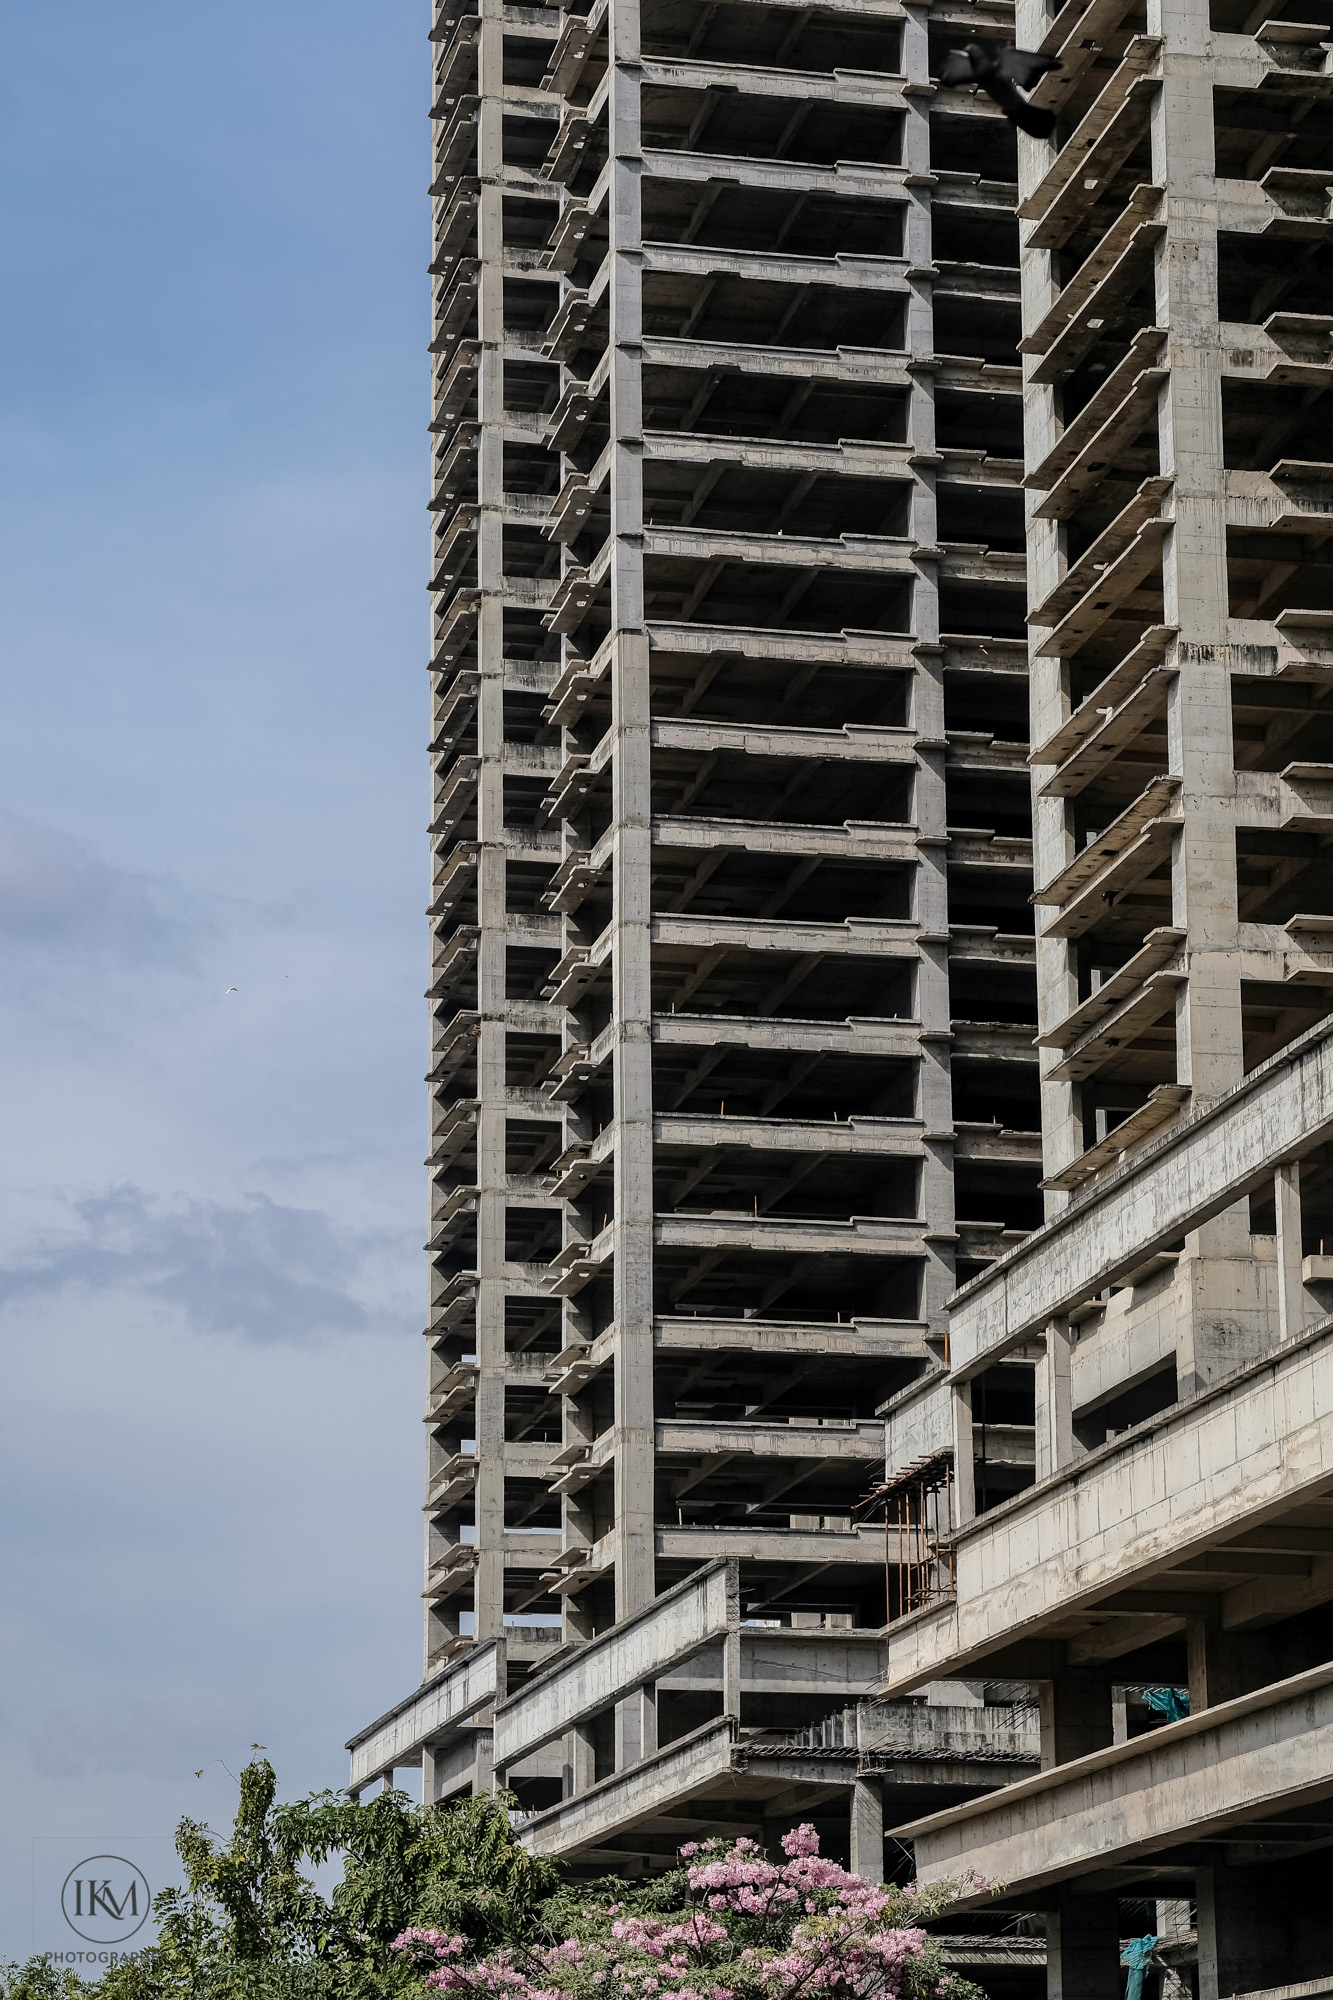
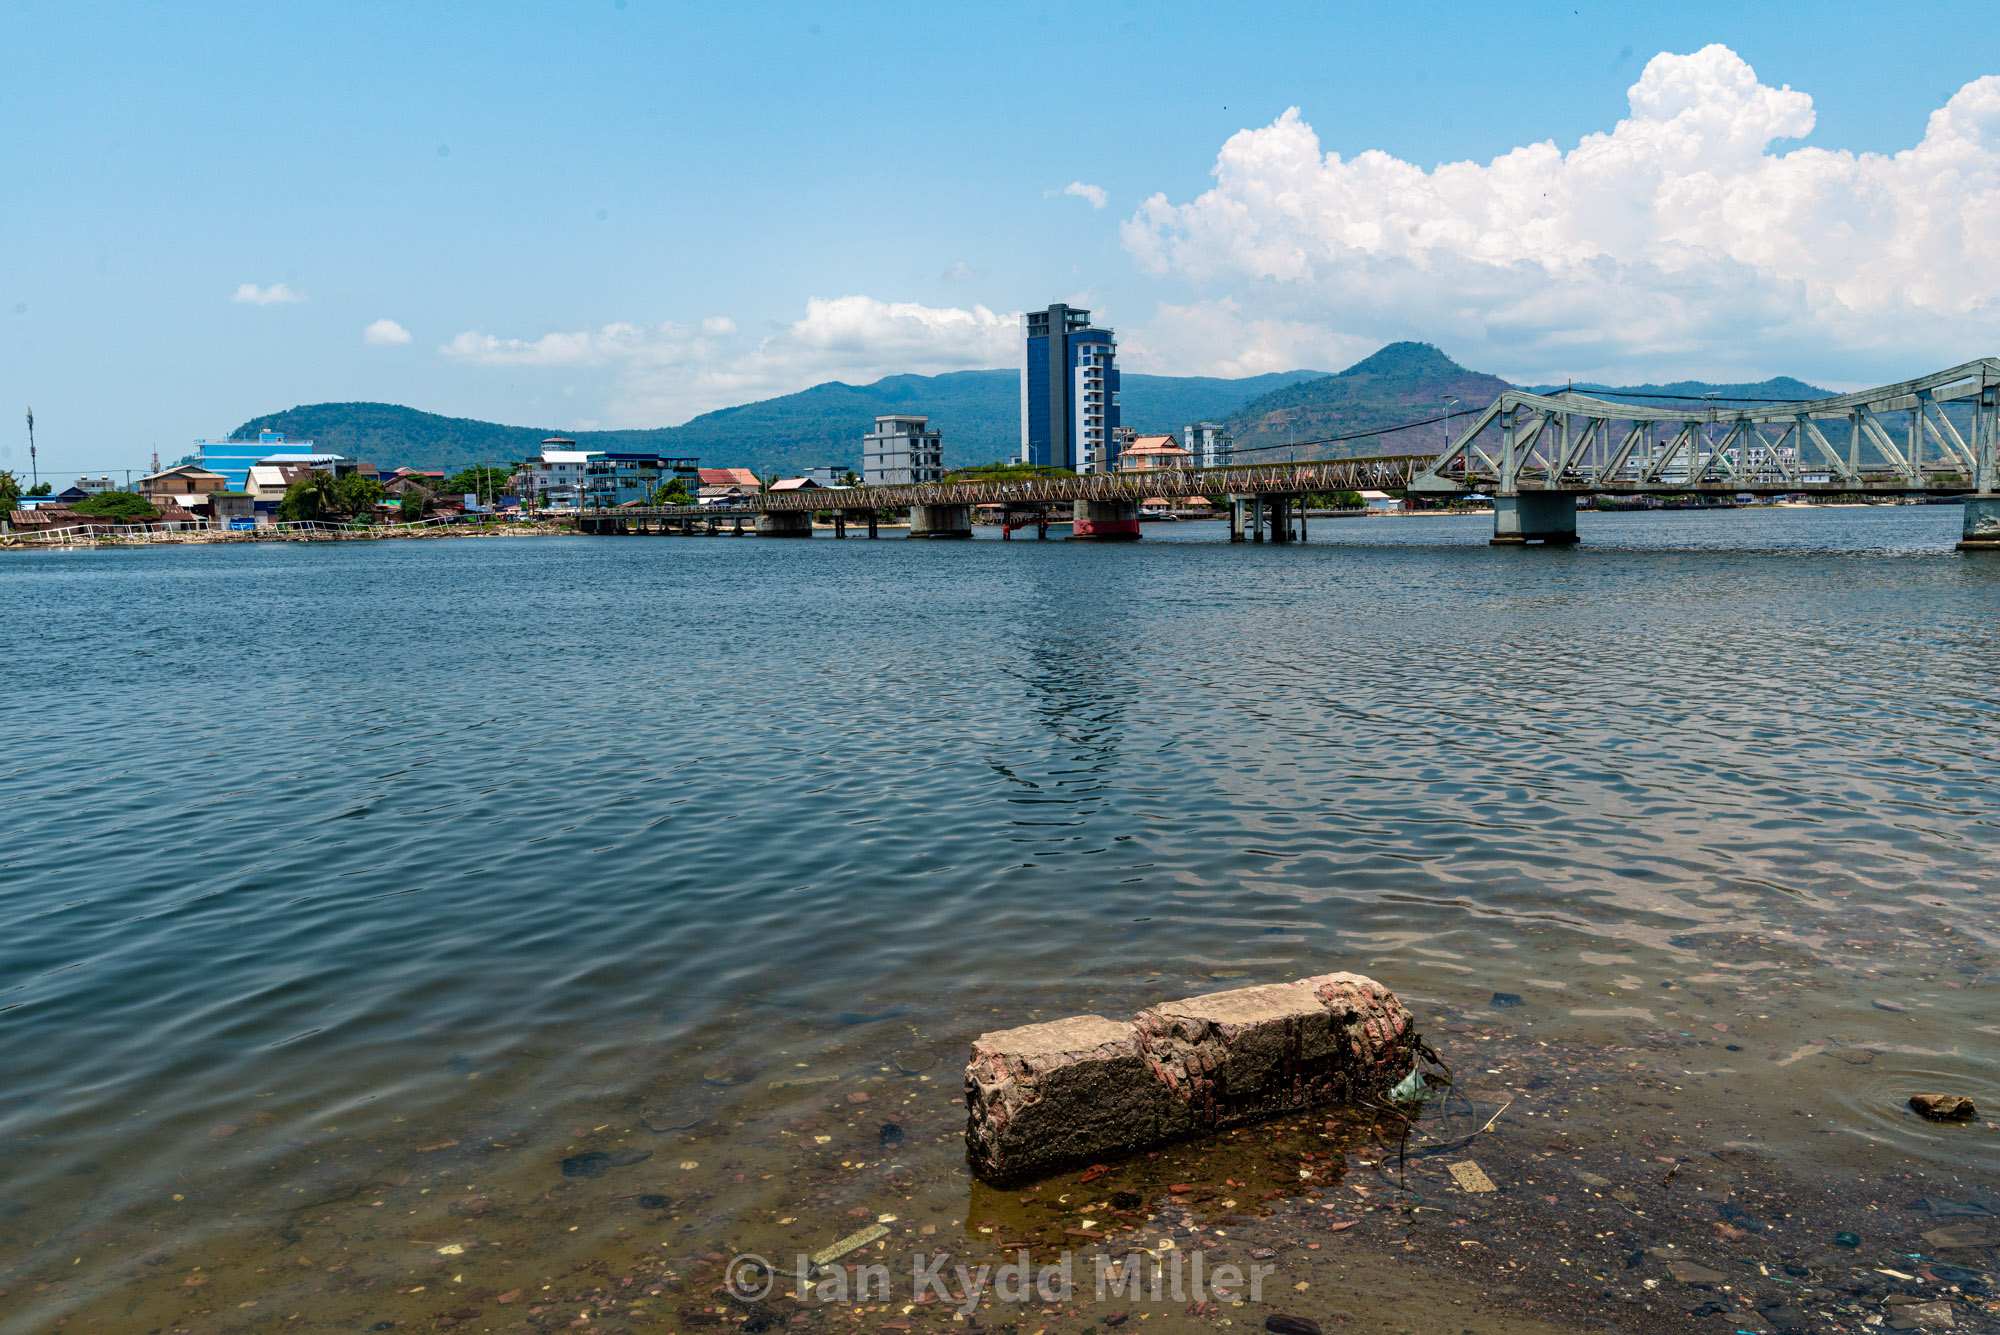
🌆 4. Sihanoukville did lasting reputational damage
Sihanoukville became shorthand for:
- casino boom chaos
- money laundering
- human trafficking cases
- abandoned mega-projects
- violent incidents
For many outsiders:
Cambodia ≈ Sihanoukville ≈ scams
That’s unfair—but reputations don’t wait for nuance.

⚖️ The part people miss
- Most Cambodians gain nothing from scams.
- Many actively resent them.
- The stigma hurts ordinary people and small businesses.
“Scambodia” targets the wrong level of the problem.
The real issue is transnational crime + elite protection, not the population.
🧠 Bottom line
Cambodia gets called “Scambodia” because:
- it hosts visible, large-scale scam infrastructure
- enforcement appears selective
- foreigners frequently encounter fraud
- one city poisoned the country’s image
The nickname is crude, lazy, and unfair—
but it’s rooted in real, systemic failures, not pure prejudice.
- Which scams are most common where
- How enforcement compares (Cambodia vs Thailand vs Vietnam)
- Why the “Scambodia” label spreads
- What’s real vs. perception
🔍 1) Common Scam Types — Cambodia vs Thailand vs Vietnam
| Scam Type | Cambodia | Thailand | Vietnam |
|---|---|---|---|
| Industrialized cyber-fraud compounds | 🔥 Very high (organised, large-scale) | 🟡 Rare / small scale | 🟡 Rare / small scale |
| Crypto / “pig butchering” hubs | 🔥 Big presence | 🟡 Some cases | 🟡 Some cases |
| Online gambling/betting rings | 🔥 Large operations | 🟡 Smaller | 🟡 Smaller |
| Tourist cons (fake fines, tuk-tuk switching) | 🟡 Frequent | 🔵 Frequent | 🔵 Frequent |
| Romance / investment scams targeting foreigners | 🔥 High | ⚪ Mostly offshore, not physically based | ⚪ Mostly offshore |
Legend: 🔥 Very common / prominent · 🟡 Moderate · 🔵 Common tourist annoyances · ⚪ Less organized locally
👉 Why Cambodia stands out: It isn’t just that scams exist — but that there are factory-style scam operations, often in compounds staffed with dozens or hundreds of people working shifts.
🚔 2) Enforcement & Government Response — Country Comparison
🇰🇭 Cambodia
✔ Has laws against fraud
✘ Enforcement often seen as uneven or slow
✘ Some facilities linked to powerful local interests
✘ Police raids happen — but critics say they’re inconsistent
Perception effect: People see stories of scam hubs operating for months/years with little visible consequence, so it feels like tolerance.
🇹🇭 Thailand
✔ Generally stronger tourism infrastructure
✔ Scam prosecutions more visible
✘ Tourist scams still common (tuk-tuk, tours, fake fees)
✘ Online scam syndicates exist, but less studied
Perception effect: Thailand still gets warnings like “don’t fall for XYZ scam” — but it doesn’t have the same level of organized, compound-style operations on-the-ground.
🇻🇳 Vietnam
✔ Improved enforcement in recent years
✔ Online scam networks exist but are more dispersed
✘ Tourist scams still happen (motorbike rentals, fake fines, overcharging)
Perception effect: Vietnam’s scams are often more “street-level” or digital, rather than big physical compounds.
🧠 3) Why the “Scambodia” Label Spreads
There are a few real social mechanisms behind the nickname:
🧳 A. Travel stories go viral
One traveler gets burned on a tour or tuk-tuk scam, posts it online — others upvote and share.
👉 These stories are memorable, spread fast, and give an emotional impression.
📰 B. International media coverage
News reports and NGO investigations have spotlighted:
- large scam compounds
- trafficking into scam factories
- crypto crime hubs
Even if the crimes aren’t all Cambodian nationals, Cambodia gets named because they physically operate there.
📱 C. Expat & social media echo chambers
Forums focused on scams, crypto fraud, or safety tend to attract negative stories, which can amplify perception.
It becomes:
“I heard about another scam in Cambodia — must be everywhere!”
Repeat that hundreds of times… and the nickname takes hold.
⚠️ 4) What’s Real vs Perception
✔ Real
- Organized scam operations really have existed in Cambodia
- Enforcement has sometimes been slow or selective
- Foreign victims report frequent fraud
❌ Not true
- That all Cambodians are scammers
- That Cambodia is uniquely “fraud-friendly” compared to every country
- That scammers are locals in all cases (many are trafficked workers)
So the nickname is a social perception shortcut, not a fair national label.
🧩 5) Root Causes Behind Cambodia’s Scam Problem
Here’s the deeper context people often miss:
⚙️ Economic drivers
- Limited formal jobs
- Some young people drawn to online hustles
💰 Demand from abroad
These scams often target victims in other countries — that’s why media buzz is so loud.
🤝 Organized networks
Not individuals operating in markets — but organized groups, sometimes with political or economic protection.
🚨 Law enforcement capacity
The legal framework exists — but resources, training, and political will vary.
🎯 Summary — Why “Scambodia” Caught On
✨ It reflects a perception of lax enforcement + large scam hubs.
But…
❌ It’s unfair as a national label — Cambodia is more than that.
The scams are symptoms of regional crime networks + governance challenges, not an expression of Cambodian society.
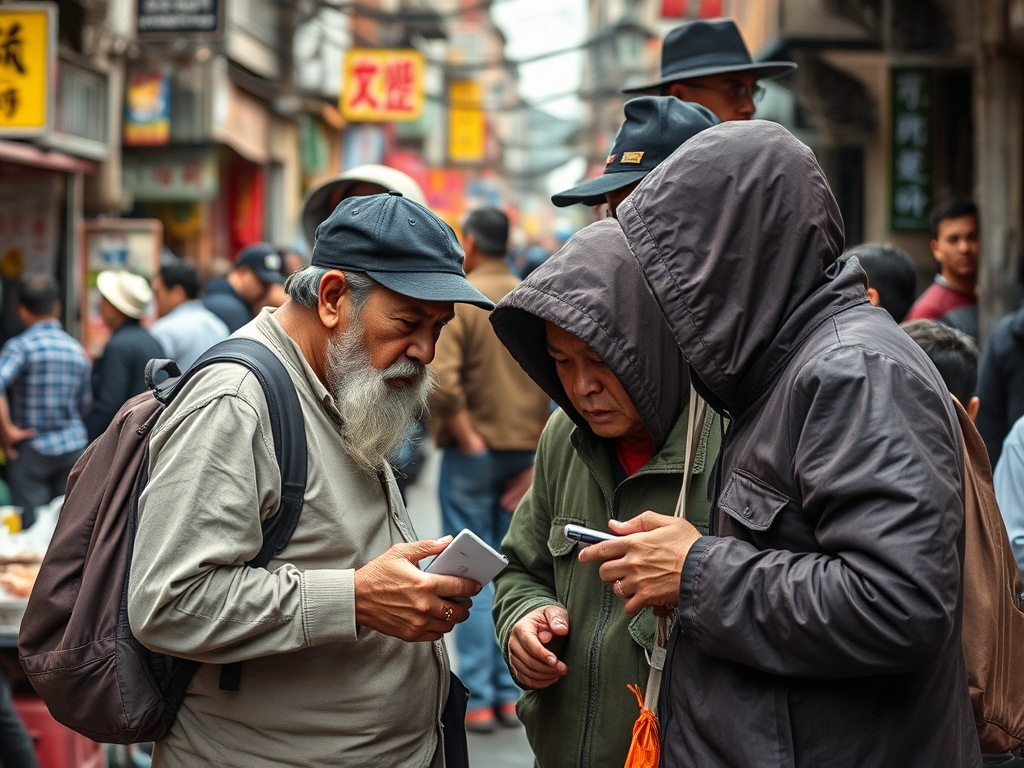
🇰🇭 Cambodia: What Travelers Should Actually Watch Out For
🛂 1. Visa & border nonsense (most common first hit)
⚠️ What happens
- “Extra fees” invented at land borders
- Claims your visa is “wrong” or “expired”
- Pressure to pay to “fix” paperwork
✅ What to do
- Use official e-visa sites only
- Print everything
- Be calm, polite, and boring
- Ask for a receipt — magic word
📌 If it’s fake, asking for paperwork often ends it.
🚕 2. Transport tricks (annoying, not dangerous)
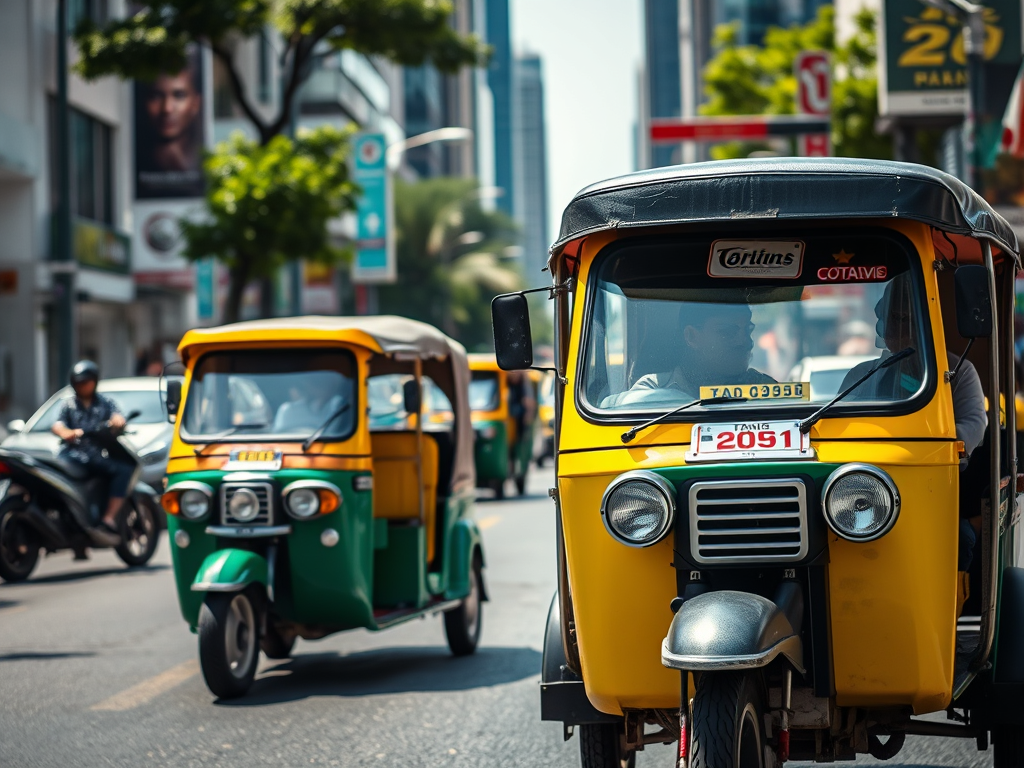
⚠️ What happens
- Tuk-tuk driver agrees on price → changes destination
- Taxi meter “broken”
- Airport ride suddenly doubles
✅ What to do
- Use Grab / PassApp whenever possible
- Confirm destination + price clearly
- Pay after arrival
📌 Most drivers are honest — but don’t rely on vibes.
🏨 3. Accommodation & deposits
⚠️ What happens
- Landlord keeps deposit
- “Damage” appears at checkout
- Different room than advertised
✅ What to do
- Take photos on check-in
- Use platforms with dispute systems
- Avoid paying deposits in cash for short stays
📌 If there’s no paper trail, there’s no leverage.
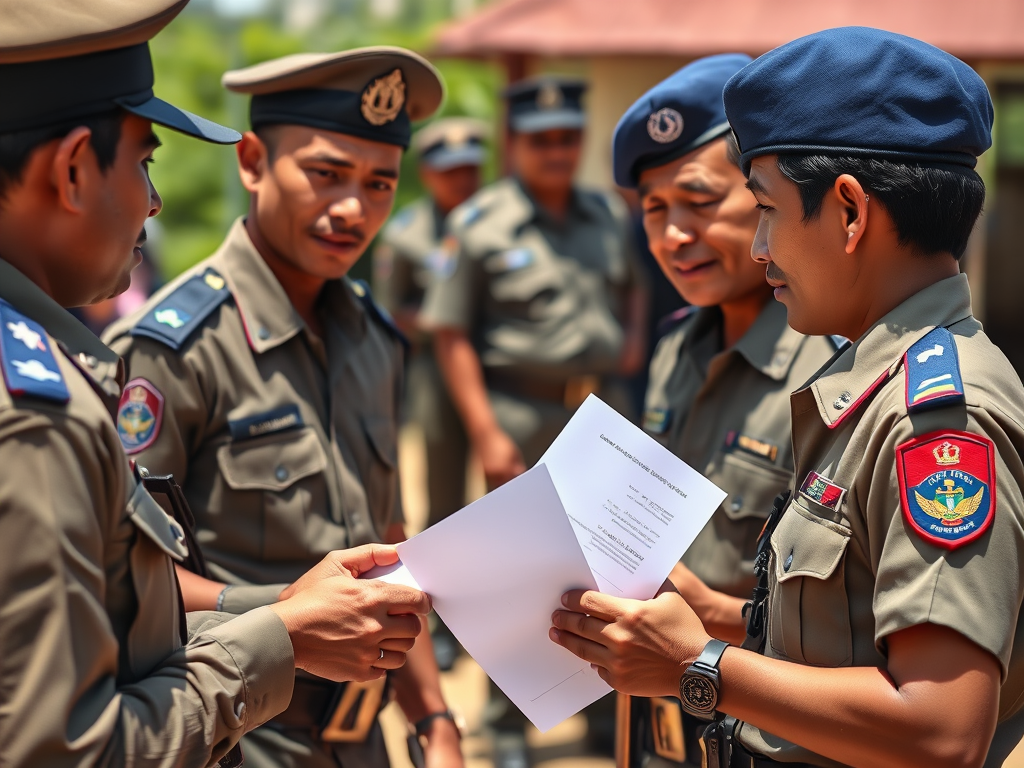
👮 4. Fake or inflated police fines (rare, but real)
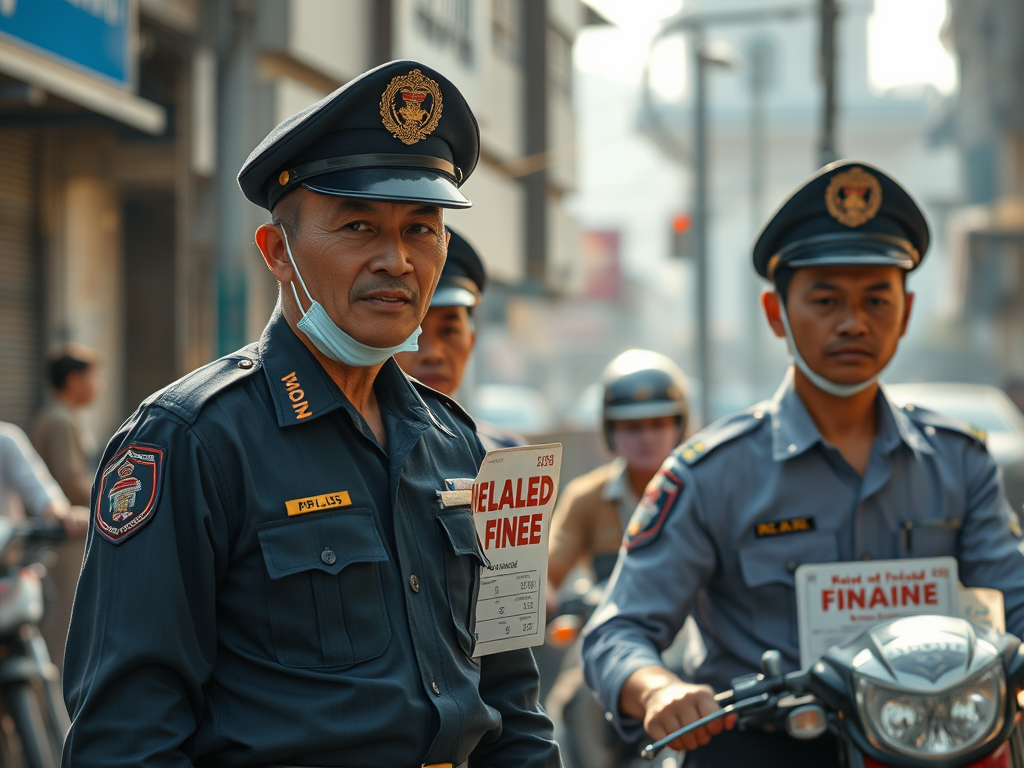
⚠️ What happens
- Claimed traffic or visa violation
- “Pay now or go to station”
- No ticket, no ID, no paperwork
✅ What to do
- Ask for written citation
- Ask to go to the police station
- Stay polite and slow
📌 Real police don’t mind paperwork. Fake ones hate it.
🎟️ 5. Tours, tickets & “official” guides
⚠️ What happens
- Fake bus or boat tickets
- “Closed site — alternative tour”
- Extra fees at attractions
✅ What to do
- Book through hotels or known operators
- Check opening hours online
- Avoid on-street “helpers”
📌 If someone approaches you unsolicited — pause.
💱 6. Money, exchange & payment traps
⚠️ What happens
- Torn USD bills rejected
- Short-changing at exchange
- “Wrong change” in busy moments
✅ What to do
- Carry clean USD bills
- Count change out loud
- Use ATMs inside banks
📌 Cambodia runs on USD — but only pristine notes.
📱 7. Digital & online scams (less touristy, but growing)
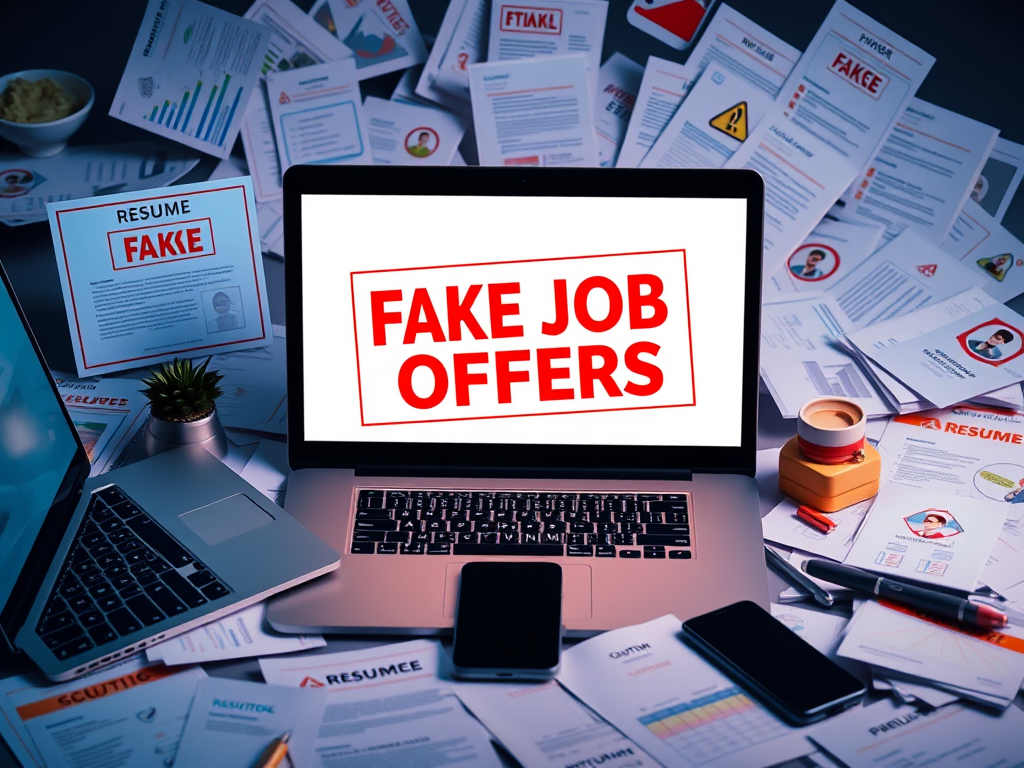
⚠️ What happens
- Tinder / Instagram crypto pitches
- “Investment tips” from new friends
- Fake job or volunteer offers
✅ What to do
- Never invest via WhatsApp/Telegram
- Don’t trust “insider” trading apps
- Walk away early — no explanations
📌 If it feels like a script, it probably is.
🧠 8. The real danger: politeness pressure
This is the biggest mistake travelers make.
⚠️ What happens
- You don’t want to offend
- You don’t want to look rude
- You hesitate too long
✅ What to remember
- Being calm ≠ being compliant
- You can say no without drama
- Slowing things down protects you
📌 Scams rely on momentum. Kill the momentum.
🟢 What not to worry about (seriously)
❌ Random violence
❌ Being kidnapped
❌ Everyday people targeting you
❌ Walking around cities by day
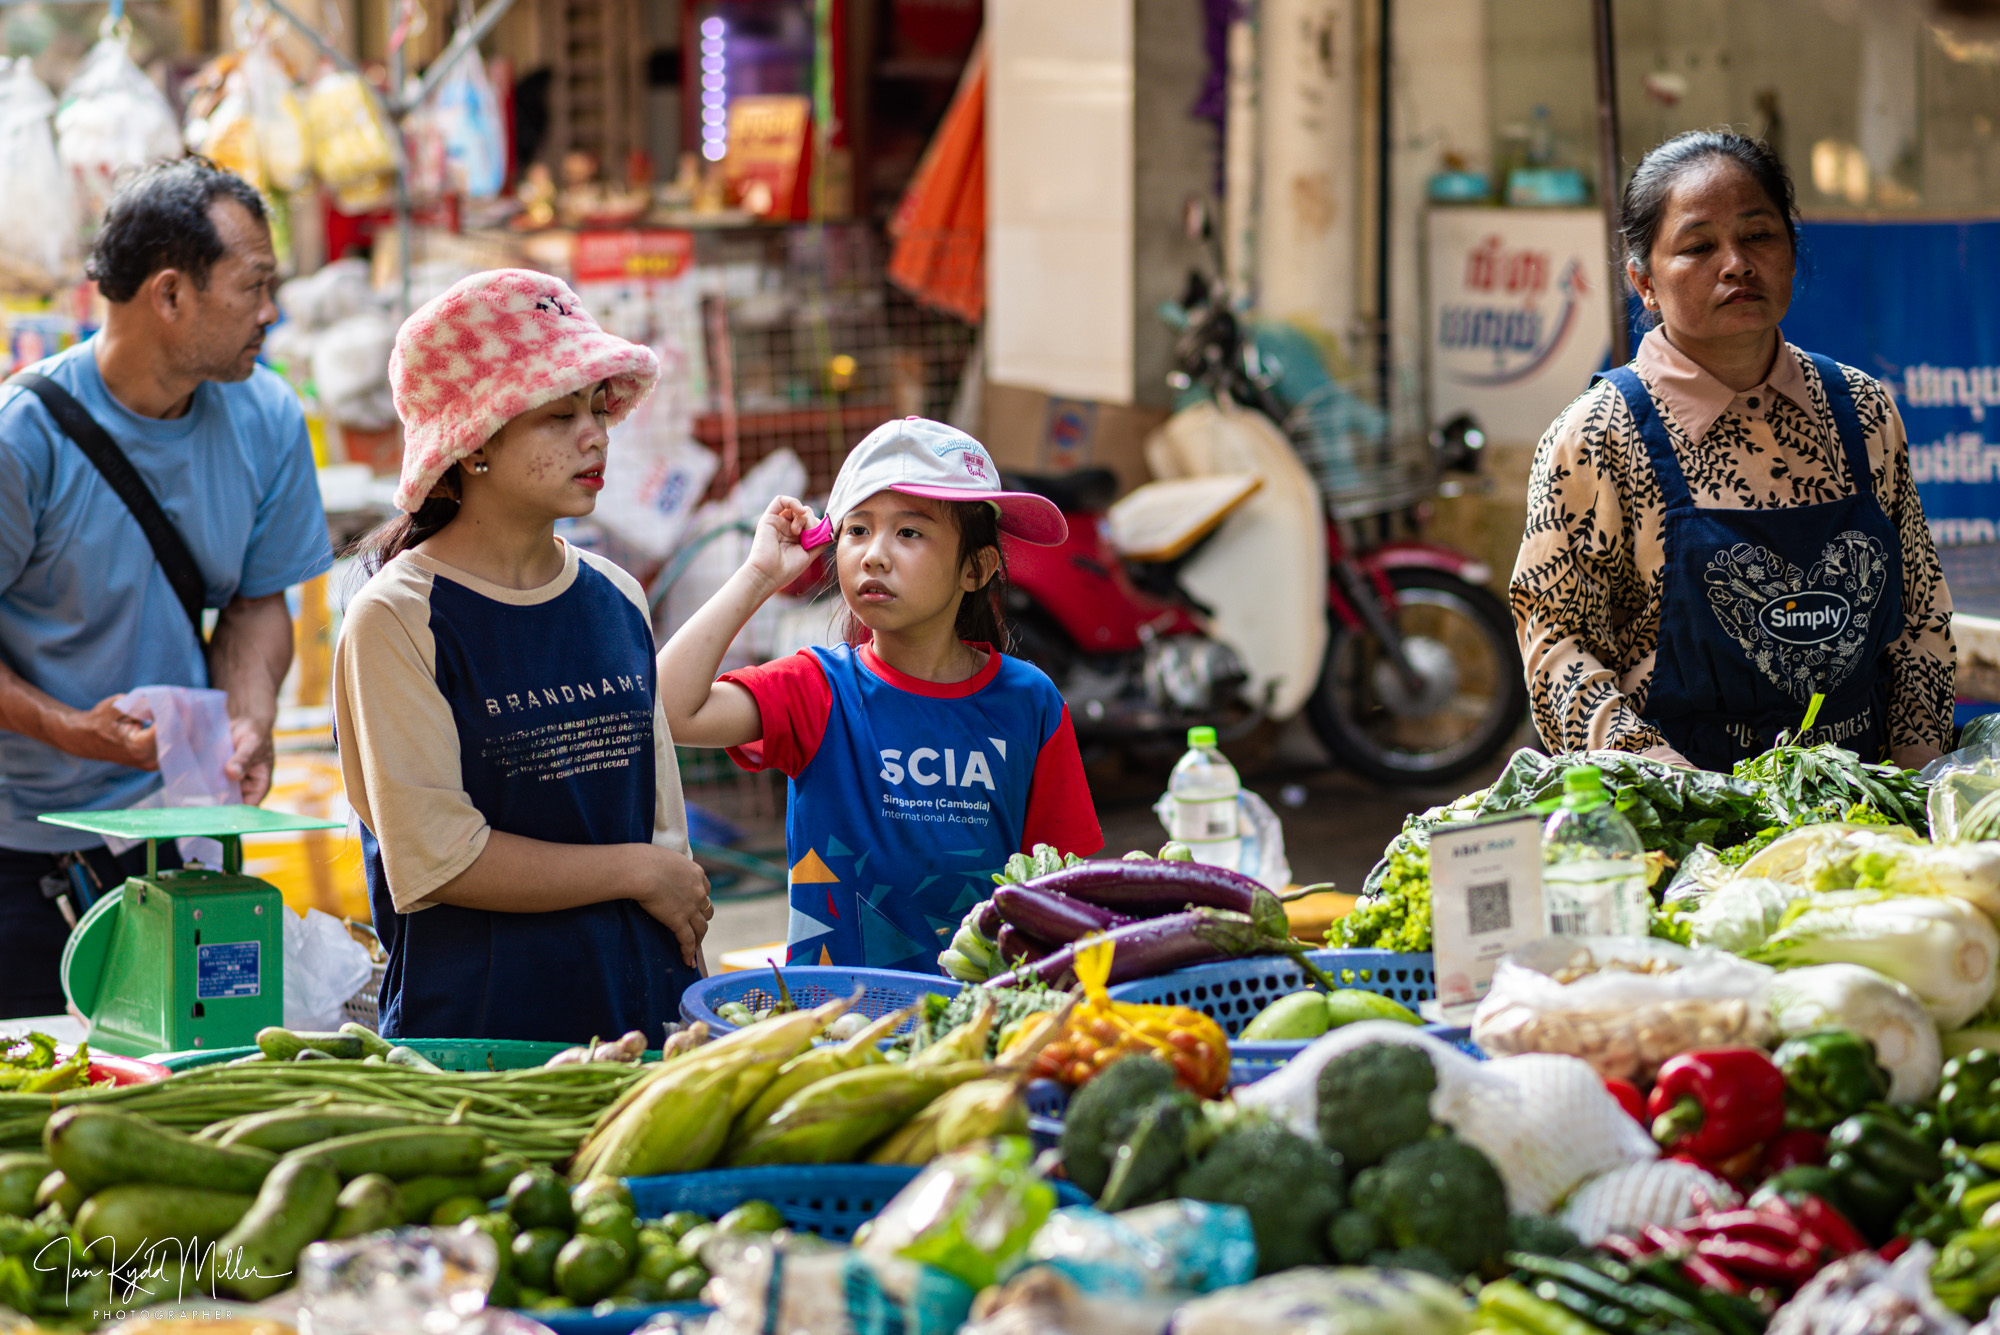
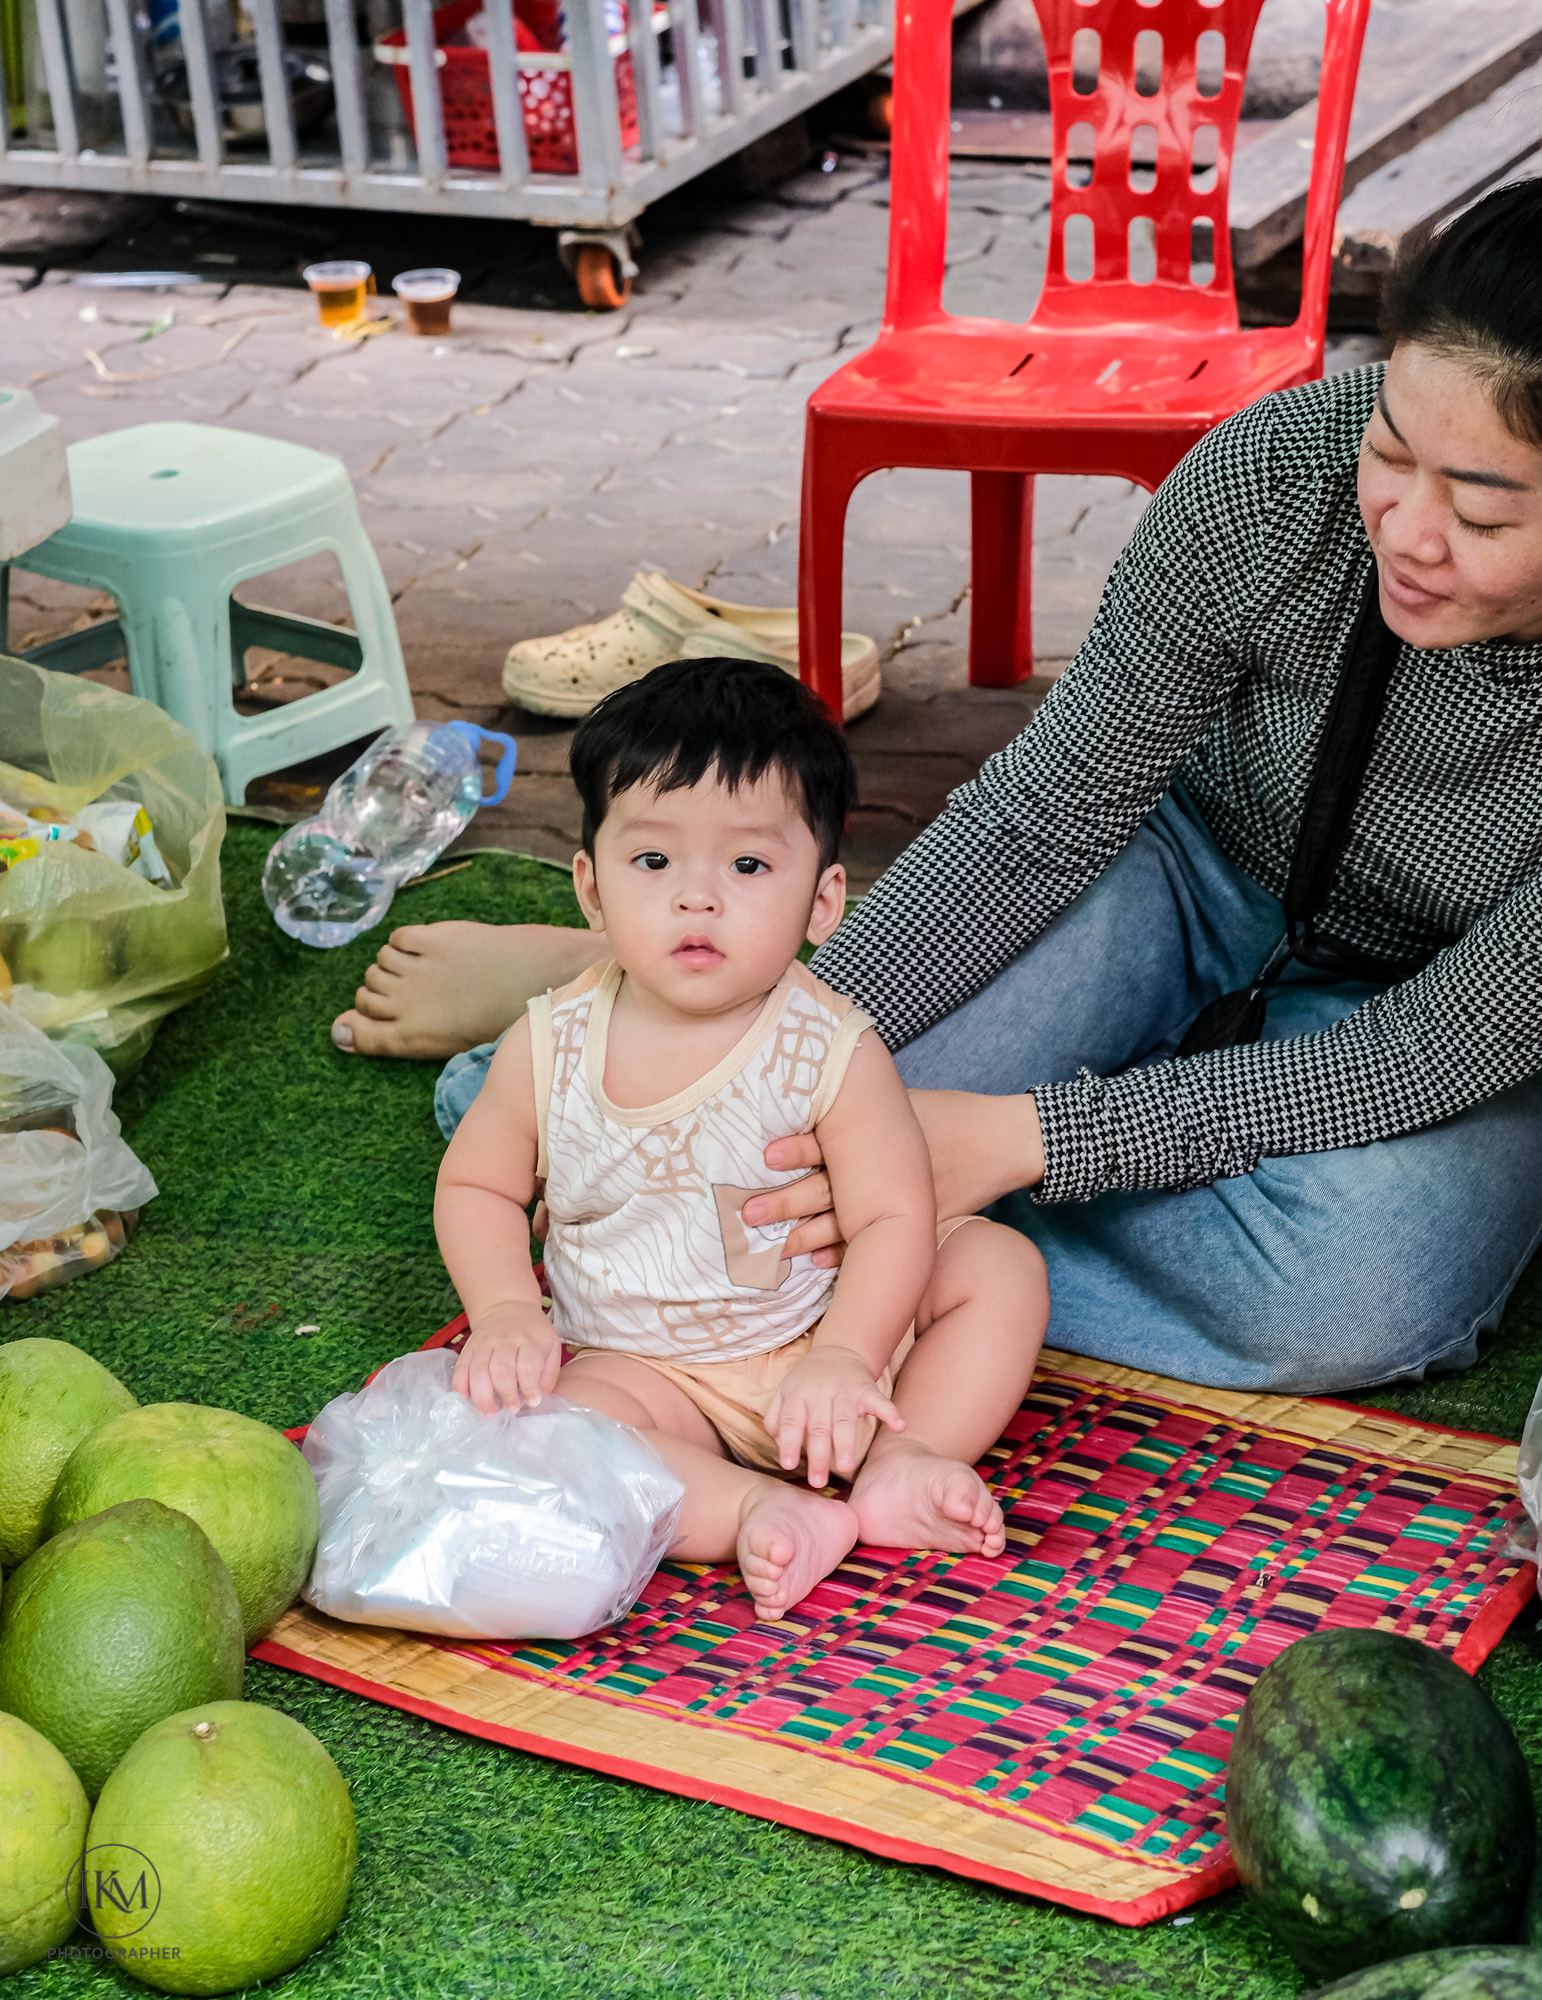
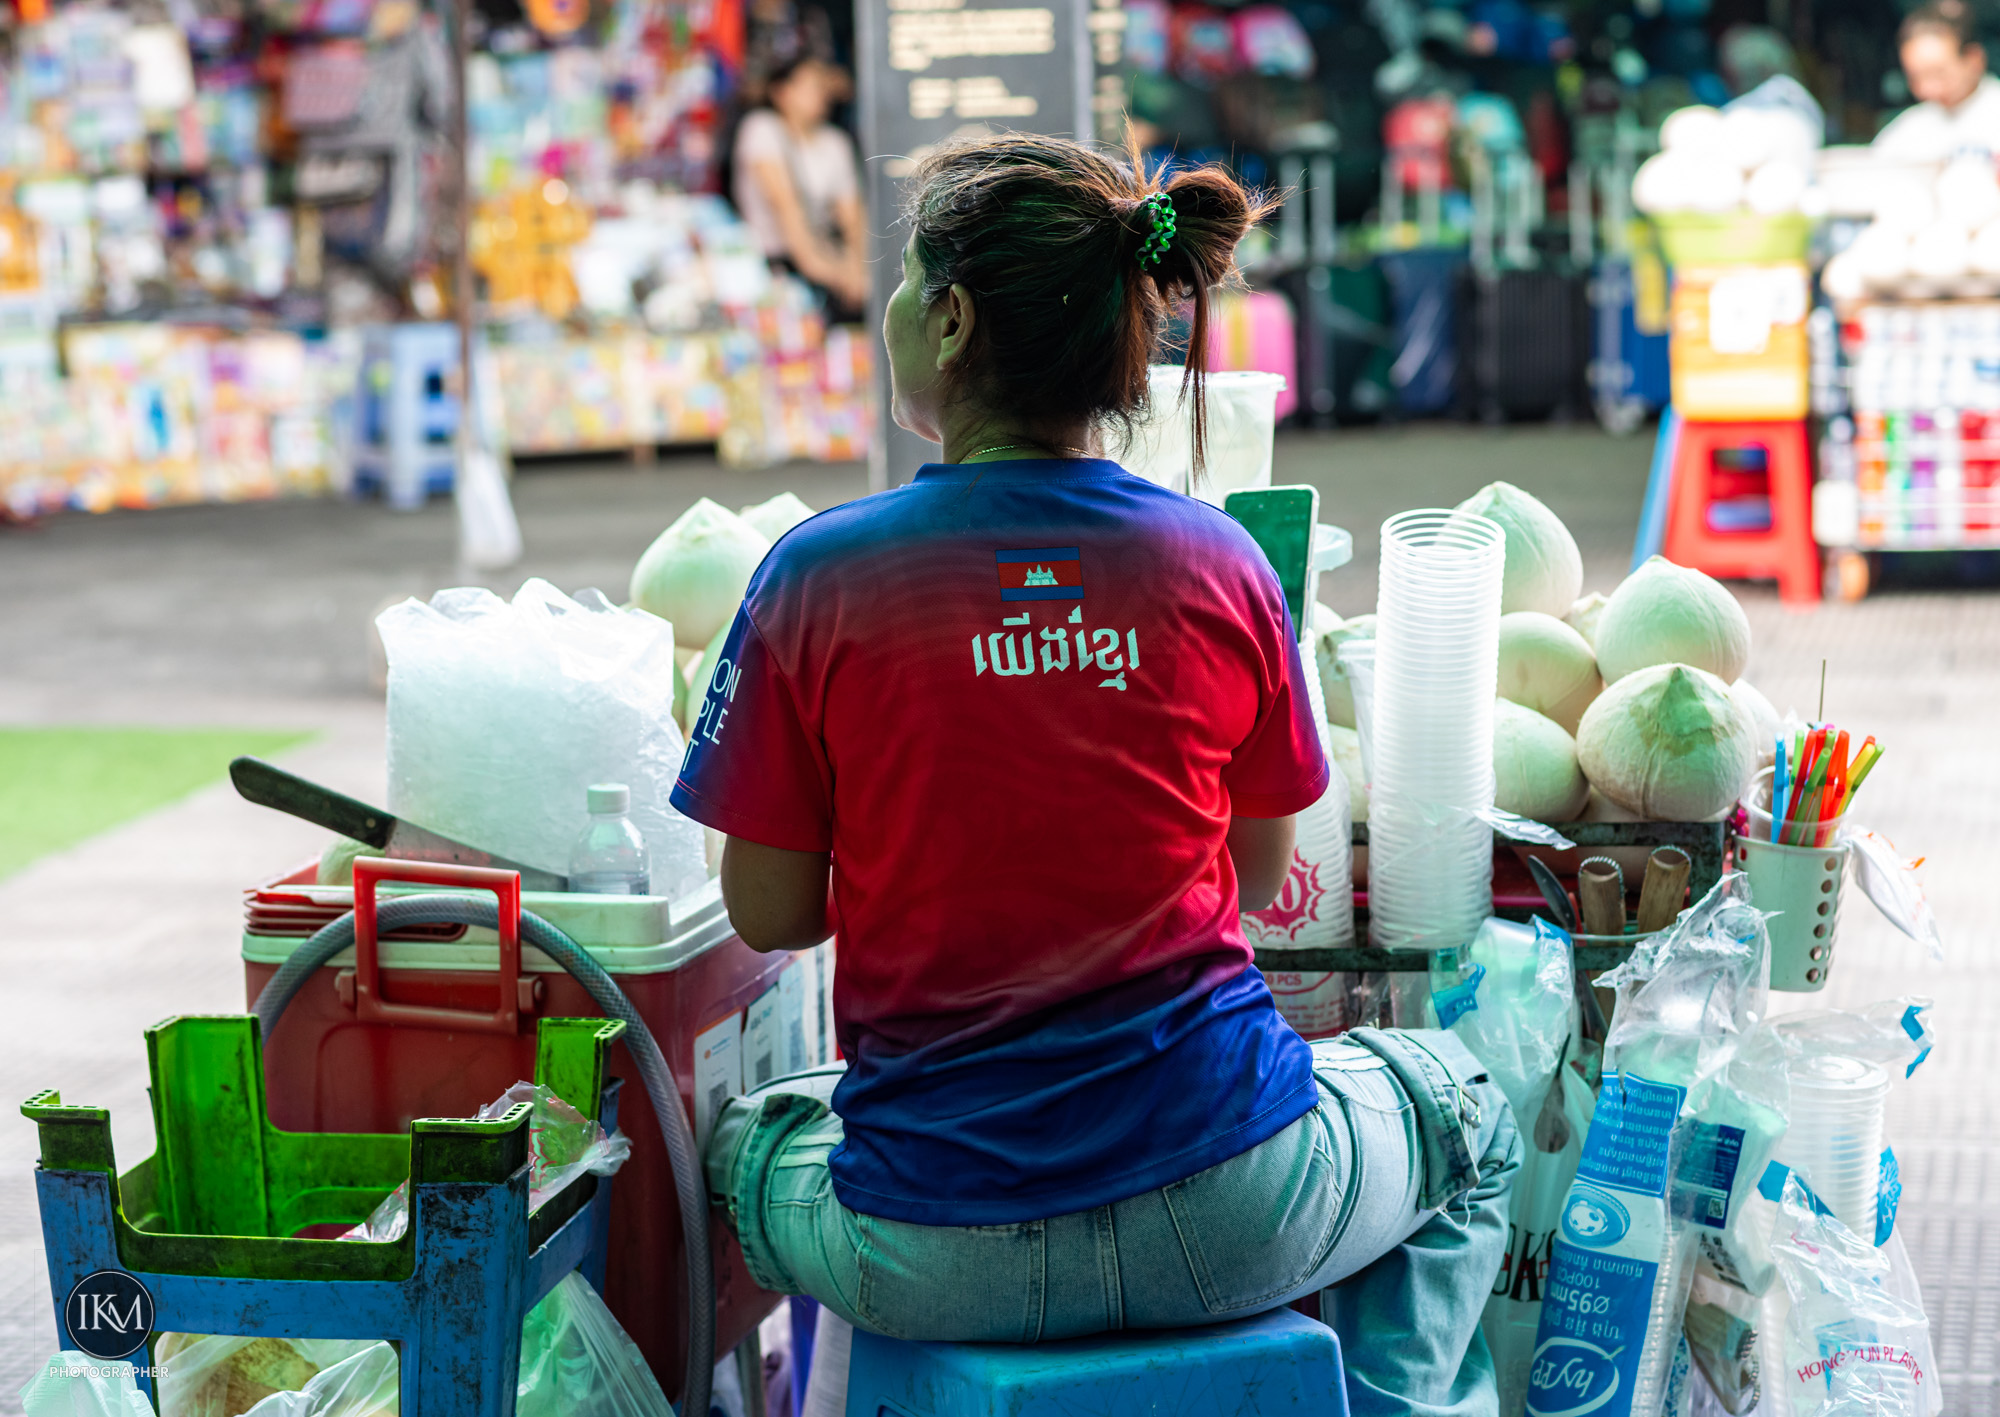
Cambodia is generally safe, especially compared to the reputation online.
🧭 Traveler’s 5-Rule Cheat Sheet
- Paper beats stories
- Apps beat street deals
- Slow beats fast
- Photos beat memory
- No receipt = no payment
Final truth 💬
If you travel Cambodia alert but relaxed, you’ll likely have:
- warm interactions
- incredible food
- rich history
- zero serious problems
The scams exist — but they’re avoidable, shallow, and rarely dangerous. Generally Cambodians people are friendly and helpful.