Resolution: More megapixels = more detail captured, allowing larger prints and tighter crops.
Flexibility: High‑MP files give room to reframe or crop without sacrificing quality.
Professional needs: Commercial photographers (fashion, product, landscape) benefit from 36MP+ sensors for billboard‑sized prints or fine art reproduction.
⚠️ Limits of Megapixels
Lens quality matters more: A poor lens won’t resolve the detail that a high‑MP sensor can capture.
Noise & low‑light: Packing more pixels into a sensor can increase noise, especially on smaller sensors.
File size: Higher resolution means larger files, requiring more storage and processing power.
Diminishing returns: For everyday use (social media, prints up to A3), 20–24MP is more than enough.
⚖️ Comparative Snapshot
Use Case
Ideal Megapixels
Why
Social media / web
12–16MP
More than sufficient for screens
Standard prints (A4–A3)
20–24MP
Sharp detail without huge files
Large prints / posters
30–36MP
Allows cropping and enlargement
Fine art / commercial
45–60MP
Maximum detail for billboard or gallery work
✨ Conclusion
Megapixels matter when resolution is critical — for large prints, heavy cropping, or commercial reproduction. But for most photographers, once you’re above ~20MP, other factors (lens quality, sensor performance, light, and composition) matter far more.
Verdict:Megapixels give you potential; skill and optics turn that potential into great photographs.
Optical performance: High‑quality lenses deliver sharper images, better color rendition, and smoother bokeh. They can make even entry‑level camera bodies perform like professional tools.
Low‑light capability: Expensive cameras often have larger sensors and better ISO performance, allowing clean images in dim conditions.
Autofocus speed & accuracy: Modern lenses and cameras track subjects more reliably, especially in sports or wildlife photography.
Durability: Professional gear is often weather‑sealed and built to withstand heavy use.
⚠️ The Limits of Gear
Skill matters more: As John Mak notes, “better gear does help take better pictures, but the story your photo tells is more important than technical aspects”.
Composition & timing: Iconic photos throughout history were taken with modest equipment. Vision and timing outweigh megapixels.
Learning curve: Beginners may not benefit from advanced gear if they haven’t mastered fundamentals like exposure, framing, and light.
Risk of dependency: Believing gear equals progress can distract from developing creativity and storytelling.
⚖️ Balanced Perspective
Aspect
High‑Quality Gear
Photographer’s Skill
Sharpness & resolution
Improves technical image quality
Can be compensated with technique (tripod, careful focus)
Low‑light shooting
Cleaner files, faster lenses
Creative use of light sources, long exposures
Autofocus
Faster, more reliable
Anticipation, manual focus discipline
Bokeh & rendering
Creamier blur, richer color
Composition and subject choice define impact
Storytelling
Neutral — gear doesn’t add meaning
Vision, timing, and narrative make photos memorable
🌍 Expert Consensus
Lens quality often matters more than camera body quality — lenses are the “eyes” of the system.
Better gear expands possibilities but doesn’t replace skill — it’s a tool, not a shortcut.
True improvement comes from practice, study, and creative exploration.
✨ Conclusion
Gear quality enhances technical performance but does not define artistry. A better camera and lens can help you capture sharper, cleaner, and more versatile images, but becoming a better photographer requires vision, practice, and storytelling. The best path is to master fundamentals first, then upgrade gear when your skills demand it.
Verdict:Better gear improves possibilities; better skills make photographs. I tend to use the best gear I can afford, lenses and camera, but it does not make me a better photographer IMO.
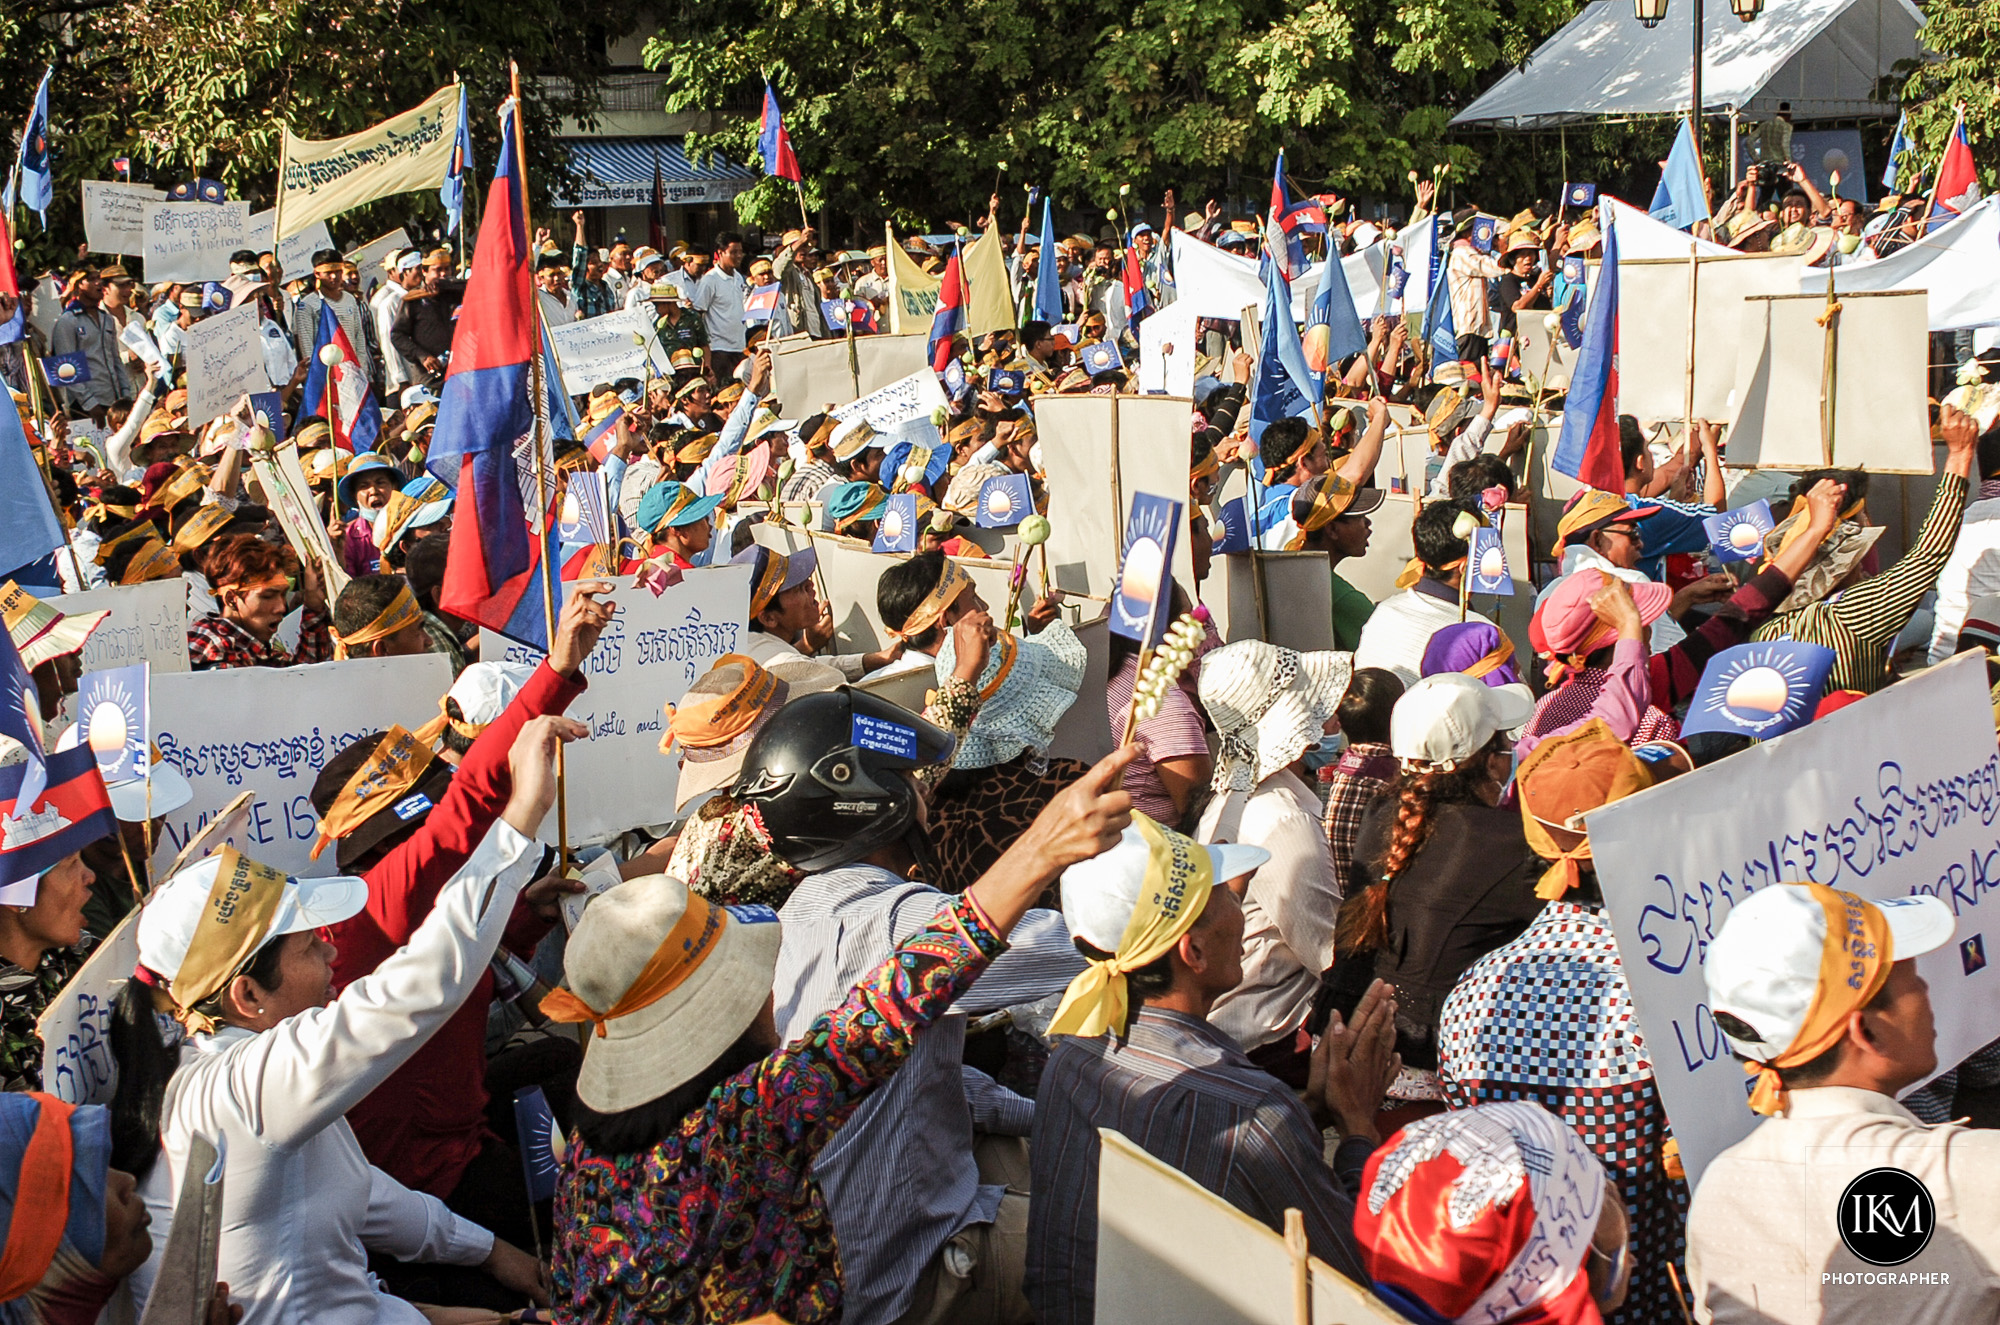
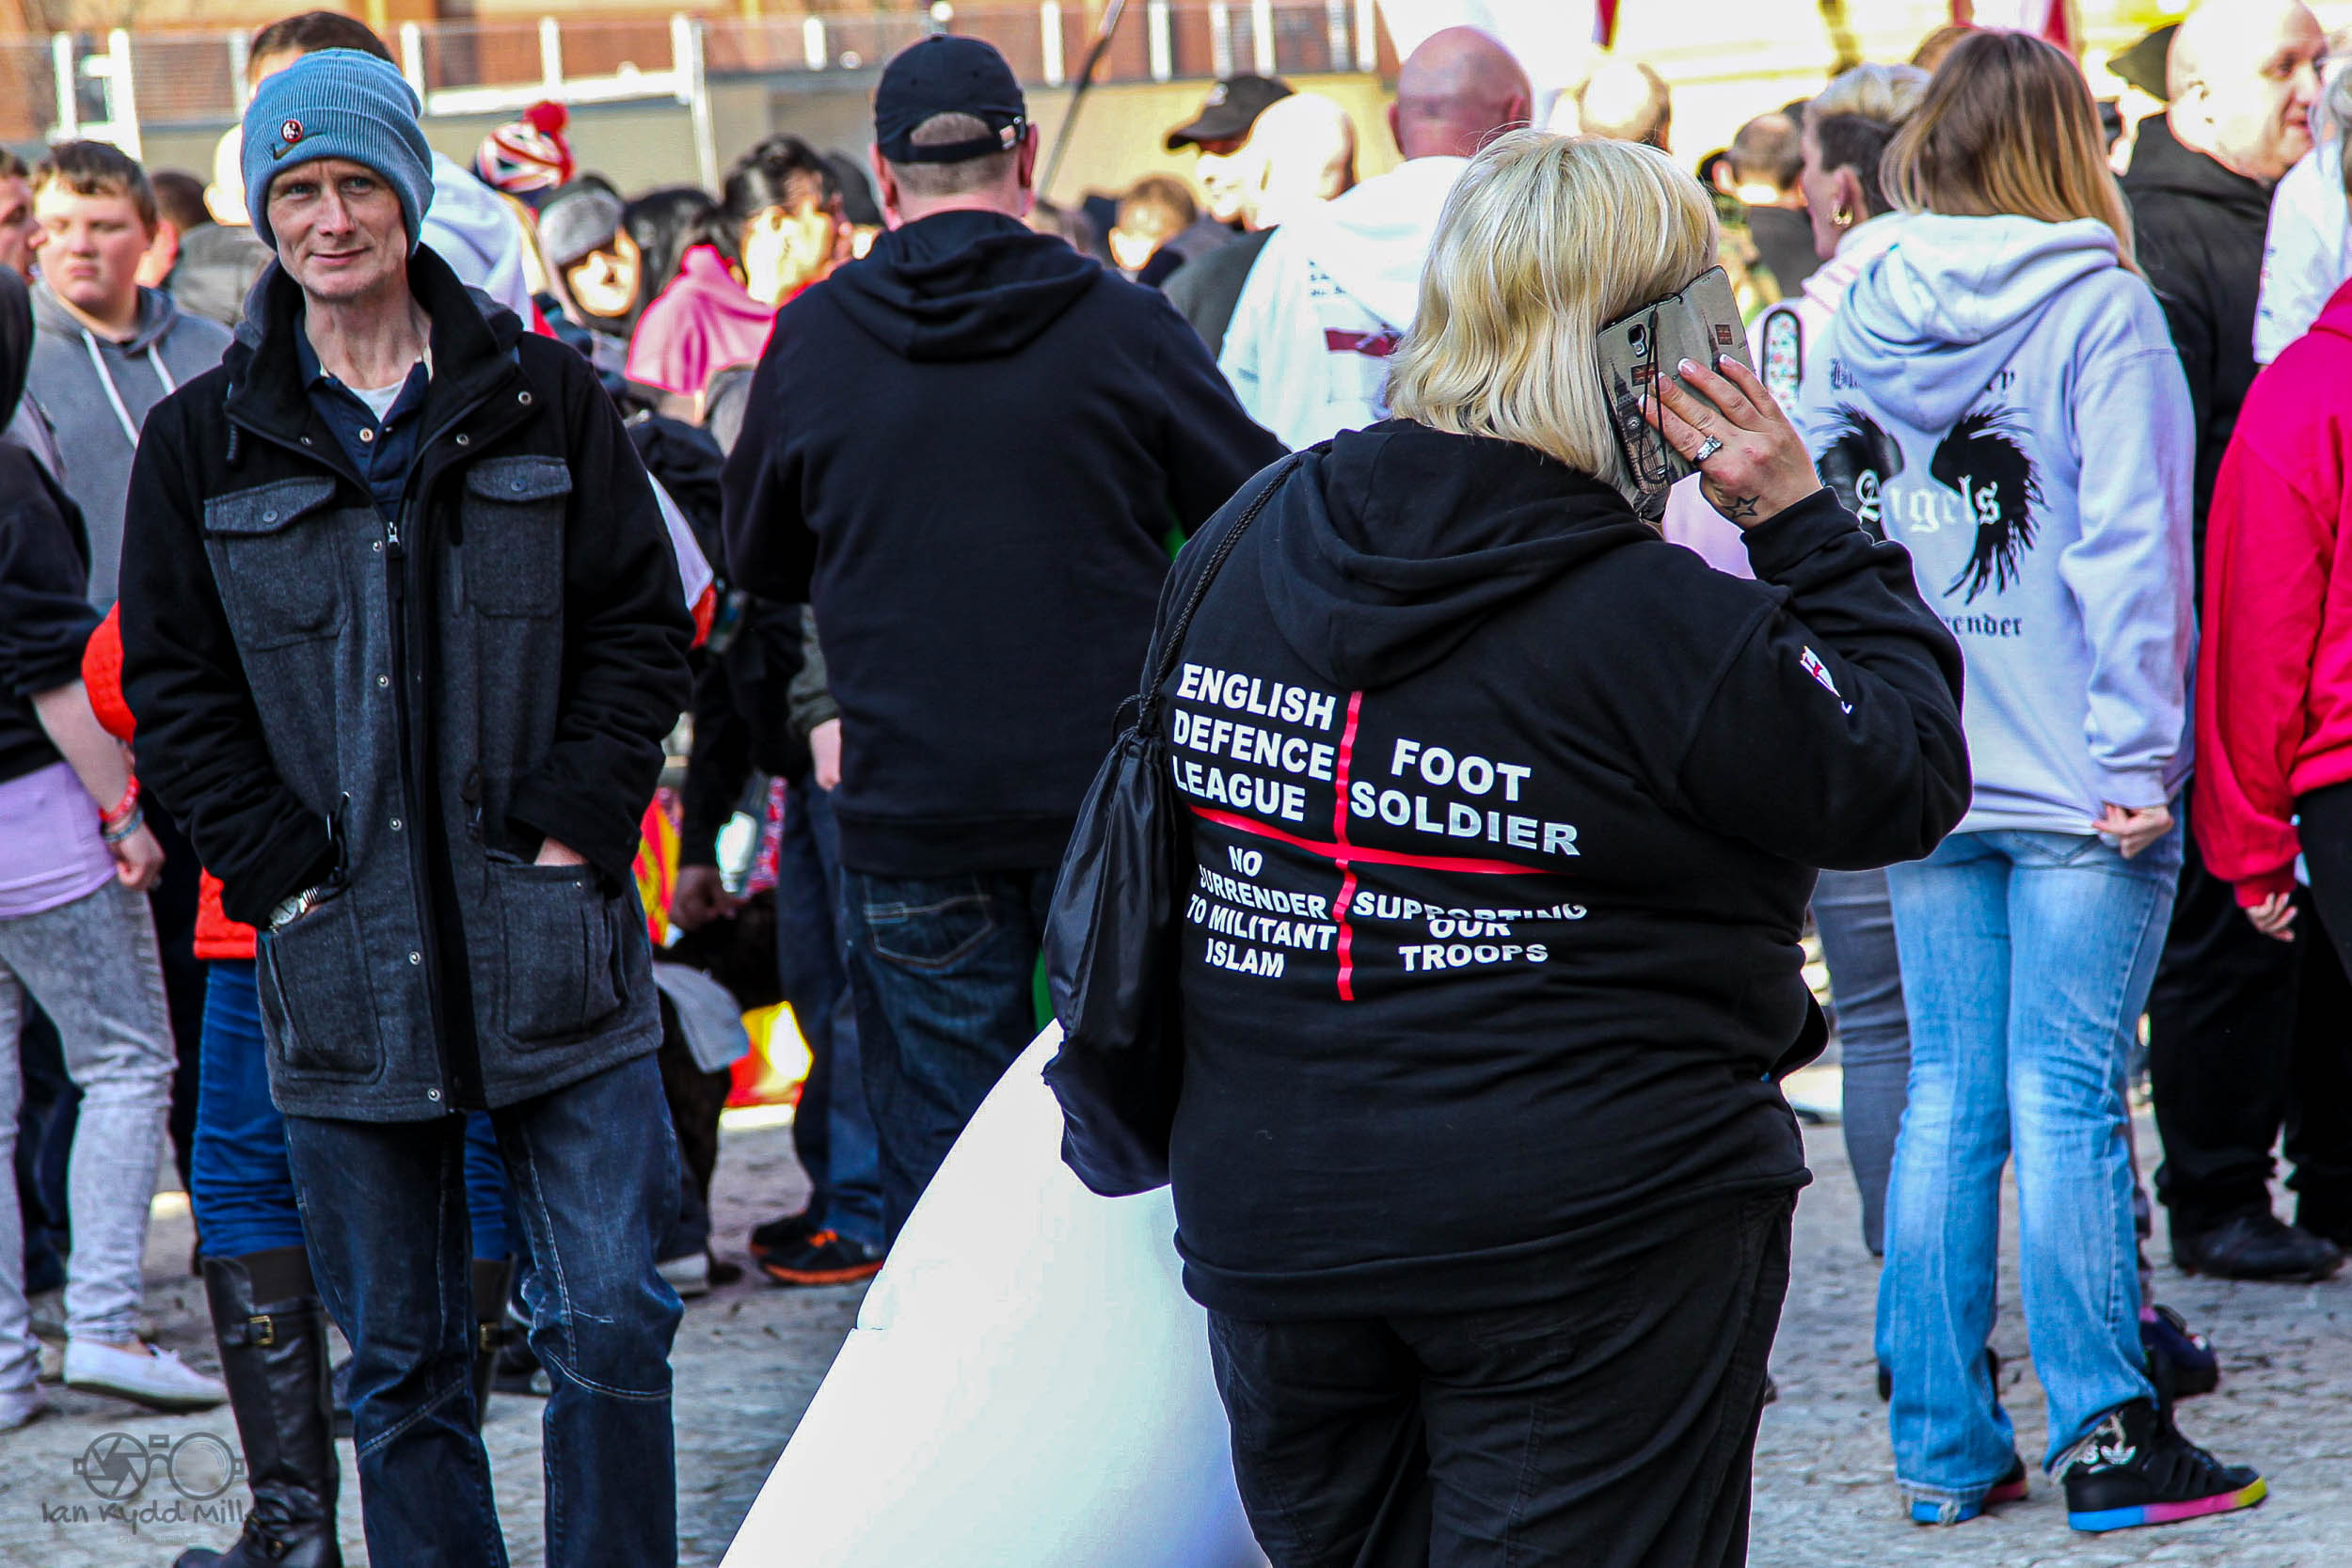
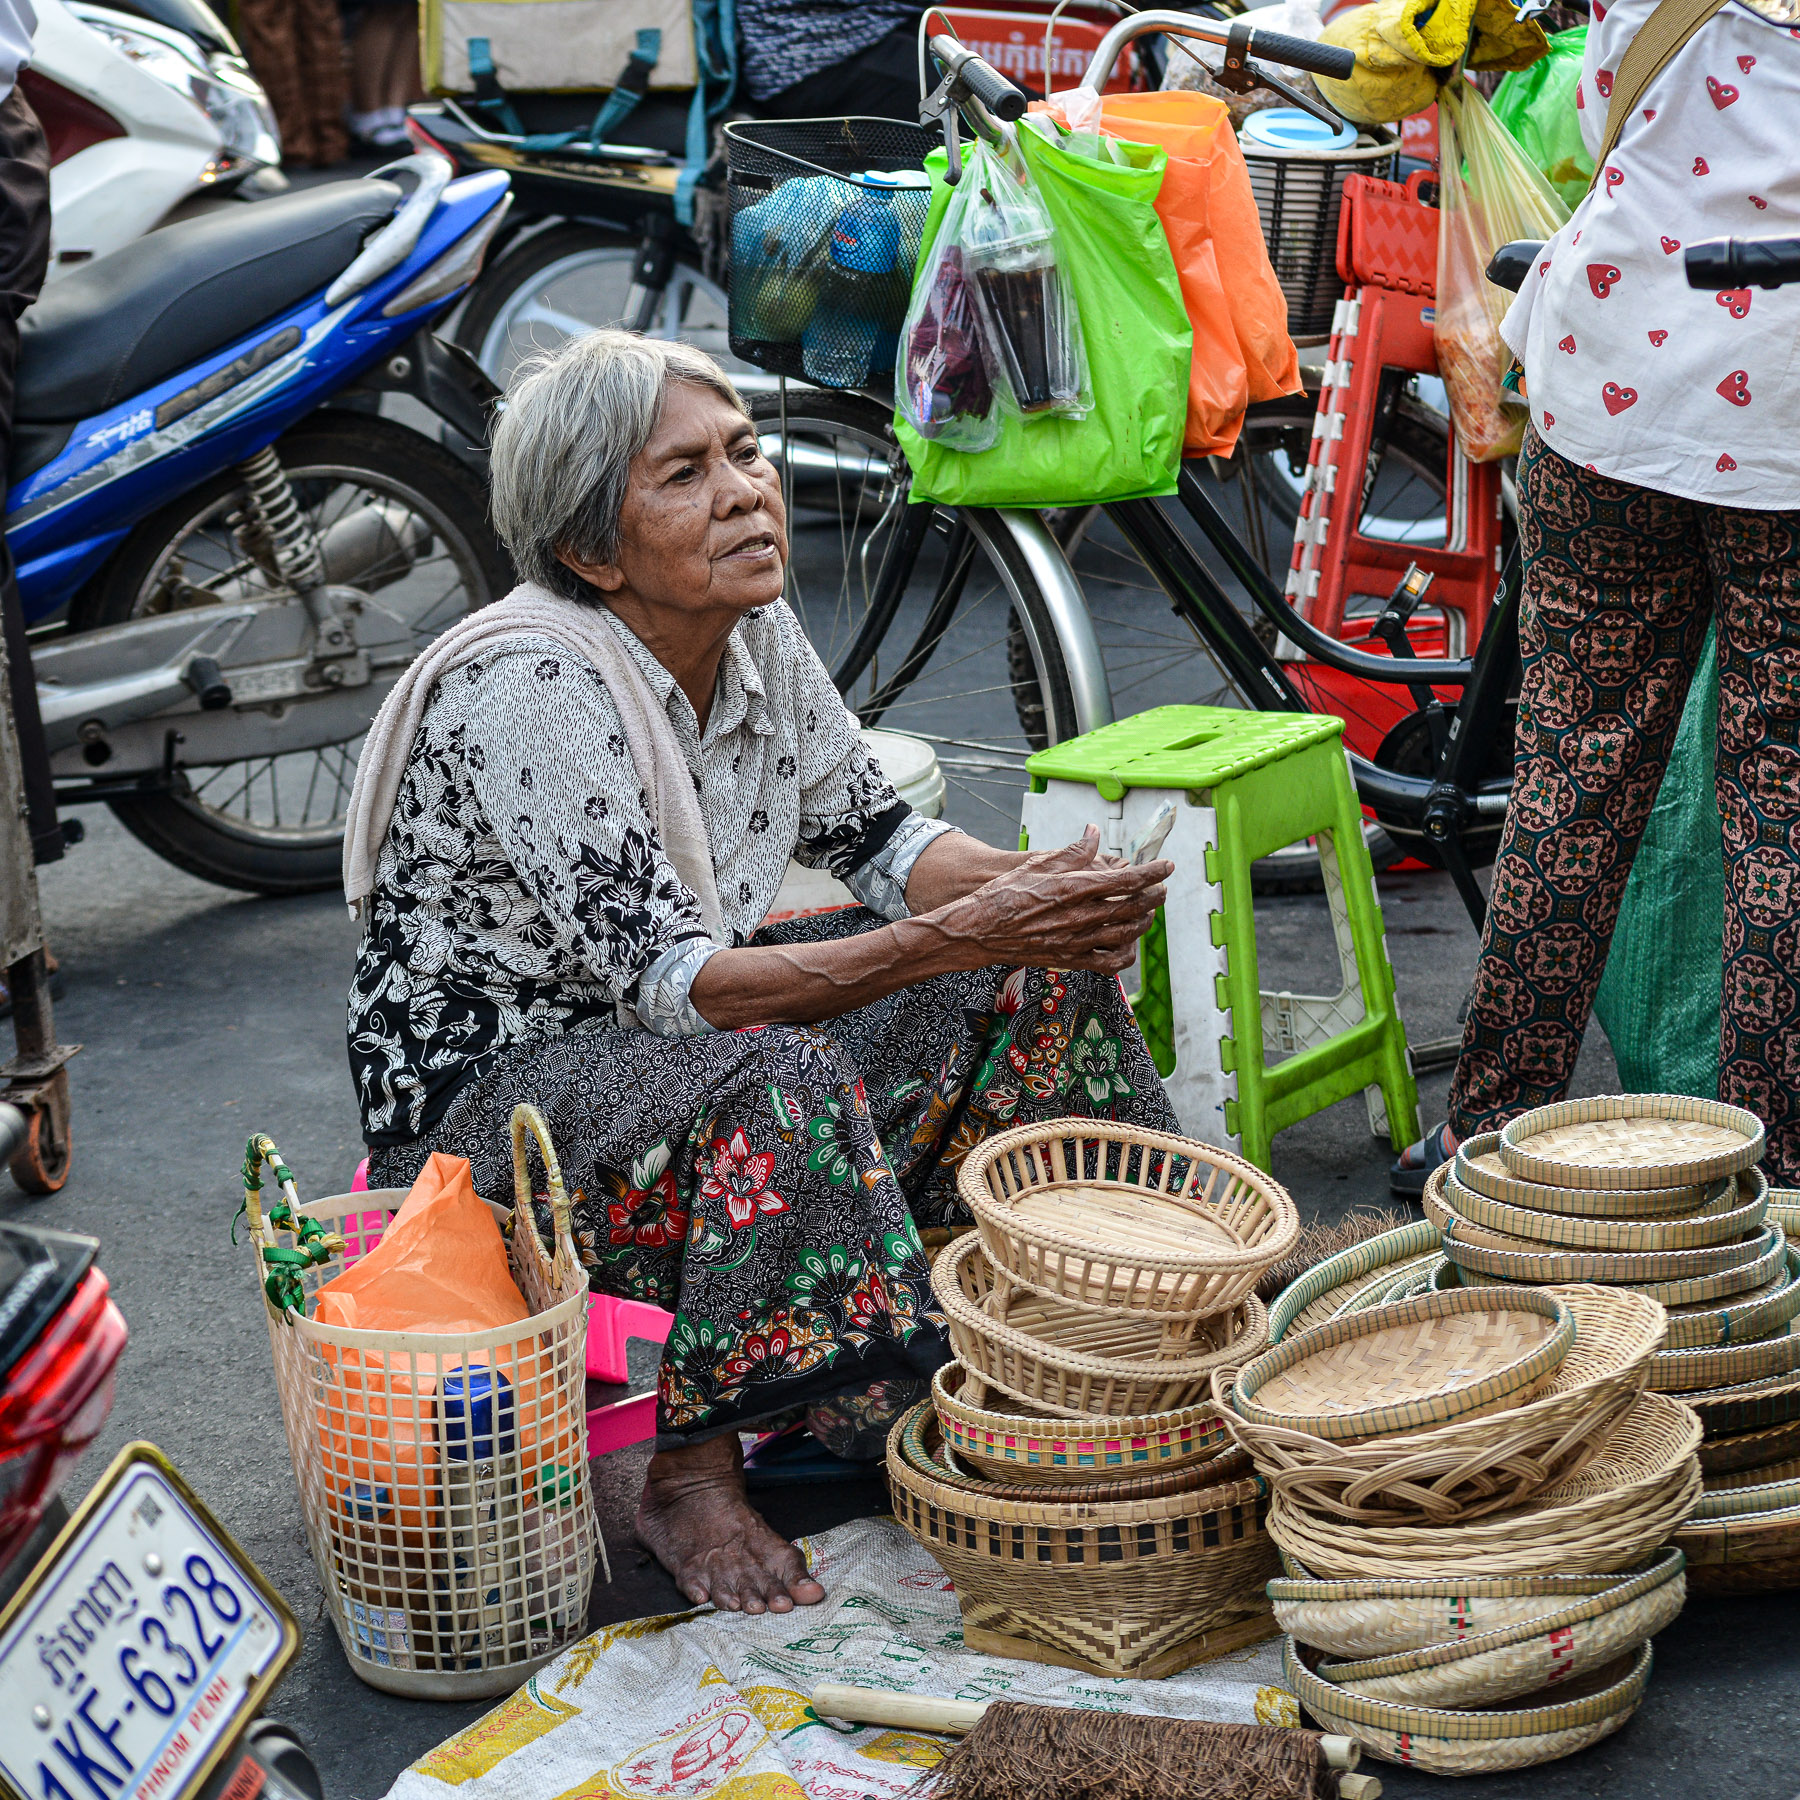
We live in an age of acceleration. News cycles refresh by the minute, feeds scroll endlessly, and even creativity is pressured to produce faster, louder, more. Yet in the midst of this speed, there is value in slowing down — in reclaiming attention, rediscovering meaning, and reconnecting with the world around us.
The Case for Slowness
Depth over breadth: When everything is consumed quickly, little is truly absorbed. Slowness allows us to linger, to notice details.
Presence over distraction: Slowing down means being present — whether in conversation, in work, or in art.
Sustainability over burnout: Constant speed drains energy. Slowness restores balance, making creativity and living sustainable.
Rediscovery Through Attention
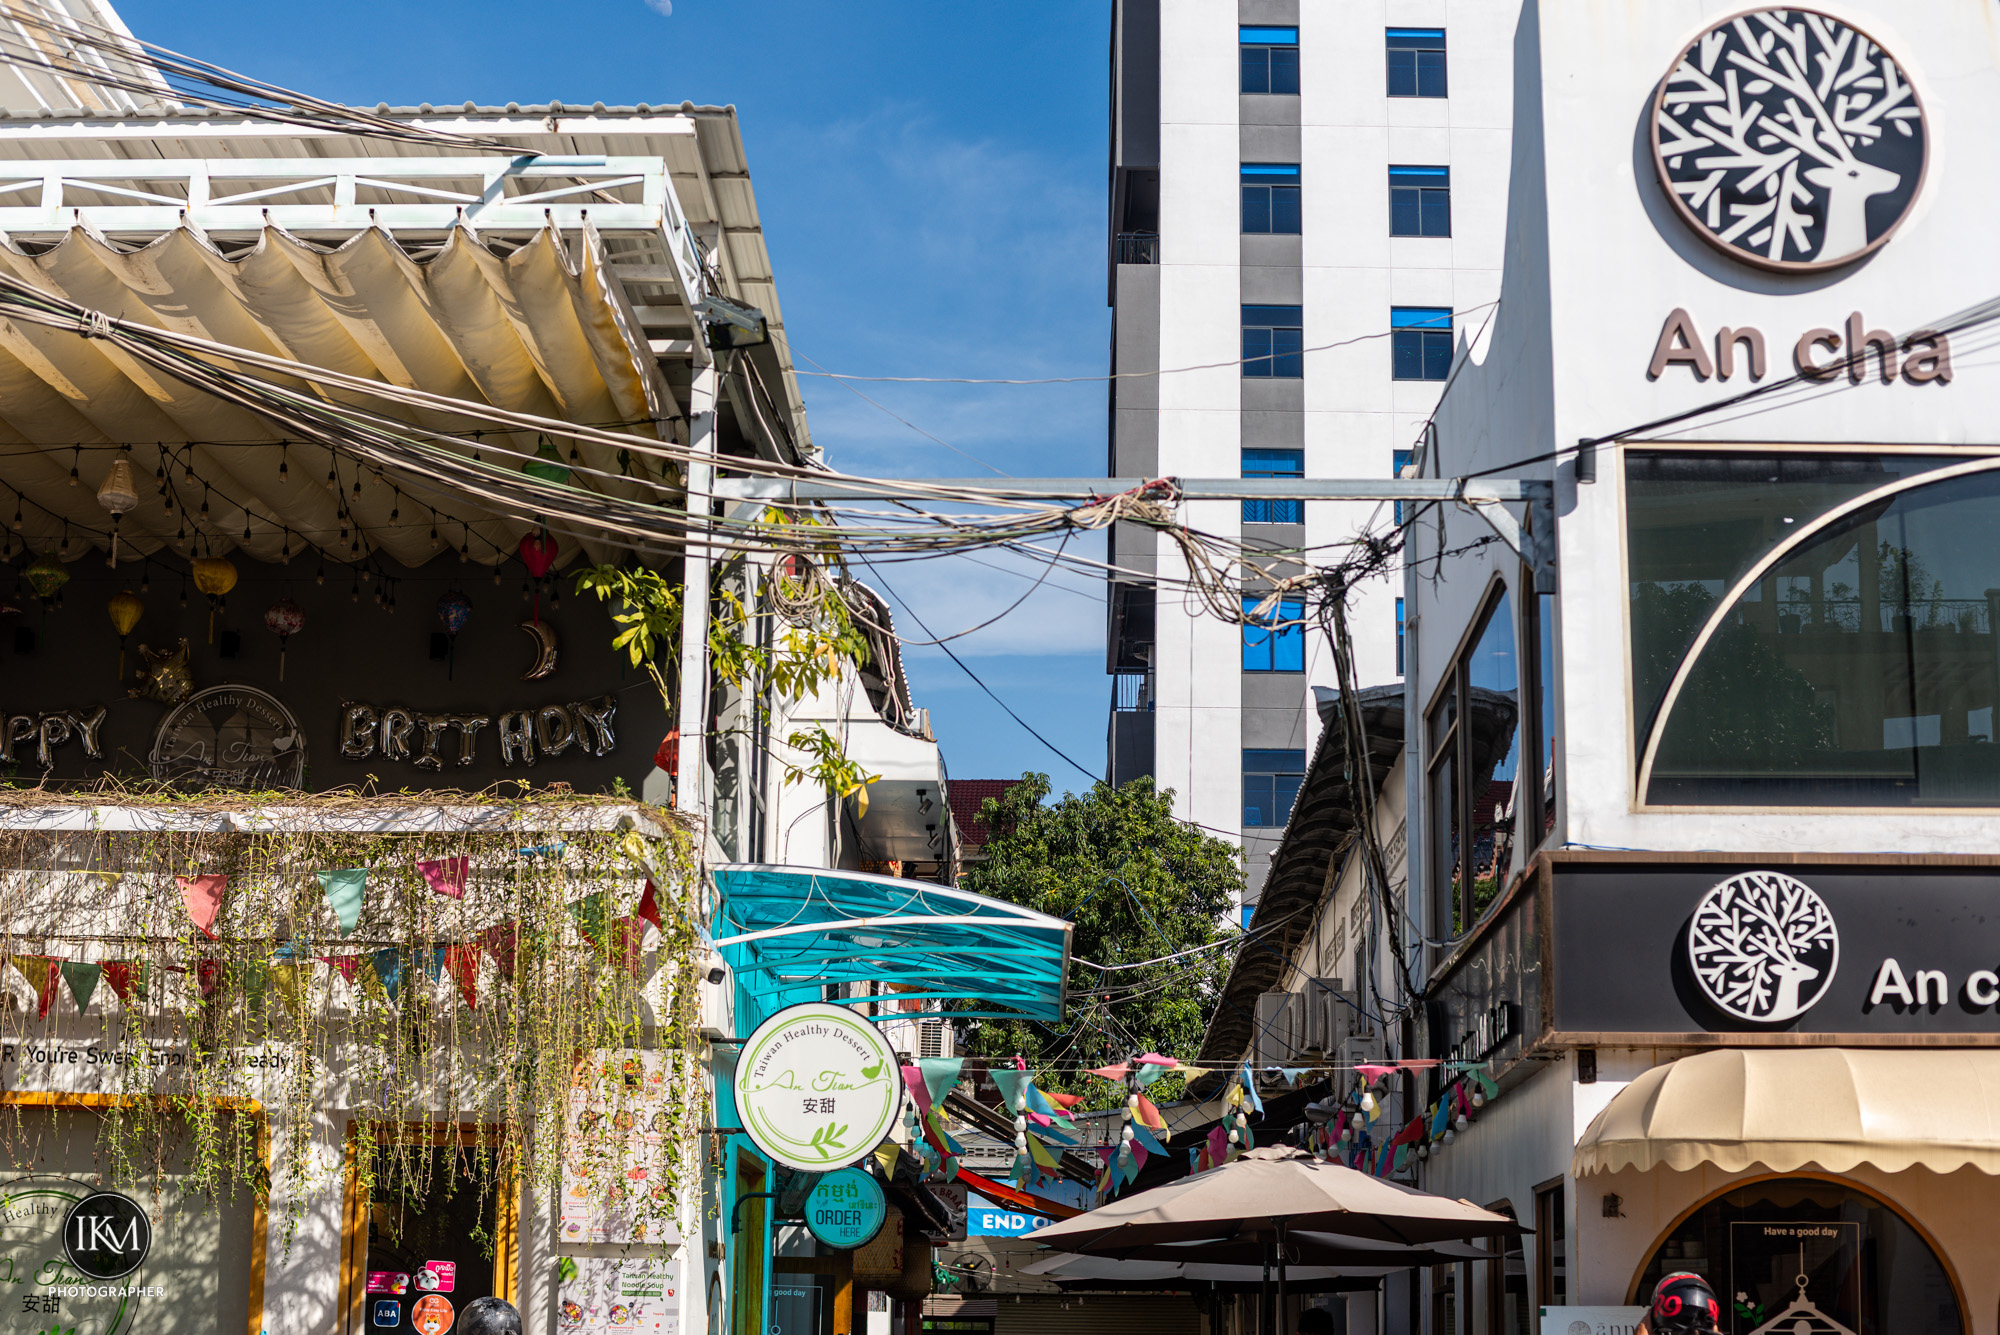
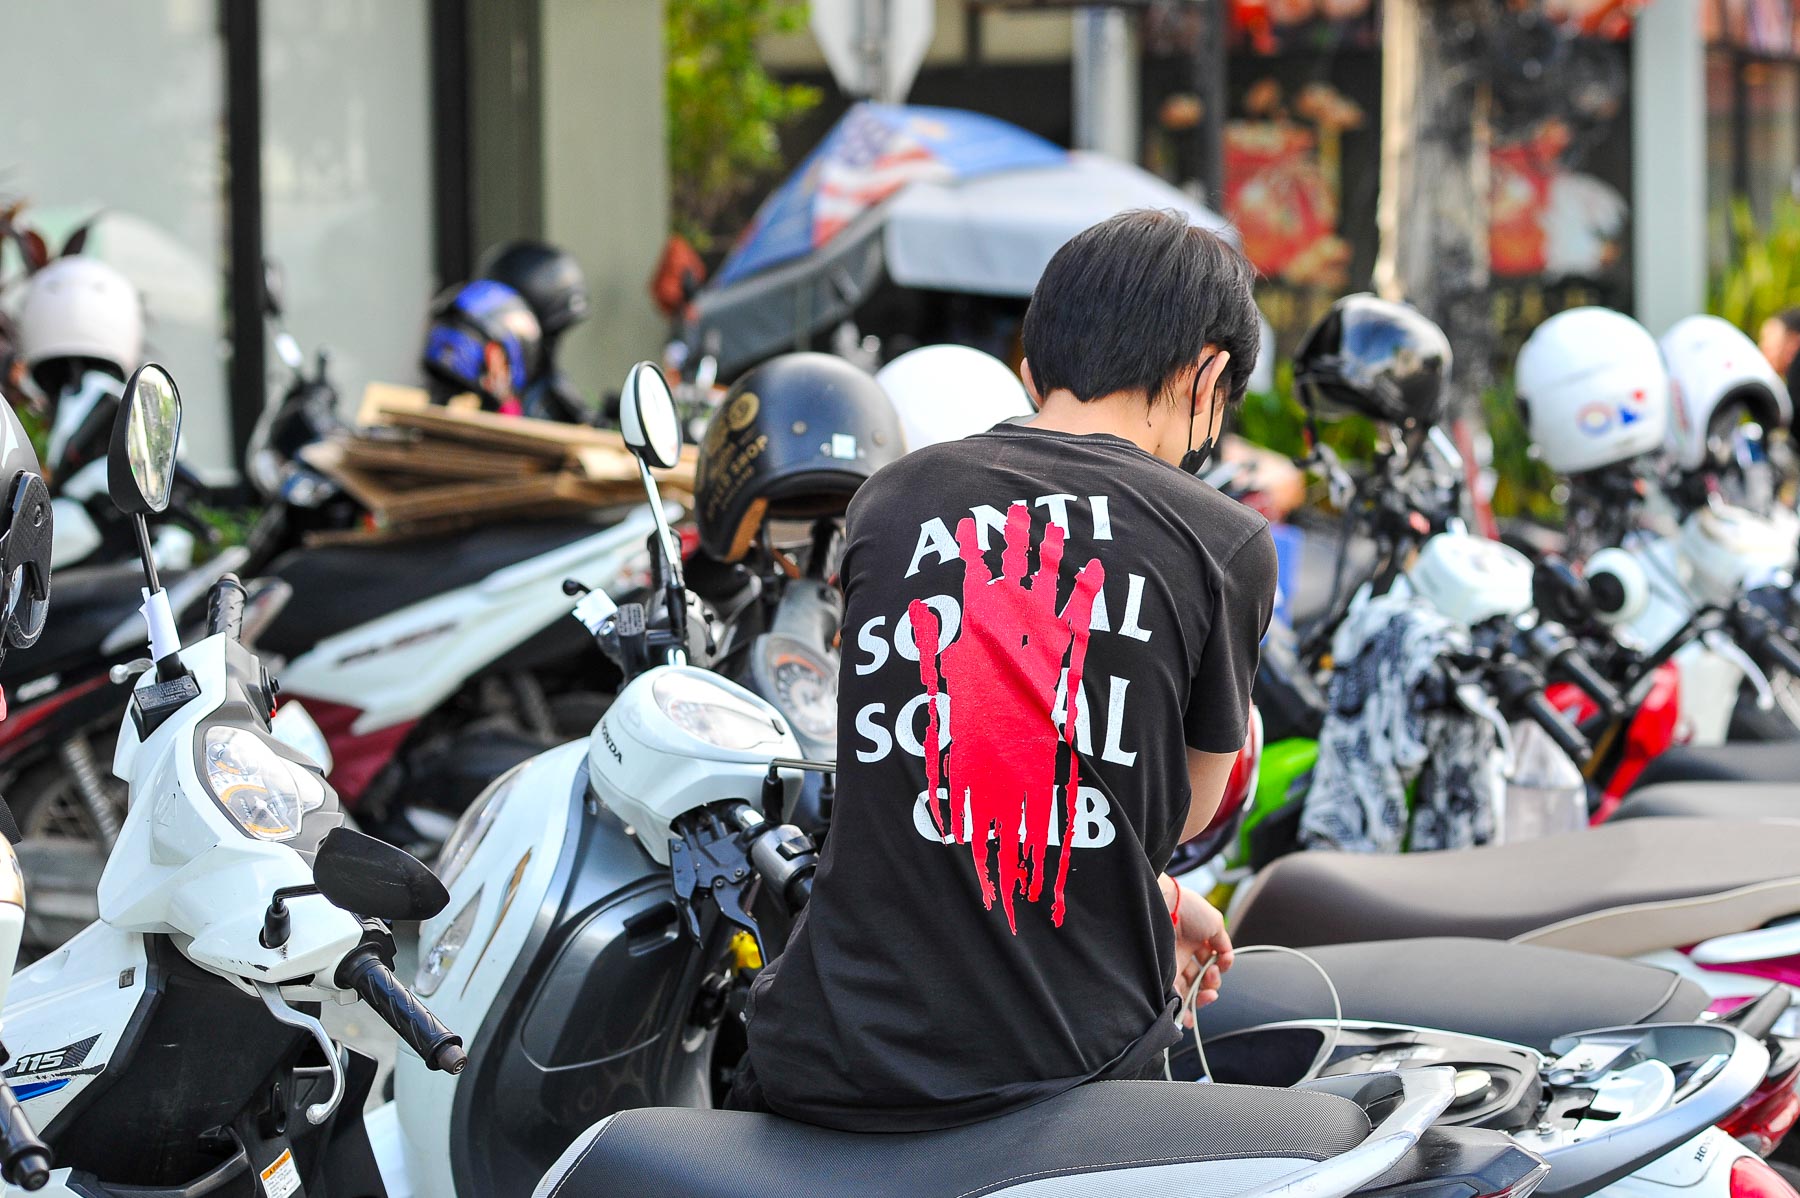
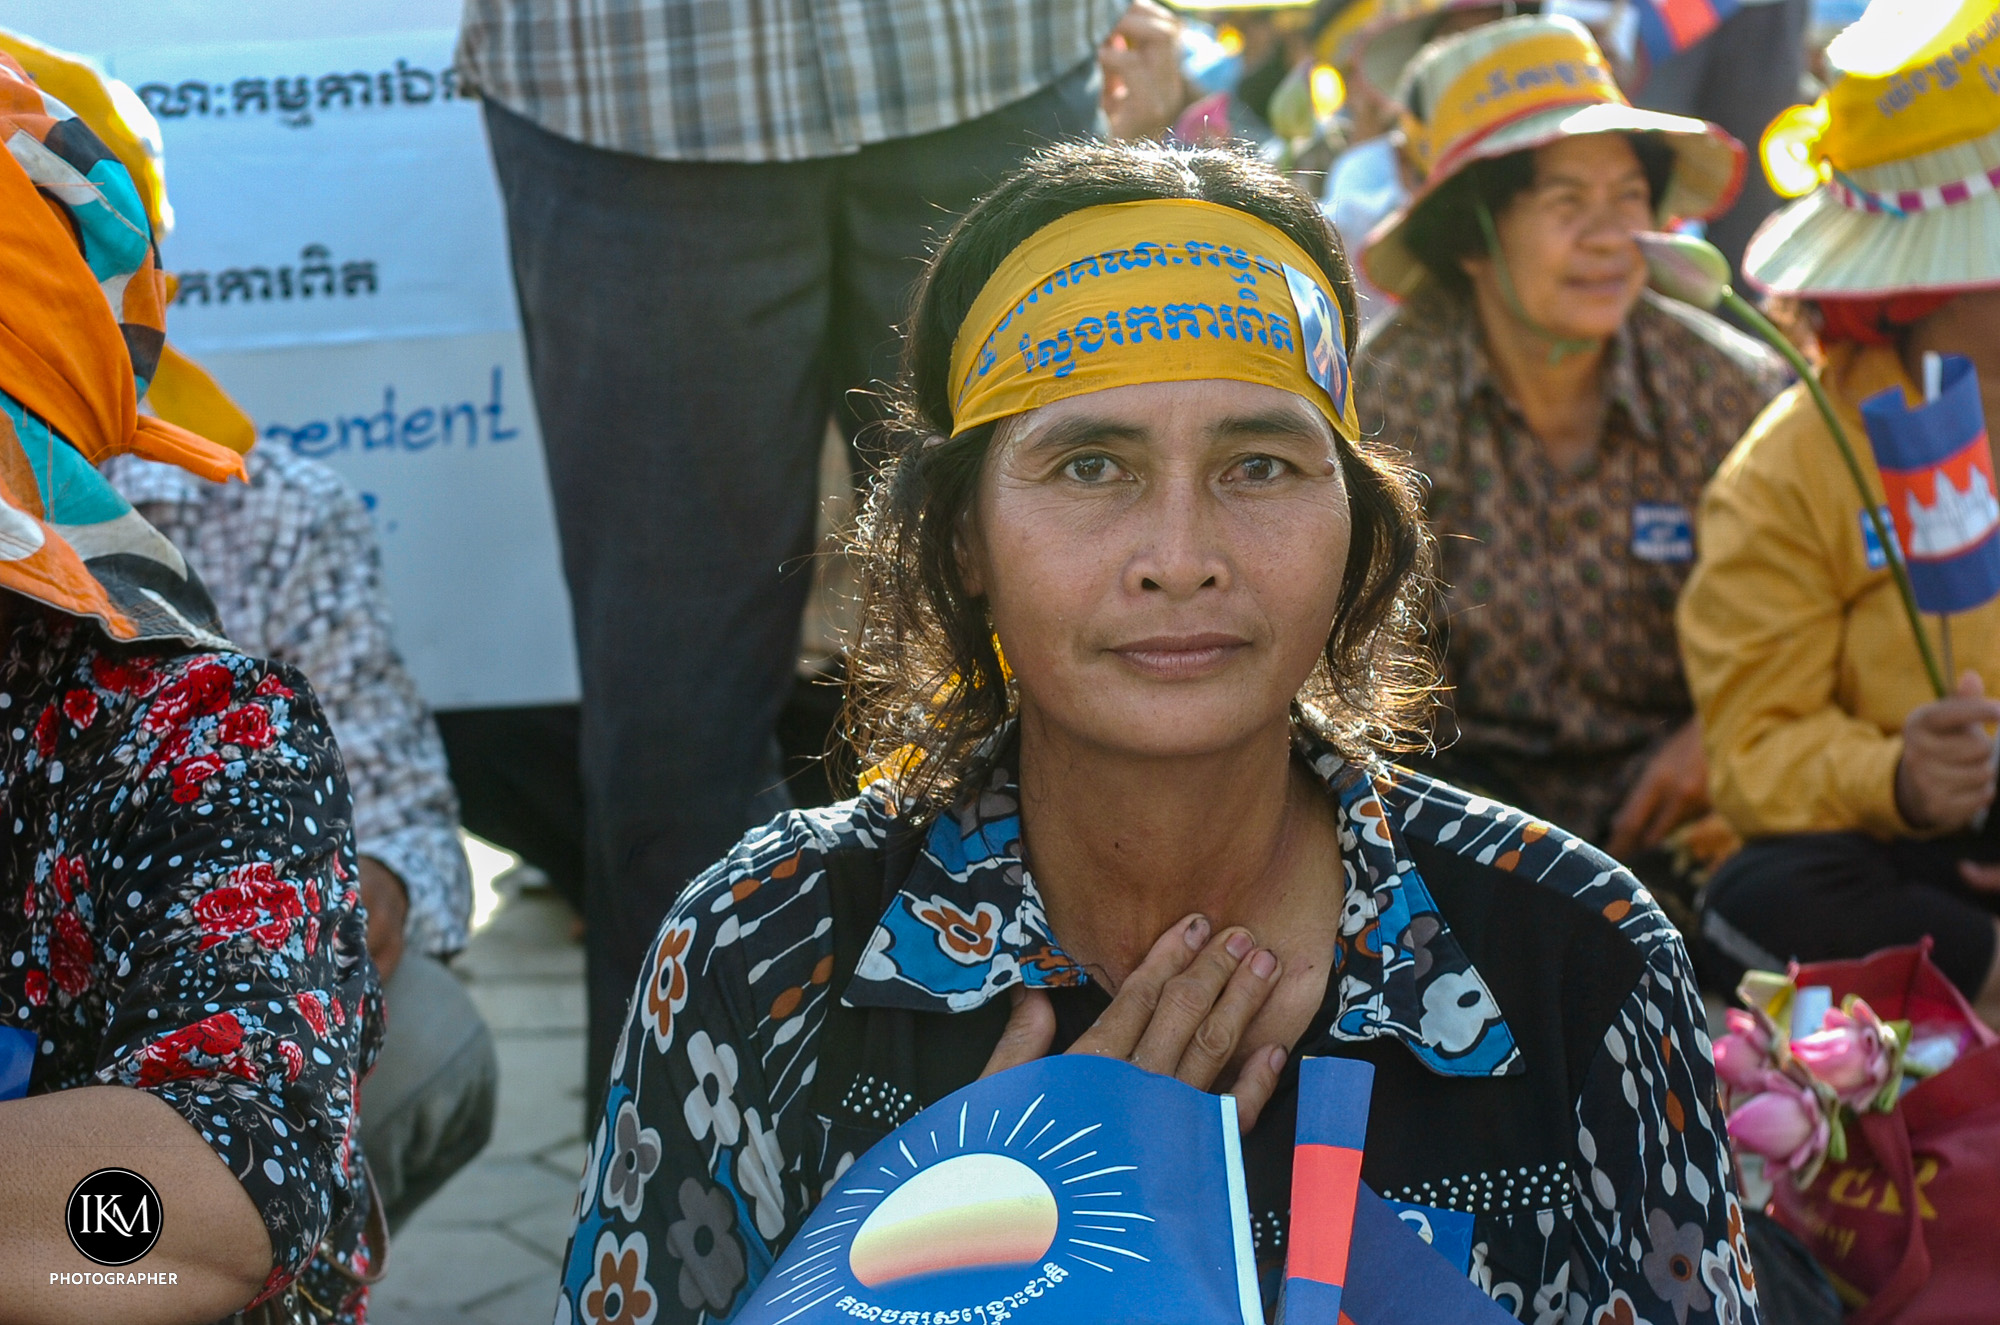
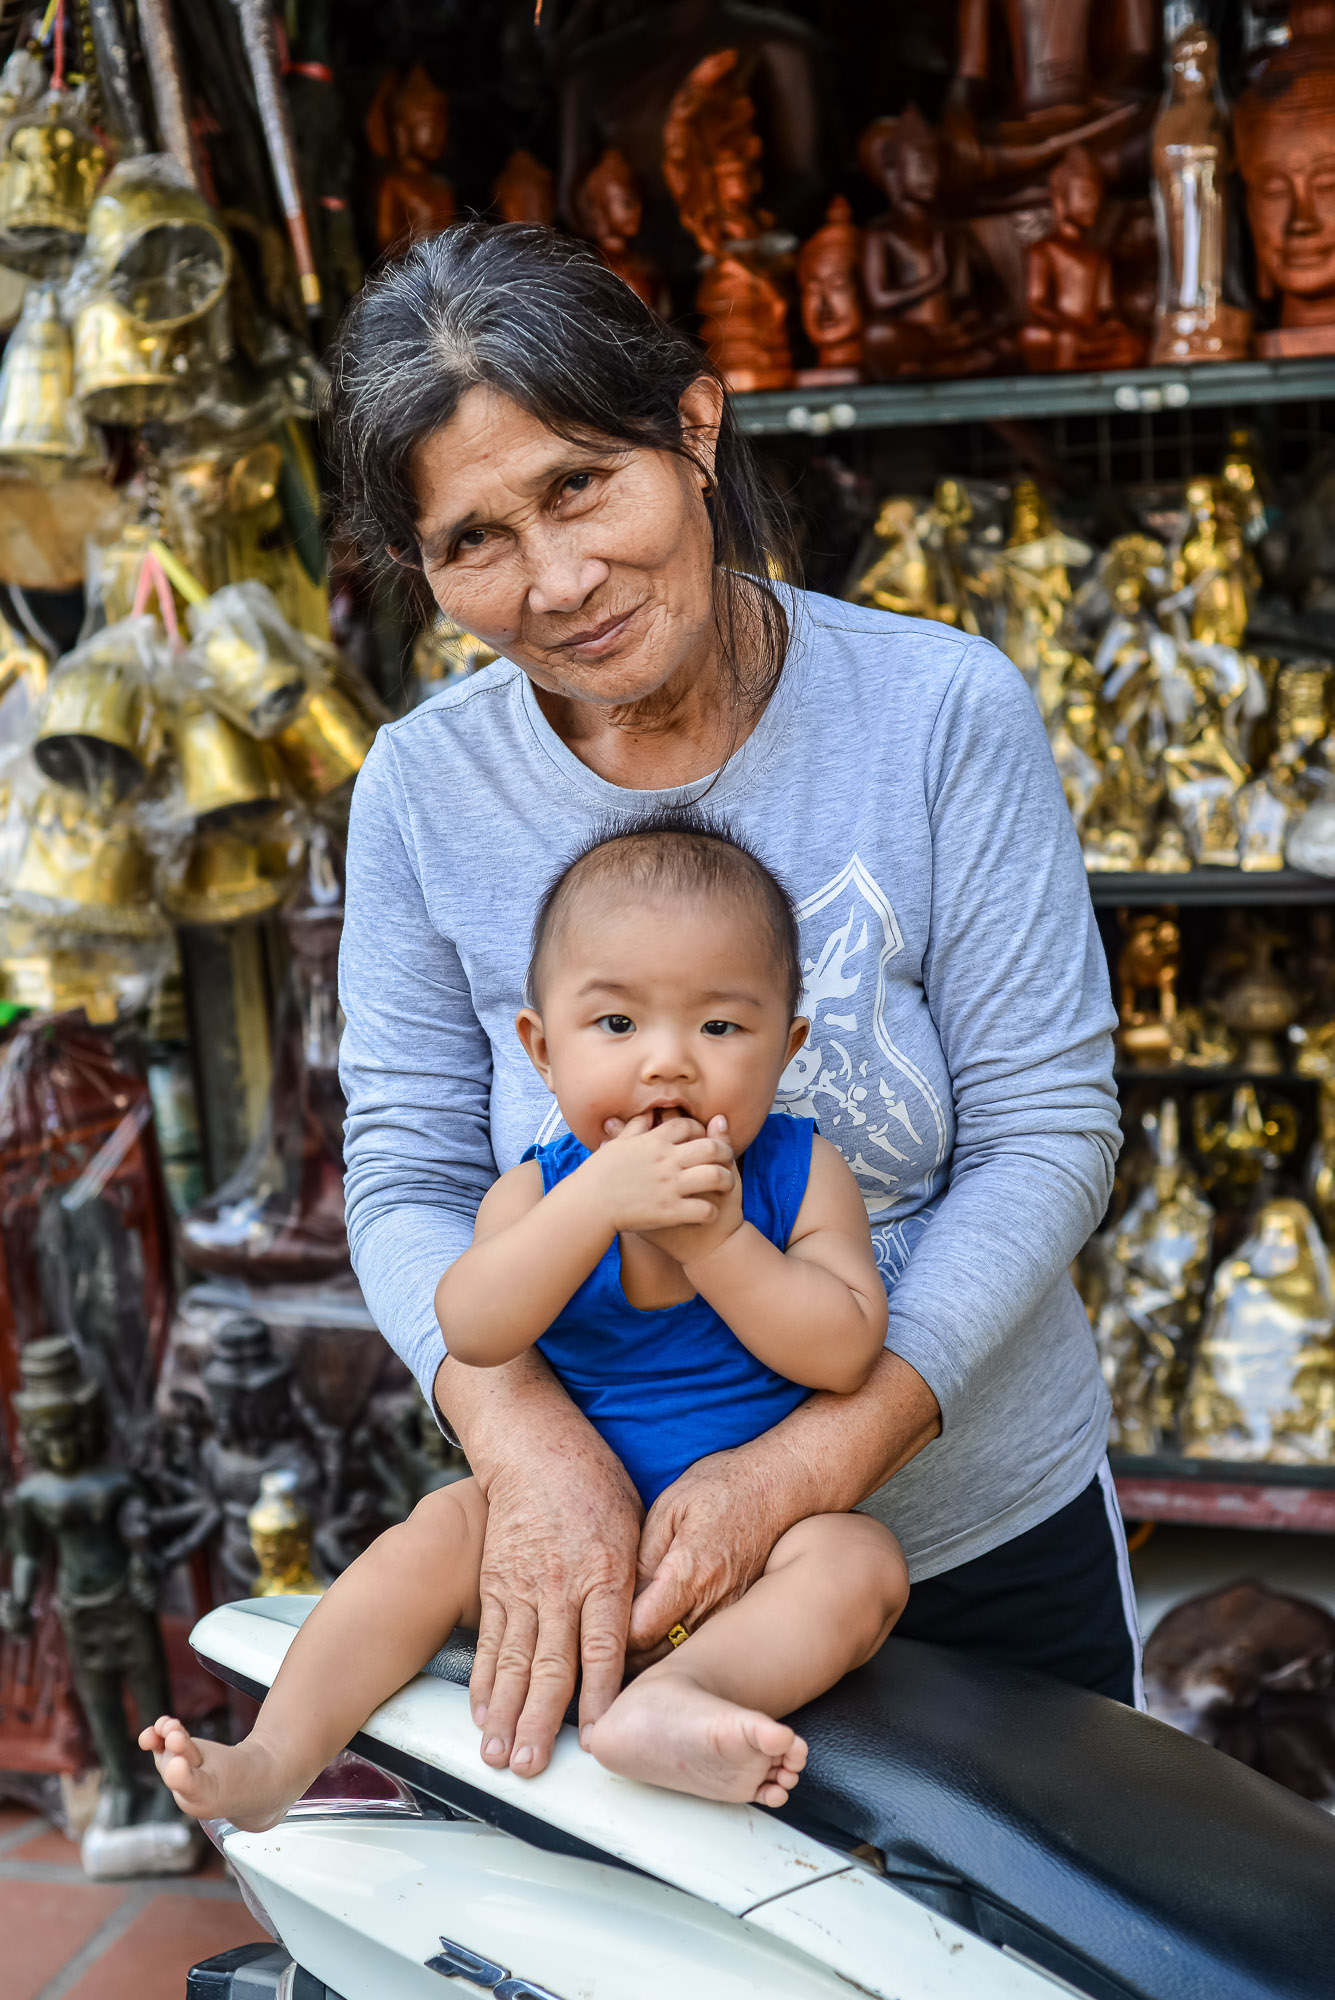
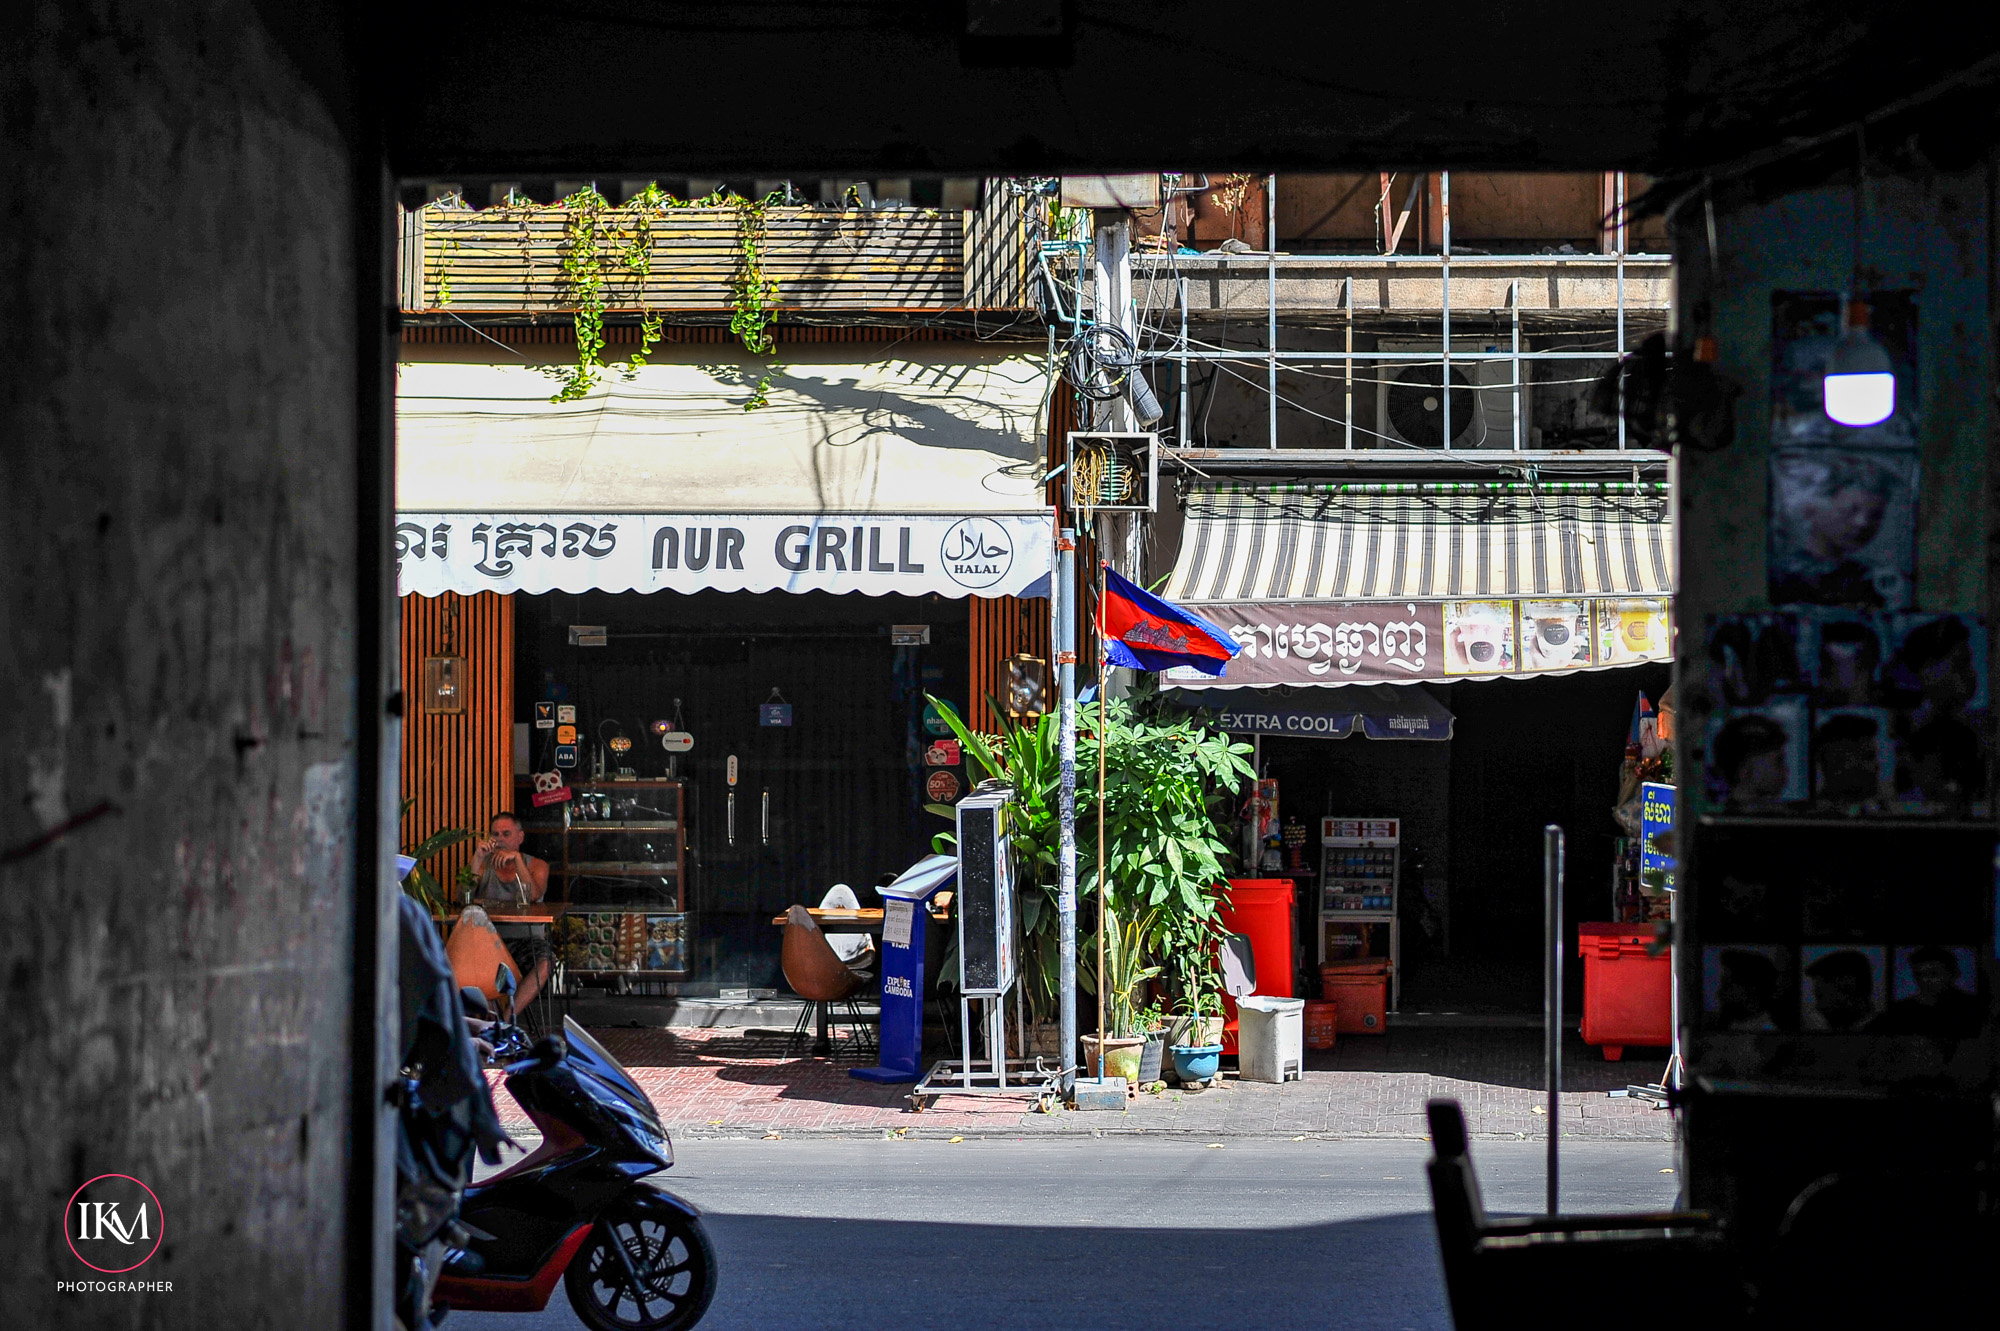
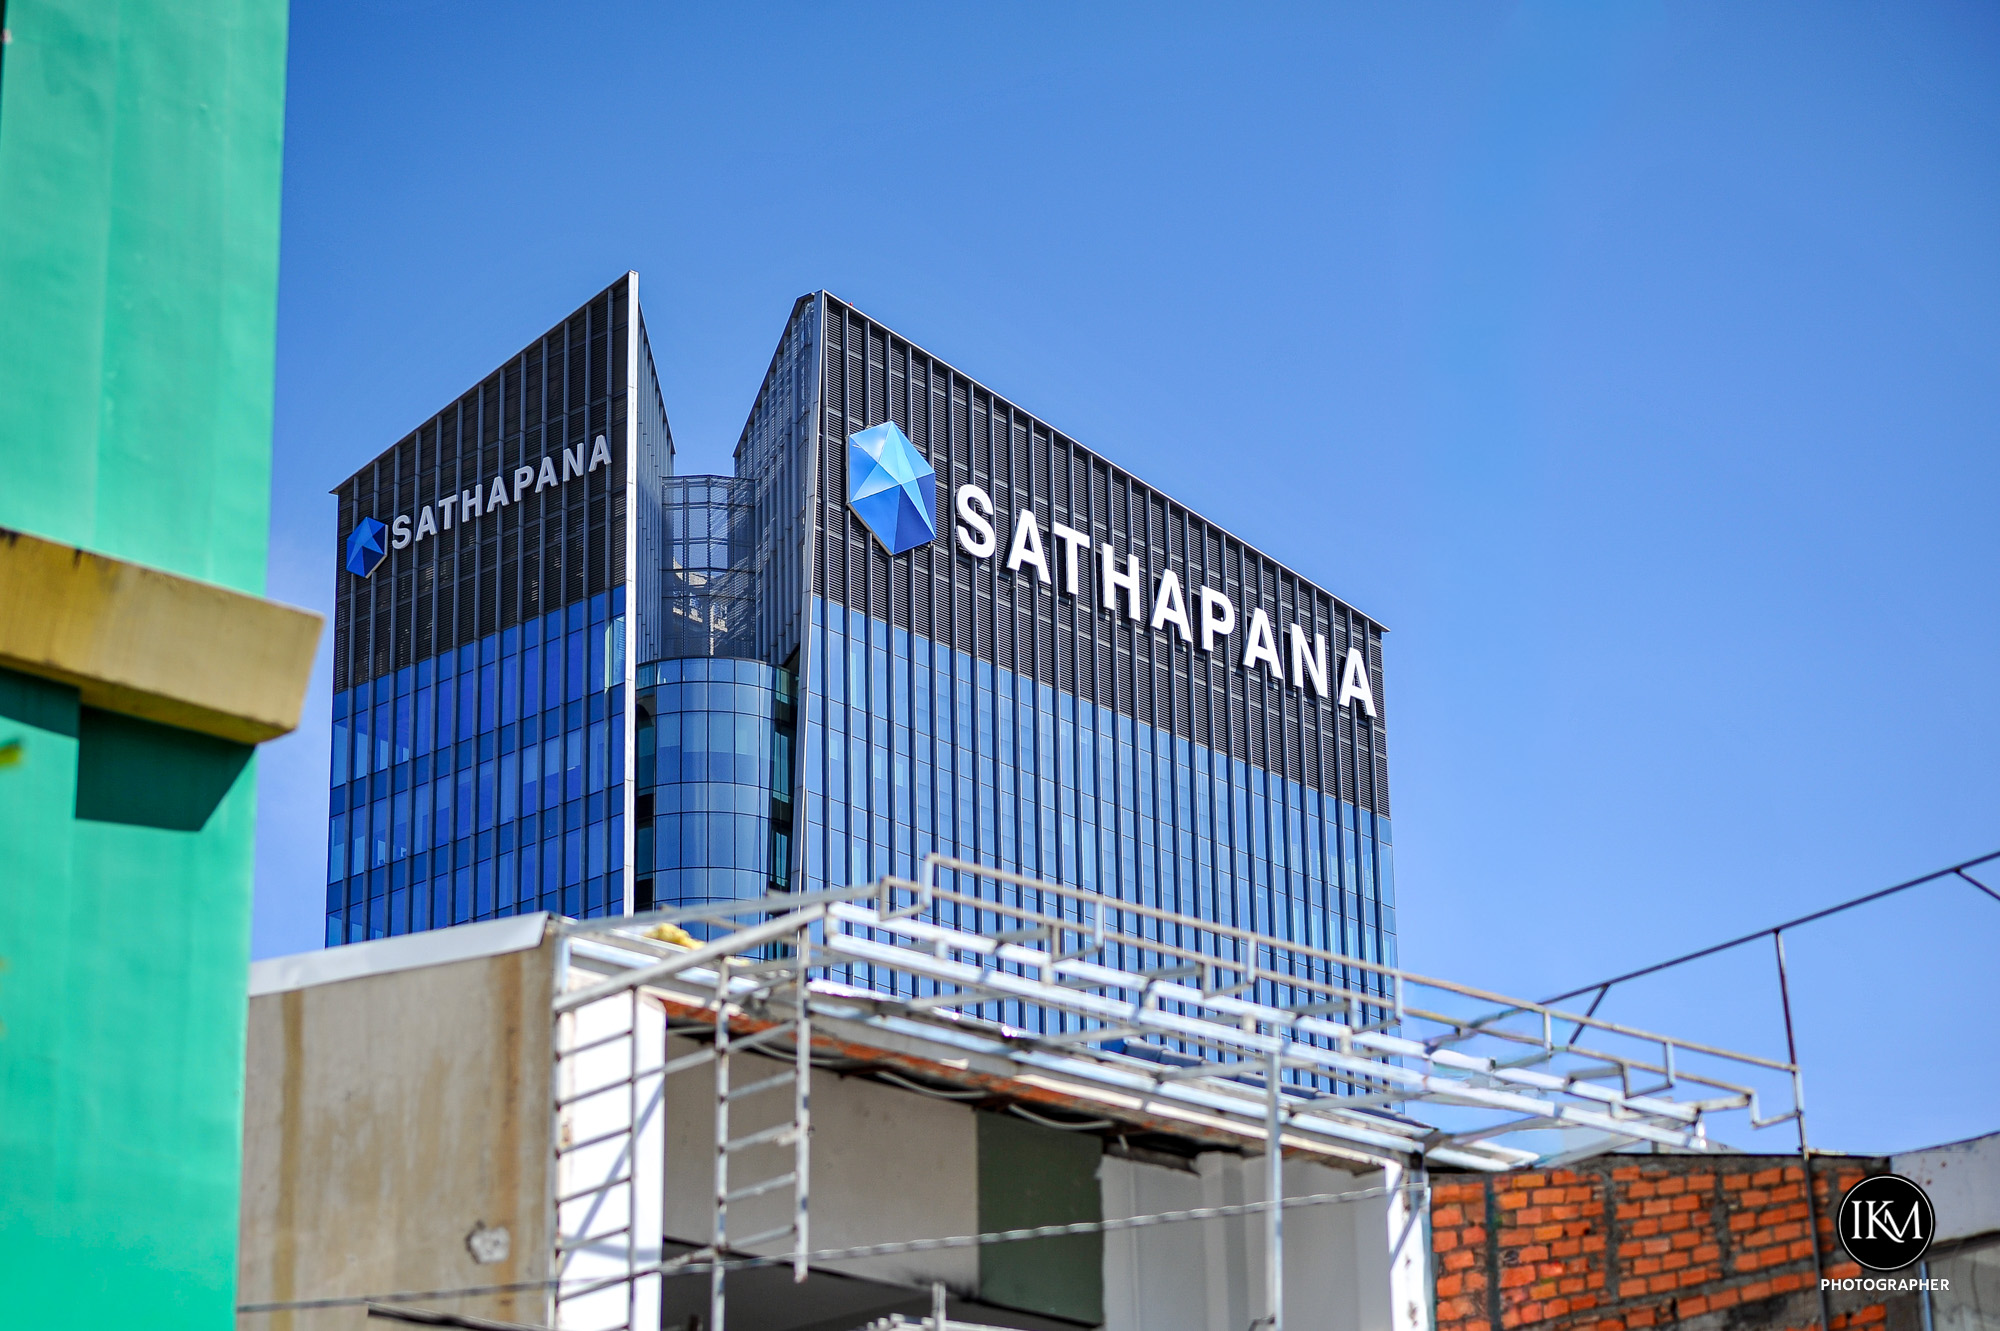
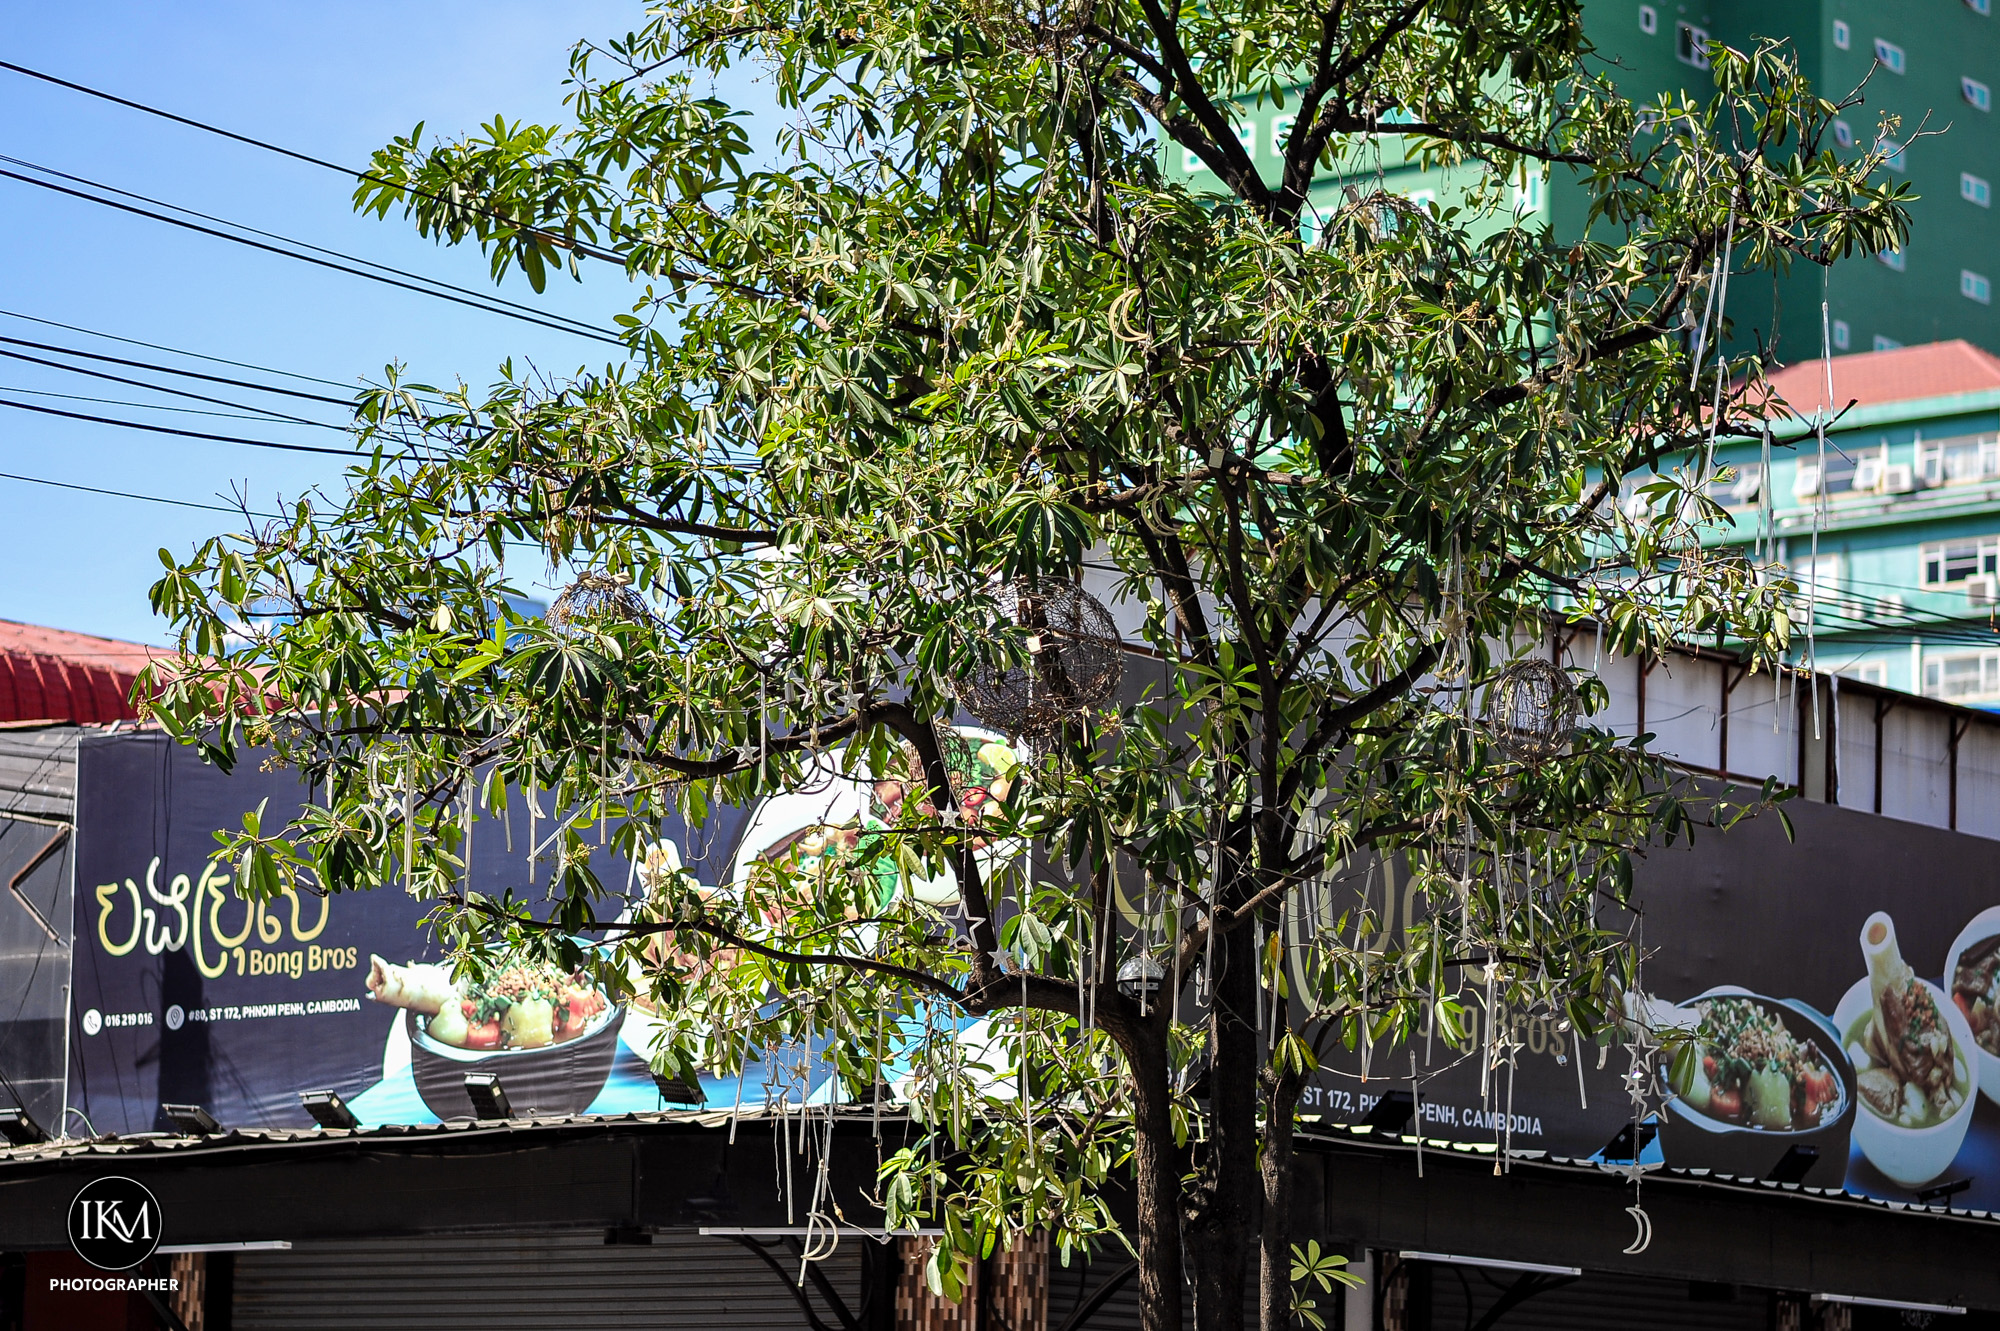
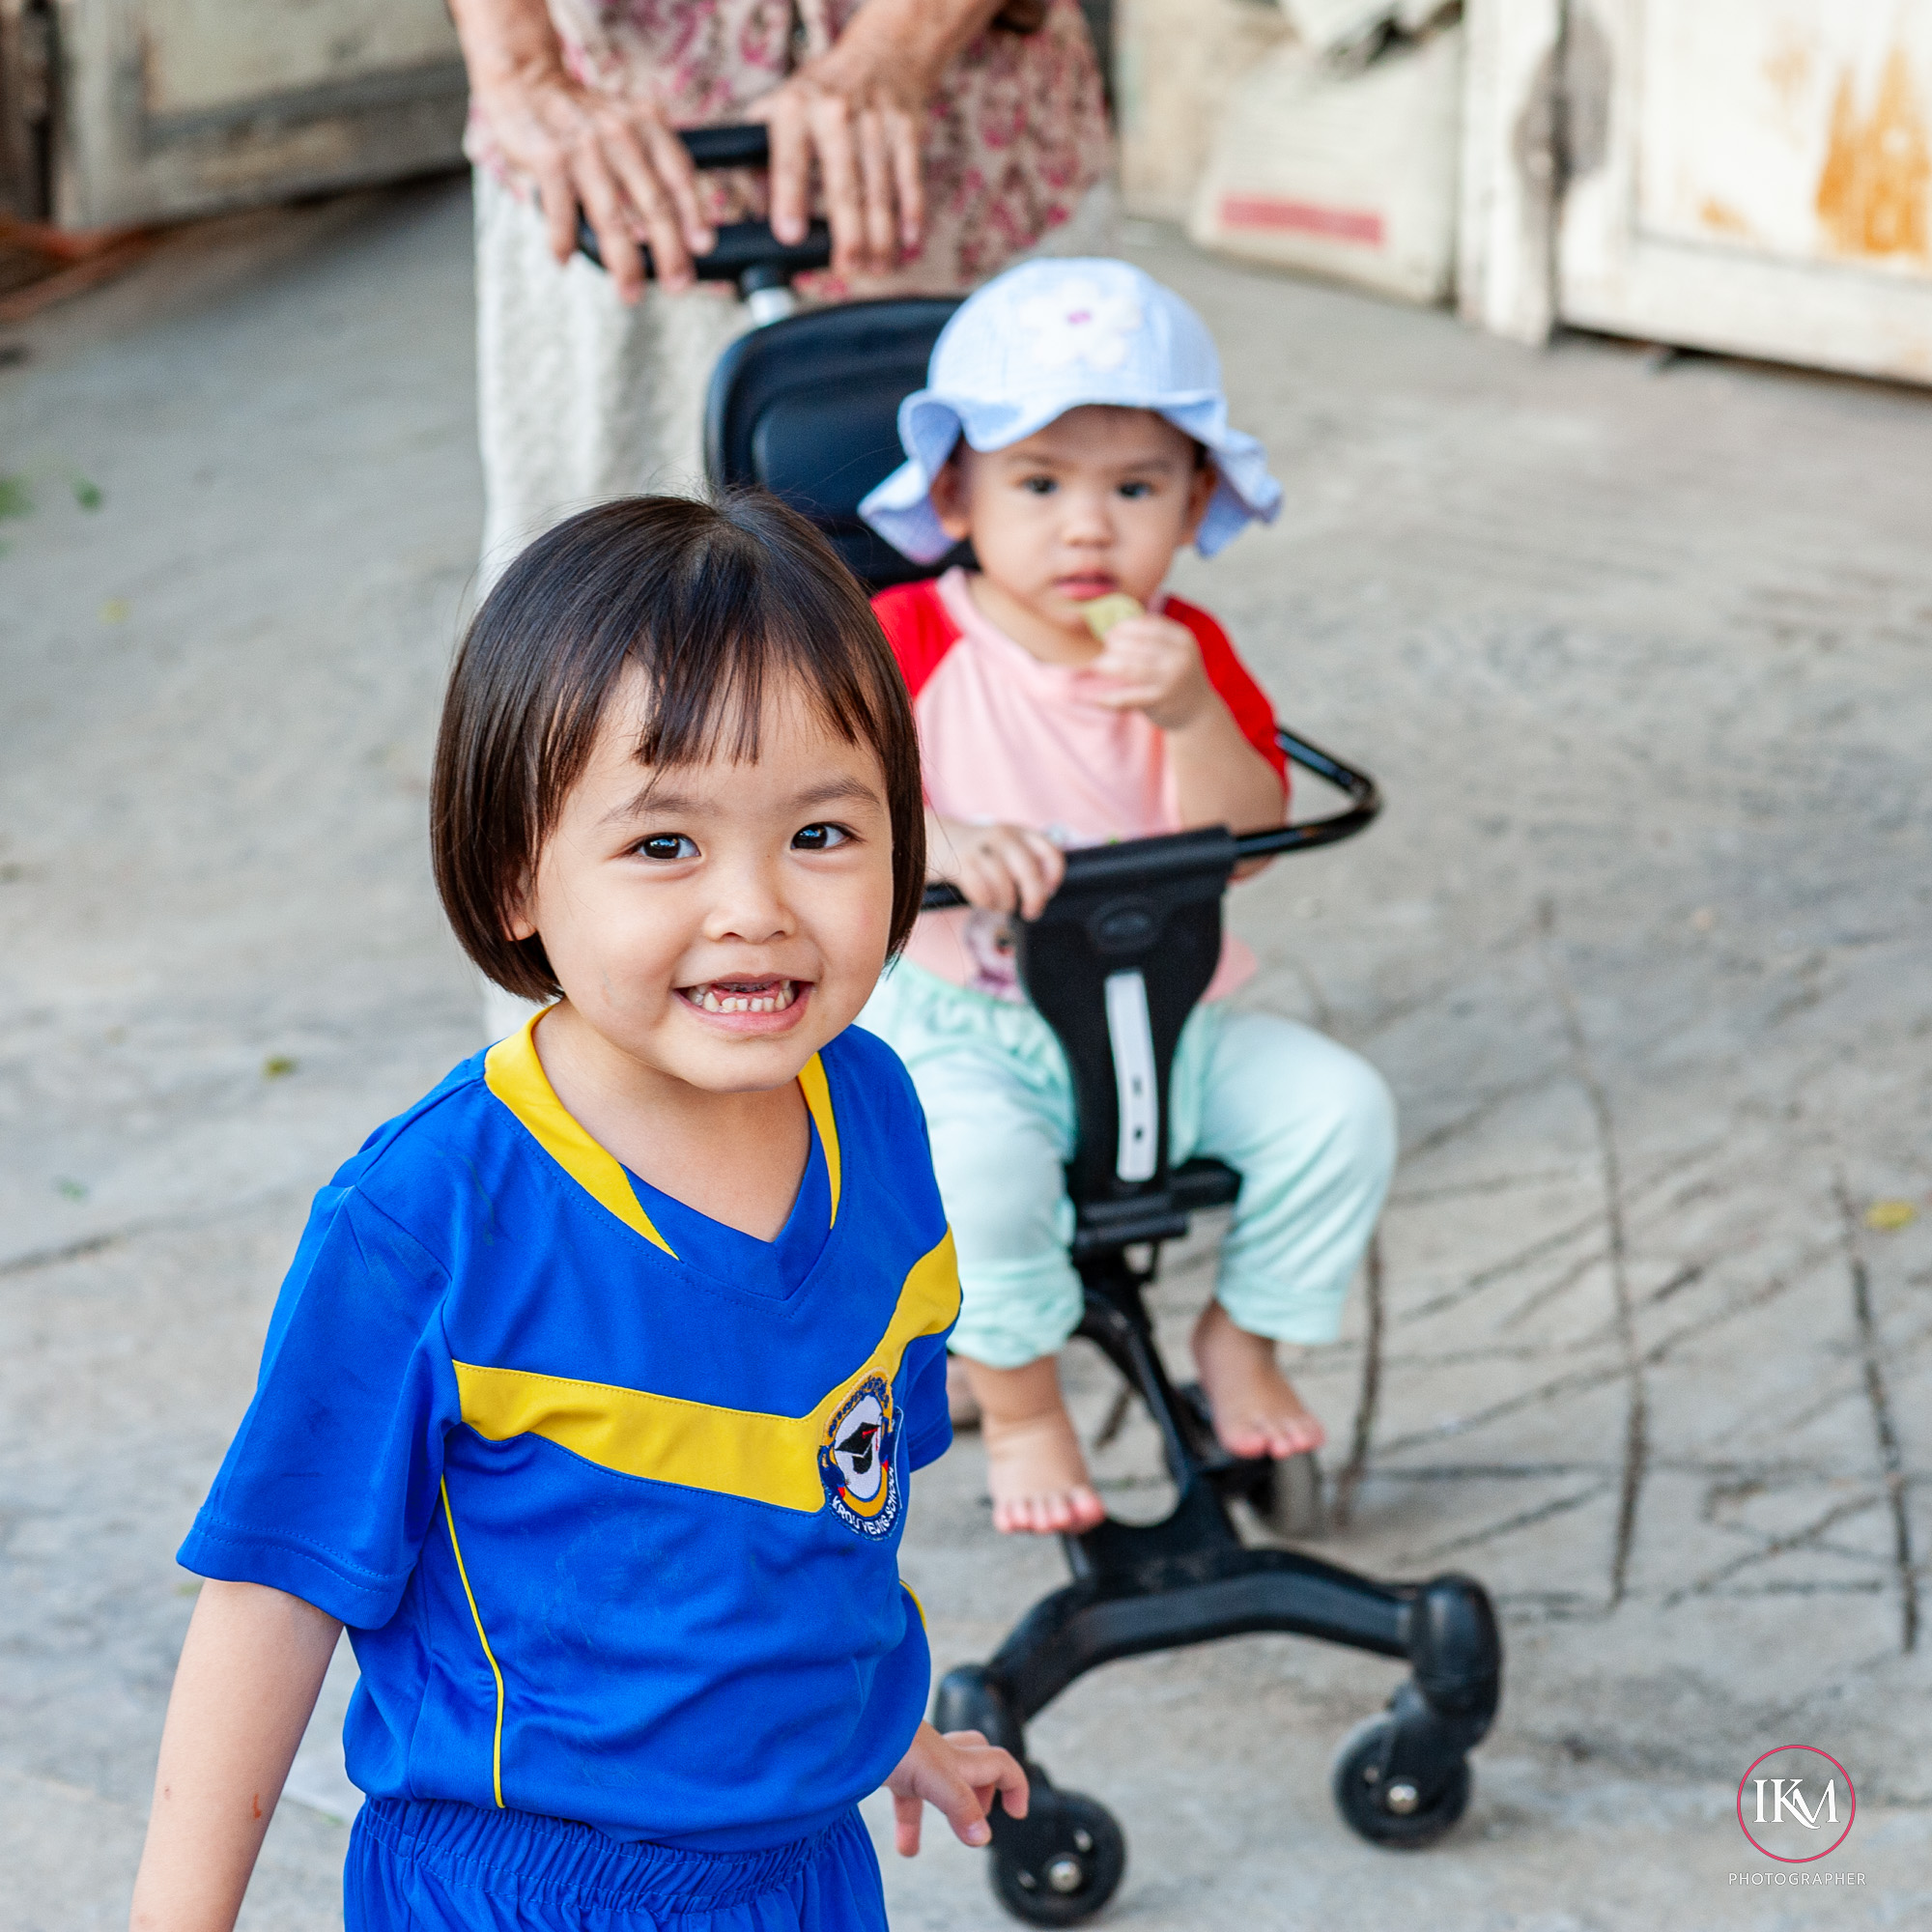
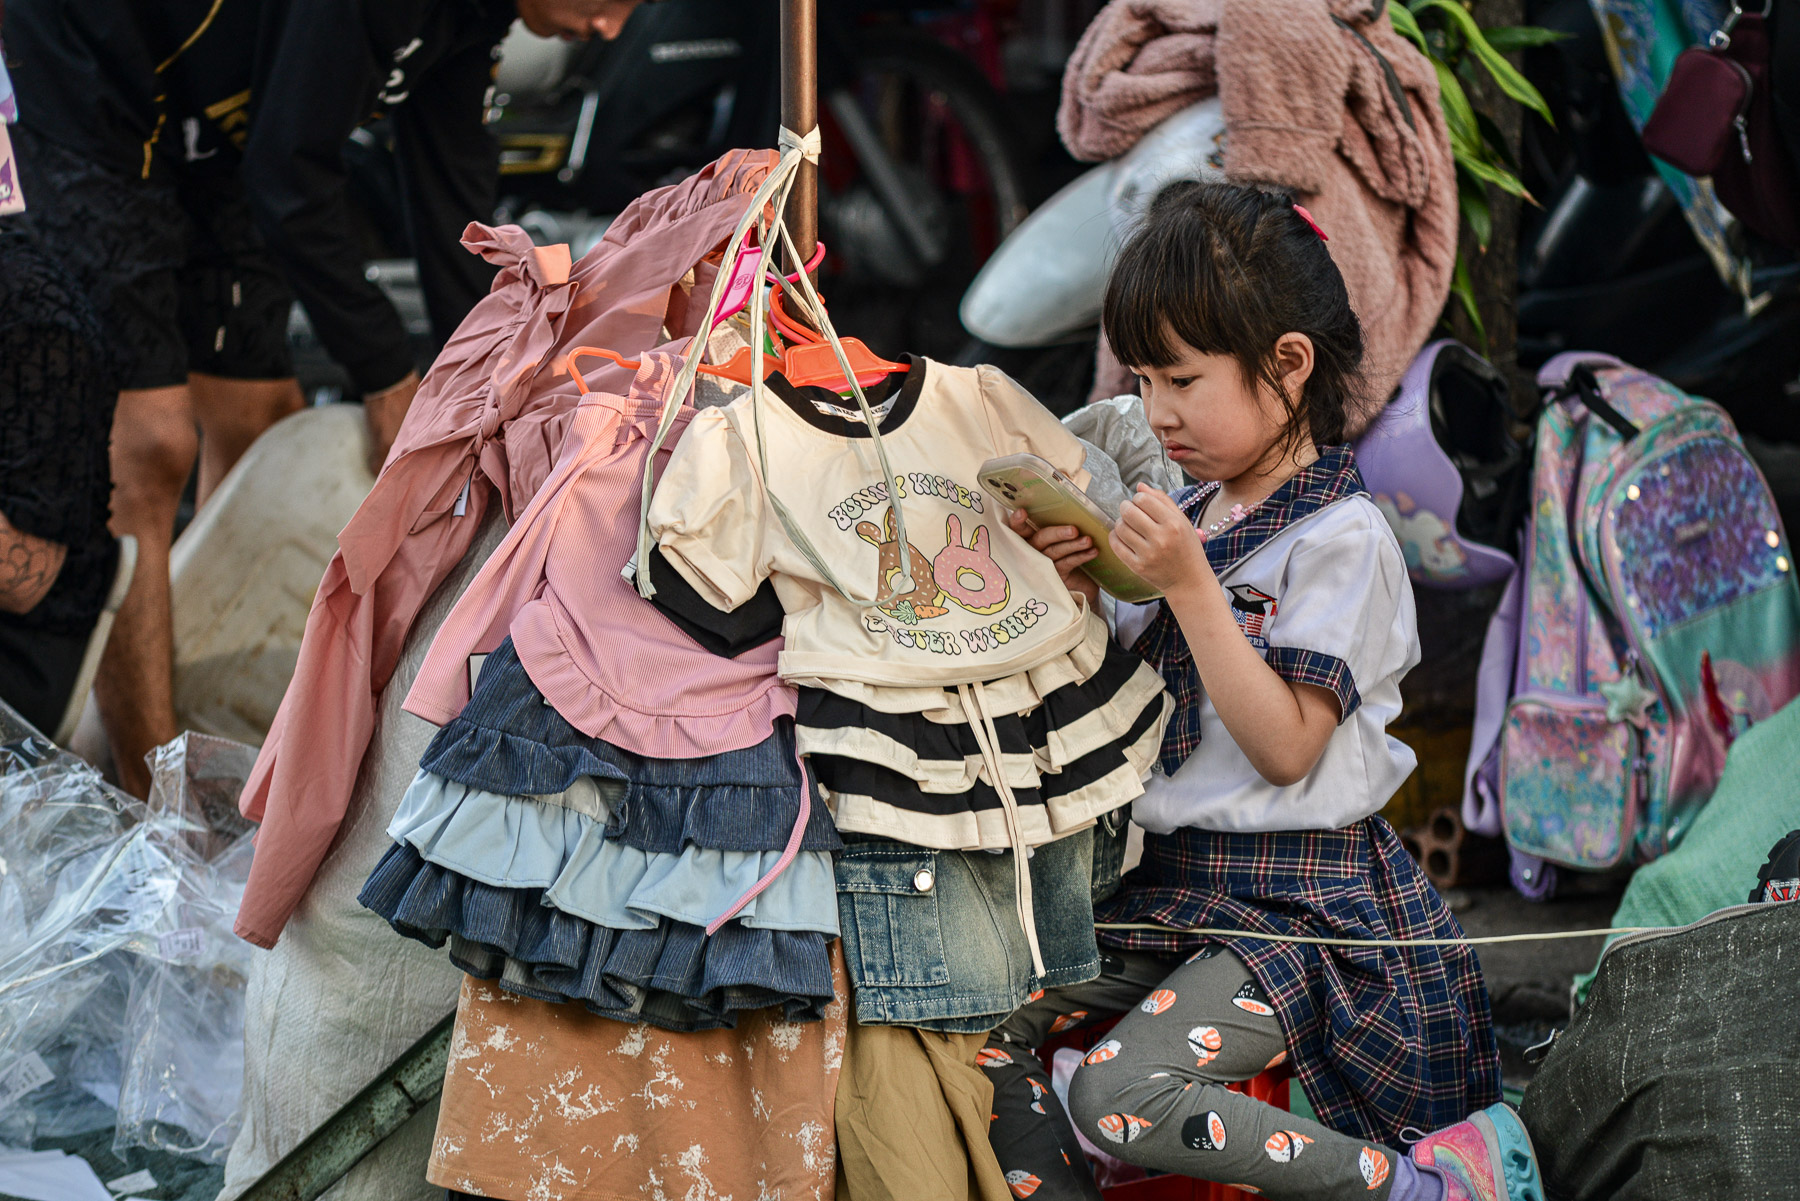
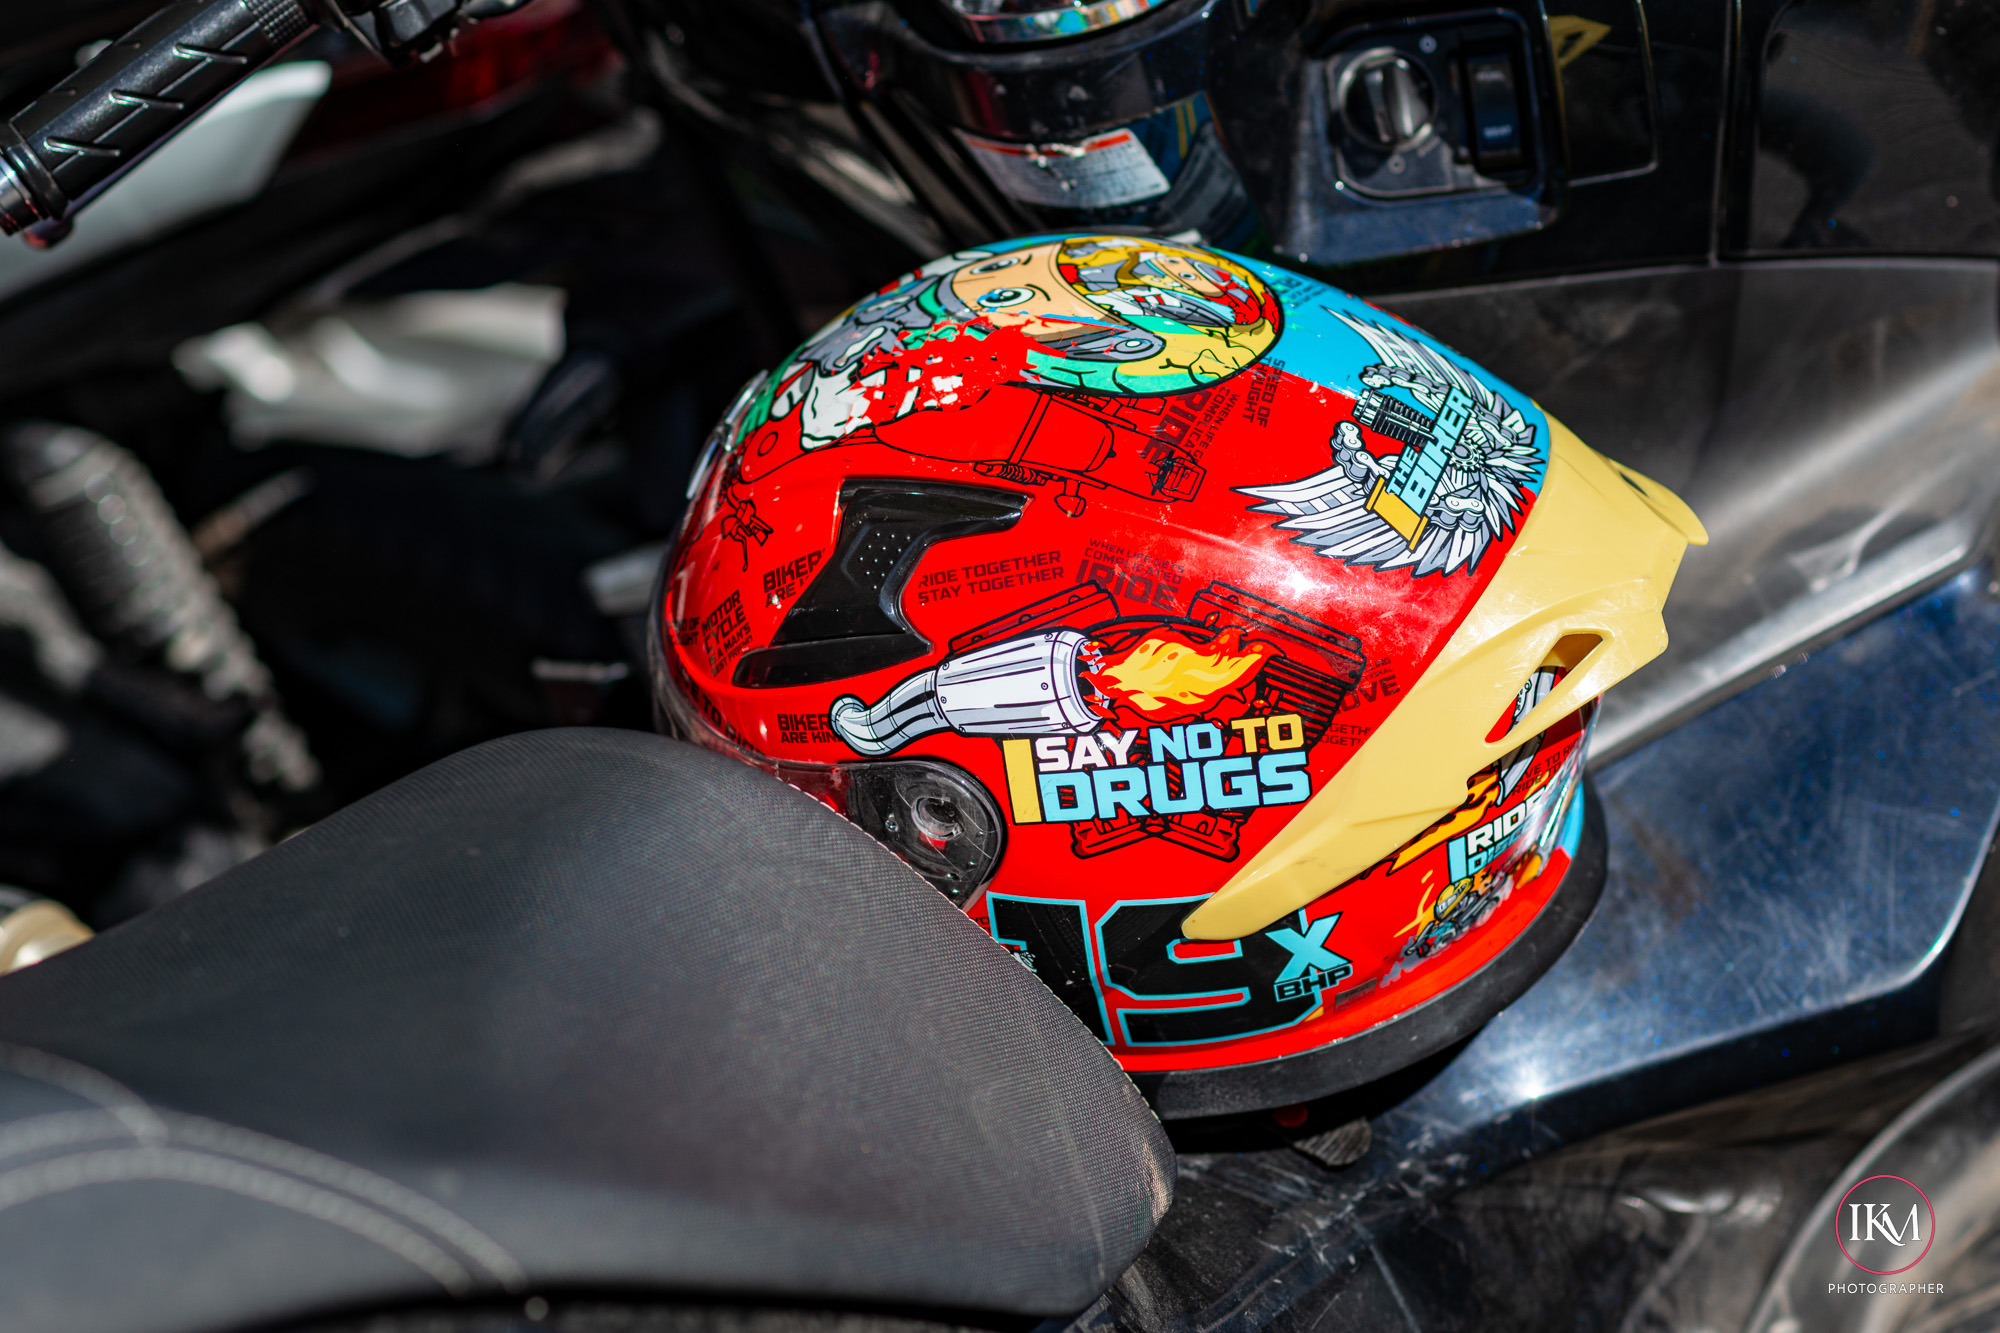
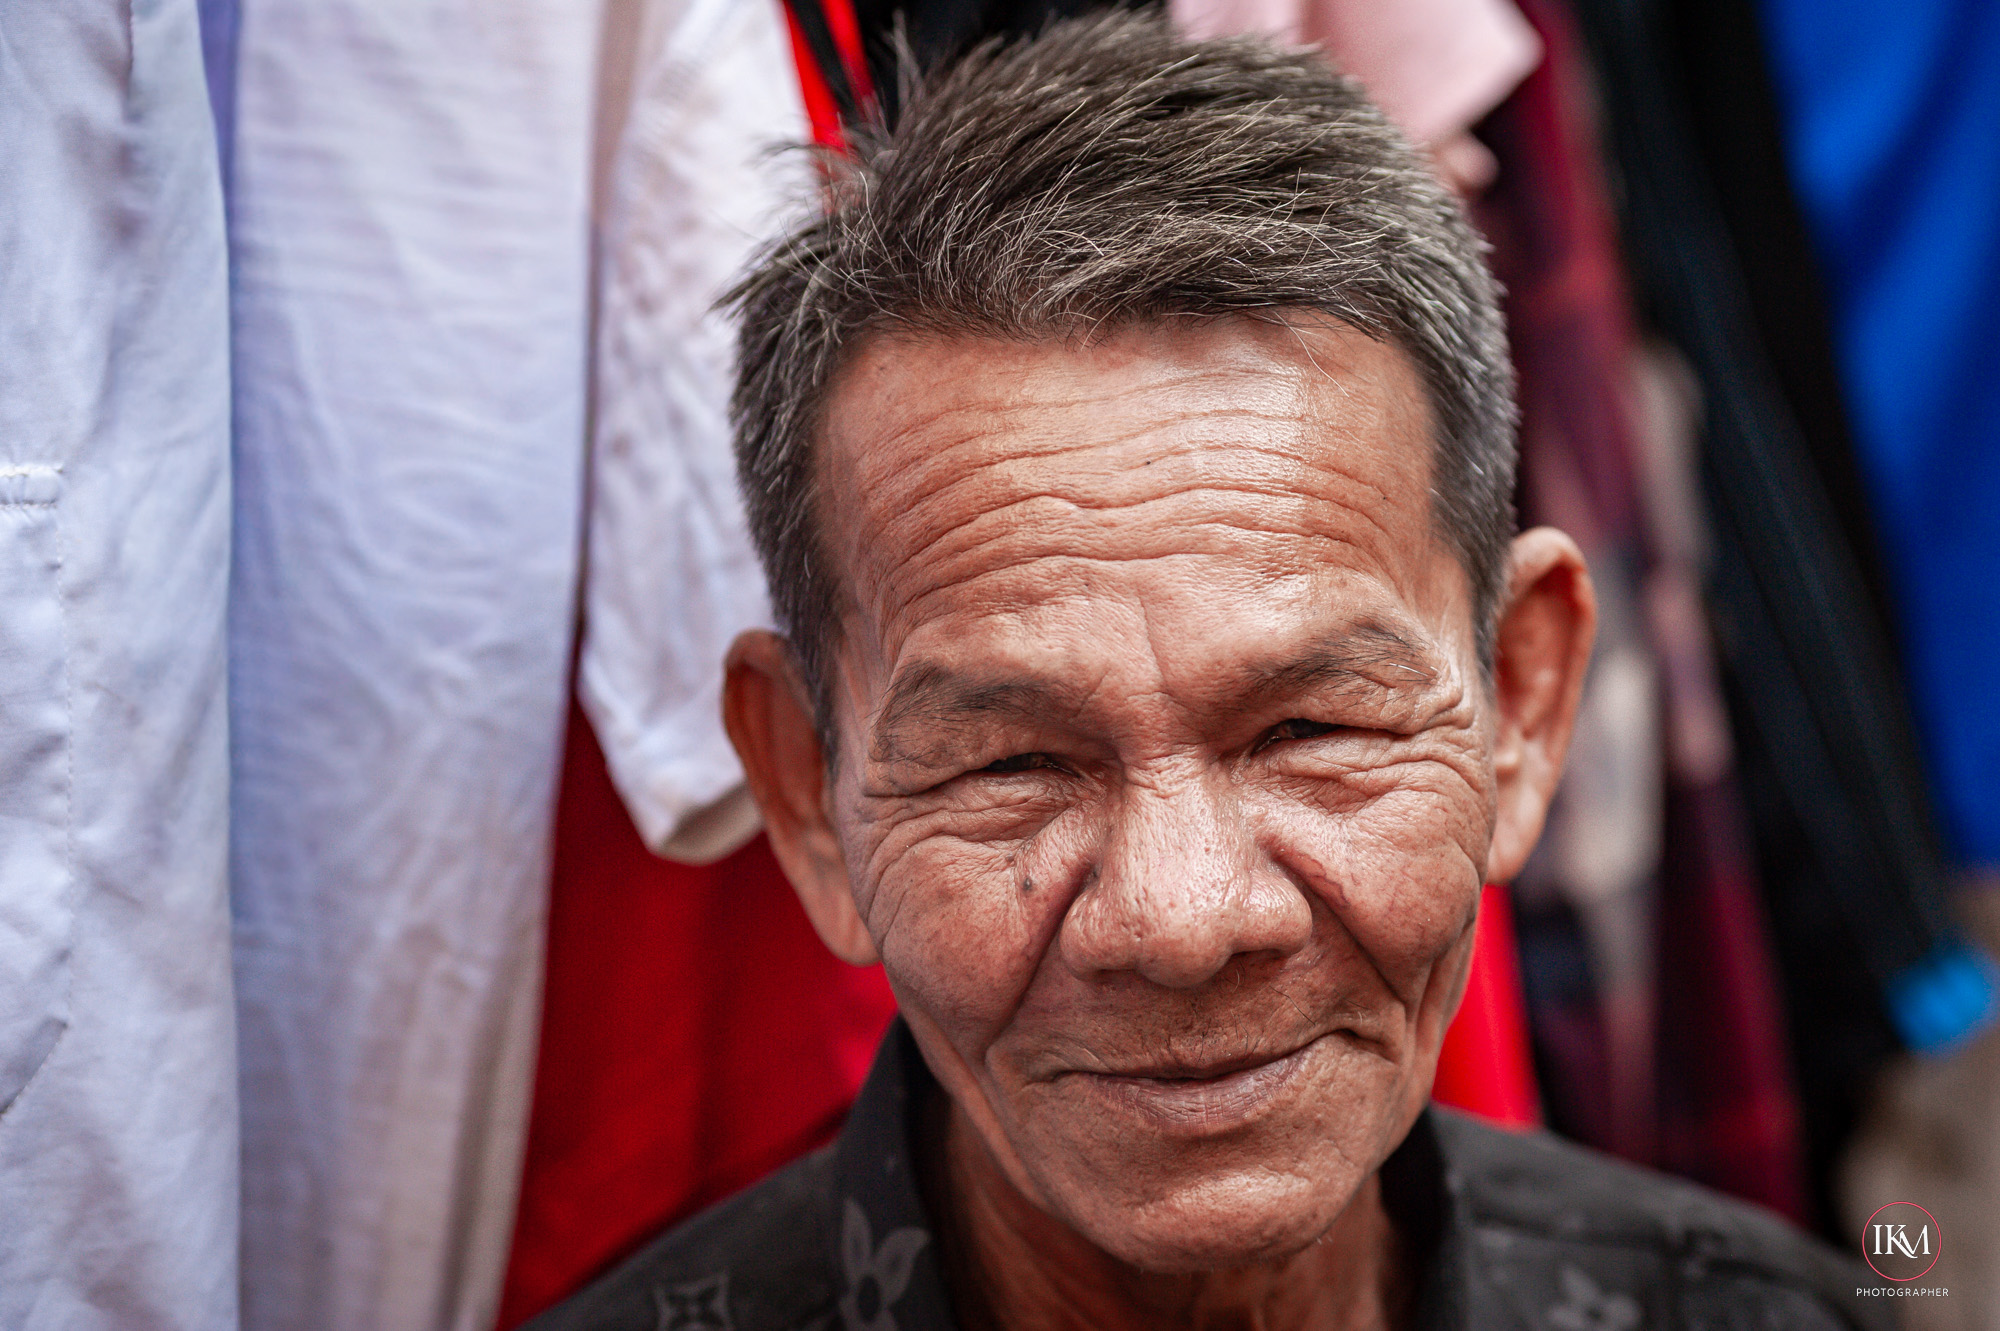
Objects: Everyday things reveal character when looked at closely — a weathered wall, a hand‑written note, a shadow at dusk.
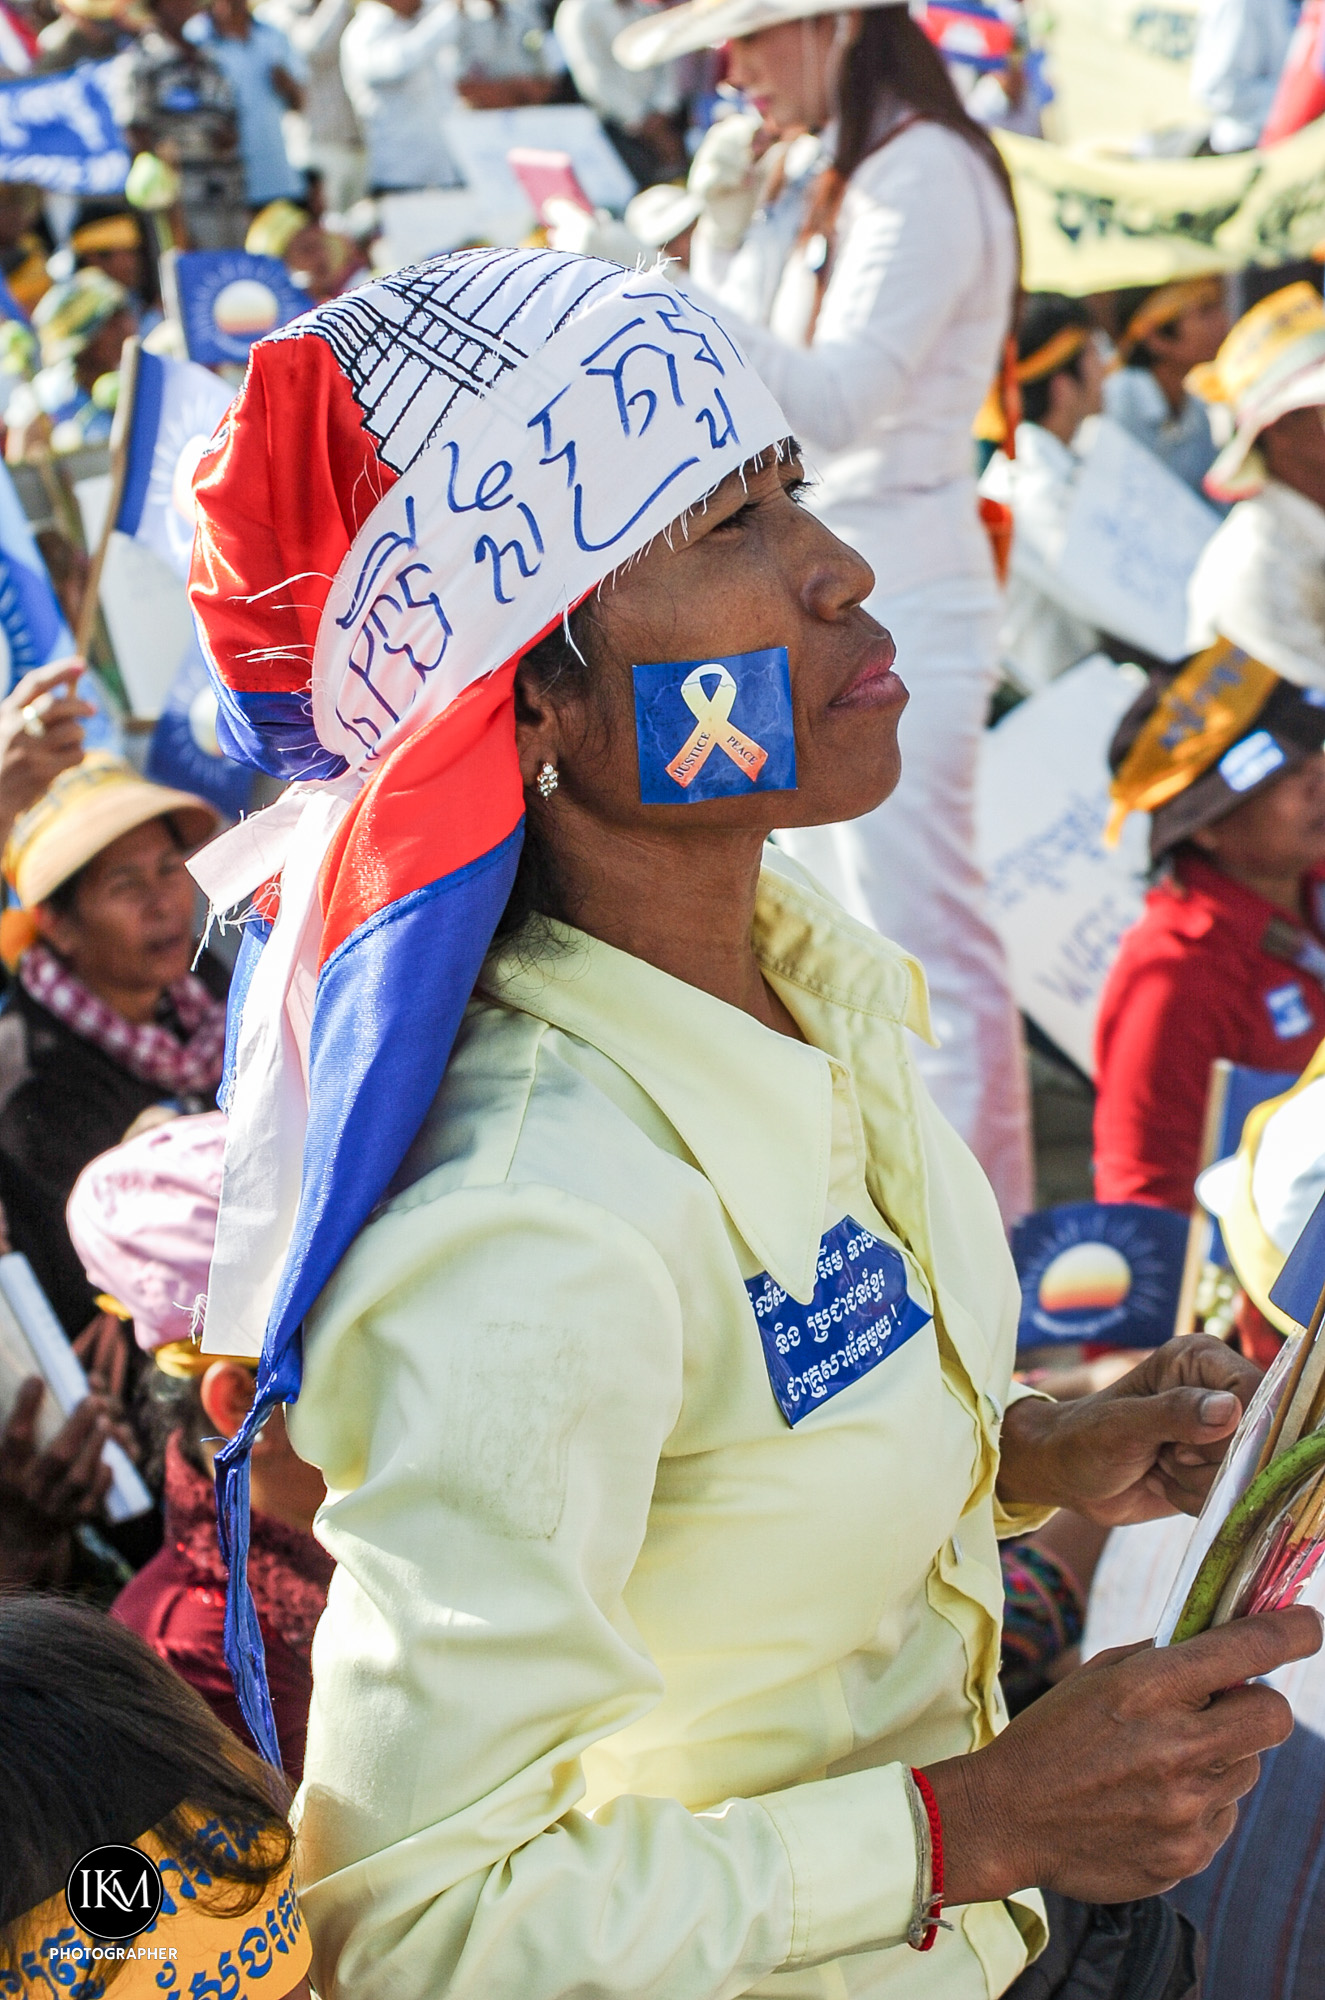
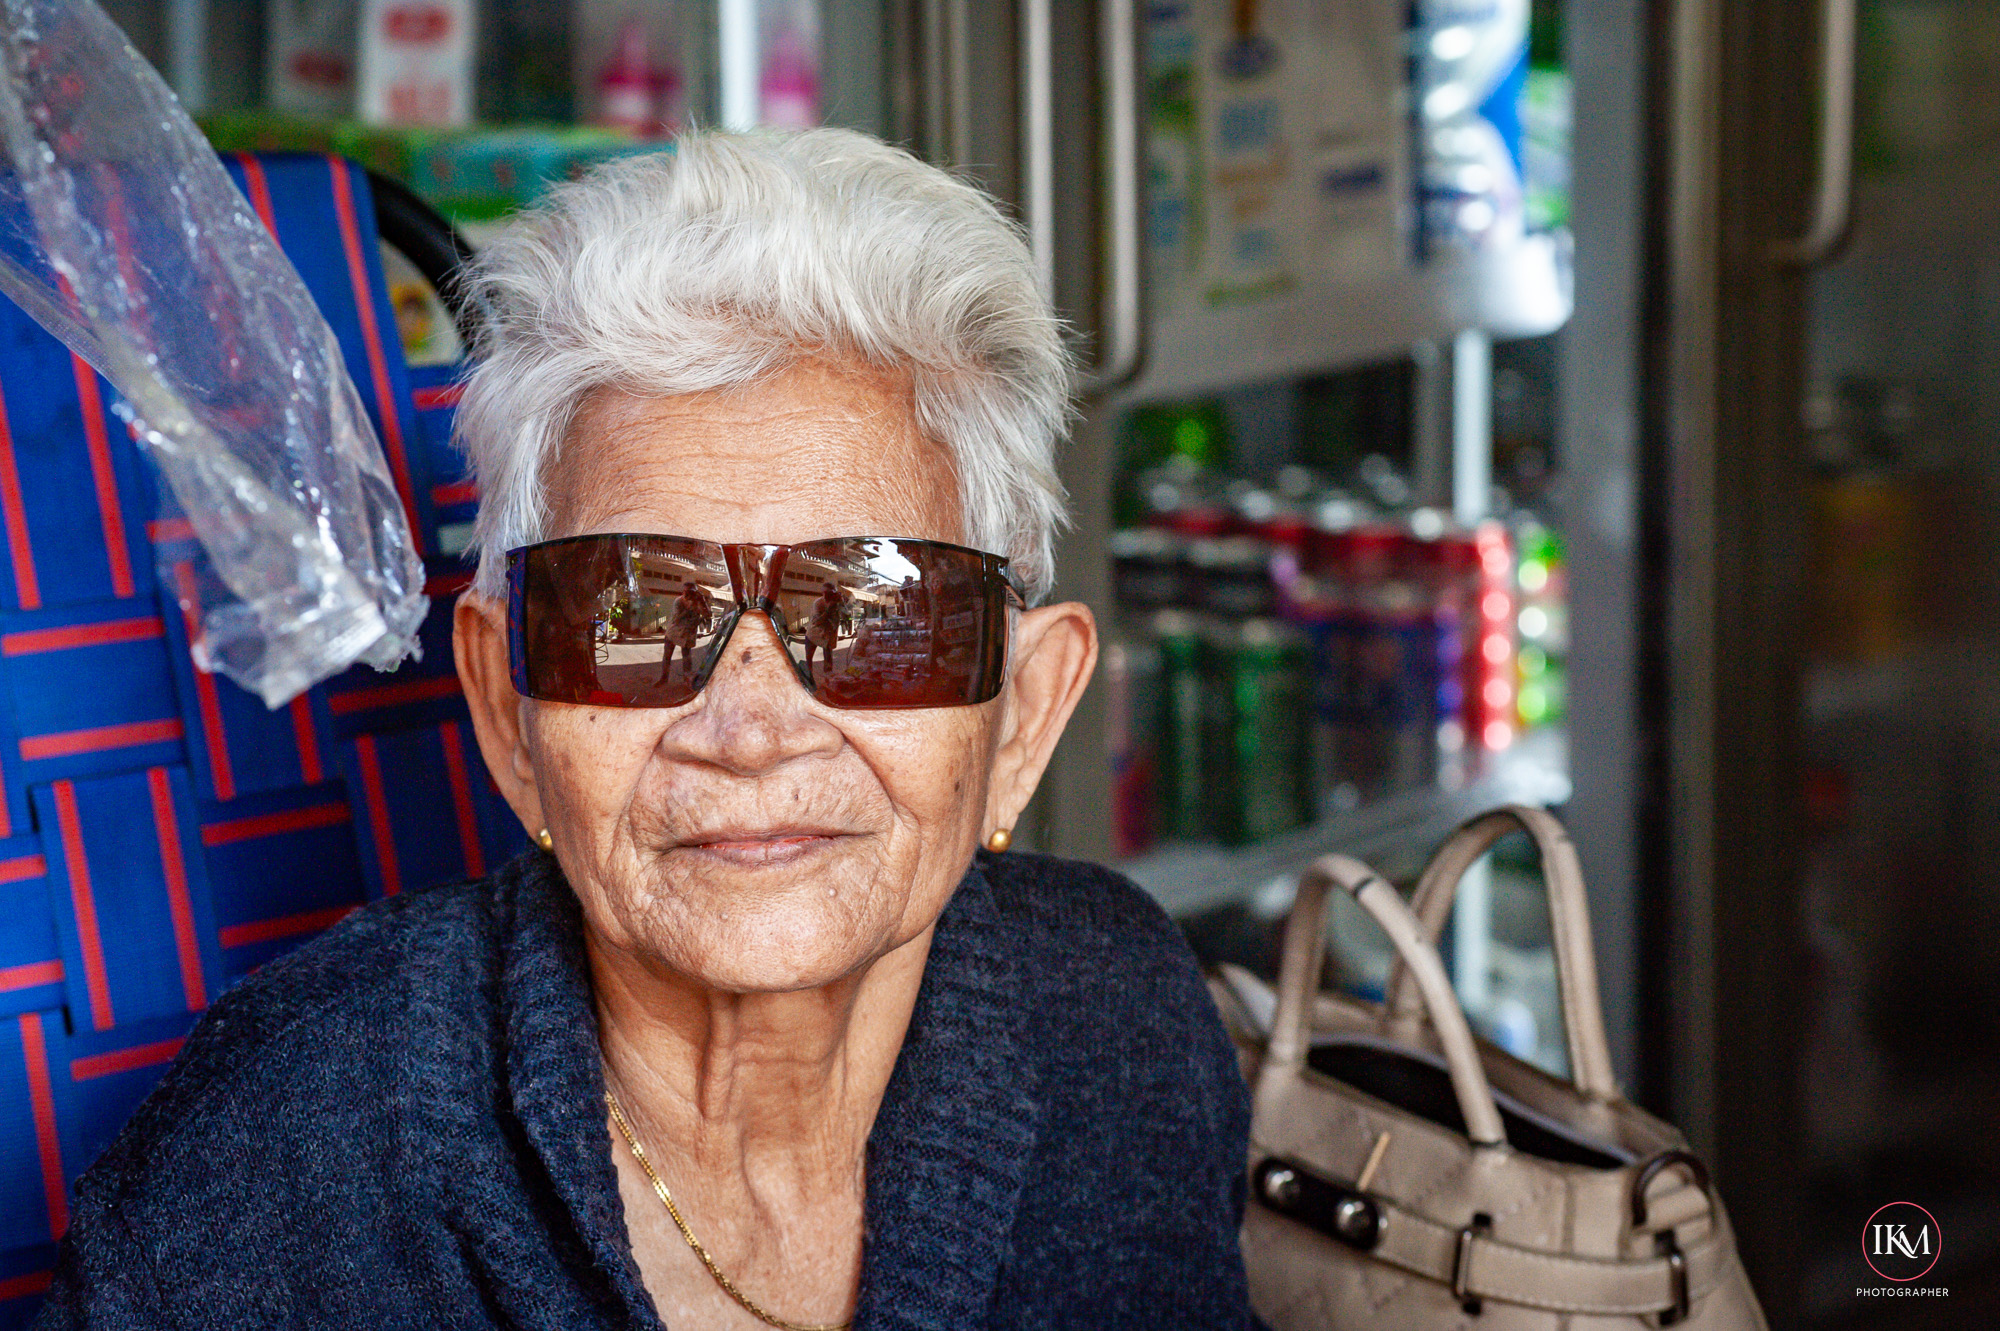
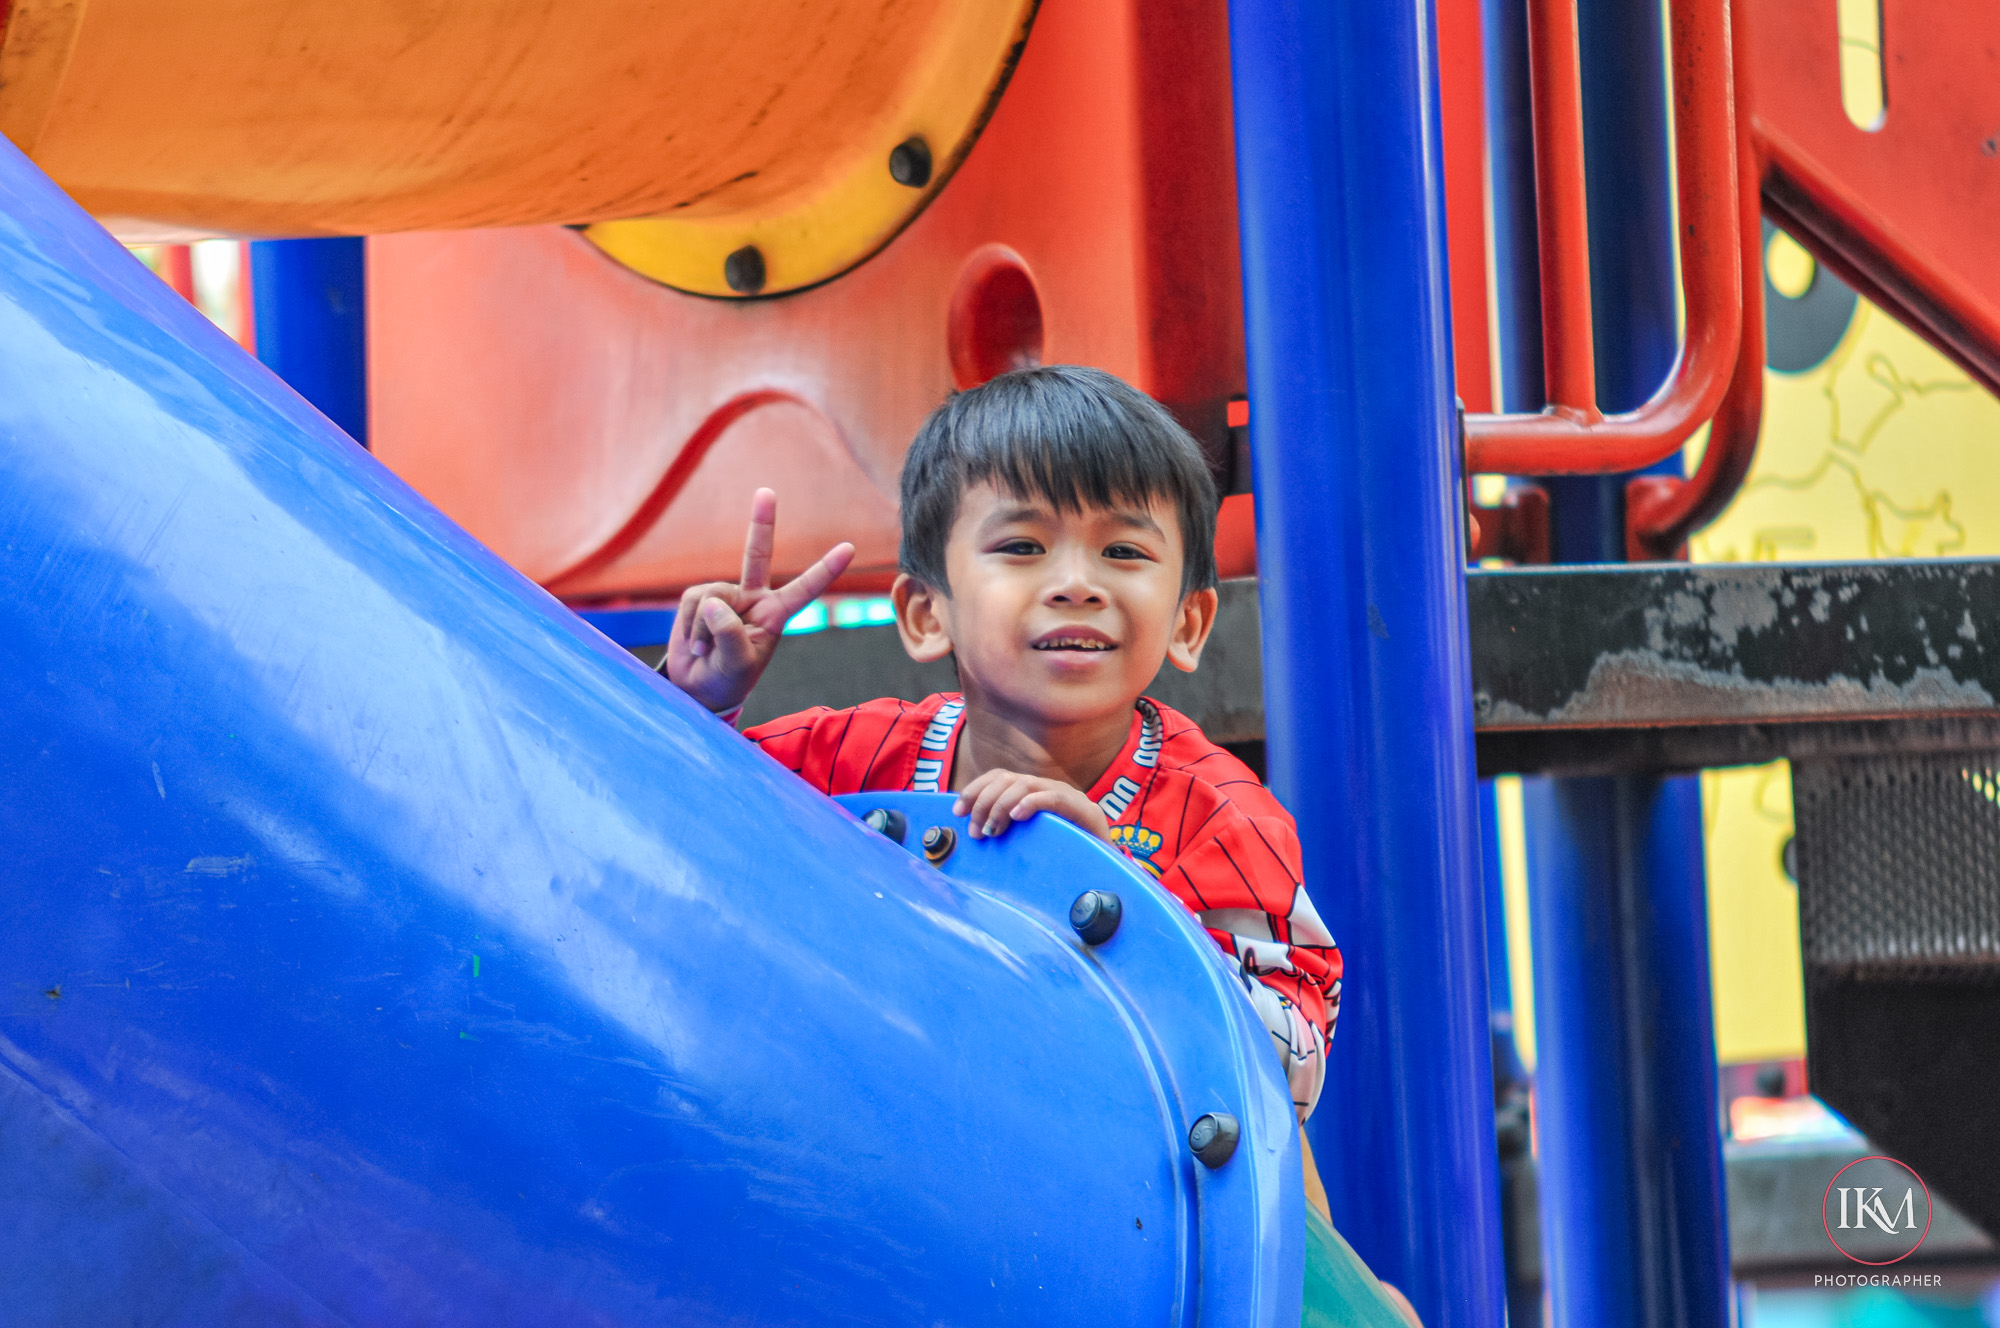
People: Listening deeply, rather than rushing to respond, uncovers nuance in relationships.
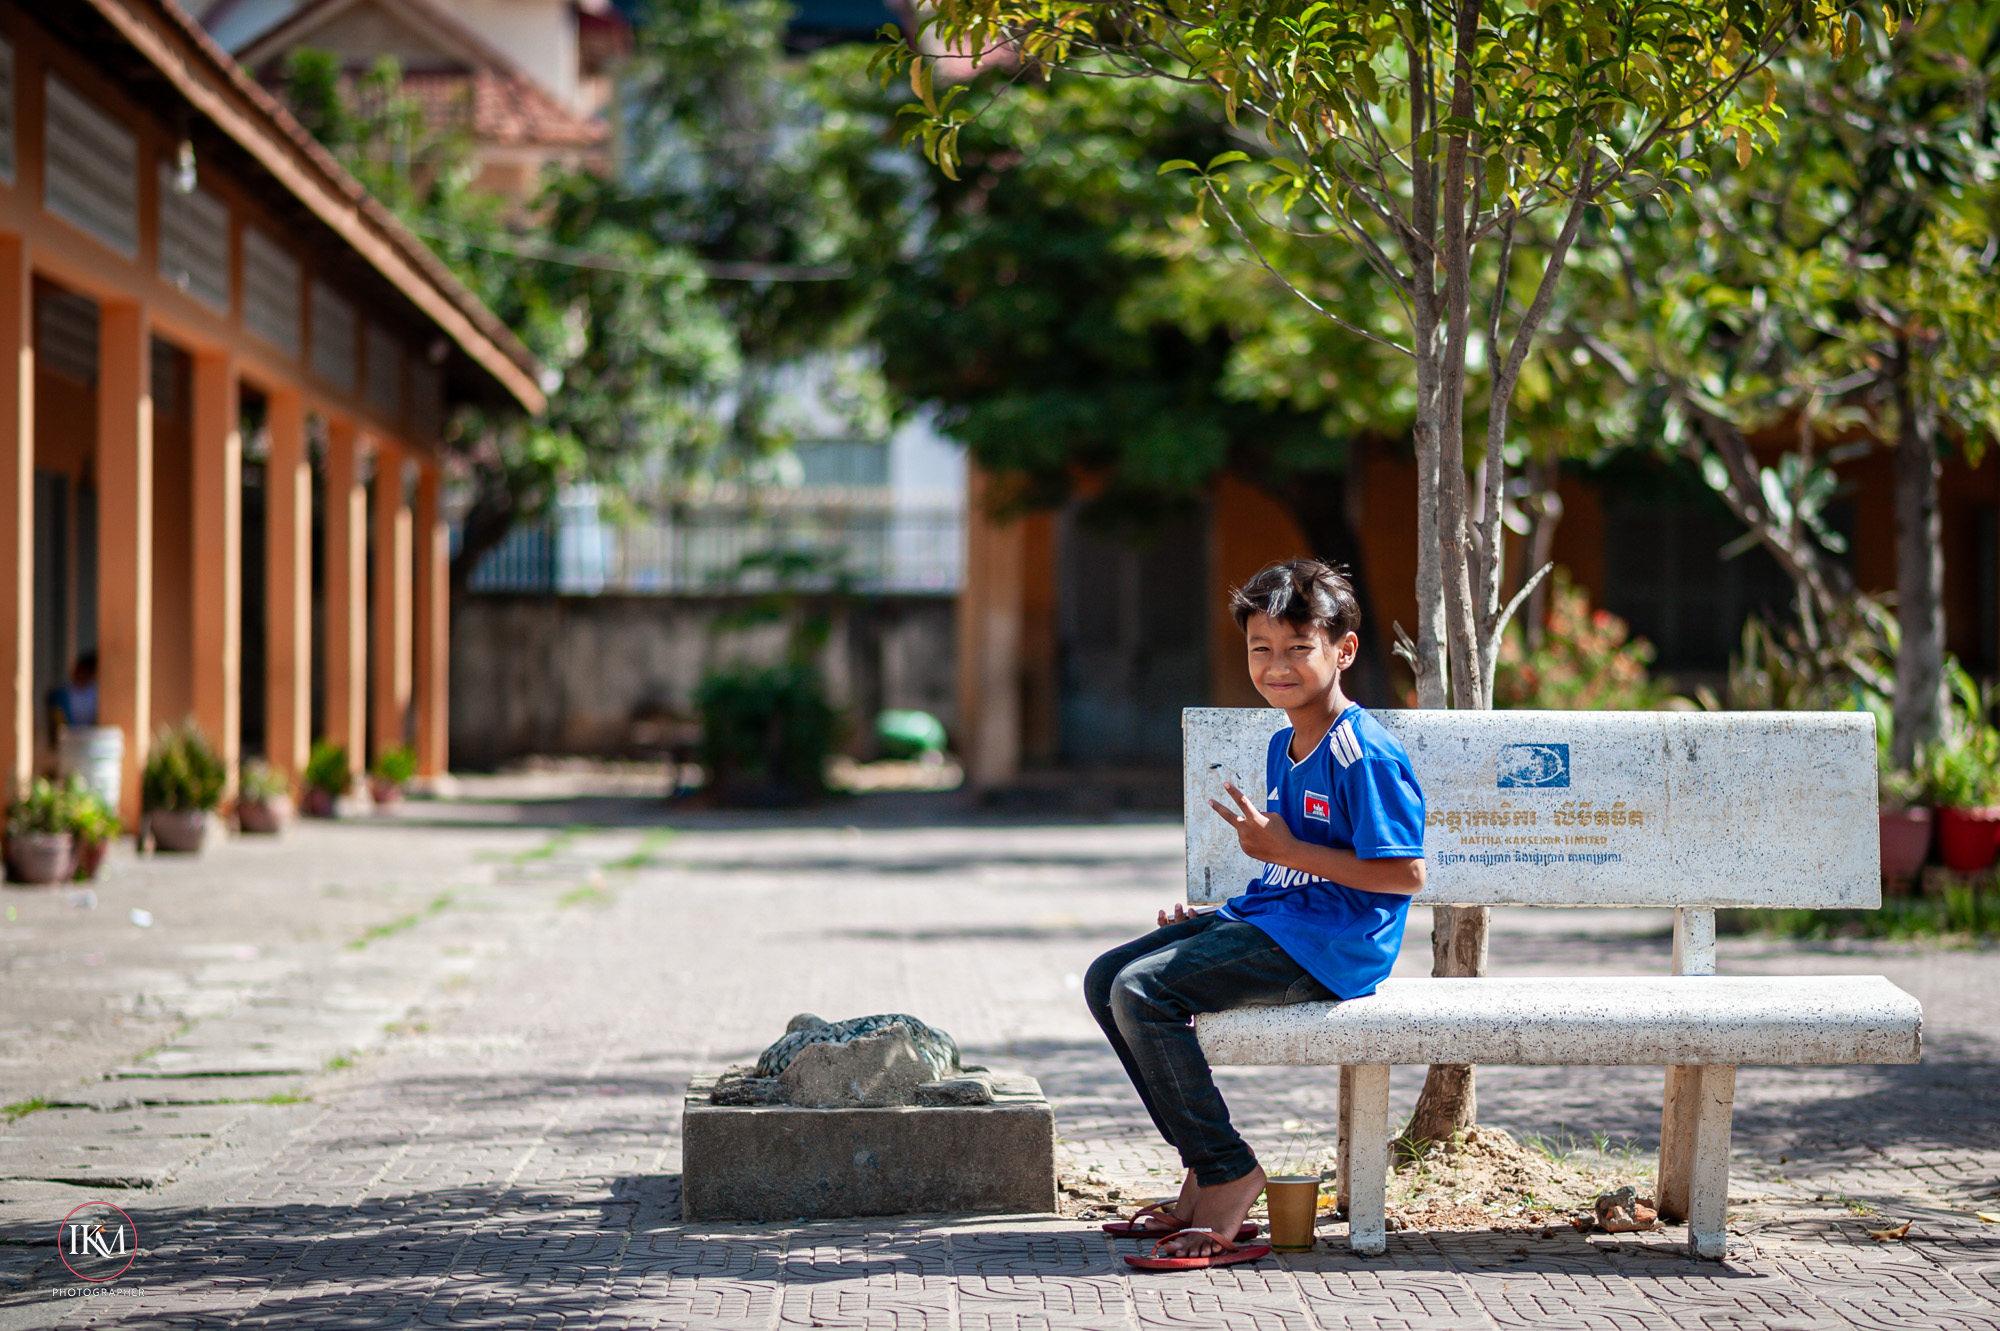
Places: Streets, parks, and cities hold layers of history and atmosphere that only patience can reveal.
Returning again and again: Revisiting the same subject or place allows new layers to emerge. Each return reframes the familiar, showing how time and perspective reshape vision.
Reclaiming Vision
Against noise: Slowness cuts through distraction, sharpening what matters.
For clarity: It allows us to see not just what is in front of us, but what lies beneath.
As practice: Slowness is not passive — it is an active choice to resist speed and reclaim vision.
Using Technology When It’s Useful
Tool, not master: Technology should serve attention, not dictate it.
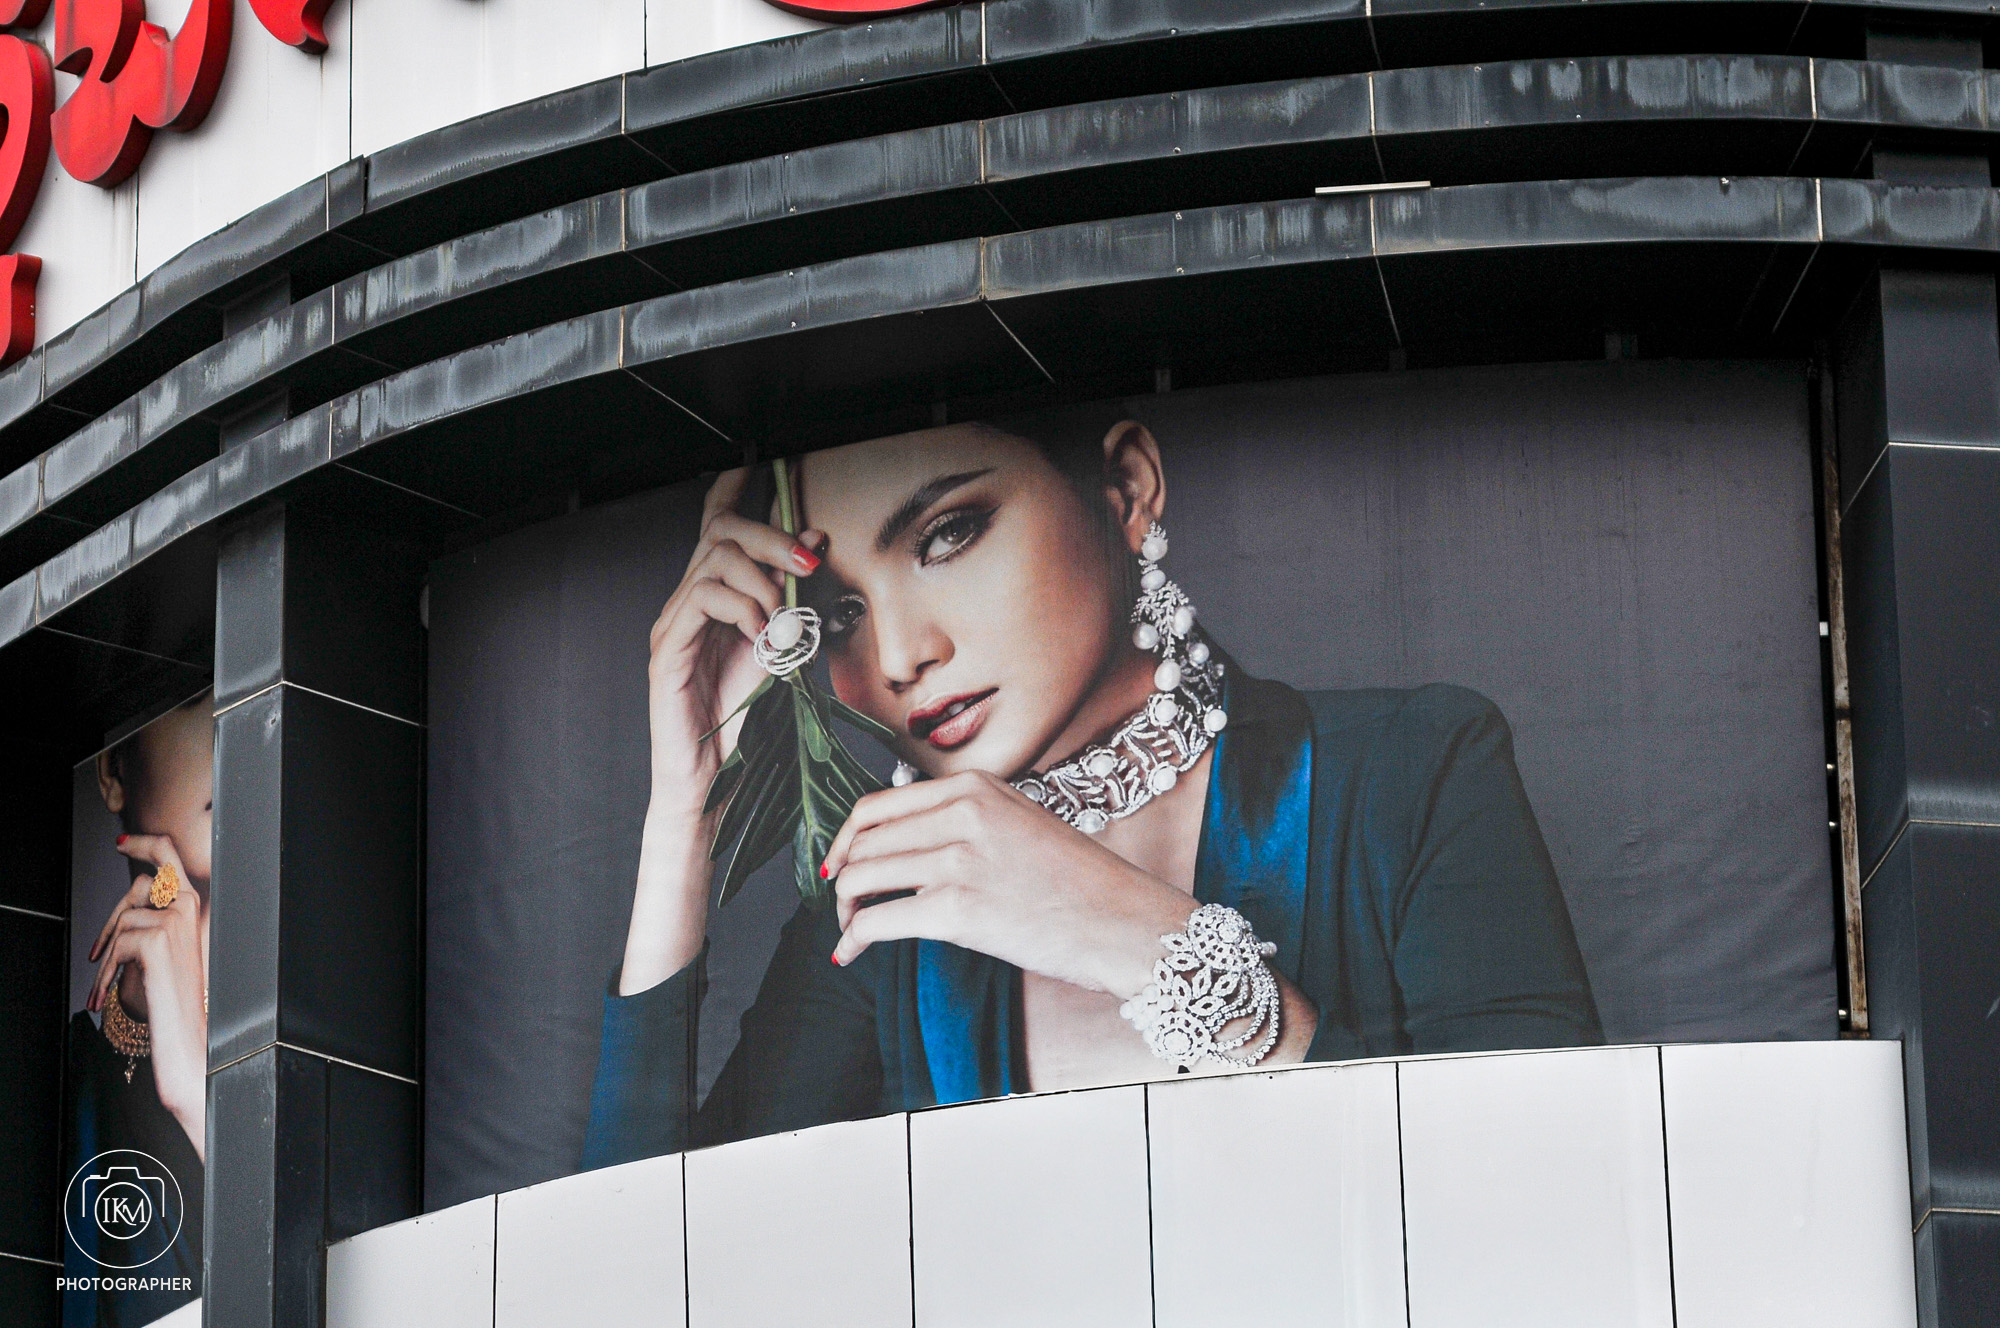
Selective use: Embrace tools that extend vision — editing software, digital archives, or cameras — but resist the pull of endless feeds.
Balance: The slow archive doesn’t reject technology; it uses it deliberately, when it amplifies meaning rather than dilutes it.
Agency: Choosing when and how to use technology is part of reclaiming vision in a fast world.
Harnessing Speed to Anticipate
Machine as ally: Cameras and devices can operate faster than human reflexes.
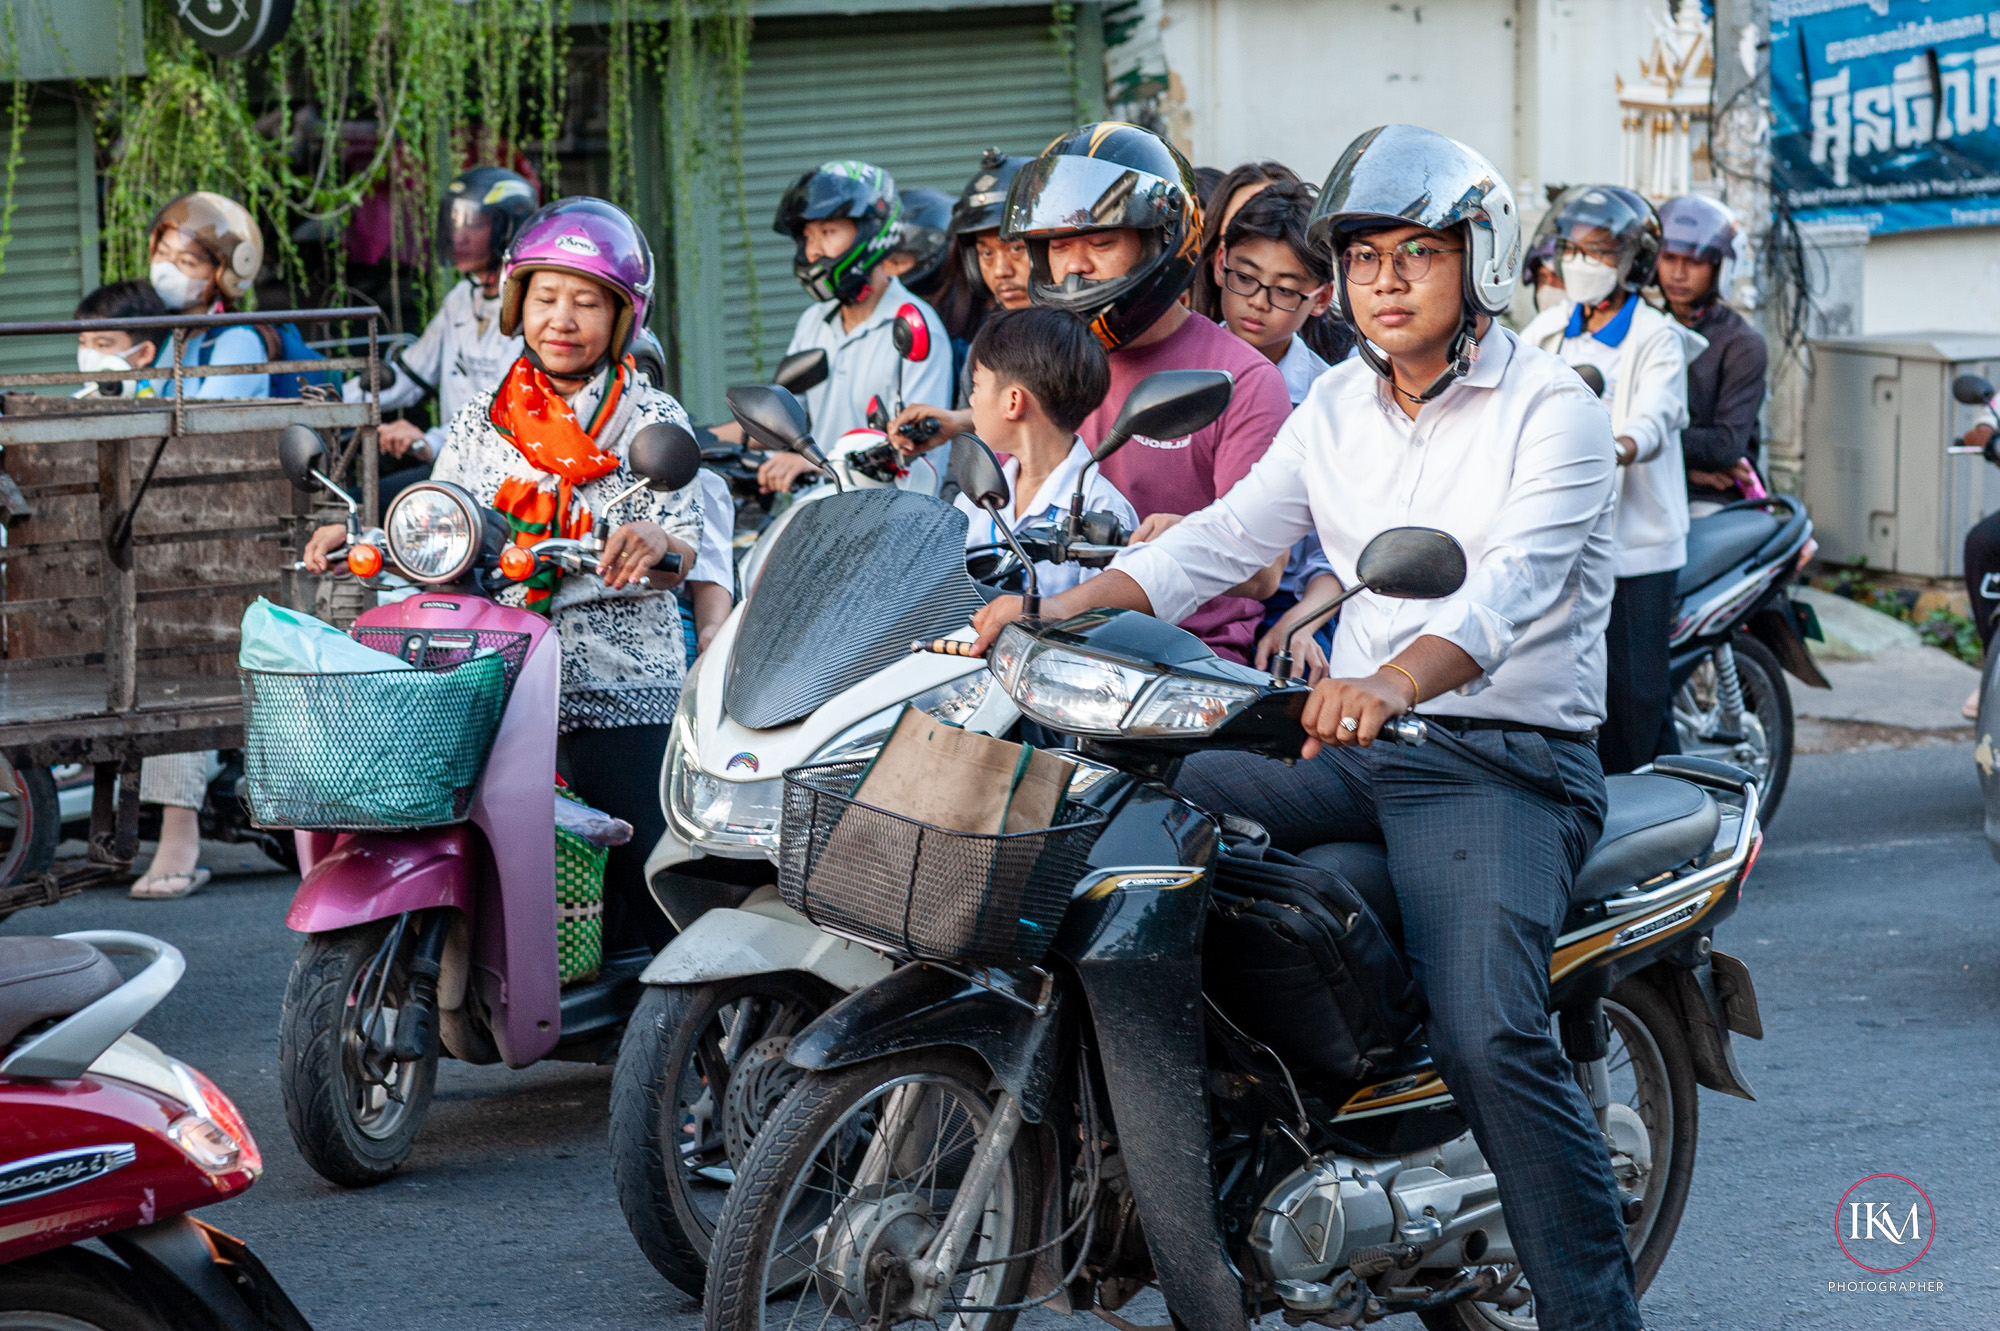
Anticipation: Using burst modes, predictive autofocus, or rapid shutter speeds allows the photographer to anticipate and catch fleeting gestures.
Integration: Slowness is about vision, but speed is about execution — together they form a rhythm of patience and precision.
Lesson: Technology’s speed is not about rushing; it is about being ready when the moment arrives.
Conclusion
Slowing down is not about rejecting progress. It is about reclaiming agency in how we see, feel, and create. Technology can be part of that process — but only when it is useful, intentional, and aligned with vision. Returning to a subject or place over and over again reminds us that meaning is not found in novelty alone, but in patience, repetition, and rediscovery. And when the decisive moment comes, the speed of a machine can help anticipate and capture it — ensuring vision and execution meet.
Verdict:Slow down, return often, use tools wisely, harness speed — and the world reveals itself anew.
Freelance photojournalism is rewarding but inherently risky: photographers face physical danger, legal exposure, digital threats, and long‑term psychological harm; mitigation requires training, insurance, local networks, and disciplined safety protocols.
Key considerations:personal safety, legal status, digital security, mental health, and financial protection.
Clarifying questions to answer for planning: Will you work alone or with a fixer; do you have hostile‑environment training and insurance; can you secure rapid evacuation and medical support?
Decision points: Choose assignments that match your training; invest in HEFAT (hostile environment and first aid), digital security, and reliable local contacts; decide acceptable risk vs reward before deployment.
Common dangers and what they mean
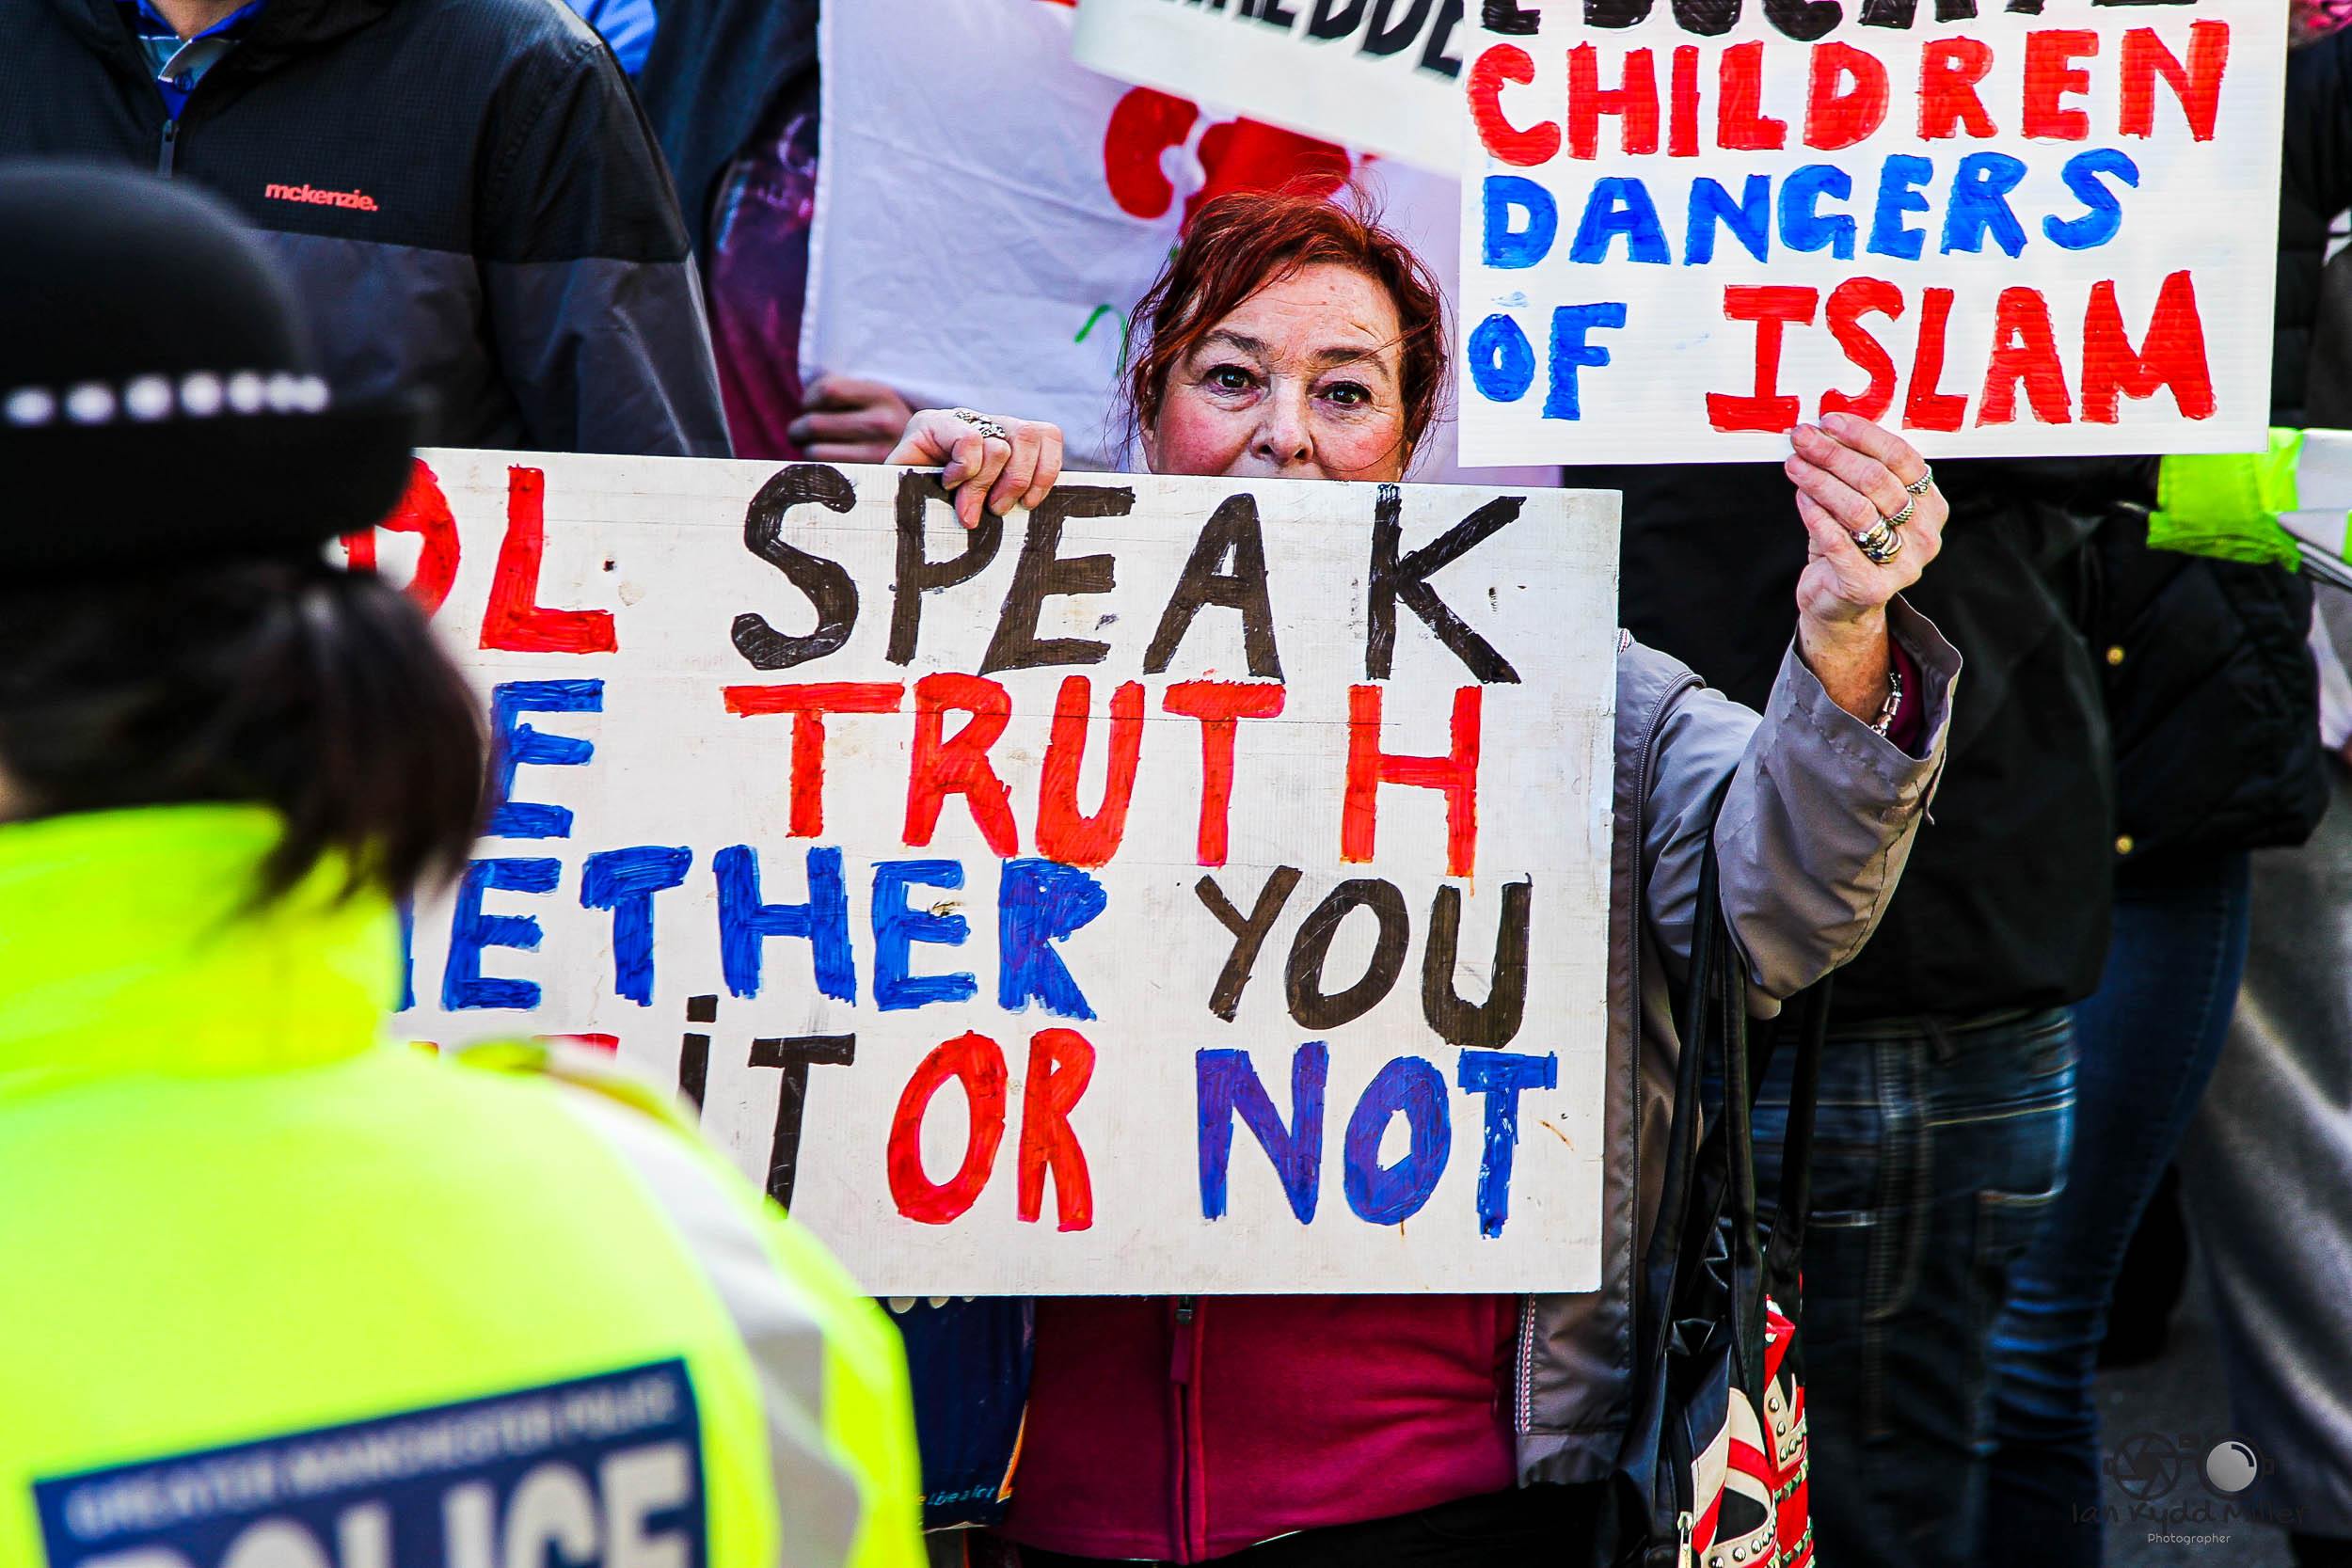
Physical harm and death. Photojournalists are exposed to gunfire, explosions, and crowd violence; historically, dozens of photographers have been killed while working in the field.
Kidnapping and detention. Freelancers lack institutional backing and can be targeted for ransom or political leverage; arrests may lead to long detentions without consular access.
Legal and bureaucratic risk. Working without correct visas, permits, or press accreditation can result in fines, equipment seizure, or deportation.
Equipment theft and loss. Cameras and lenses are high‑value and make you visible; losing gear can end a trip and create financial strain.
Digital threats. Unsecured devices and communications expose sources and material to surveillance, hacking, or evidence seizure.
Psychological trauma. Repeated exposure to violence and suffering increases risk of PTSD, depression, and burnout; trauma‑informed practices are essential.
Practical mitigation (what to do)
Training: Complete HEFAT and trauma‑informed safety courses; these teach risk assessment, emergency first aid, and psychological resilience.
Insurance and legal prep: Buy kidnap & ransom, medical evacuation, and equipment insurance; register with your embassy and carry legal documents.
Local networks: Hire vetted fixers and translators, coordinate with local journalists and NGOs, and establish check‑in protocols.
Digital hygiene: Use encrypted comms, full‑disk encryption, strong passwords, and secure backups; compartmentalise sensitive files.
Operational discipline: Wear low‑profile clothing, limit time in hotspots, plan exit routes, and avoid predictable patterns.
Aftercare: Build access to counselling and peer support; rotate out of high‑stress assignments to recover.
Risks, trade‑offs, and actionable steps
Risk: Training and insurance cost time and money; trade‑off: they dramatically reduce life‑threatening exposure and financial ruin. Action: budget safety into every assignment and refuse work beyond your training.
Risk: Working with fixers increases dependence and cost; trade‑off: they provide local knowledge and protection. Action: vet fixers through trusted networks and pay fairly.
Risk: Digital security can slow workflows; trade‑off: it protects sources and your material. Action: adopt simple, repeatable encryption and backup routines before deployment.
Bottom line: Freelance photojournalism demands more than courage—it requires preparation, training, and systems to protect your body, your sources, and your mind. Invest in safety before you chase the story.
Both lenses are excellent; the 85mm f/1.4G gives the smoothest bokeh and the shallowest depth of field, while the 85mm f/1.8G delivers nearly the same image quality for far less weight and cost—choose the f/1.4 for ultimate portrait look, the f/1.8 for value and portability.
Quick guide
Key considerations:bokeh quality, wide‑open sharpness, autofocus speed/noise, weight, and budget.
Clarifying questions: Do you shoot mostly tight portraits or environmental headshots? Do you need the absolute shallowest DOF or a lighter, quieter lens for long sessions?
Decision points: Pick 85mm f/1.4G if you prioritise creamy bokeh and maximum subject separation; pick 85mm f/1.8G if you want excellent optics, lower weight, and better value.
Comparison table
Attribute
85mm f/1.8G
85mm f/1.4G
Max aperture
f/1.8
f/1.4
Typical weight
Lighter; easy to carry
Heavier; more substantial
Bokeh
Smooth, very good
Creamier, more painterly
Sharpness (stopped down)
Excellent
Excellent
AF speed/noise
Fast and quiet (AF‑S)
Good, depends on generation
Best use
Everyday portraits, events
High‑end portraits, editorial work
Optical performance
Sharpness: Both lenses become very sharp by f/2.8–f/4; the D800/D810 will reveal differences, so technique matters. Wide open the f/1.4G can deliver a softer, more painterly look that many portraitists prize, while the f/1.8G tends to be a touch crisper and more forgiving wide open. Bokeh and rendering: the f/1.4G generally produces smoother highlight roll‑off and creamier backgrounds, but the f/1.8G renders pleasing, natural separation at a fraction of the cost.
Autofocus, handling, and build
AF system: Both are AF‑S designs (built‑in motor) and work well on modern Nikon bodies; the f/1.8G is typically lighter and quieter, making it easier for long handheld sessions. Build and balance: the f/1.4G often feels more substantial and better balanced on larger bodies, which some photographers prefer for controlled portrait work.
Price, value, and real‑world use
Cost vs benefit: The f/1.4G commands a premium for its shallow DOF and build; the f/1.8G is widely praised as an excellent value that covers 90–95% of real‑world portrait needs. For event shooters or photographers who carry a kit all day, the f/1.8G often wins on practicality and ROI.
Risks, trade‑offs, and actionable steps
Risk: Buying the f/1.4G for its shallow DOF can lead to missed shots due to narrow focus; Action: practice precise focus, use single‑point AF or back‑button AF, and stop down when needed.
Trade‑off: Heavier kit vs subtle image nuance; Action: rent or test both on your body to judge real differences in your workflow.
Budget risk: Paying for marginal gains; Action: if you shoot long sessions or need portability, favour the f/1.8G for the best cost‑to‑performance ratio.
Recommendation
If you want the ultimate portrait look and can live with extra weight and cost, choose the 85mm f/1.4G. If you want nearly identical image quality with lower weight and much better value, choose the 85mm f/1.8G.
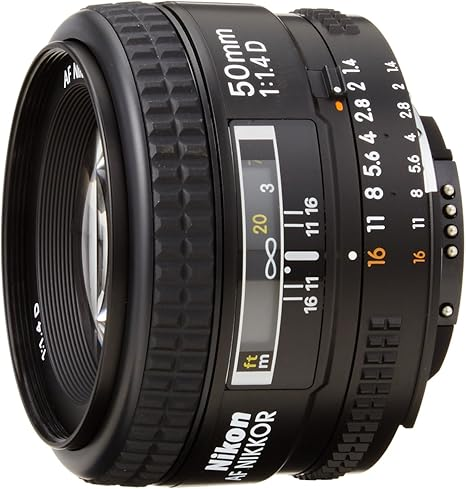
The Nikkor 50mm f/1.4D is a very good match for the Nikon D800 when you value classic rendering and character; it autofocuses on the D800 (screw‑drive), gives pleasing bokeh and micro‑contrast, and performs best when stopped to –for critical work.
Quick guide
Key considerations:Autofocus type (AF‑D screw‑drive), wide‑open rendering vs stopped‑down sharpness, chromatic aberration and vignetting on a high‑resolution sensor.
Clarifying questions to answer for yourself: Do you need silent/fast AF (AF‑S) or are you keeping the D‑series look? Will you prioritise center sharpness or the lens’s organic character?
Decision points: Keep the 50/1.4D for its look and price, or upgrade to an AF‑S 50/1.4G if you need faster/quieter AF.
Compatibility and performance
Autofocus compatibility: The 50mm f/1.4D is an AF‑D lens that uses the camera’s screw‑drive motor; the D800 supports this, so the lens will autofocus on your body. Optical character: on a high‑resolution body like the D800 the lens’s film‑era rendering becomes more apparent — softness and aberrations at are common, but sharpness improves markedly by and is strong by , especially in the center. Real‑world user reports praise its look but note focus quirks and the need for careful technique on high‑MP bodies.
Practical tips and workflow
Focus technique: Use single‑point AF or back‑button AF and place the point on the subject’s eye; at depth of field is very thin, so precise focus is essential.
Aperture strategy: Use f/1.4–f/2 for subject isolation and low light; f/2.8–f/4 for portraits and editorial crops where edge performance matters.
AF fine‑tune: Run an AF fine‑tune calibration on the D800 if you notice consistent front/back focus; many D800 users report improved results after calibration.
RAW workflow:Shoot RAW, apply targeted chromatic aberration correction and mild sharpening; accept or embrace some vignetting as part of the lens’s character.
Support and technique: For critical high‑resolution output, use a steady hand, higher shutter speeds, or a tripod to match the D800’s resolving power.
Risks trade‑offs and actionable steps
Trade‑offs: You trade AF speed and silence for character and cost; the AF‑D’s screw‑drive is noisier/slower than AF‑S alternatives. The D800 magnifies lens flaws (CA, corner softness, vignetting).
Actionable steps:
Calibrate AF on the D800 and test at multiple apertures to find the sweet spot.
Stop down to – for edge‑to‑edge sharpness when needed.
Shoot RAW and apply selective CA correction and denoise in post.
Consider AF‑S 50/1.4G only if you need faster, quieter AF and slightly improved optical control.
Closing
If you value classic rendering, micro‑contrast, and cost‑to‑performance, the Nikkor 50mm f/1.4D is an excellent, characterful lens on the D800 — provided you use careful focus technique, stop down when necessary, and apply a disciplined RAW workflow. For lab tests and long‑term user impressions, see community discussions and reviews that document both the lens’s charm and its practical limits.
The D800’s high‑resolution full‑frame sensor magnifies the optical character of whatever glass you mount on it. A well‑resolved prime like the 85mm f/1.8G shows its strengths here: fine detail, strong micro‑contrast, and smooth out‑of‑focus rendering. The lens is sharp wide open, and the D800 gives you the headroom to crop or print large without losing detail.
What the 85mm brings to street work
Compression and subject separation — the 85mm compresses background elements, making subjects pop while keeping context readable.
Fast aperture — at f/1.8 you get shallow depth of field for portraits and low‑light capability for evening street scenes.
Compact and light — easier to carry than heavier 85mm f/1.4 options, so it fits a street kit without weighing you down.
Affordable performance — excellent value for the image quality it delivers on a high‑resolution body.
Practical setups and use cases
Daytime street portrait kit
Body: D800
Lens: Nikkor 85mm f/1.8G
Settings: Aperture priority around –; shutter speed for handheld; ISO as low as practical for clean files.
Why: Fast enough for subject isolation while keeping enough depth for expressive environmental portraits.
Low‑light and night scenes
Body: D3S or D800 (D3S if extreme ISO needed)
Lens: 85mm f/1.8G wide open
Settings: Manual or aperture priority at ; shutter speed for single subjects; raise ISO as needed and embrace grain on older bodies.
Why: The 85mm’s aperture plus the D800’s resolution lets you retain detail even when pushing ISO; on the D3S you gain cleaner high‑ISO files.
Editorial and high‑detail work
Body: D800 or D810
Lens: 85mm f/1.8G stopped to – for maximum sharpness across the frame
Why: Use the D800/D810’s resolution to capture textures and expressions for prints or tight crops; stop down slightly for edge‑to‑edge clarity.
Shooting tips to get the most from the combo
Nail focus technique — at depth of field is thin; place your focus point on the subject’s eye and use single‑point AF or back‑button AF for control.
Mind your distance — 85mm requires stepping back compared with 35/50mm; use that distance to create natural, unposed expressions.
Use the compression — position background elements deliberately; the 85mm will compress them into pleasing layers behind your subject.
Stop down when needed — for groups or environmental portraits, move to – to keep more in focus while retaining the lens’s character.
Leverage the D800’s files — shoot RAW, apply careful sharpening and selective noise reduction, and preserve the lens’s micro‑contrast in post.
How this pairing fits your Nikon lineup
Compared with D300S/D700/D3S: The D800 + 85mm is the high‑detail, editorial option in your kit. Use it when you want large prints, tight crops, or a different look from your 35/50/85 primes on smaller bodies.
Compared with D800 + other primes: The 85mm is more portrait‑centric than a 35mm or 50mm; it’s less versatile for wide environmental street shots but excels at intimate portraits and compressed street scenes.
Workflow note: The D800’s files are large—keep a disciplined RAW workflow and back up originals; consistent editing preserves the lens‑and‑body character across a series.
Final thought
If you prize subject isolation, flattering compression, and high‑resolution detail, the D800 + Nikkor 85mm f/1.8G is a superb pairing. It asks you to compose with intention, focus precisely, and use distance as a creative tool—exactly the kind of discipline that older, characterful Nikon bodies reward.
Key considerations: Do you prioritise resolution and cropping or low‑light headroom and tactile handling?
Clarifying questions to frame the post: Which primes do you favour; do you shoot more daylight or night street work; is portability or ruggedness more important?
Decision points for readers: Choose a primary body for the job (high resolution vs low light), keep a consistent RAW workflow, and match prime focal lengths to your shooting style.
Why these bodies matter
Nikon D810 delivers 36.3MP full‑frame resolution and a wide ISO range, making it ideal when detail and cropping latitude matter.
Nikon D300S is a rugged DX workhorse with 12.3MP, weather sealing, and reliable handling—built for deliberate street work.
Nikon D700 brought full‑frame ergonomics and low‑noise files in a compact body, with ~12MP that many still prize for tonality and handling.
Nikon D800 introduced 36MP full‑frame resolution that rewards sharp glass and careful technique.
Nikon D3S remains a low‑light specialist with exceptional high‑ISO performance and professional durability.
Lenses and setups
Core approach: Use high‑quality primes; the glass defines look more than megapixels.
Recommended focal lengths:35mm for context; 50mm for natural perspective; 85mm for portraits and distance; use short tele on the D800/D810 for tight editorial crops.
Sample kits: D300S + 35mm f/1.8 for light, fast street; D3S + 50mm/85mm f/1.4 for night; D800/D810 + premium primes for high‑detail work.
How limitations shape style
Lower megapixel bodies encourage decisive composition and embrace of grain as aesthetic.
High‑resolution bodies change your workflow: sharper technique, steadier support, and premium glass become essential.
Low‑light specialists let you capture moments others miss, expanding creative possibilities after dark.
Practical tips and workflow
Expose for highlights and protect midtones on older sensors; shoot RAW and apply selective noise reduction.
Keep ISO conservative on D300S/D700; use D3S for high‑ISO freedom.
Maintain lens care and a consistent edit style to preserve camera character.
Let lenses lead: prime rendering, micro‑contrast, and bokeh shape the final image more than sensor specs.
Risks trade‑offs and actionable steps
Trade‑offs: Older bodies lack modern conveniences (Wi‑Fi, fastest AF, greatest dynamic range). Action: pick one body as your daily driver and a second as a specialist to avoid workflow fragmentation.
Noise and recovery limits: Older sensors have less headroom. Action: expose carefully, bracket when possible, and use modern denoise tools selectively.
Value vs needs: If you need cutting‑edge AF or extreme high ISO, consider supplementing with a modern body; otherwise, invest in sharp primes and technique.
Closing thought Paired with high‑quality primes, the D300S, D700, D800, D3S, and D810 form a versatile, characterful system that rewards intentional seeing: the lenses you choose and the way you shoot will define your voice more than the newest sensor.
In an age of mirrorless marvels and AI-enhanced sensors, the Nikon D300S might seem like a relic. Released in 2009, it’s a camera that many would now label “obsolete.” But for those who know how to see, this DSLR still delivers—especially in the realm of street photography.
📸 Why the D300S Still Matters
Build Quality: Magnesium alloy body, weather-sealed, and rugged enough to handle the unpredictability of the street.
Ergonomics: Comfortable grip, intuitive button layout, and a responsive shutter—everything you need for fast, instinctive shooting.
Image Quality: The 12.3MP DX-format sensor may not win spec wars, but it produces files with character, especially when paired with classic Nikon glass.
Dual Card Slots: CF and SD—perfect for redundancy or separating RAW and JPEG workflows.
🏙️ Street Photography with the D300S
Using the D300S on the street is a tactile experience. It forces you to slow down, observe, and anticipate. Autofocus is reliable, though not lightning-fast, which encourages deliberate framing. The camera’s weight adds stability, and its shutter sound—distinct but not intrusive—feels like a handshake with the moment.
⚙️ Limitations That Shape Style
Low-Light Performance: ISO 1600 is usable, but beyond that, noise creeps in. This limitation nudges you toward natural light and shadow play.
No Wi-Fi or Live View: You’re not chimping or sharing instantly. You’re shooting for the edit, not the algorithm.
Fixed Screen: No tilting or flipping—just commit to the angle and shoot.
✨ The Joy of the “Obsolete”
There’s a quiet rebellion in using older gear. It’s a rejection of the upgrade treadmill and a return to intentional photography. The D300S doesn’t flatter—it reveals. It doesn’t automate—it asks you to engage.
In a world chasing megapixels and mirrorless speed, the Nikon D300S reminds us that good results come from good seeing. And sometimes, the best camera is the one that makes you feel like a photographer again.