📸 Why Some Might Call It “Cheating”
- Distance & Detachment:
- An 85mm lens lets you stand further back, avoiding the intimacy and risk of close‑up encounters.
- Critics argue street photography should be about immersing yourself in the flow of public life, not sniping from afar.
- Portrait Bias:
- The lens isolates subjects with shallow depth of field, producing images that look more like studio portraits than candid street shots.
- Purists say this shifts the genre away from its documentary roots.
- Aesthetic Control:
- With creamy bokeh and sharp subject isolation, the 85mm f/1.8G can make almost any scene look “artful.”
- Some feel this undermines the raw, chaotic authenticity that defines street photography.


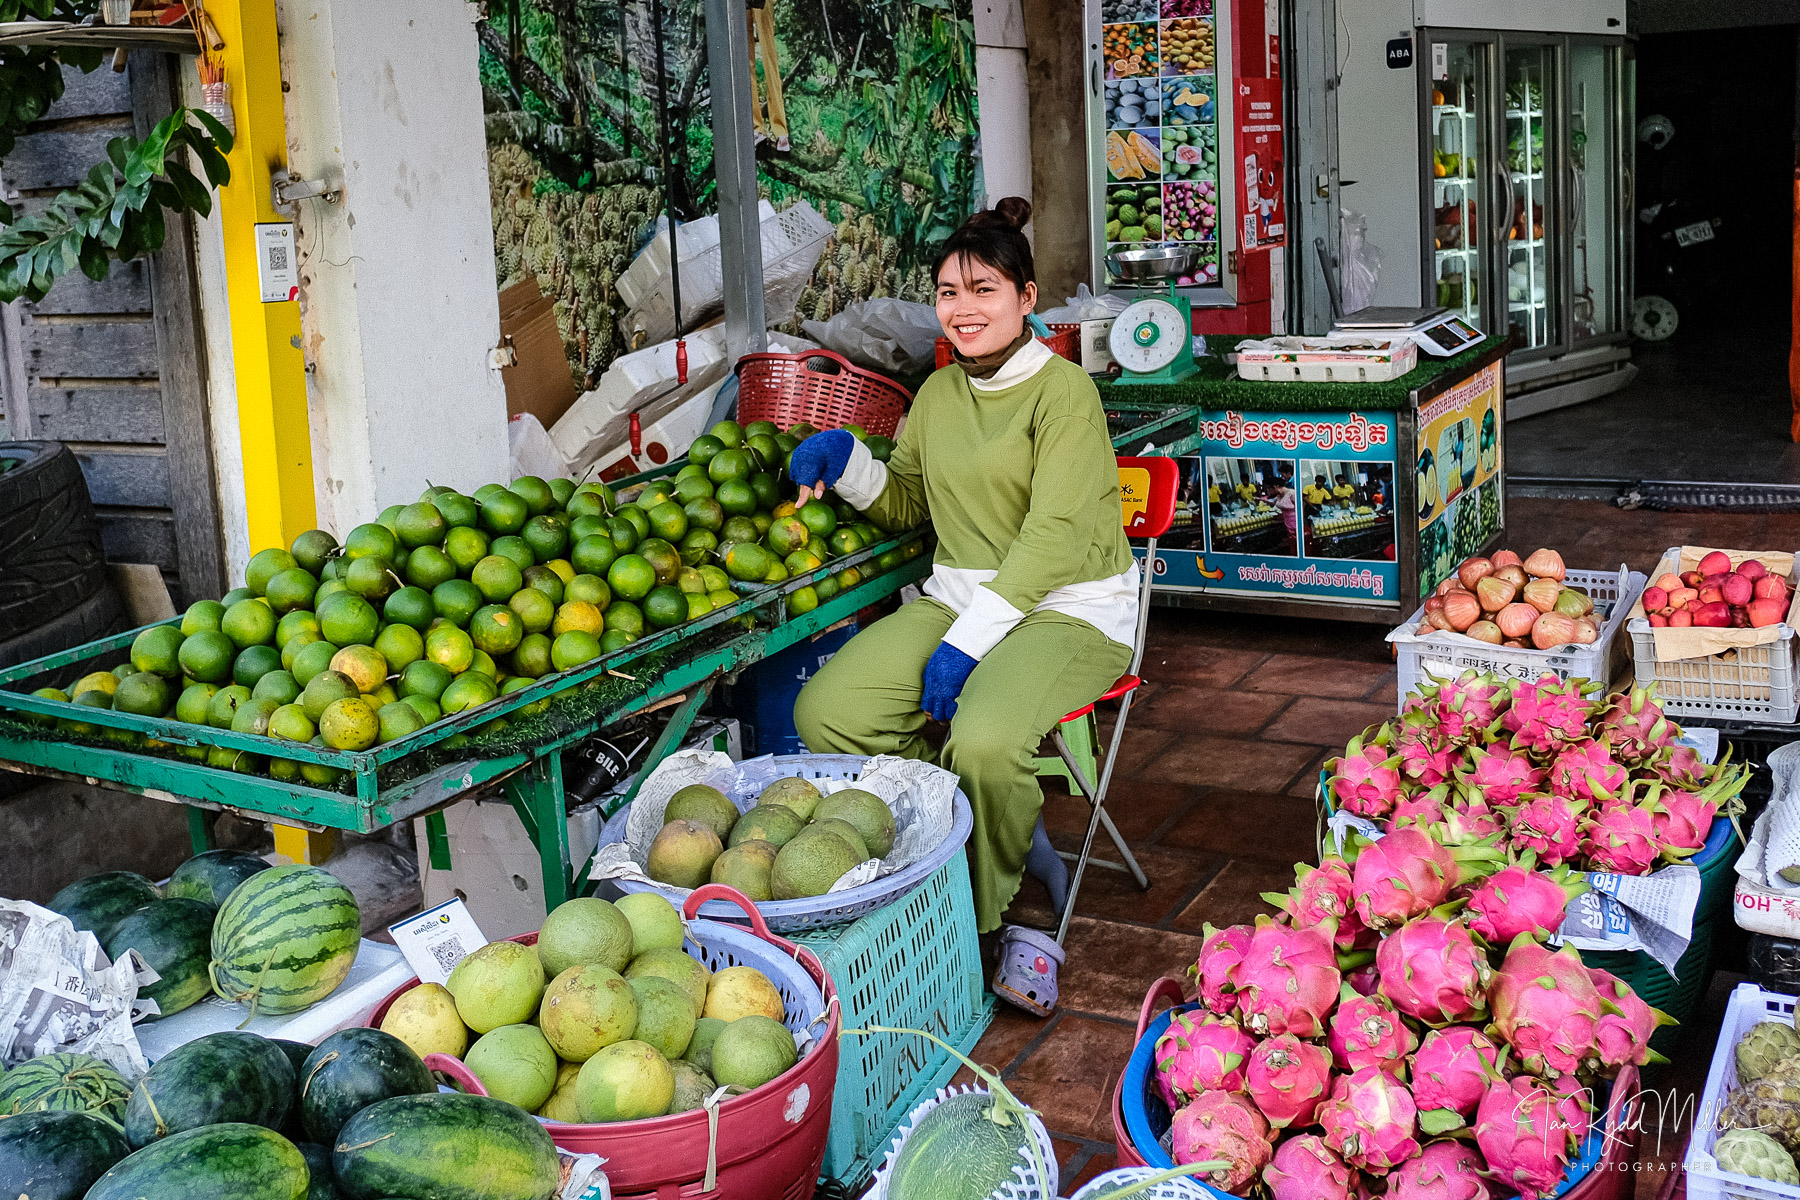
🌍 Why It’s Not Cheating
- Street Photography Is About Vision, Not Gear:
- Henri Cartier‑Bresson used a 50mm; Garry Winogrand often shot wider. But the genre has never been bound to one focal length.
- What matters is the decisive moment and the photographer’s intent.
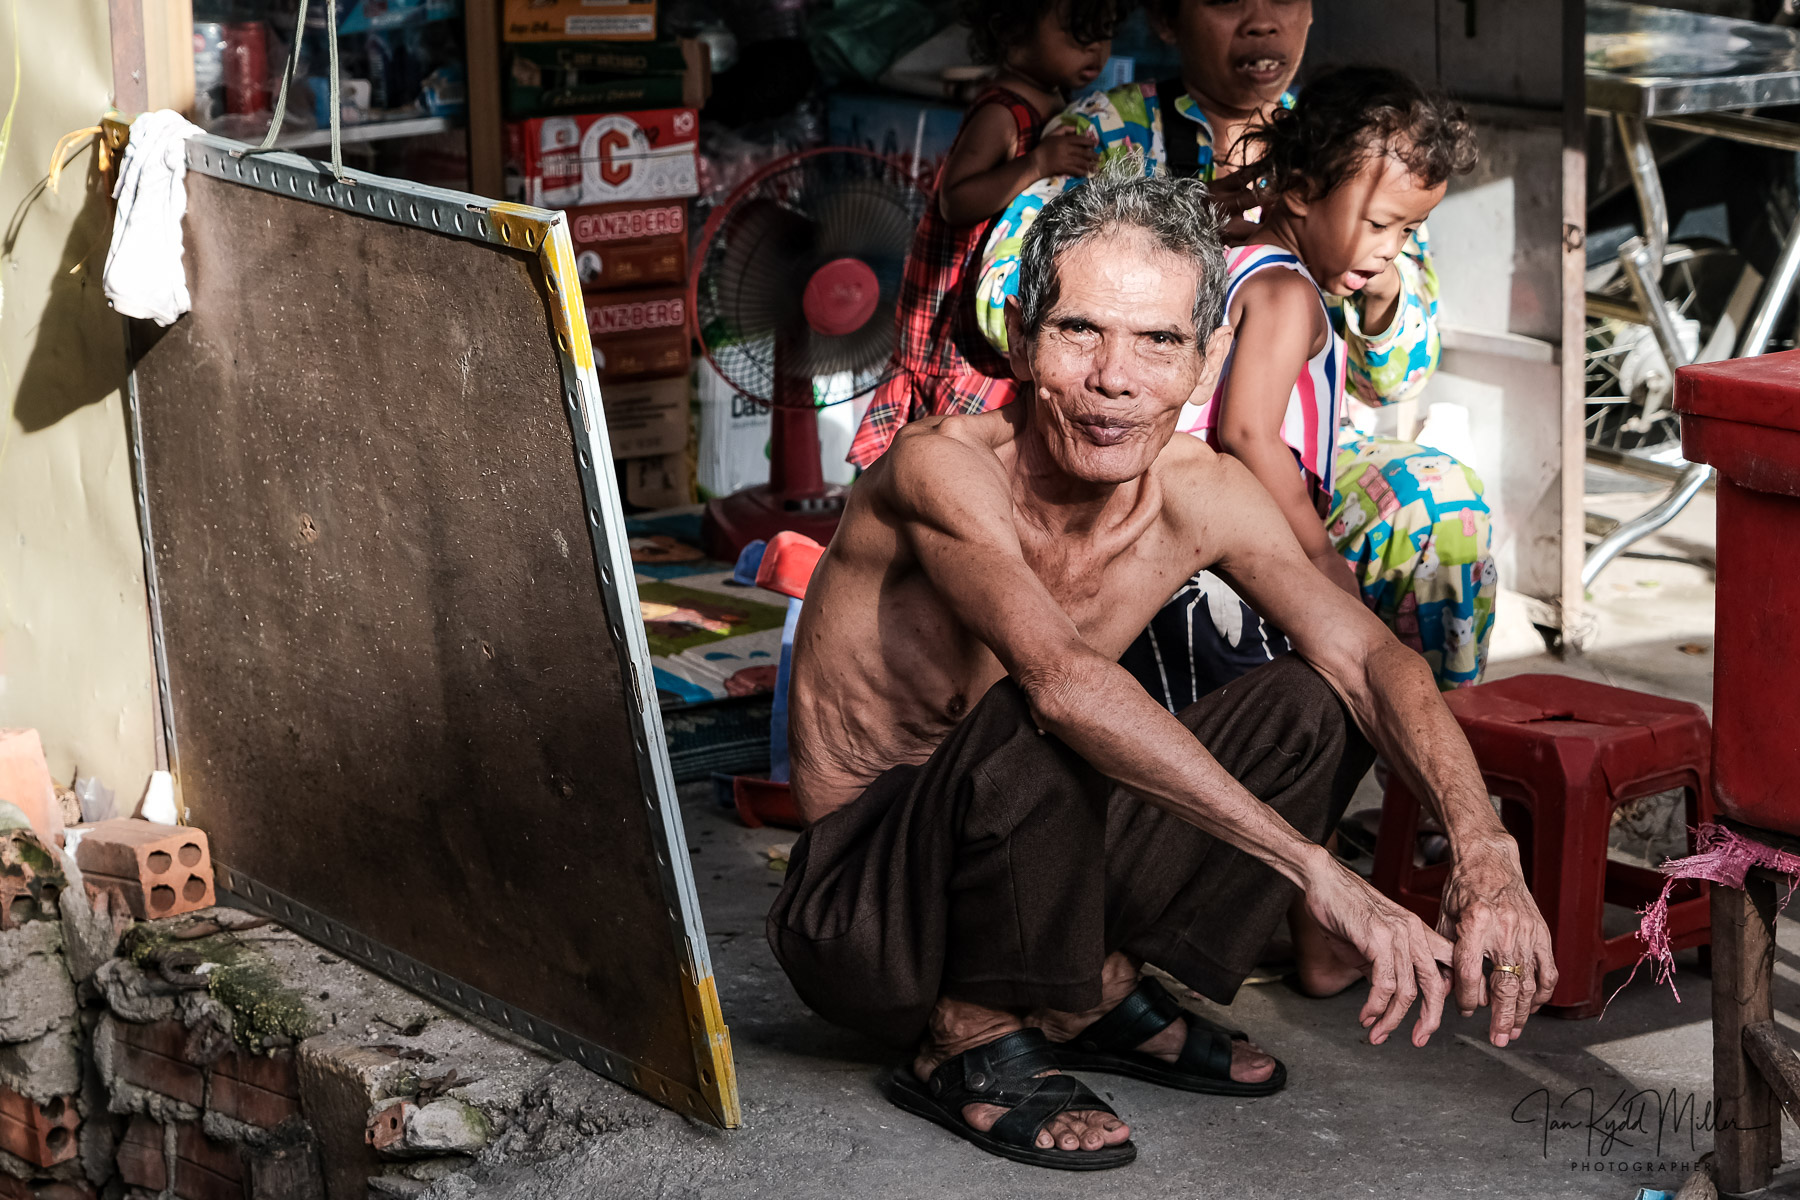
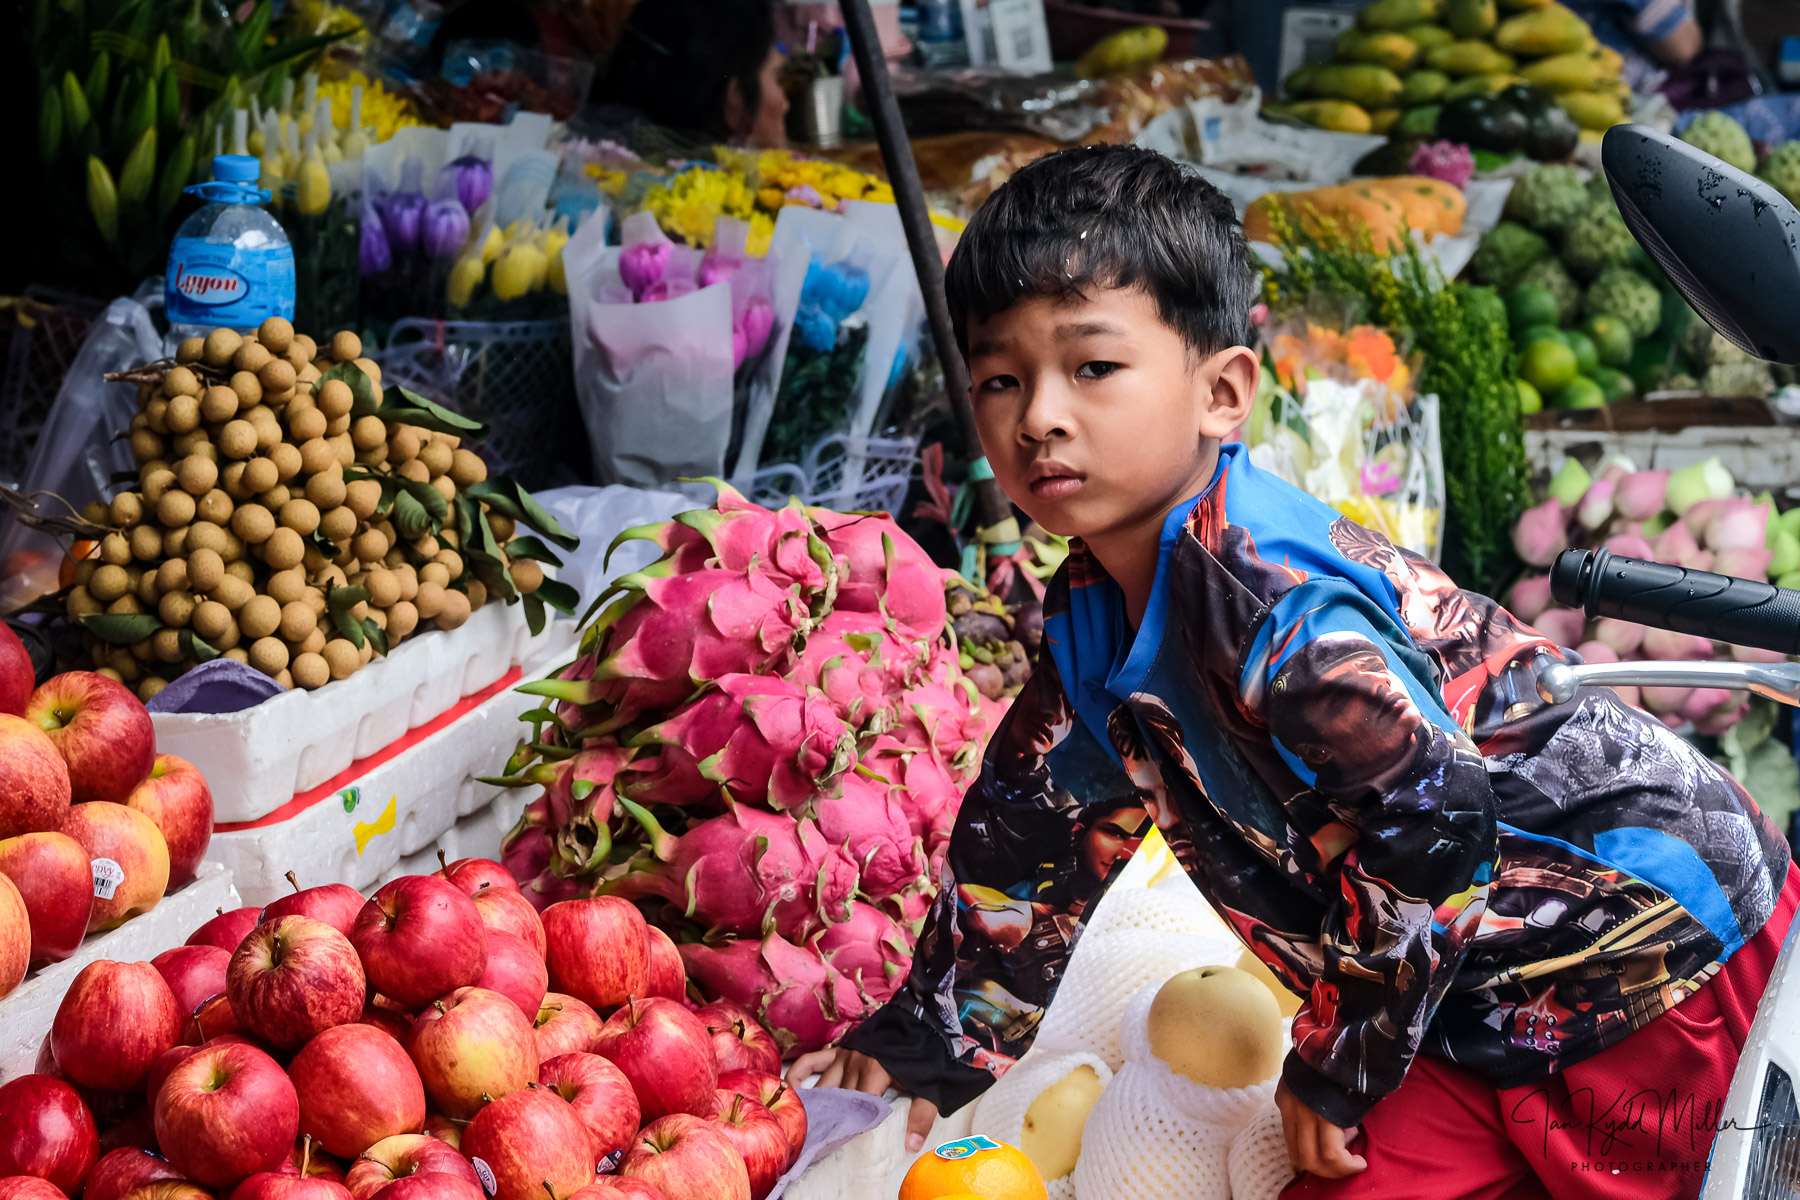
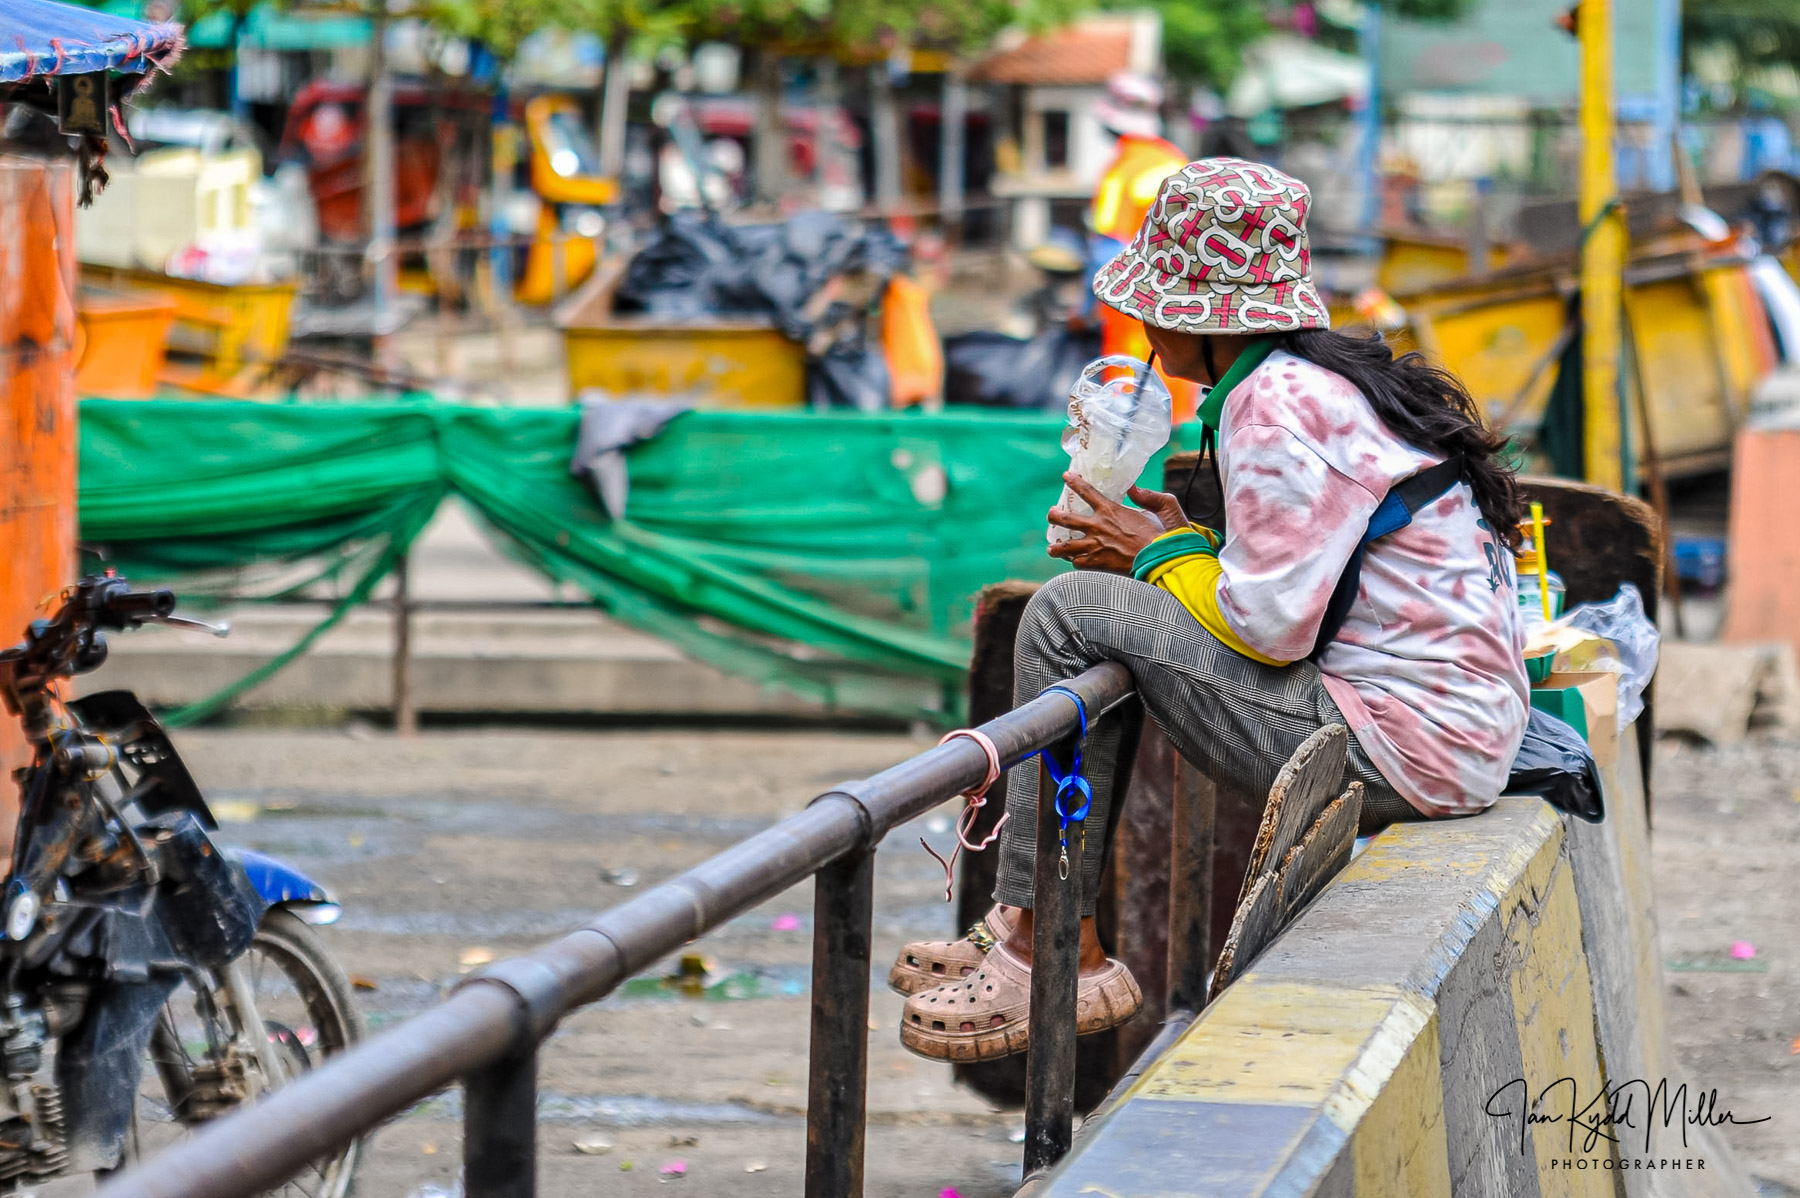
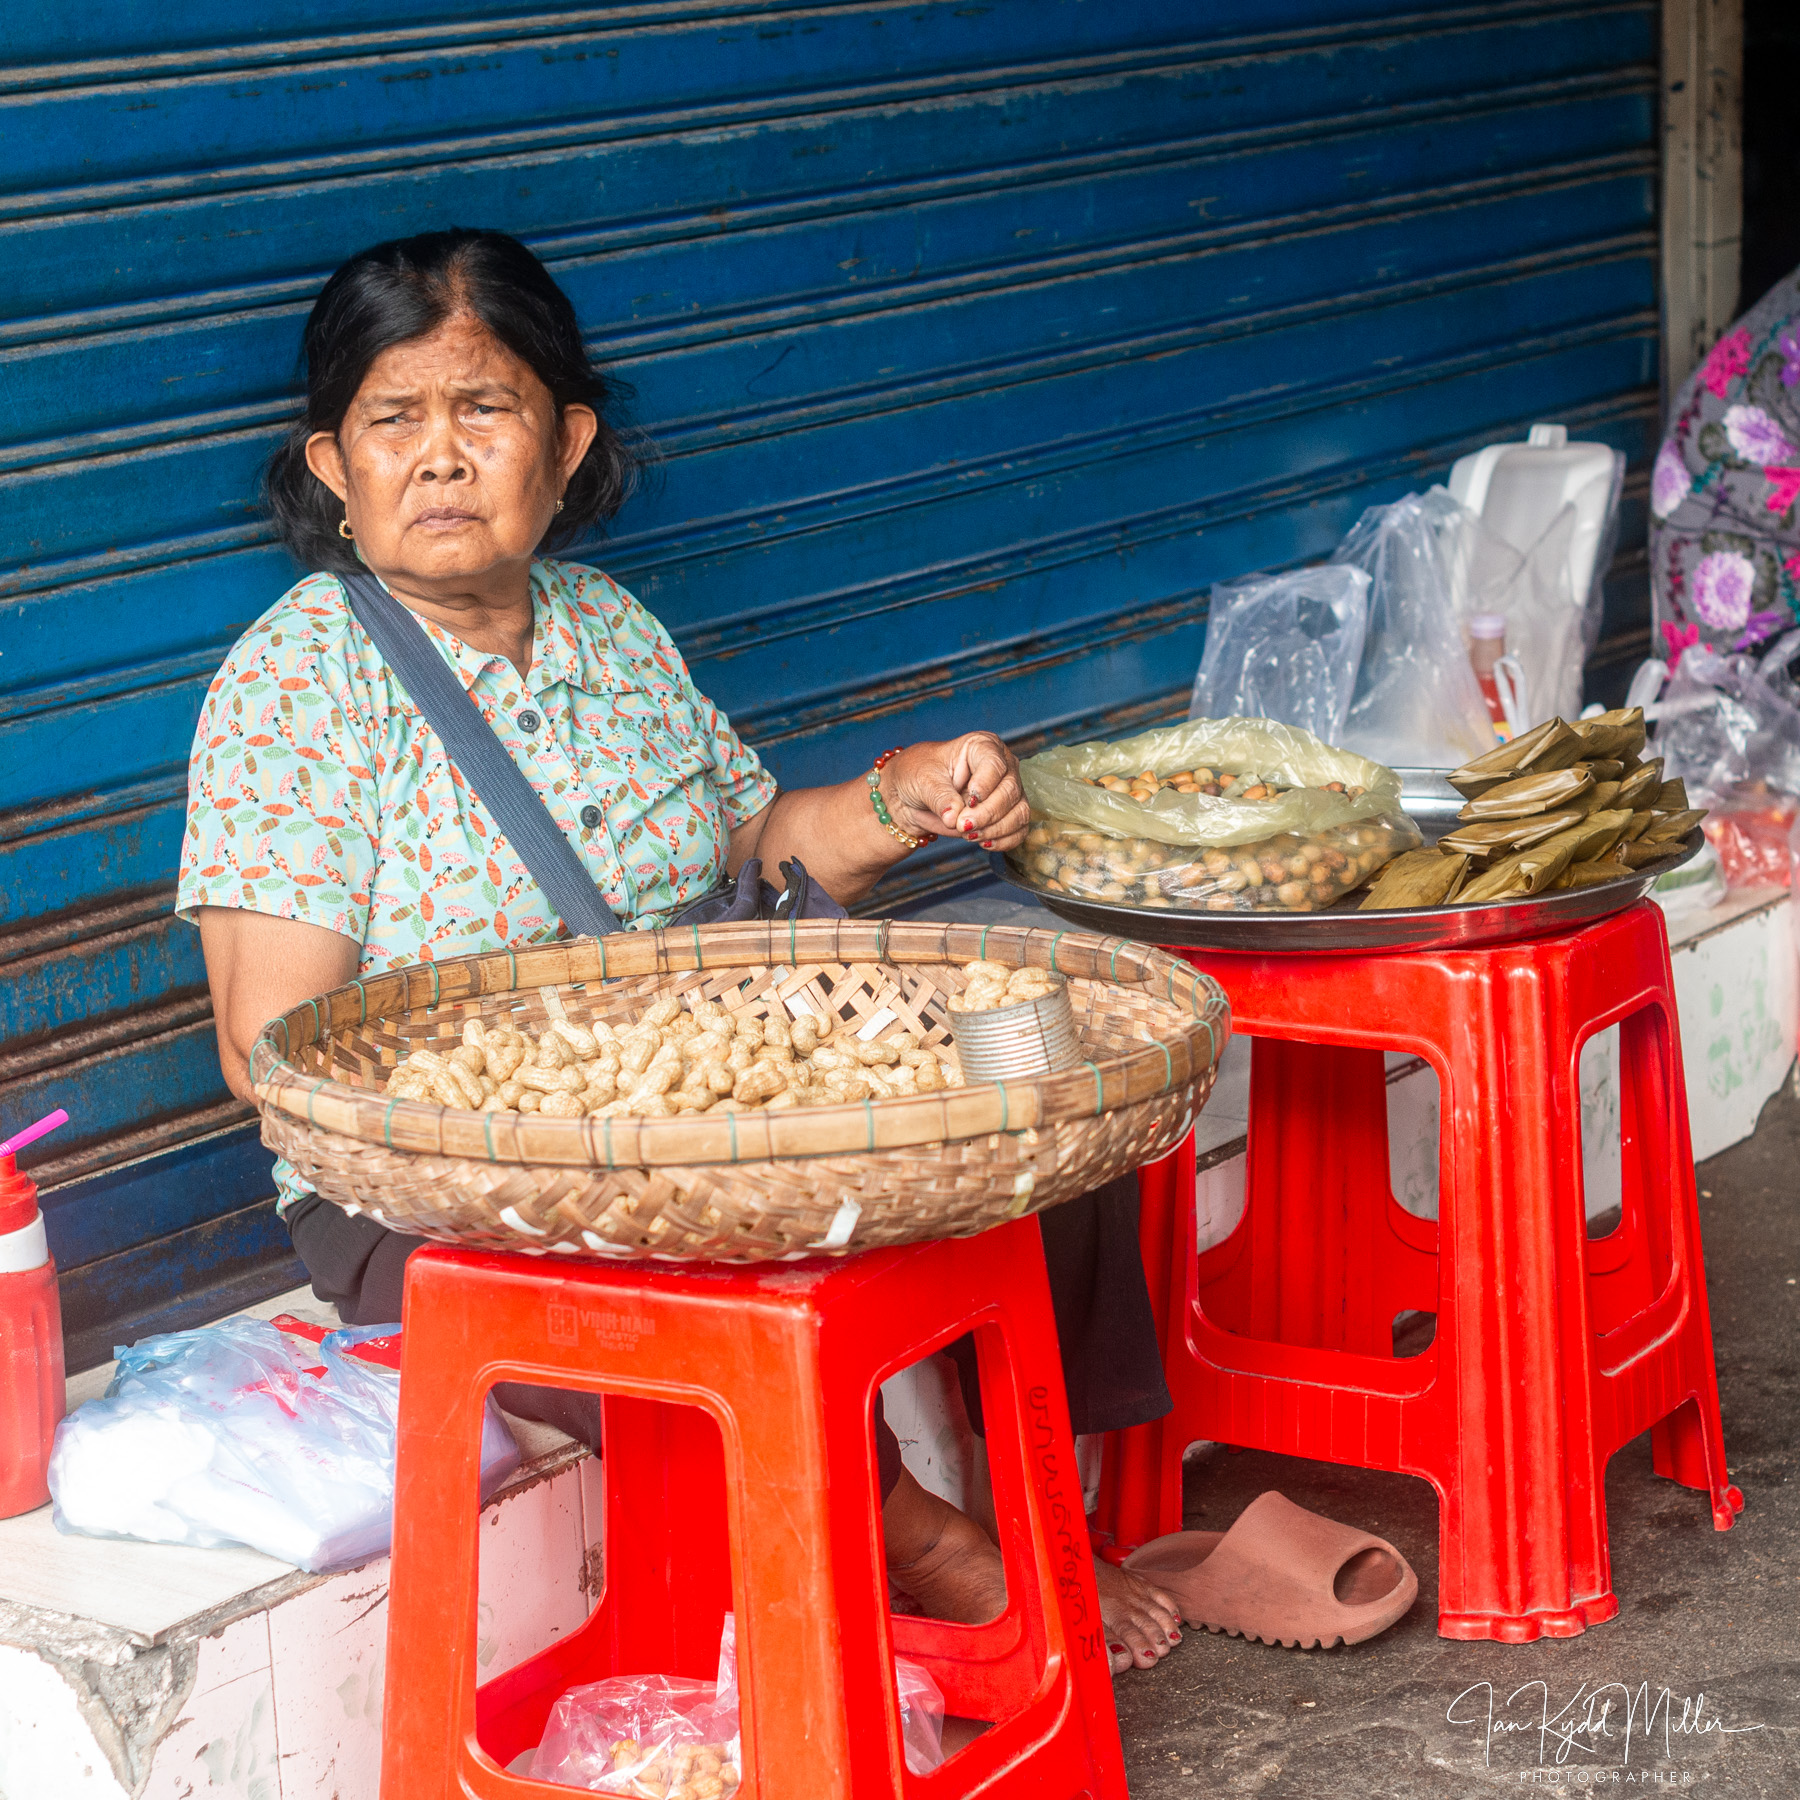
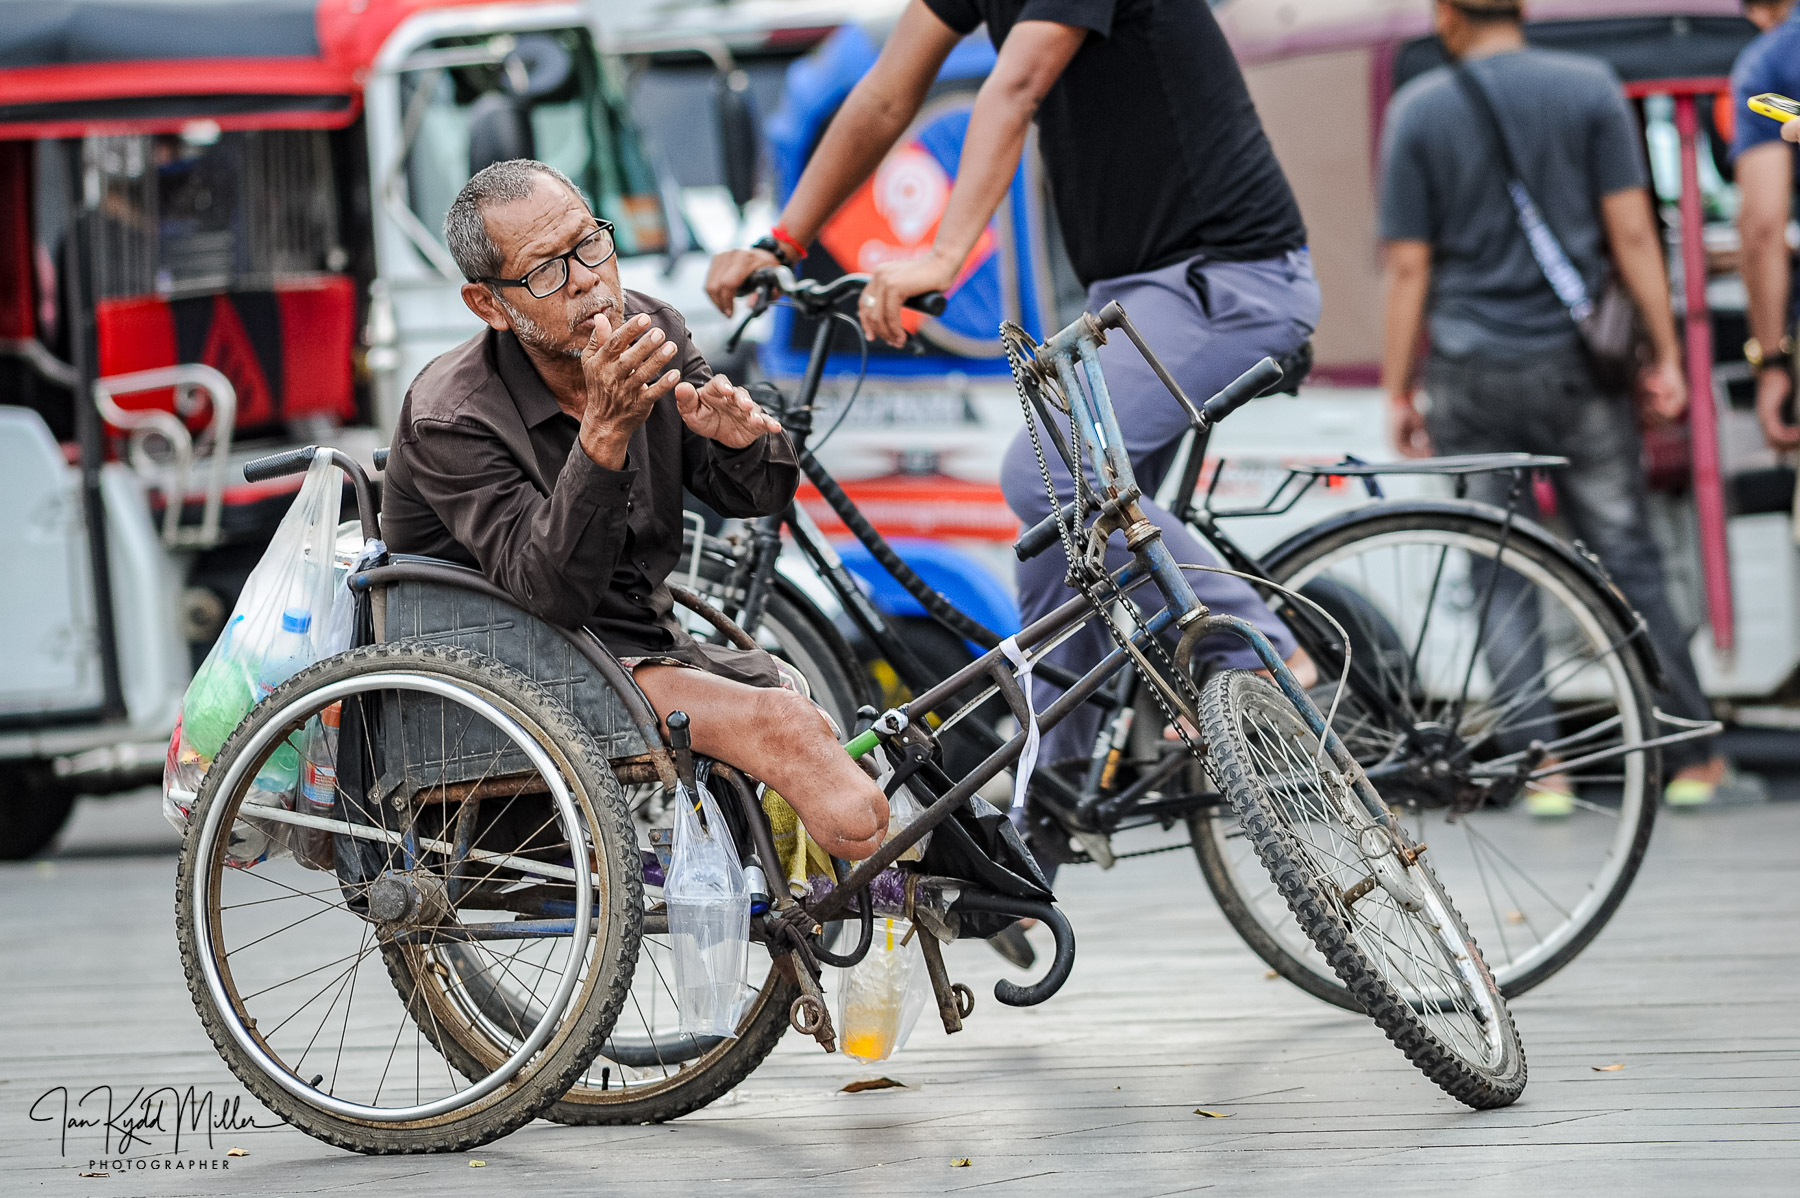
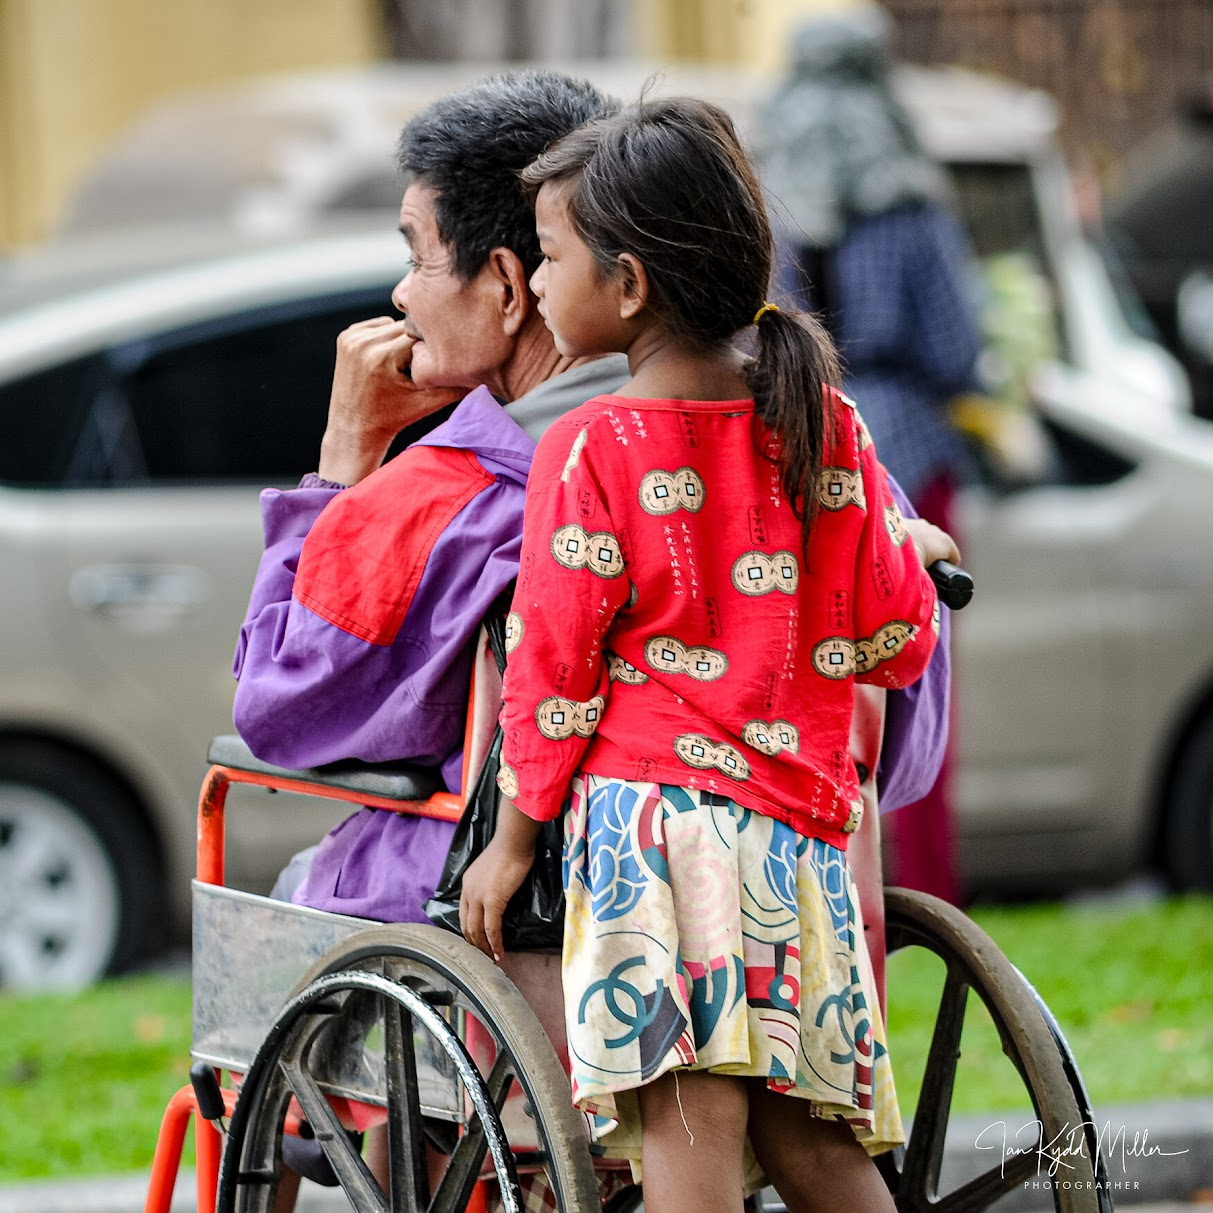
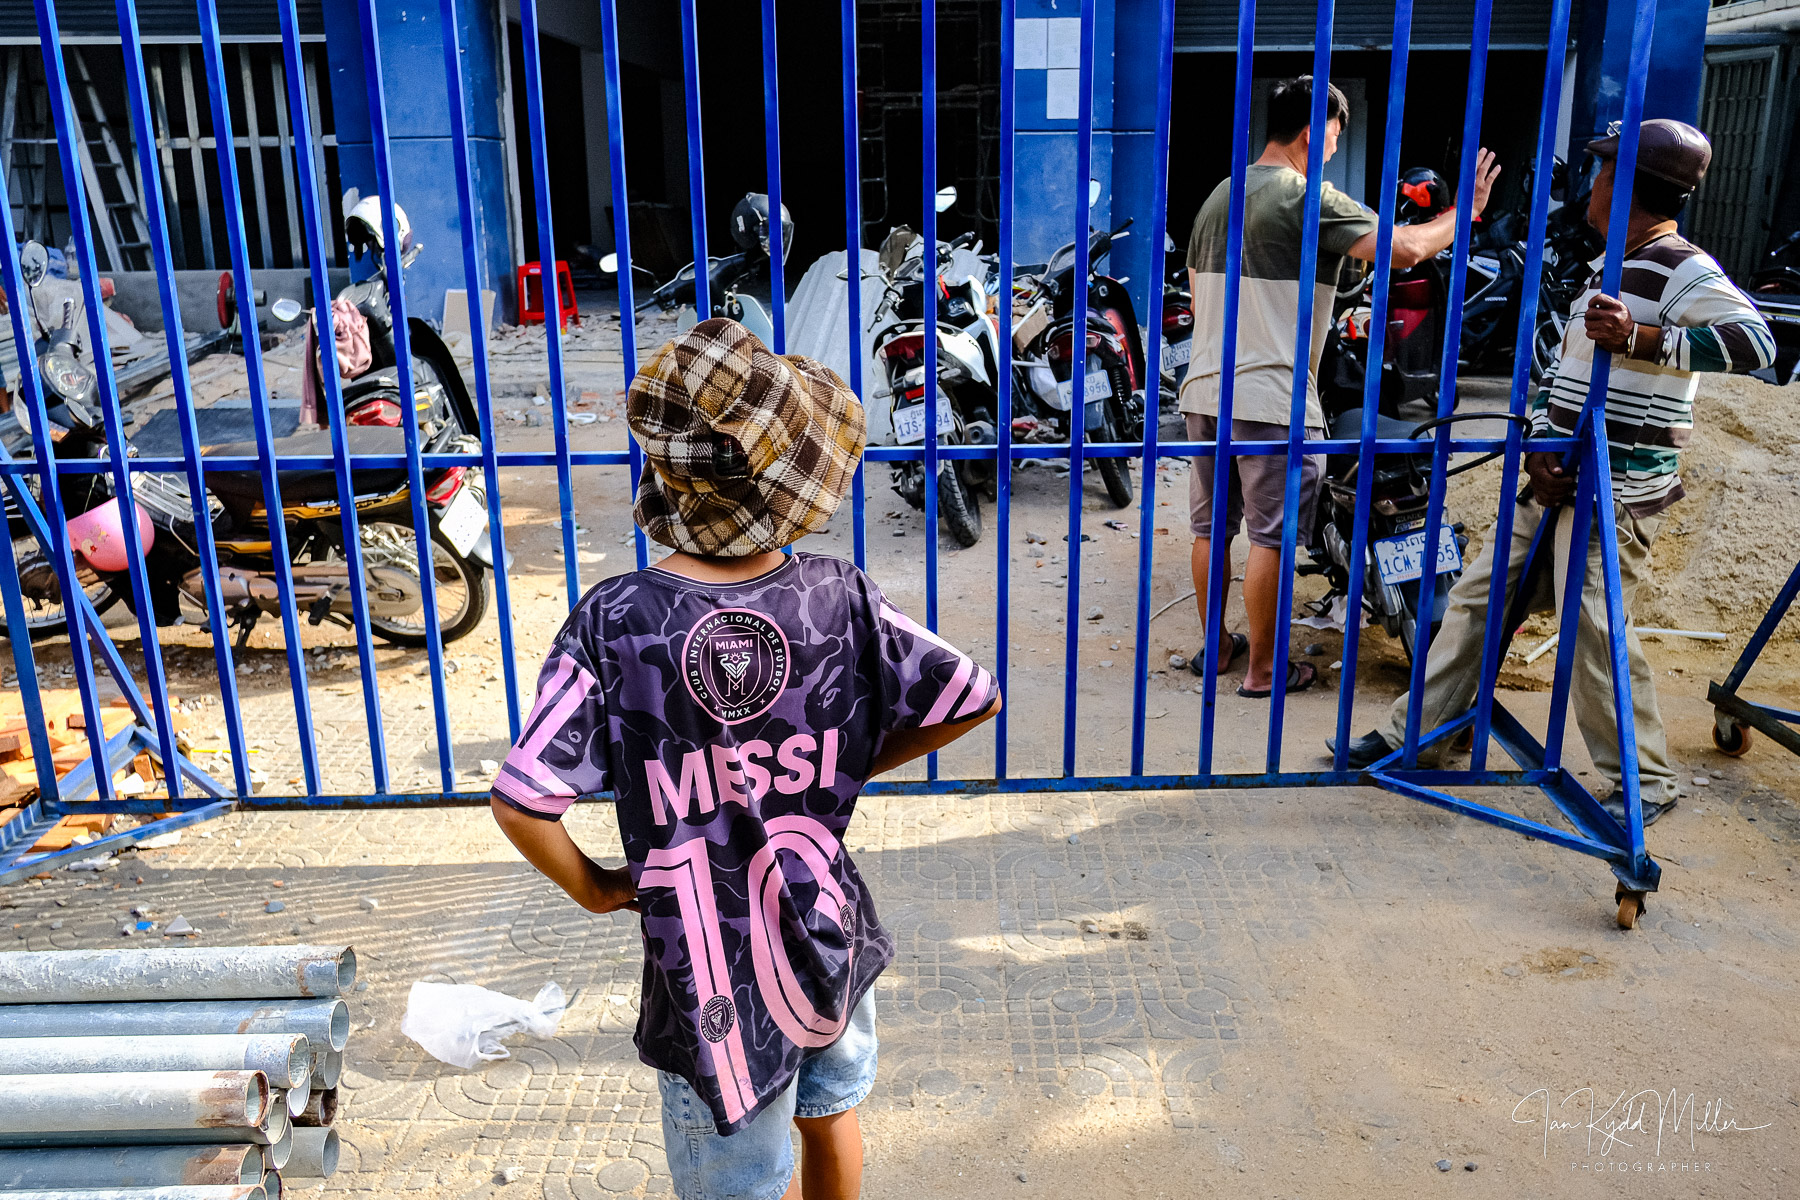
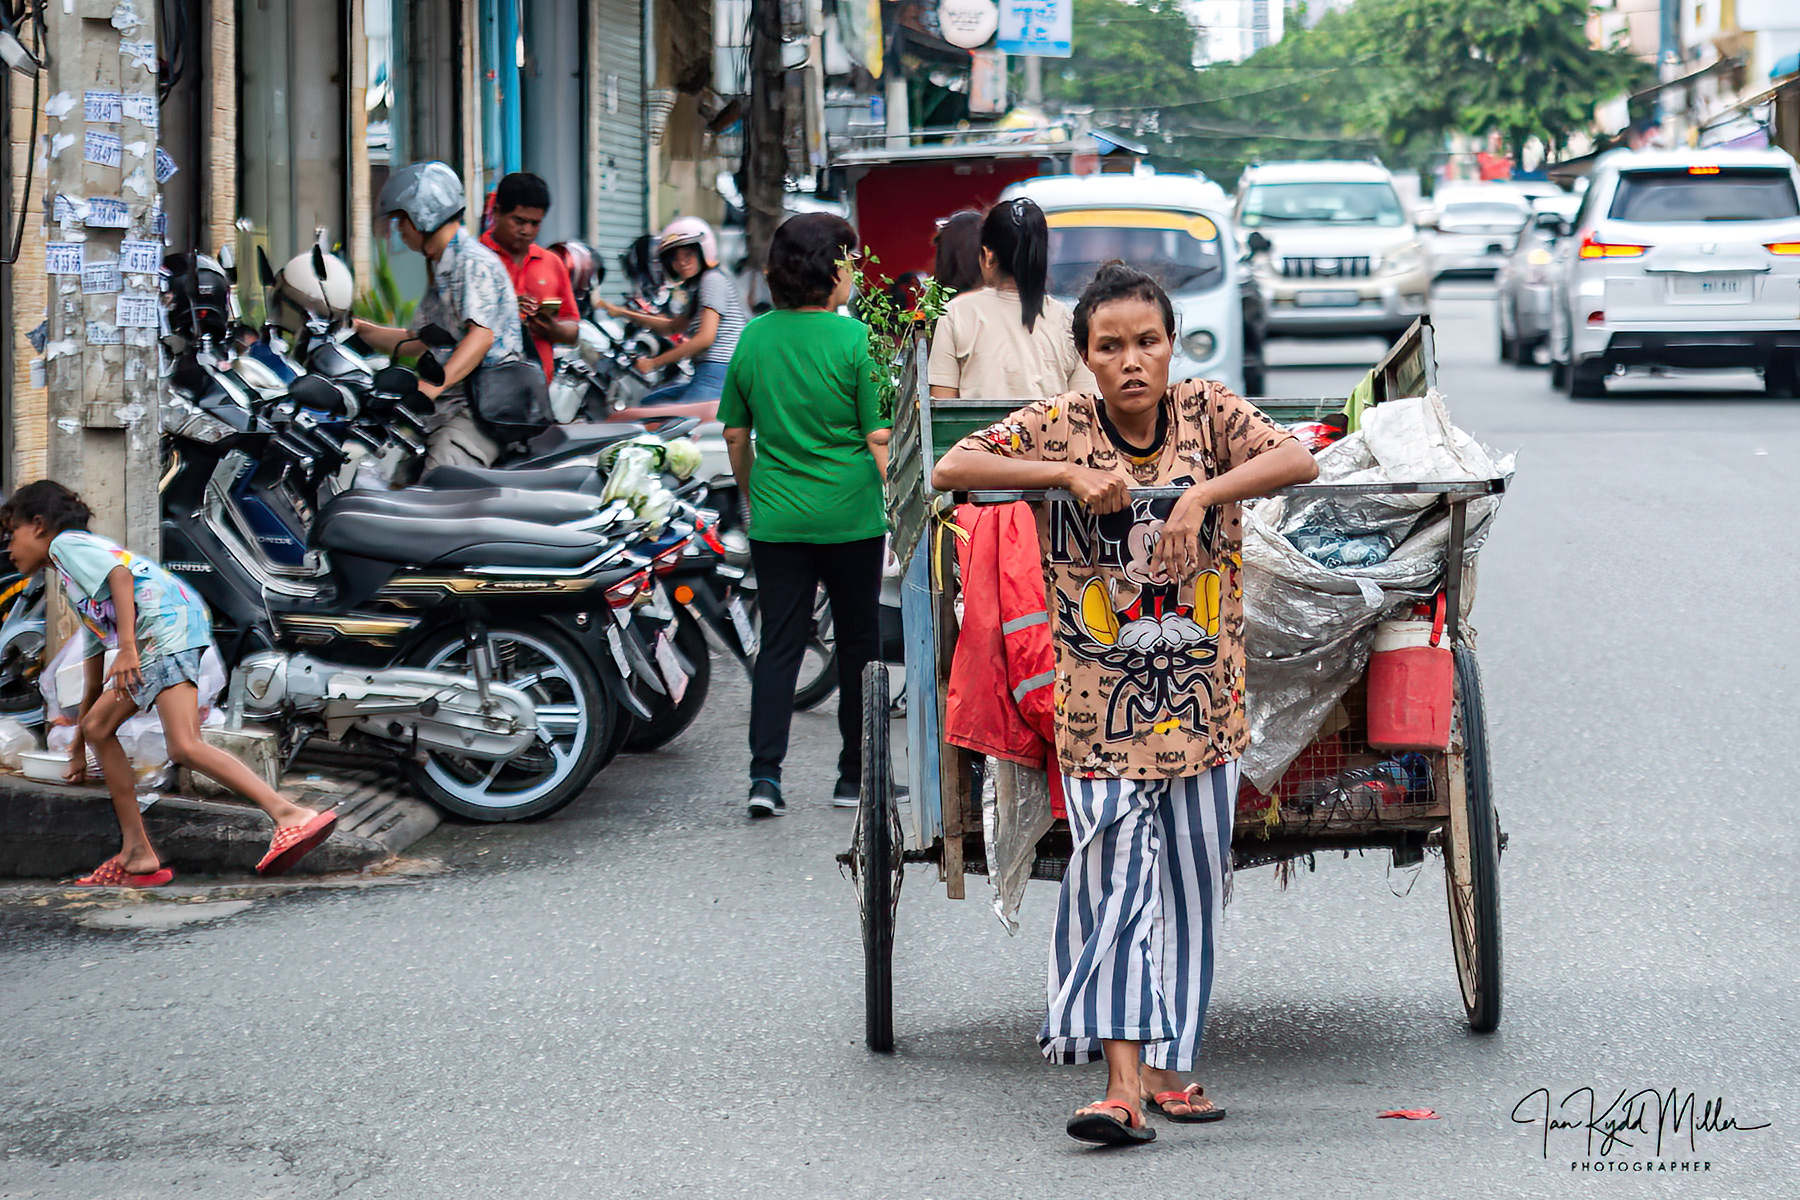
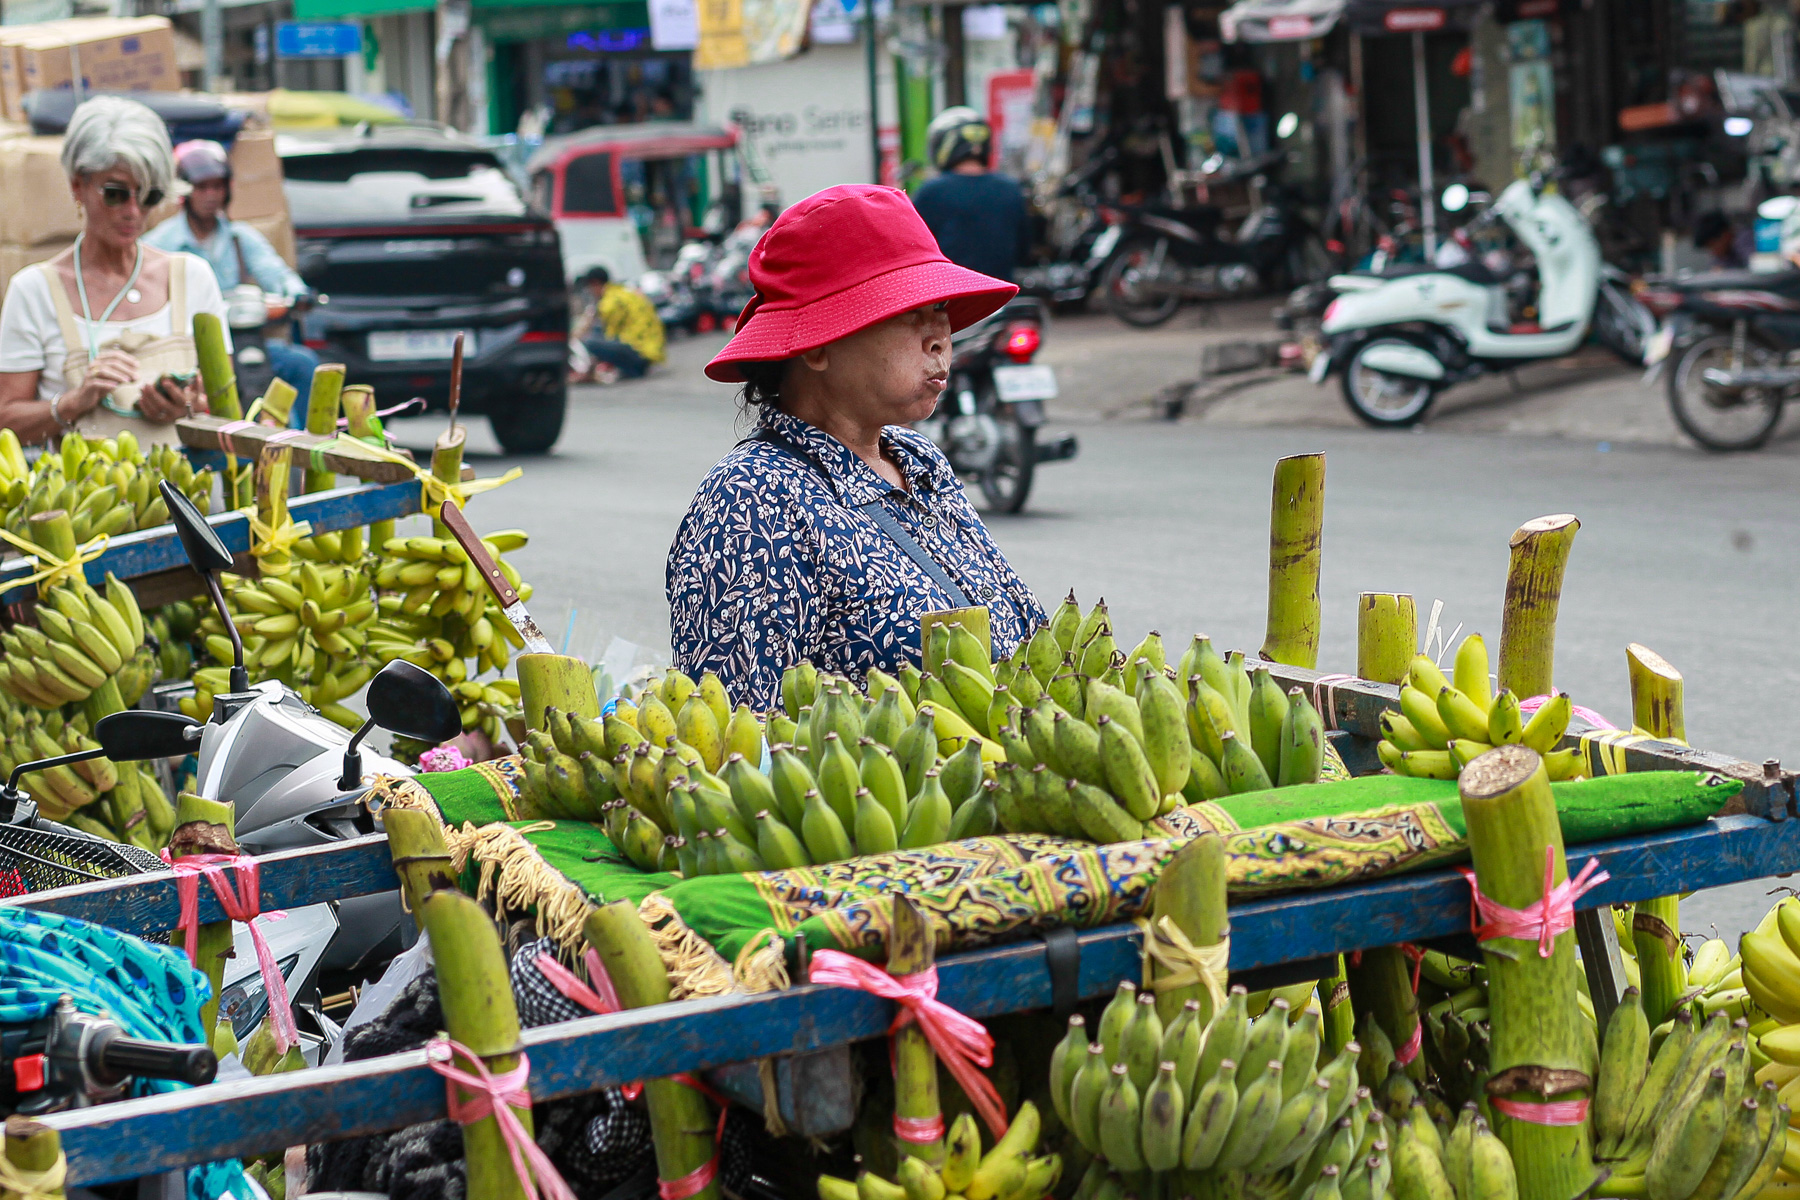
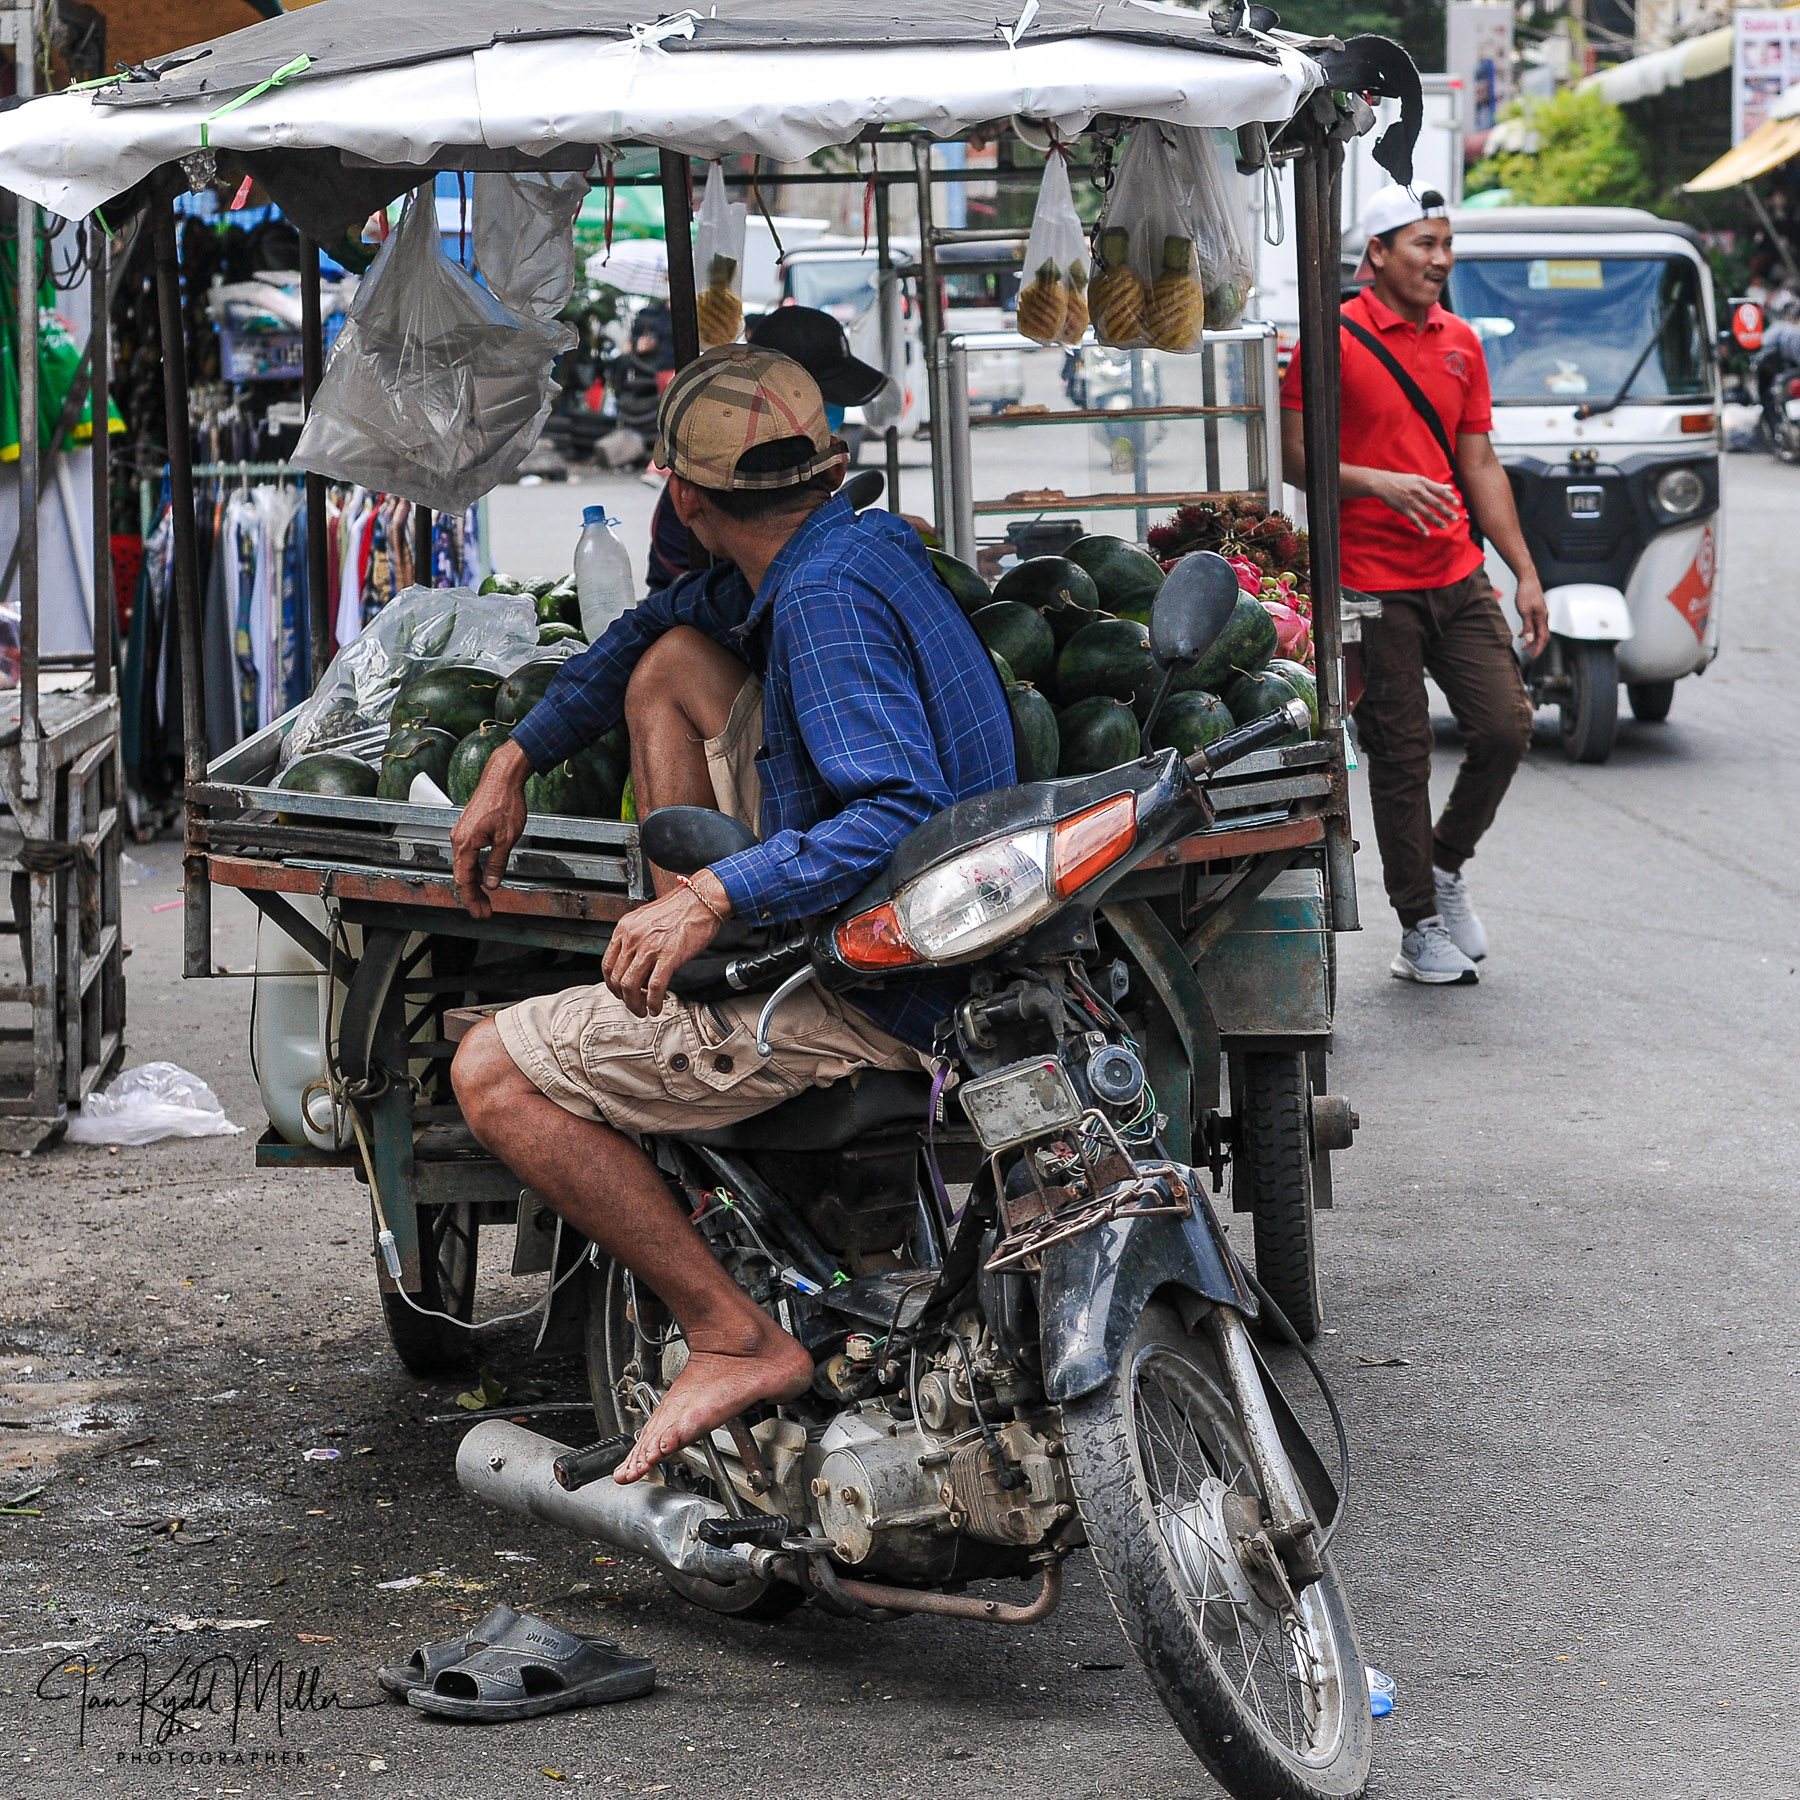
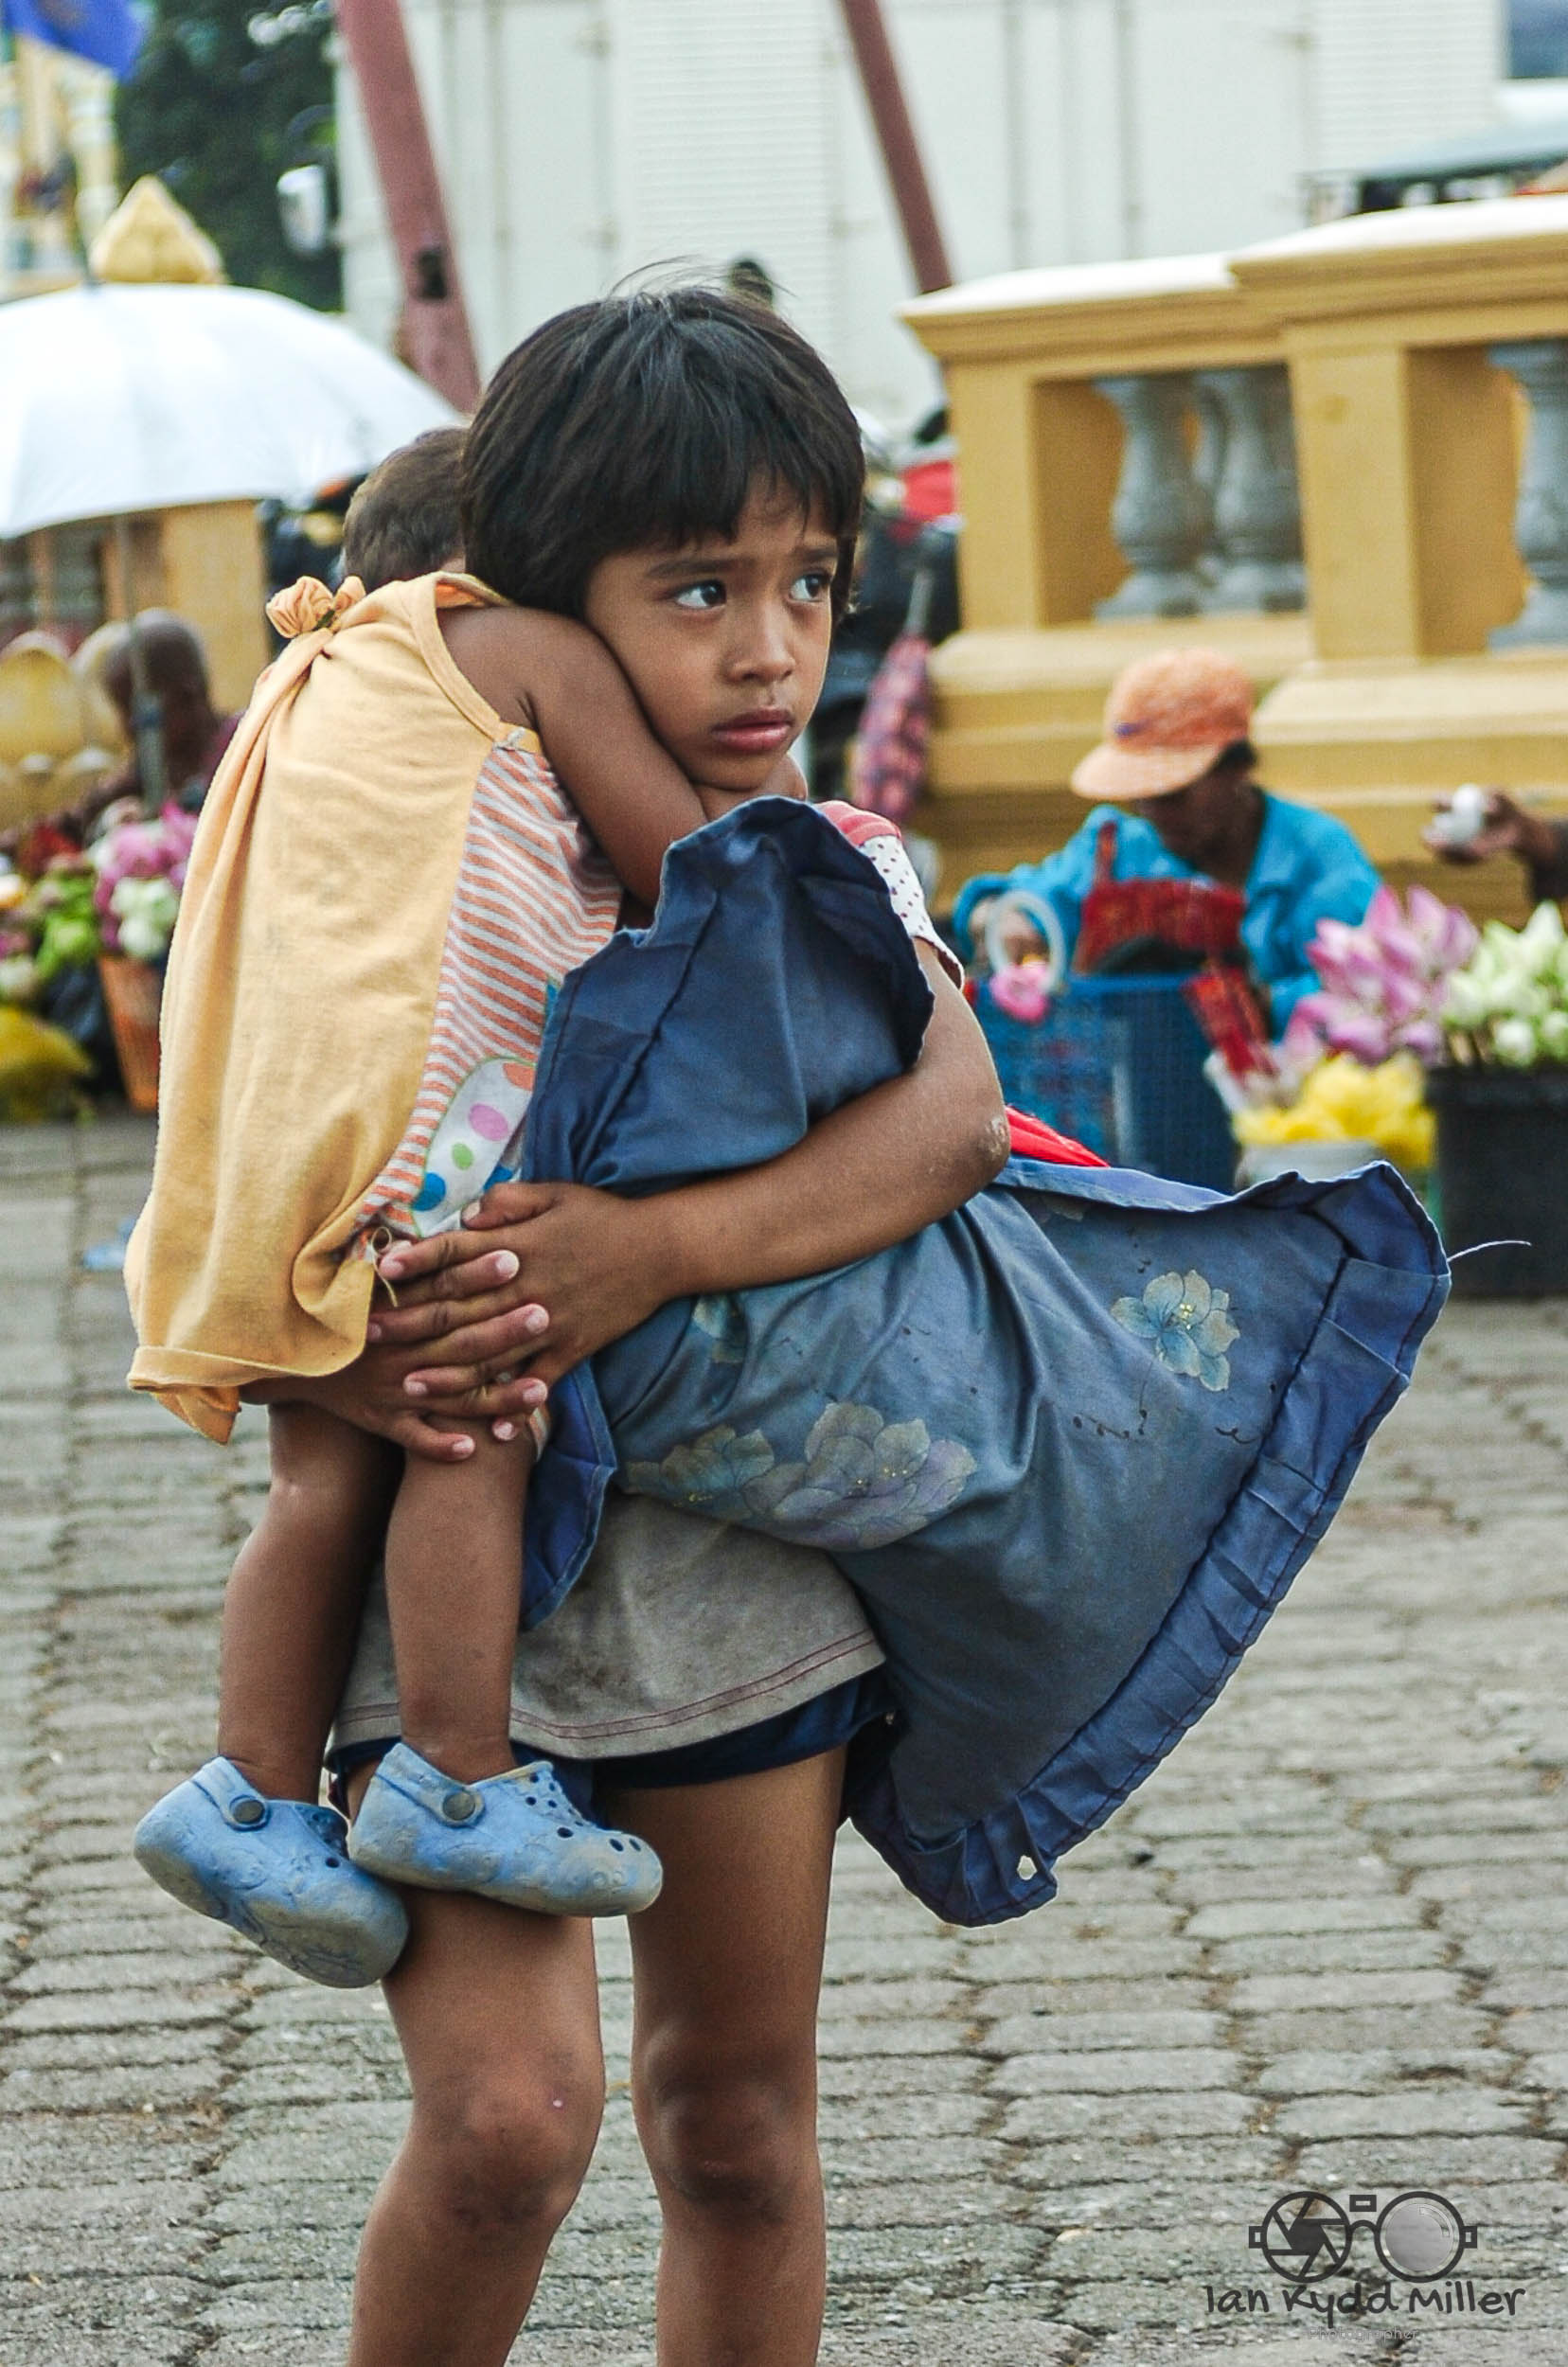
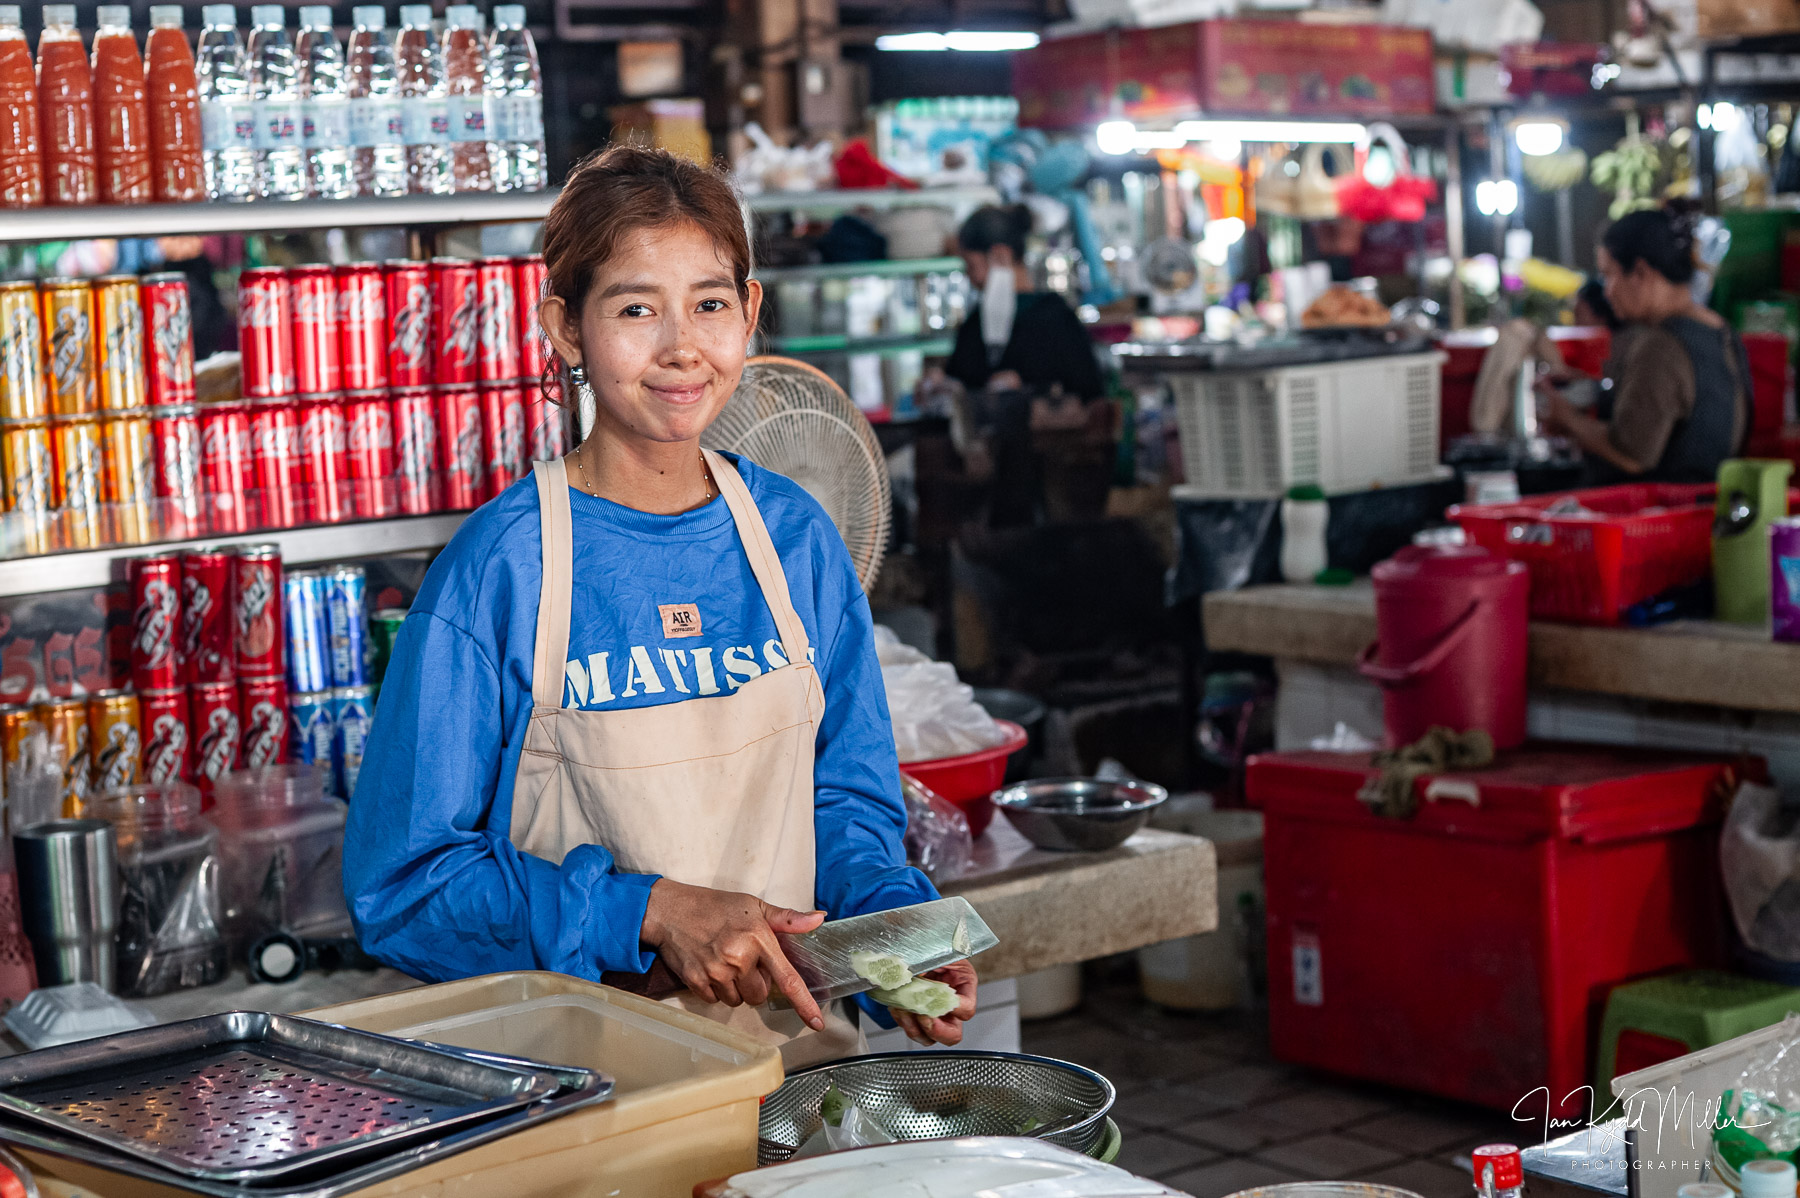
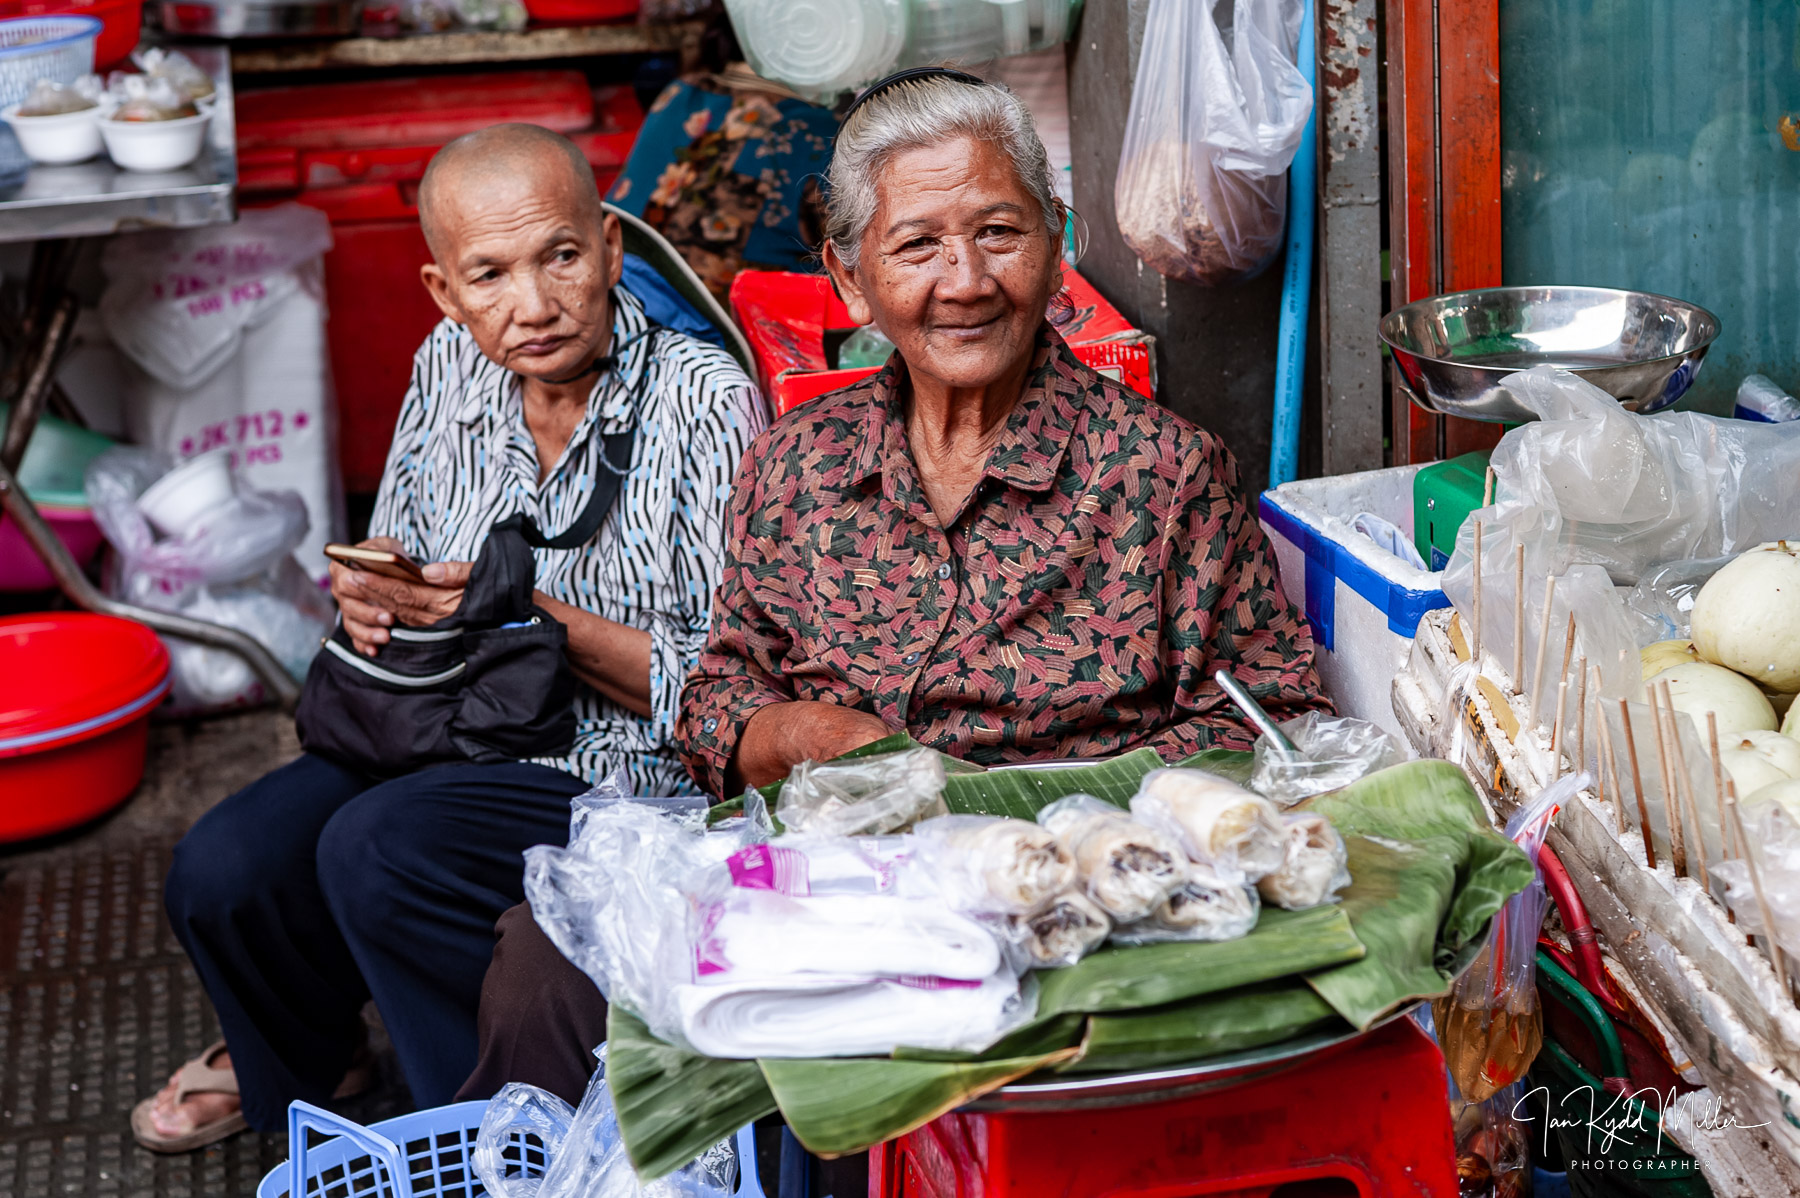
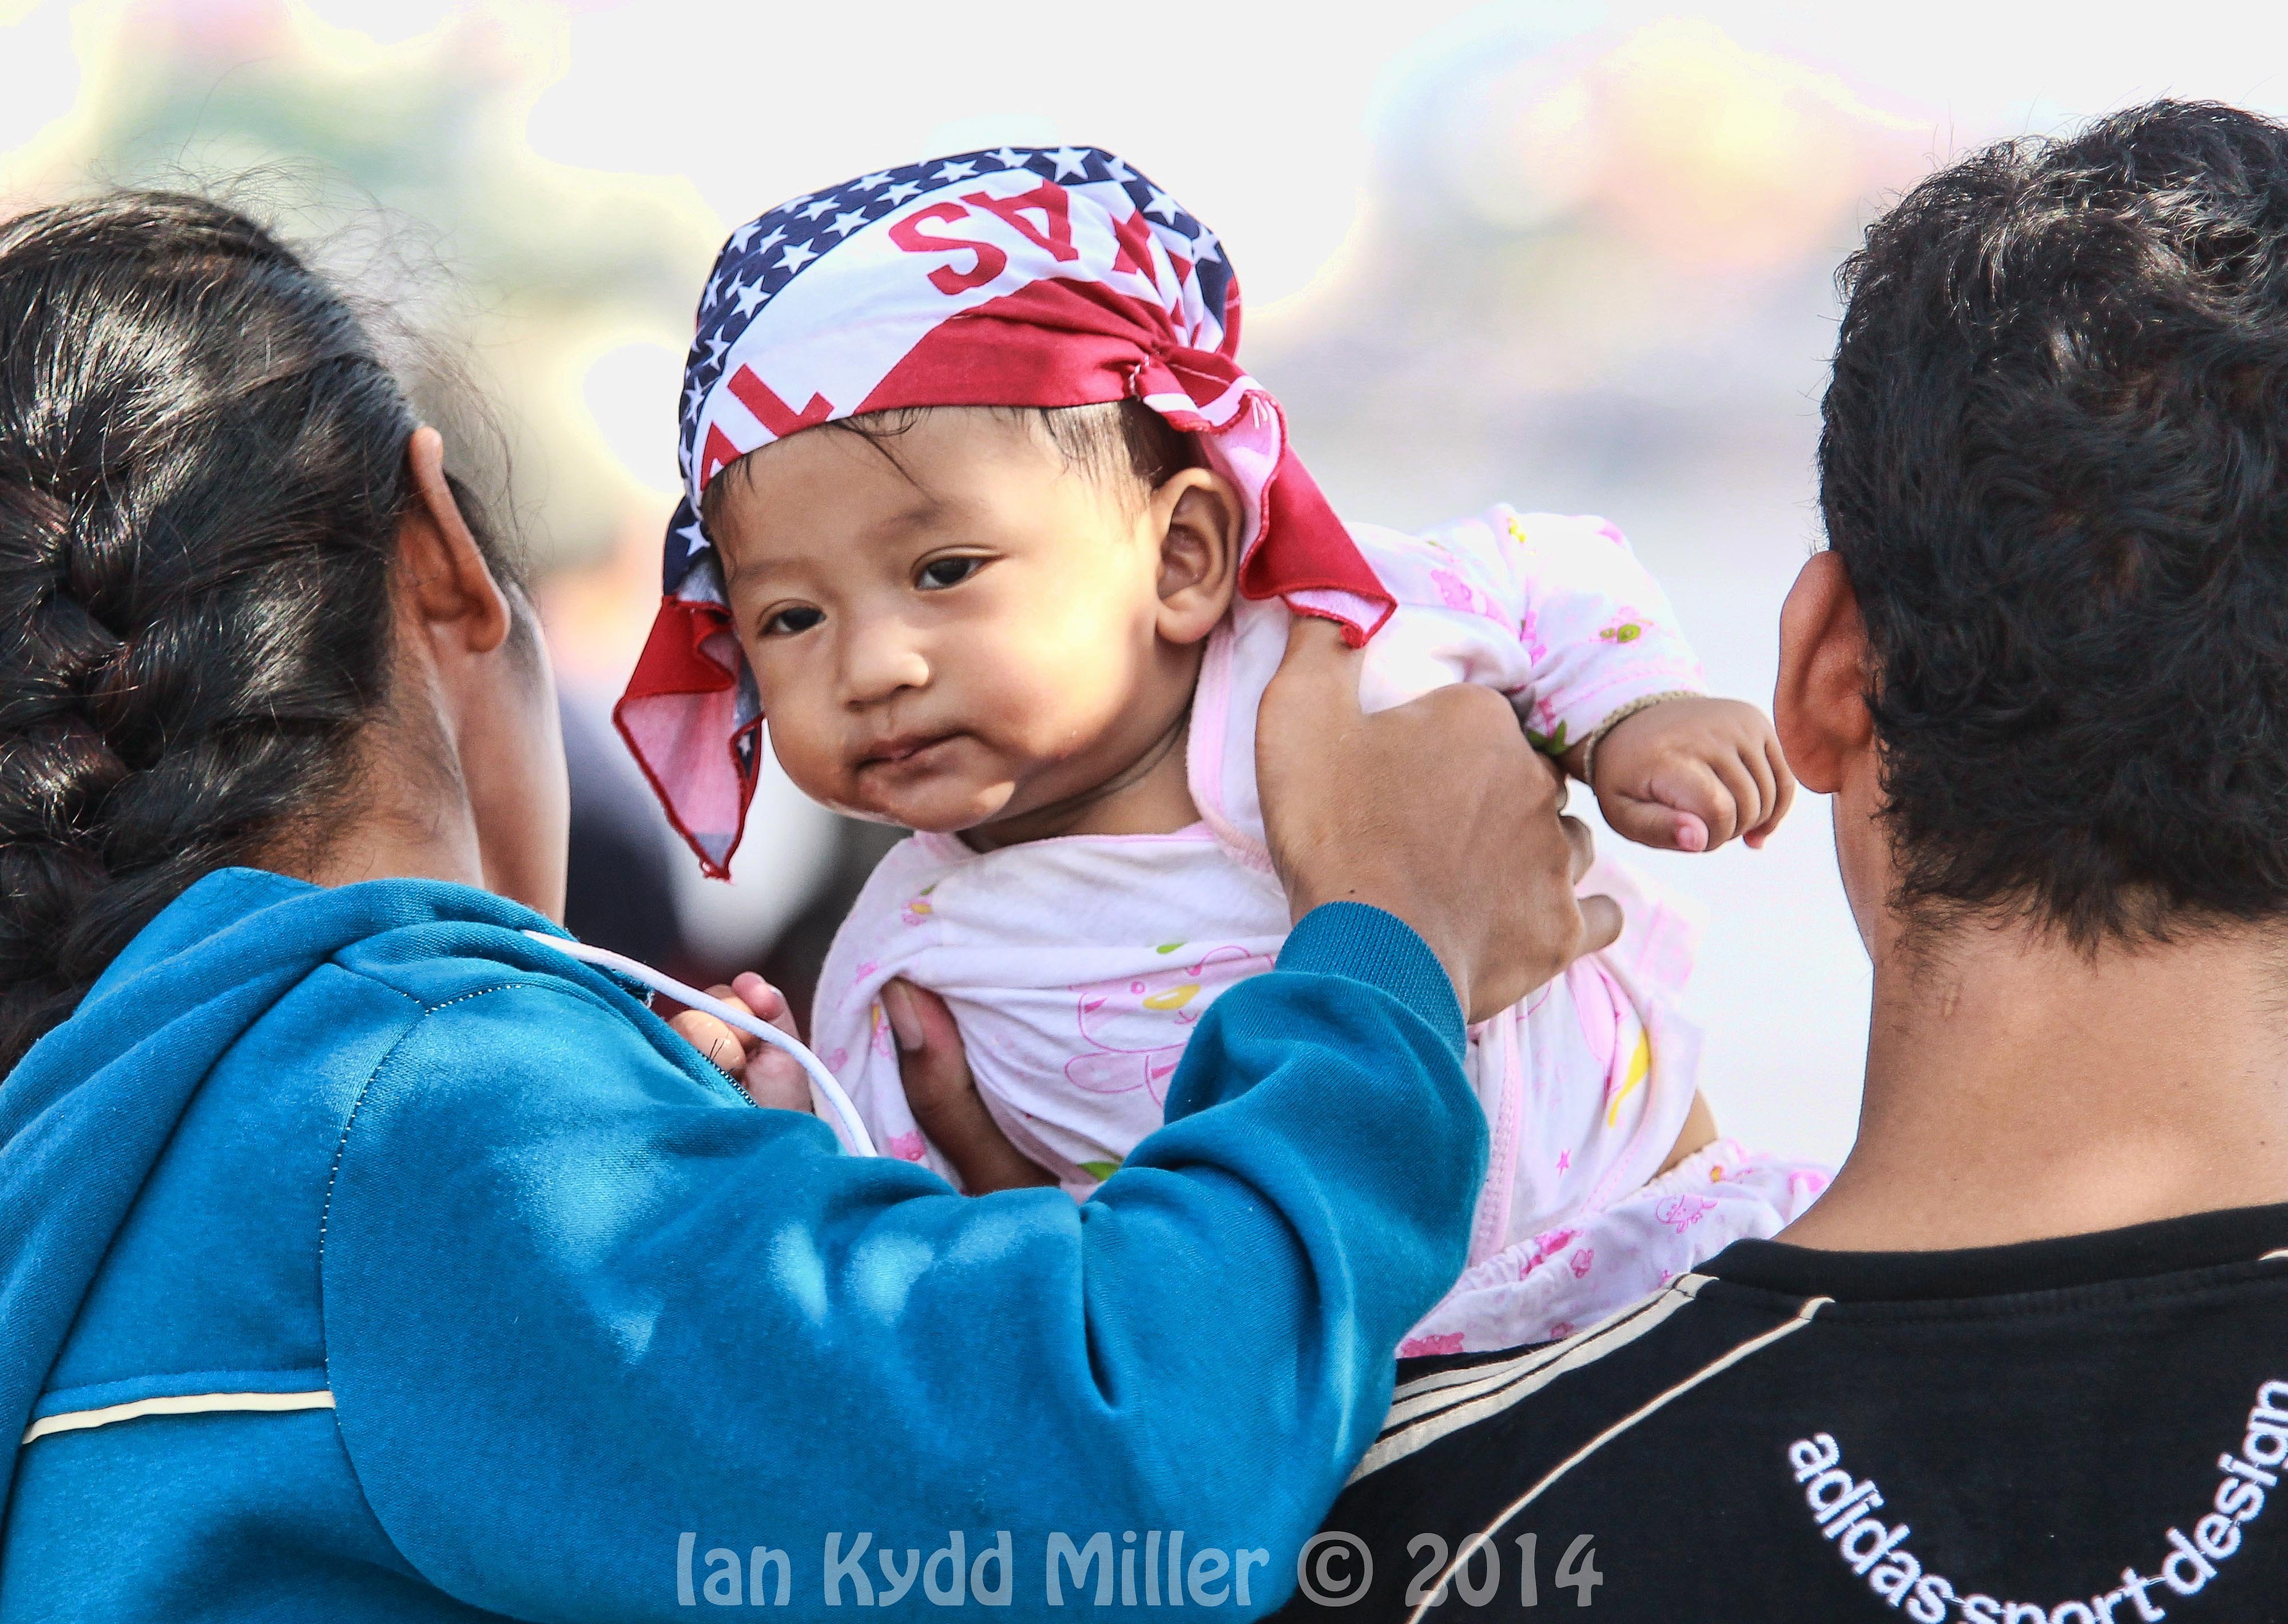
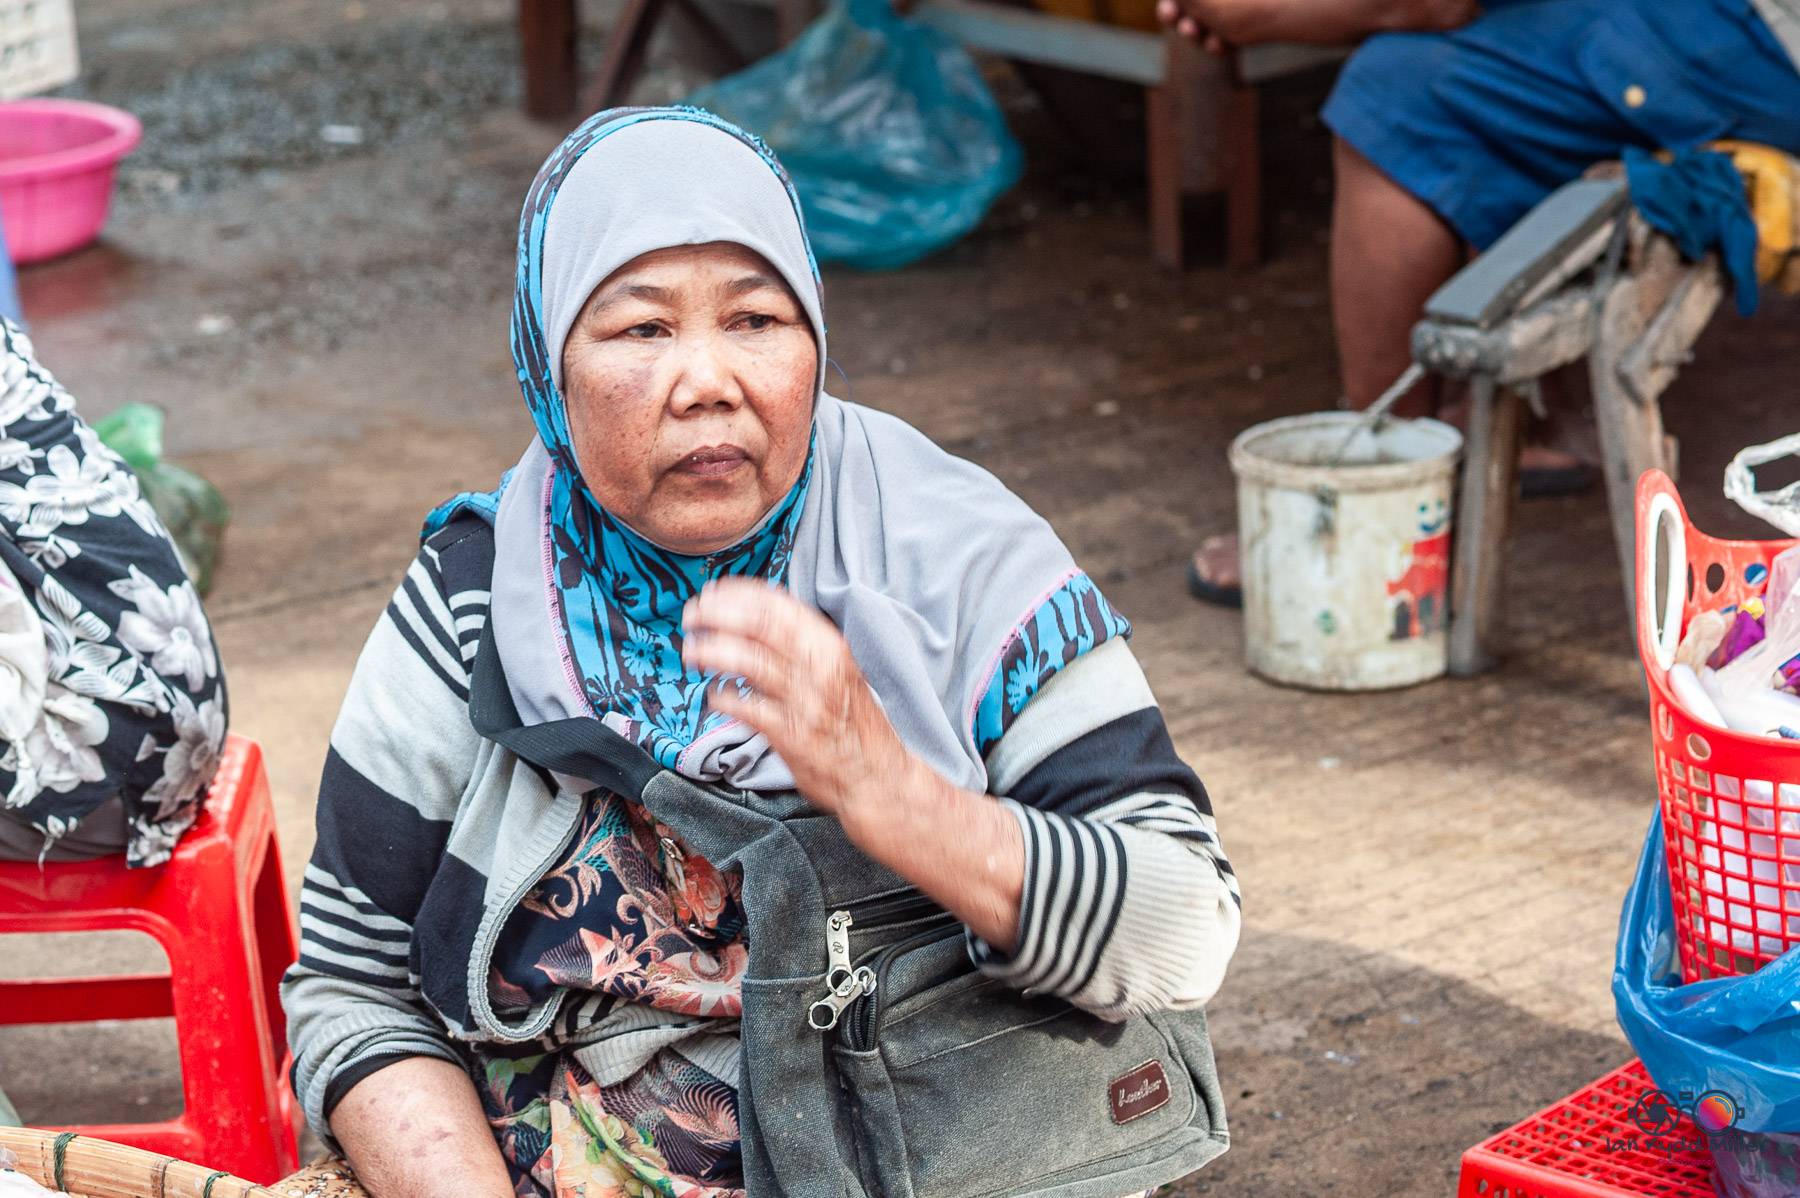
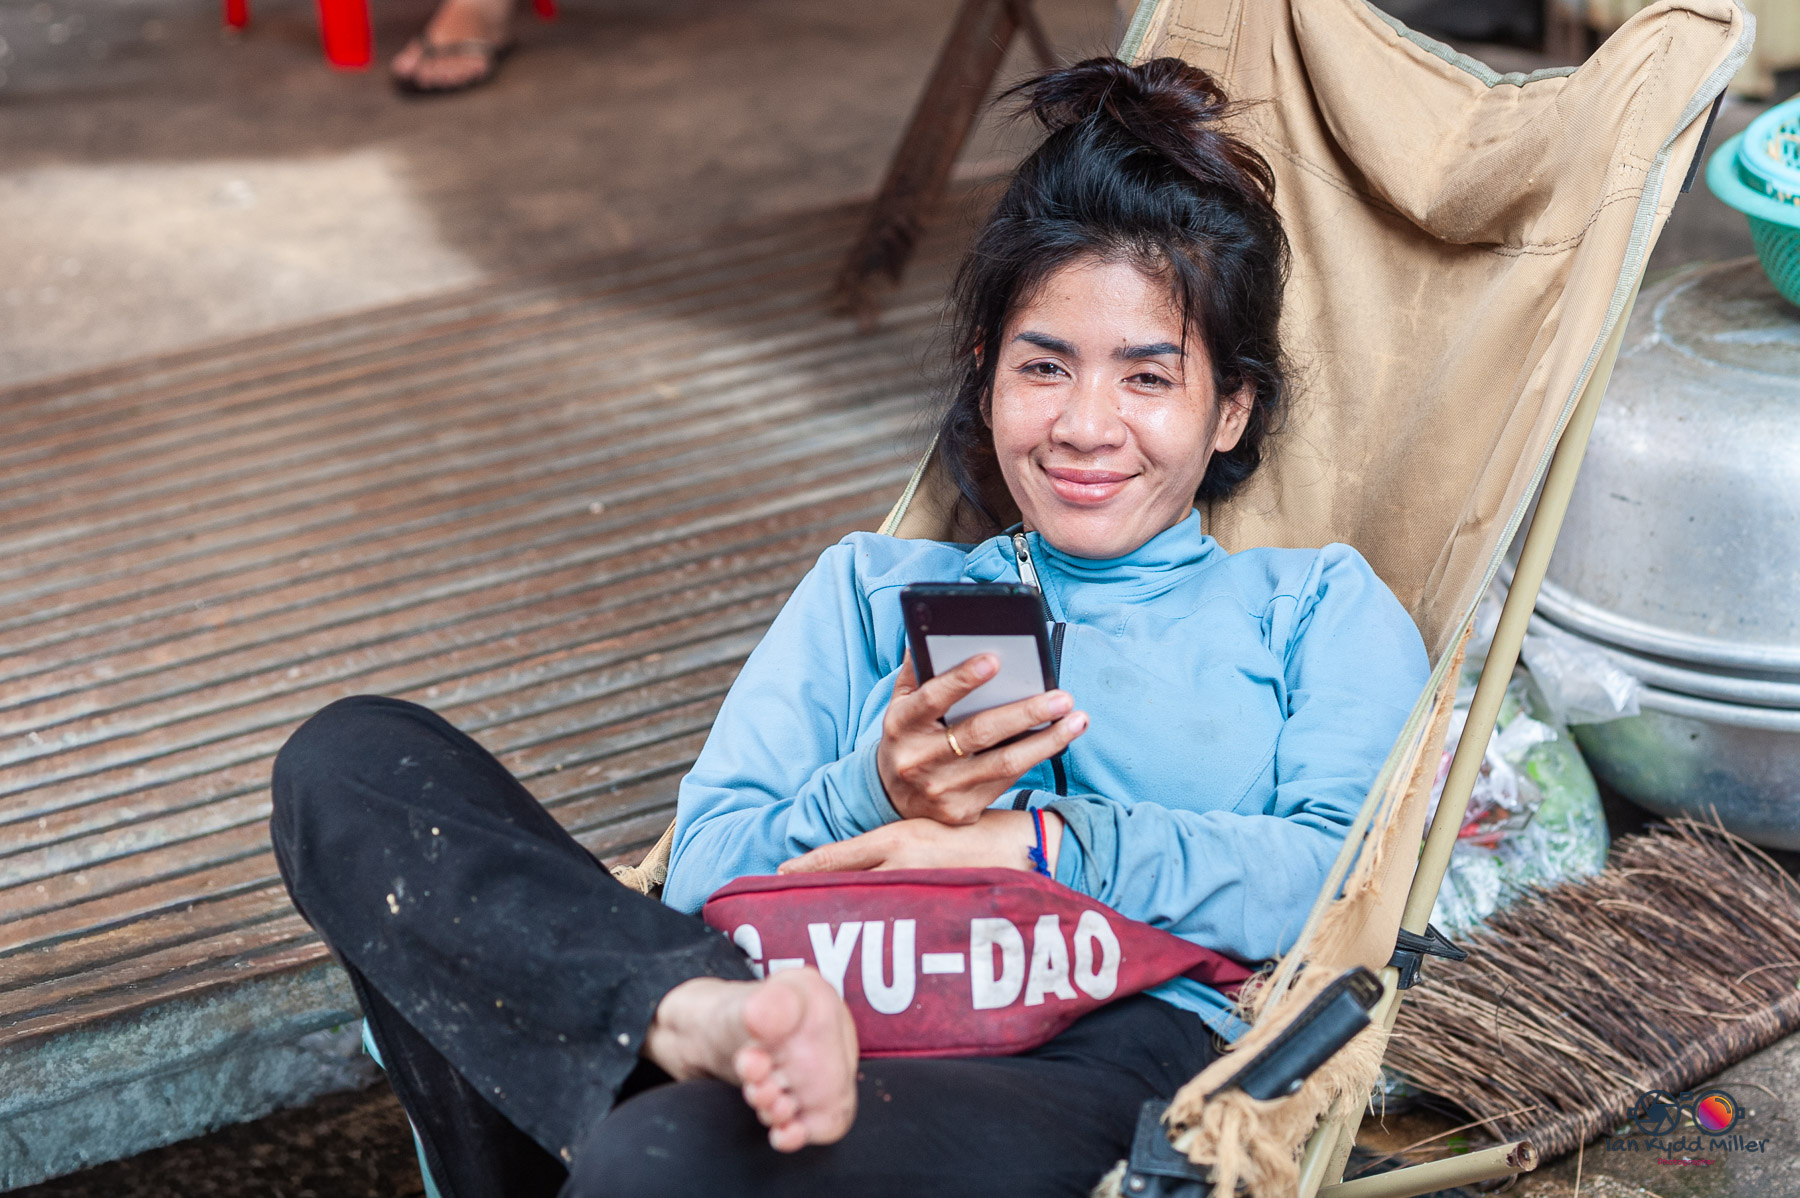
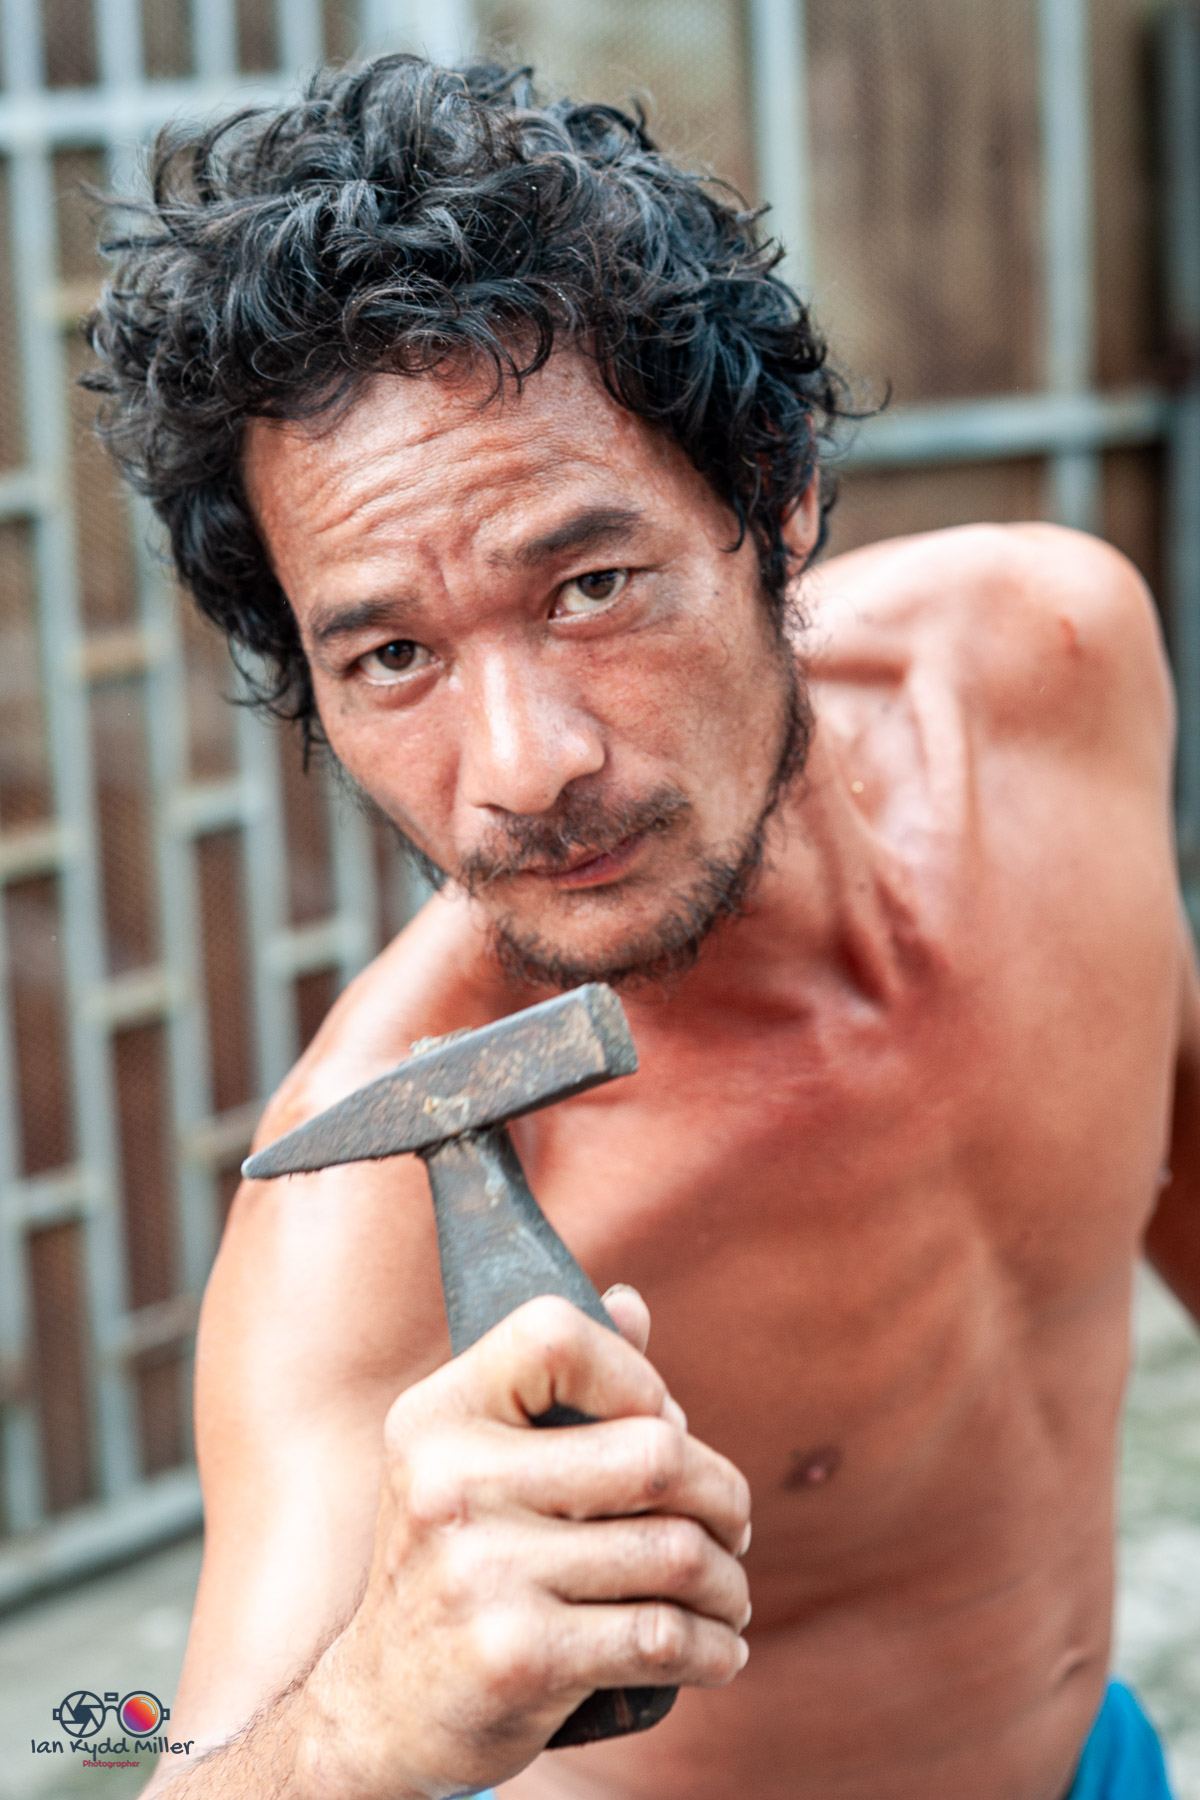
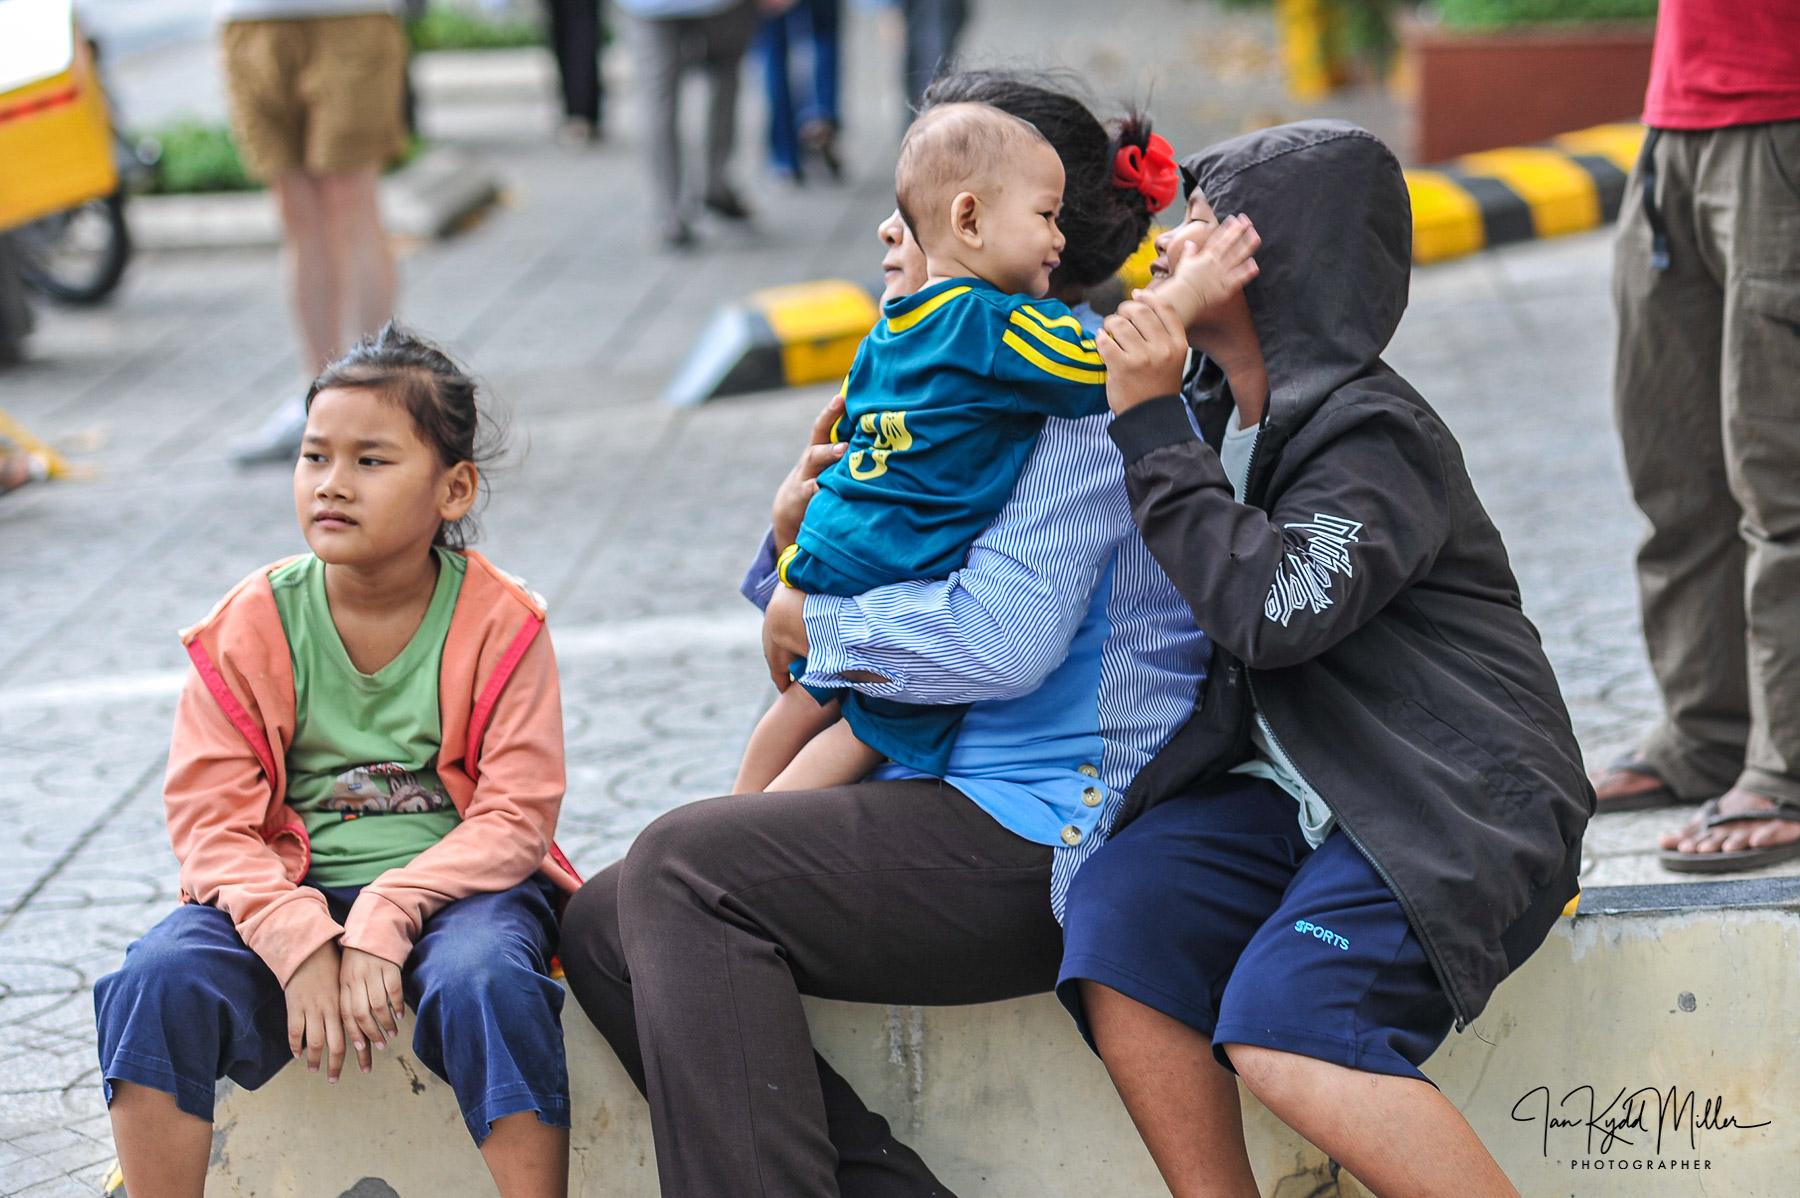
- Different Perspective:
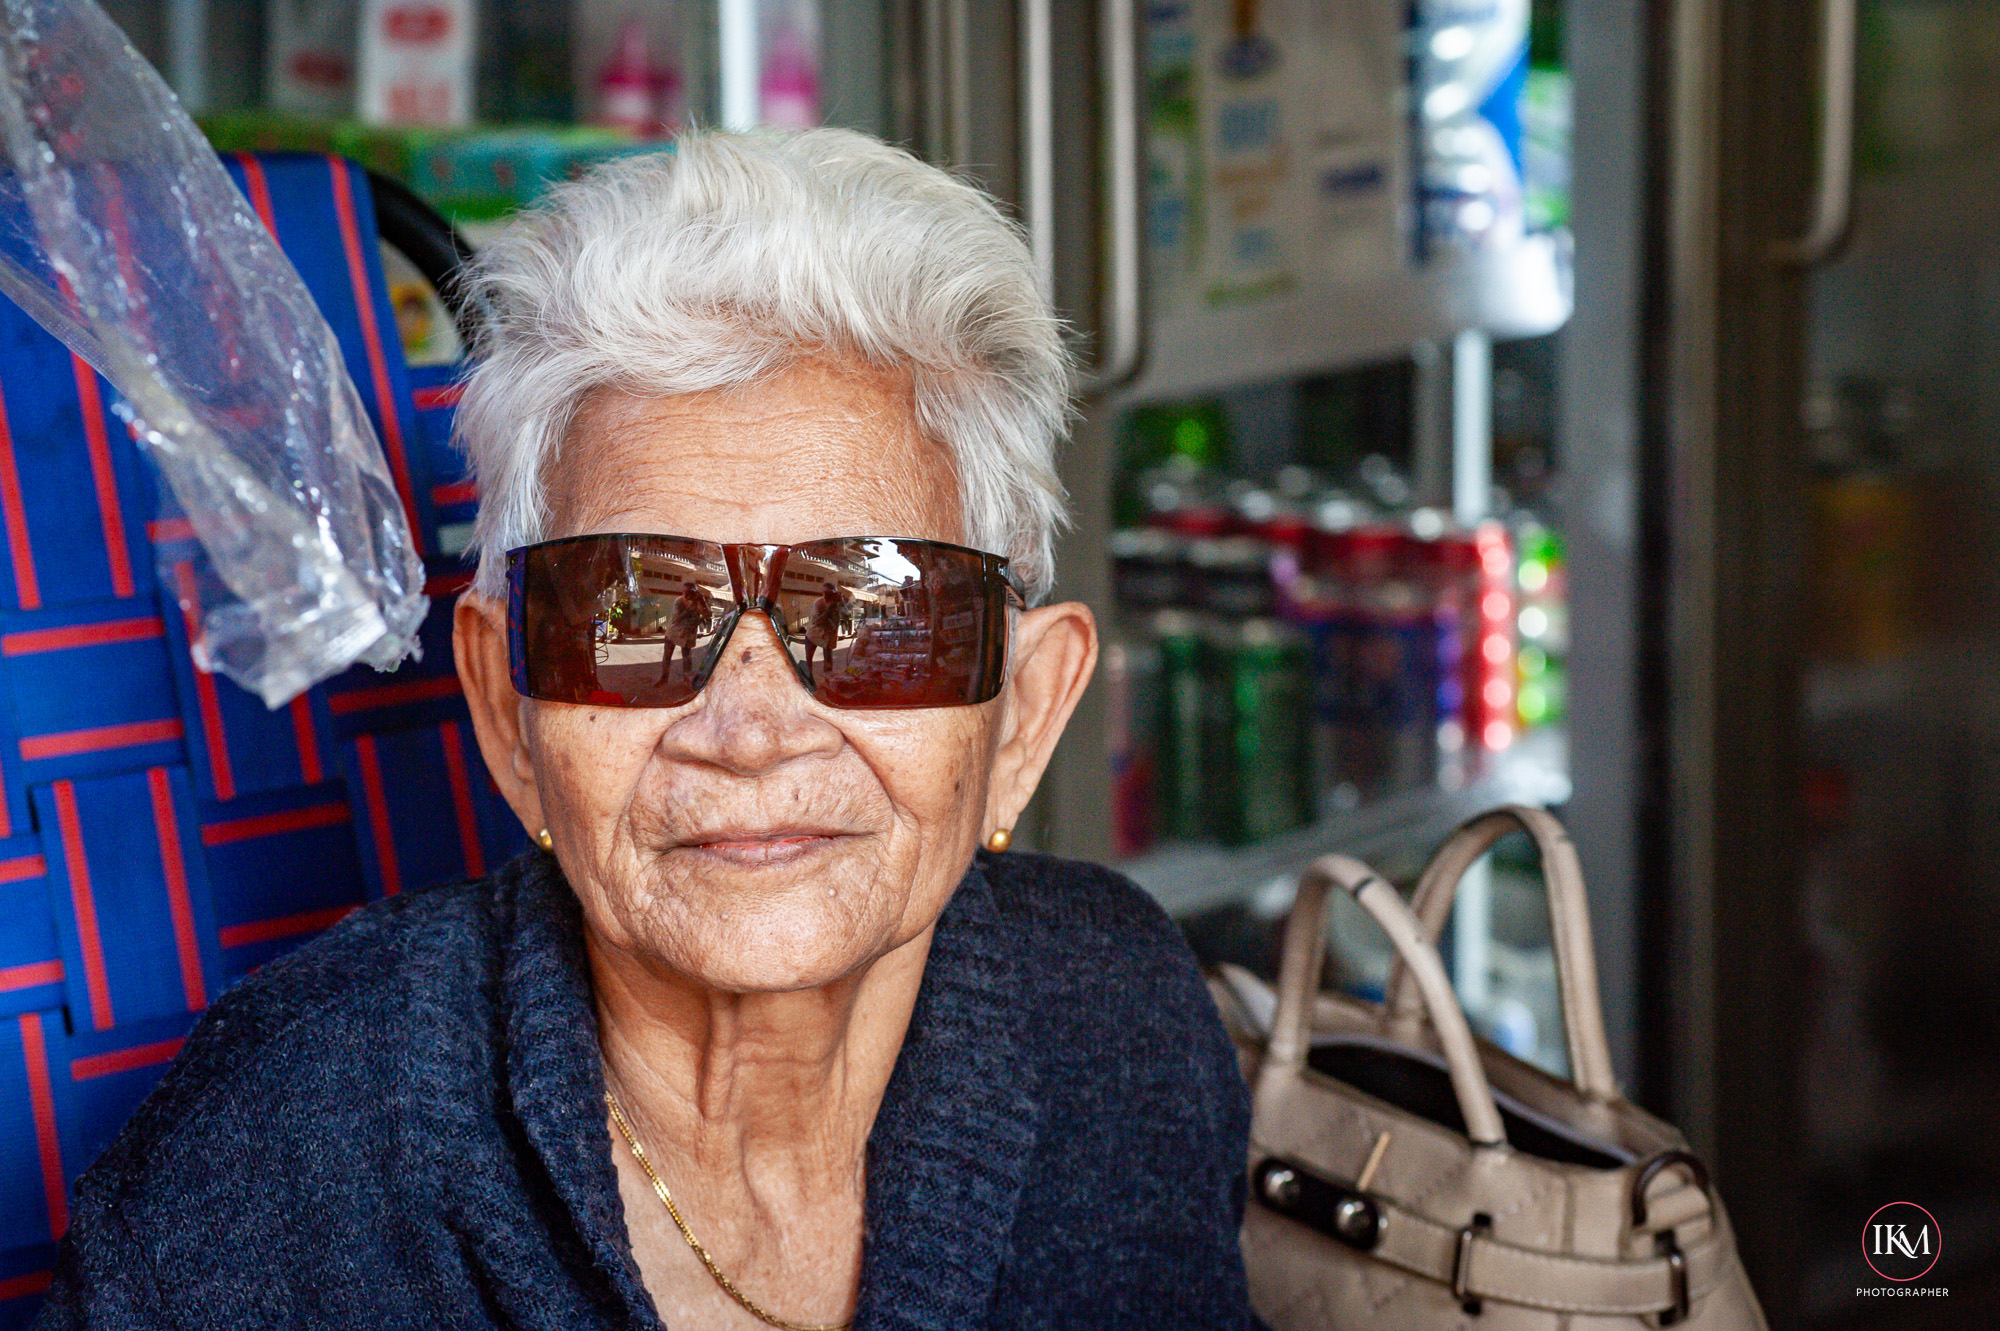
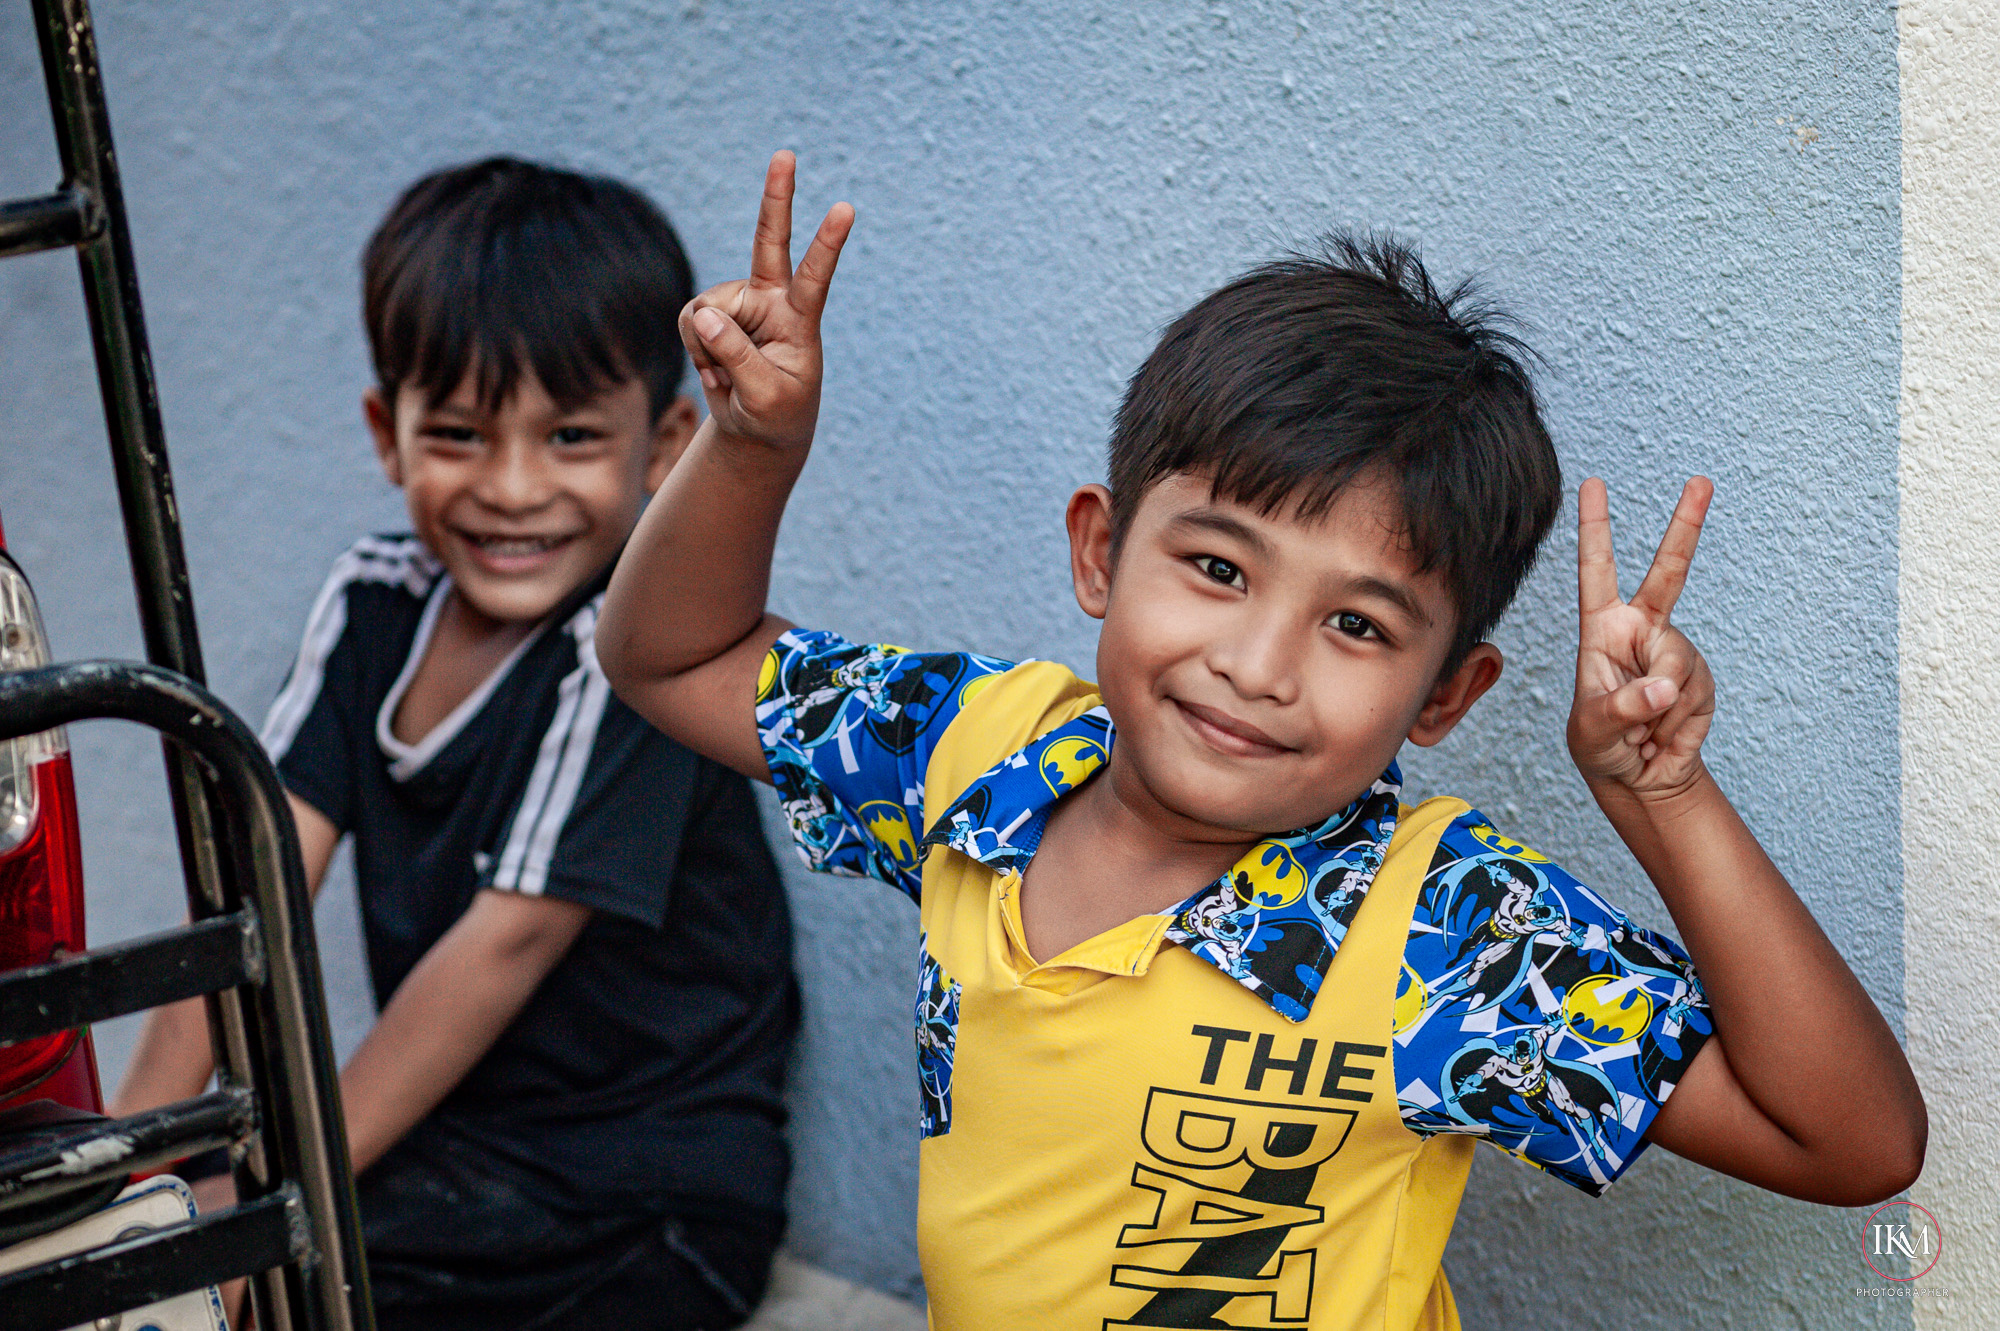
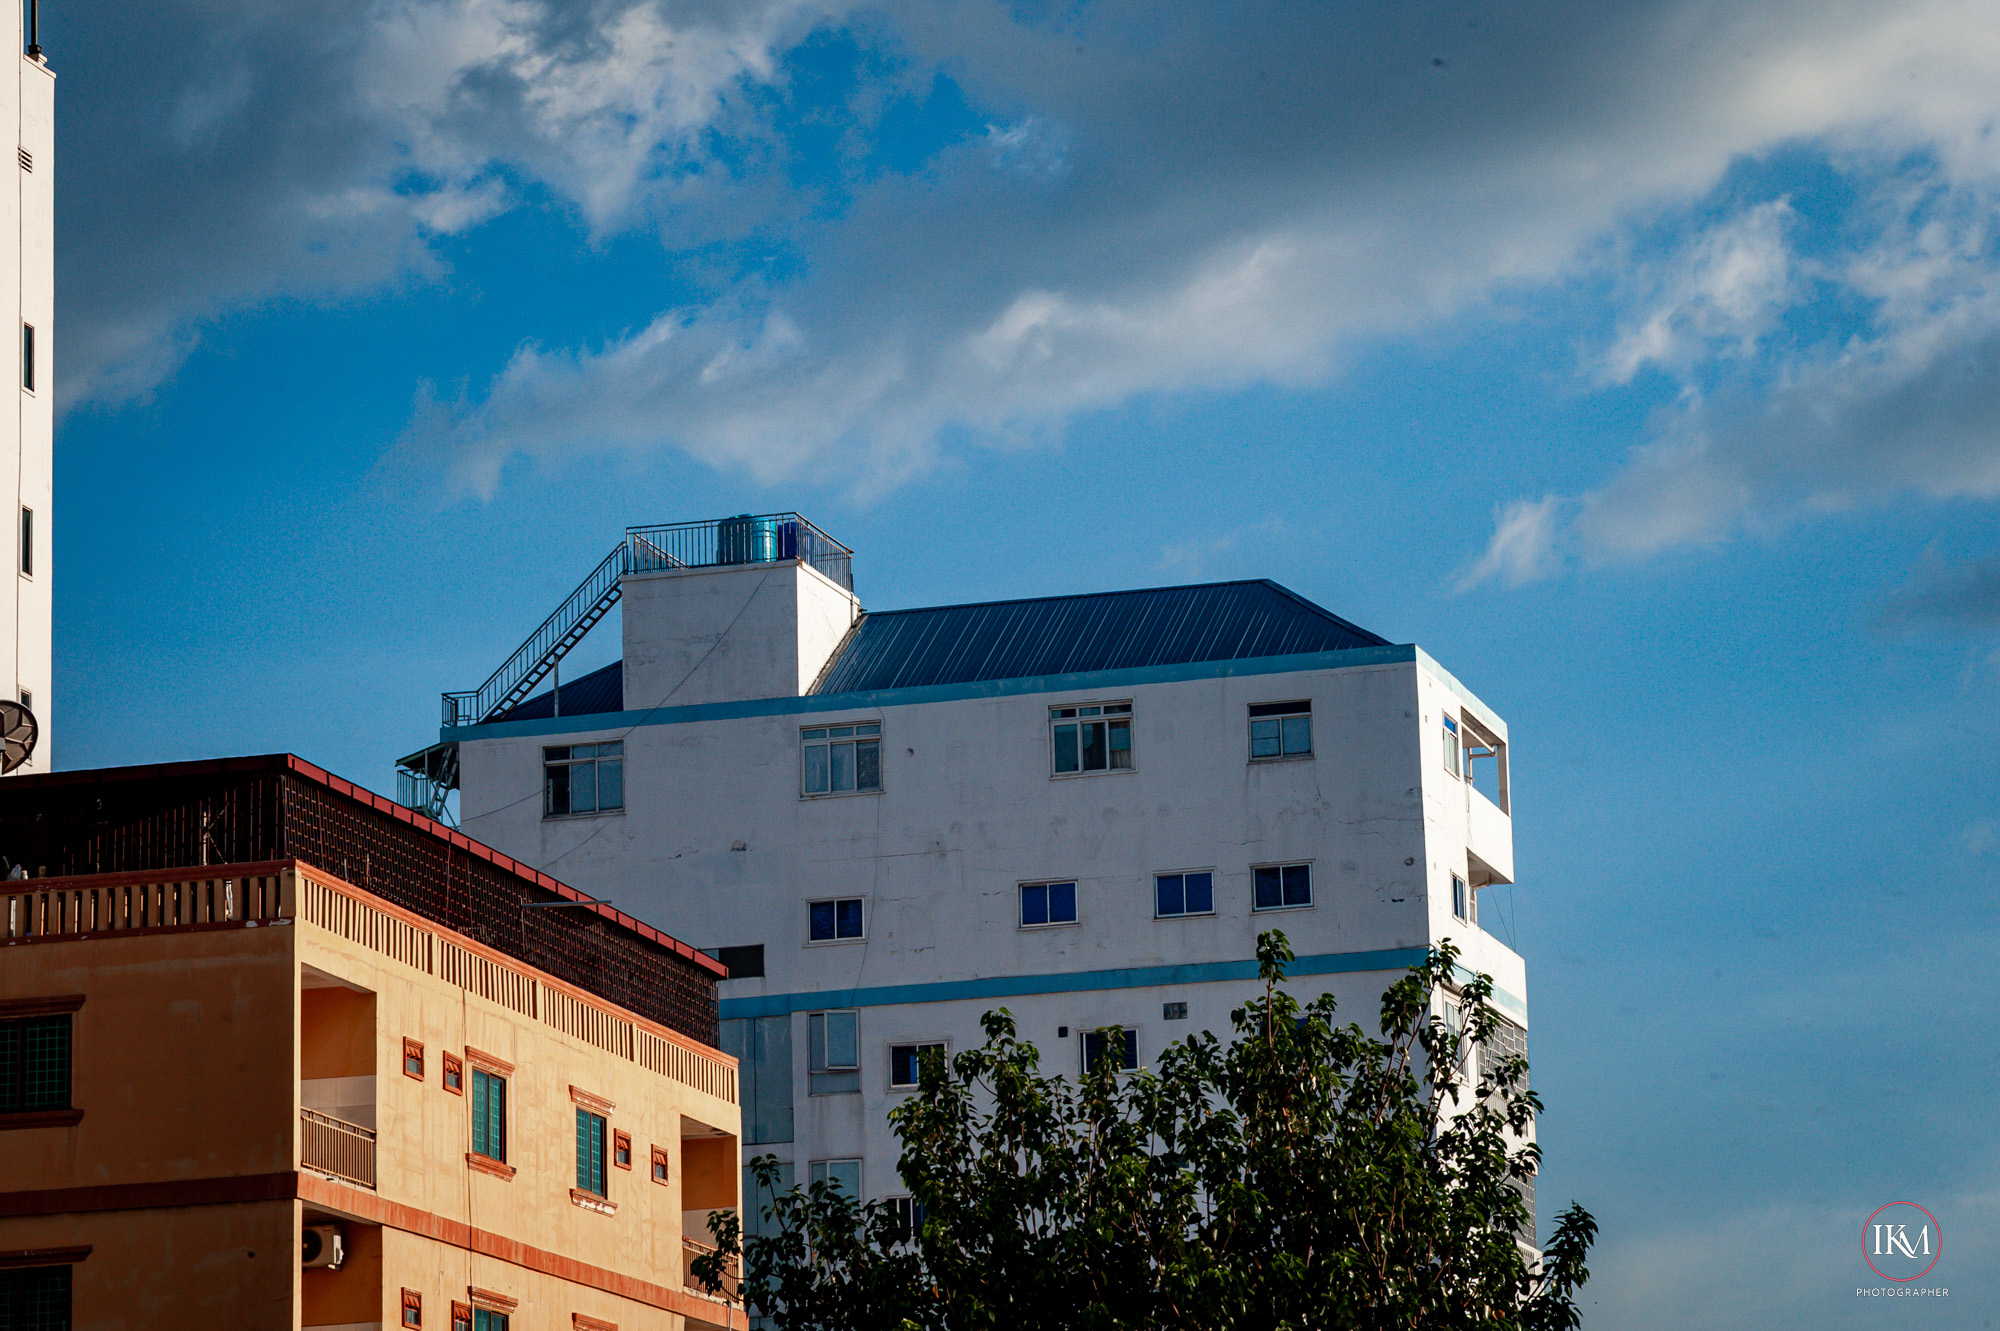
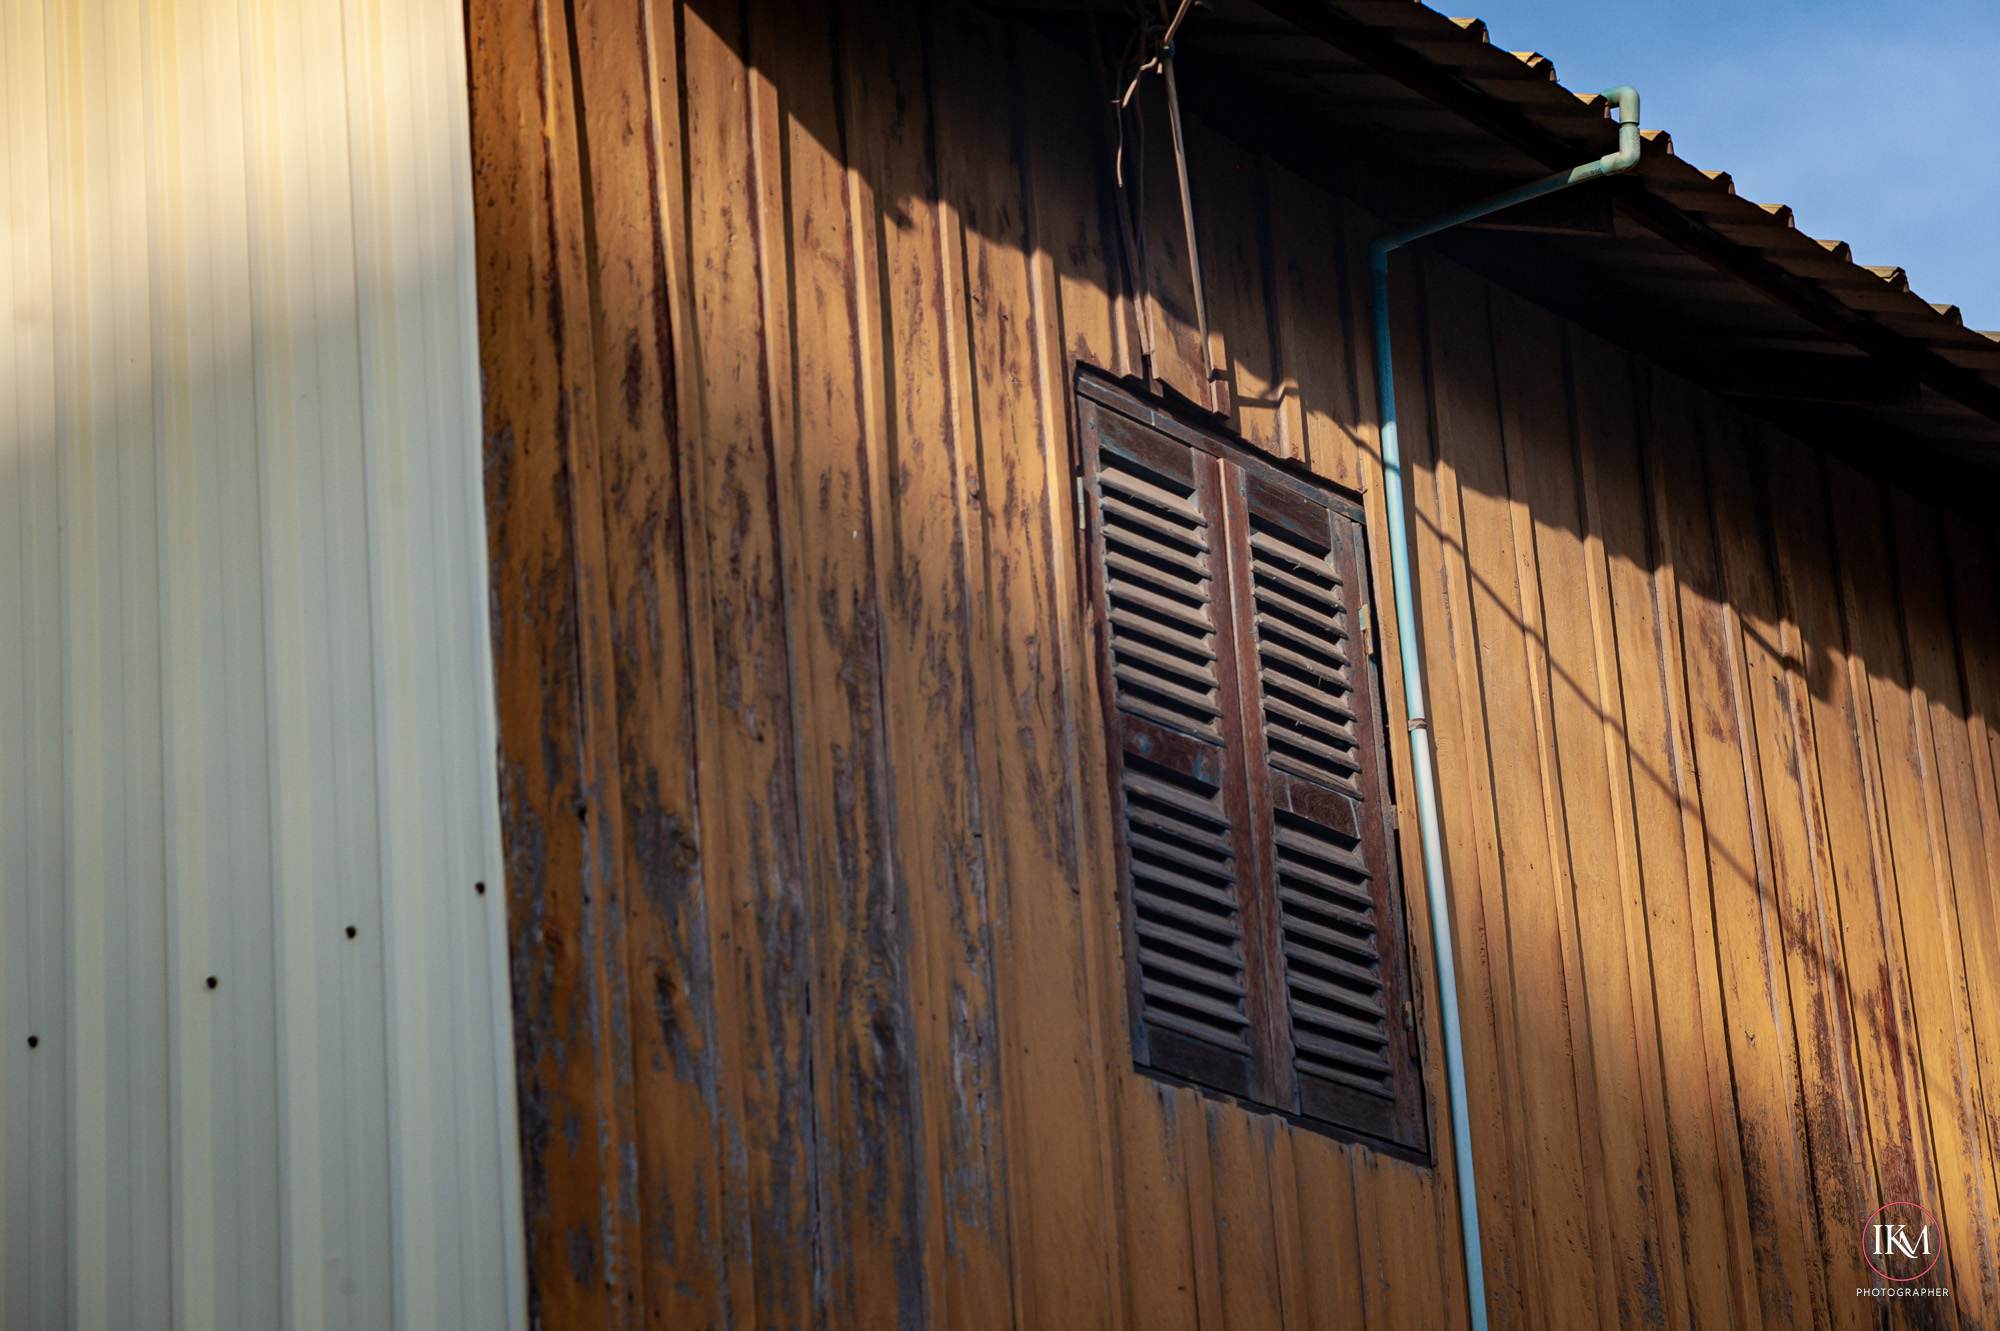
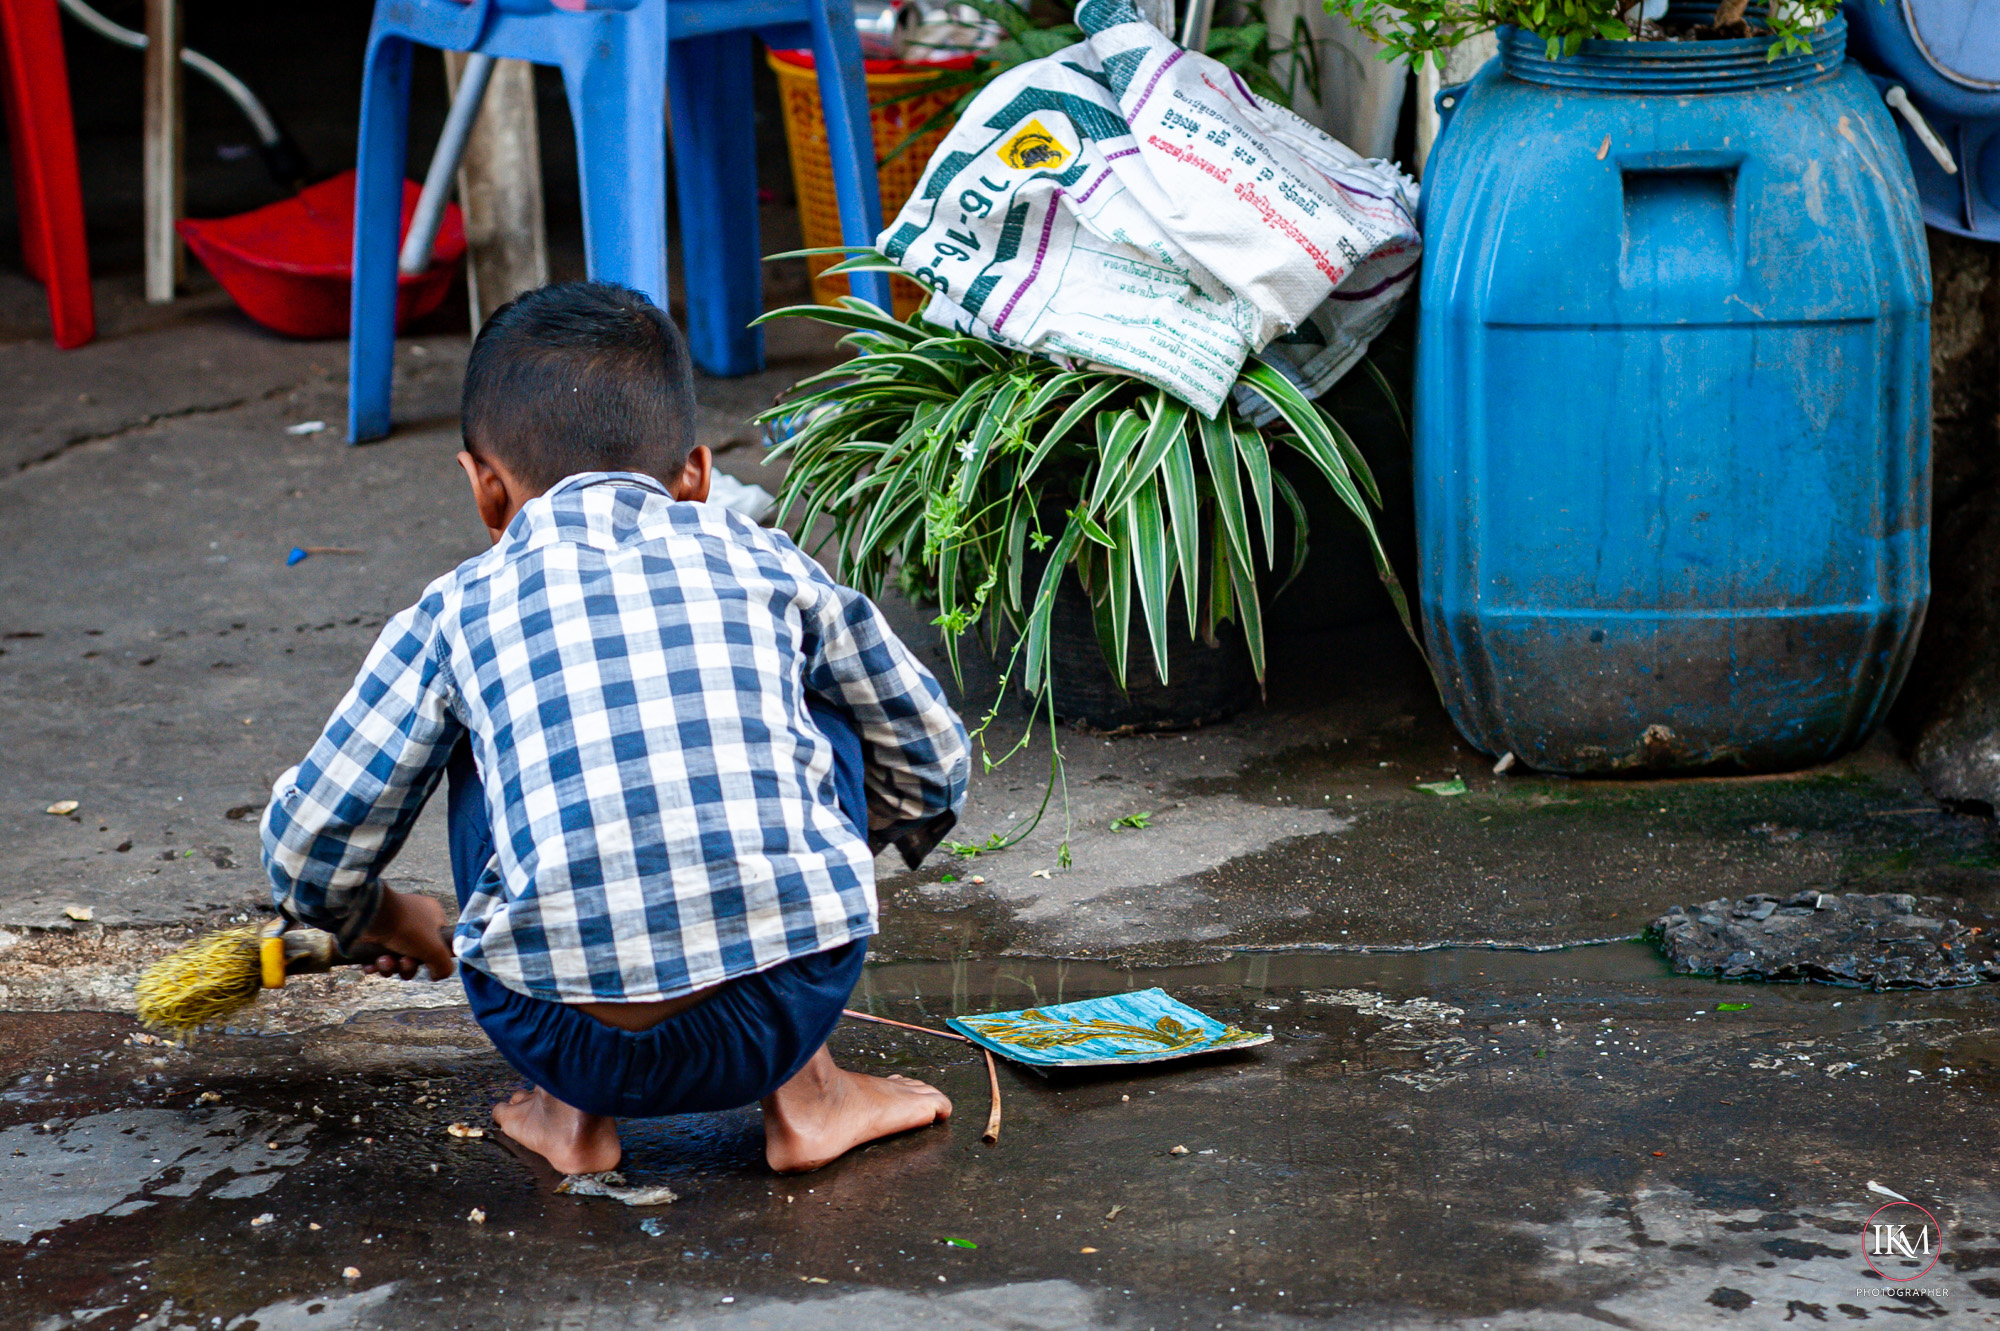
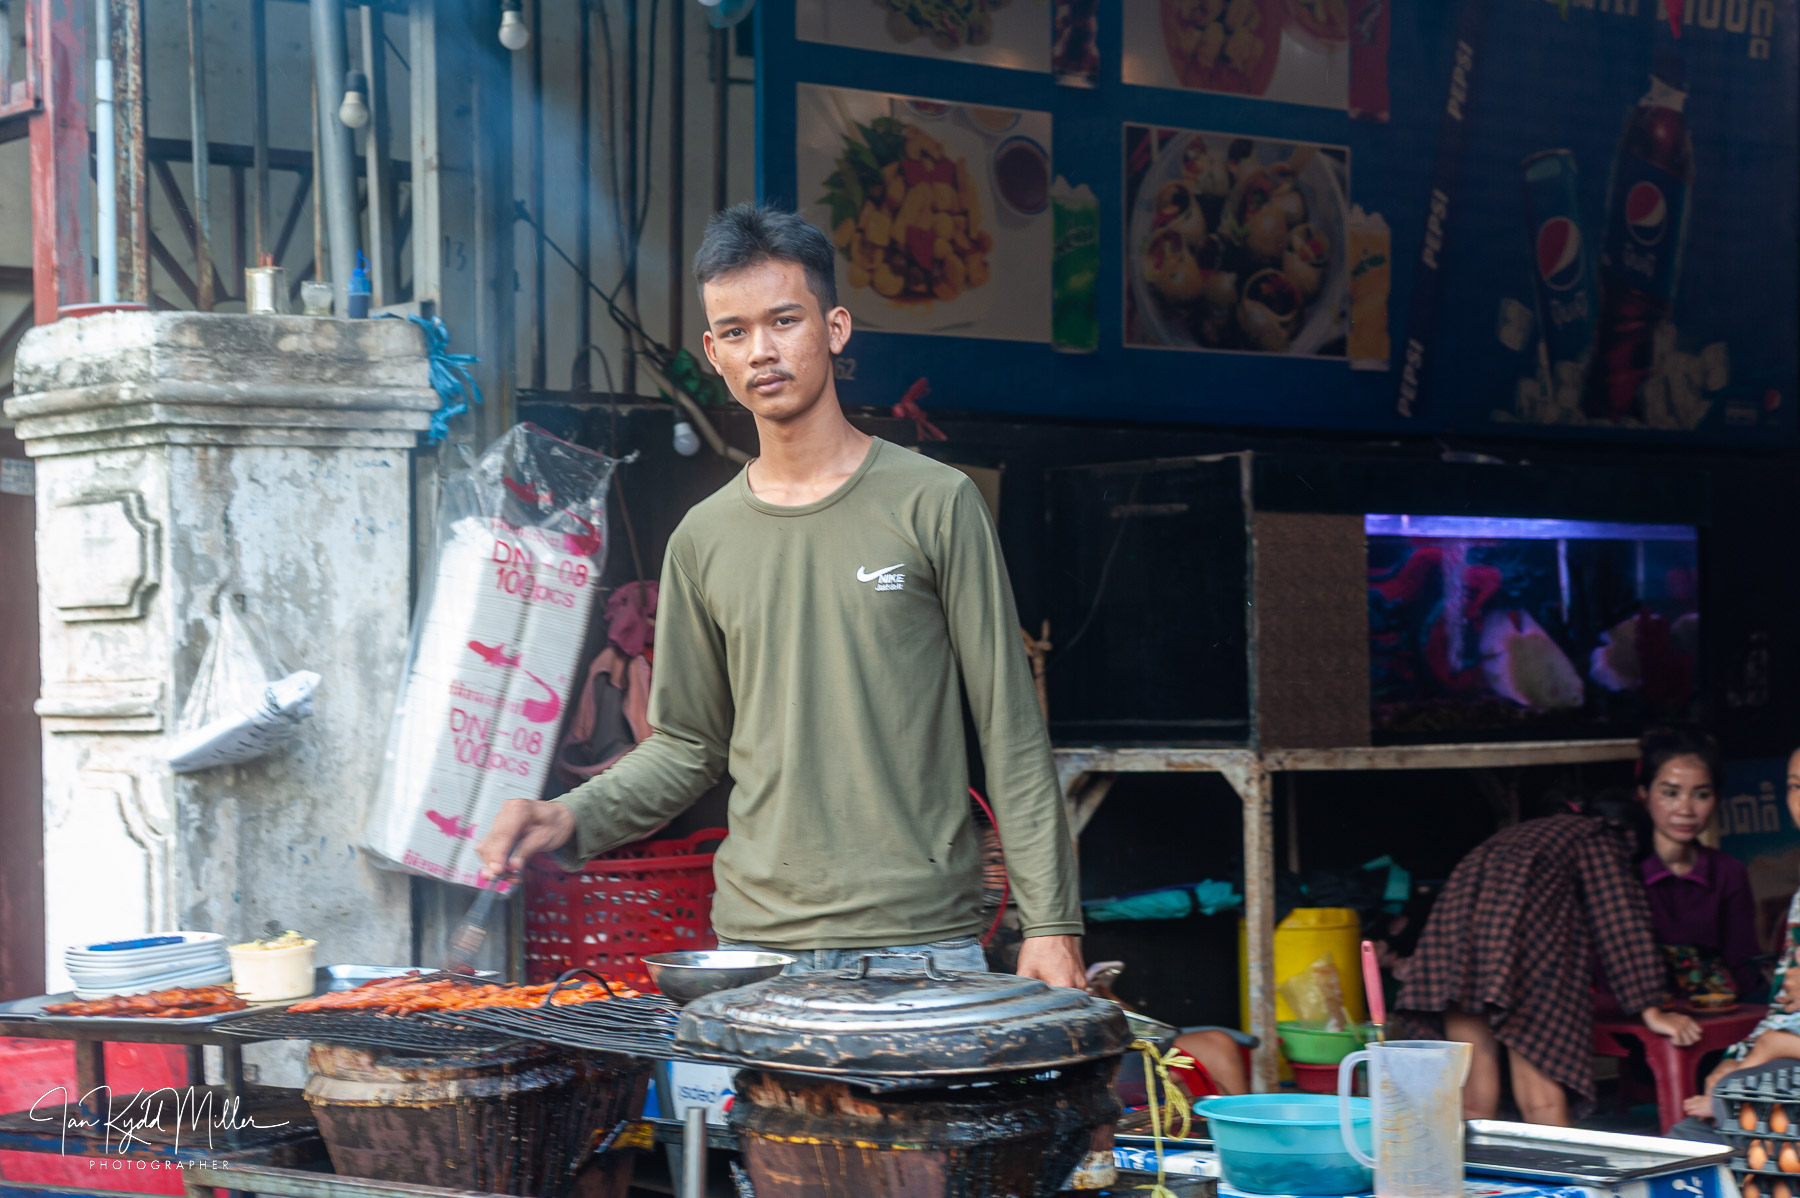
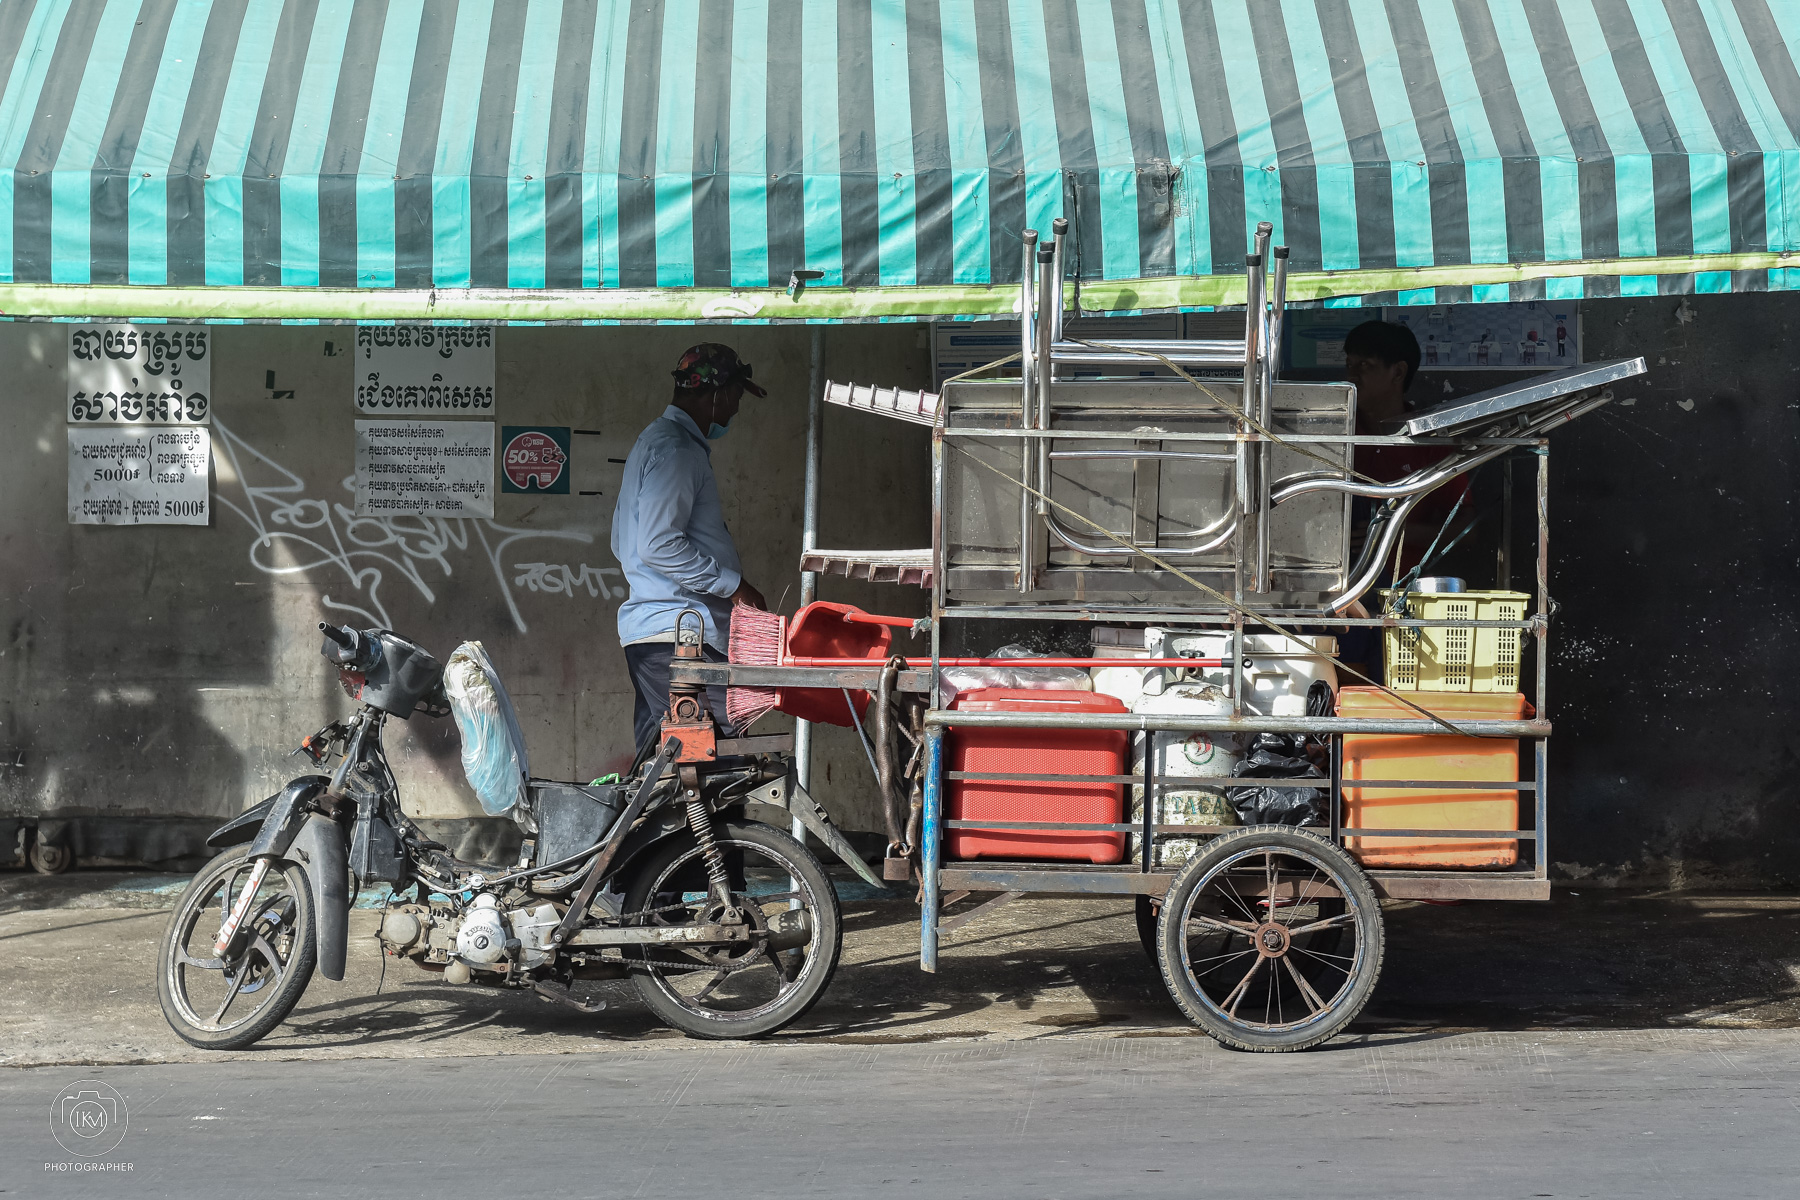
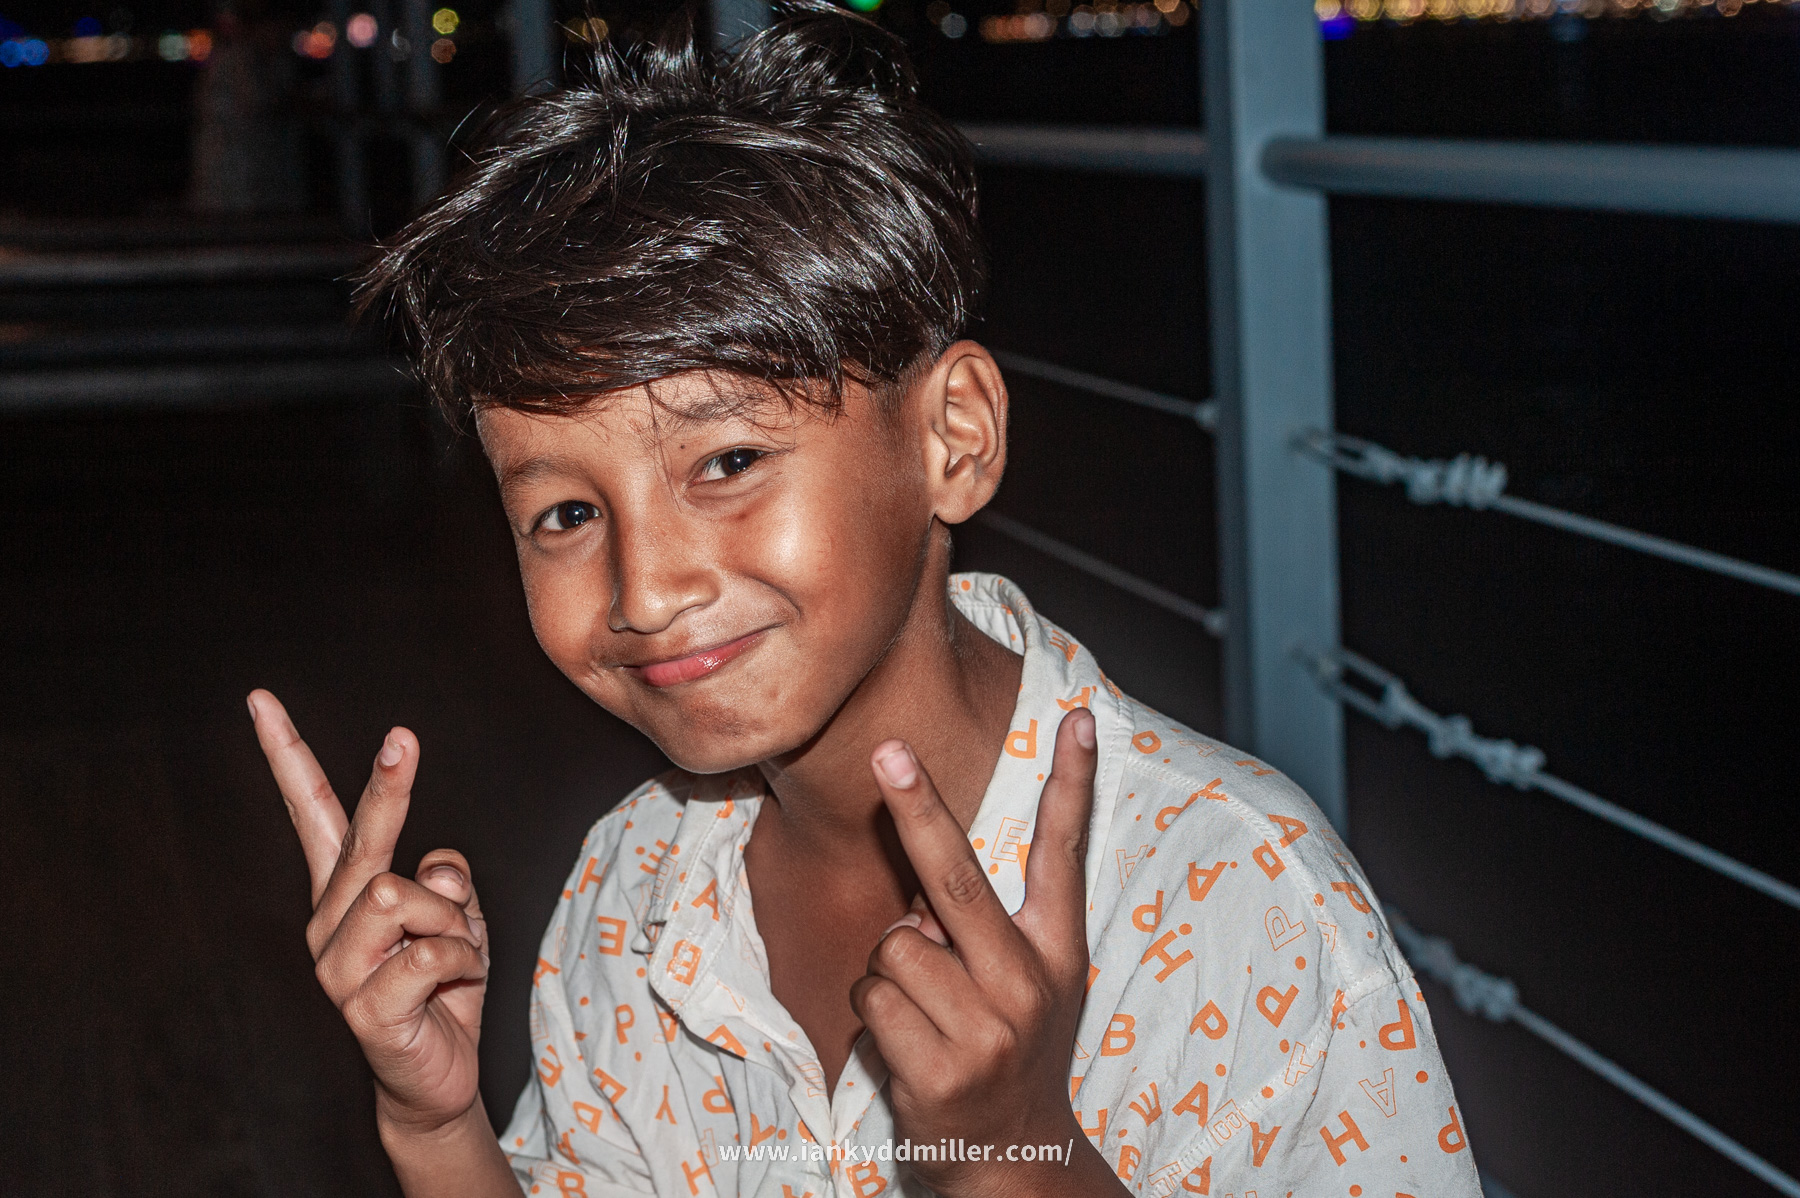
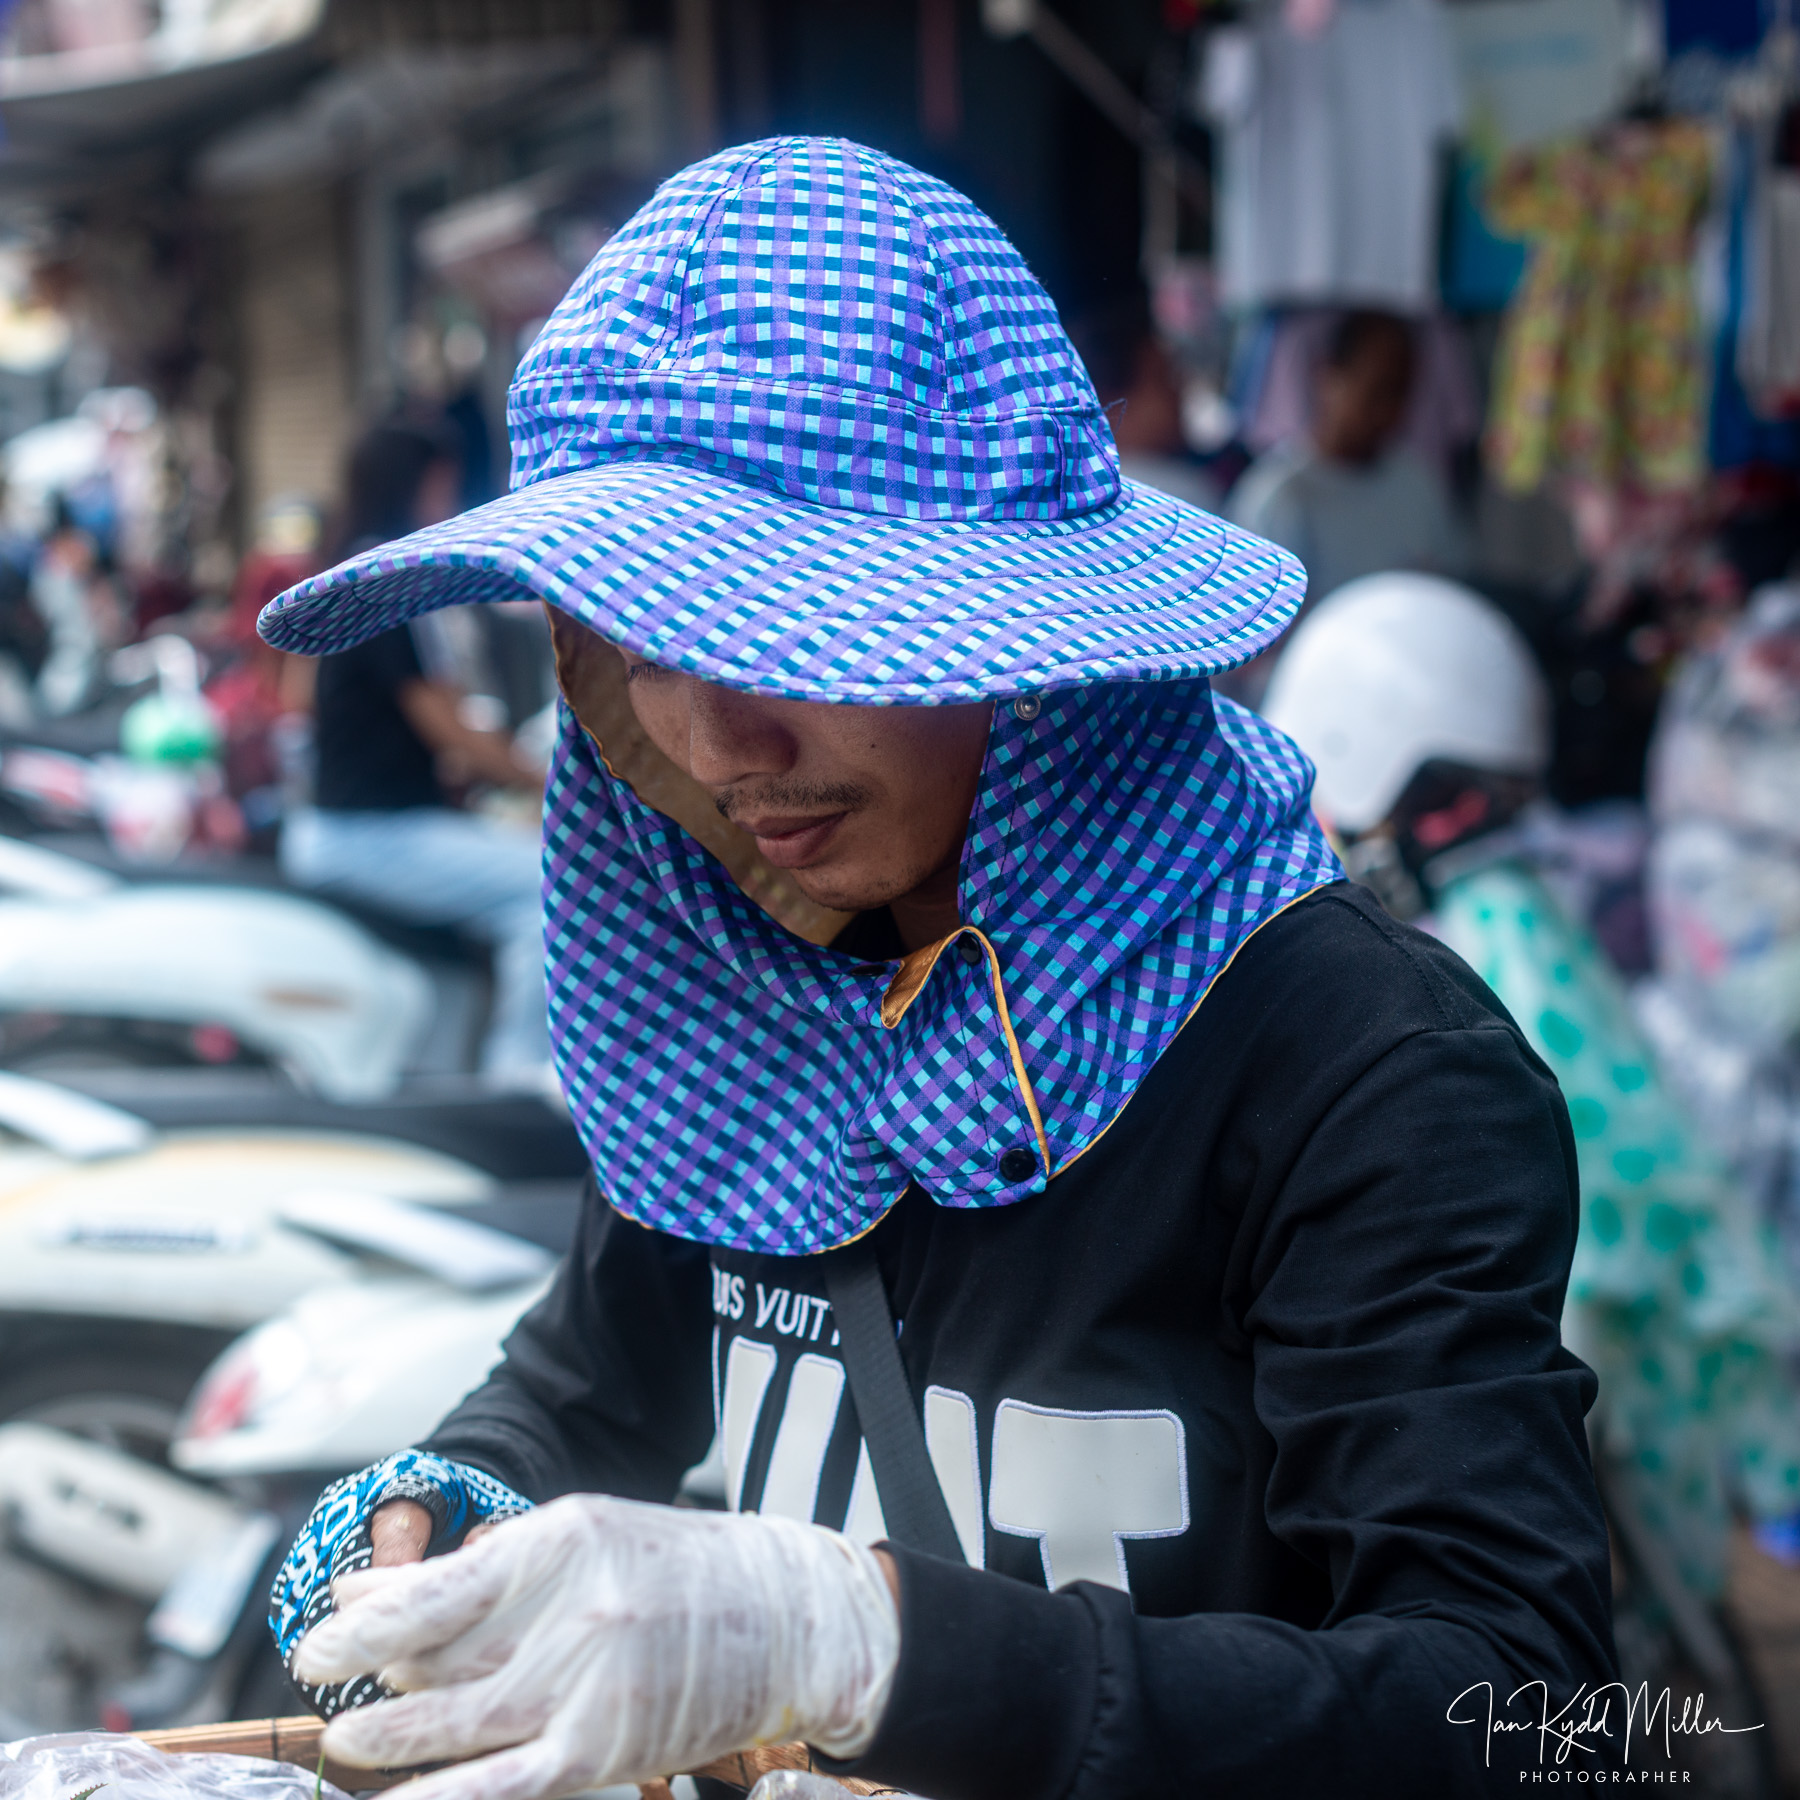
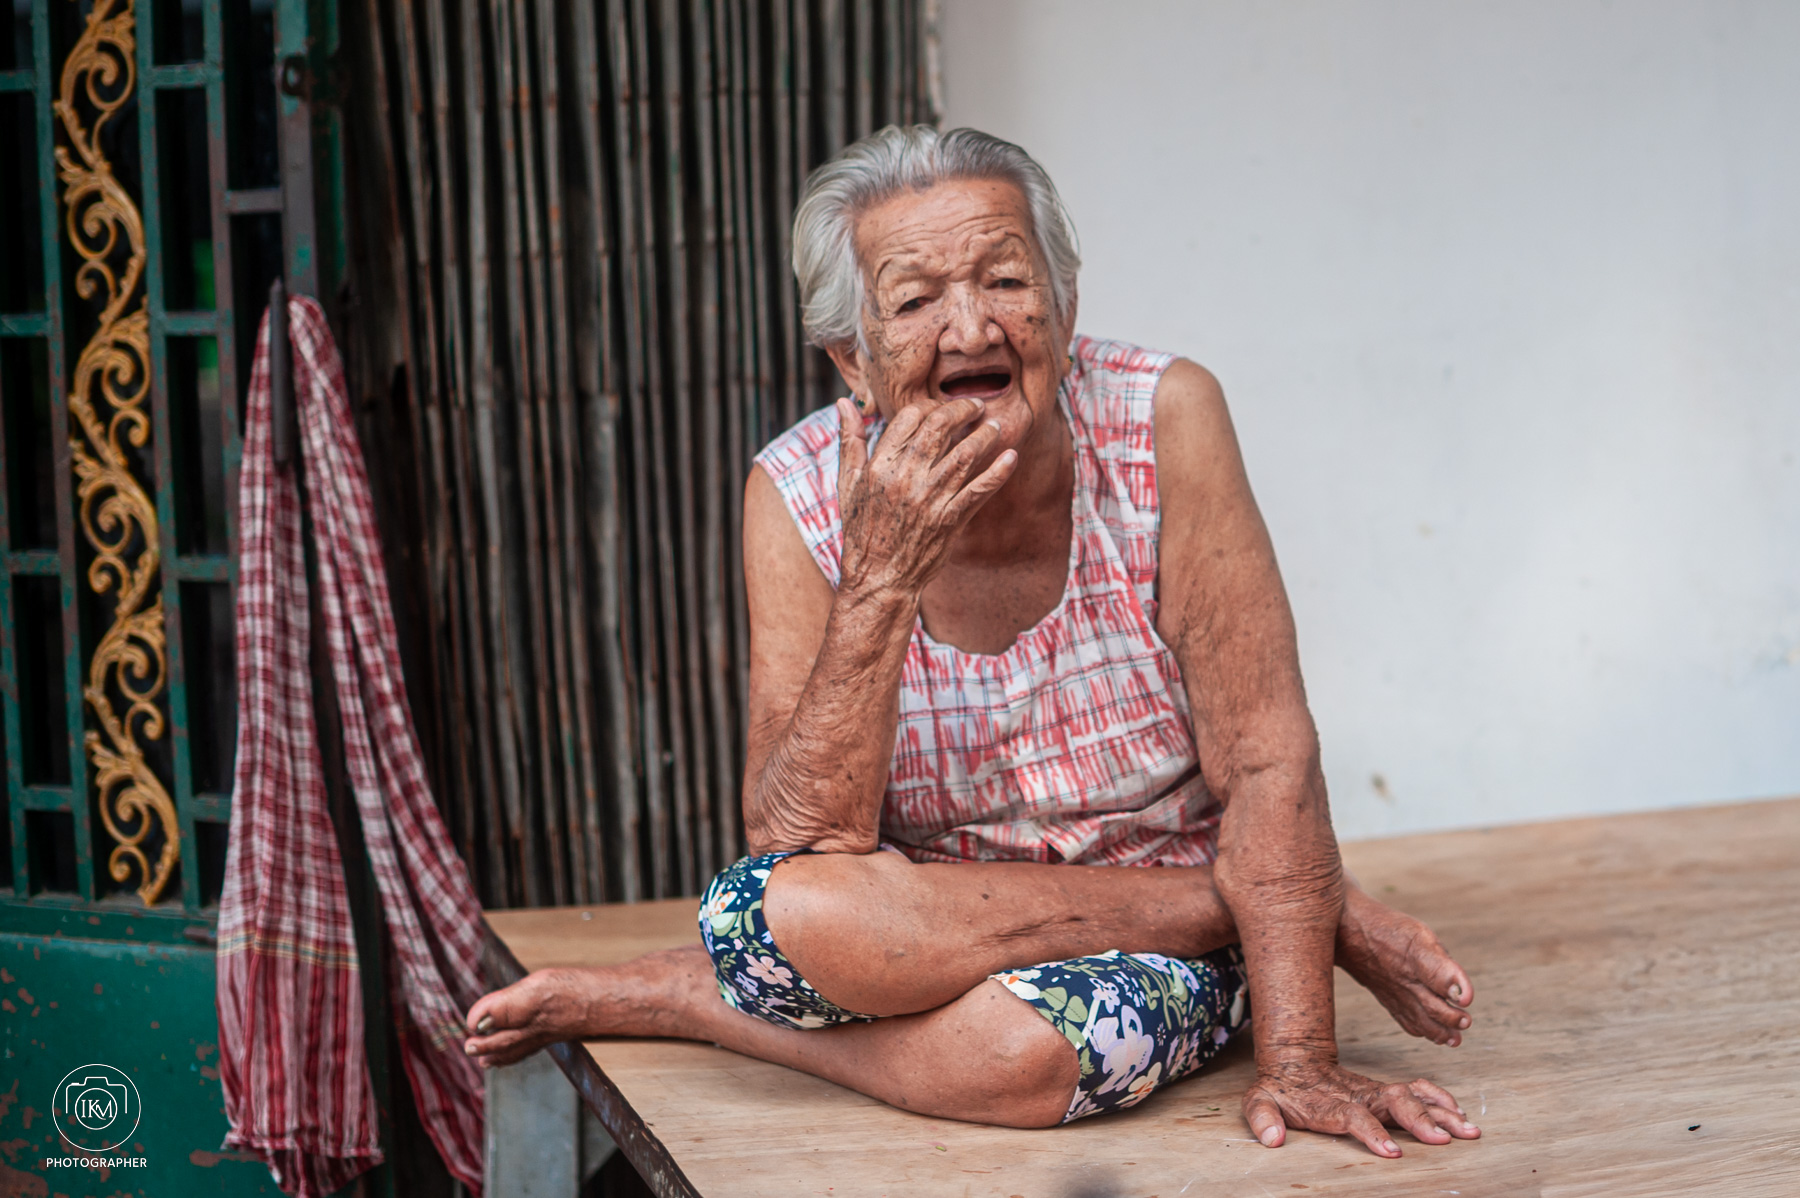
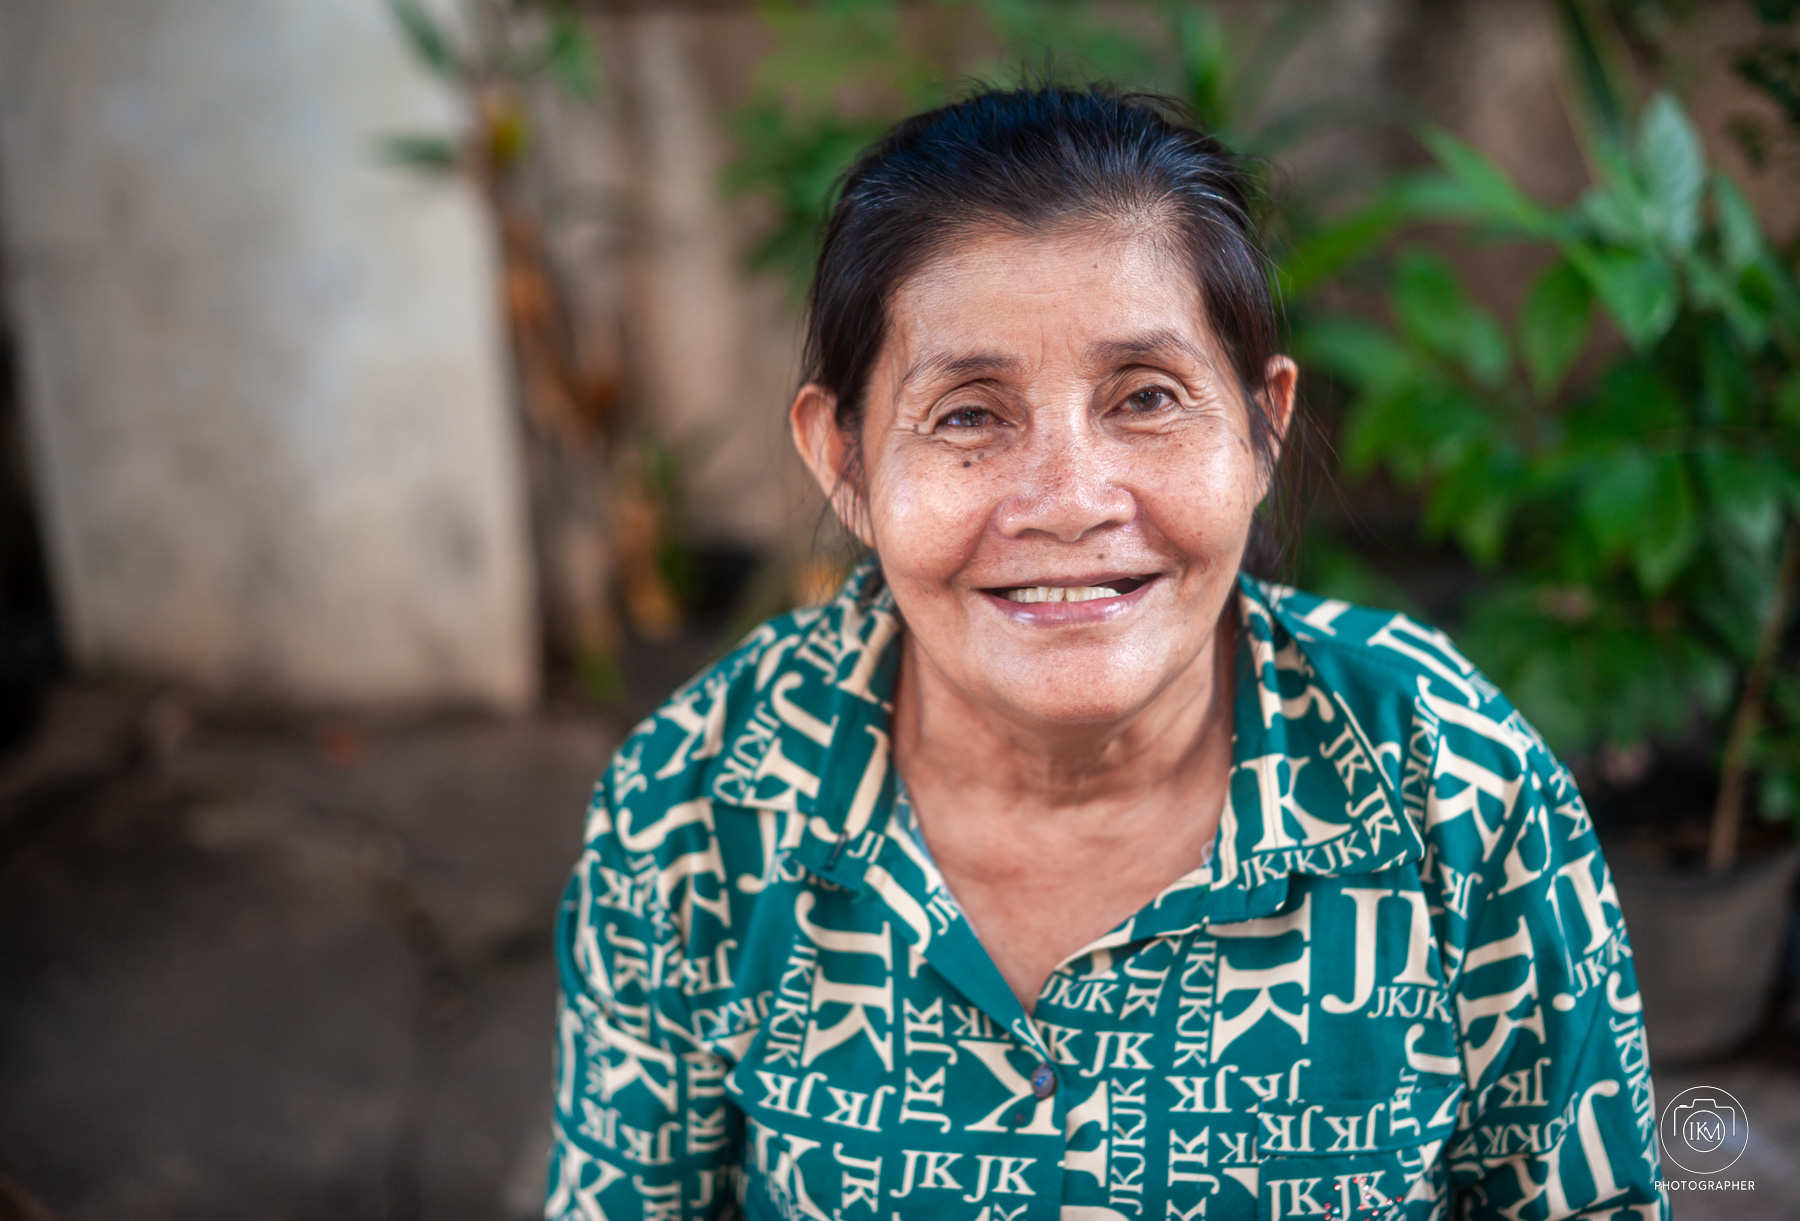
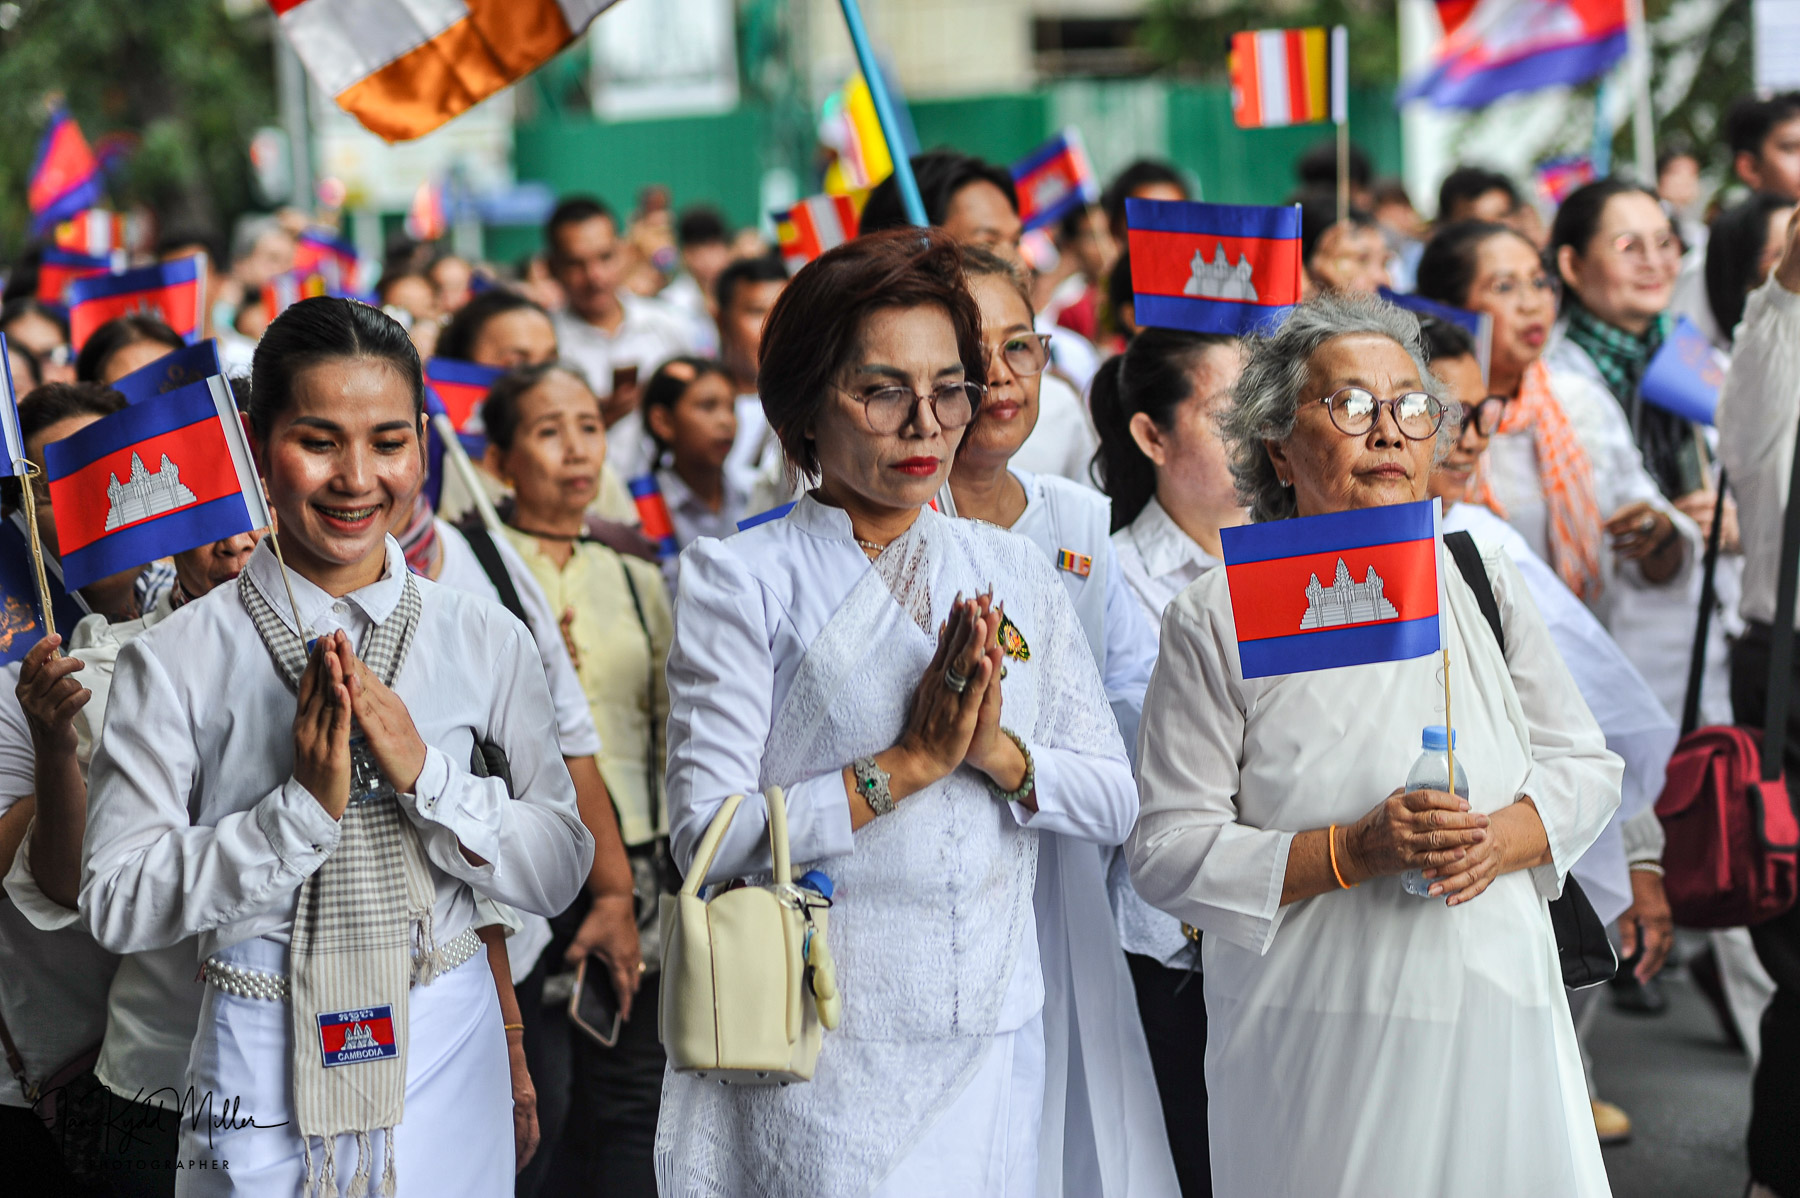
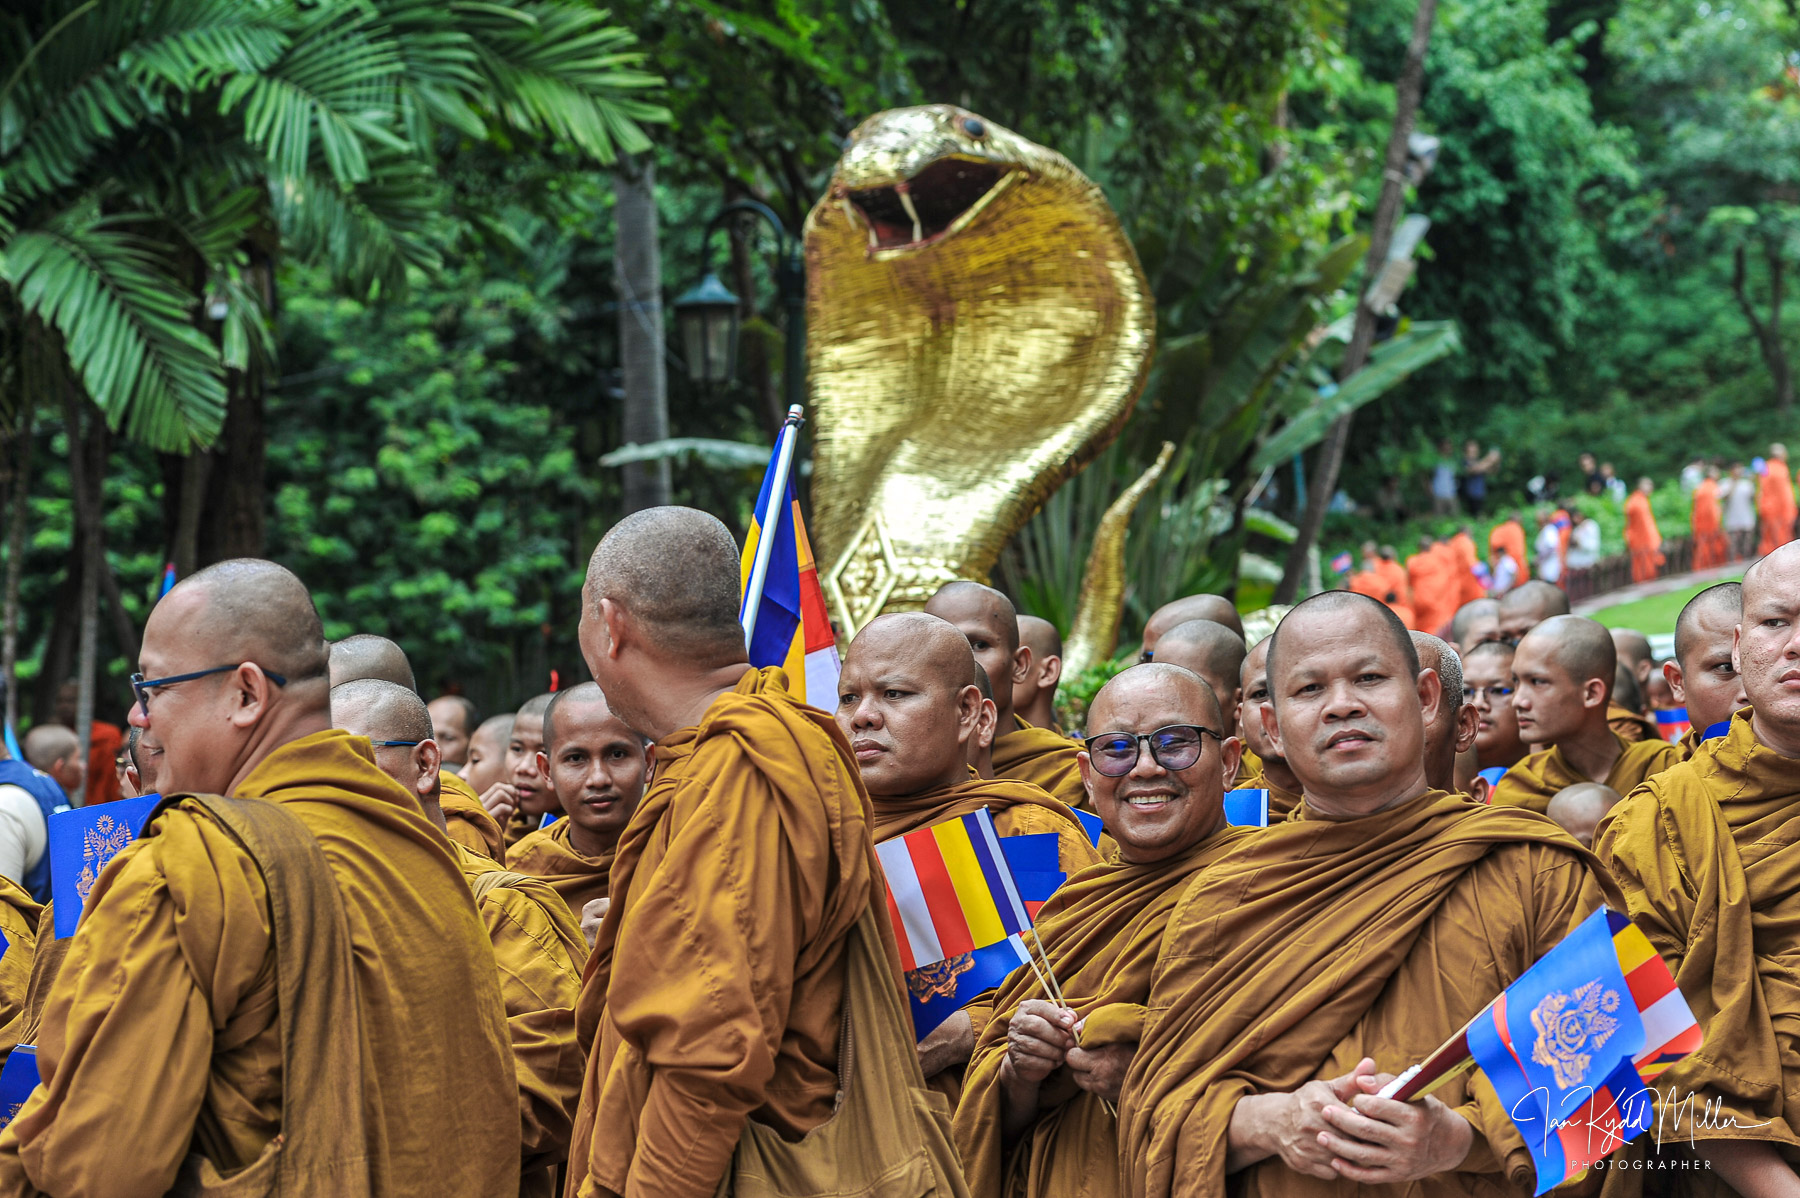
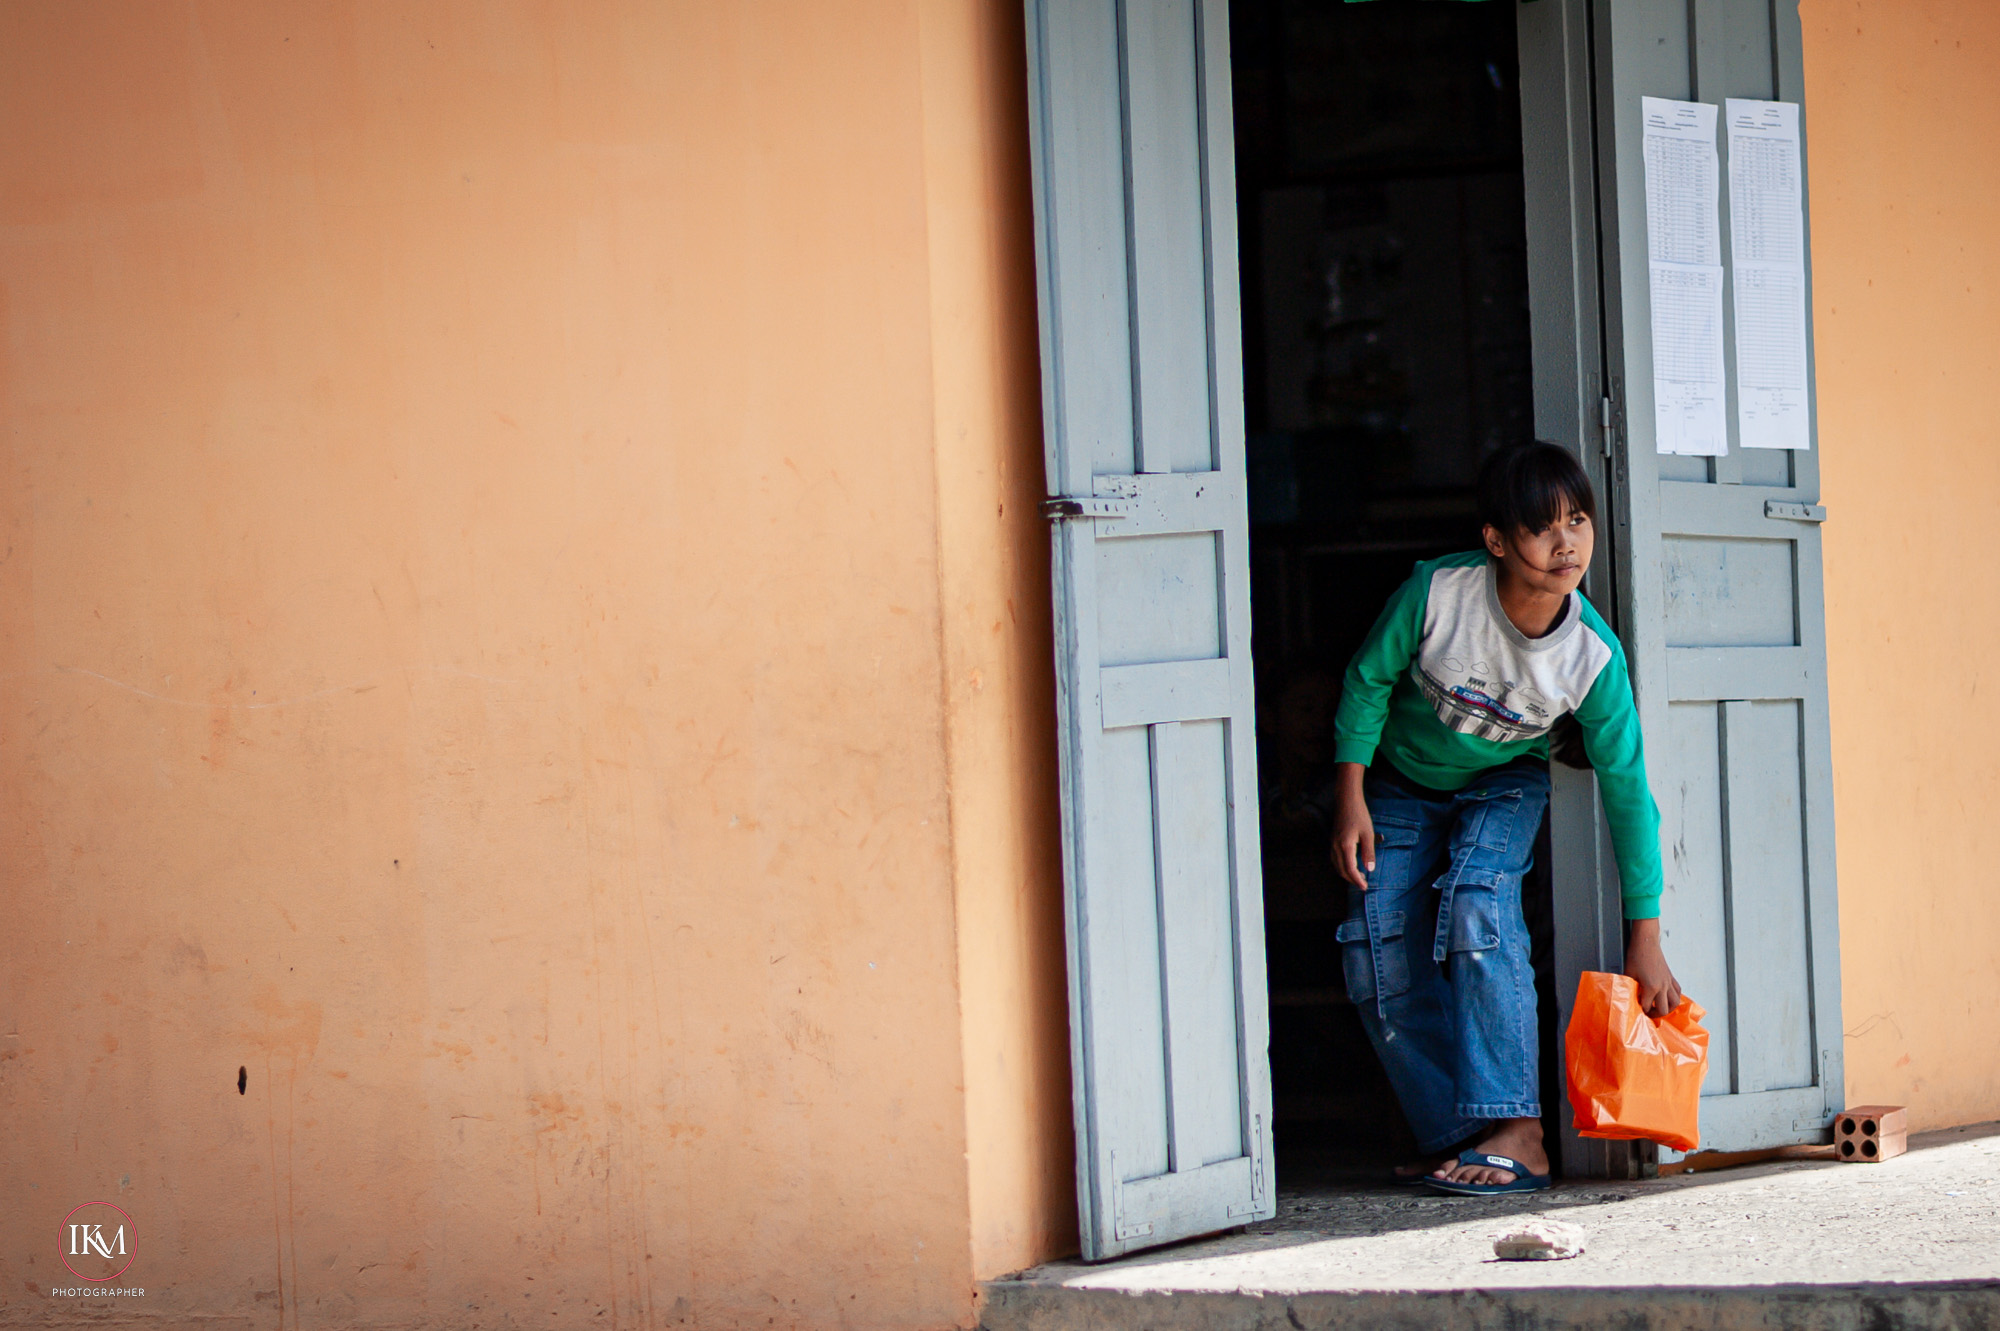
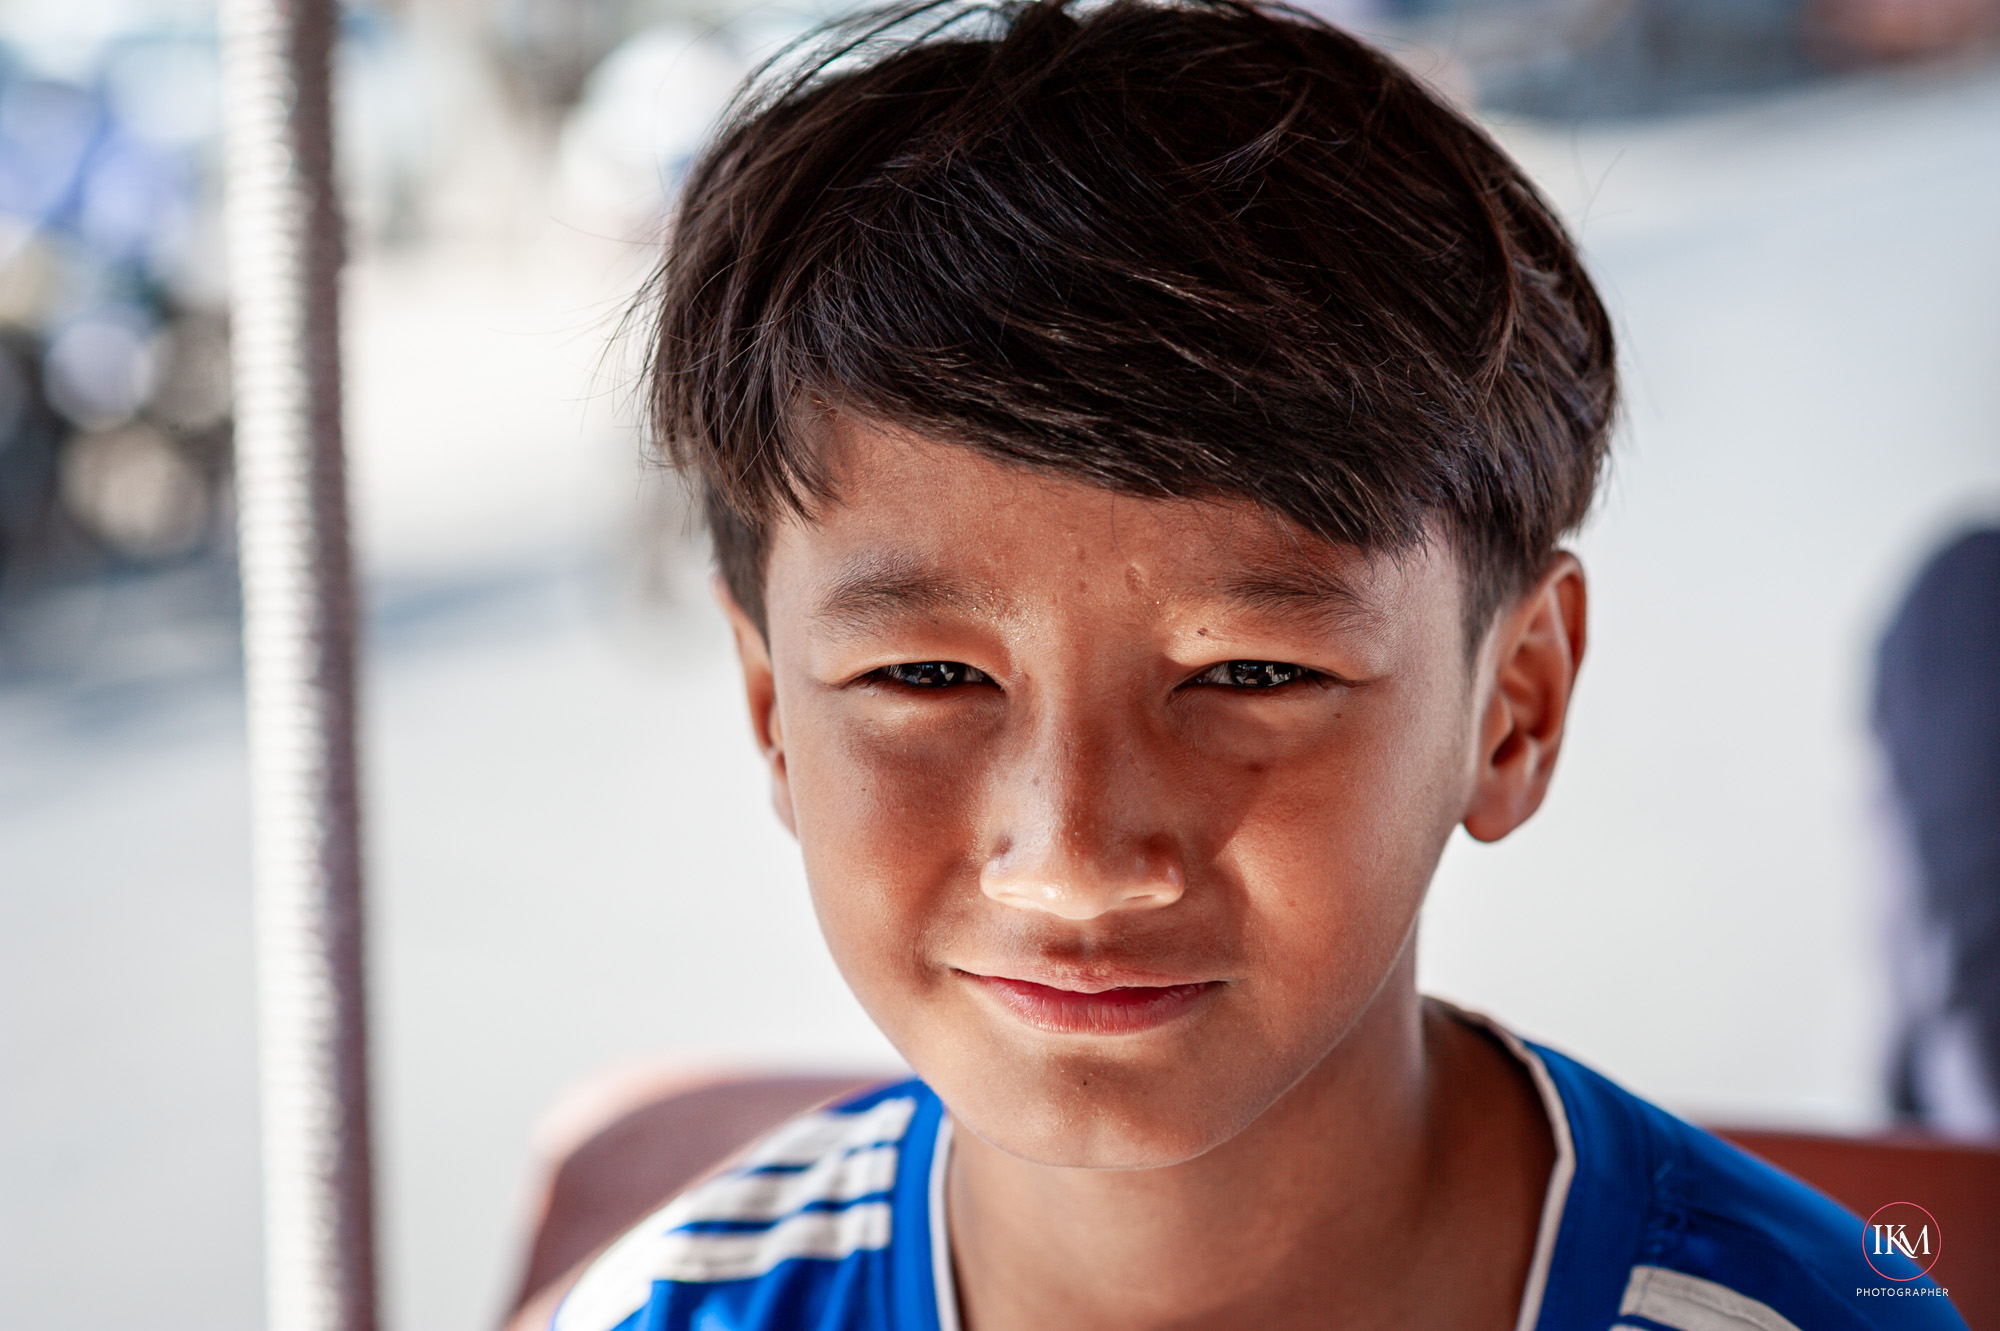
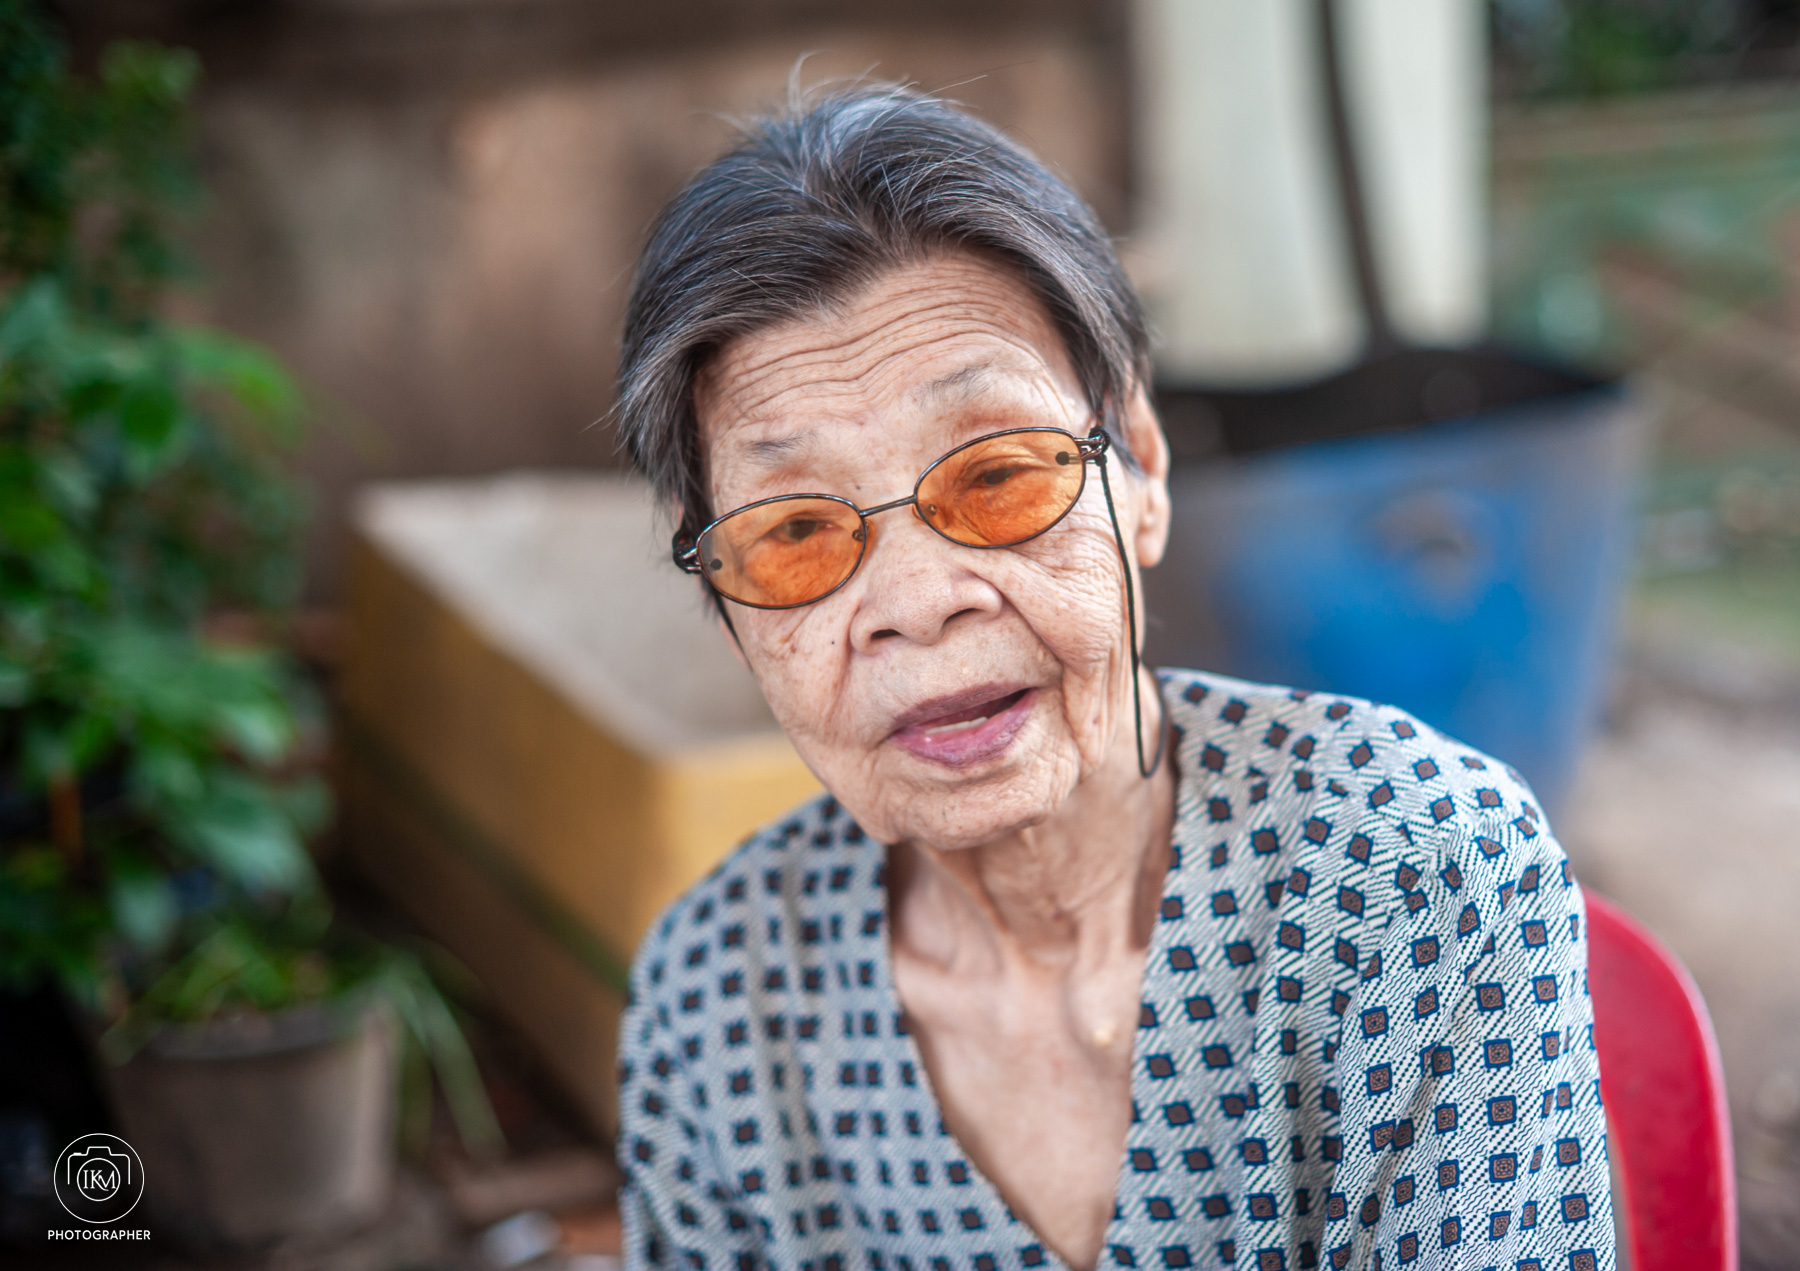
- An 85mm lens compresses space, offering a unique way to frame gestures, expressions, and interactions.
- It can highlight individuals within the crowd, turning anonymity into intimacy.
- Practicality:
- In places where close interaction may be culturally sensitive or unsafe, longer focal lengths allow respectful distance.
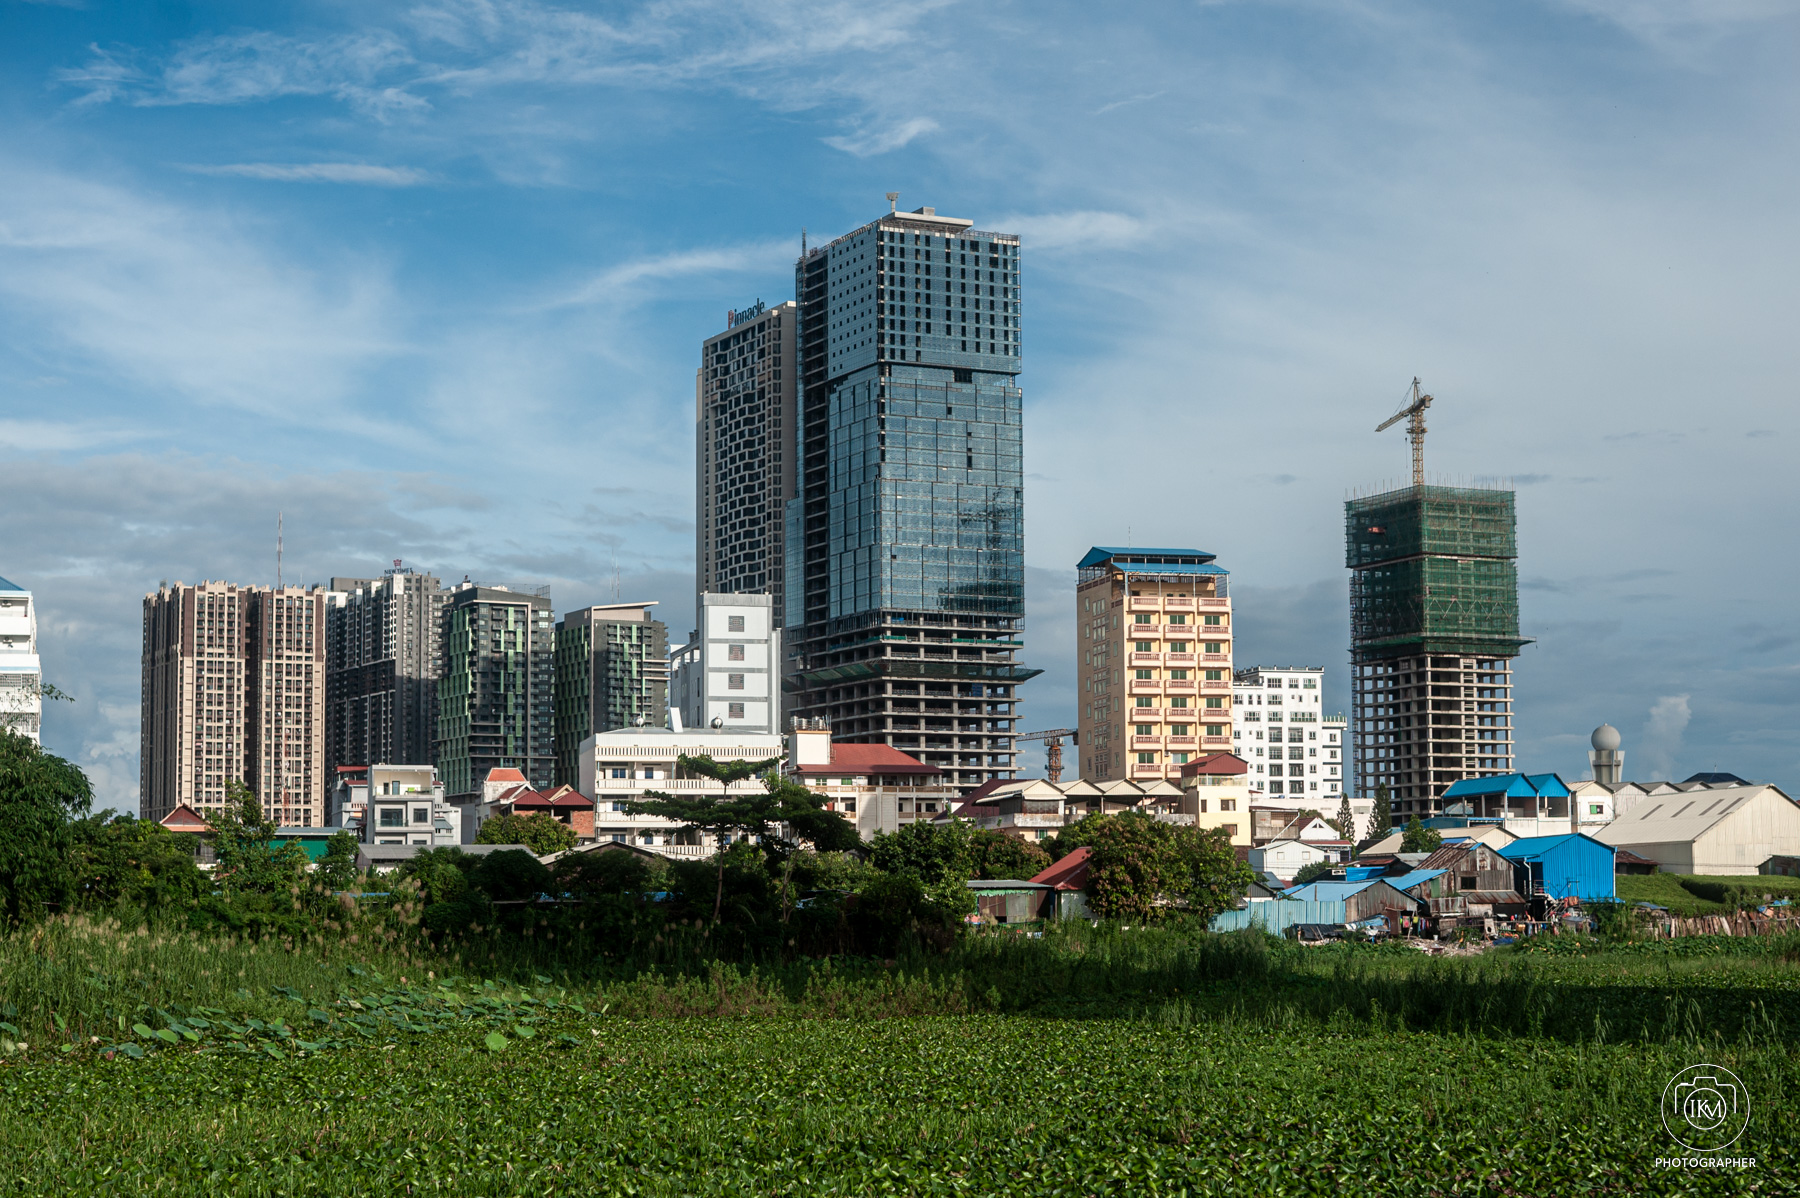
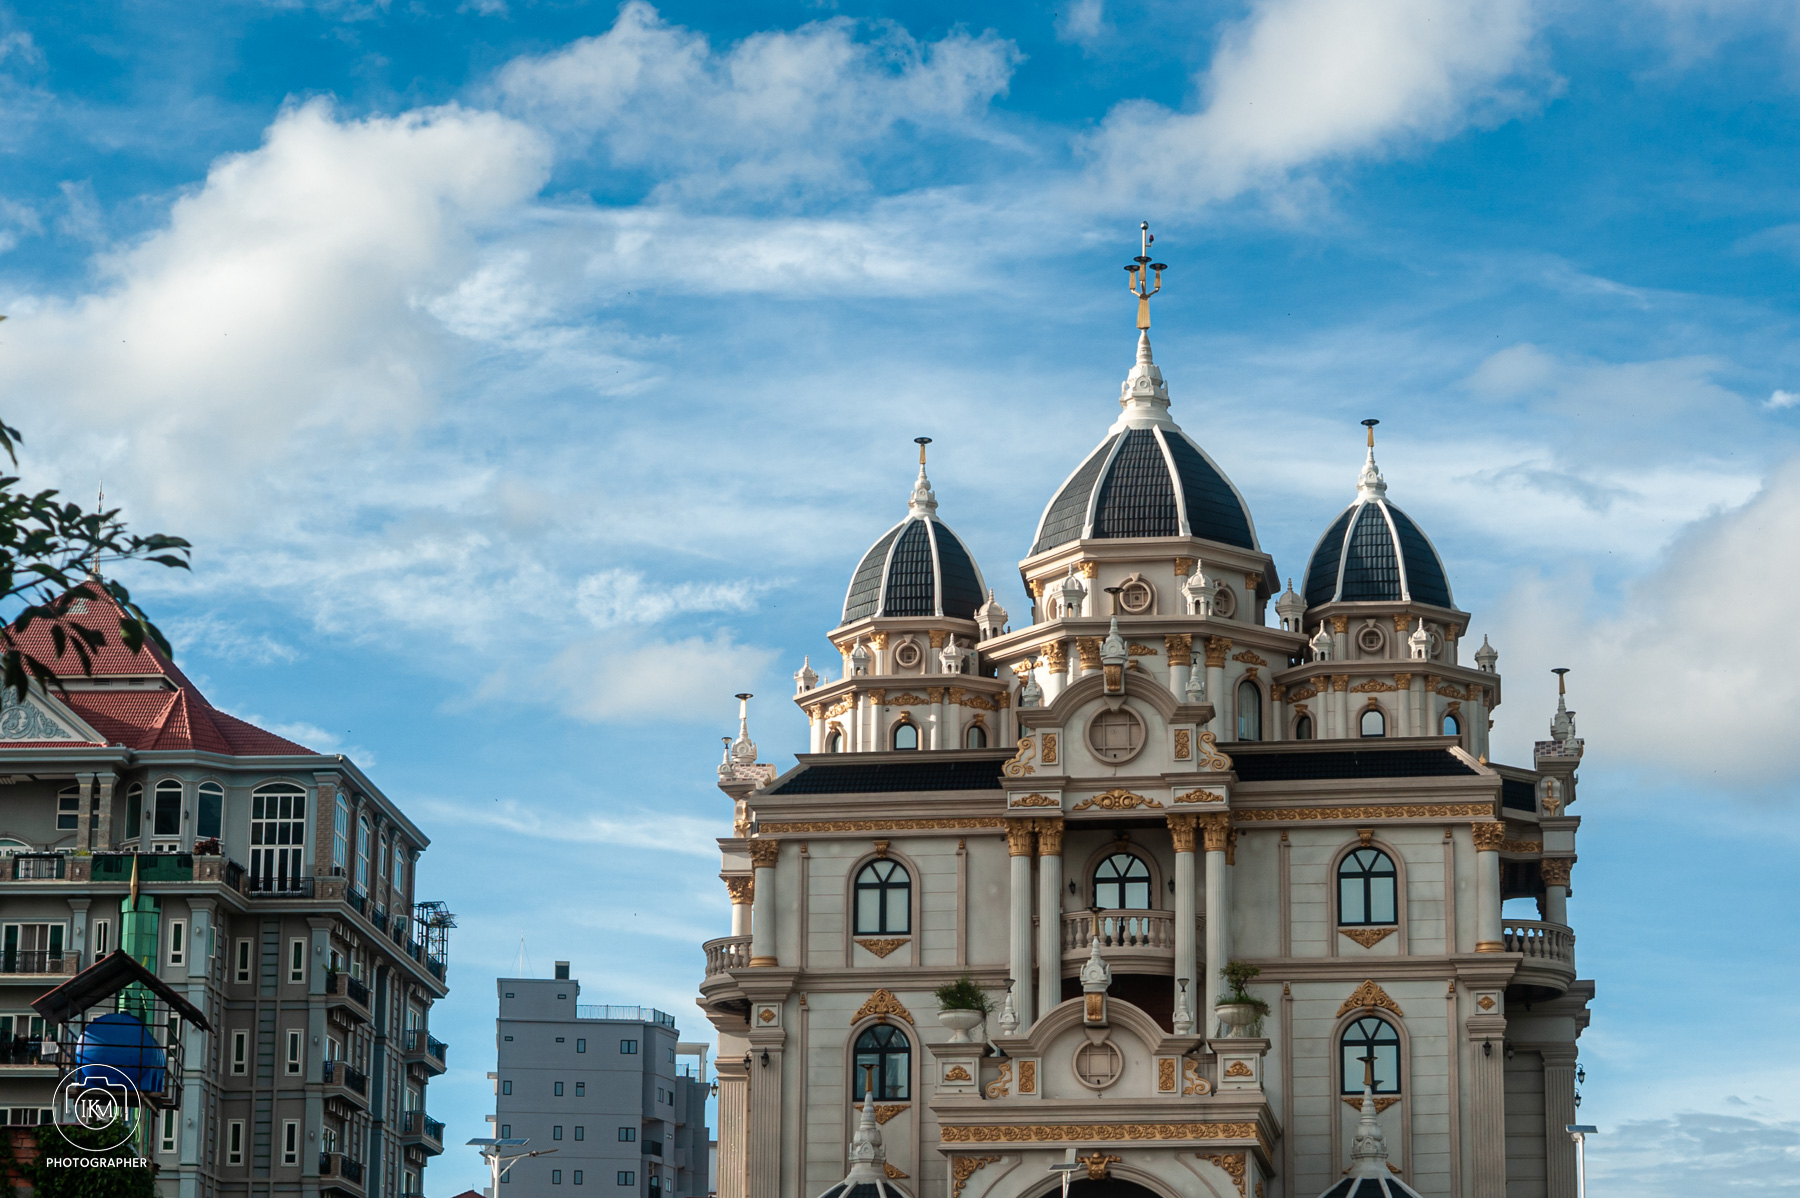
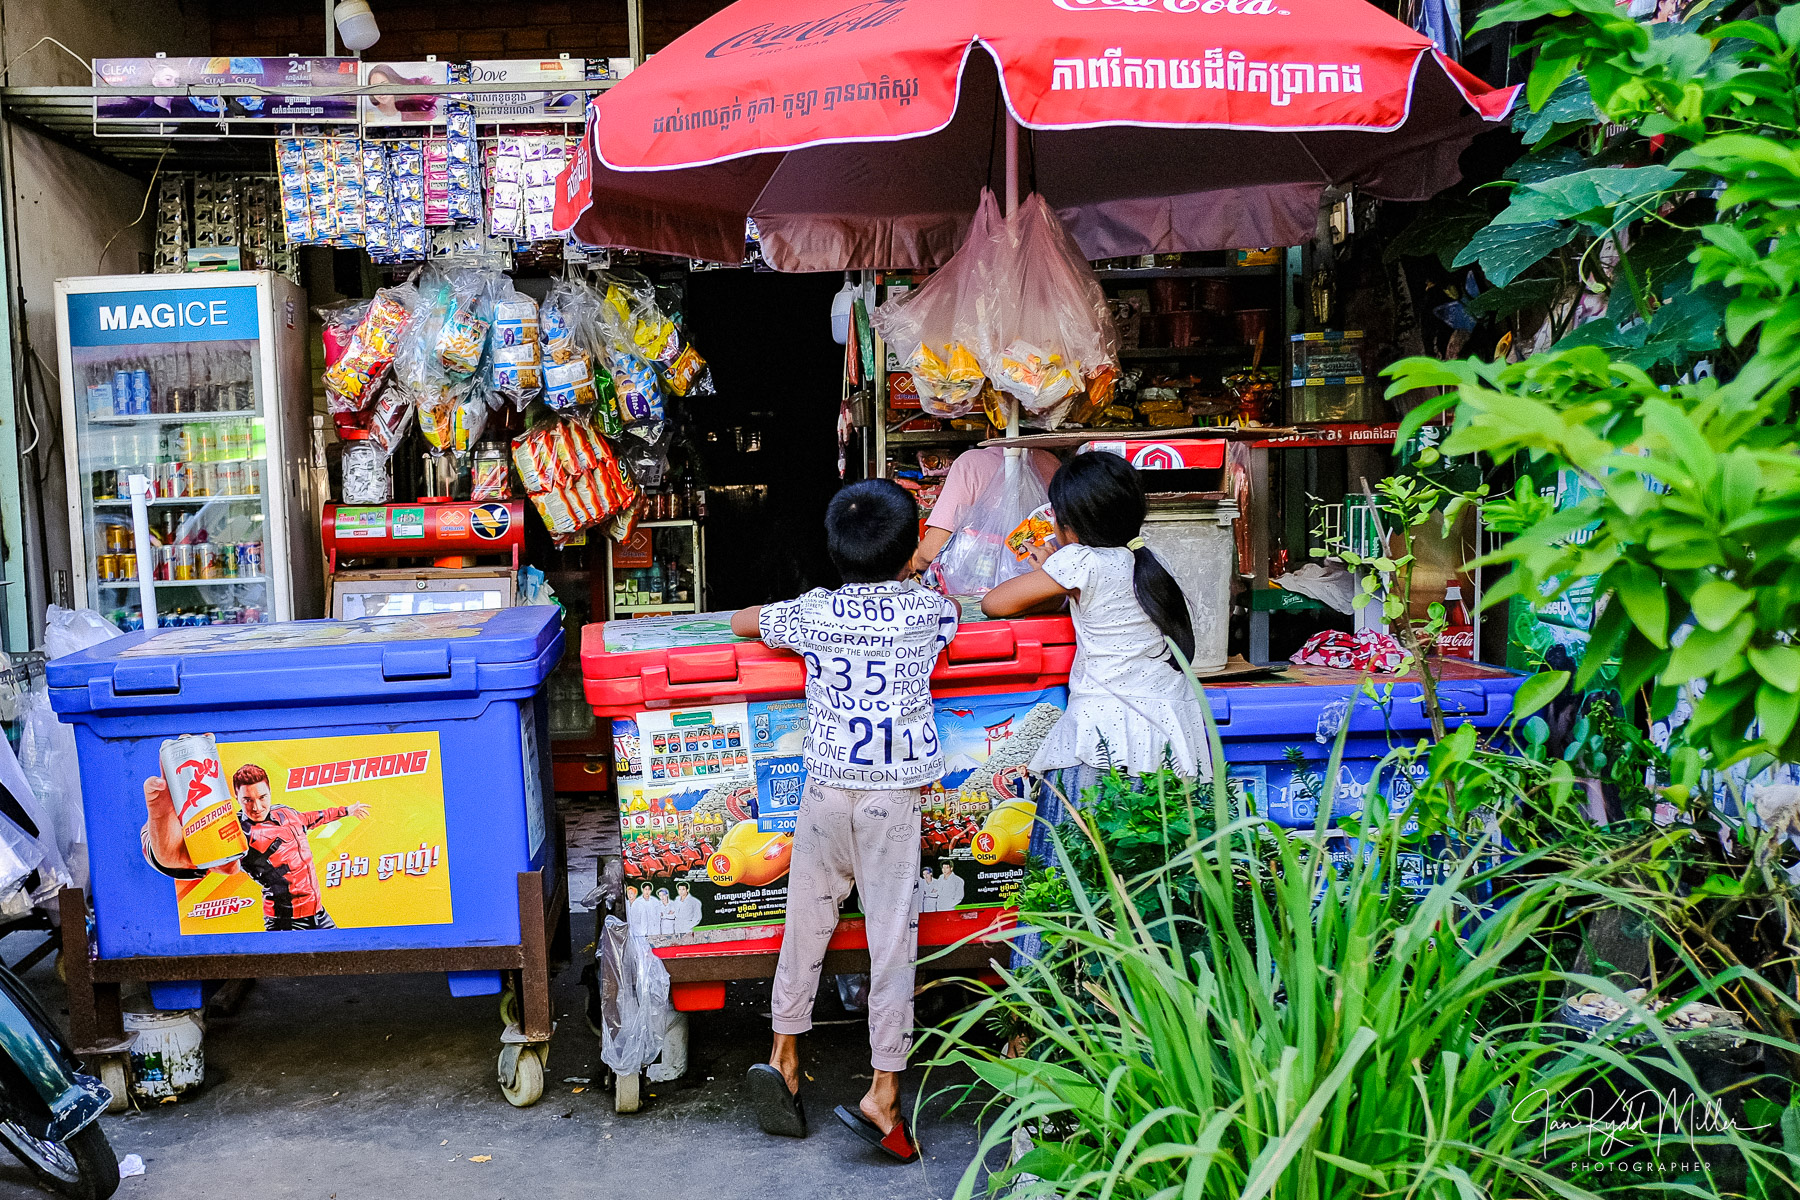
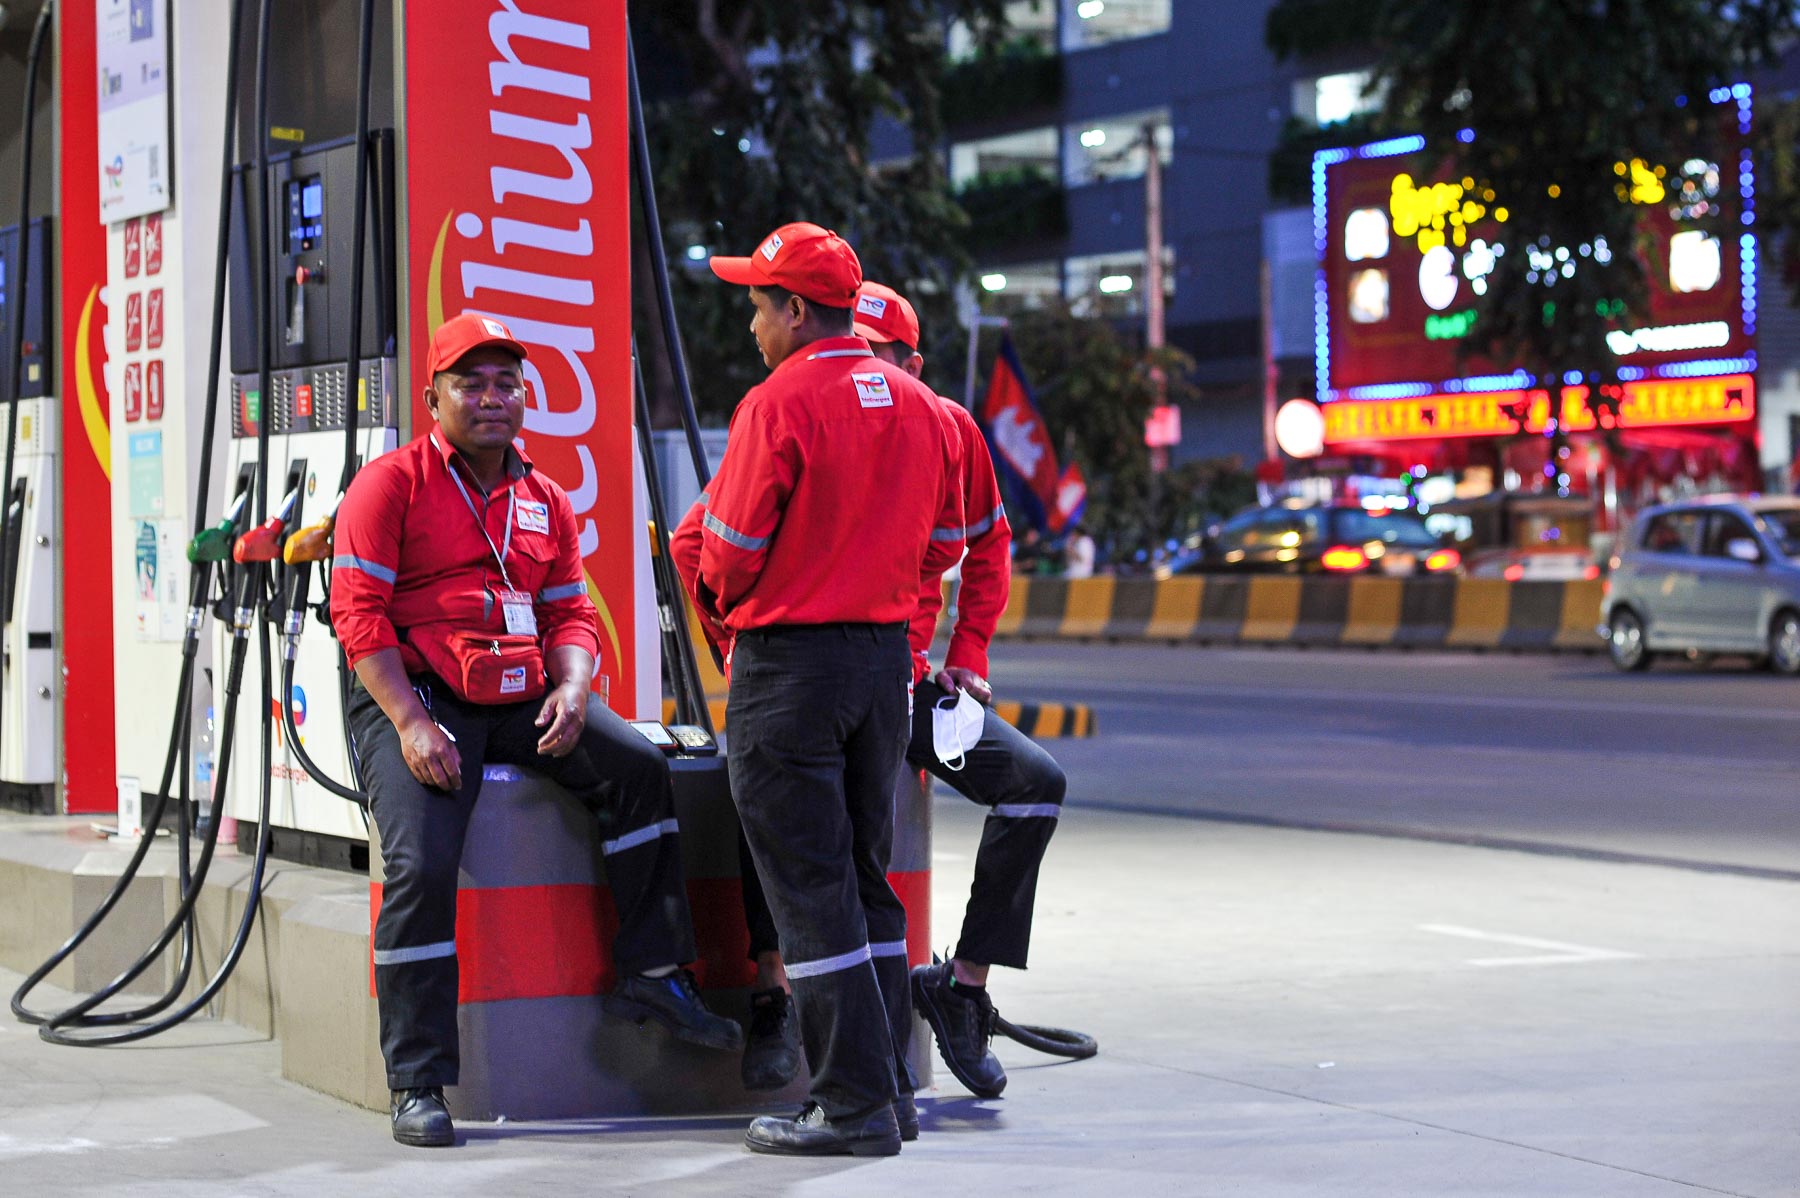
- In Phnom Penh, for example, using 85mm could let you capture warmth without intruding.
⚖️ Advantages of 85mm Street Work
- Subject isolation and expressive portraits.
- Quiet SWM autofocus — discreet in public.
- Lightweight and portable compared to f/1.4 primes.
📊 Comparison: Nikon 85mm f/1.8D vs 85mm f/1.8G
| Feature | Nikon 85mm f/1.8D (1994) | Nikon 85mm f/1.8G (2012) |
|---|---|---|
| Focal Length | 85mm | 85mm |
| Maximum Aperture | f/1.8 | f/1.8 |
| Optical Design | 6 elements in 6 groups | 9 elements in 9 groups (modern coatings) |
| Autofocus System | Screw‑drive AF (requires motor in camera) | Silent Wave Motor (SWM) built into lens |
| Manual Focus Override | No | Yes (M/A mode) |
| Minimum Focus Distance | 0.85 m | 0.8 m |
| Diaphragm Blades | 7 straight blades | 7 rounded blades (smoother bokeh) |
| Weight | ~380 g | ~350 g |
| Build Quality | Metal/plastic mix, solid feel | Plastic barrel, lighter, not weather‑sealed |
| Filter Size | 62 mm | 67 mm |
| Release Year | 1994 | 2012 |
⚠️ Disadvantages
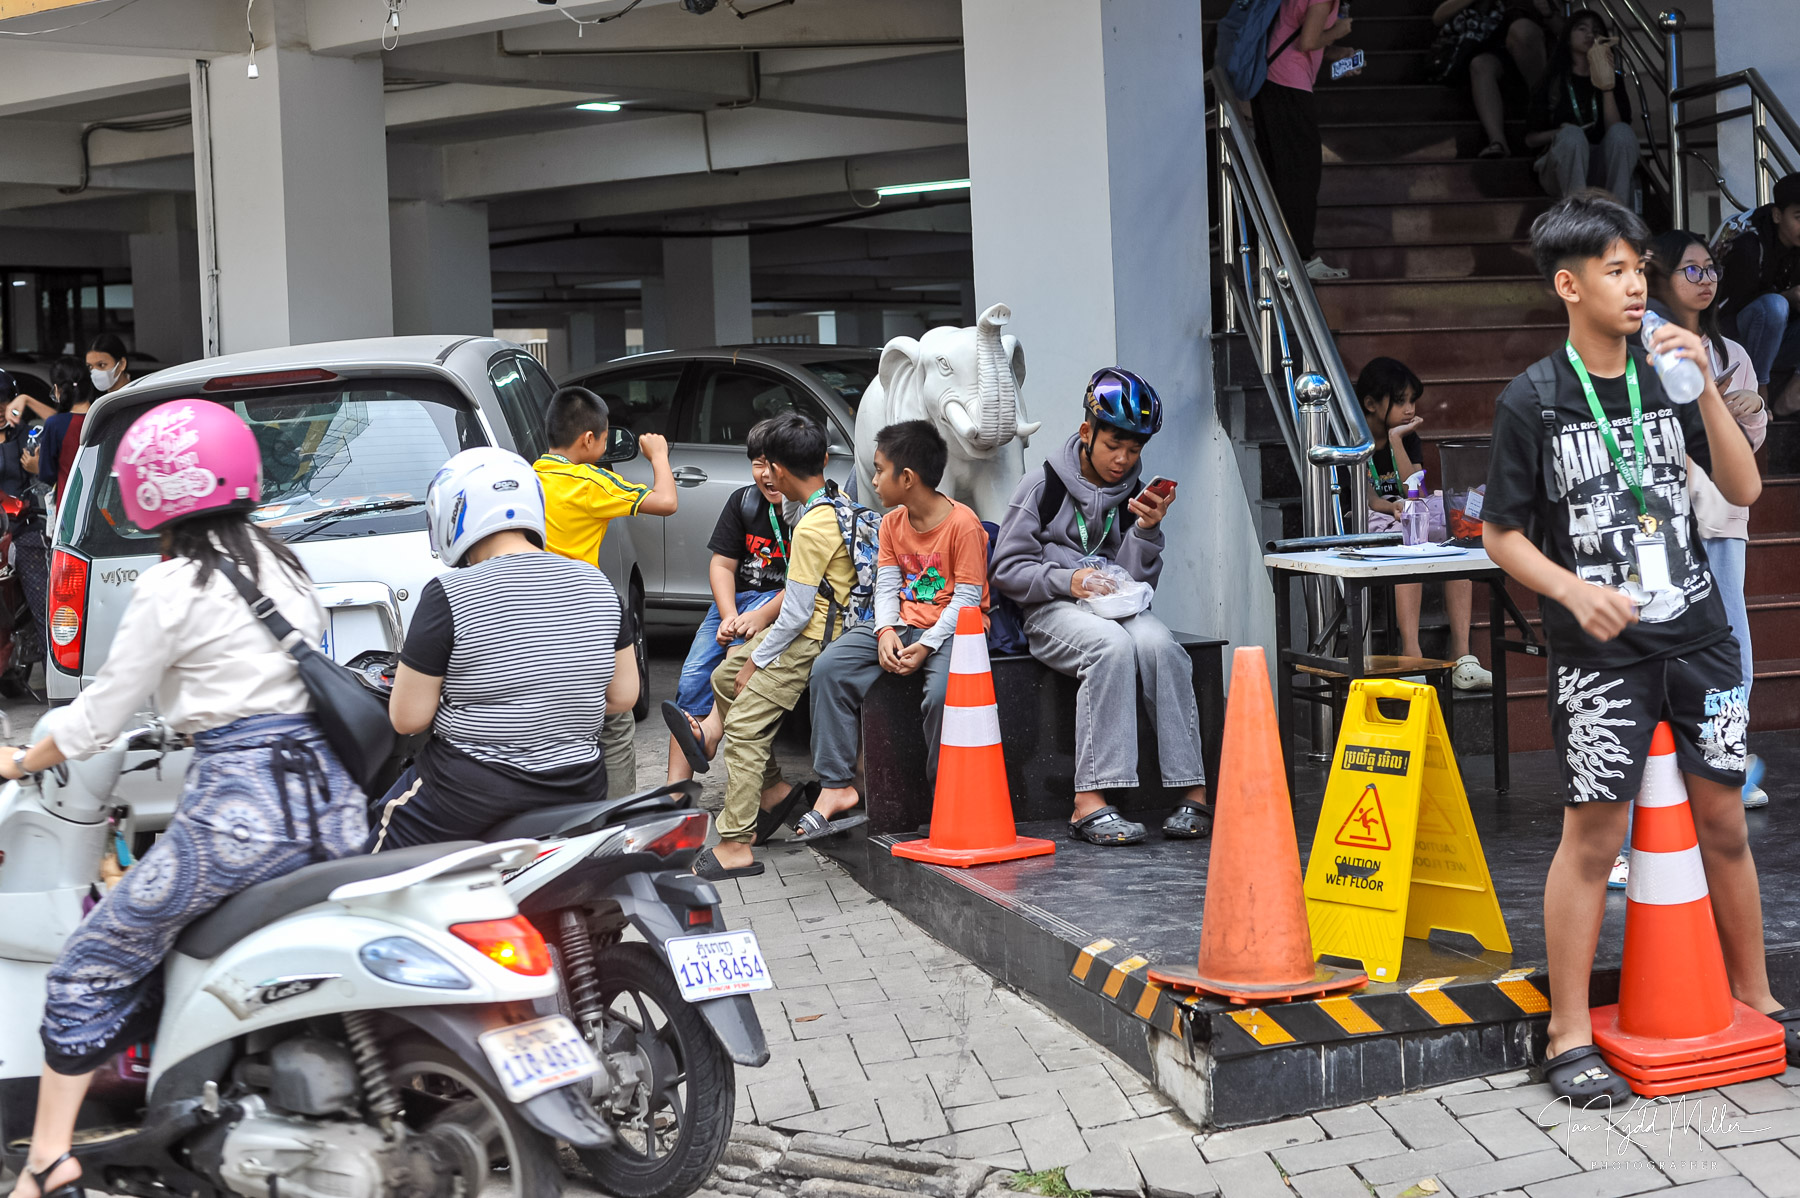
- Less context — backgrounds blur, reducing environmental storytelling.
- Risk of voyeurism if used without engagement.
- Narrower field of view makes spontaneous wide scenes harder to capture.
✨ Conclusion
Calling the 85mm f/1.8G “cheating” in street photography reflects a purist mindset that equates authenticity with proximity. In reality, it’s just another tool — one that shifts the genre toward street portraiture, where clarity and ambiguity coexist. The ethical weight lies not in the lens, but in how you use it: whether you engage, respect, and frame responsibly.