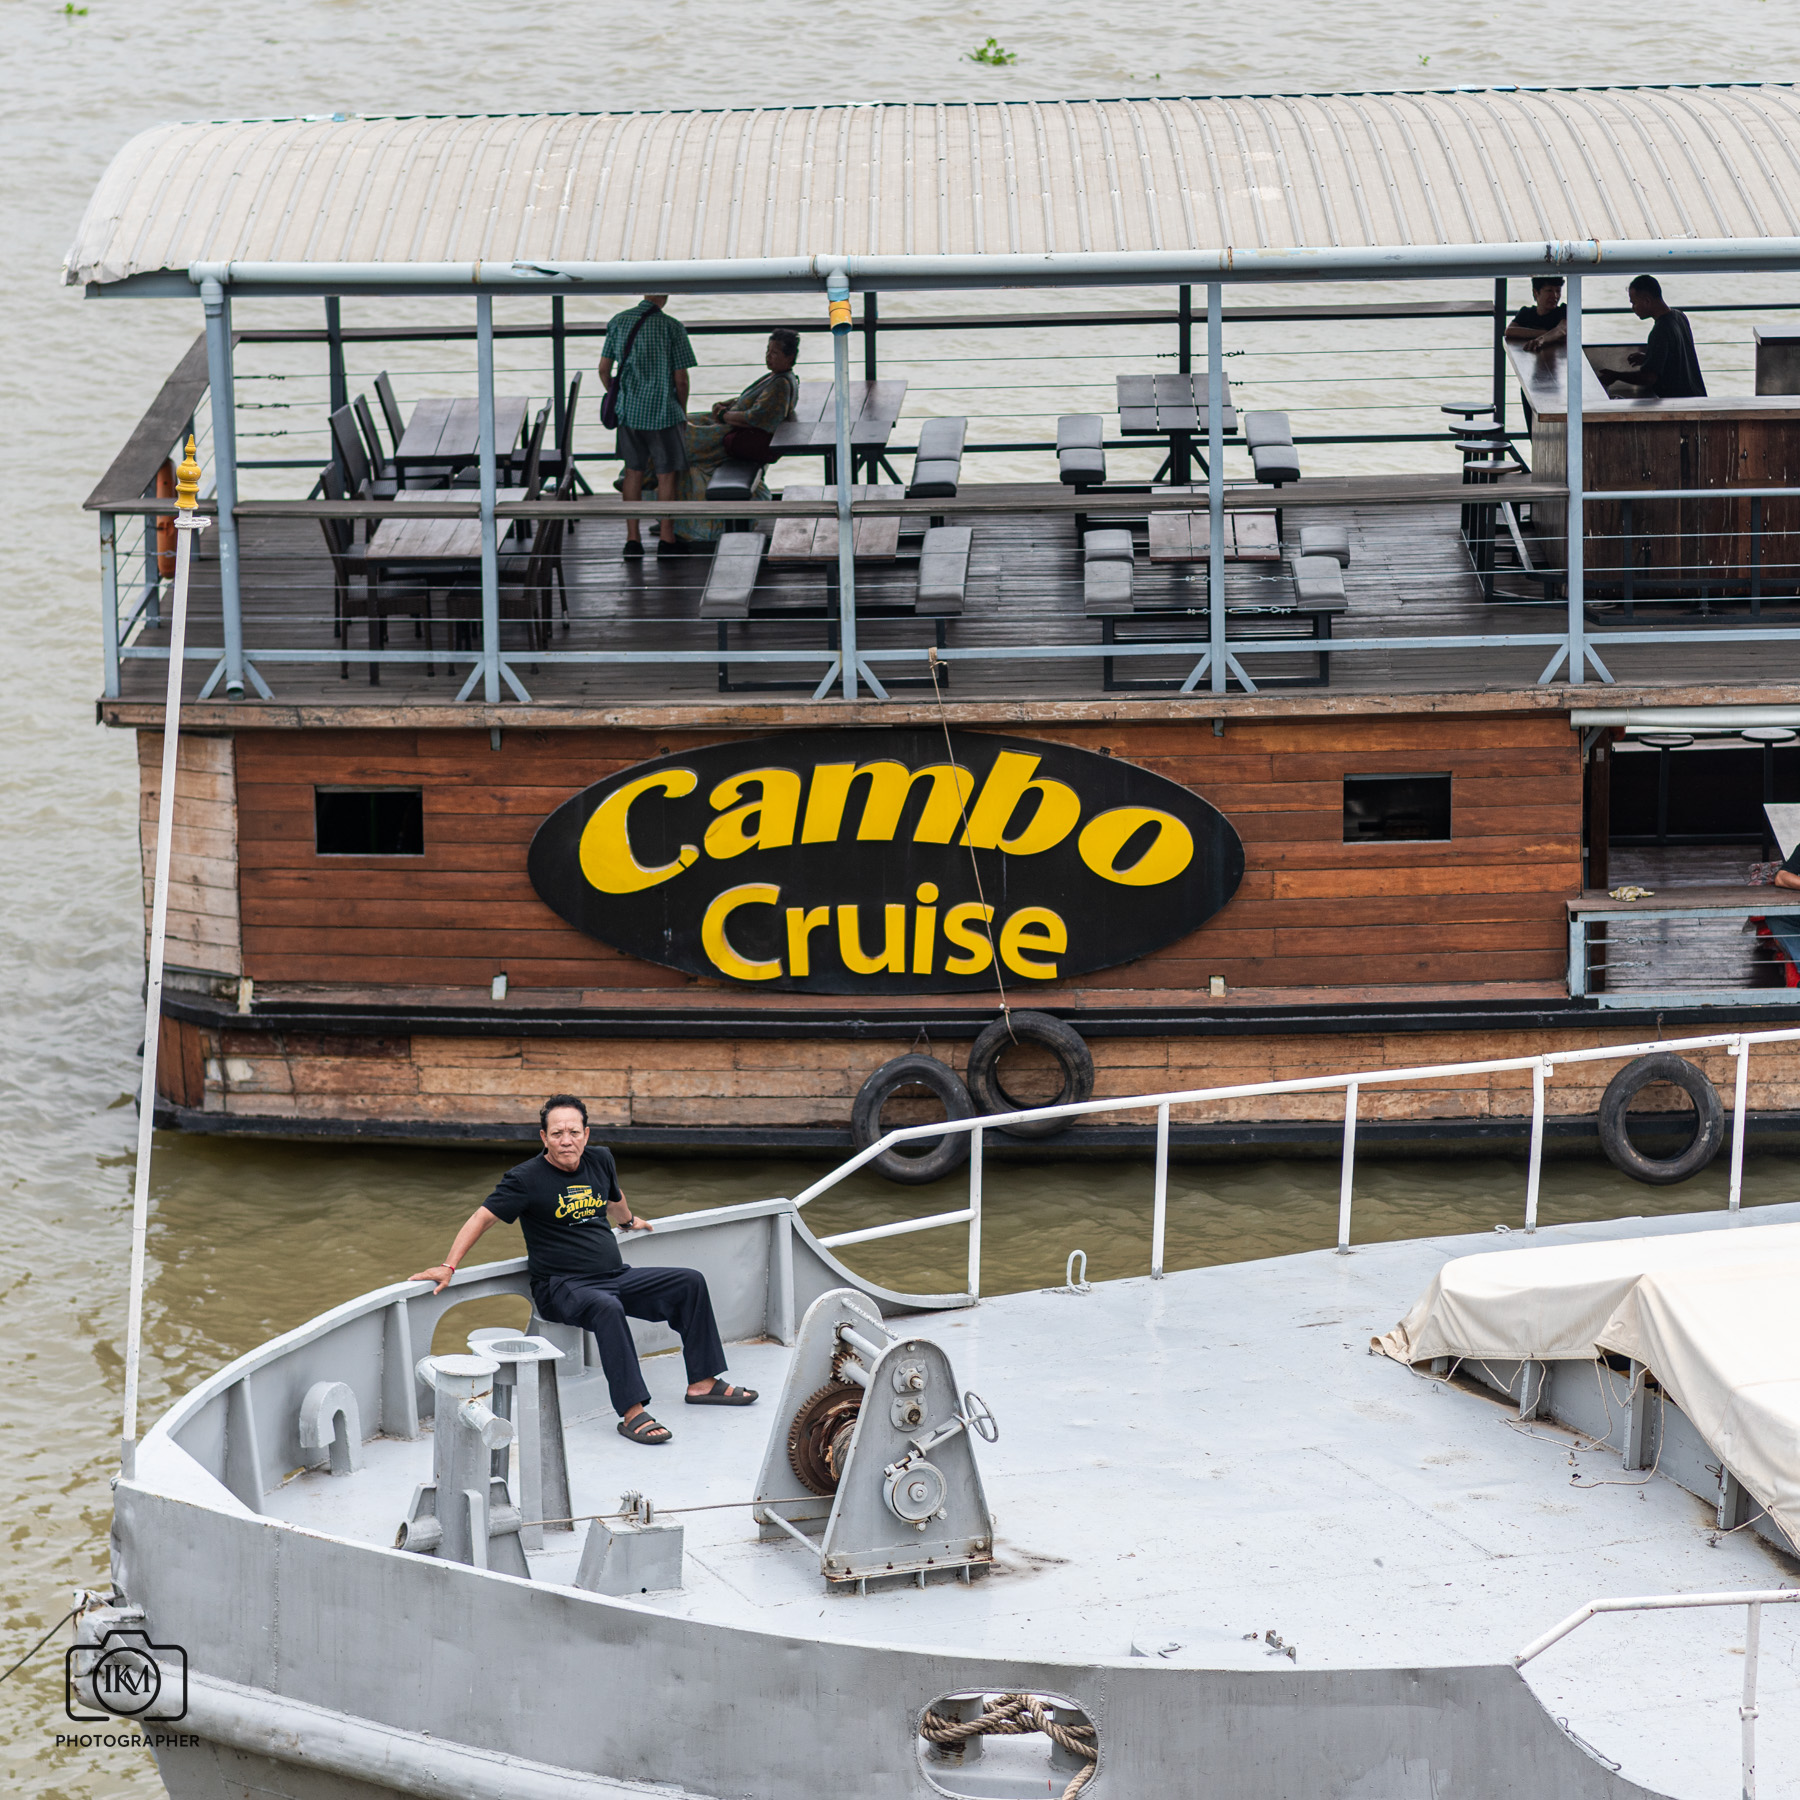
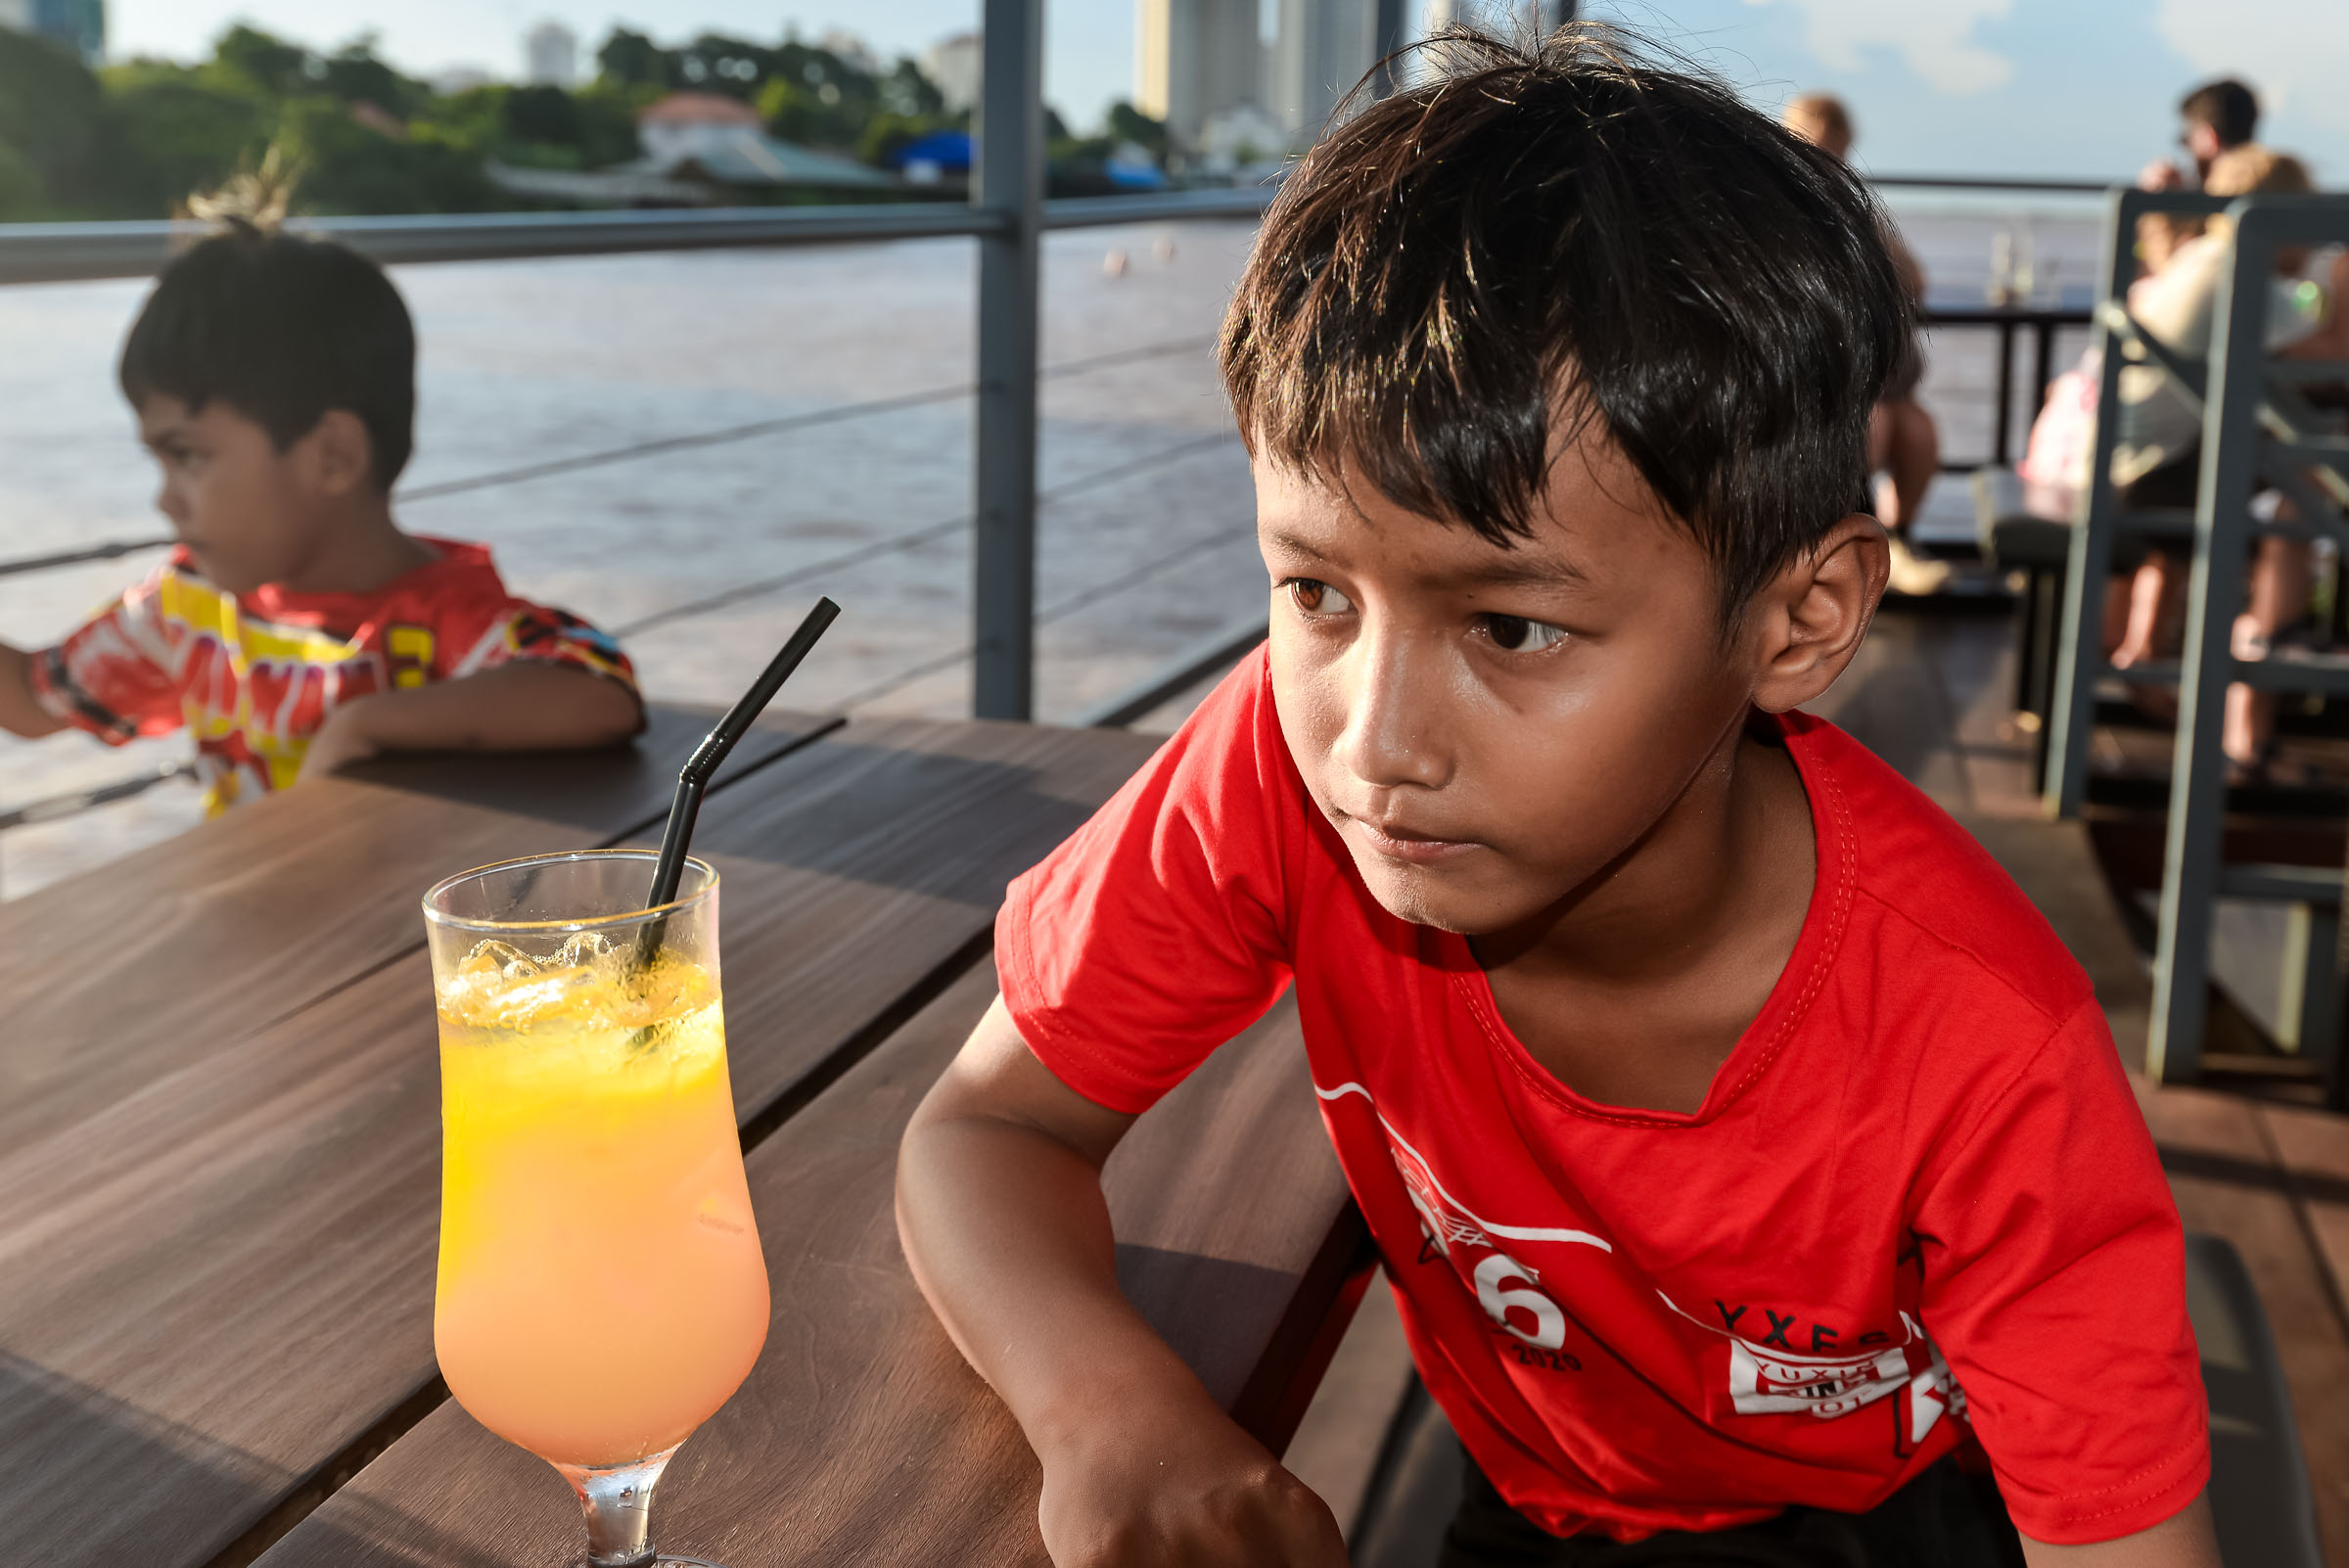
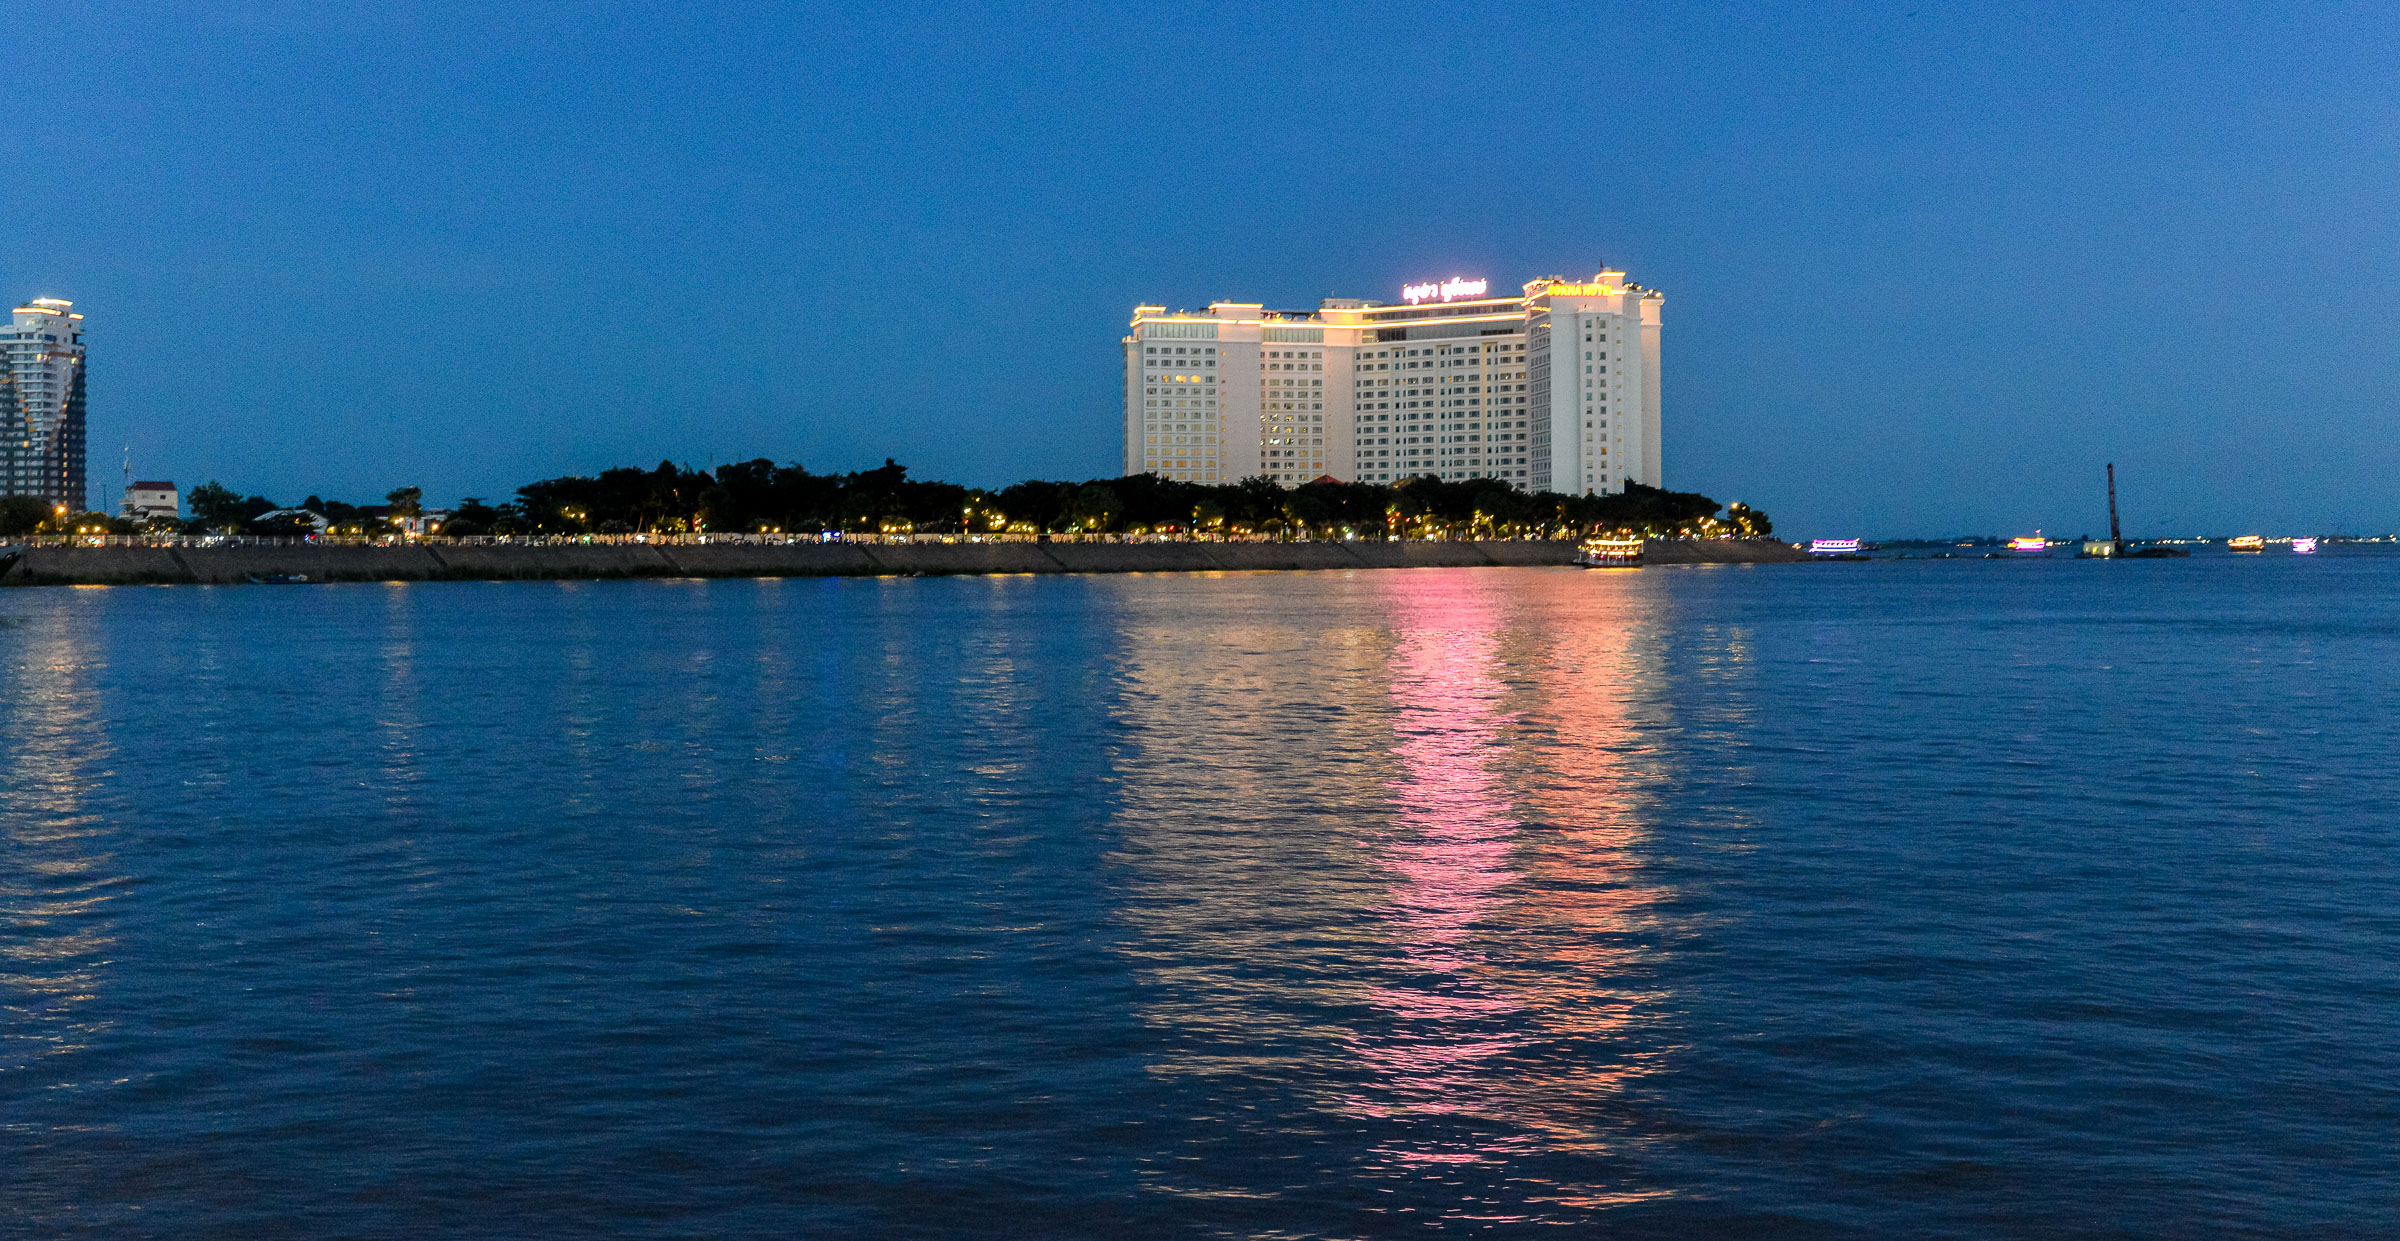
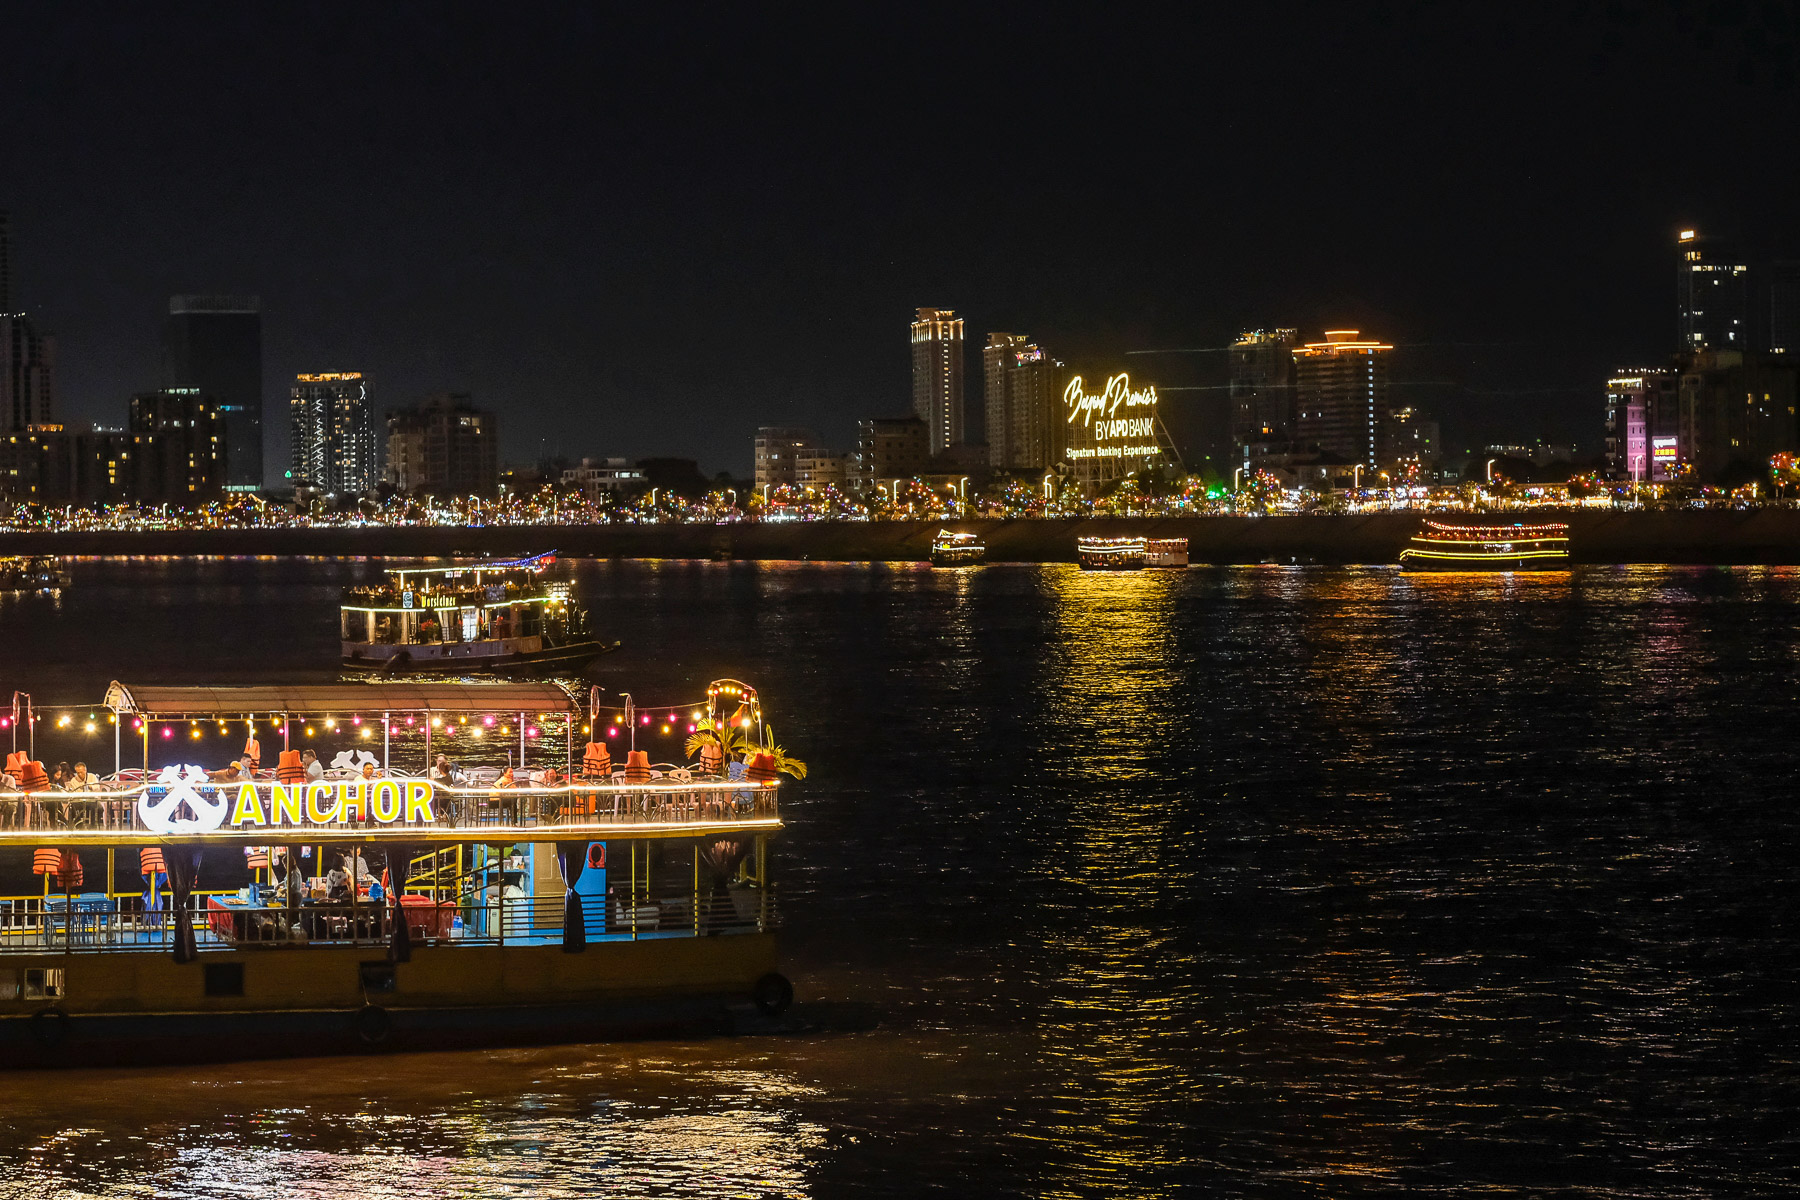
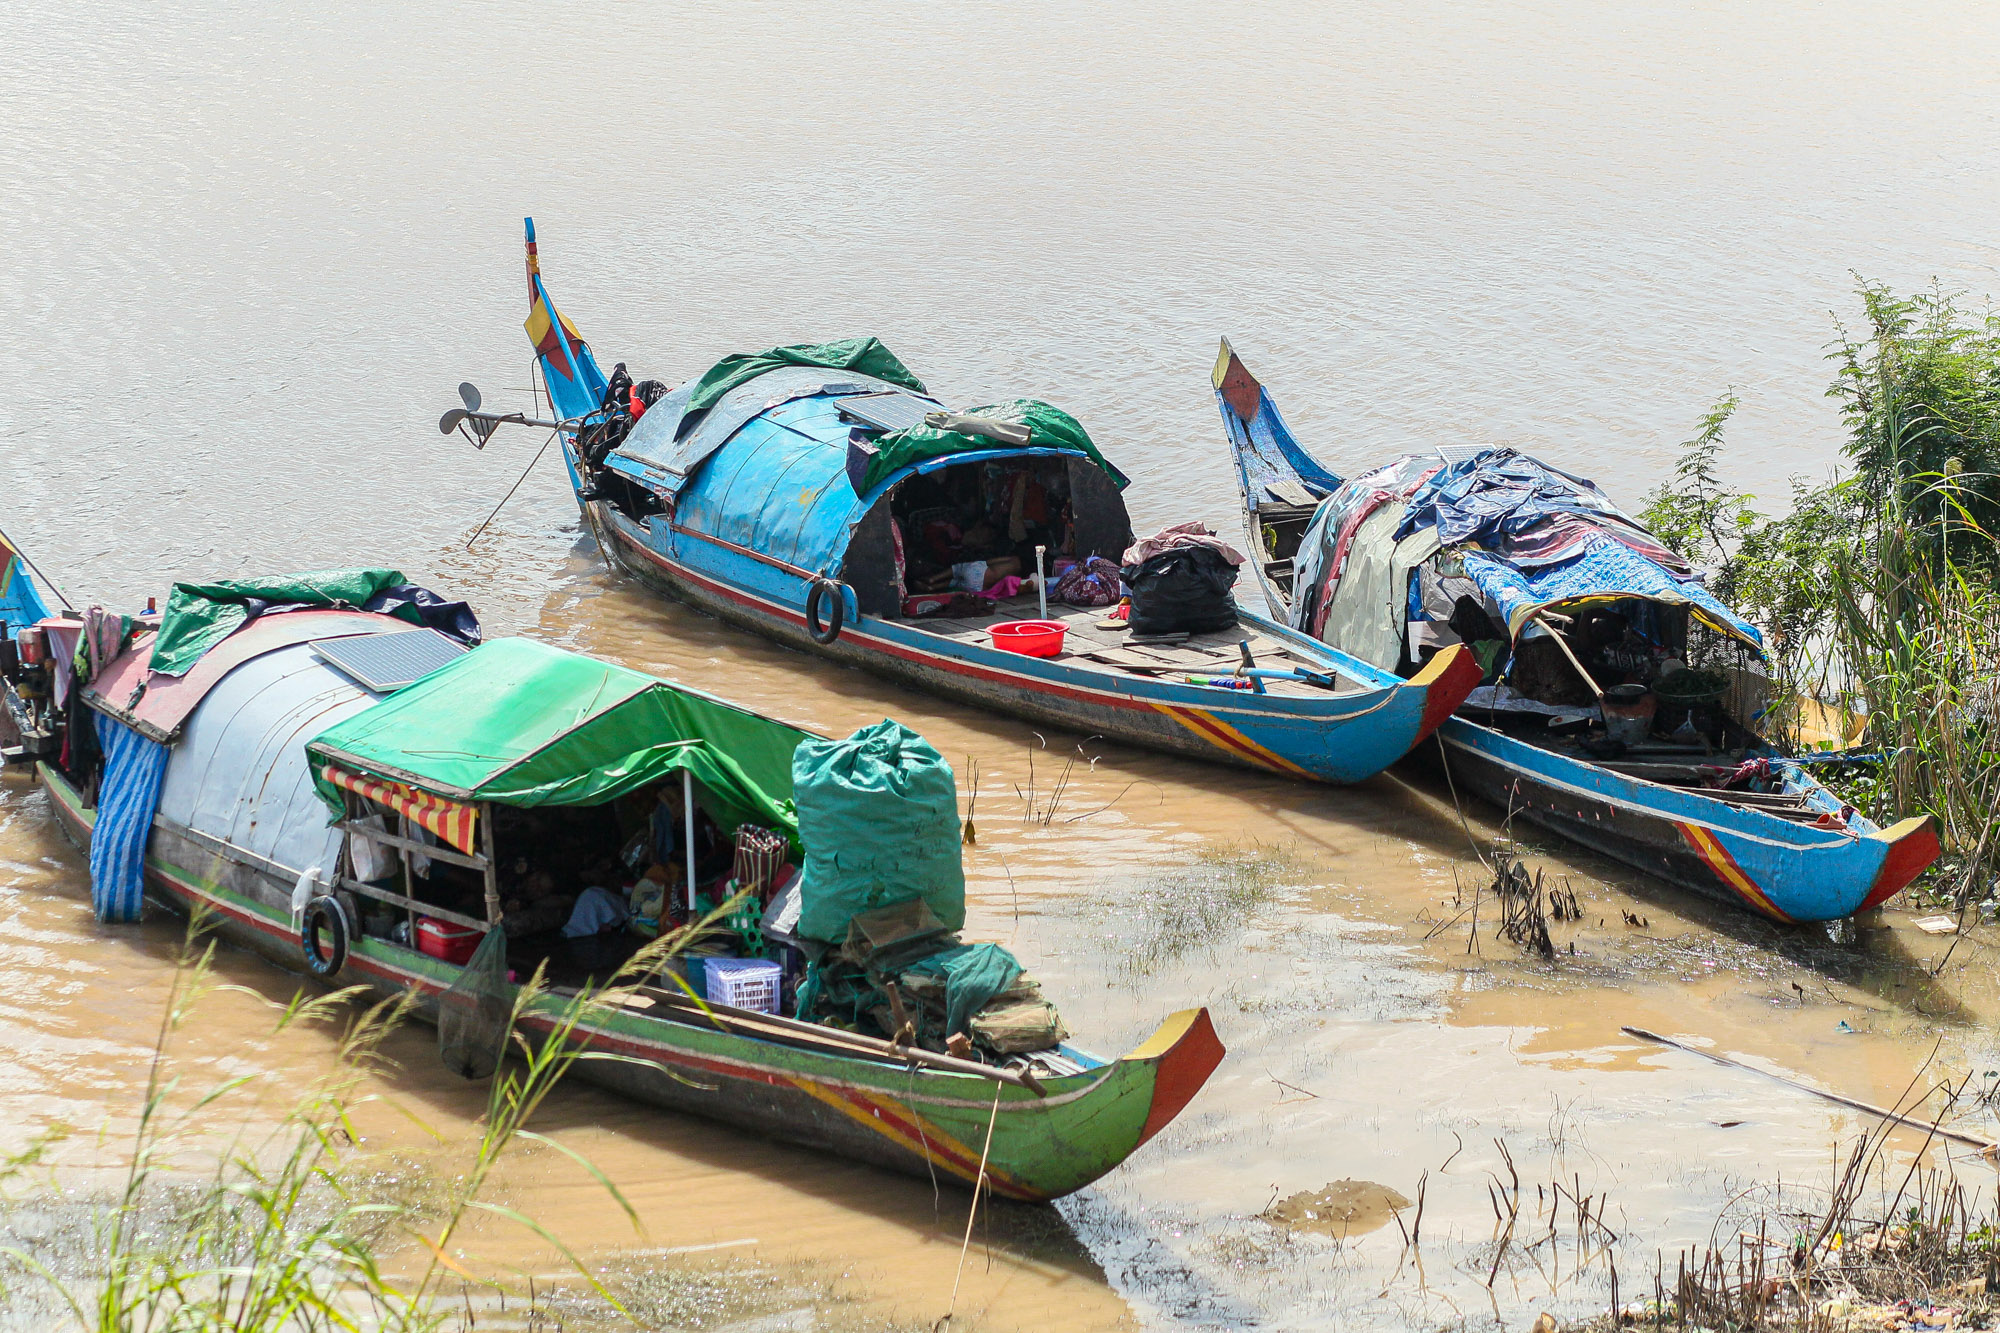
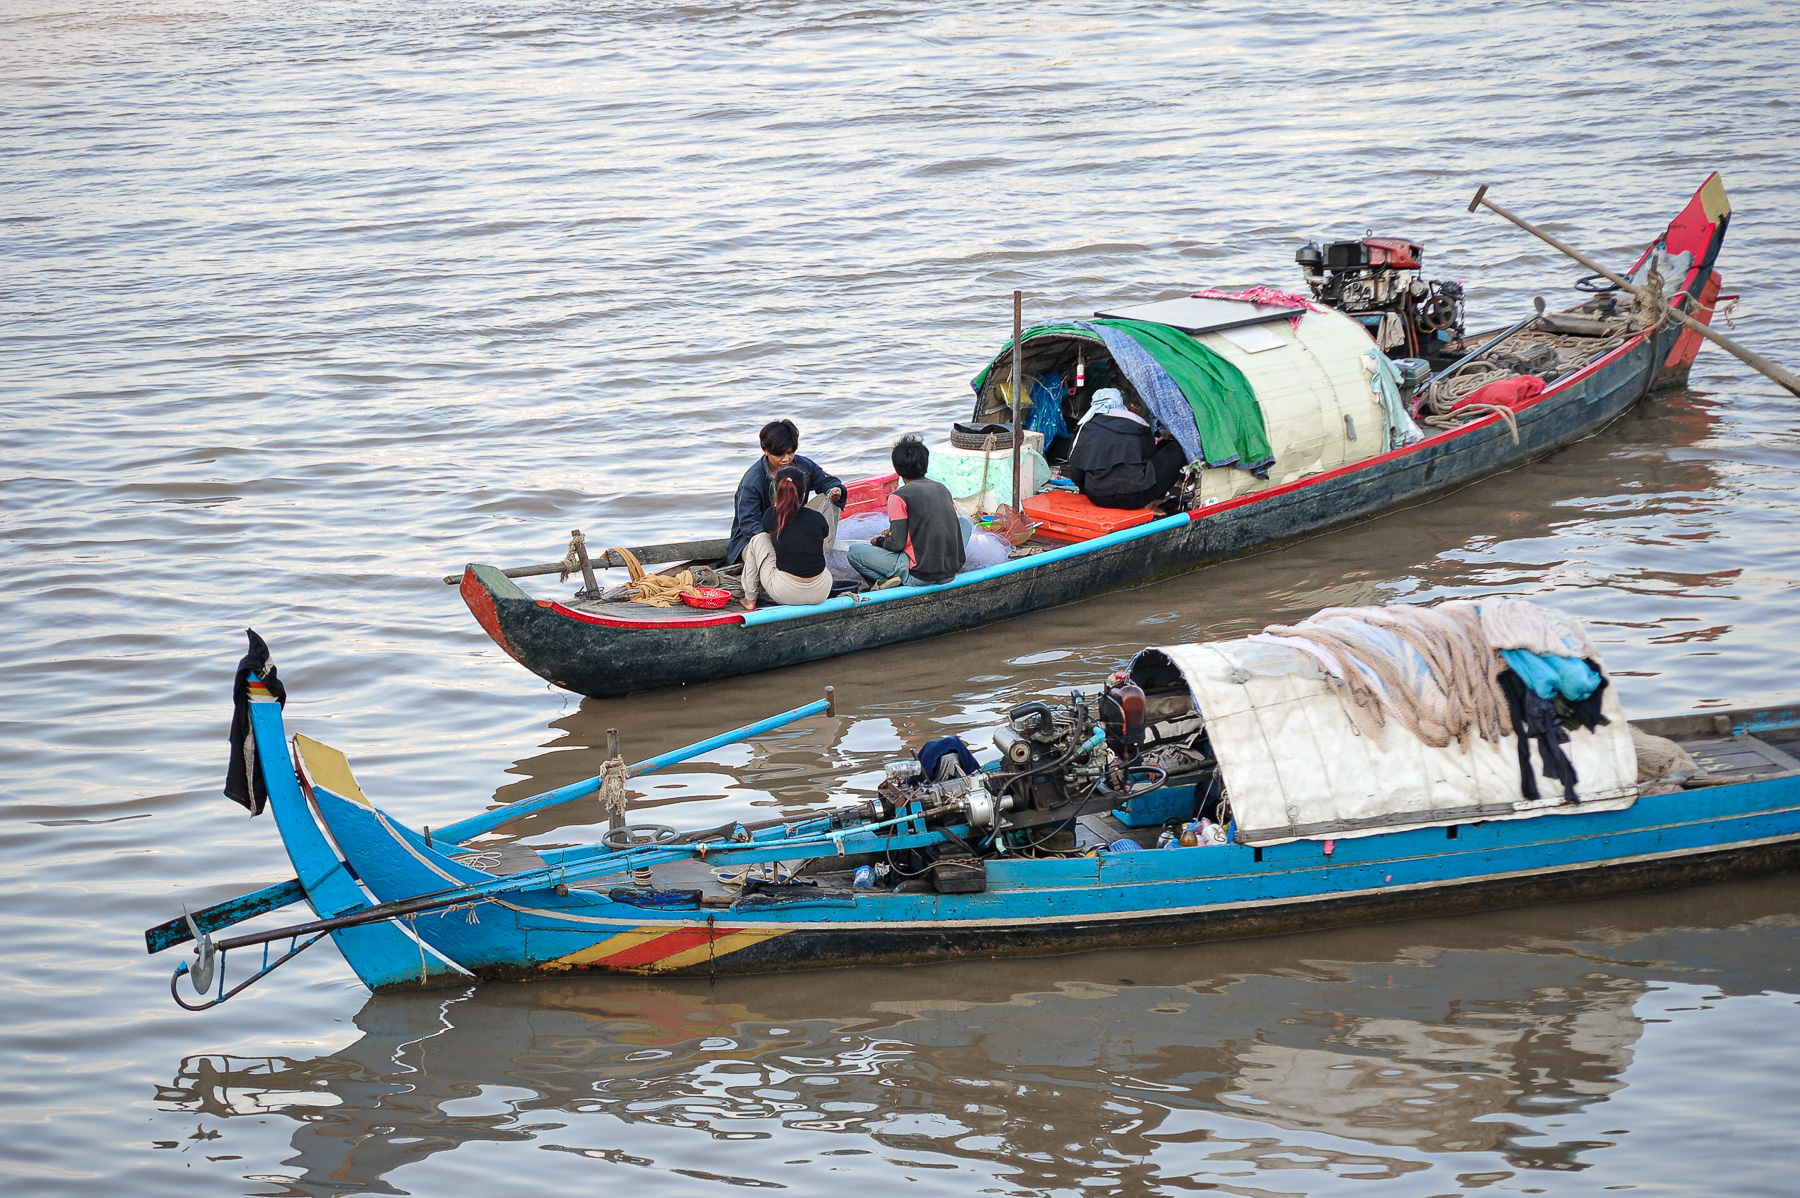
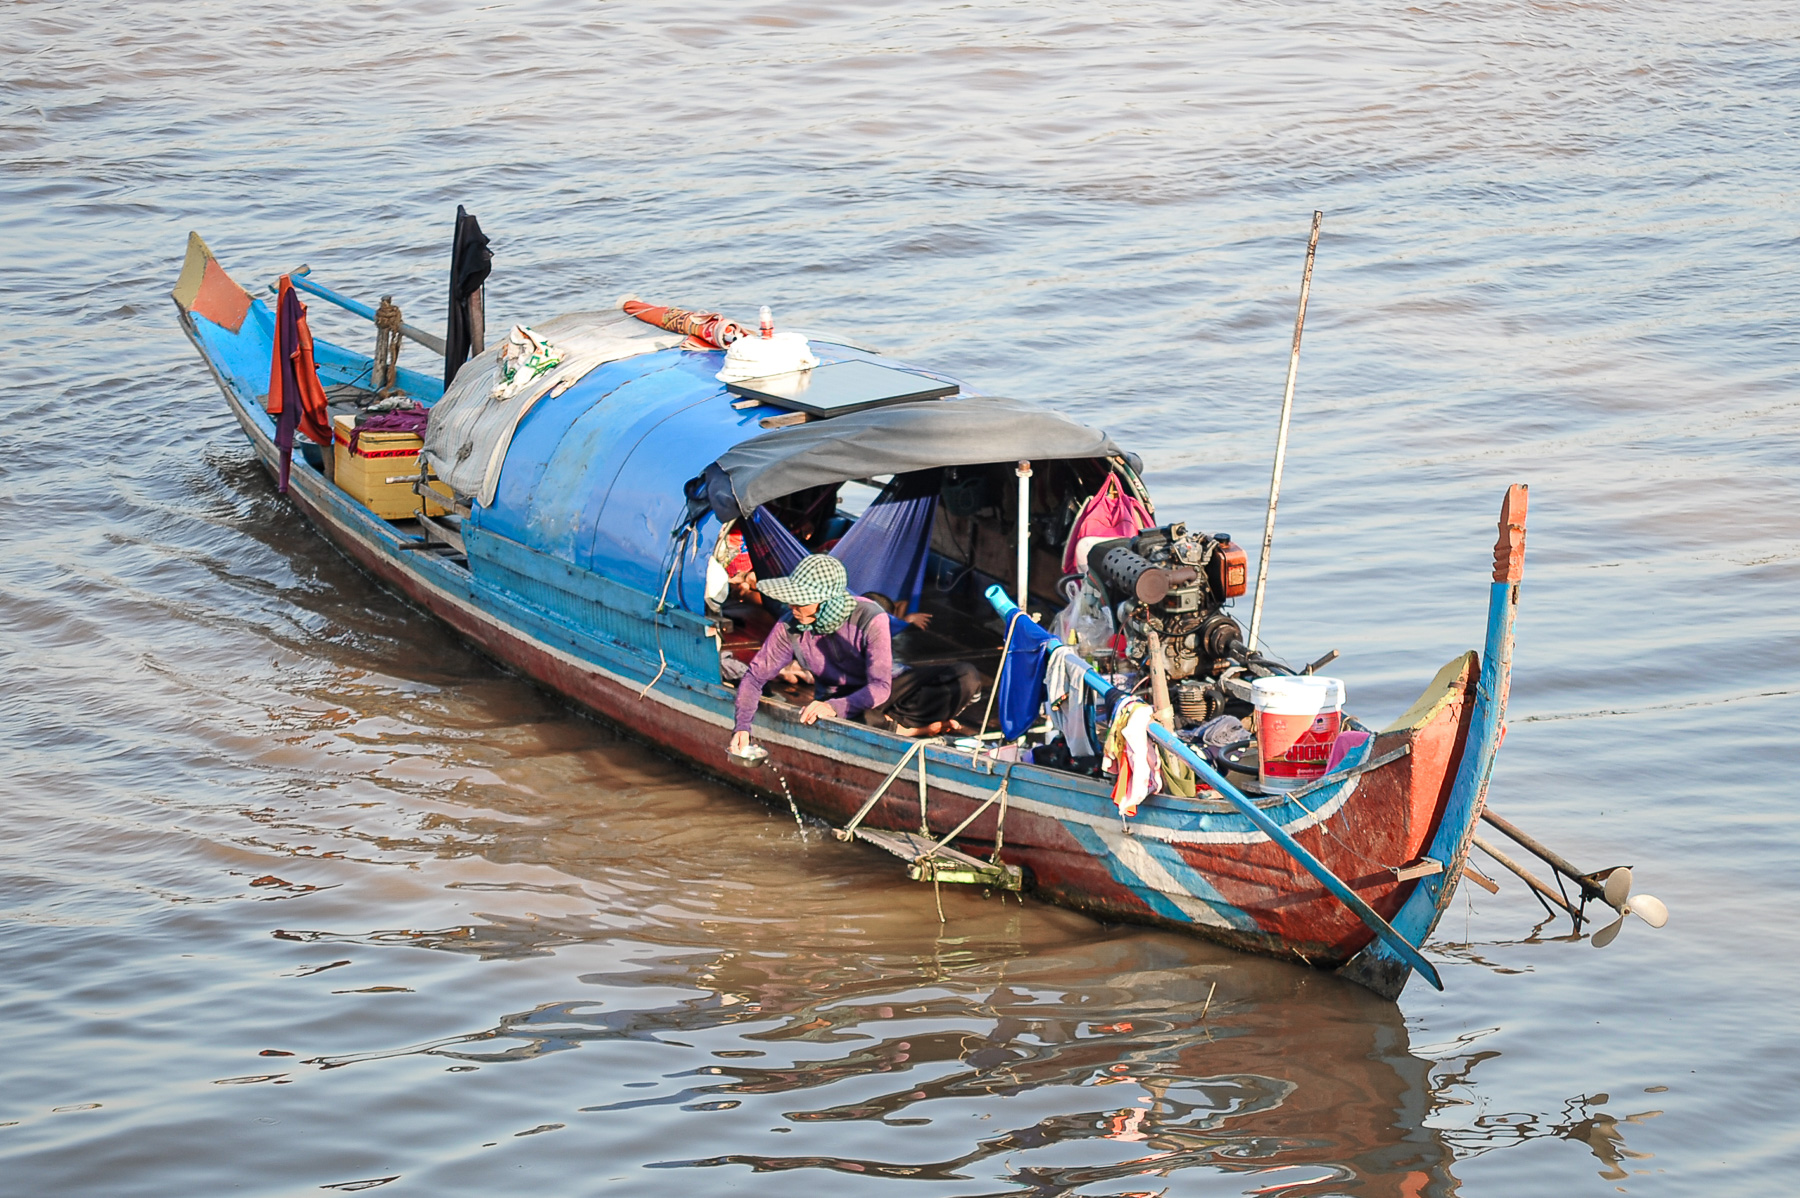
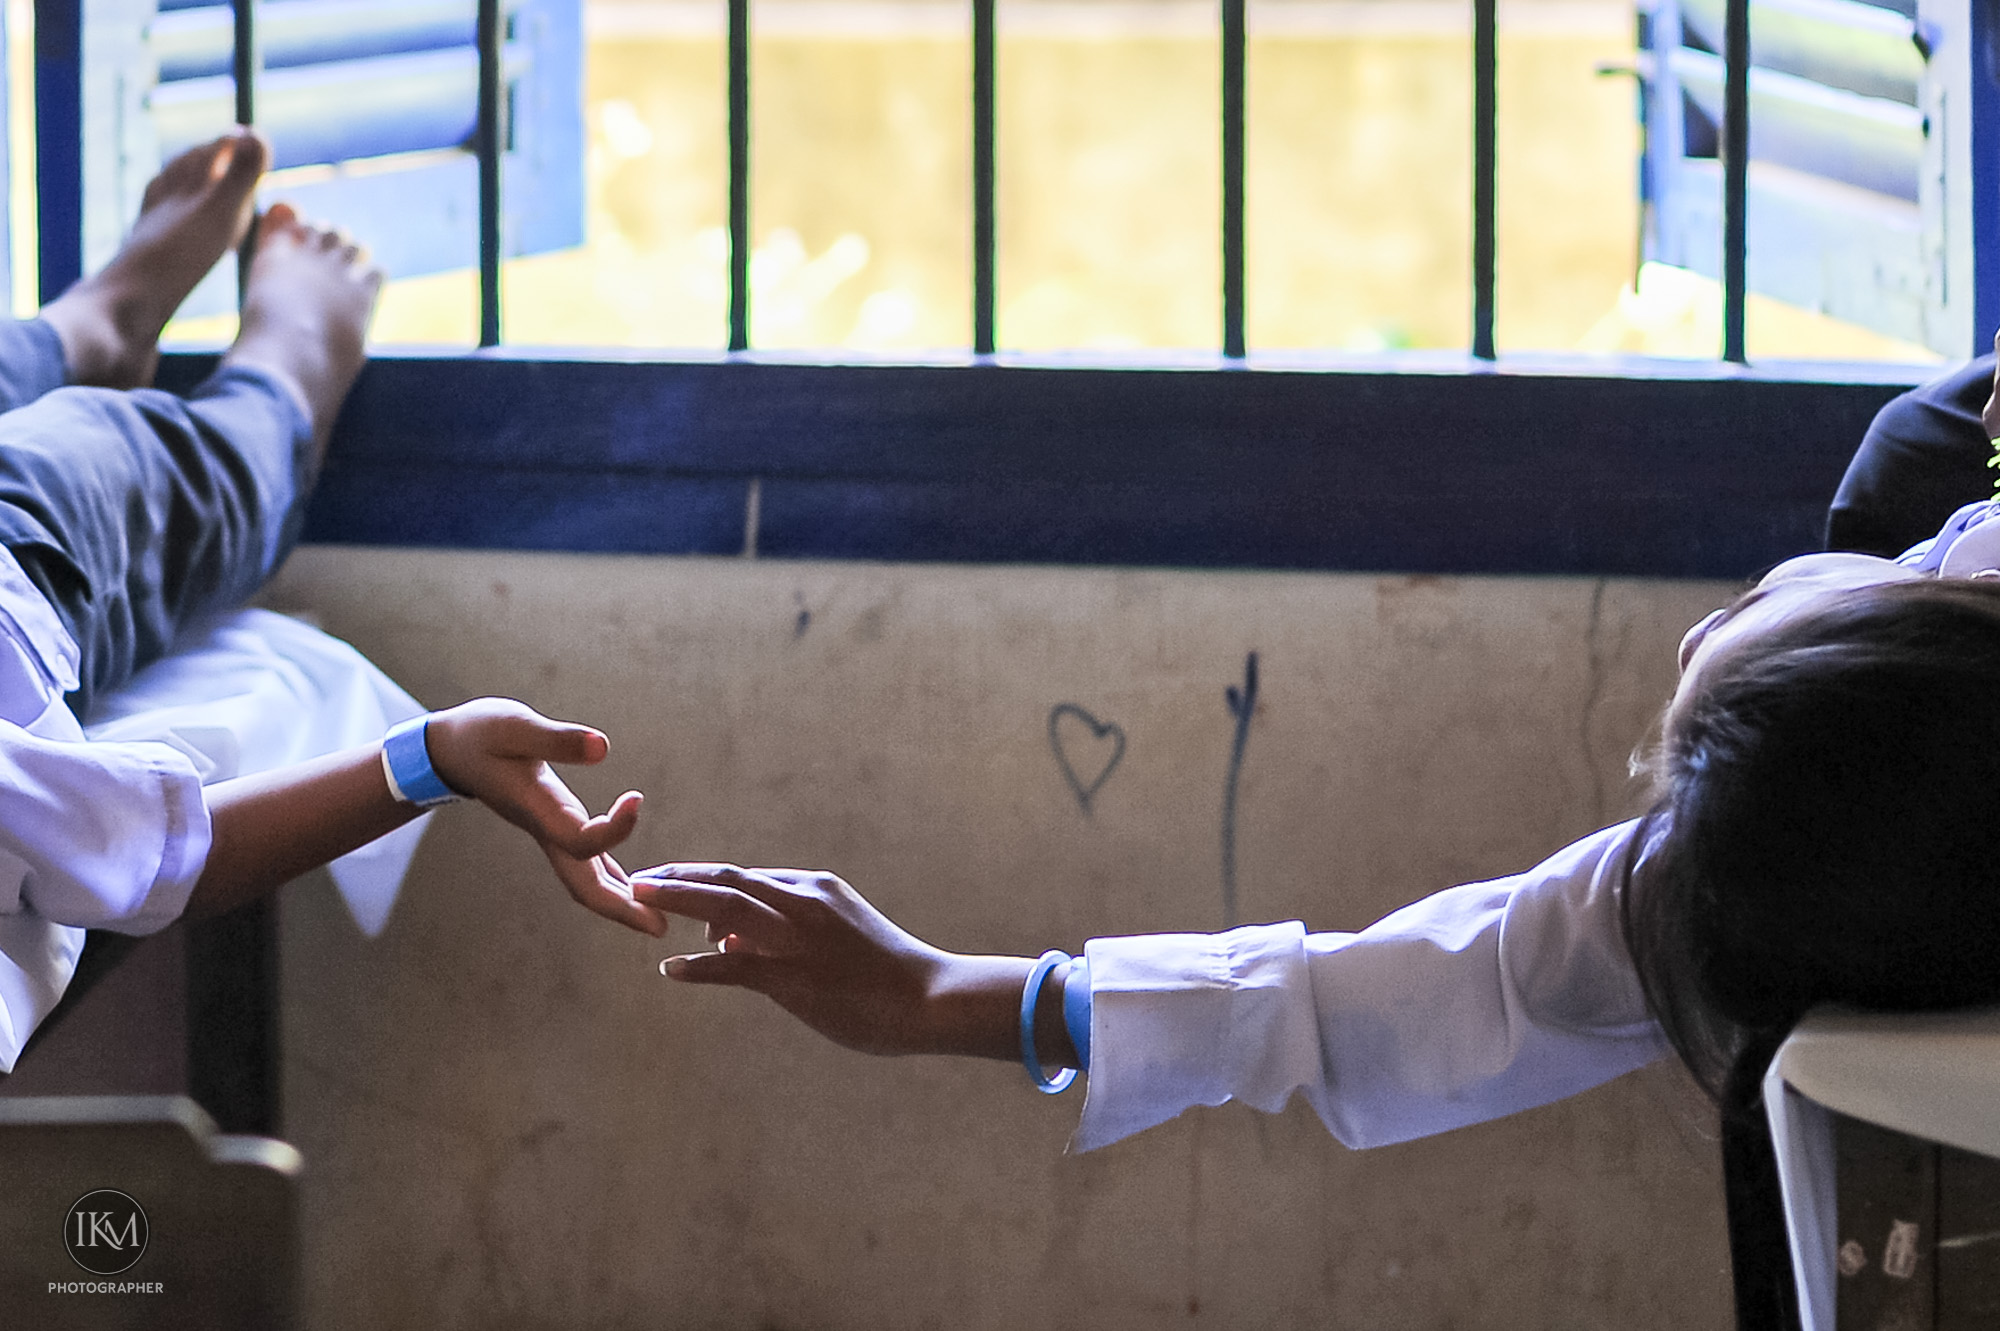
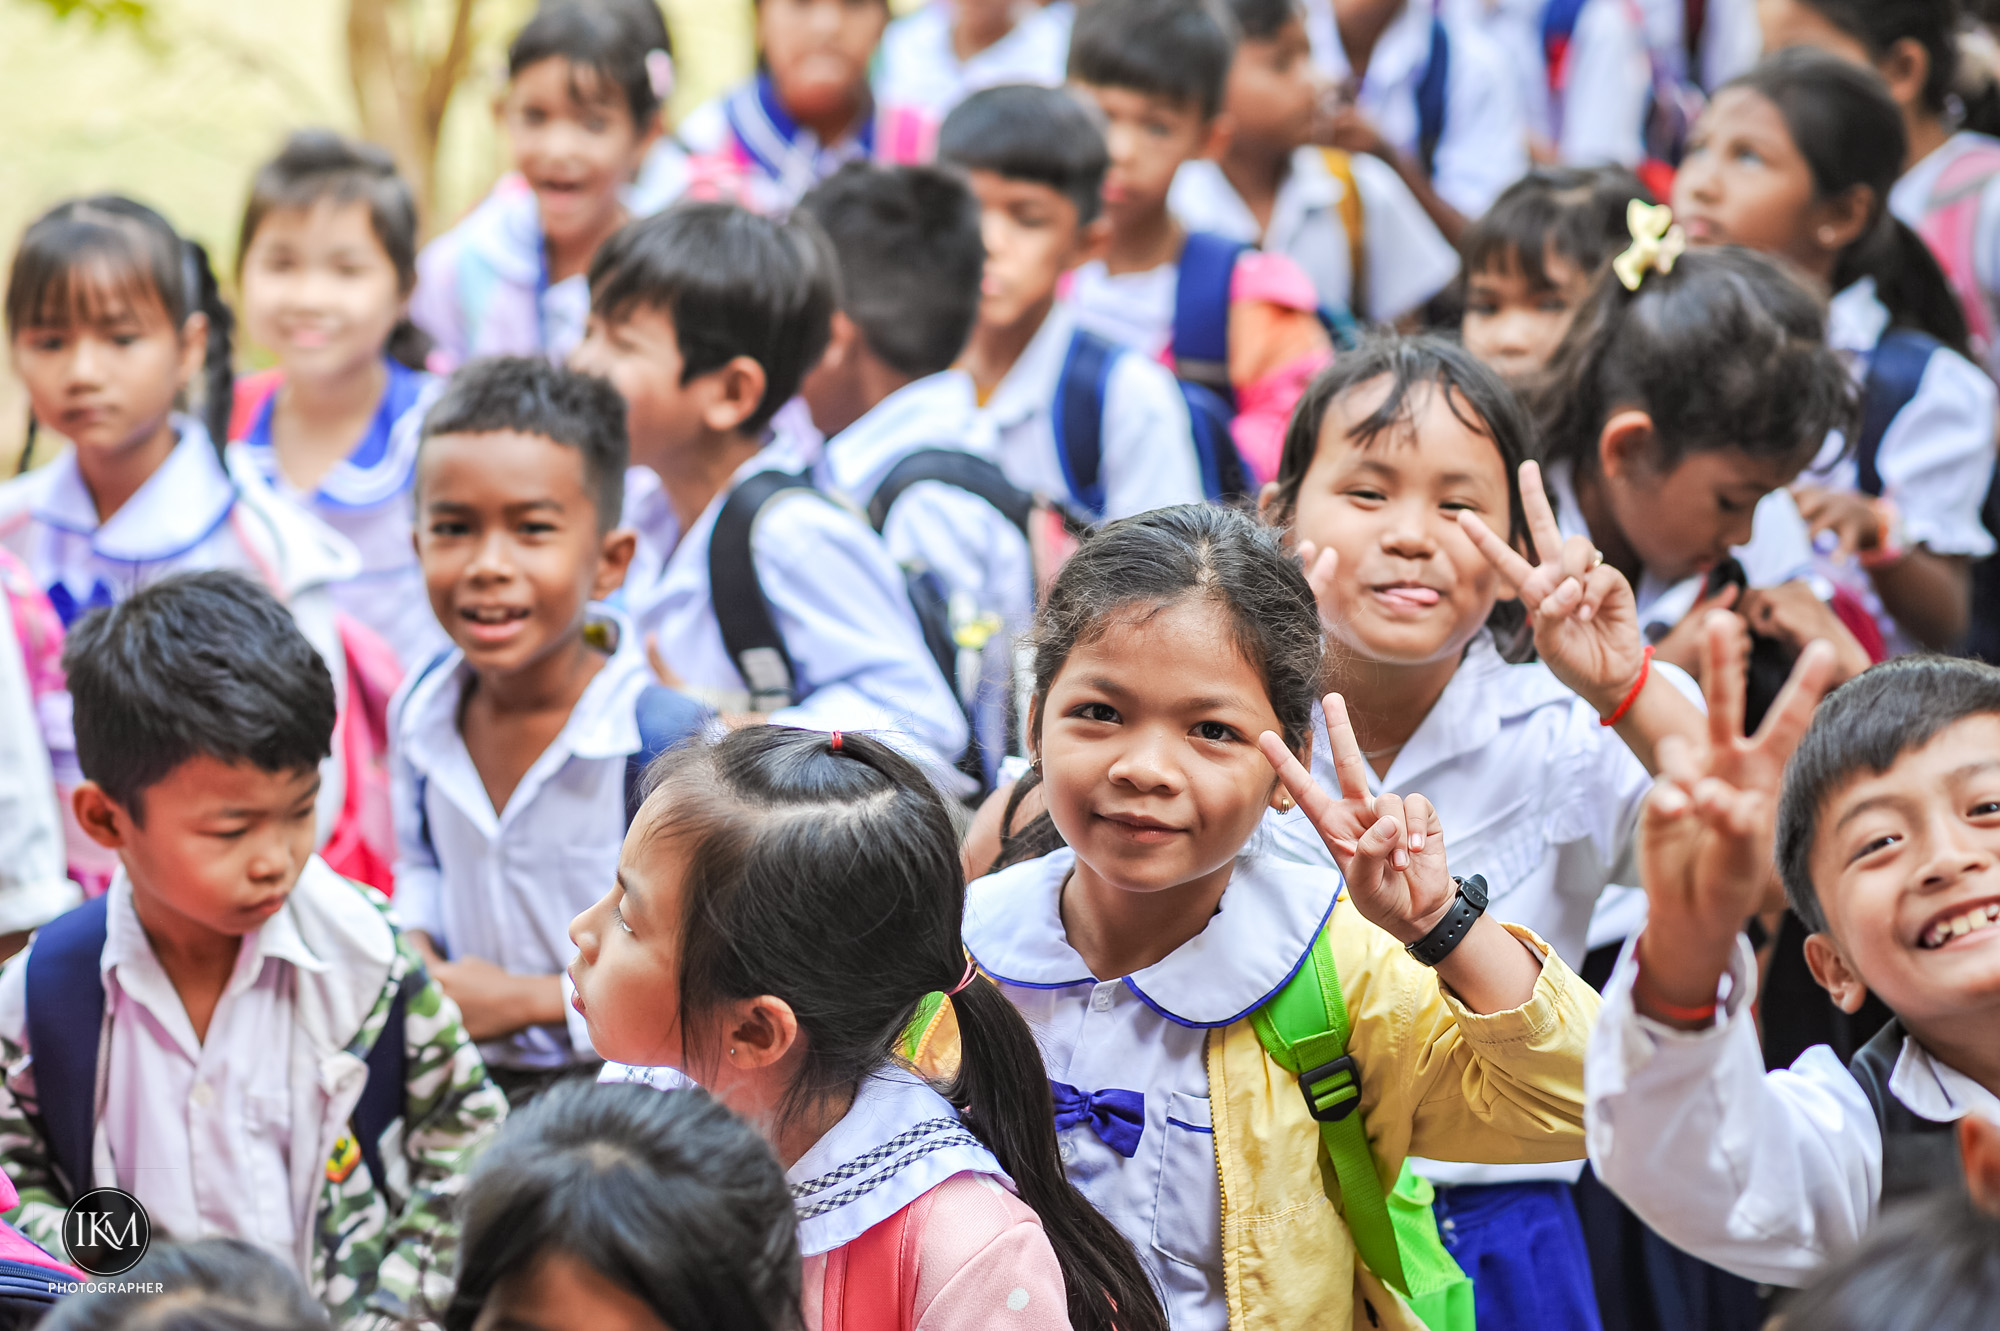
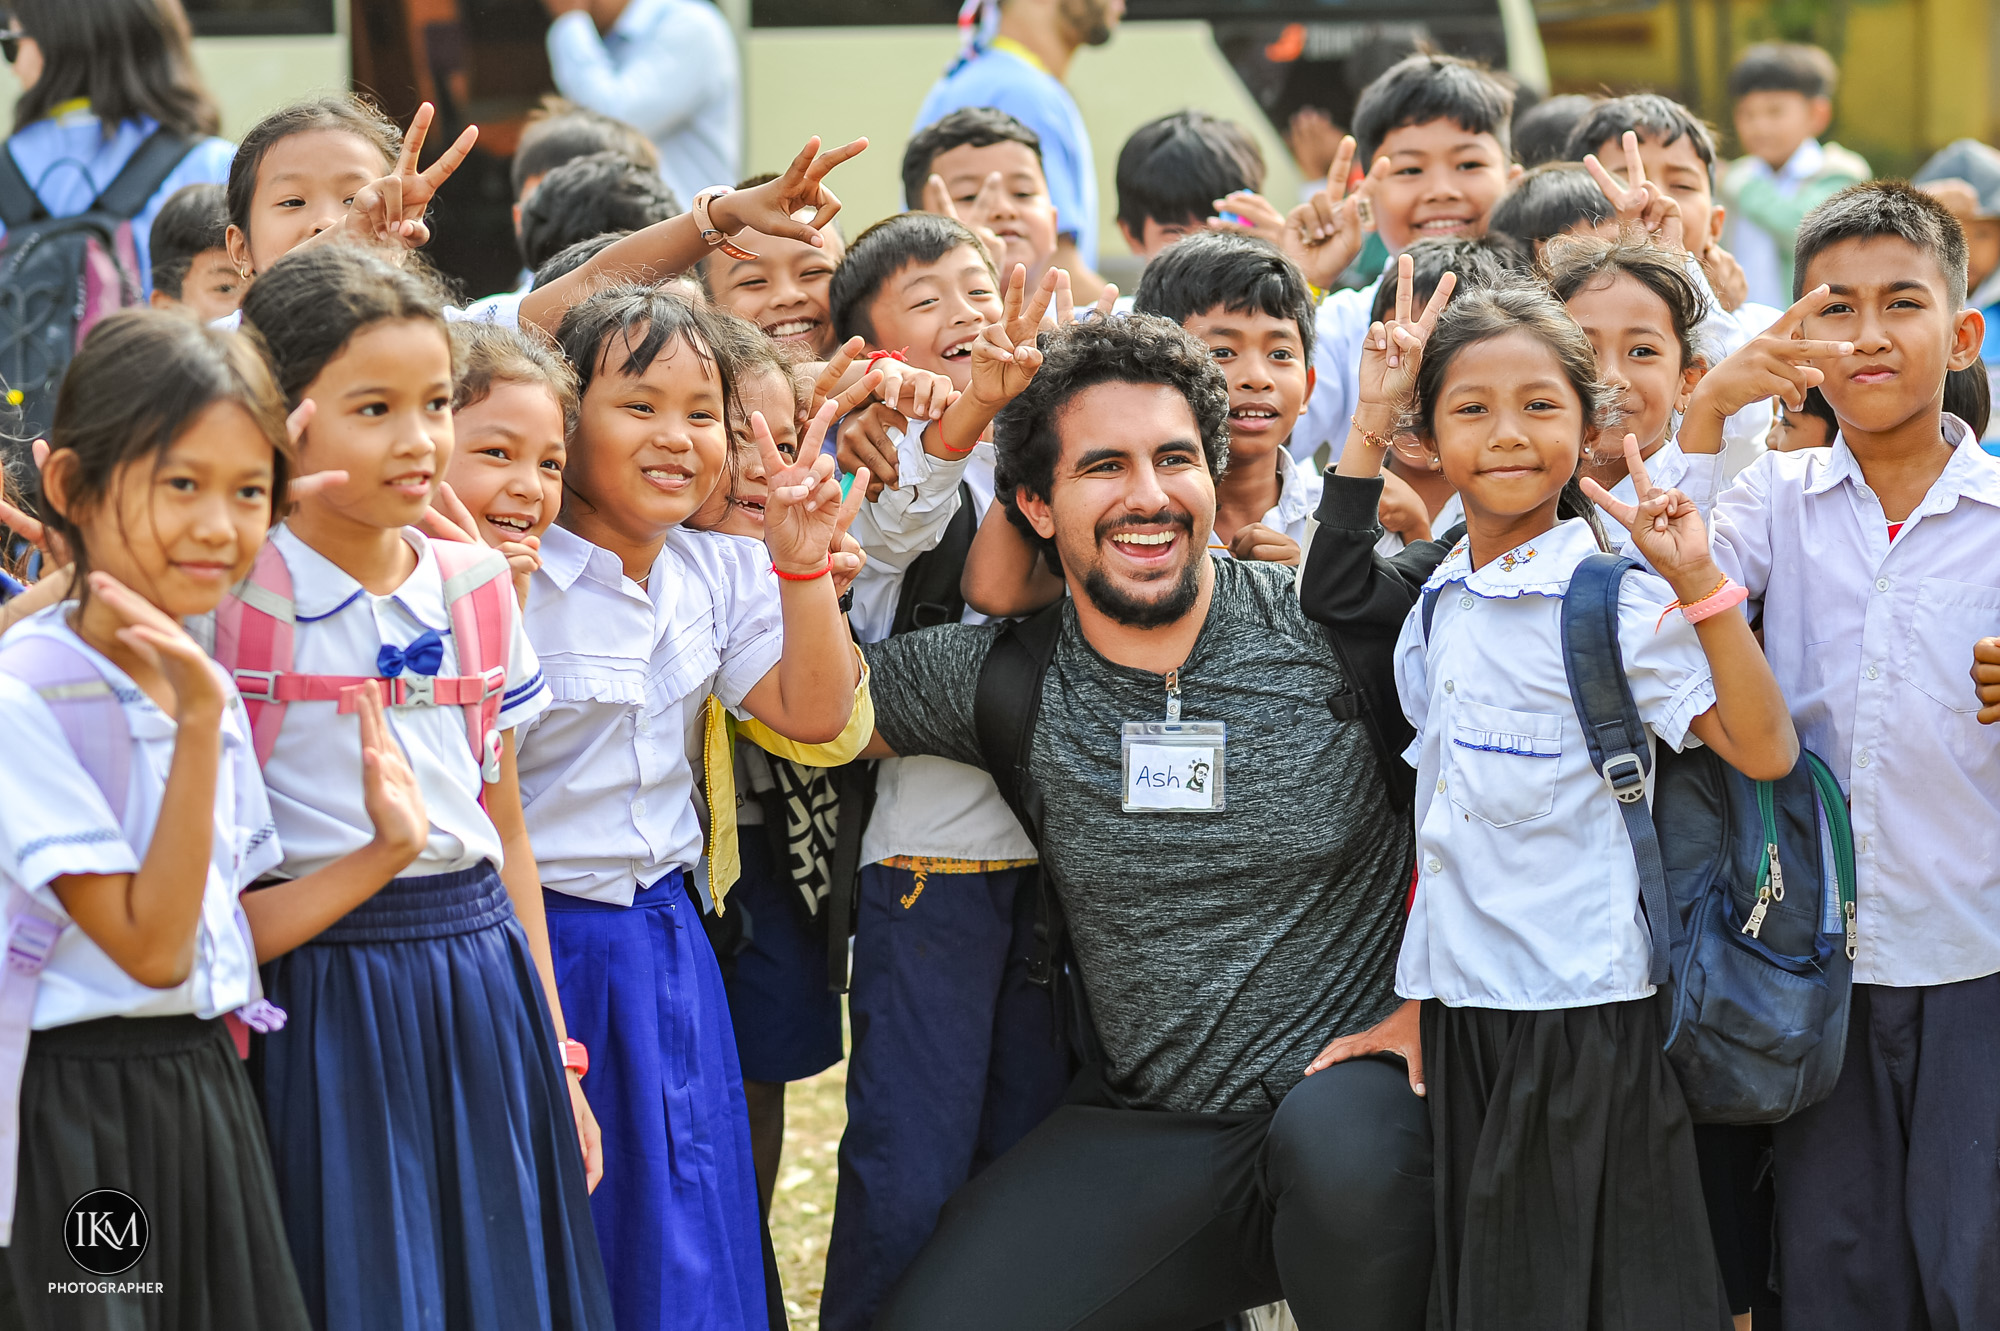
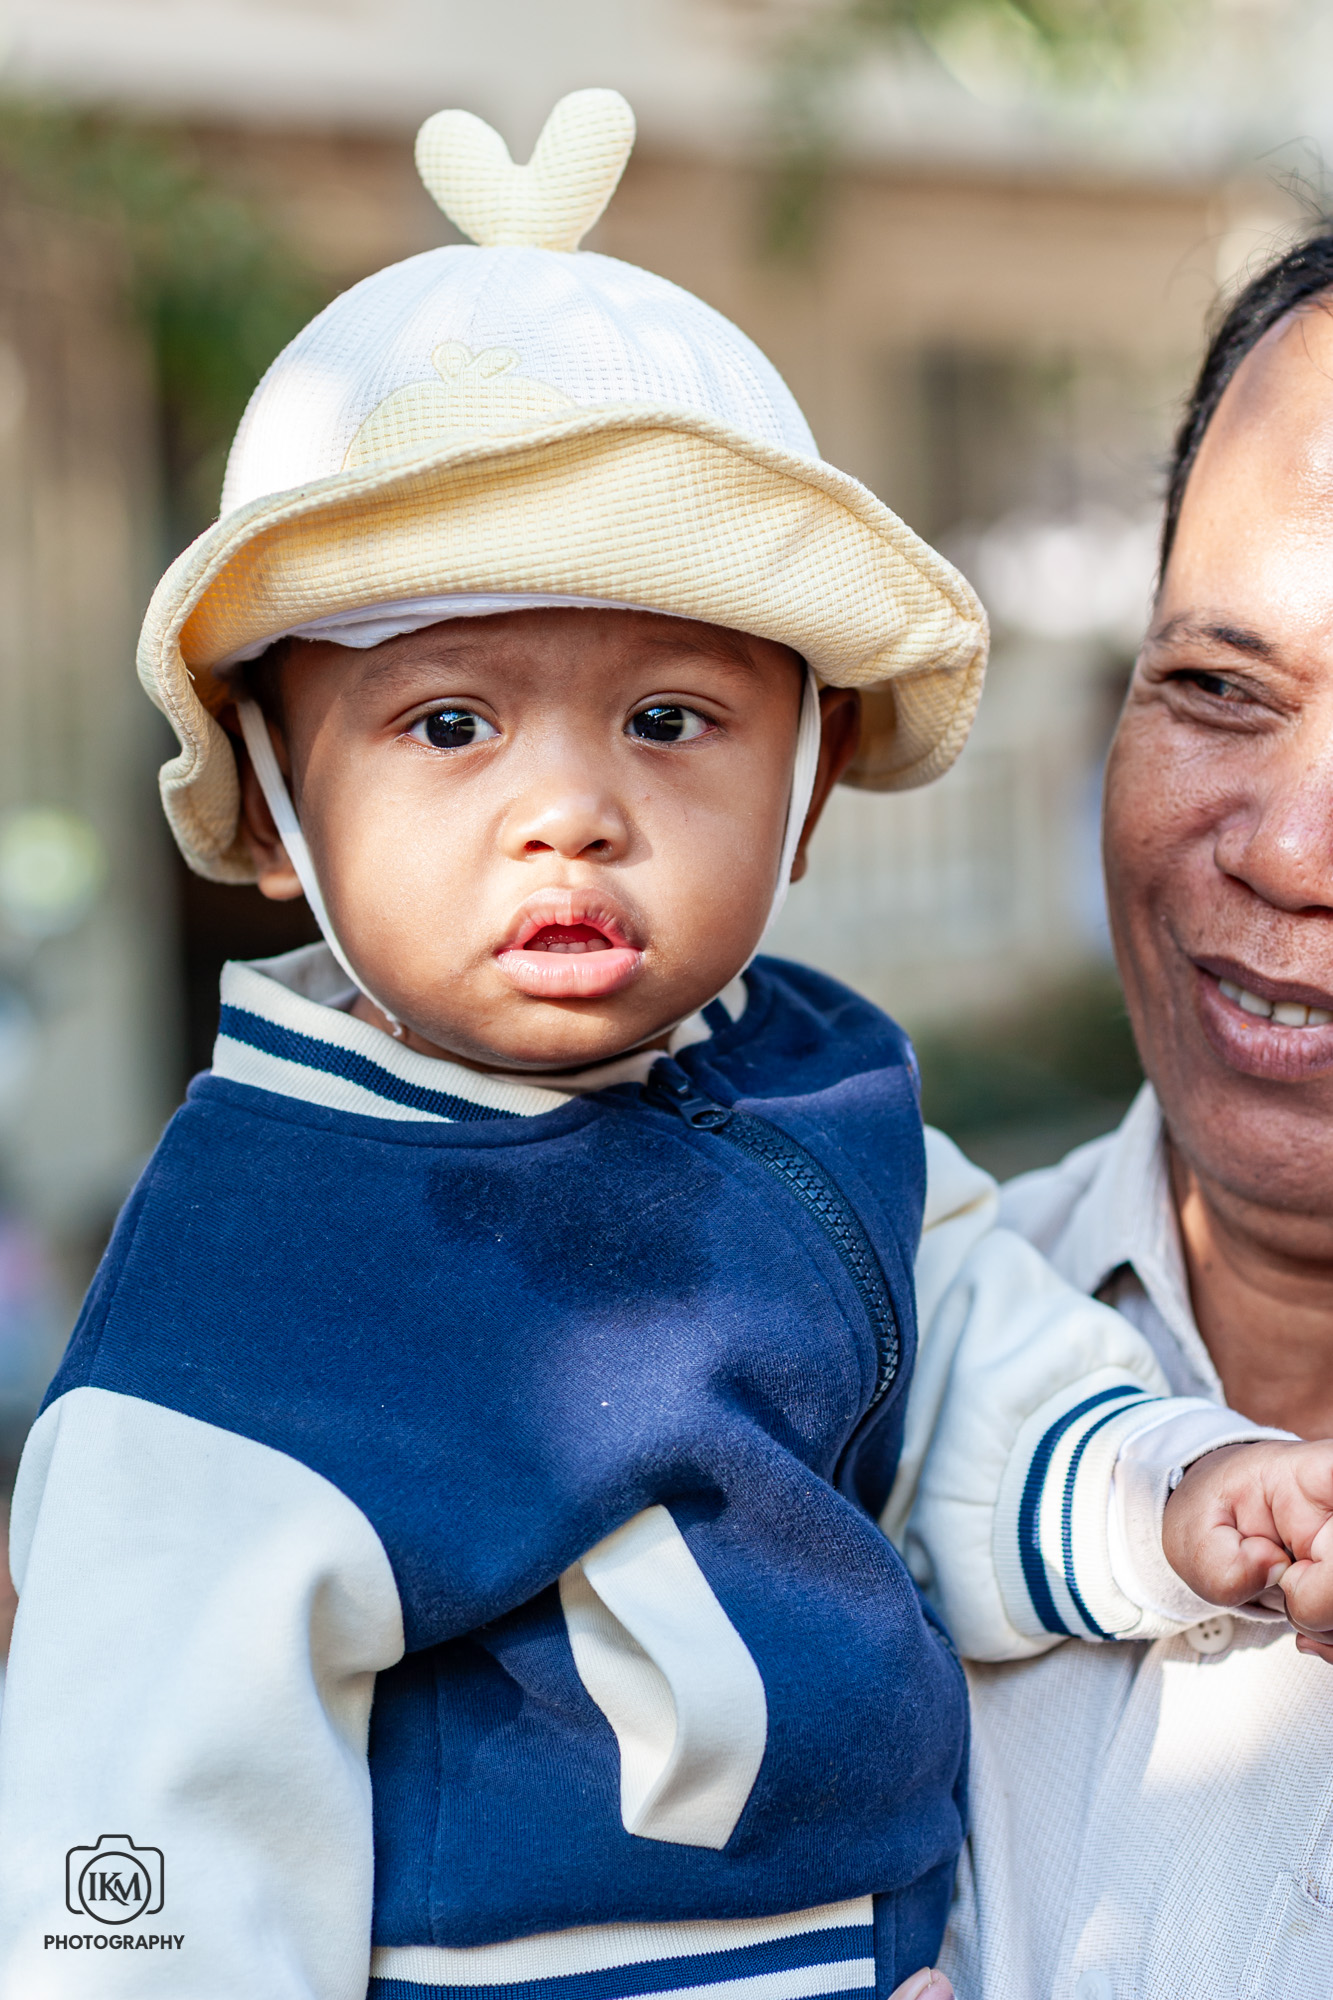
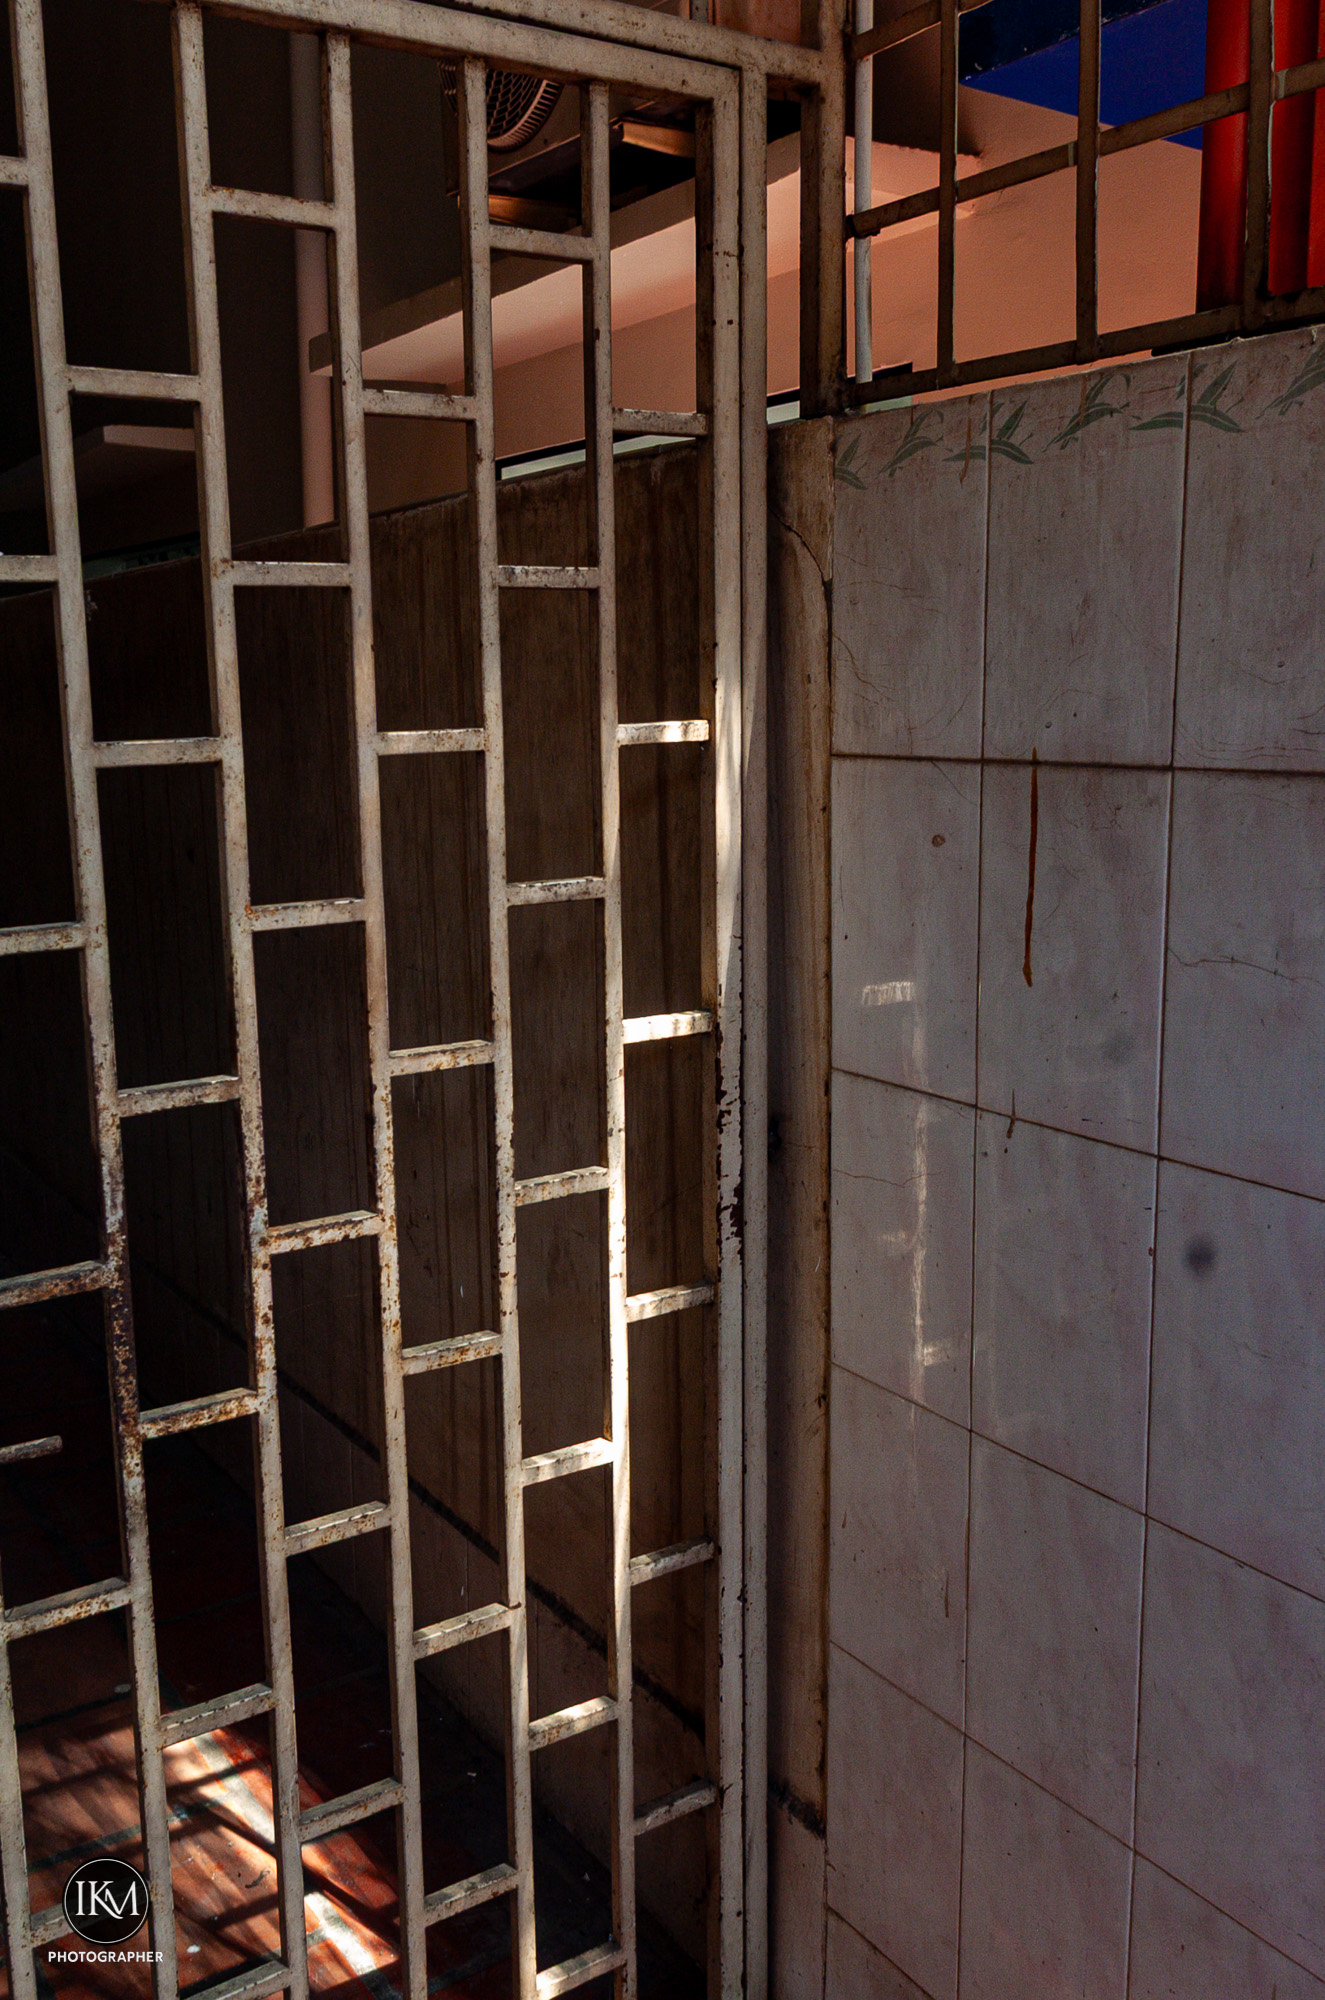
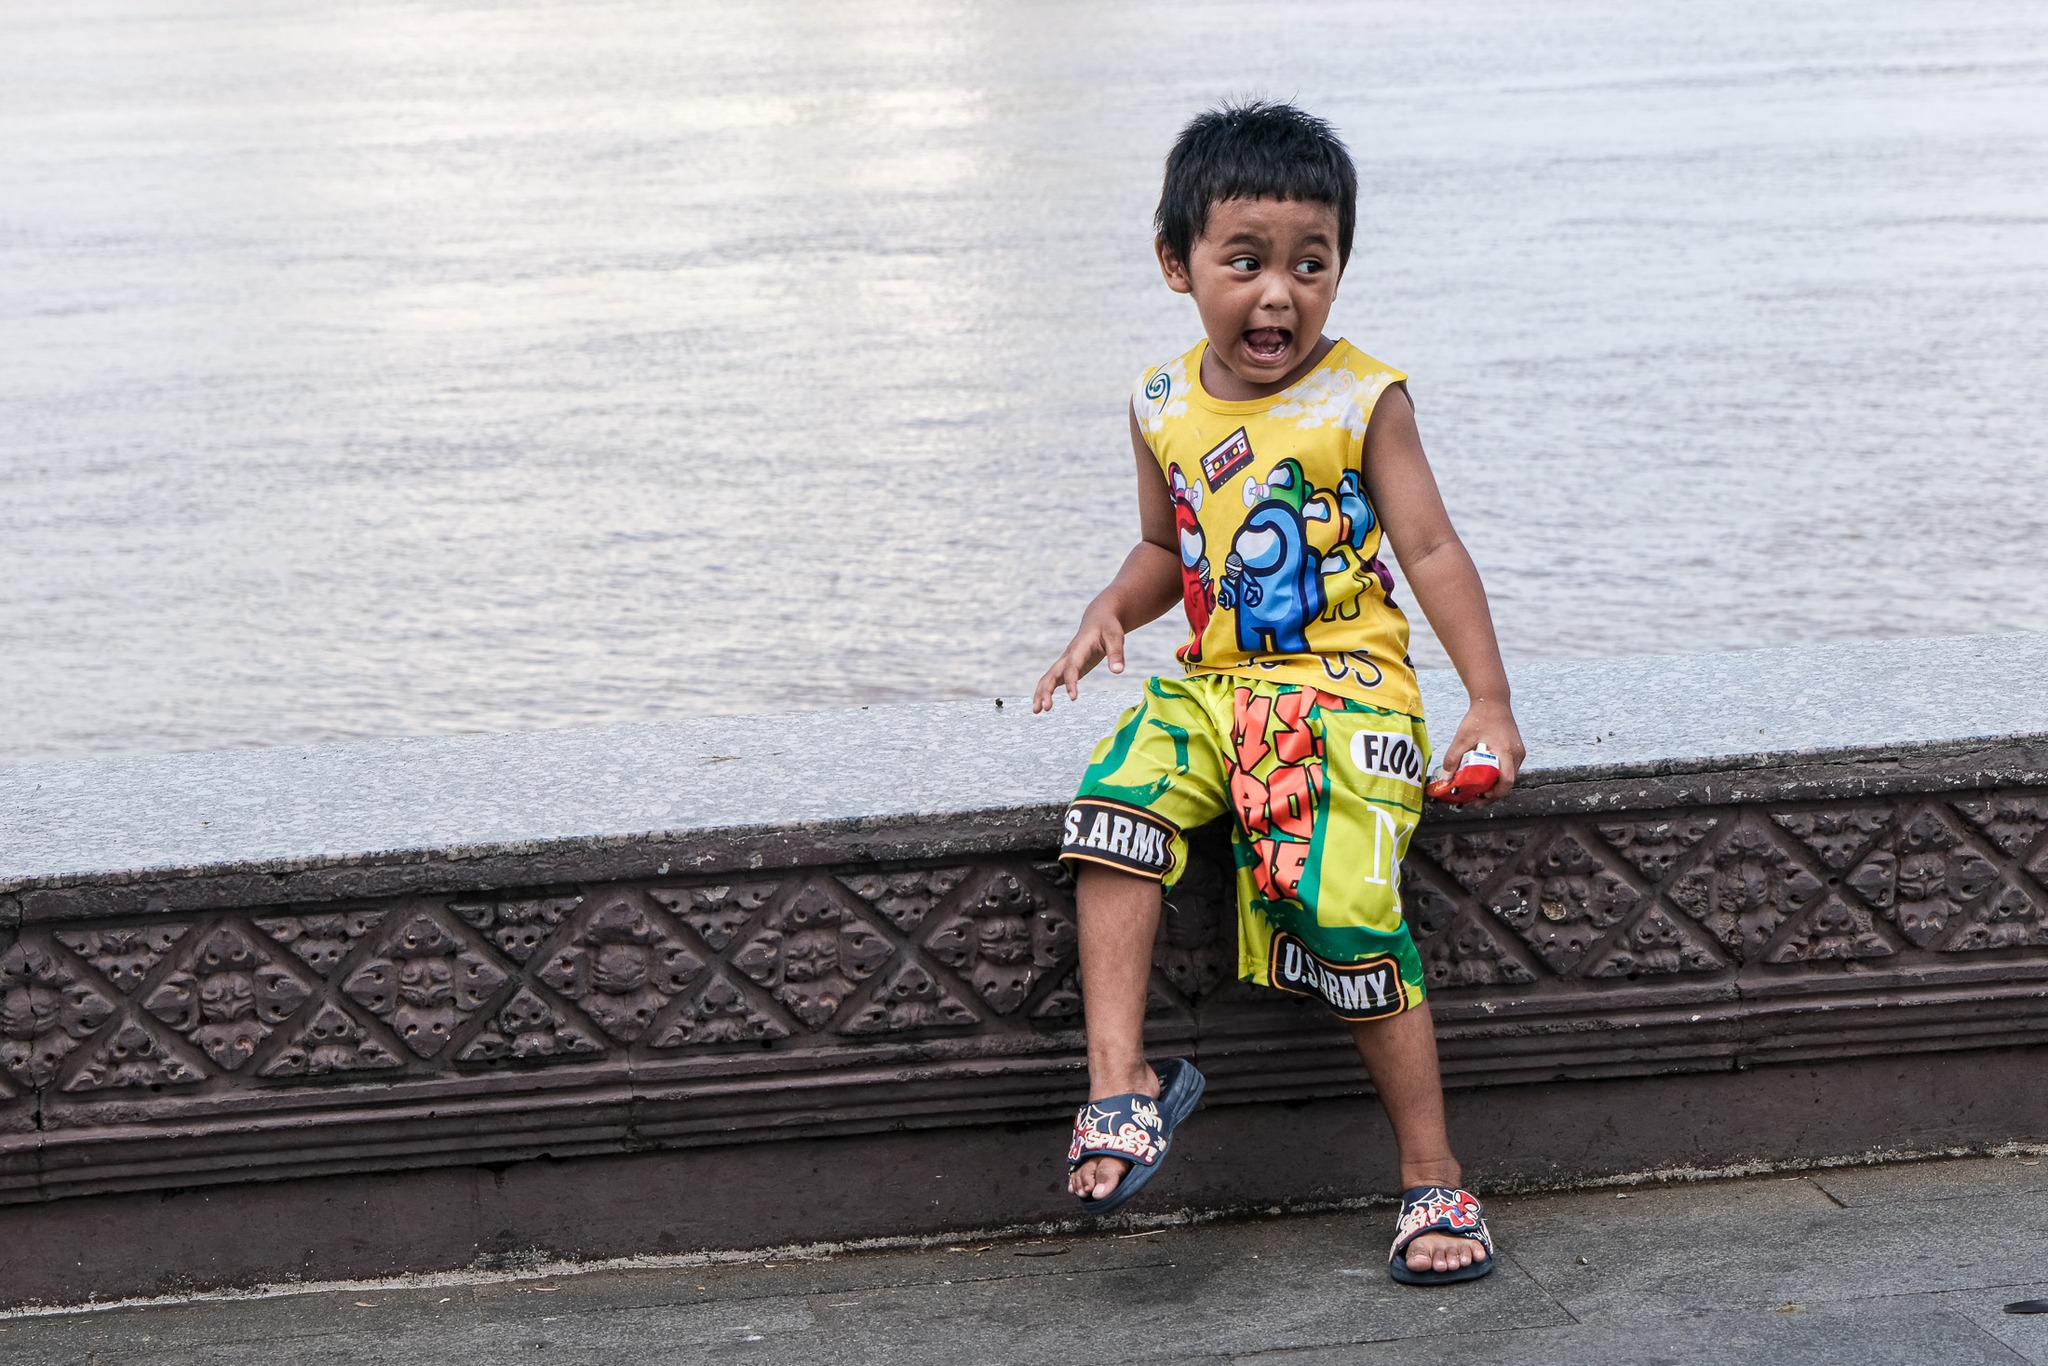
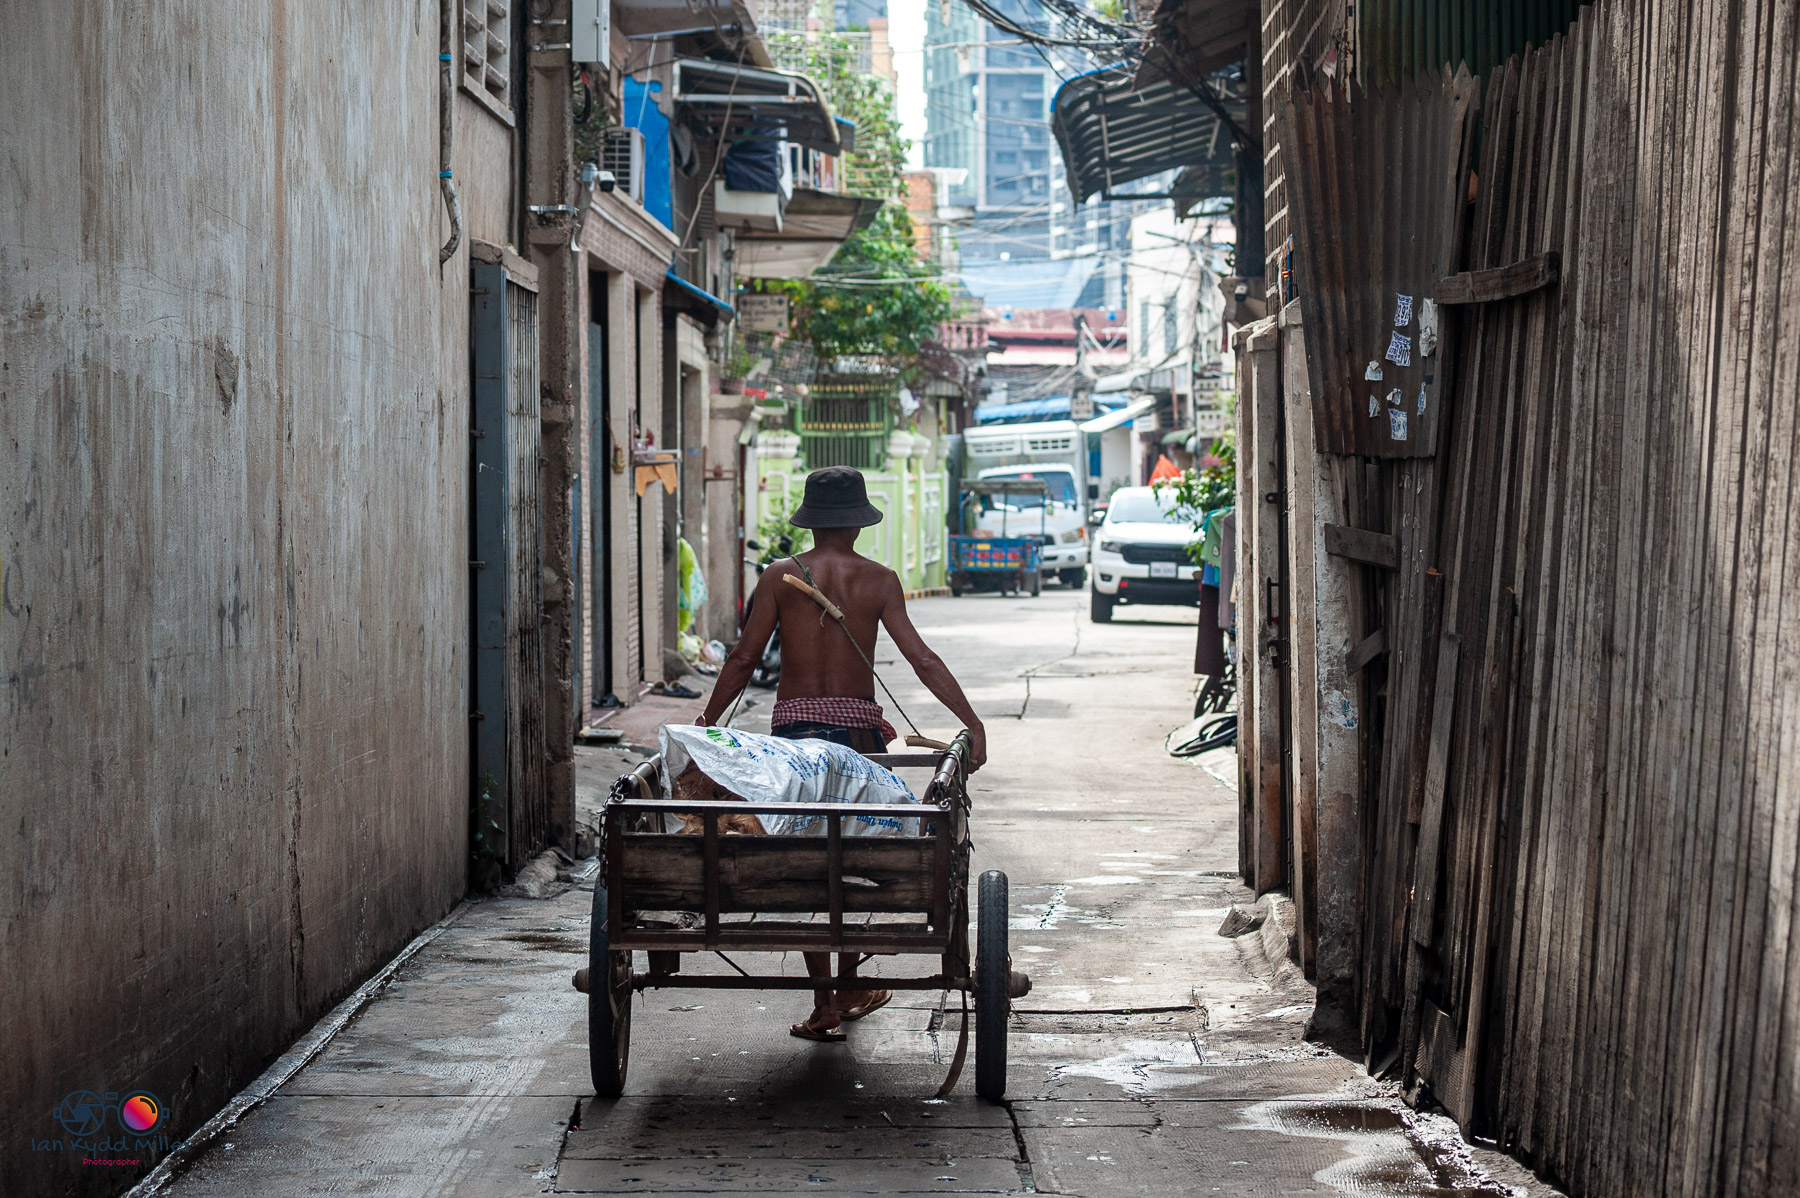
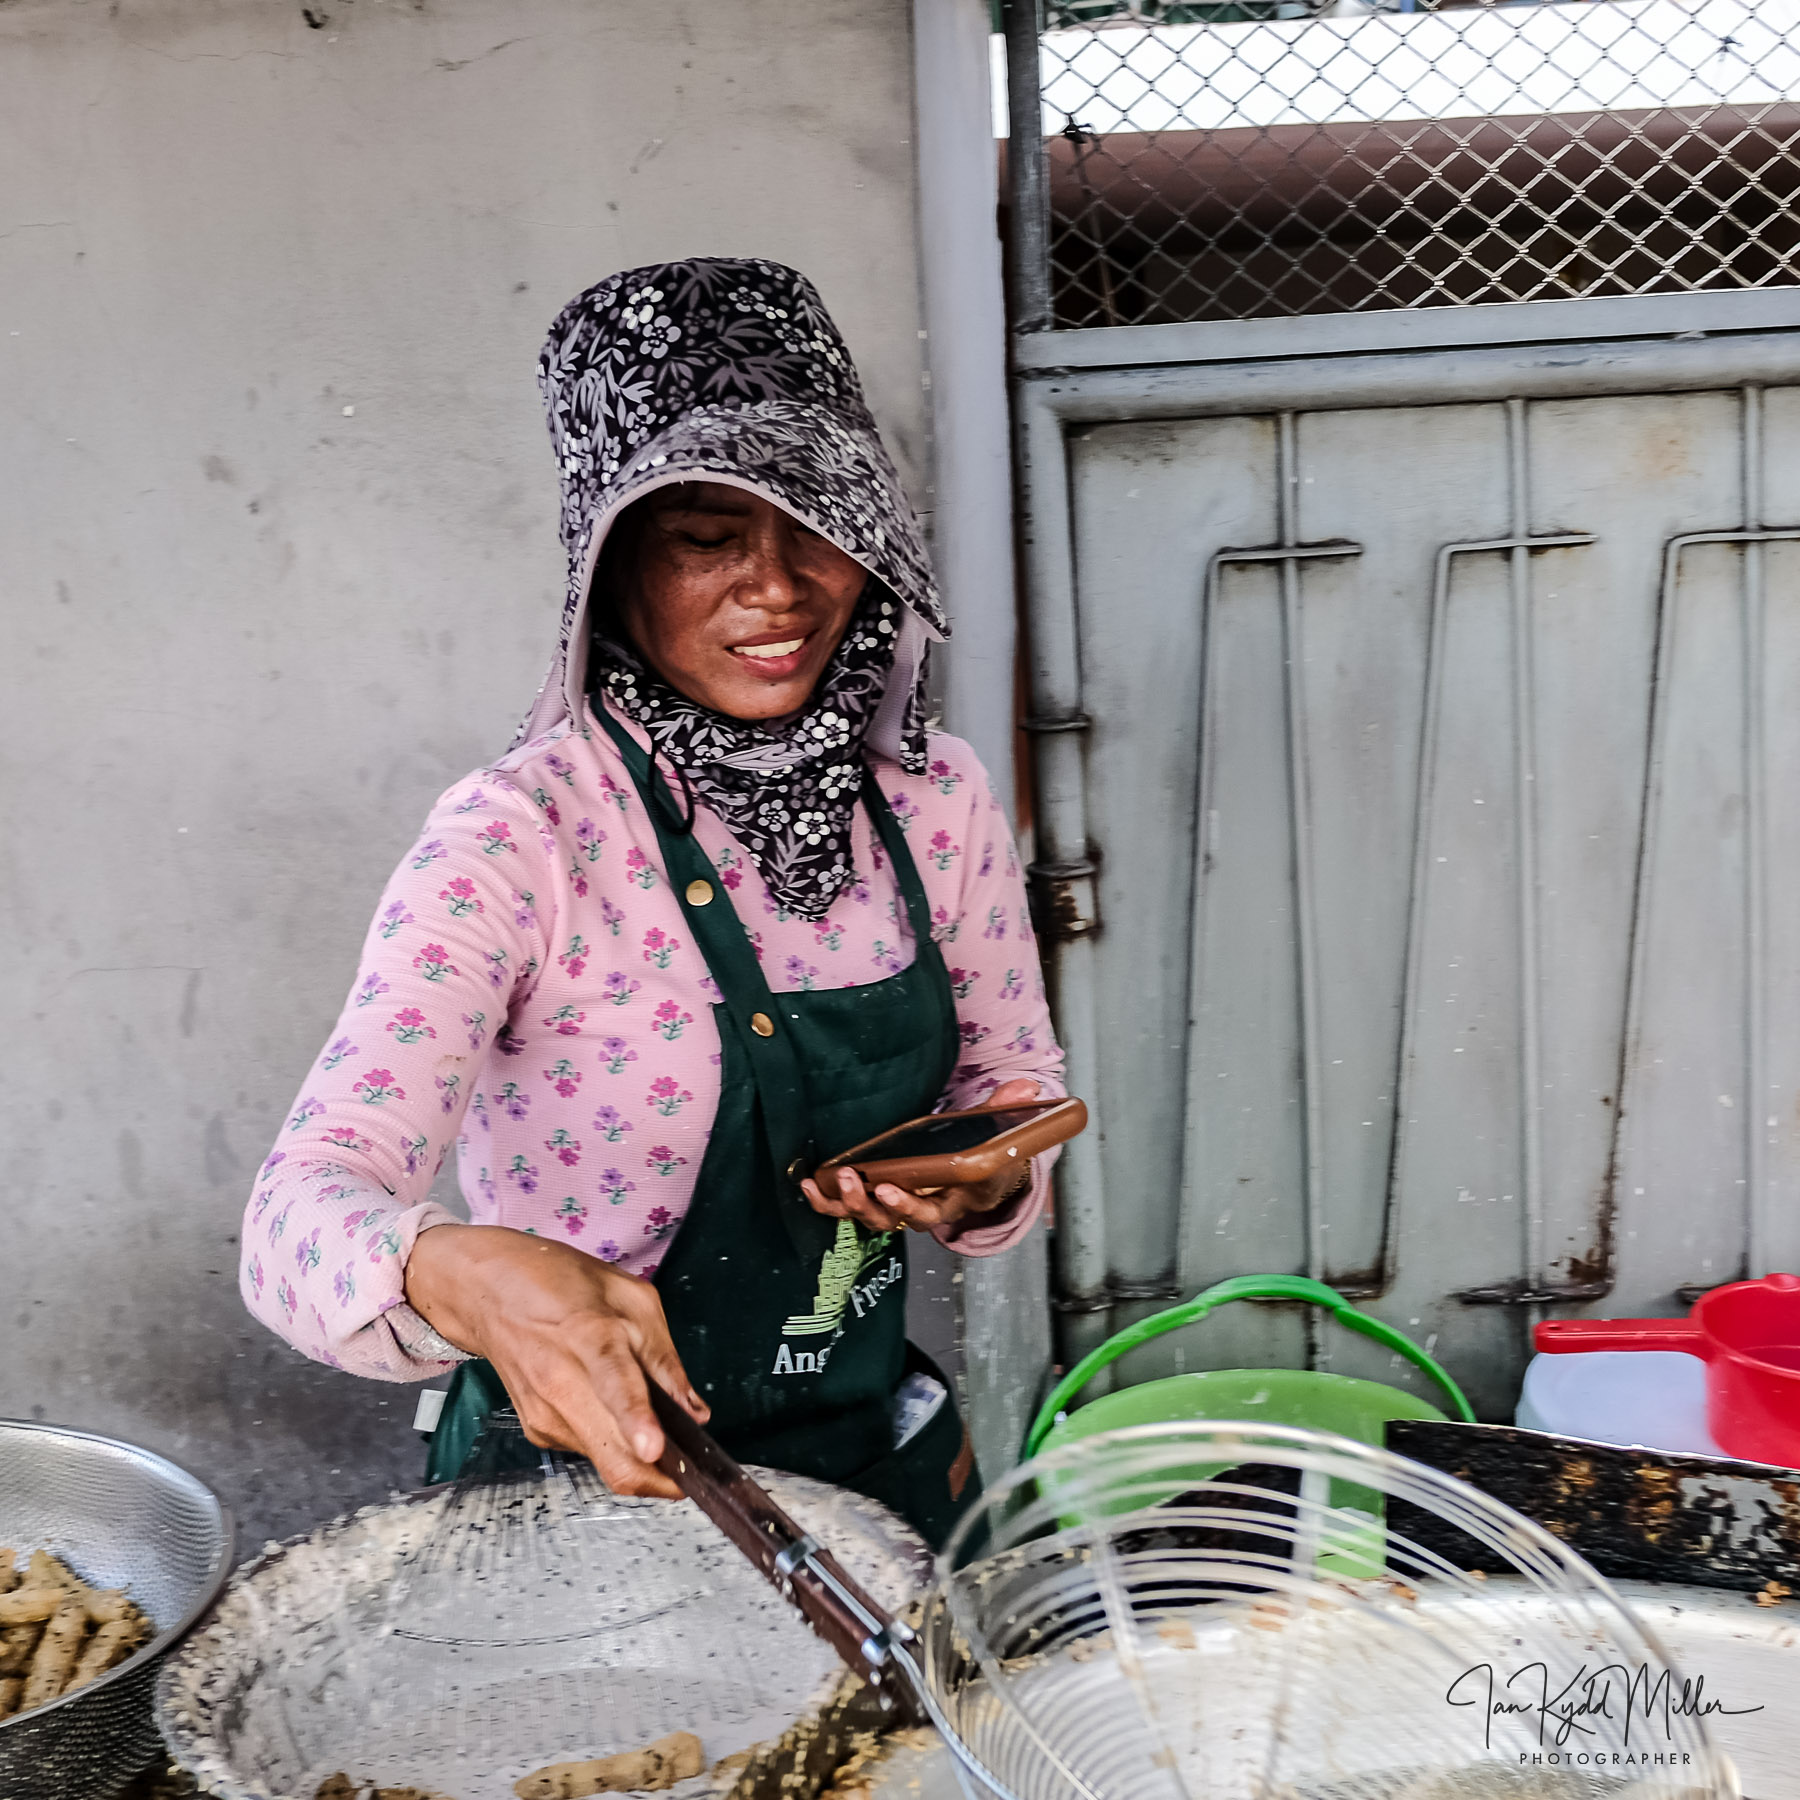
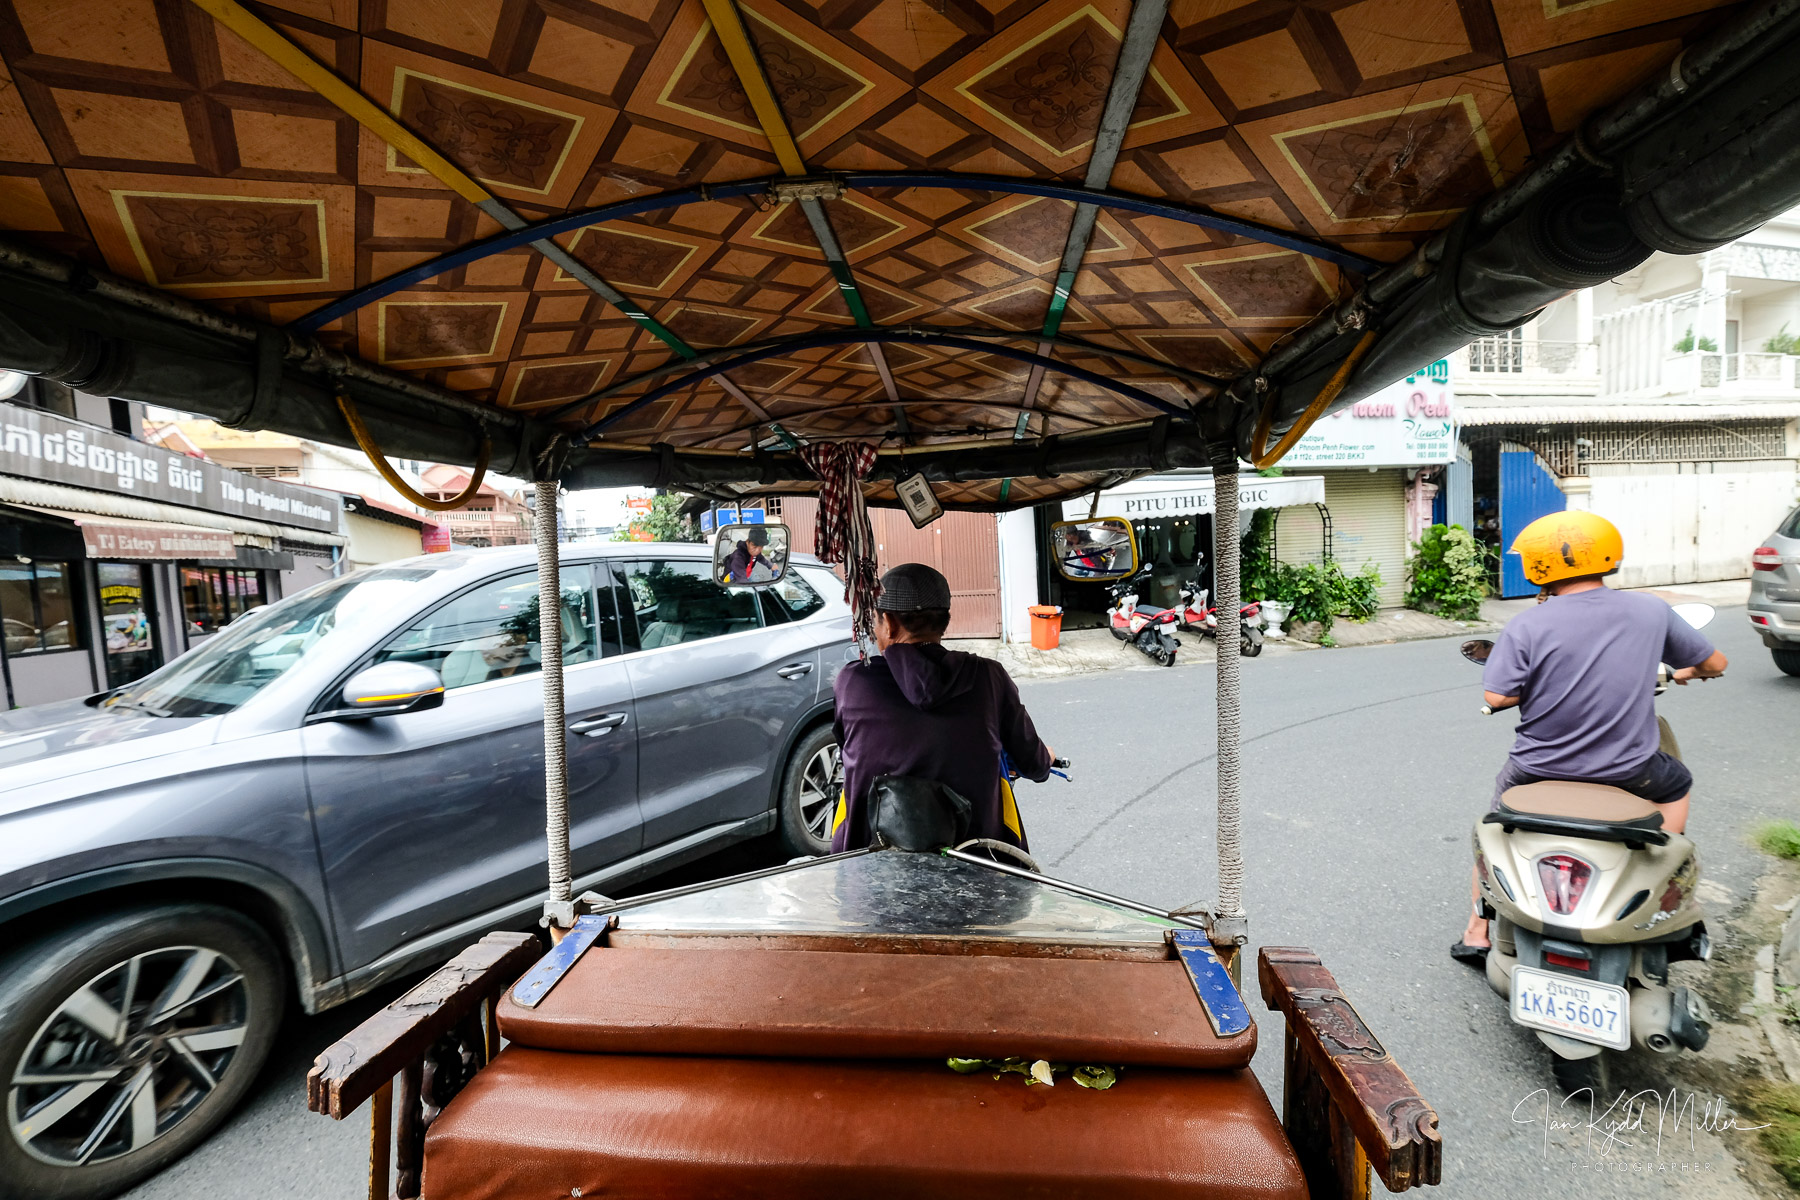
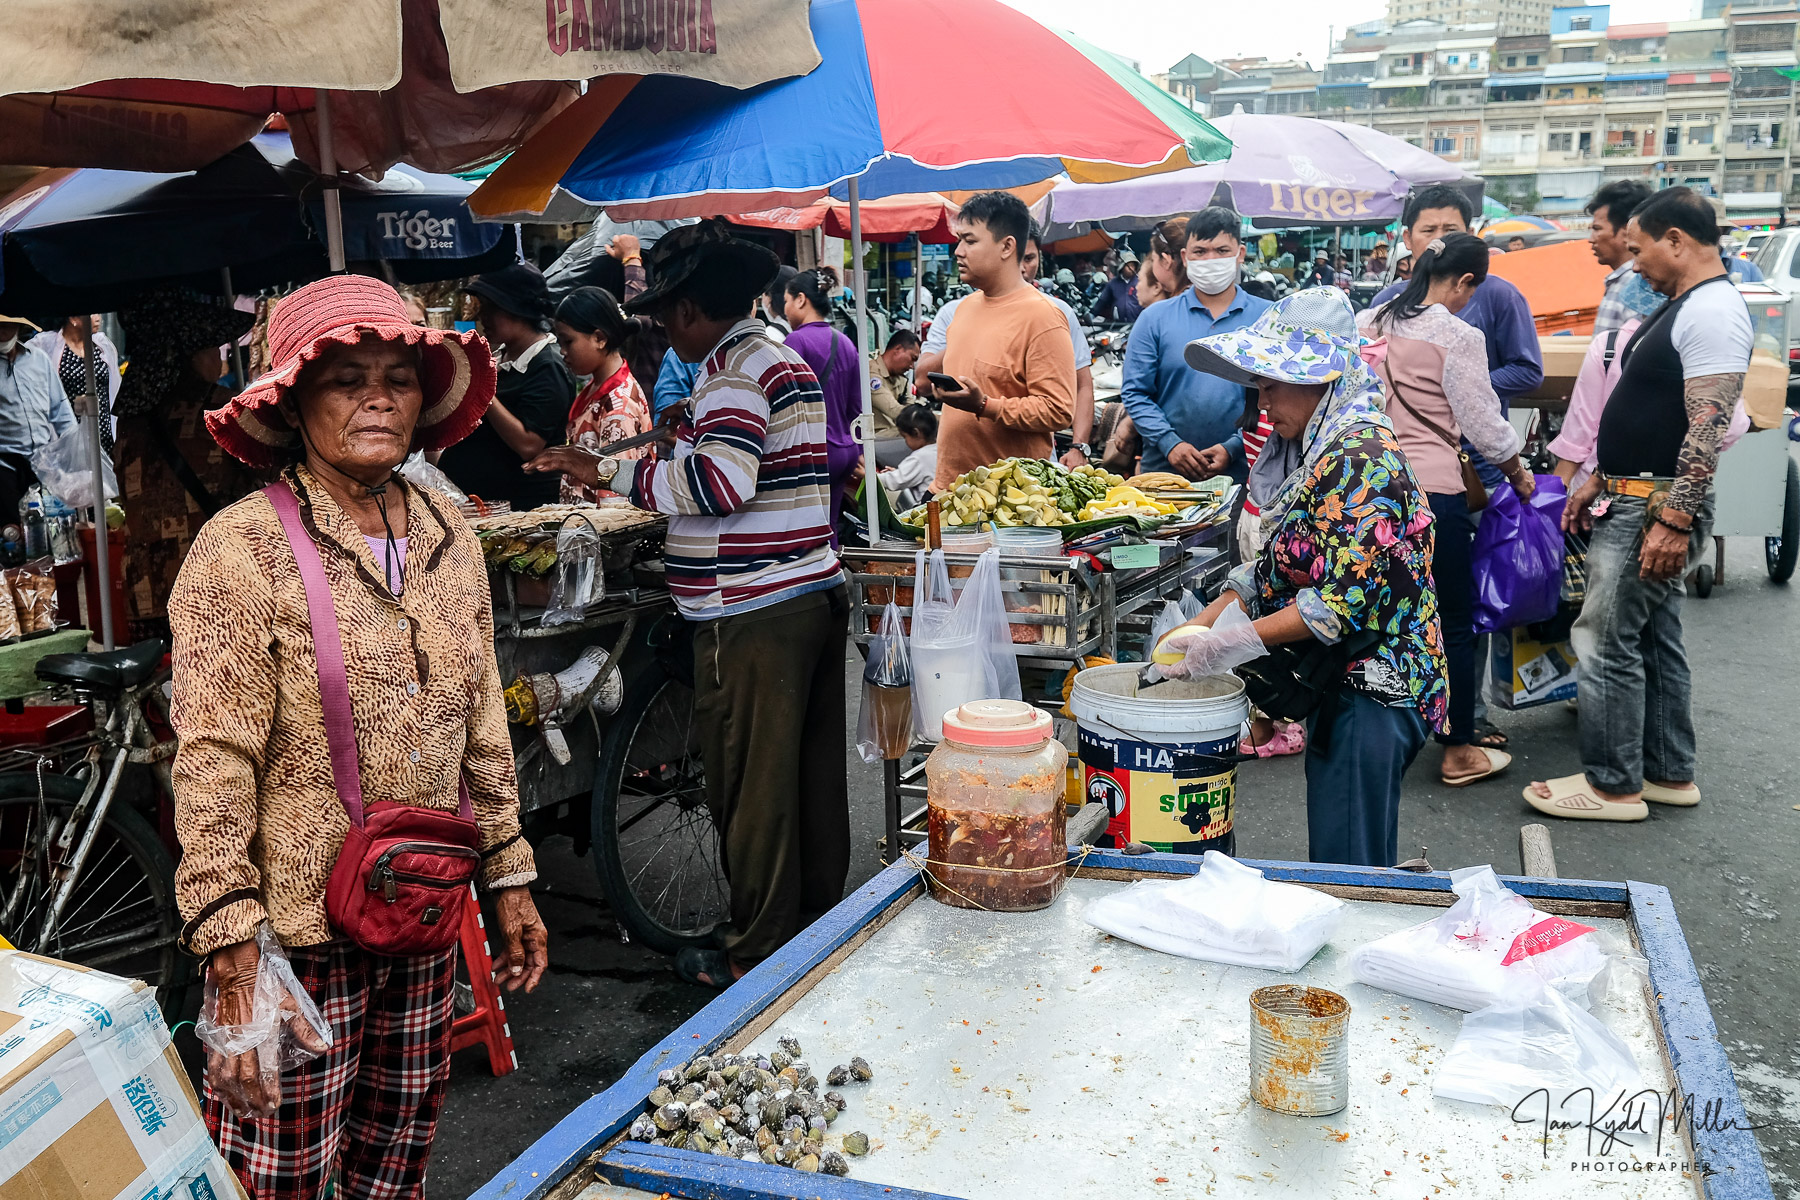
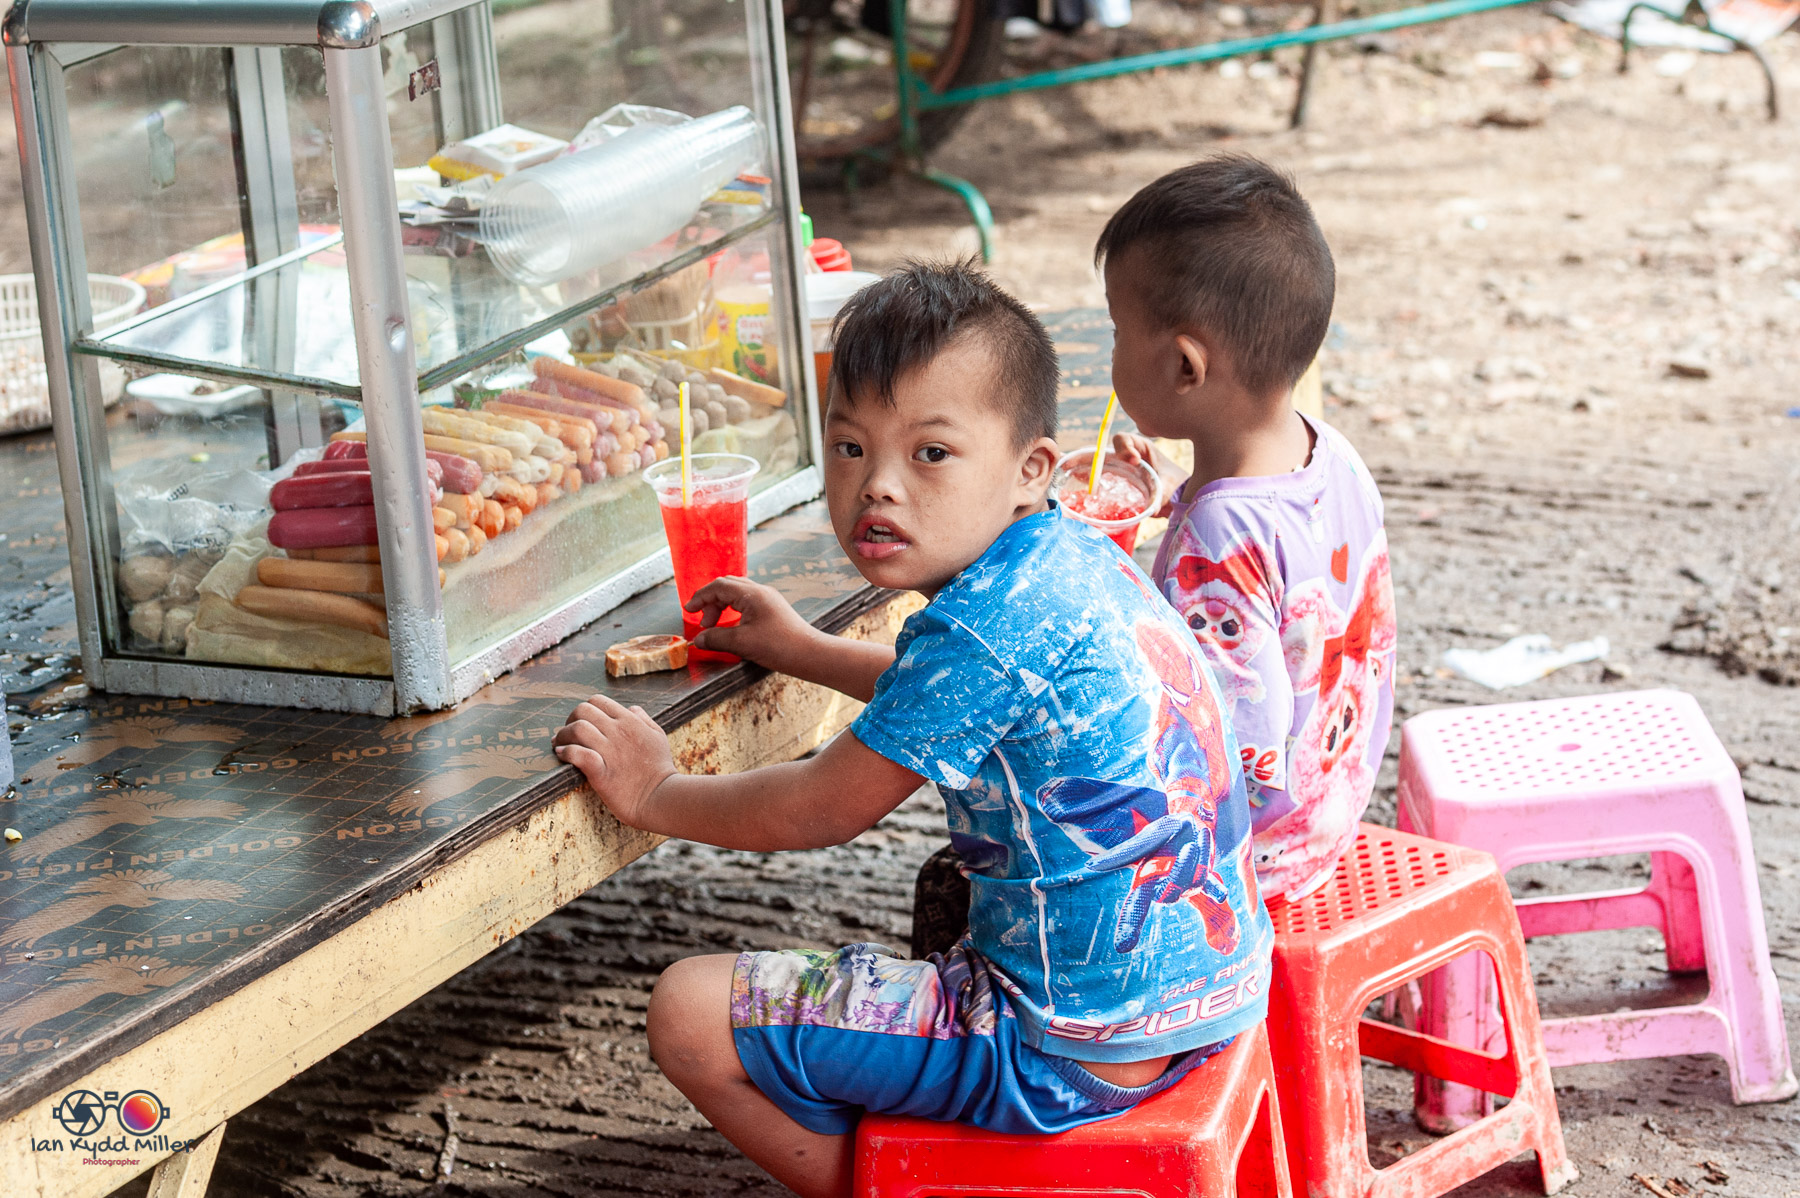
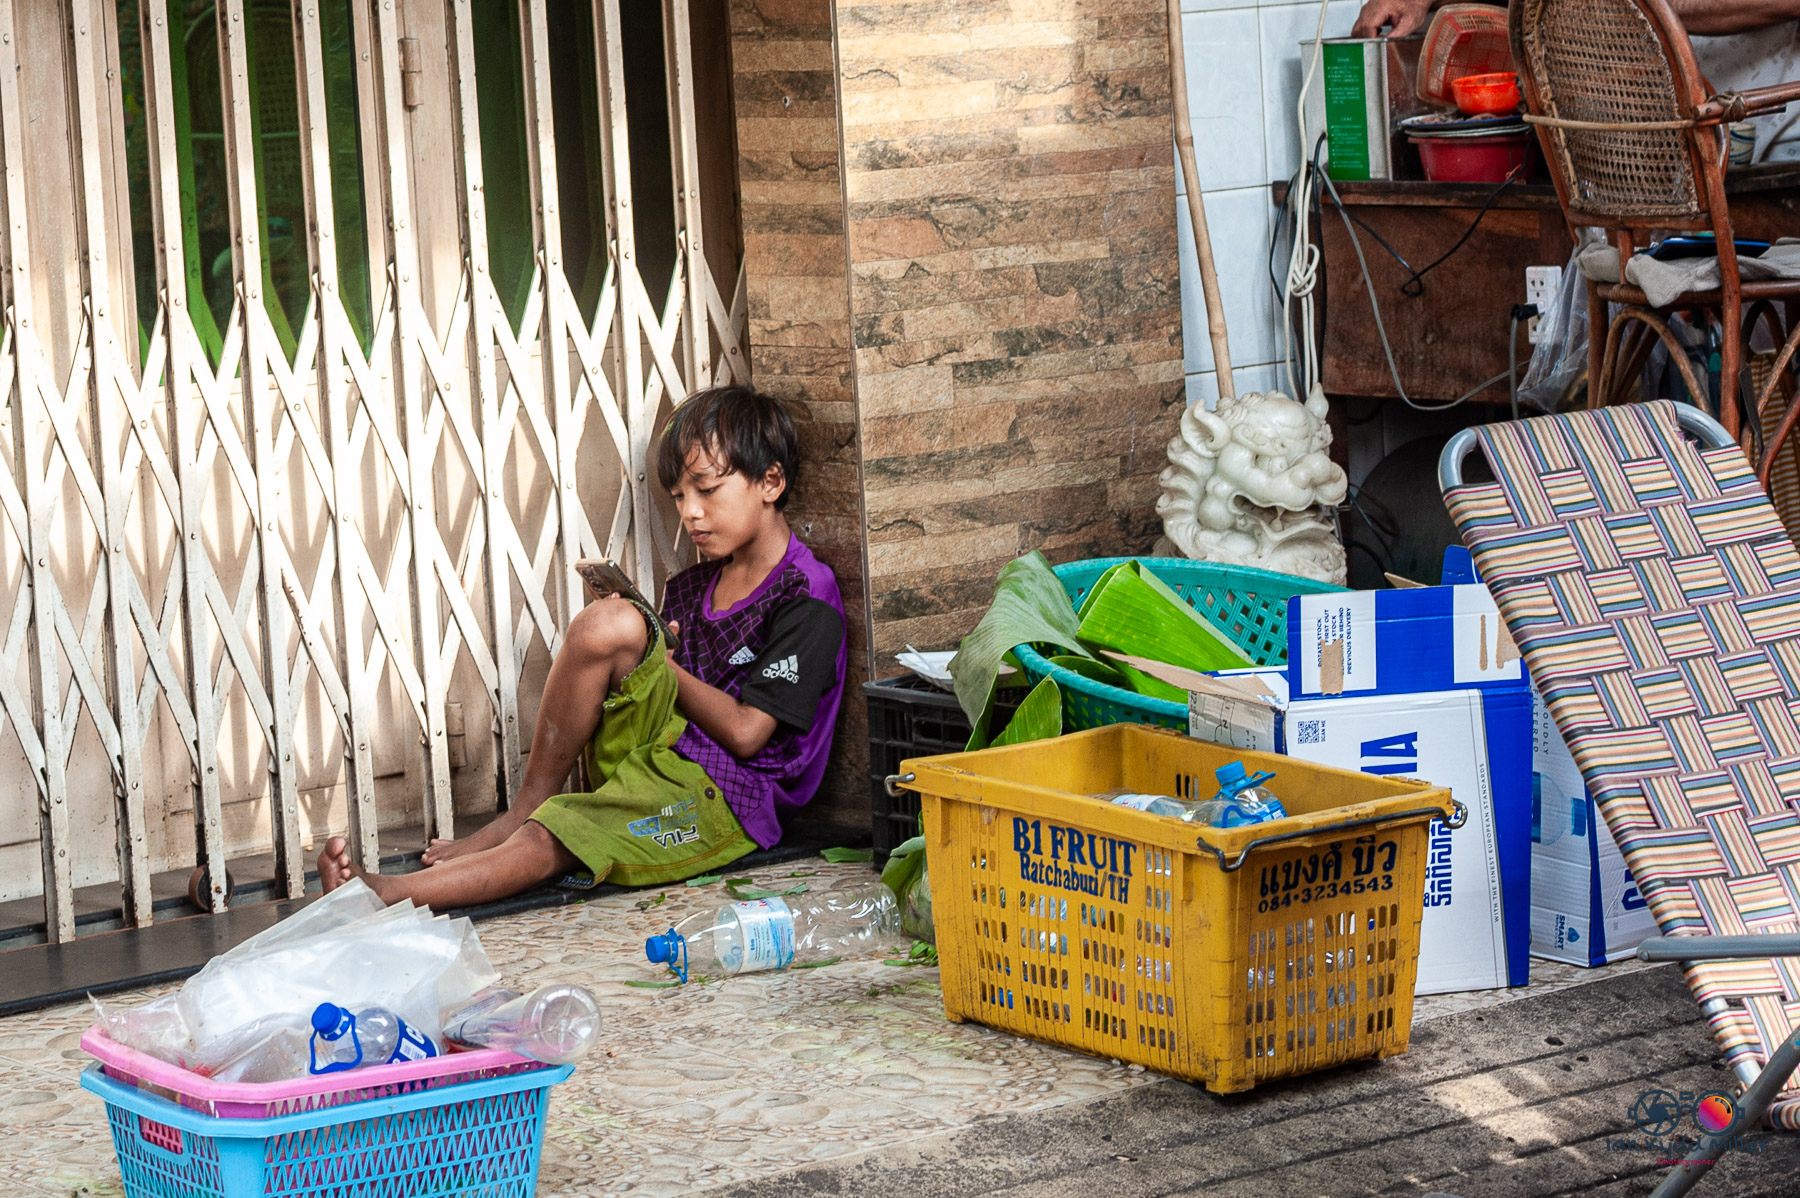
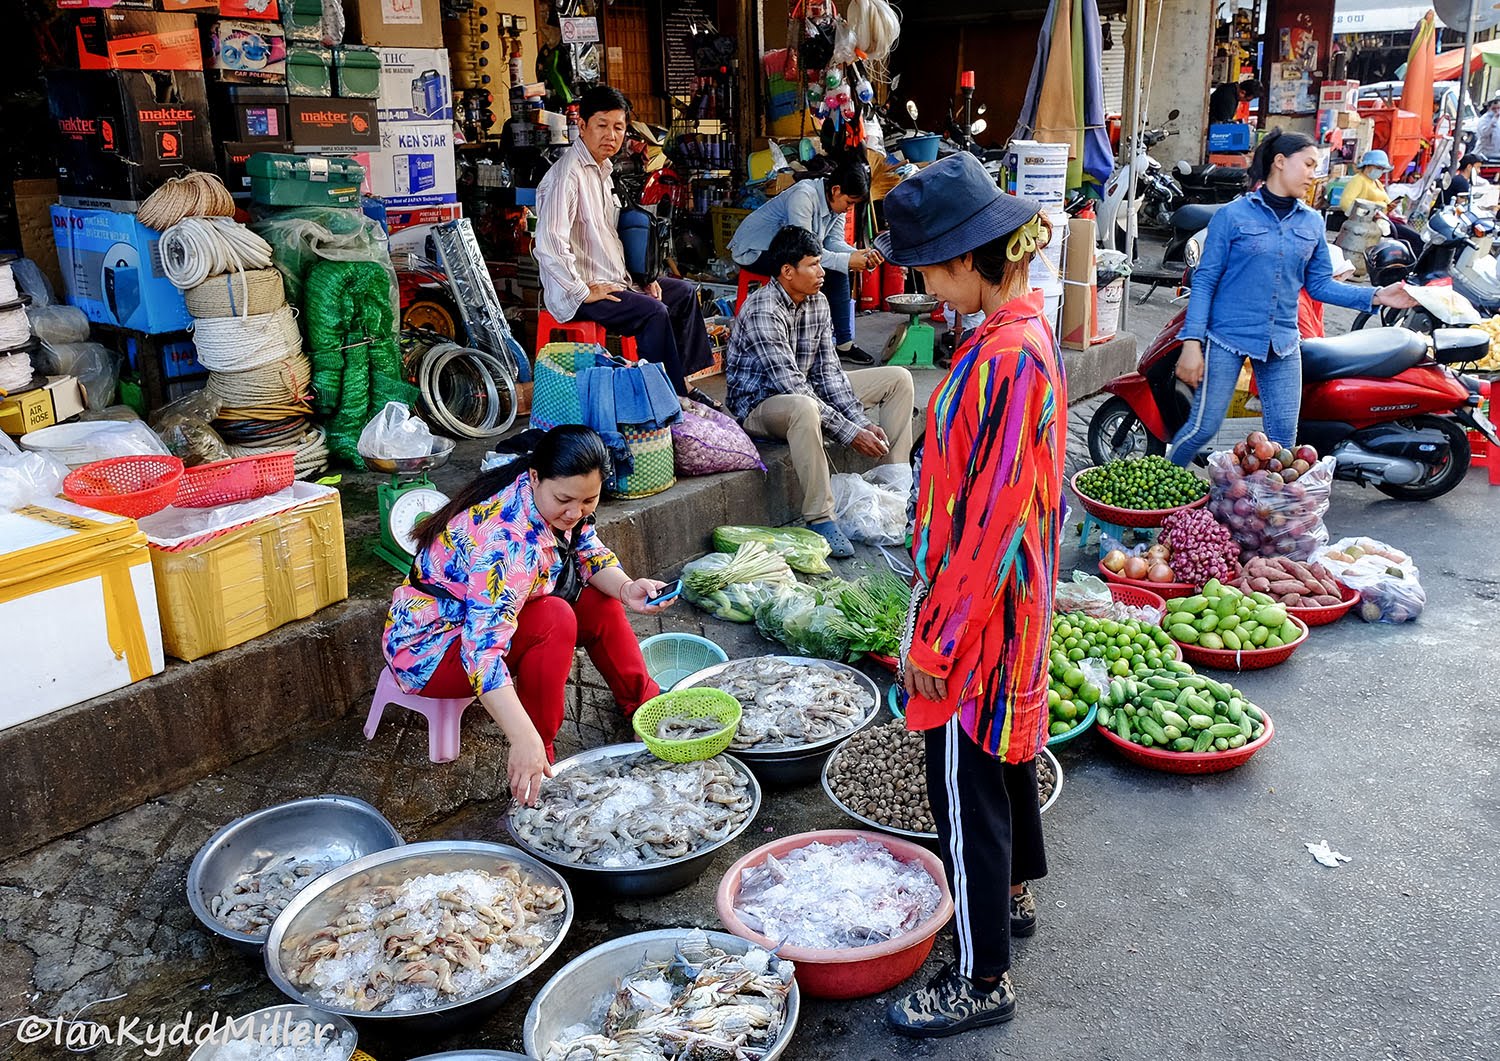
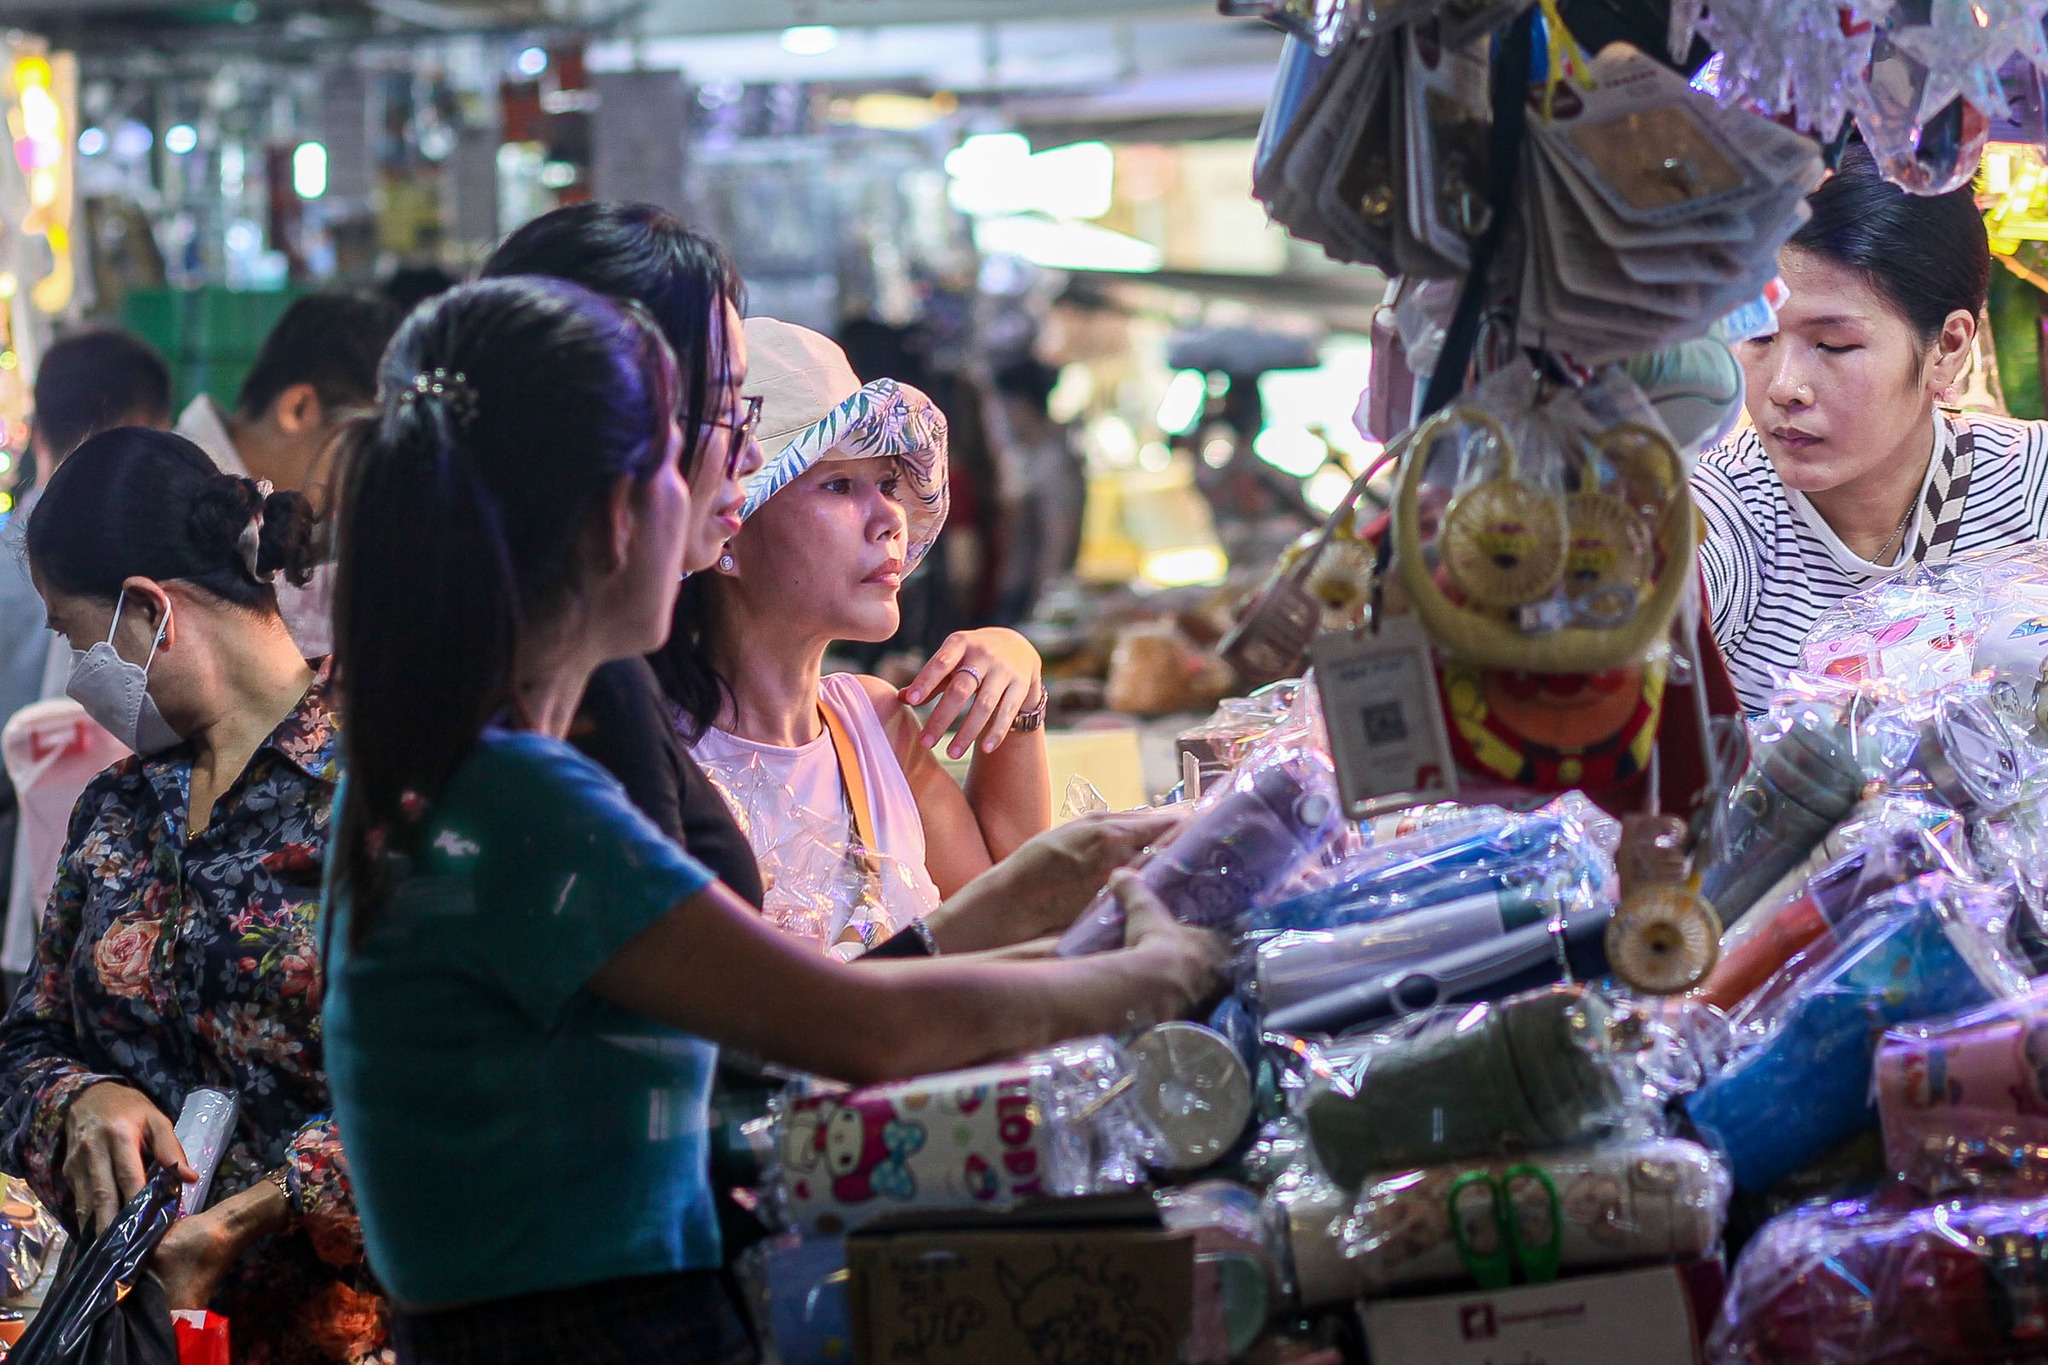
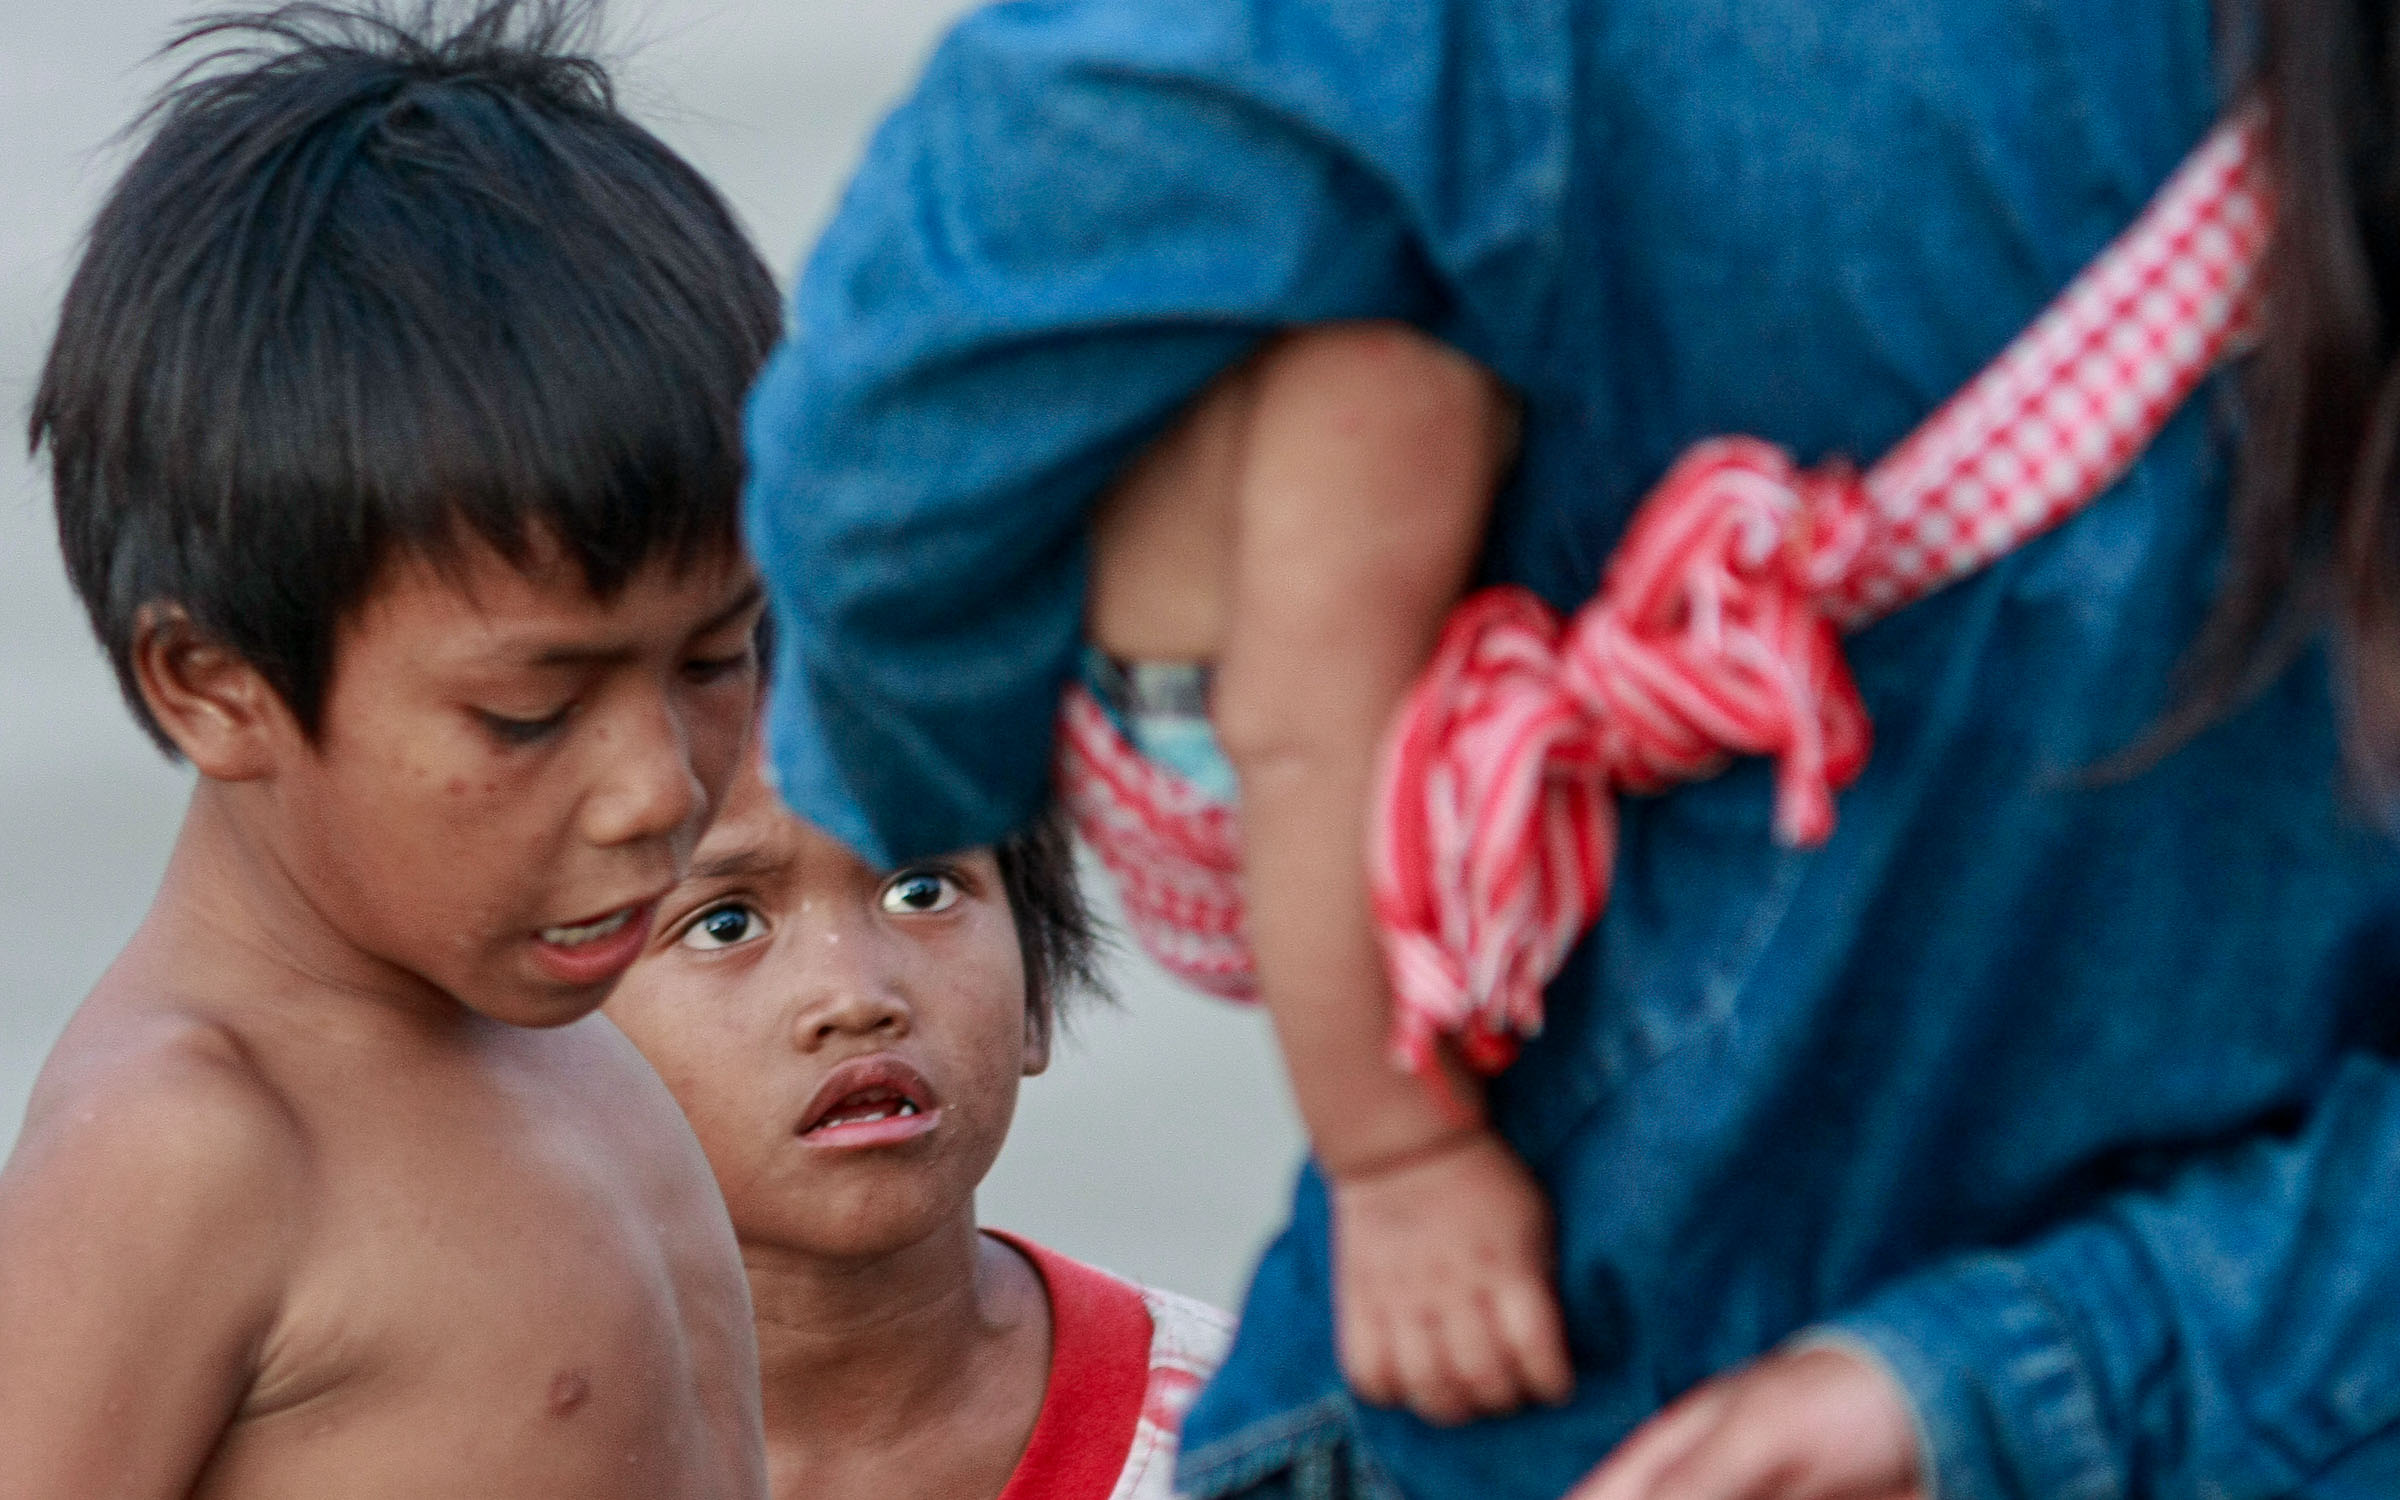
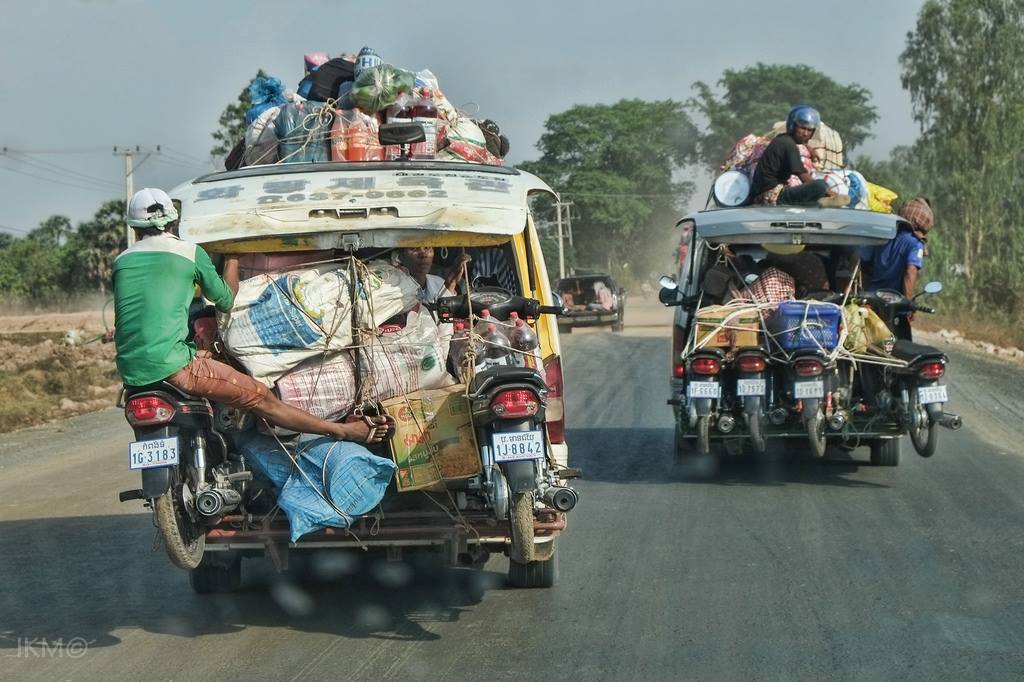
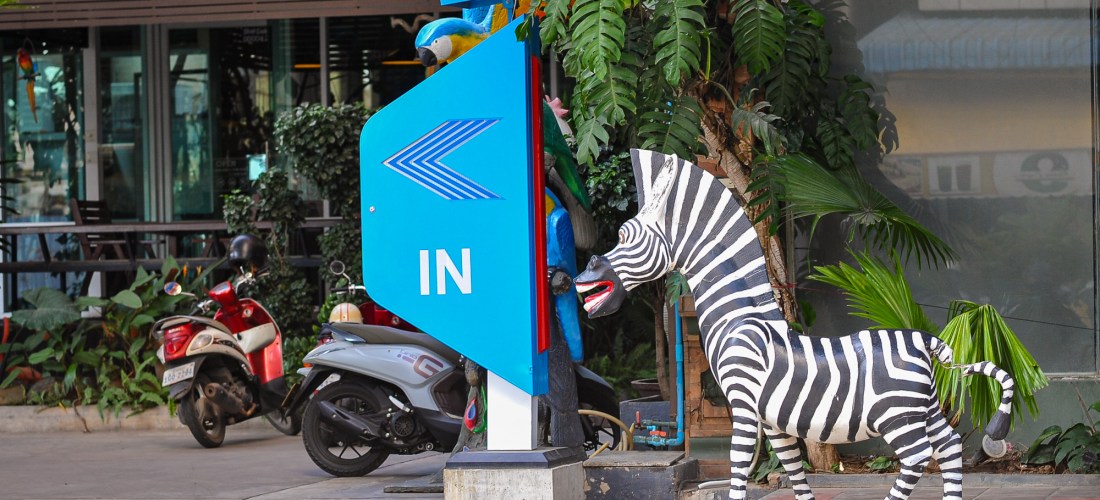
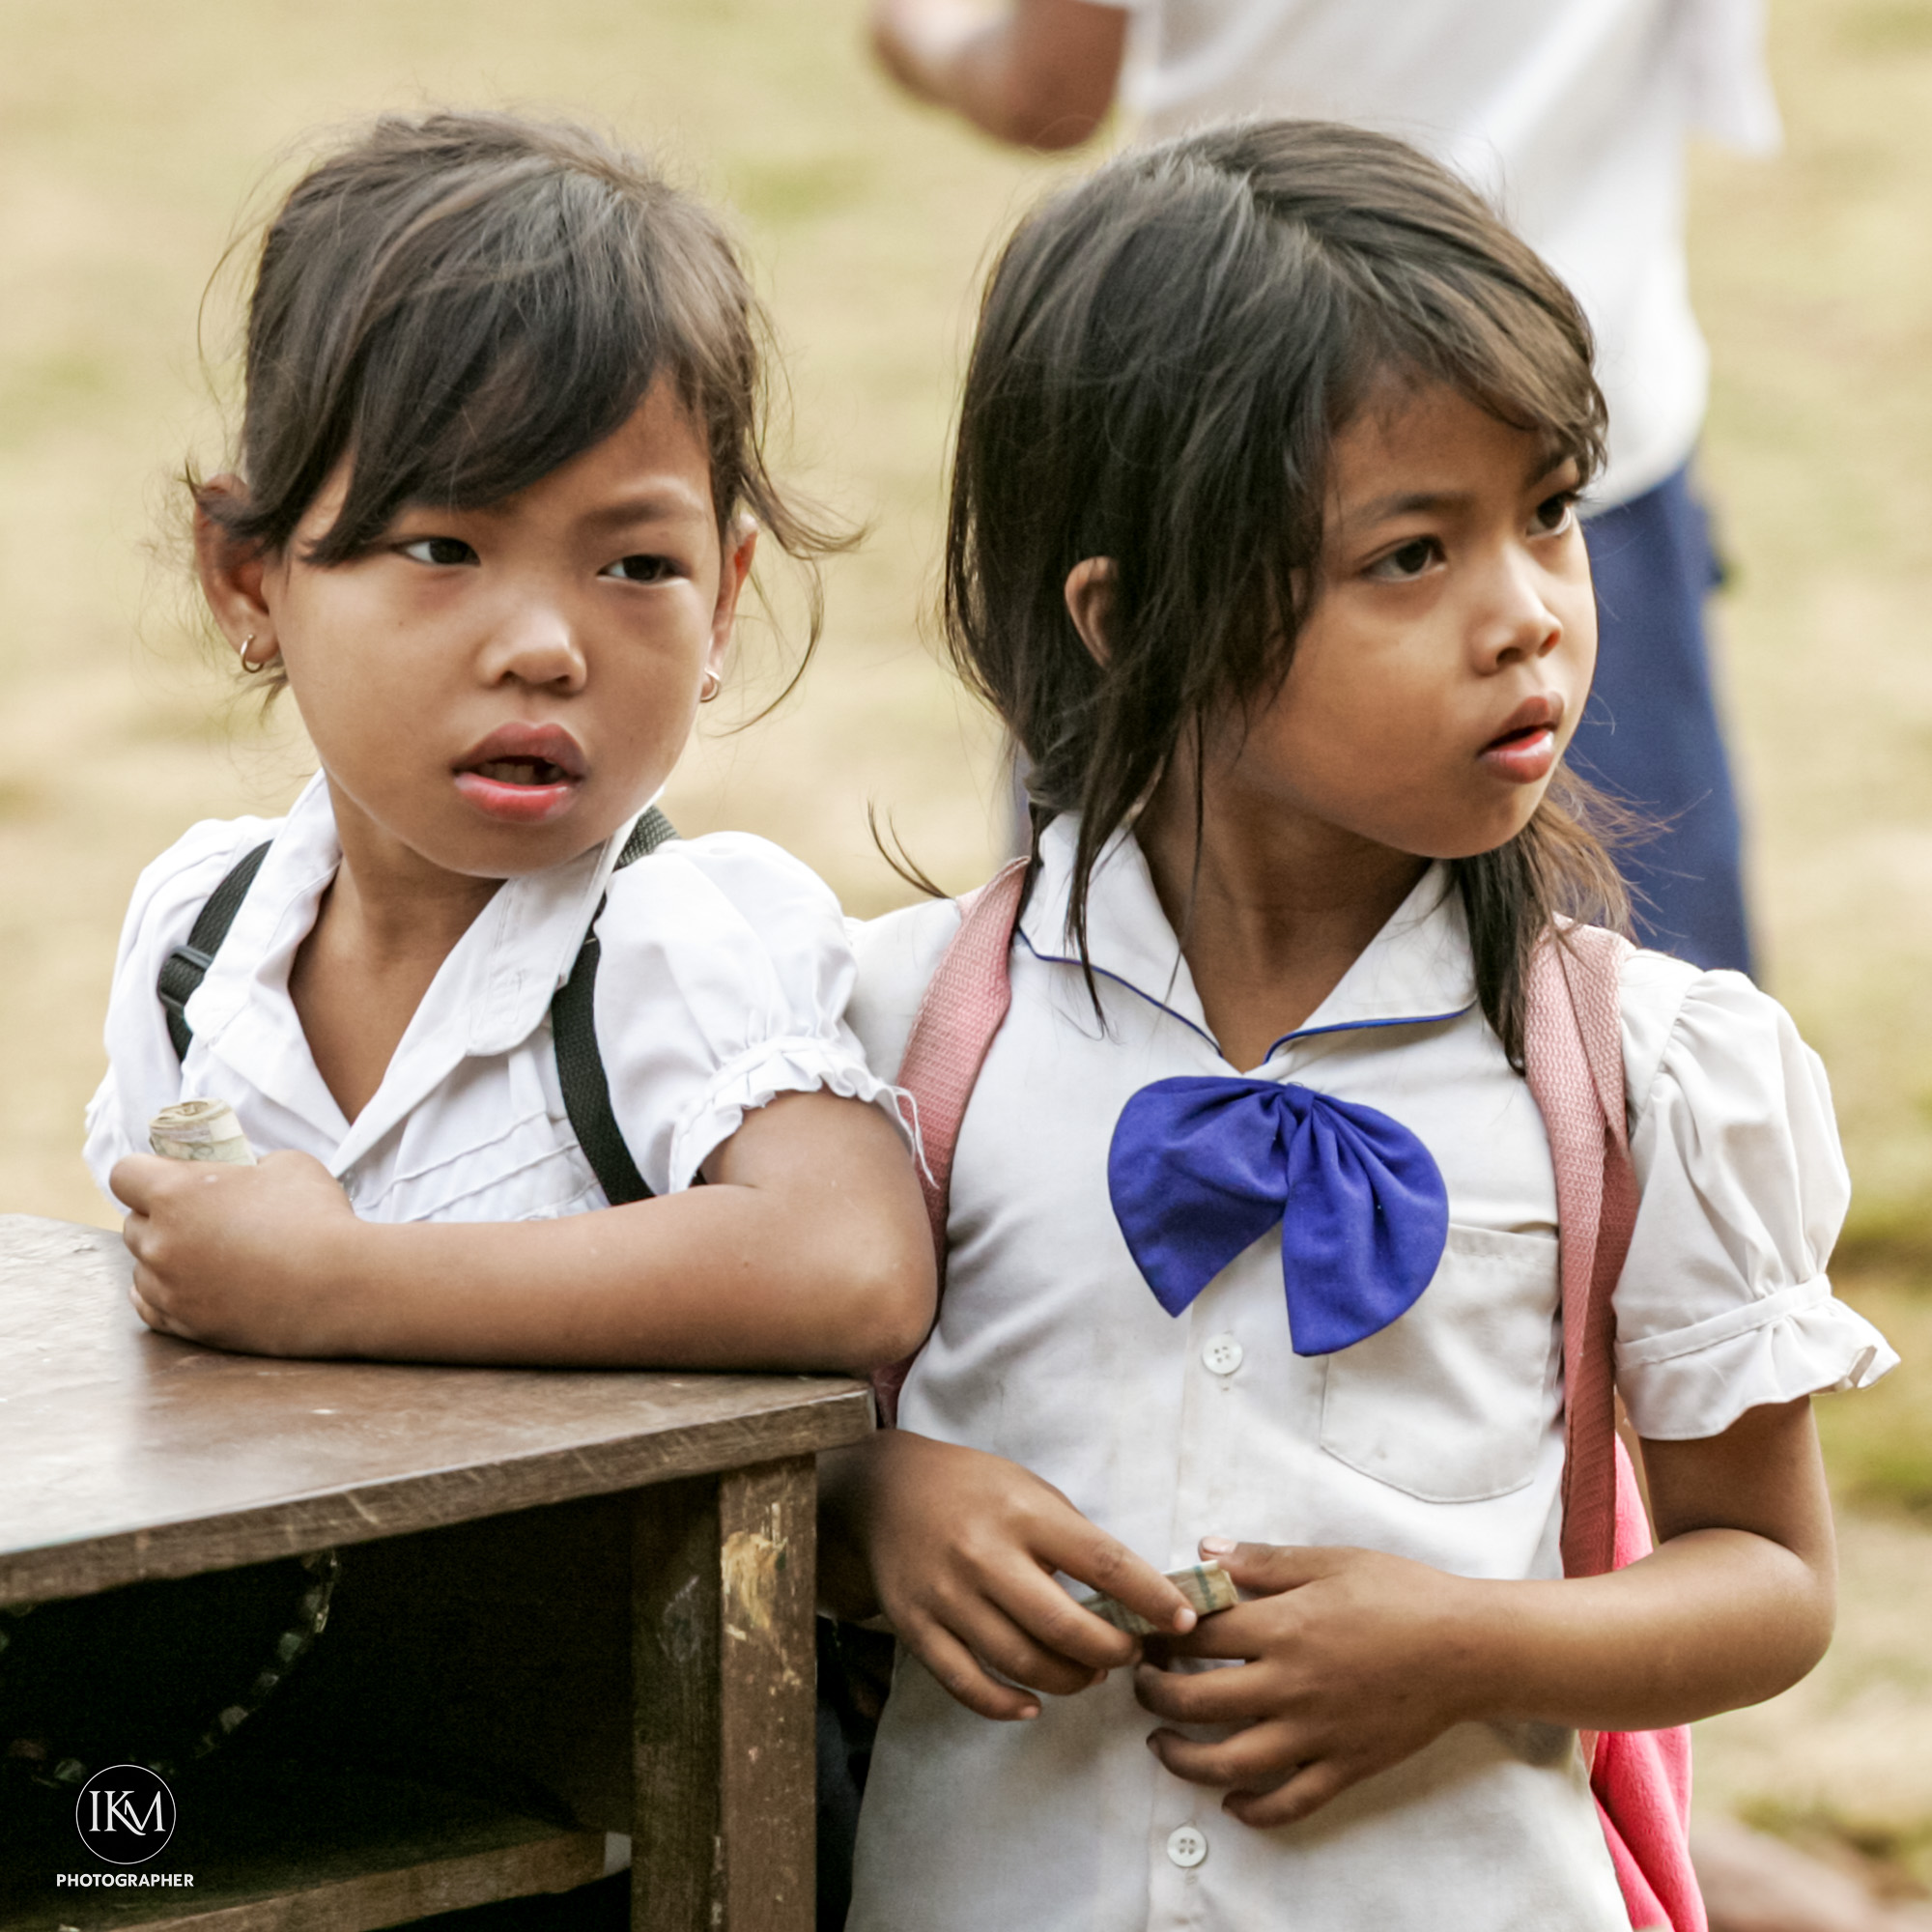
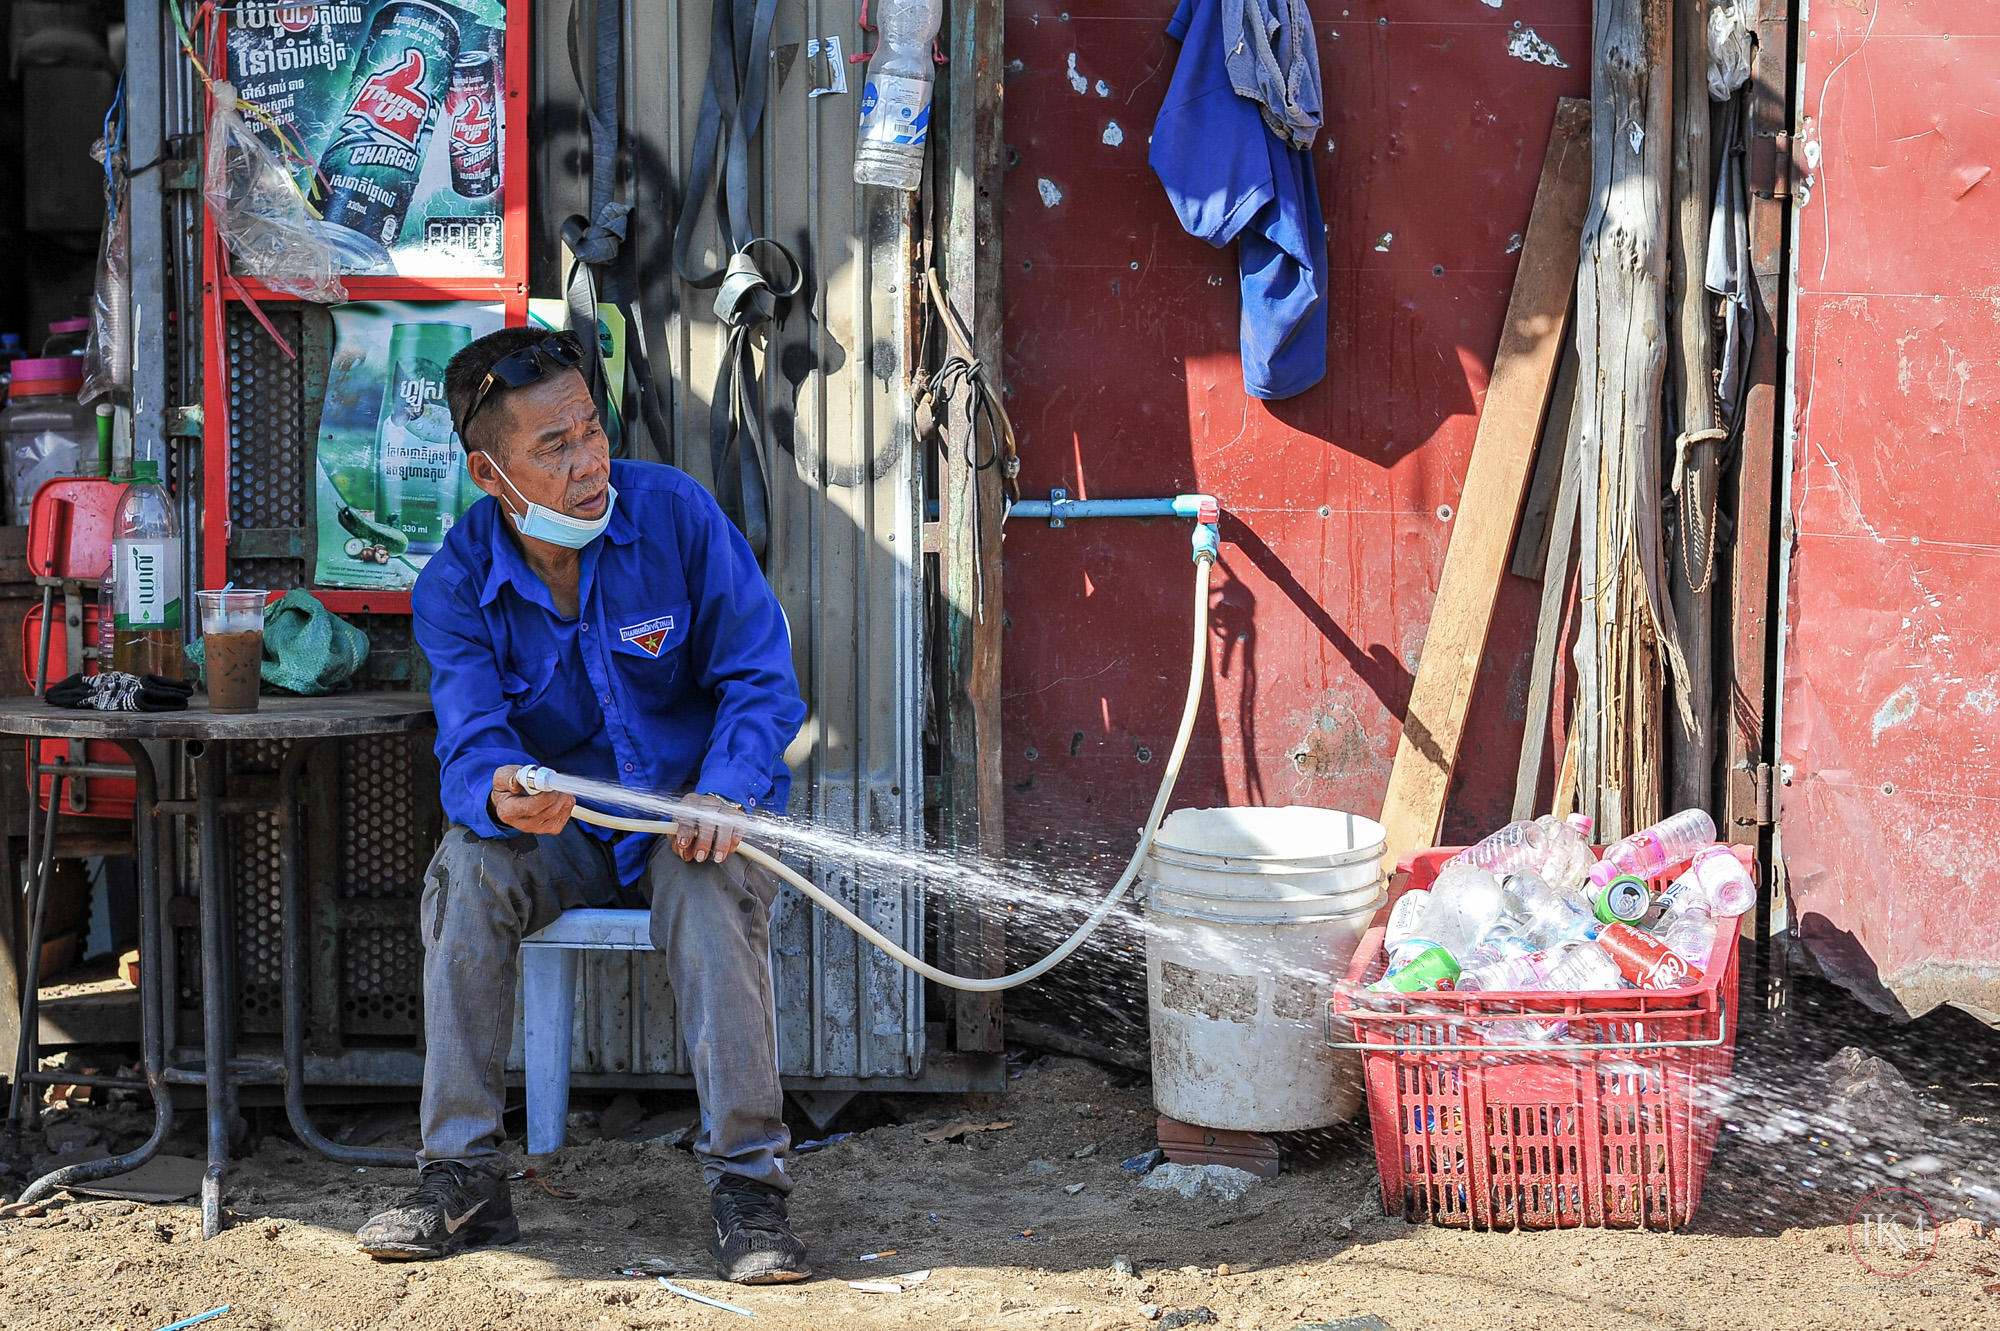
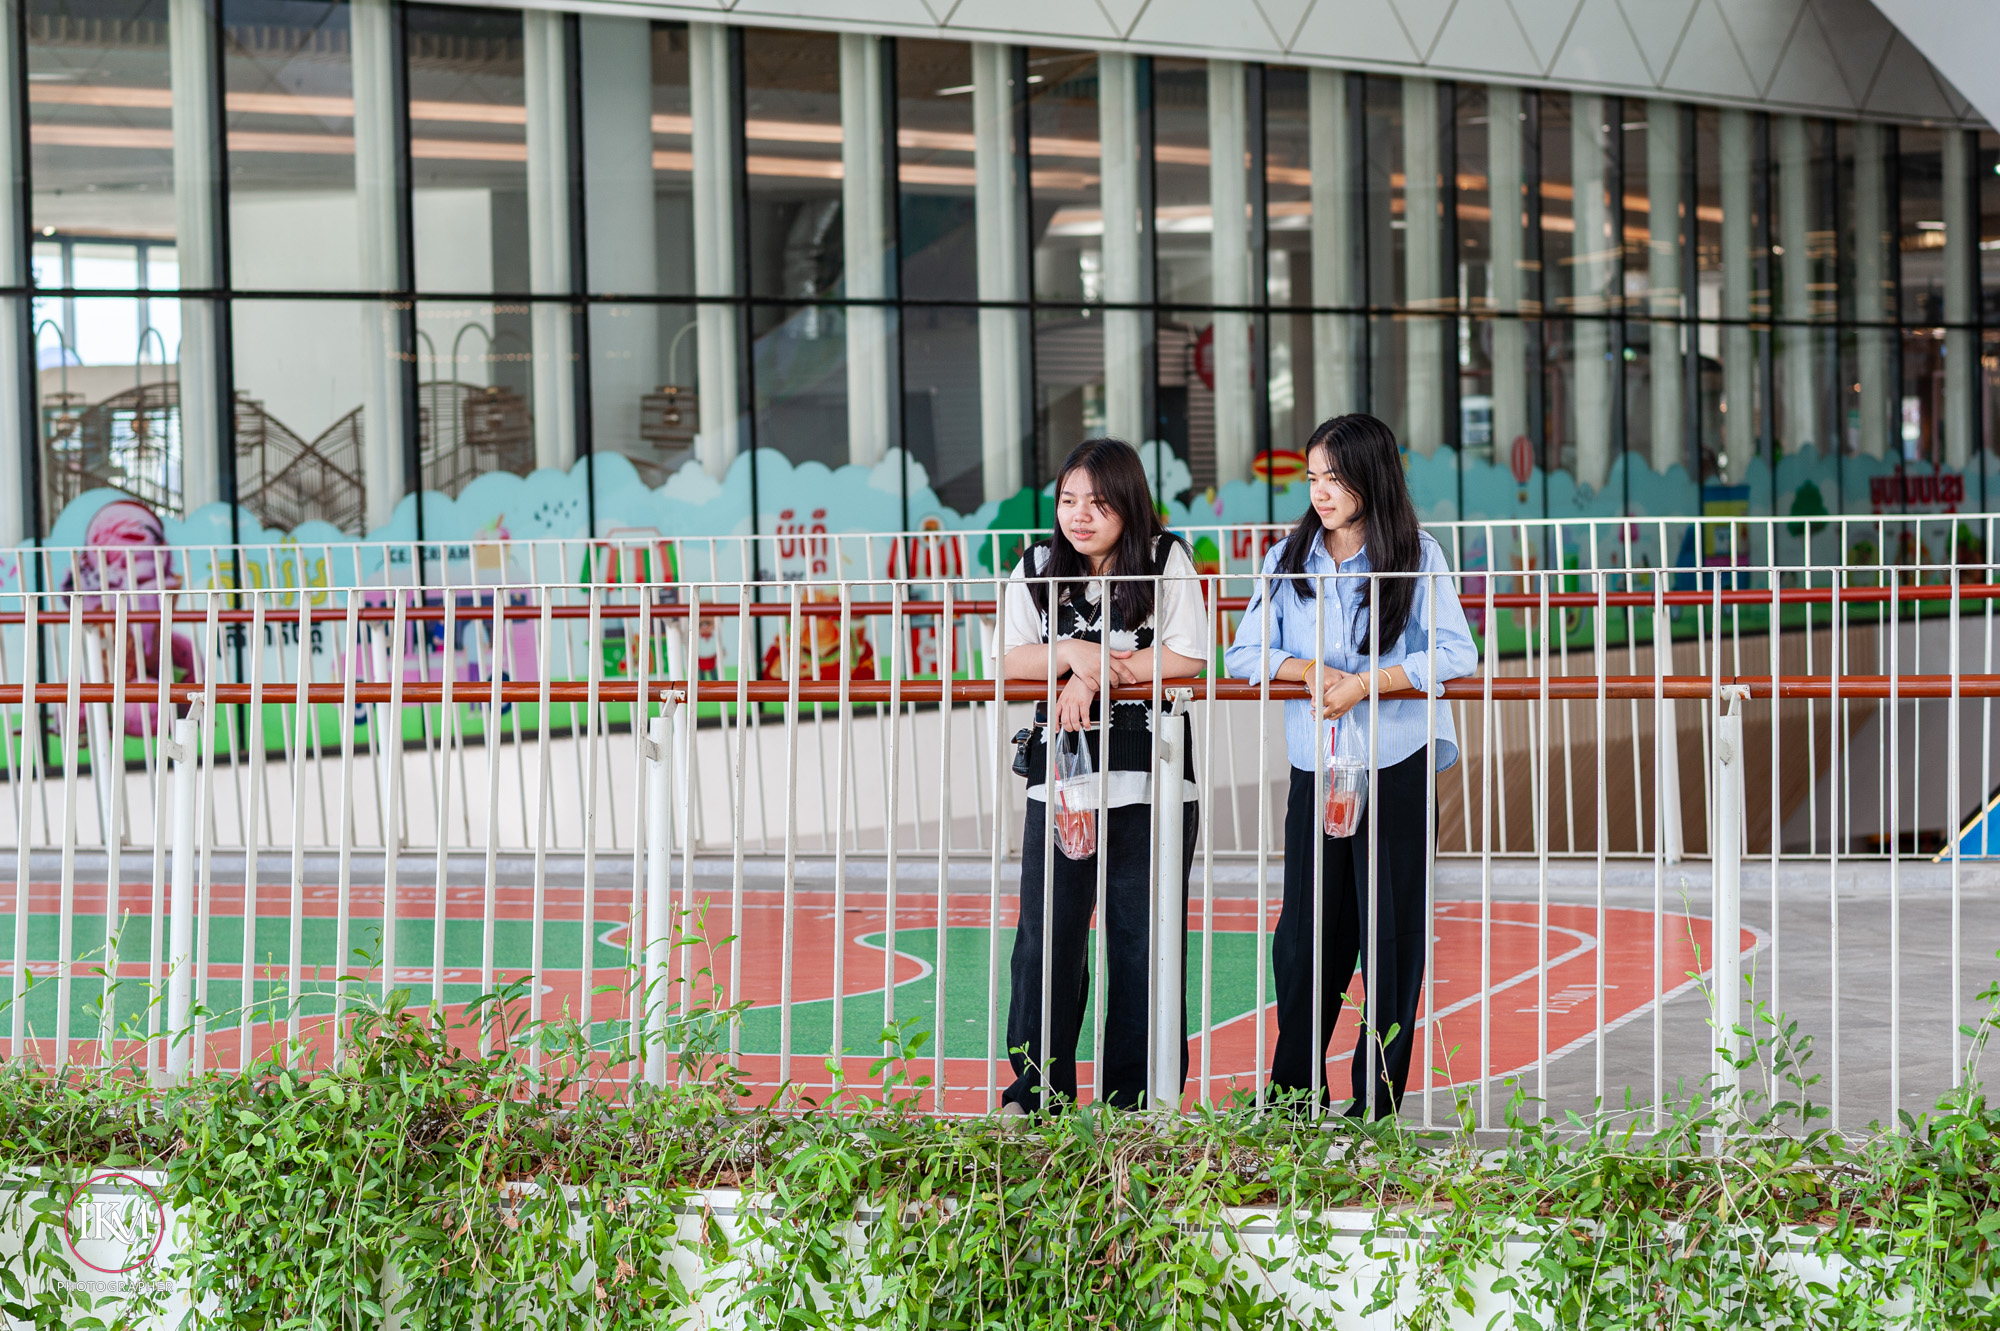
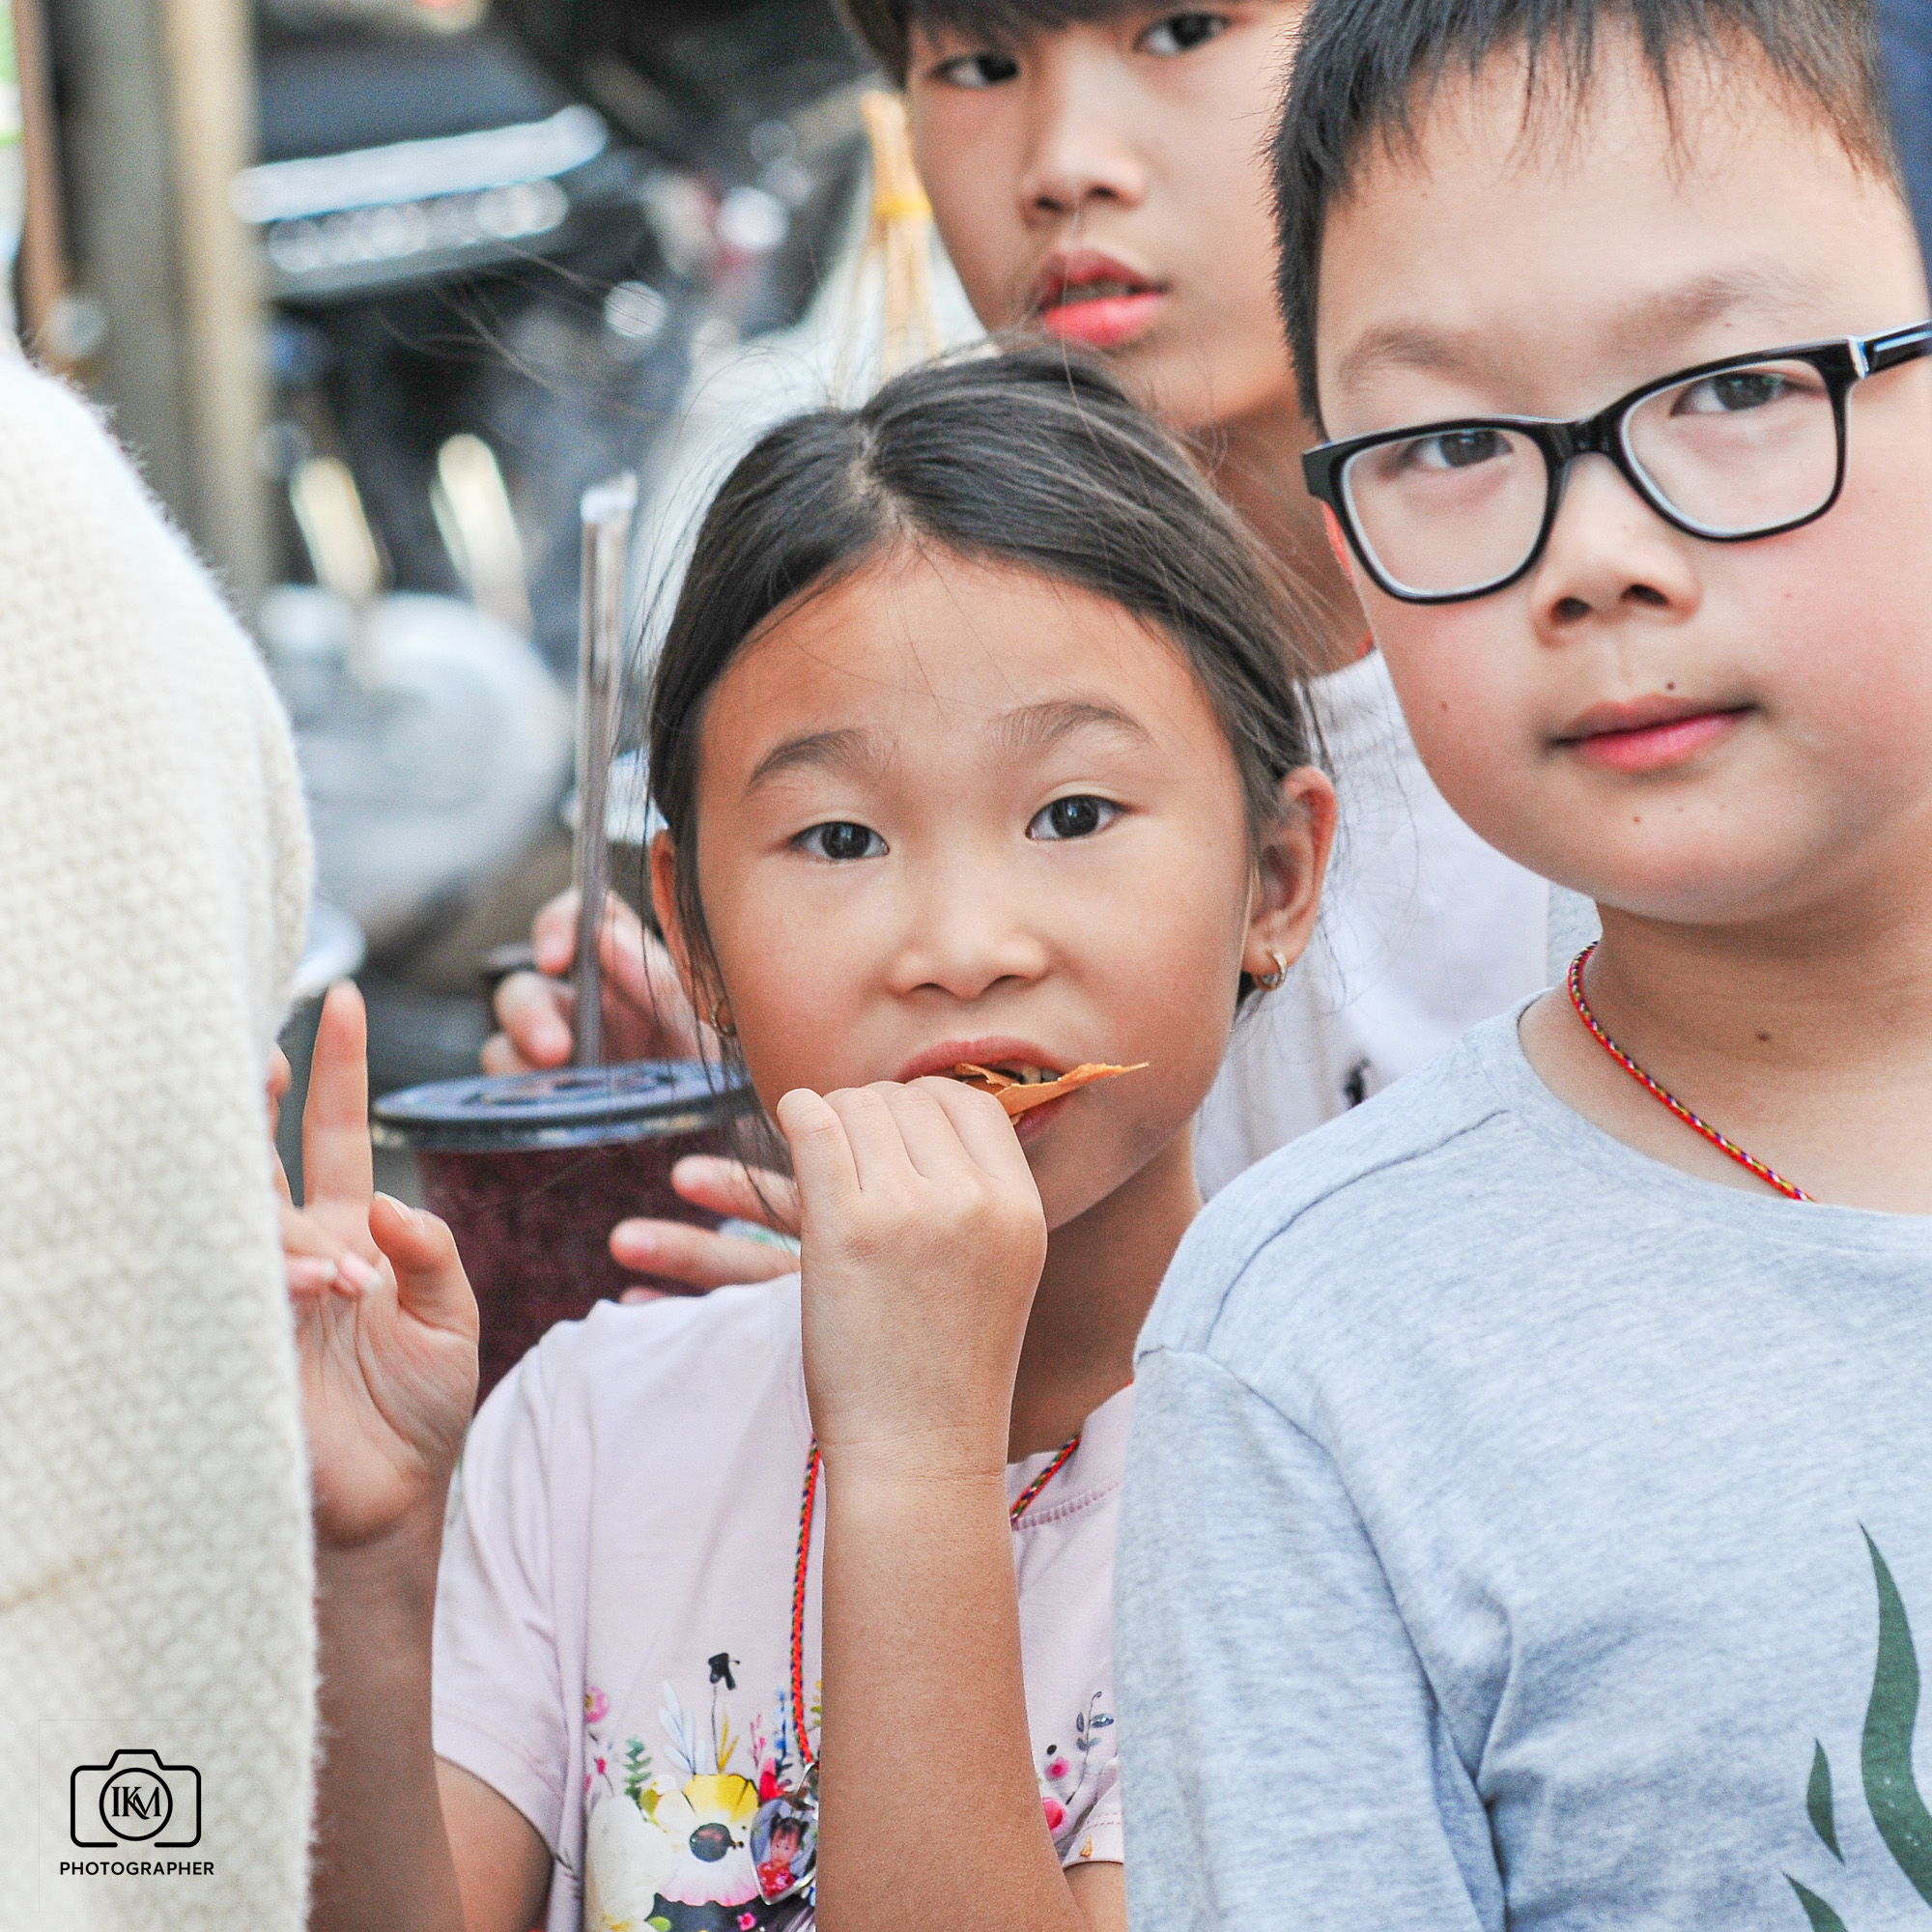
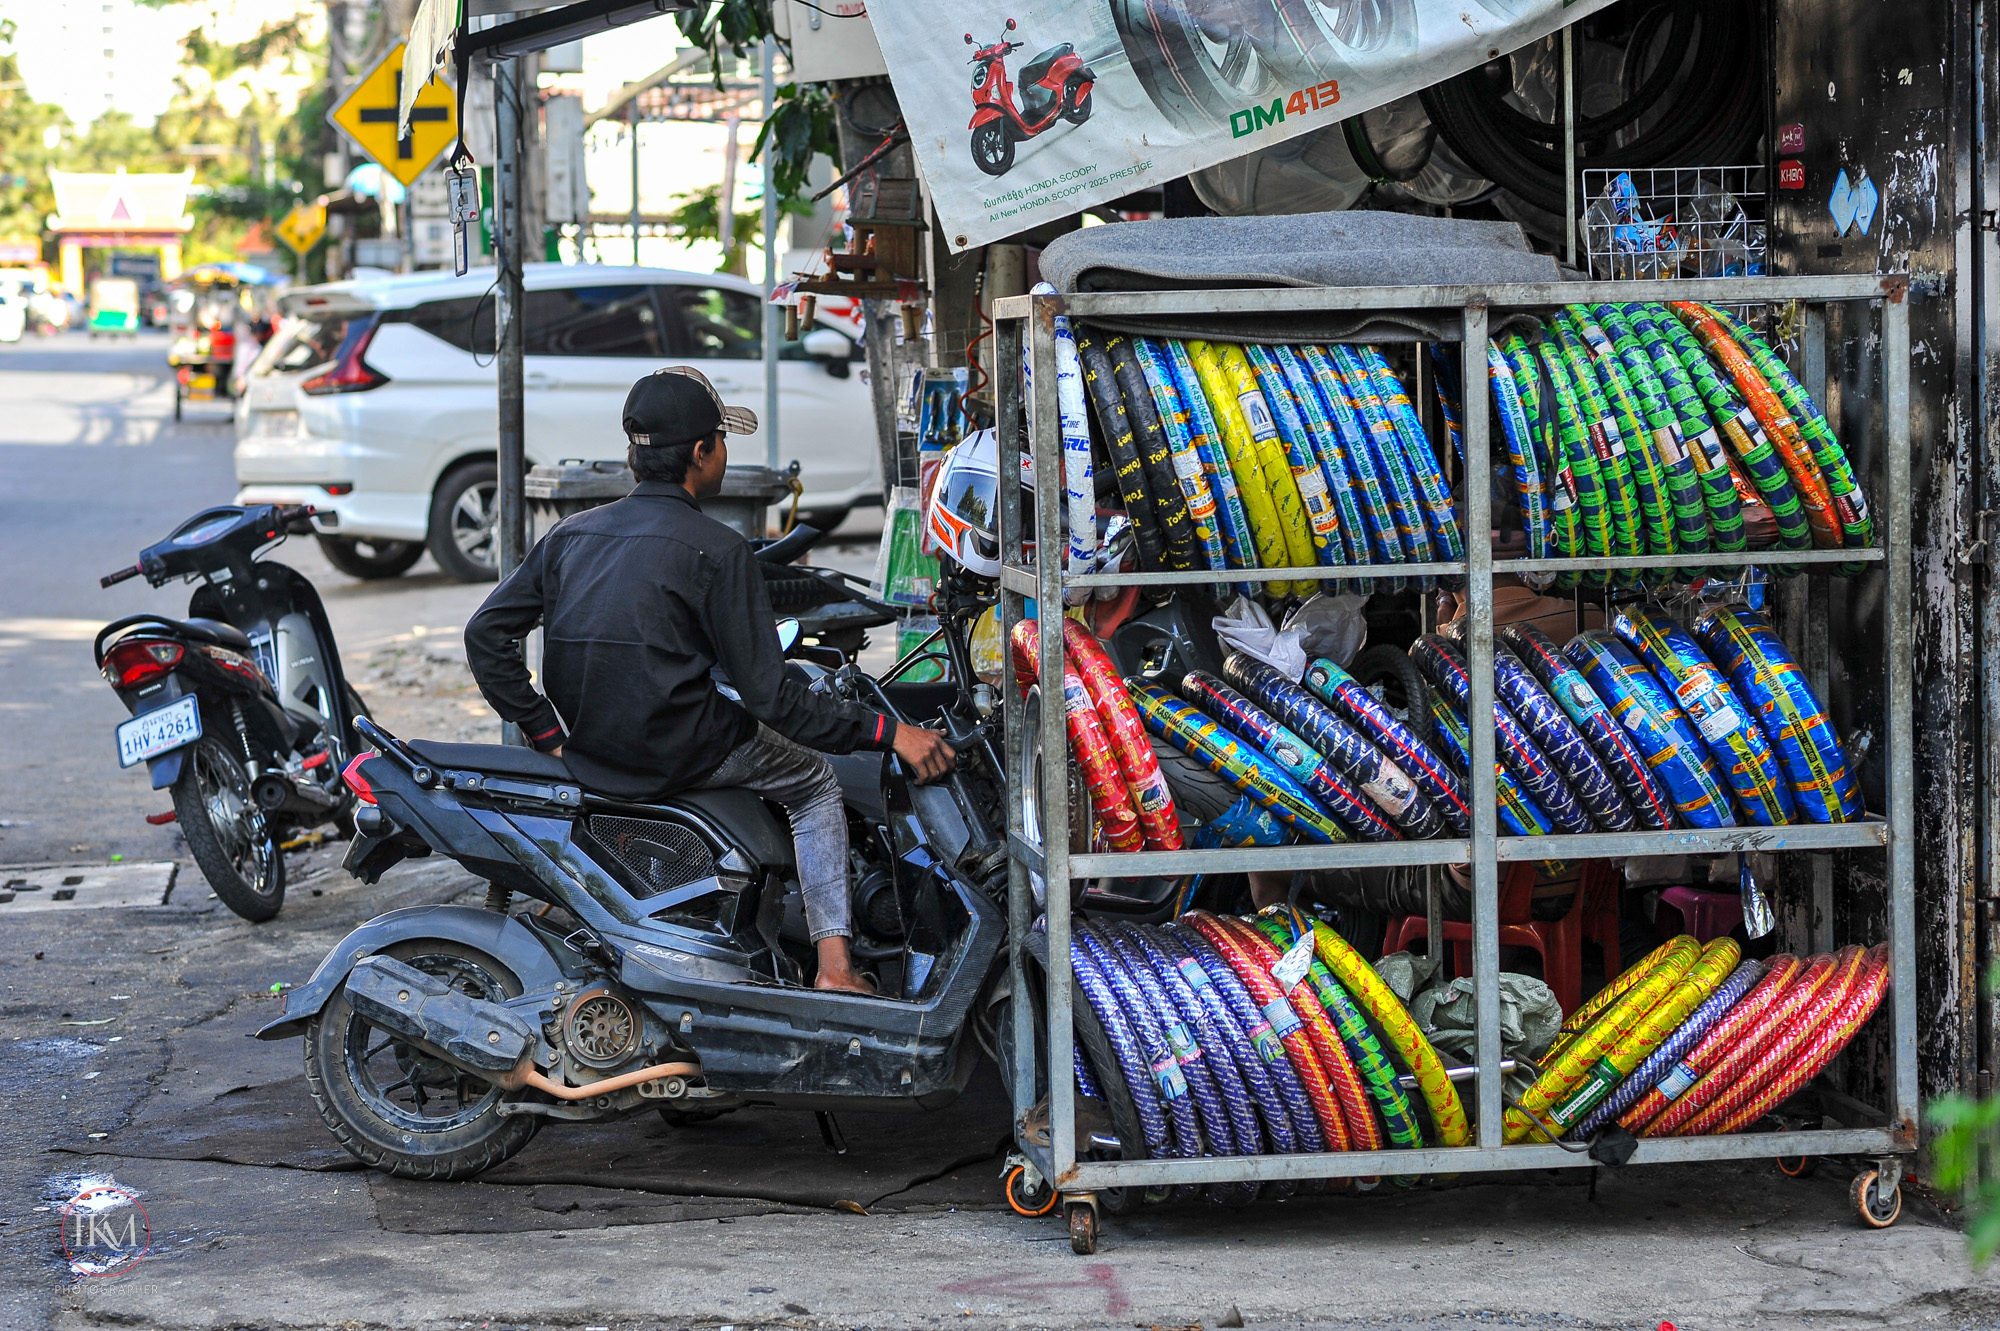
If you’re looking for a relaxing way to see Phnom Penh from a different angle, one of the better-known options is Cambo Cruise. It operates evening cruises on the Mekong and Tonlé Sap rivers, departing from the riverside area near the Phnom Penh Floating Port.
What You’ll See
The cruise passes some of Phnom Penh’s most recognizable sights:
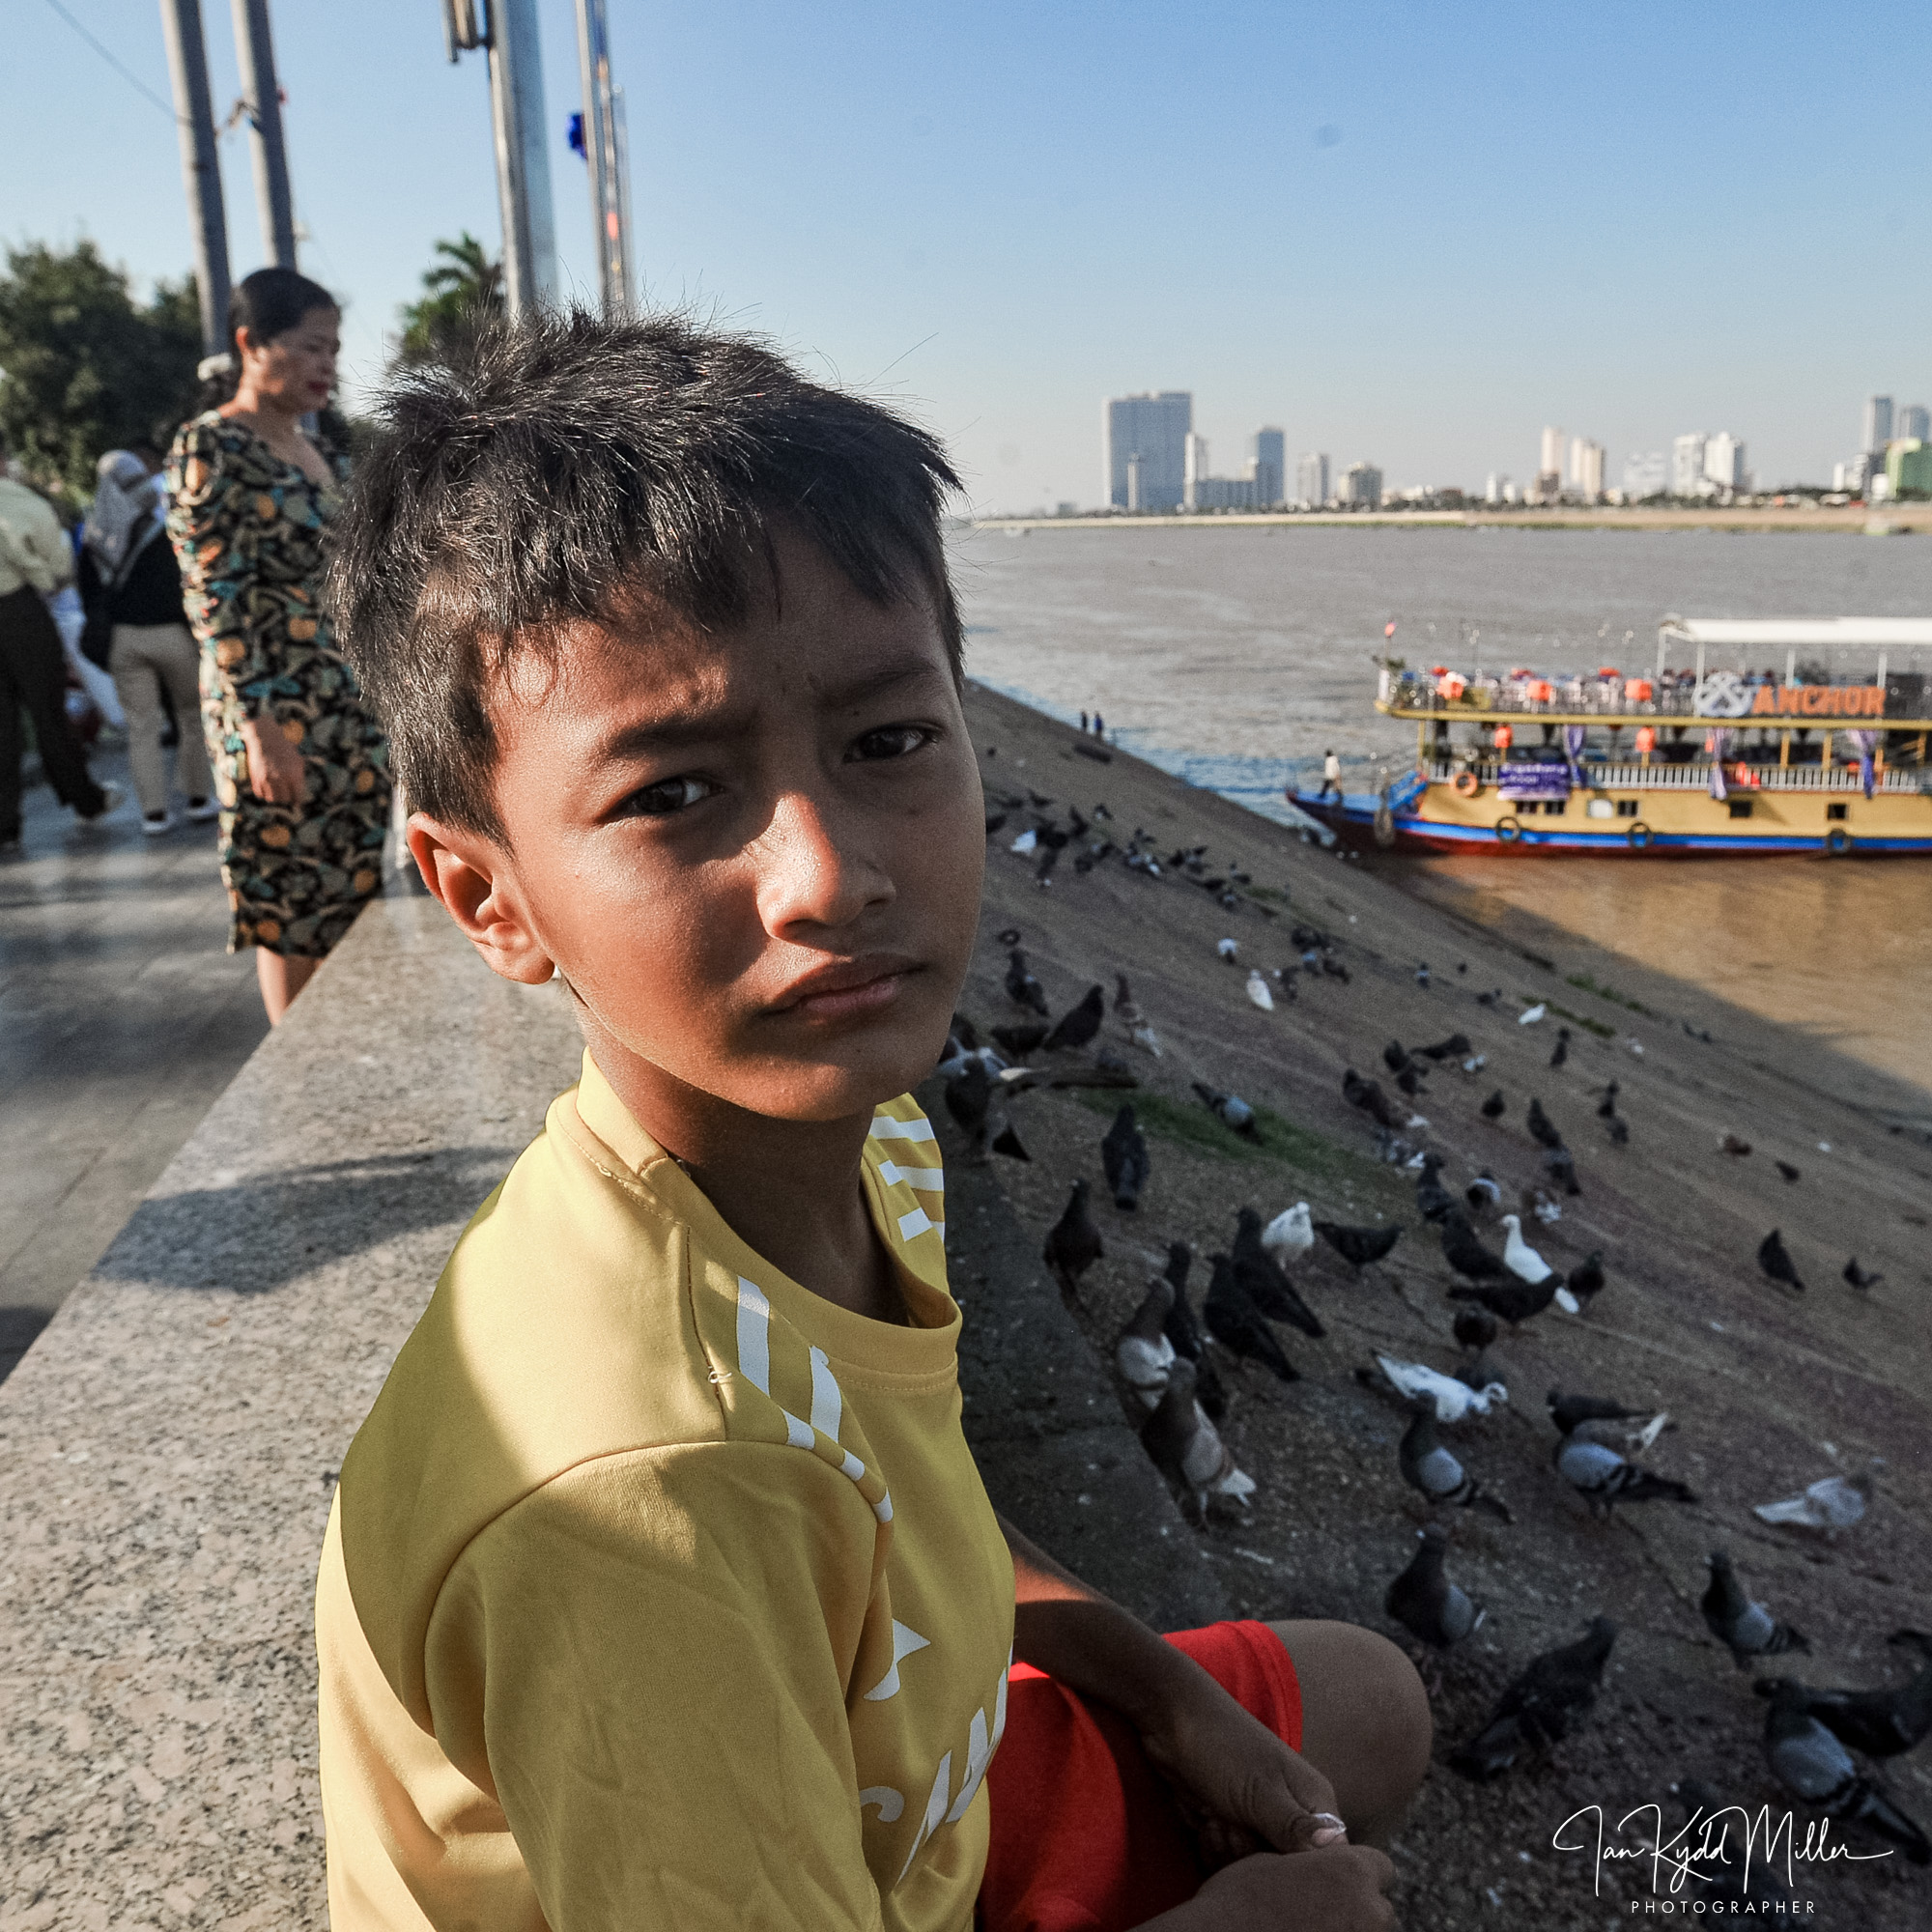
The waterfront and riverside promenade
The confluence of the Mekong, Tonlé Sap, and Bassac rivers
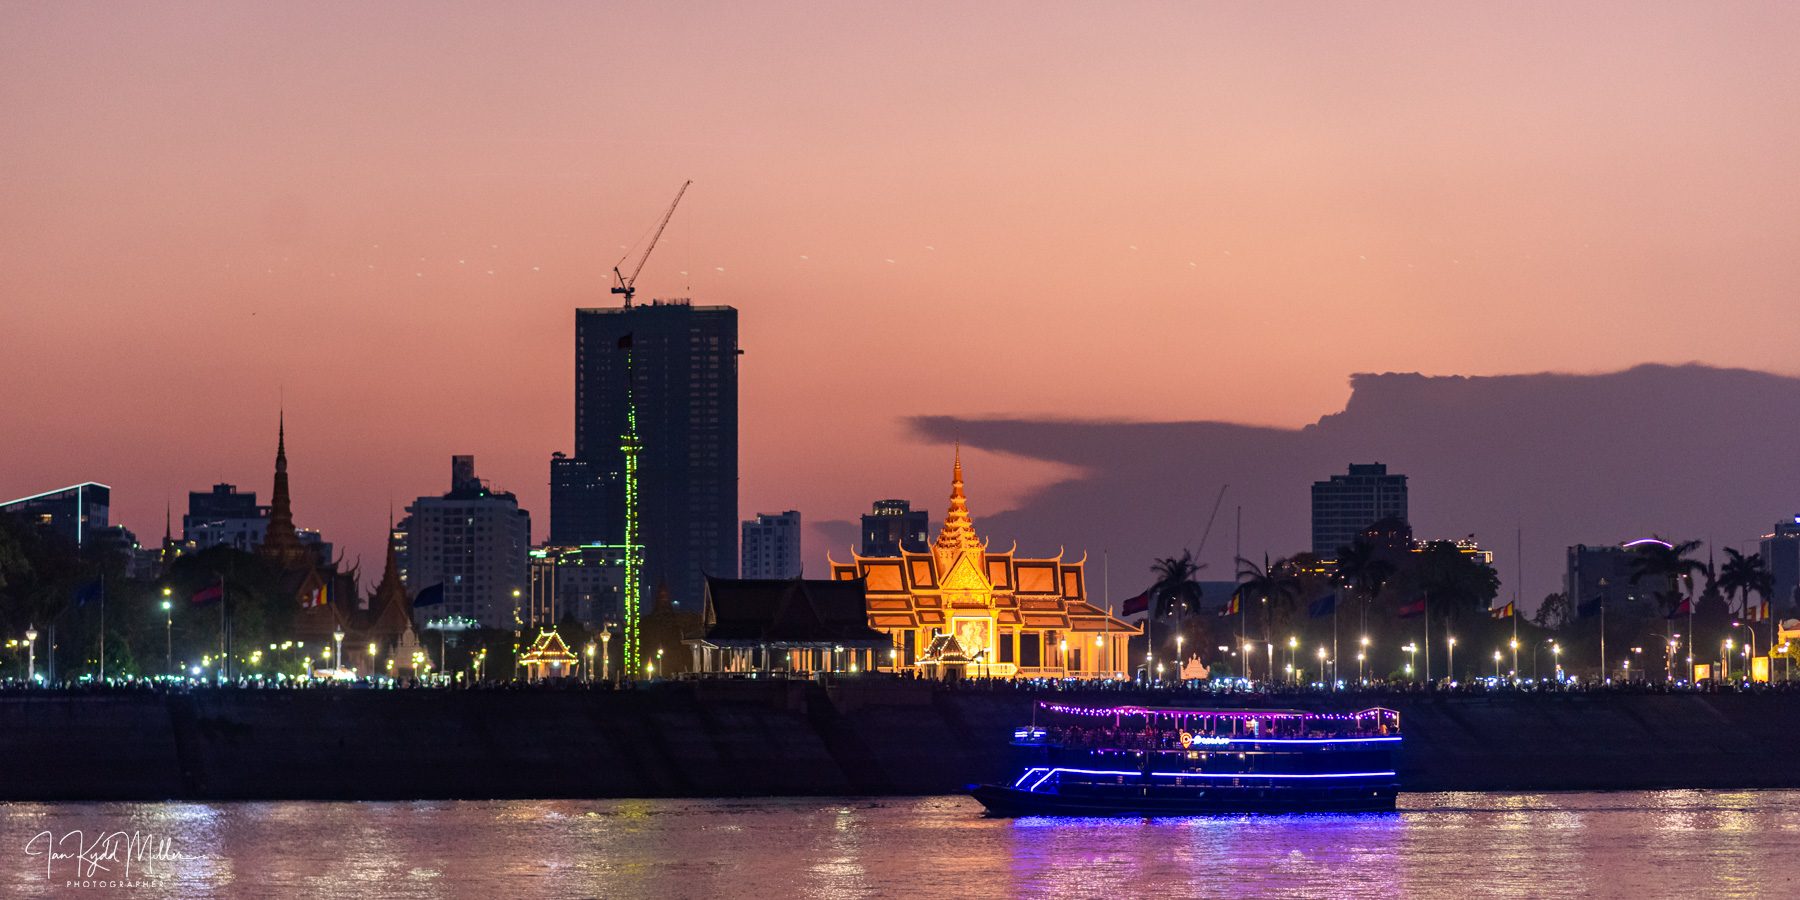
The illuminated skyline after dark
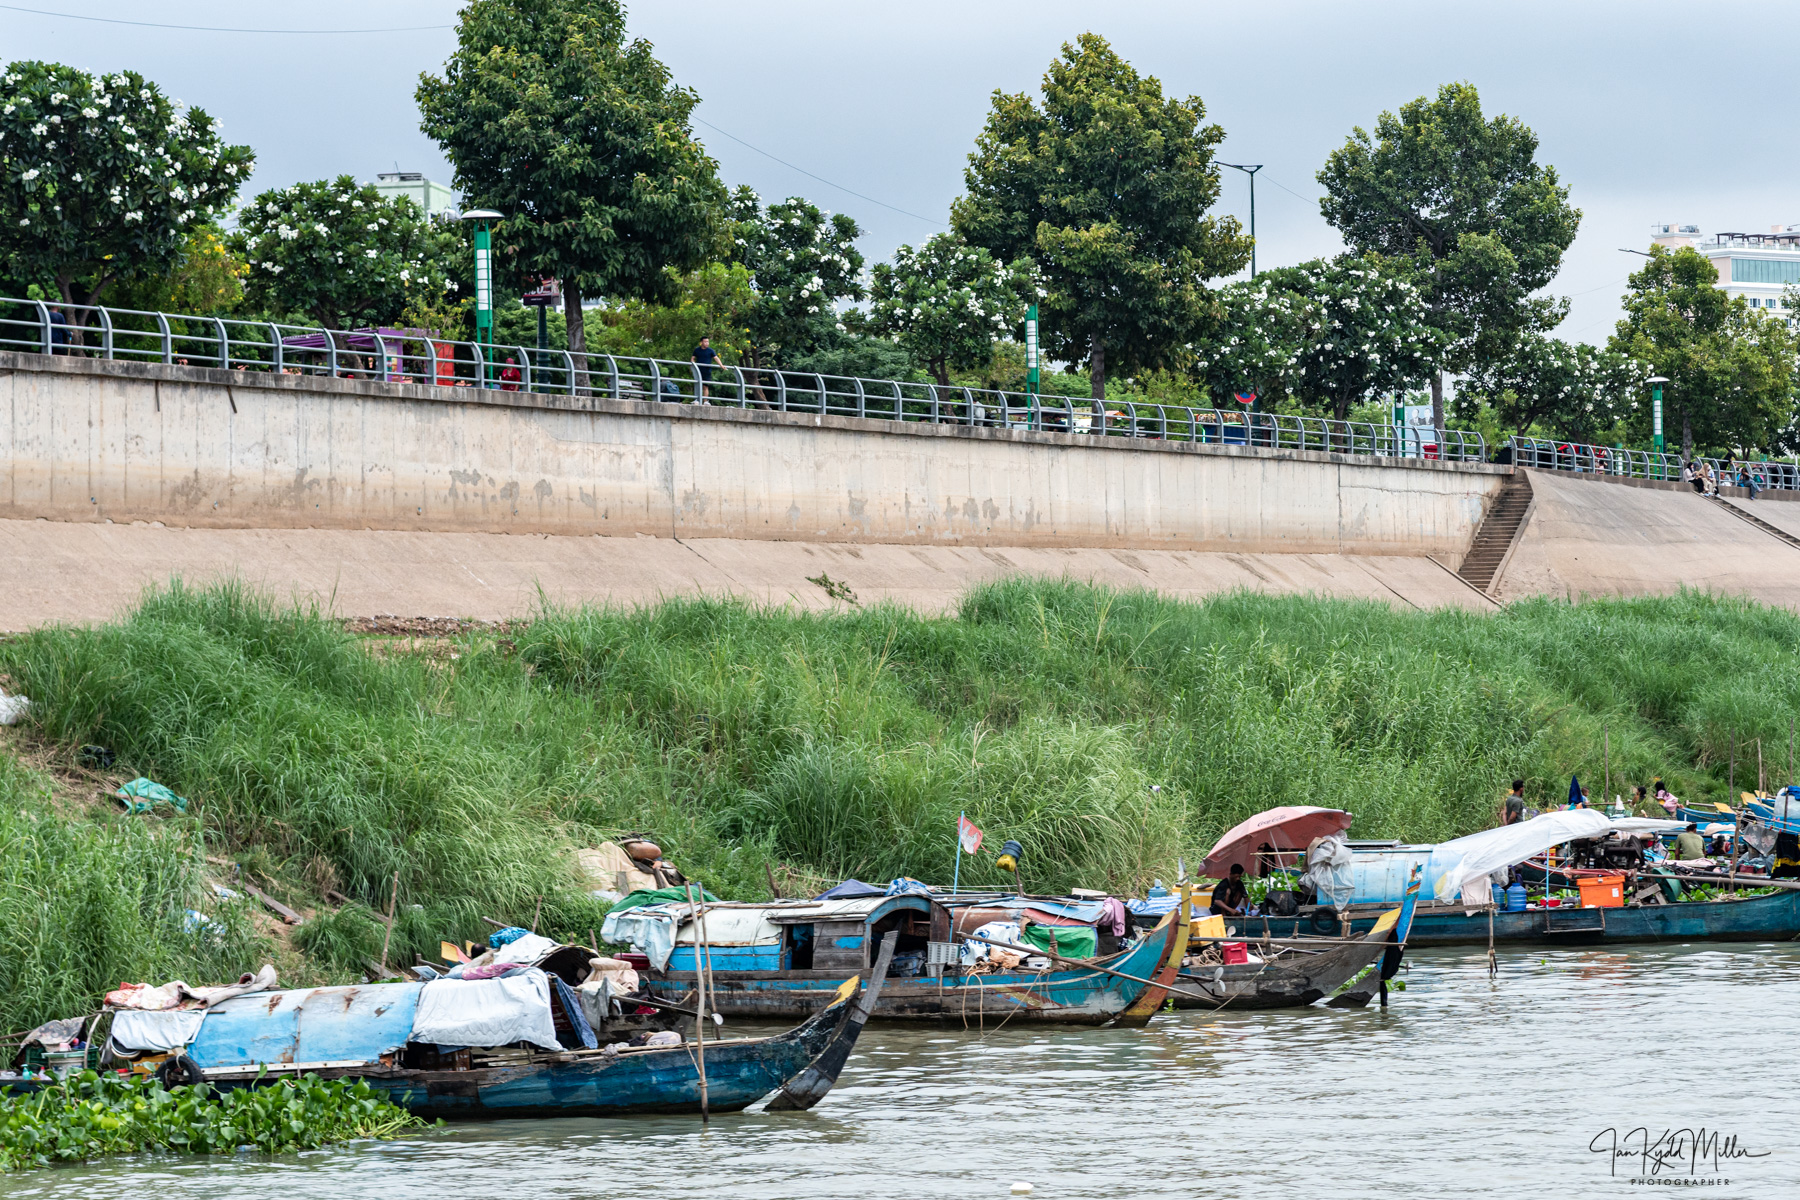
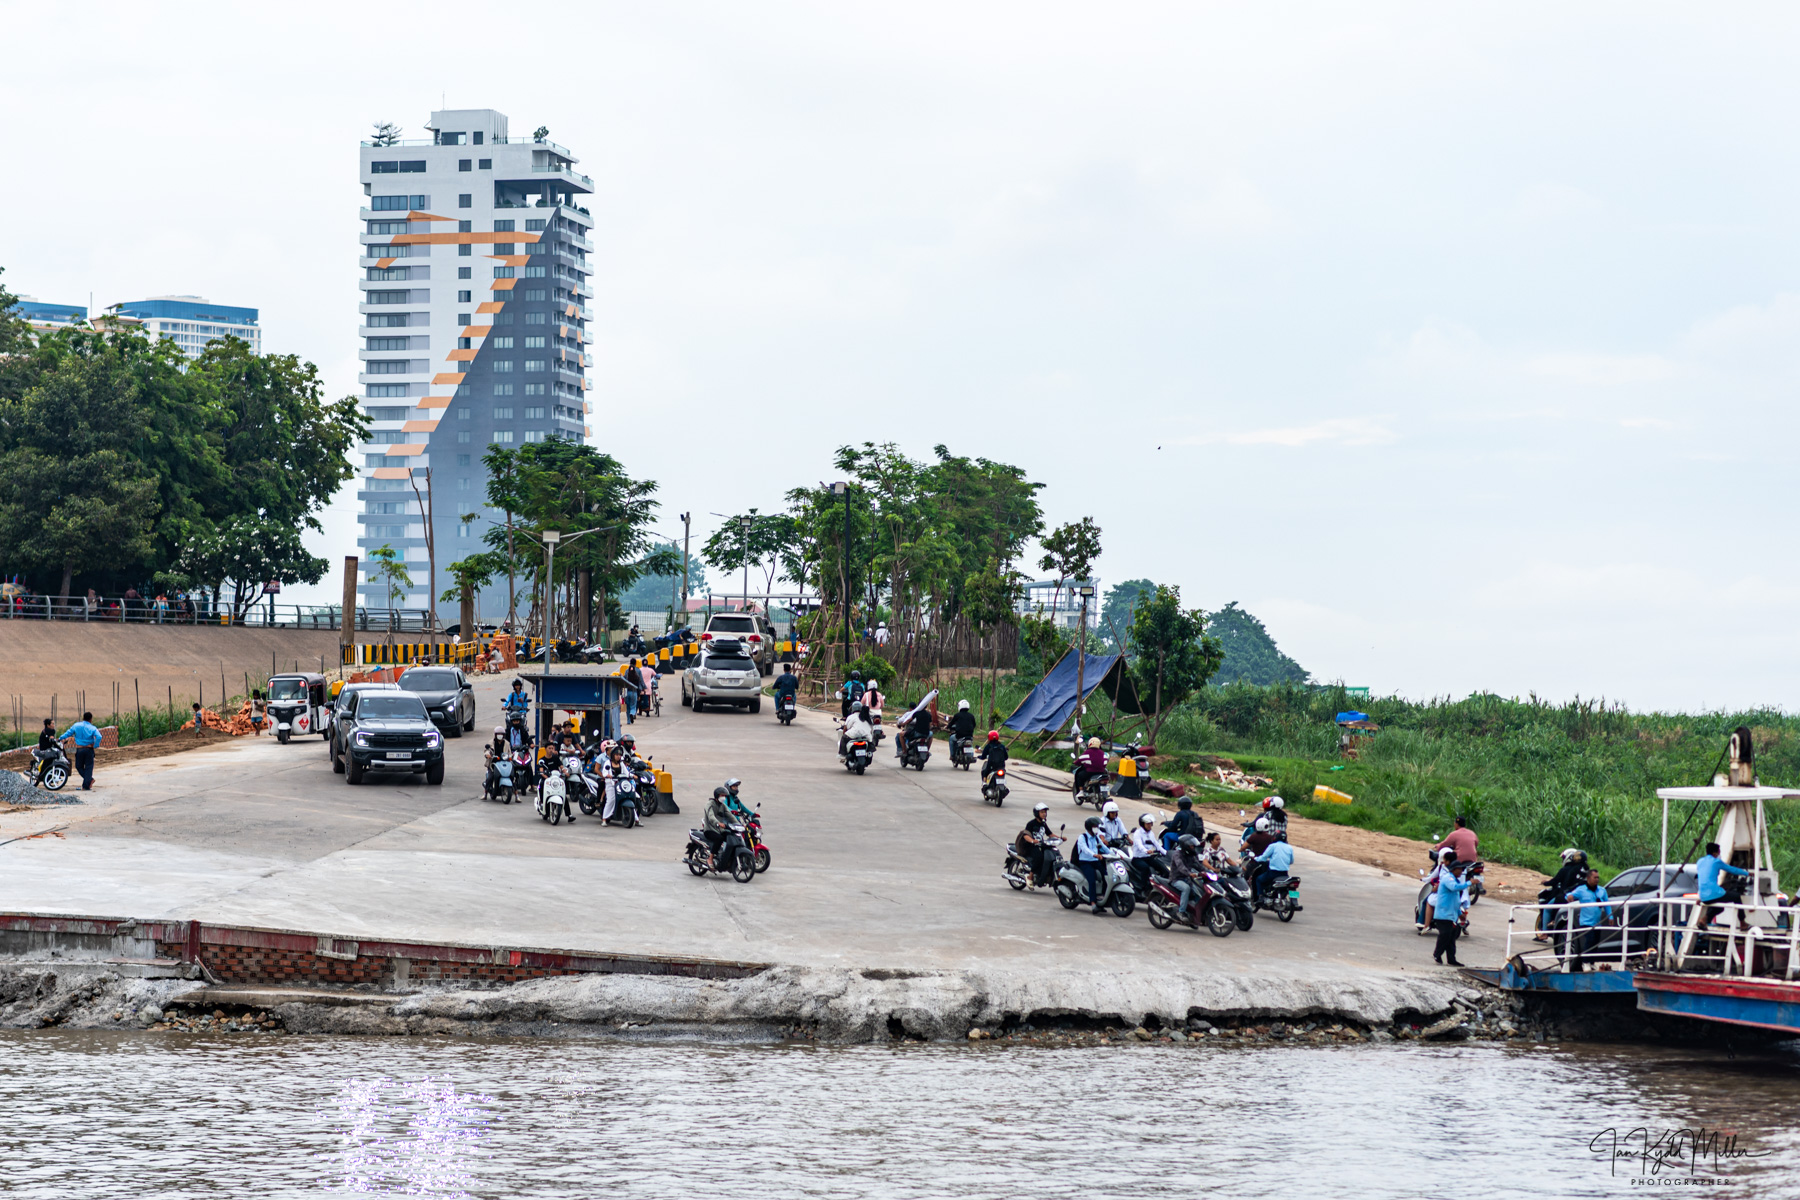
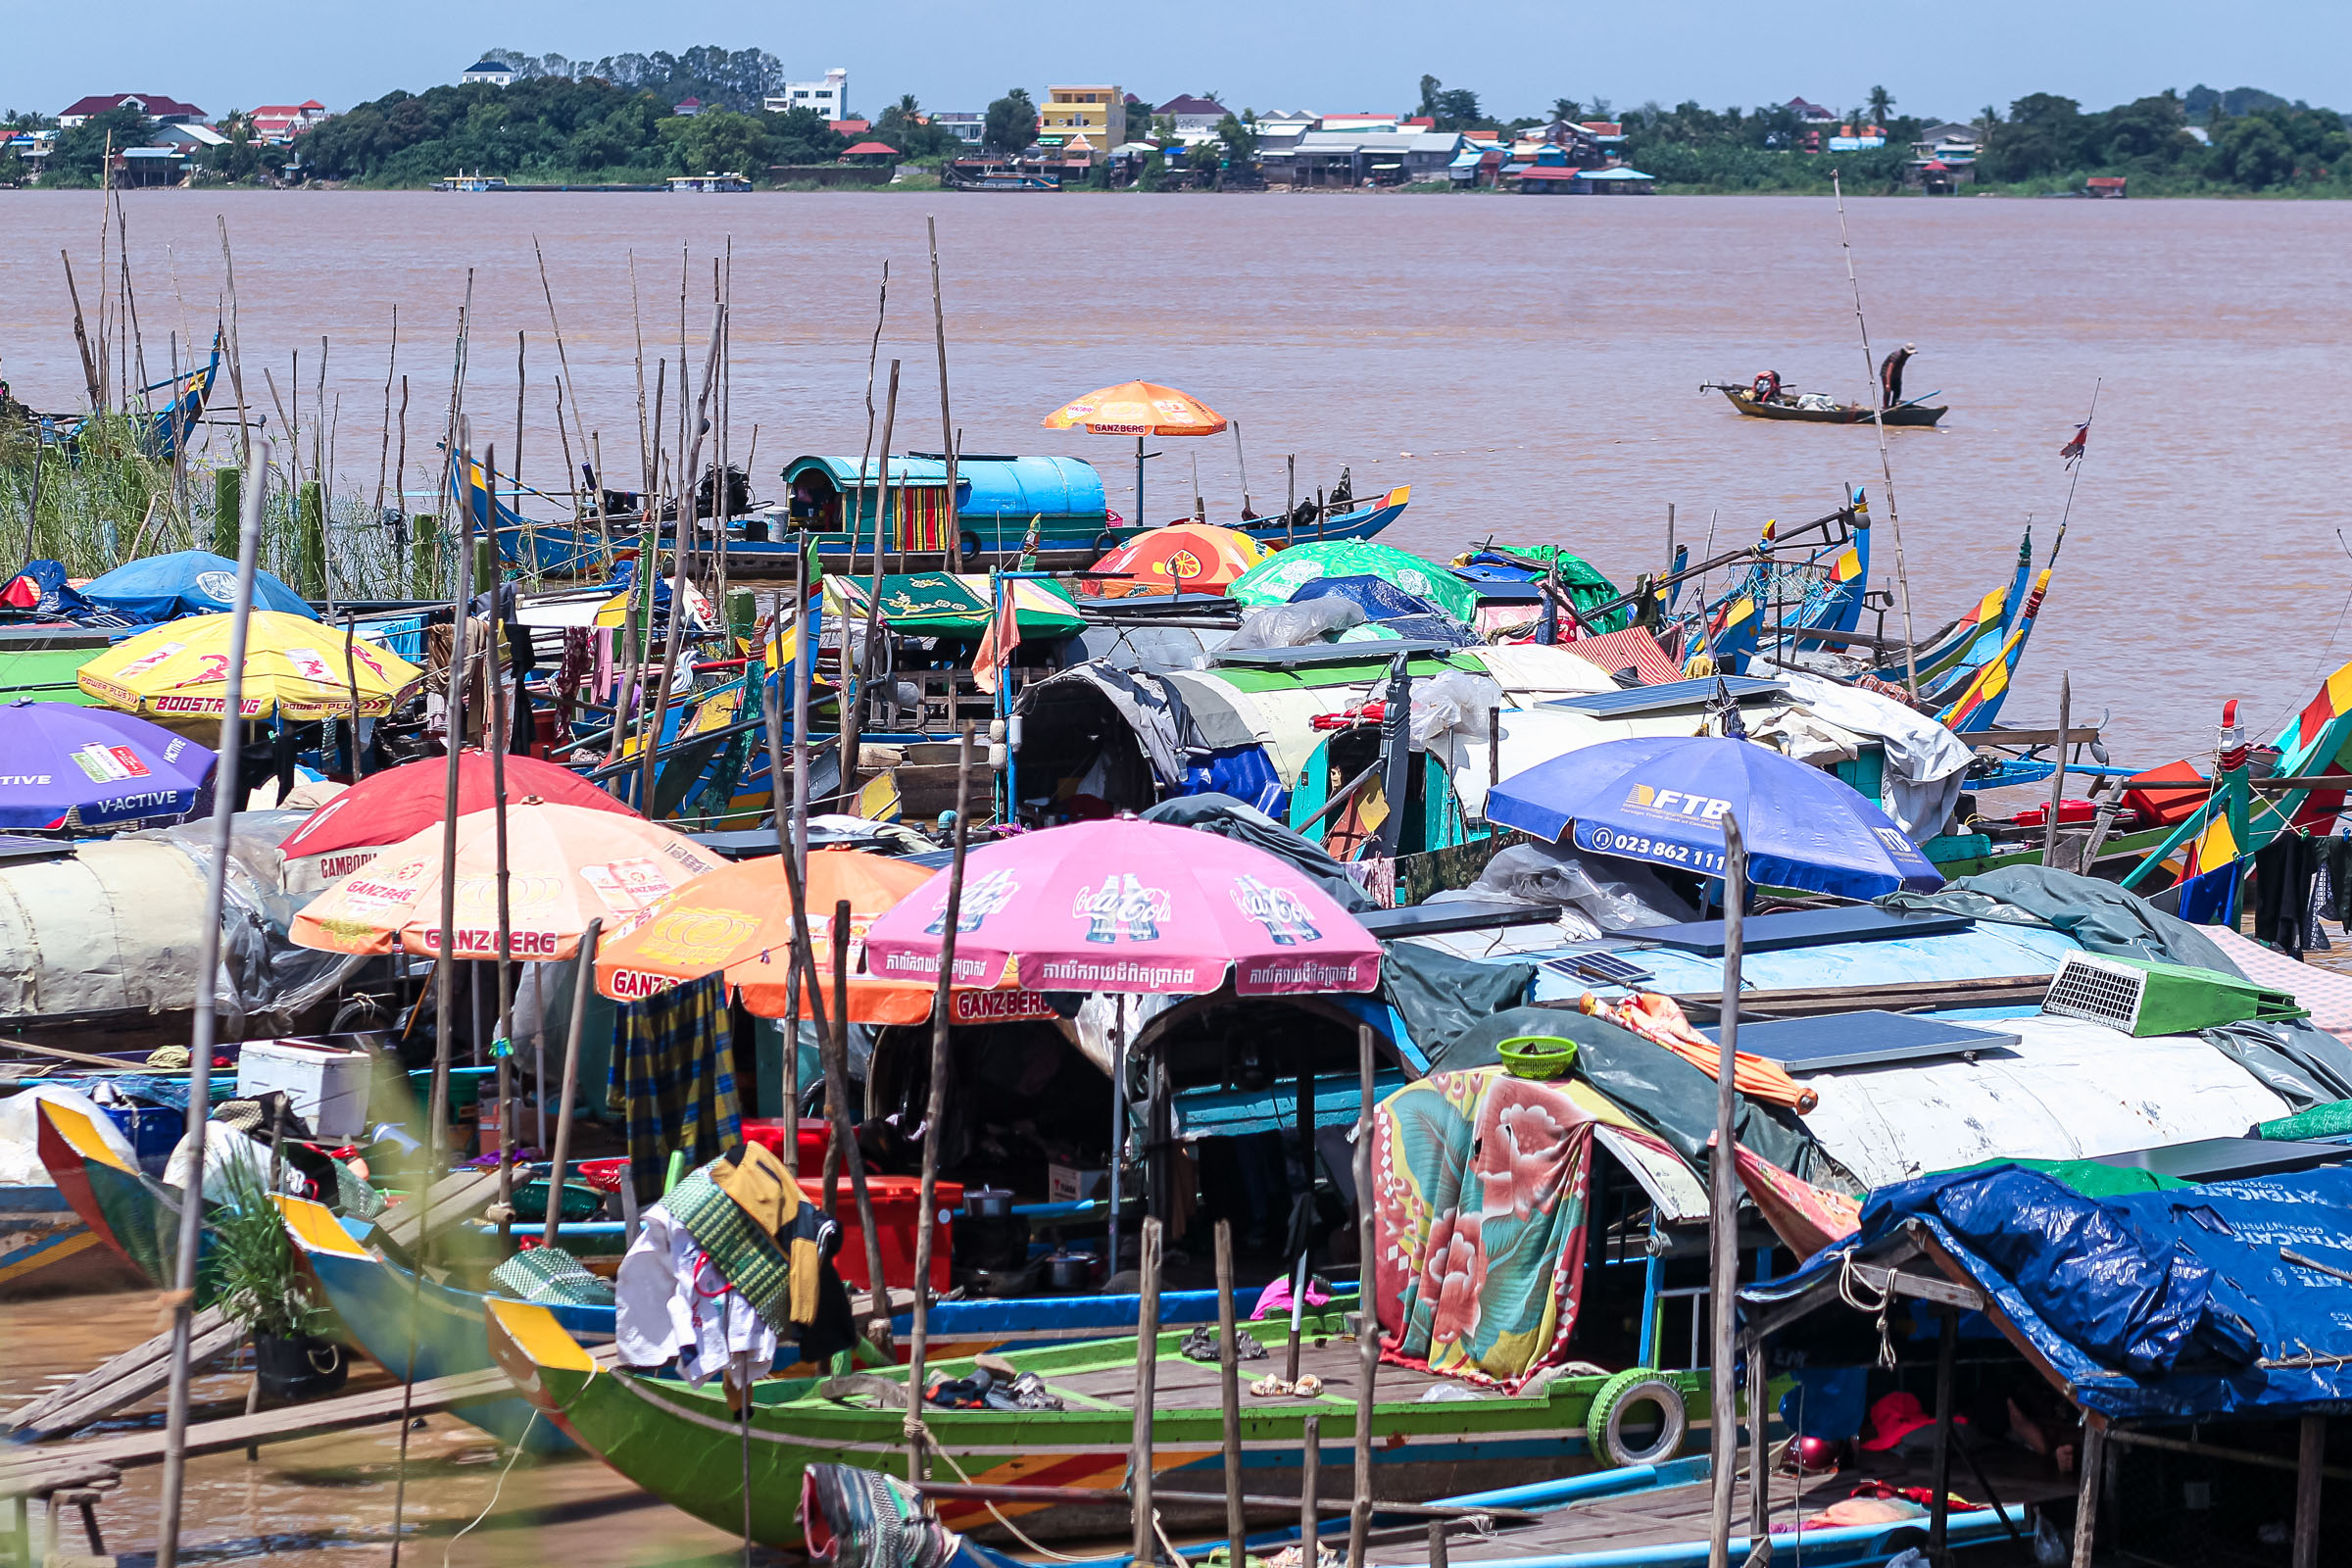
Local fishing boats, ferries, floating communities, and everyday river life
Views toward the Royal Palace and Chroy Changvar area
For photographers, the 5 p.m. sailing is usually the sweet spot. The light changes dramatically over the two-hour trip, giving opportunities for silhouettes, reflections, river traffic, and cityscape shots.
Cruise Options
According to the operator, there are several packages:
Option
Includes
Cruise Only
Two-hour cruise and welcome cocktail
Cruise + Snacks
Cruise, hotel pickup, cocktail, snacks
Dinner Cruise
Cruise, hotel pickup, cocktail, all-you-can-eat dinner
Evening City Lights Cruise
Night views of Phnom Penh after sunset
Live traditional Khmer music is usually part of the experience.
The Good
✅ Stable, comfortable boat with plenty of seating.
✅ Excellent sunset views over the Mekong.
✅ A relaxed atmosphere compared with the louder party boats.
✅ Popular with visitors wanting photography opportunities.
✅ Dinner packages are reasonably priced by Phnom Penh tourist standards.
For a Photographer
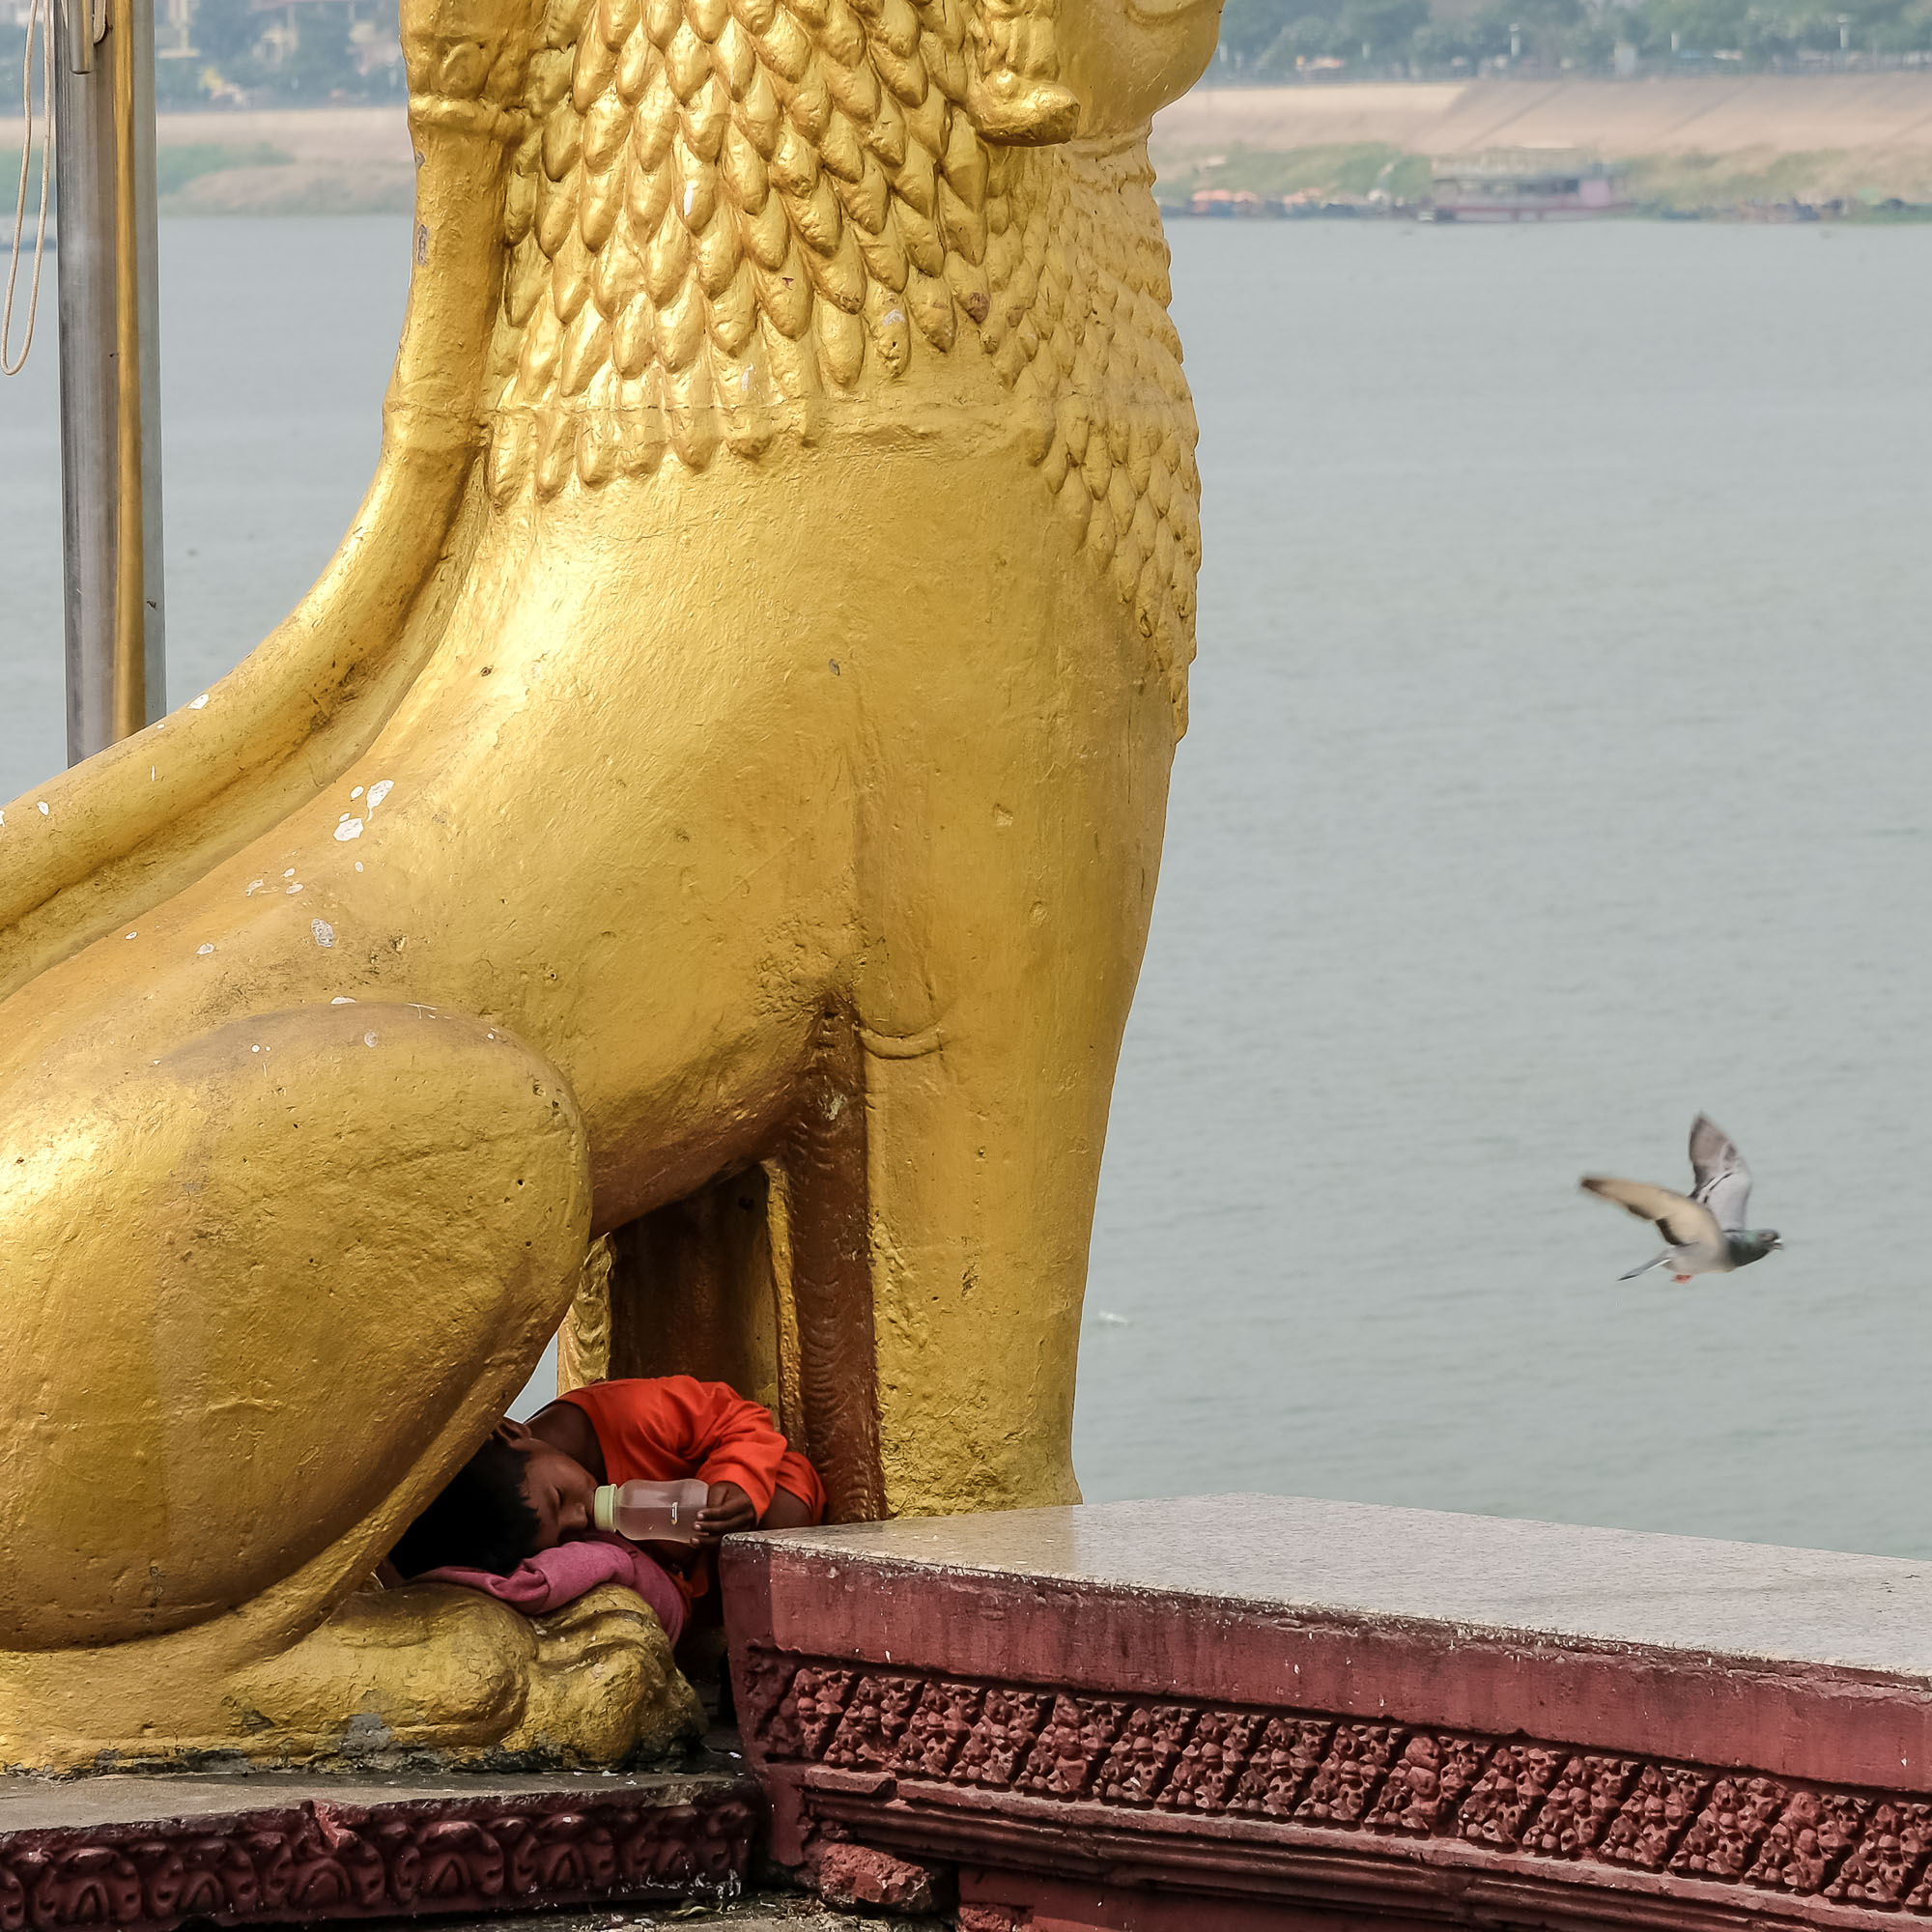
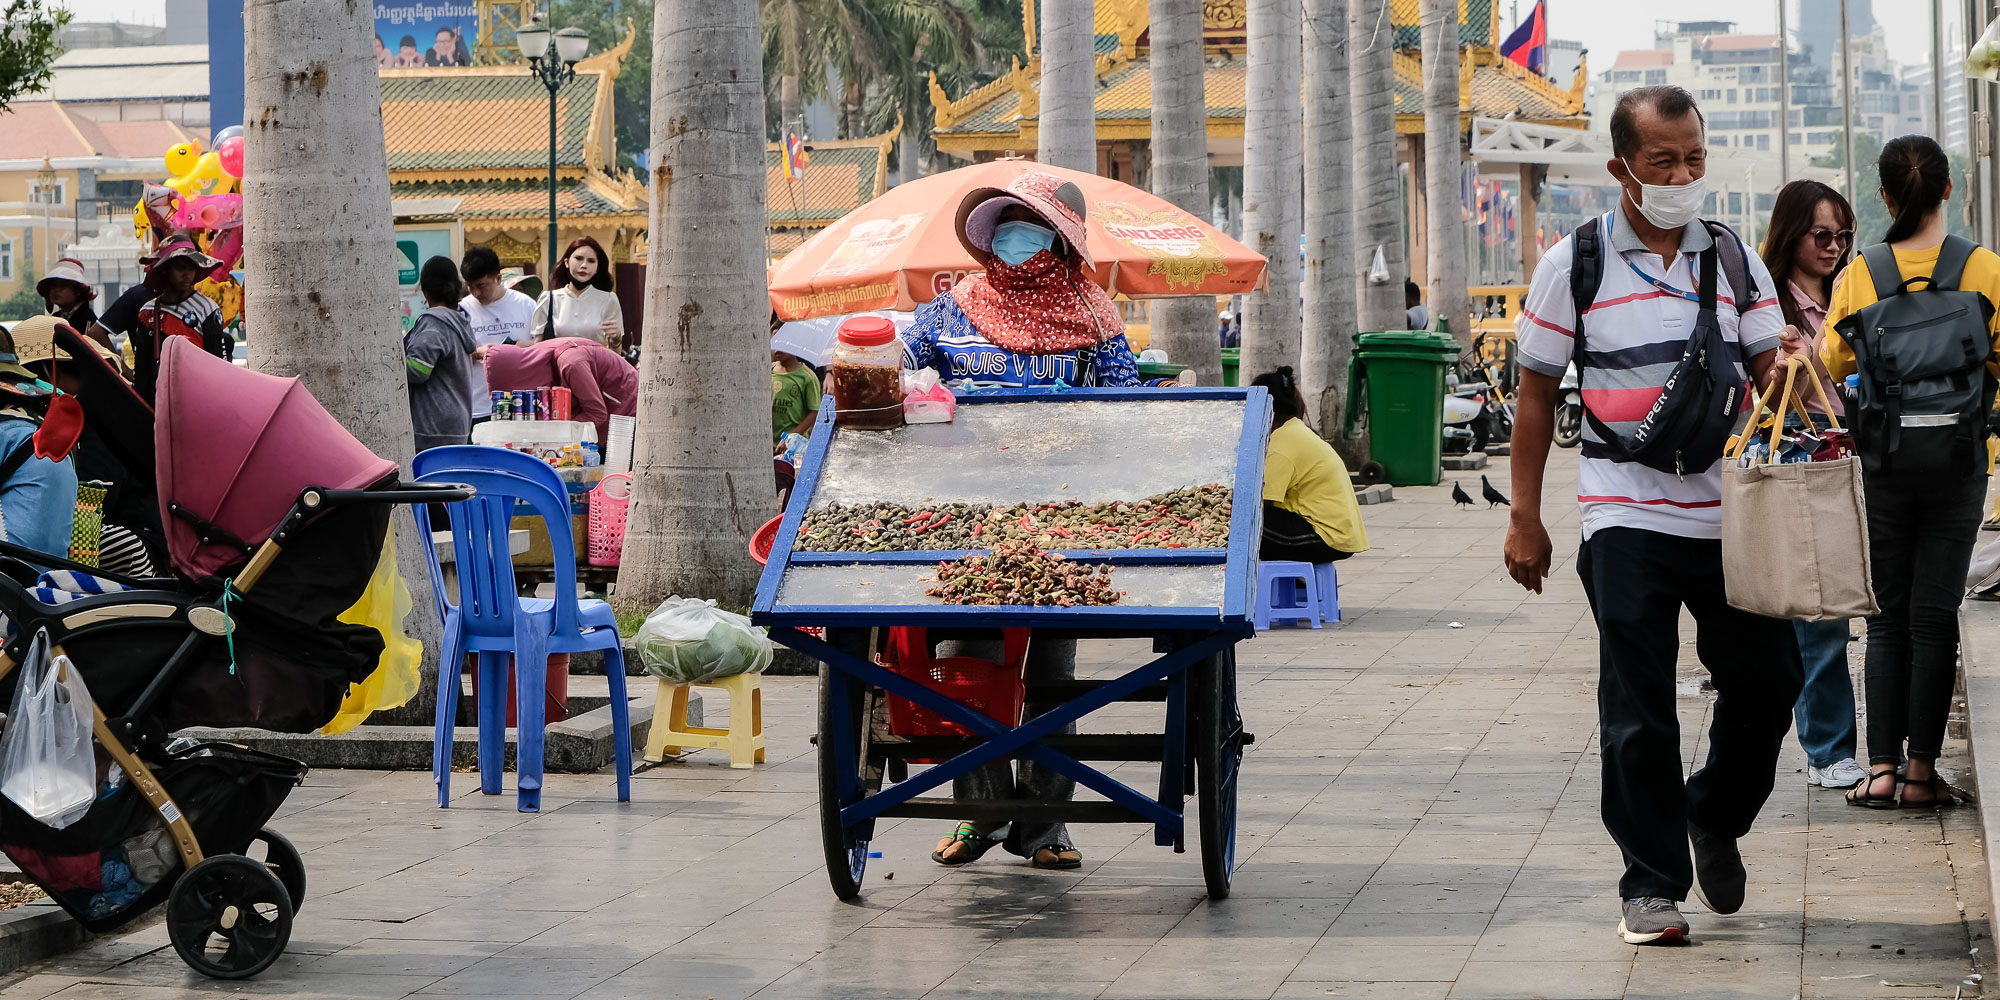
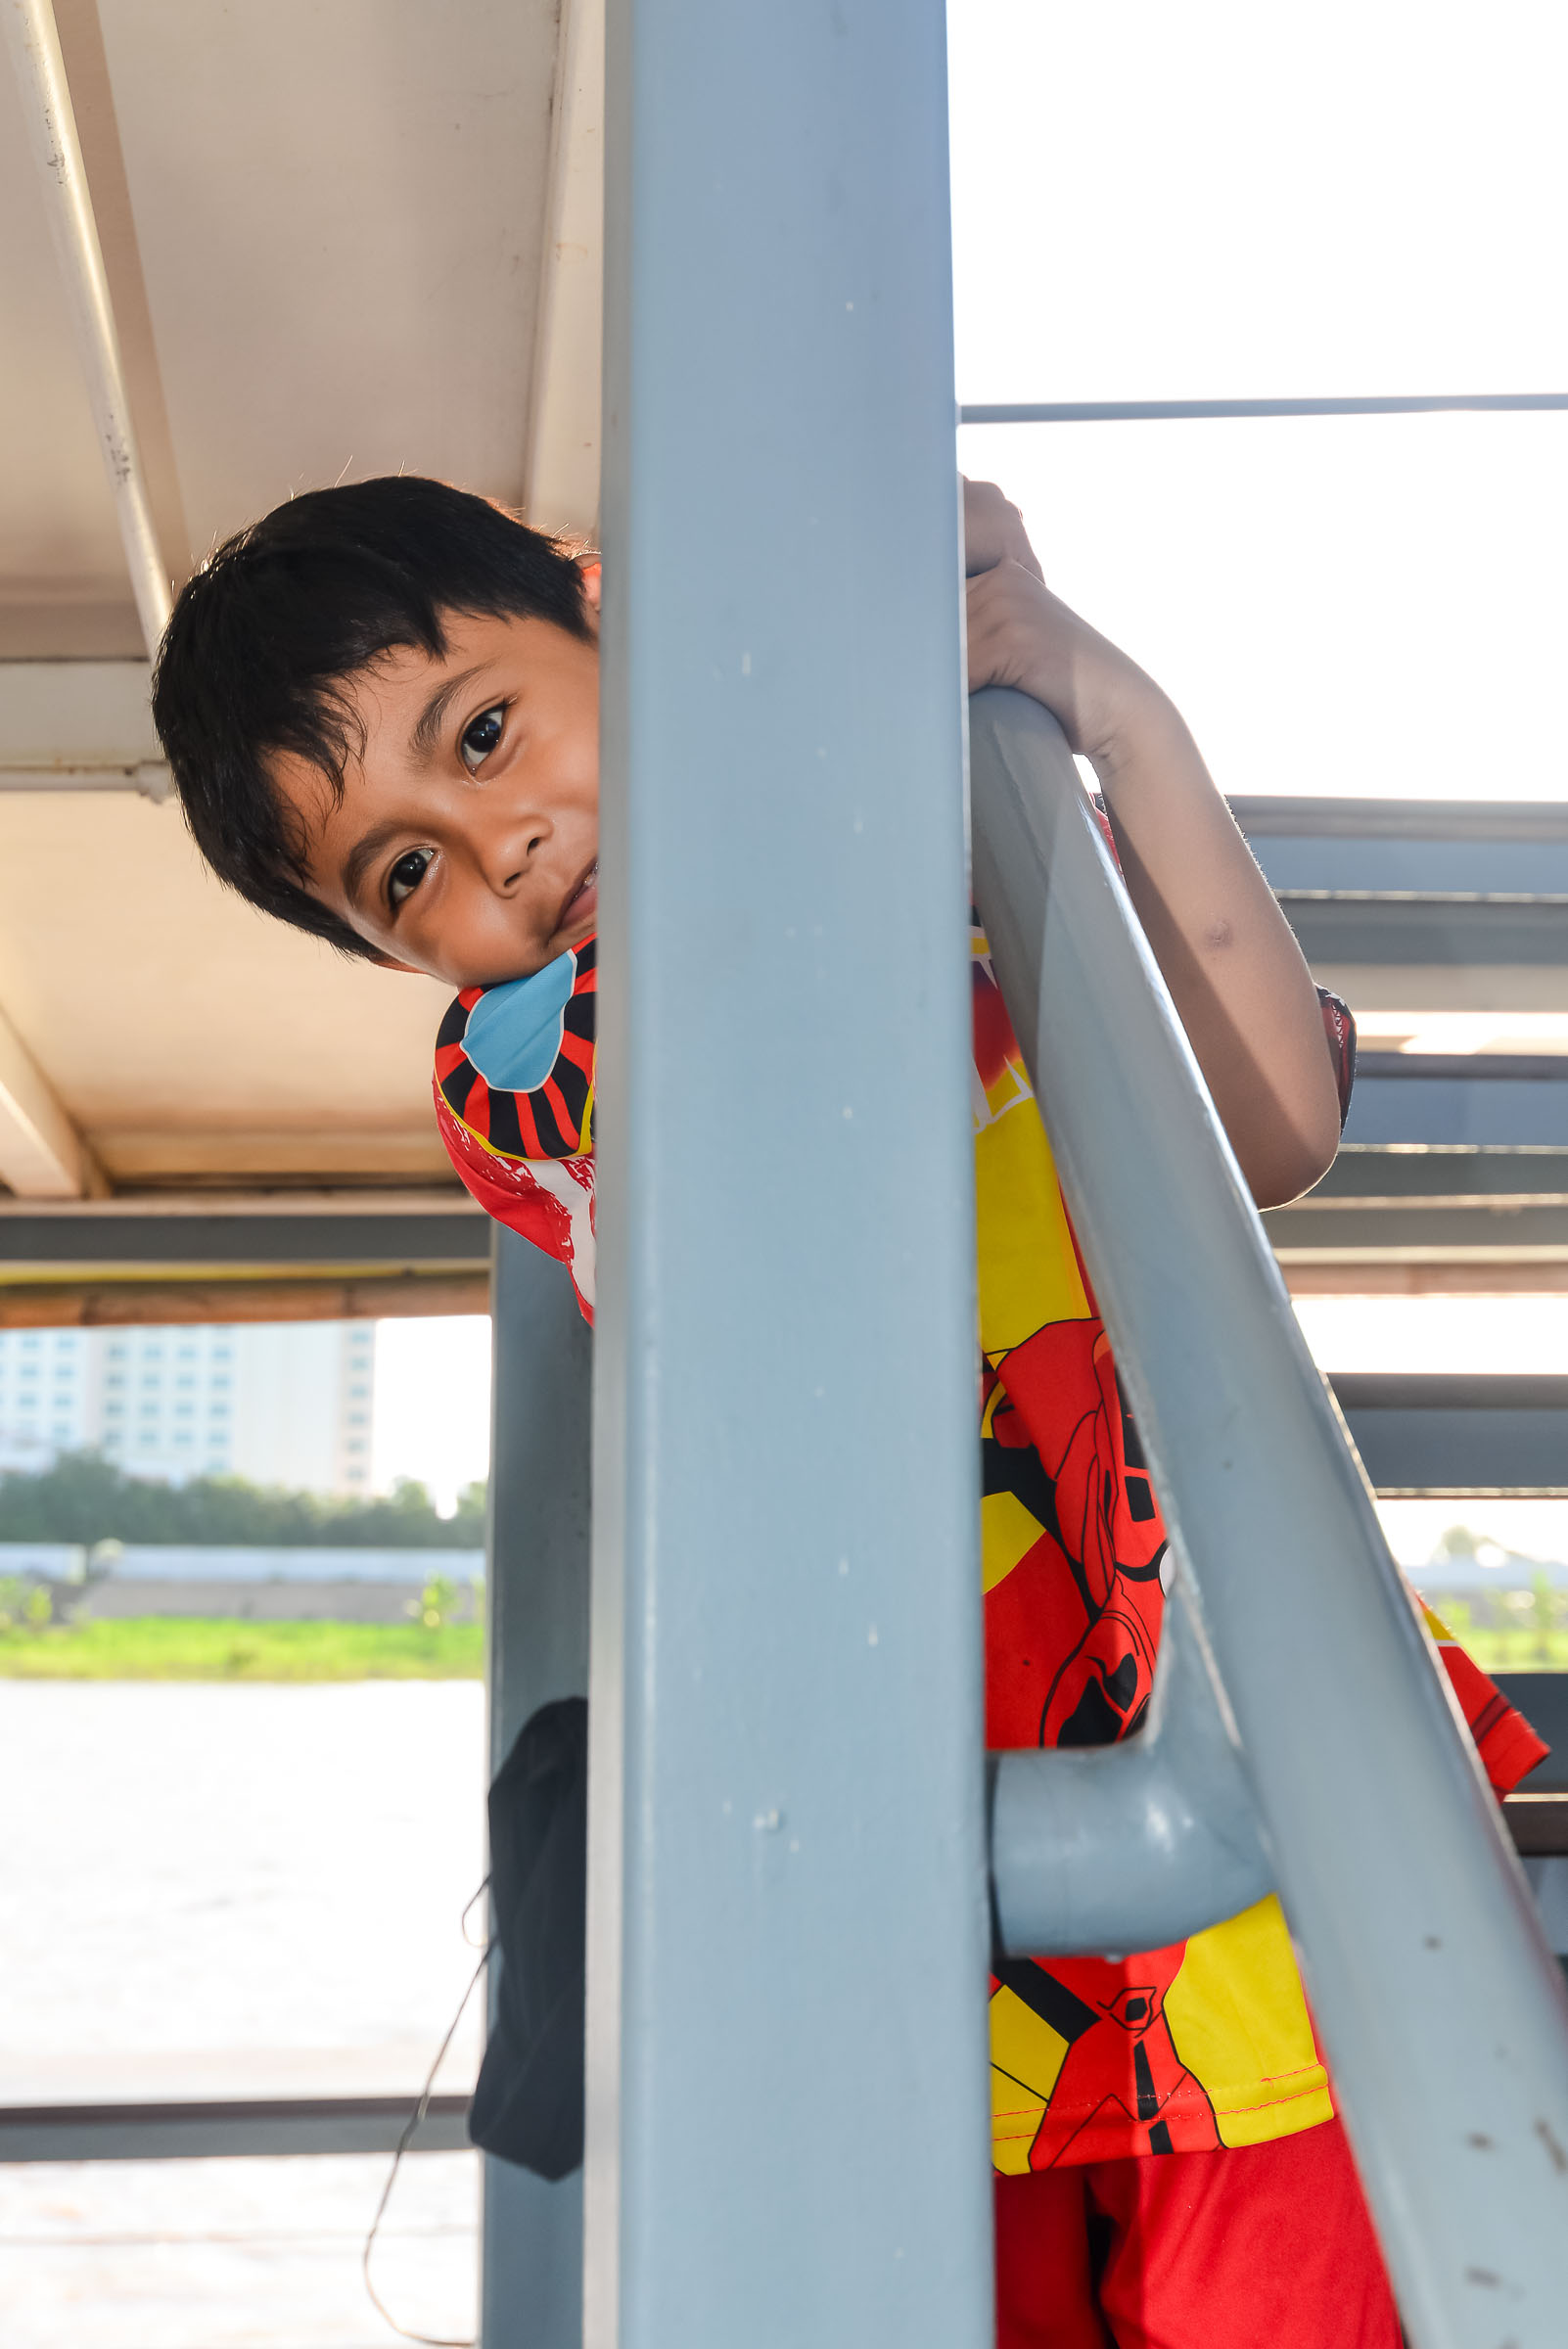
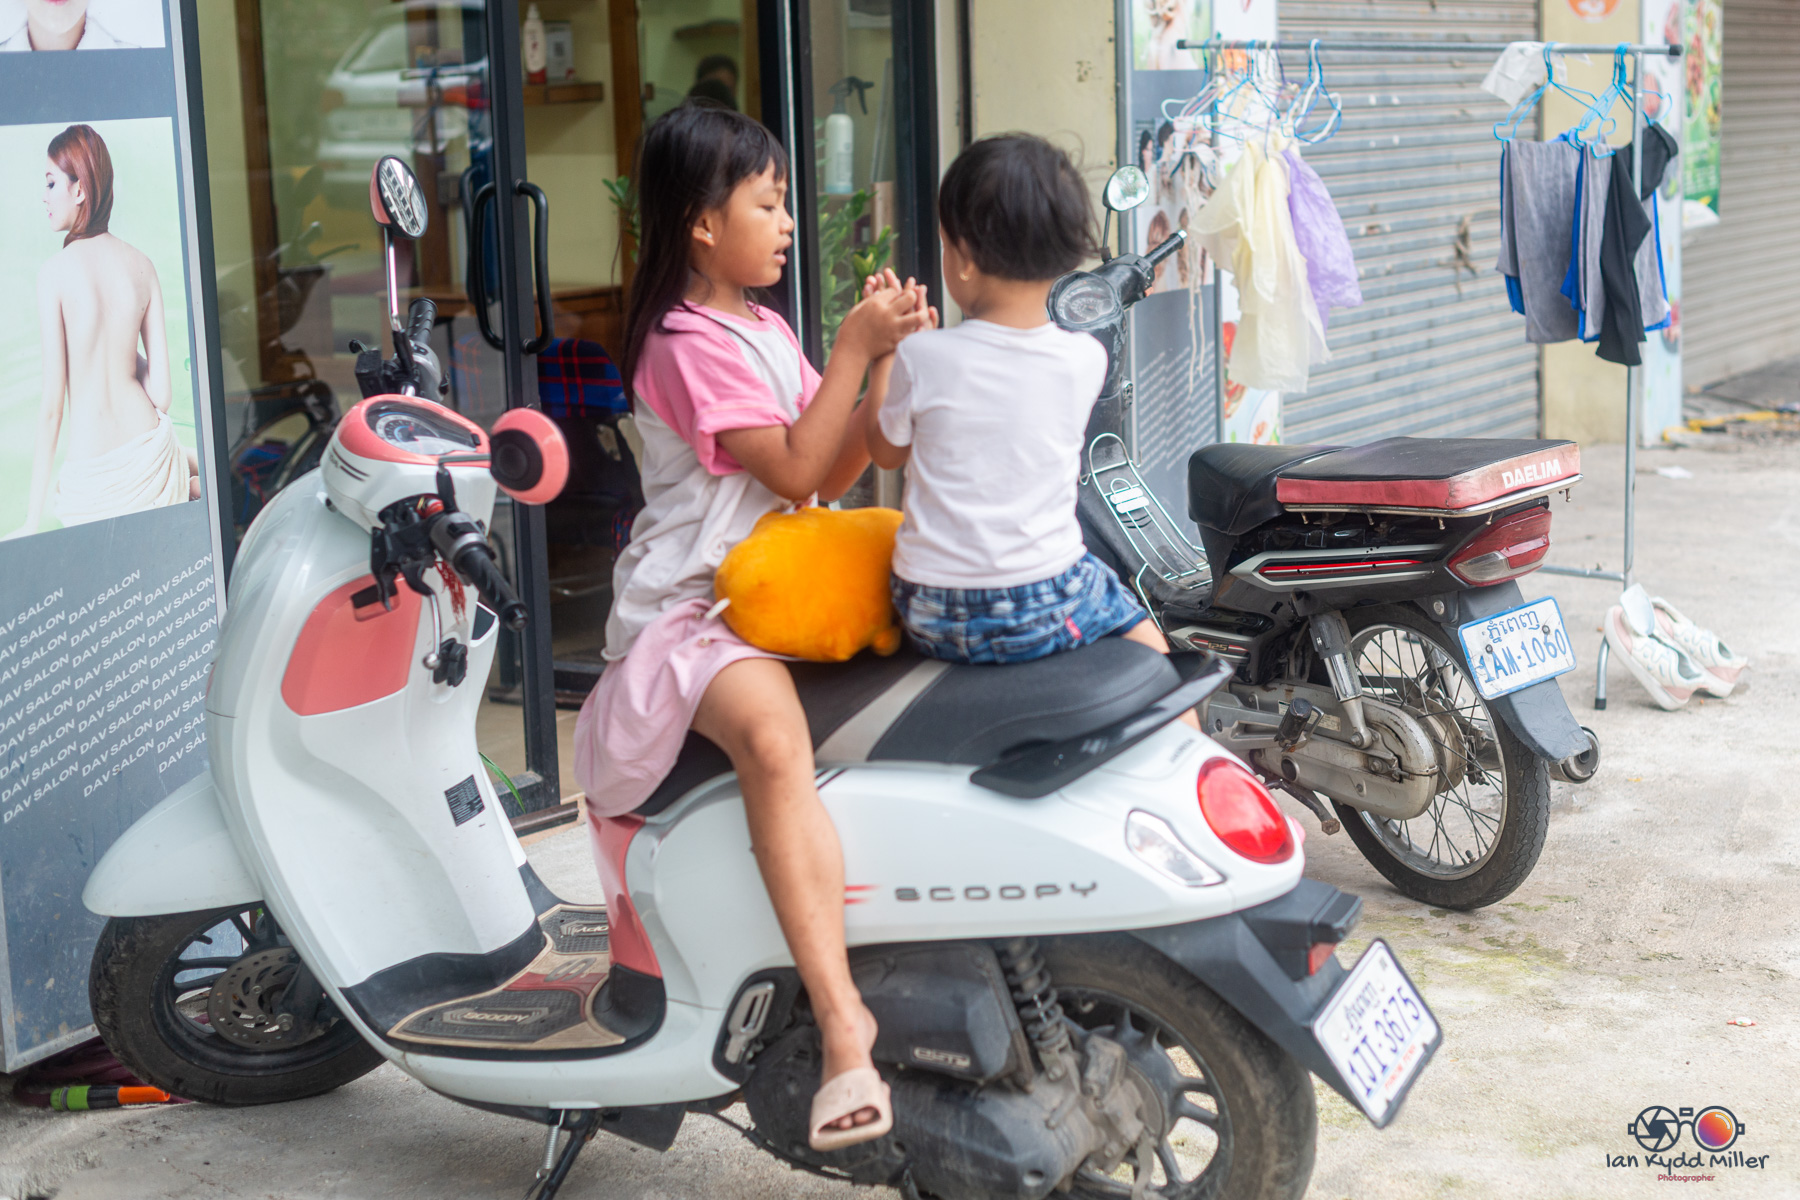
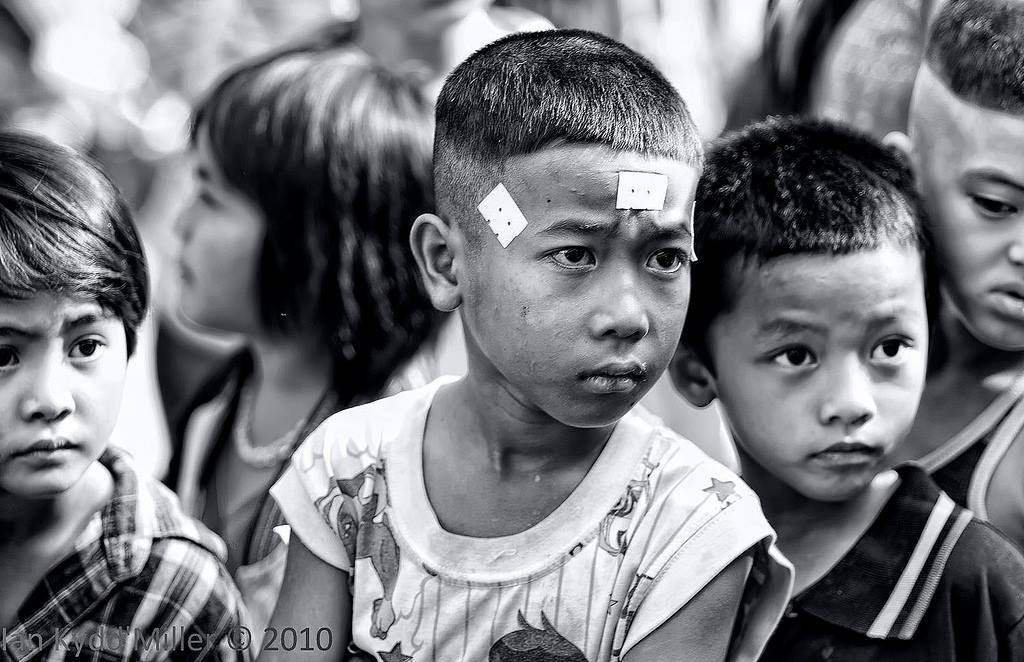
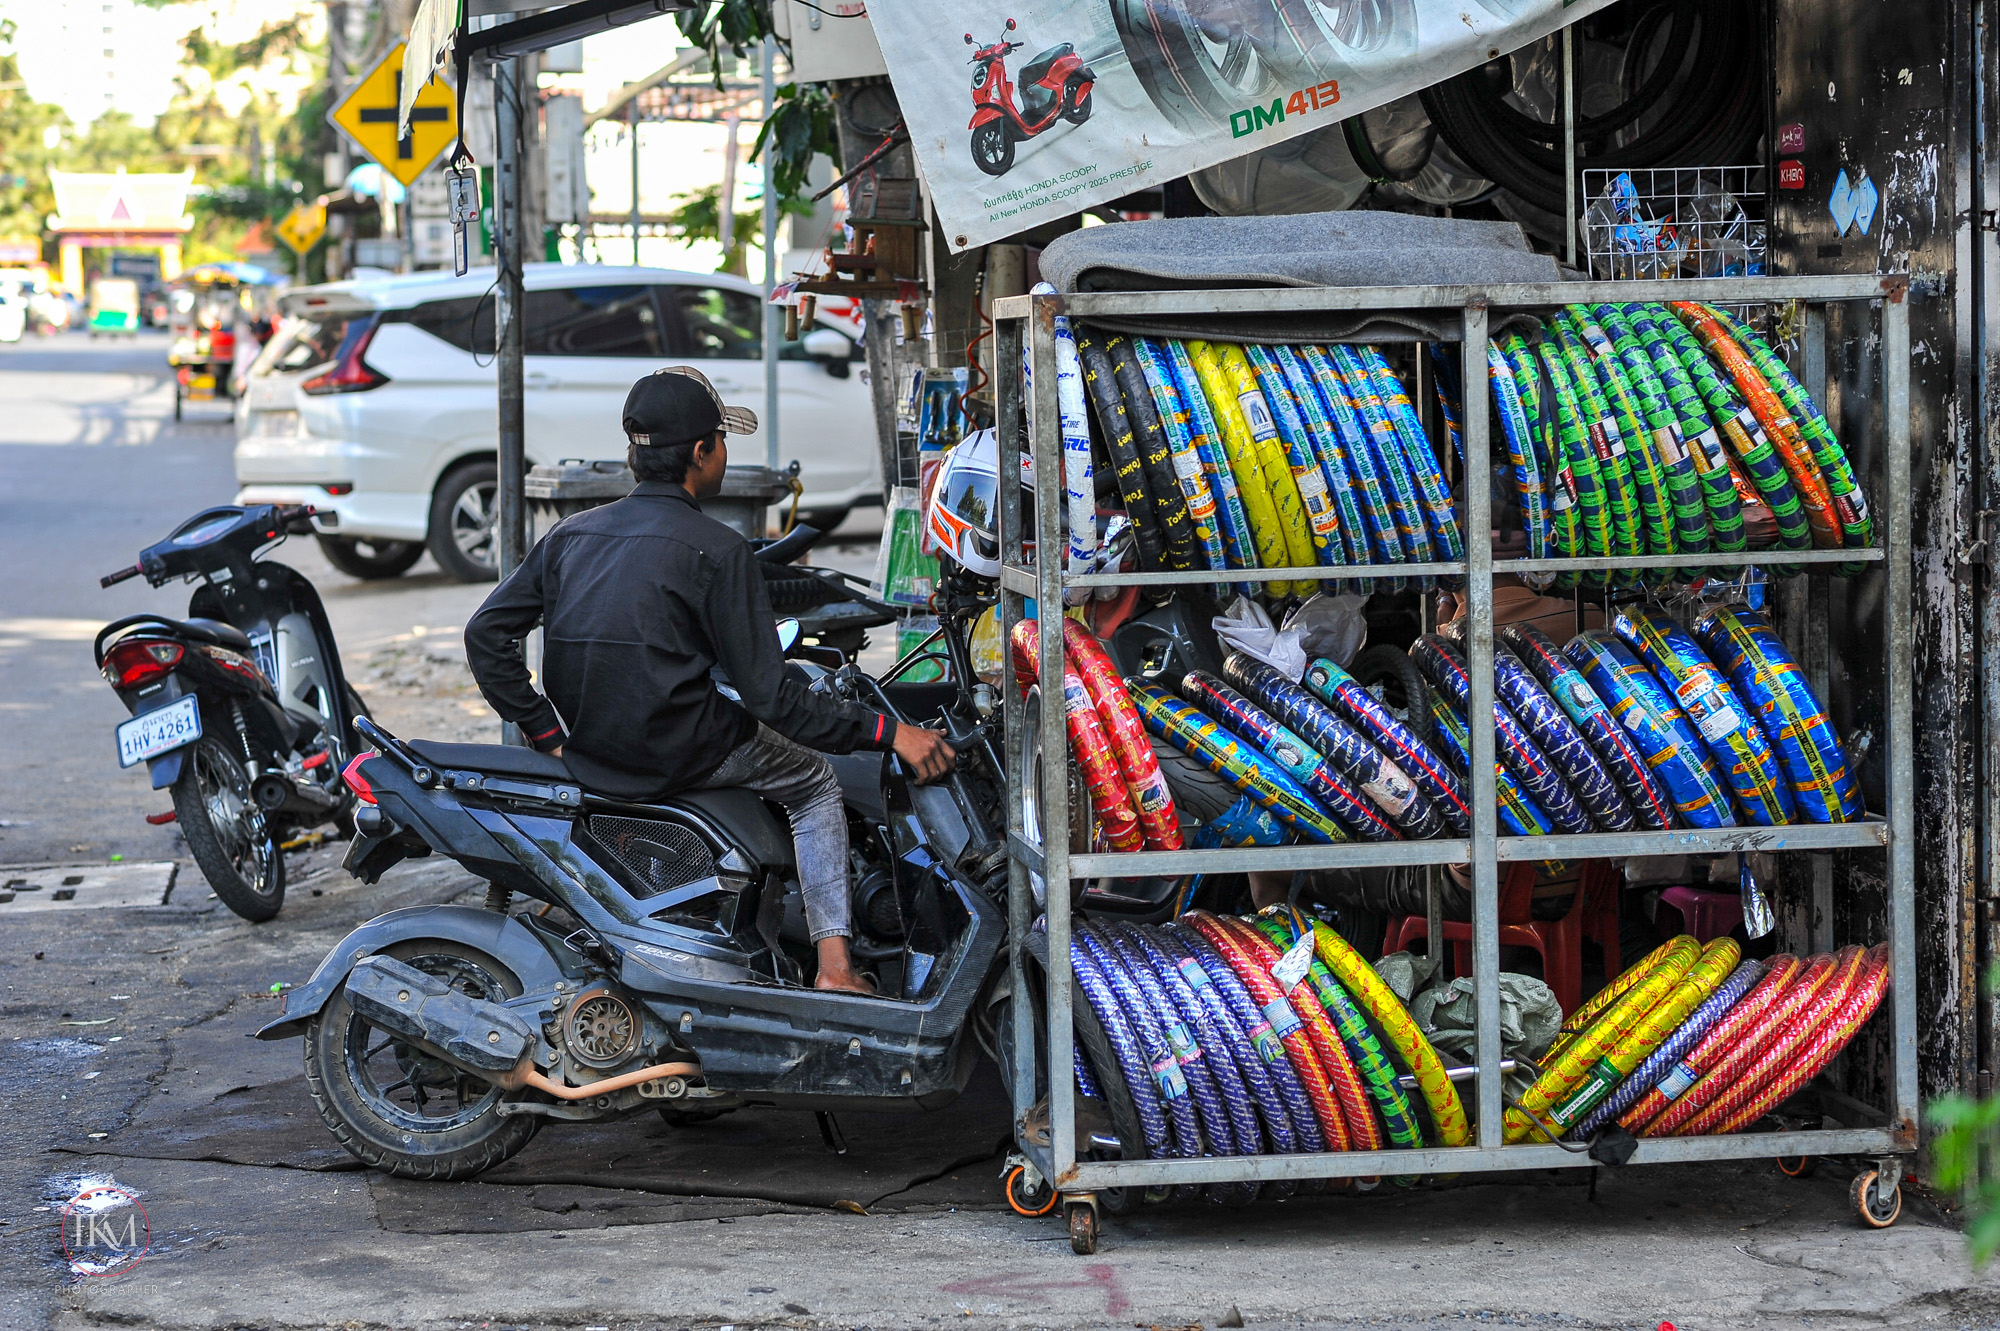
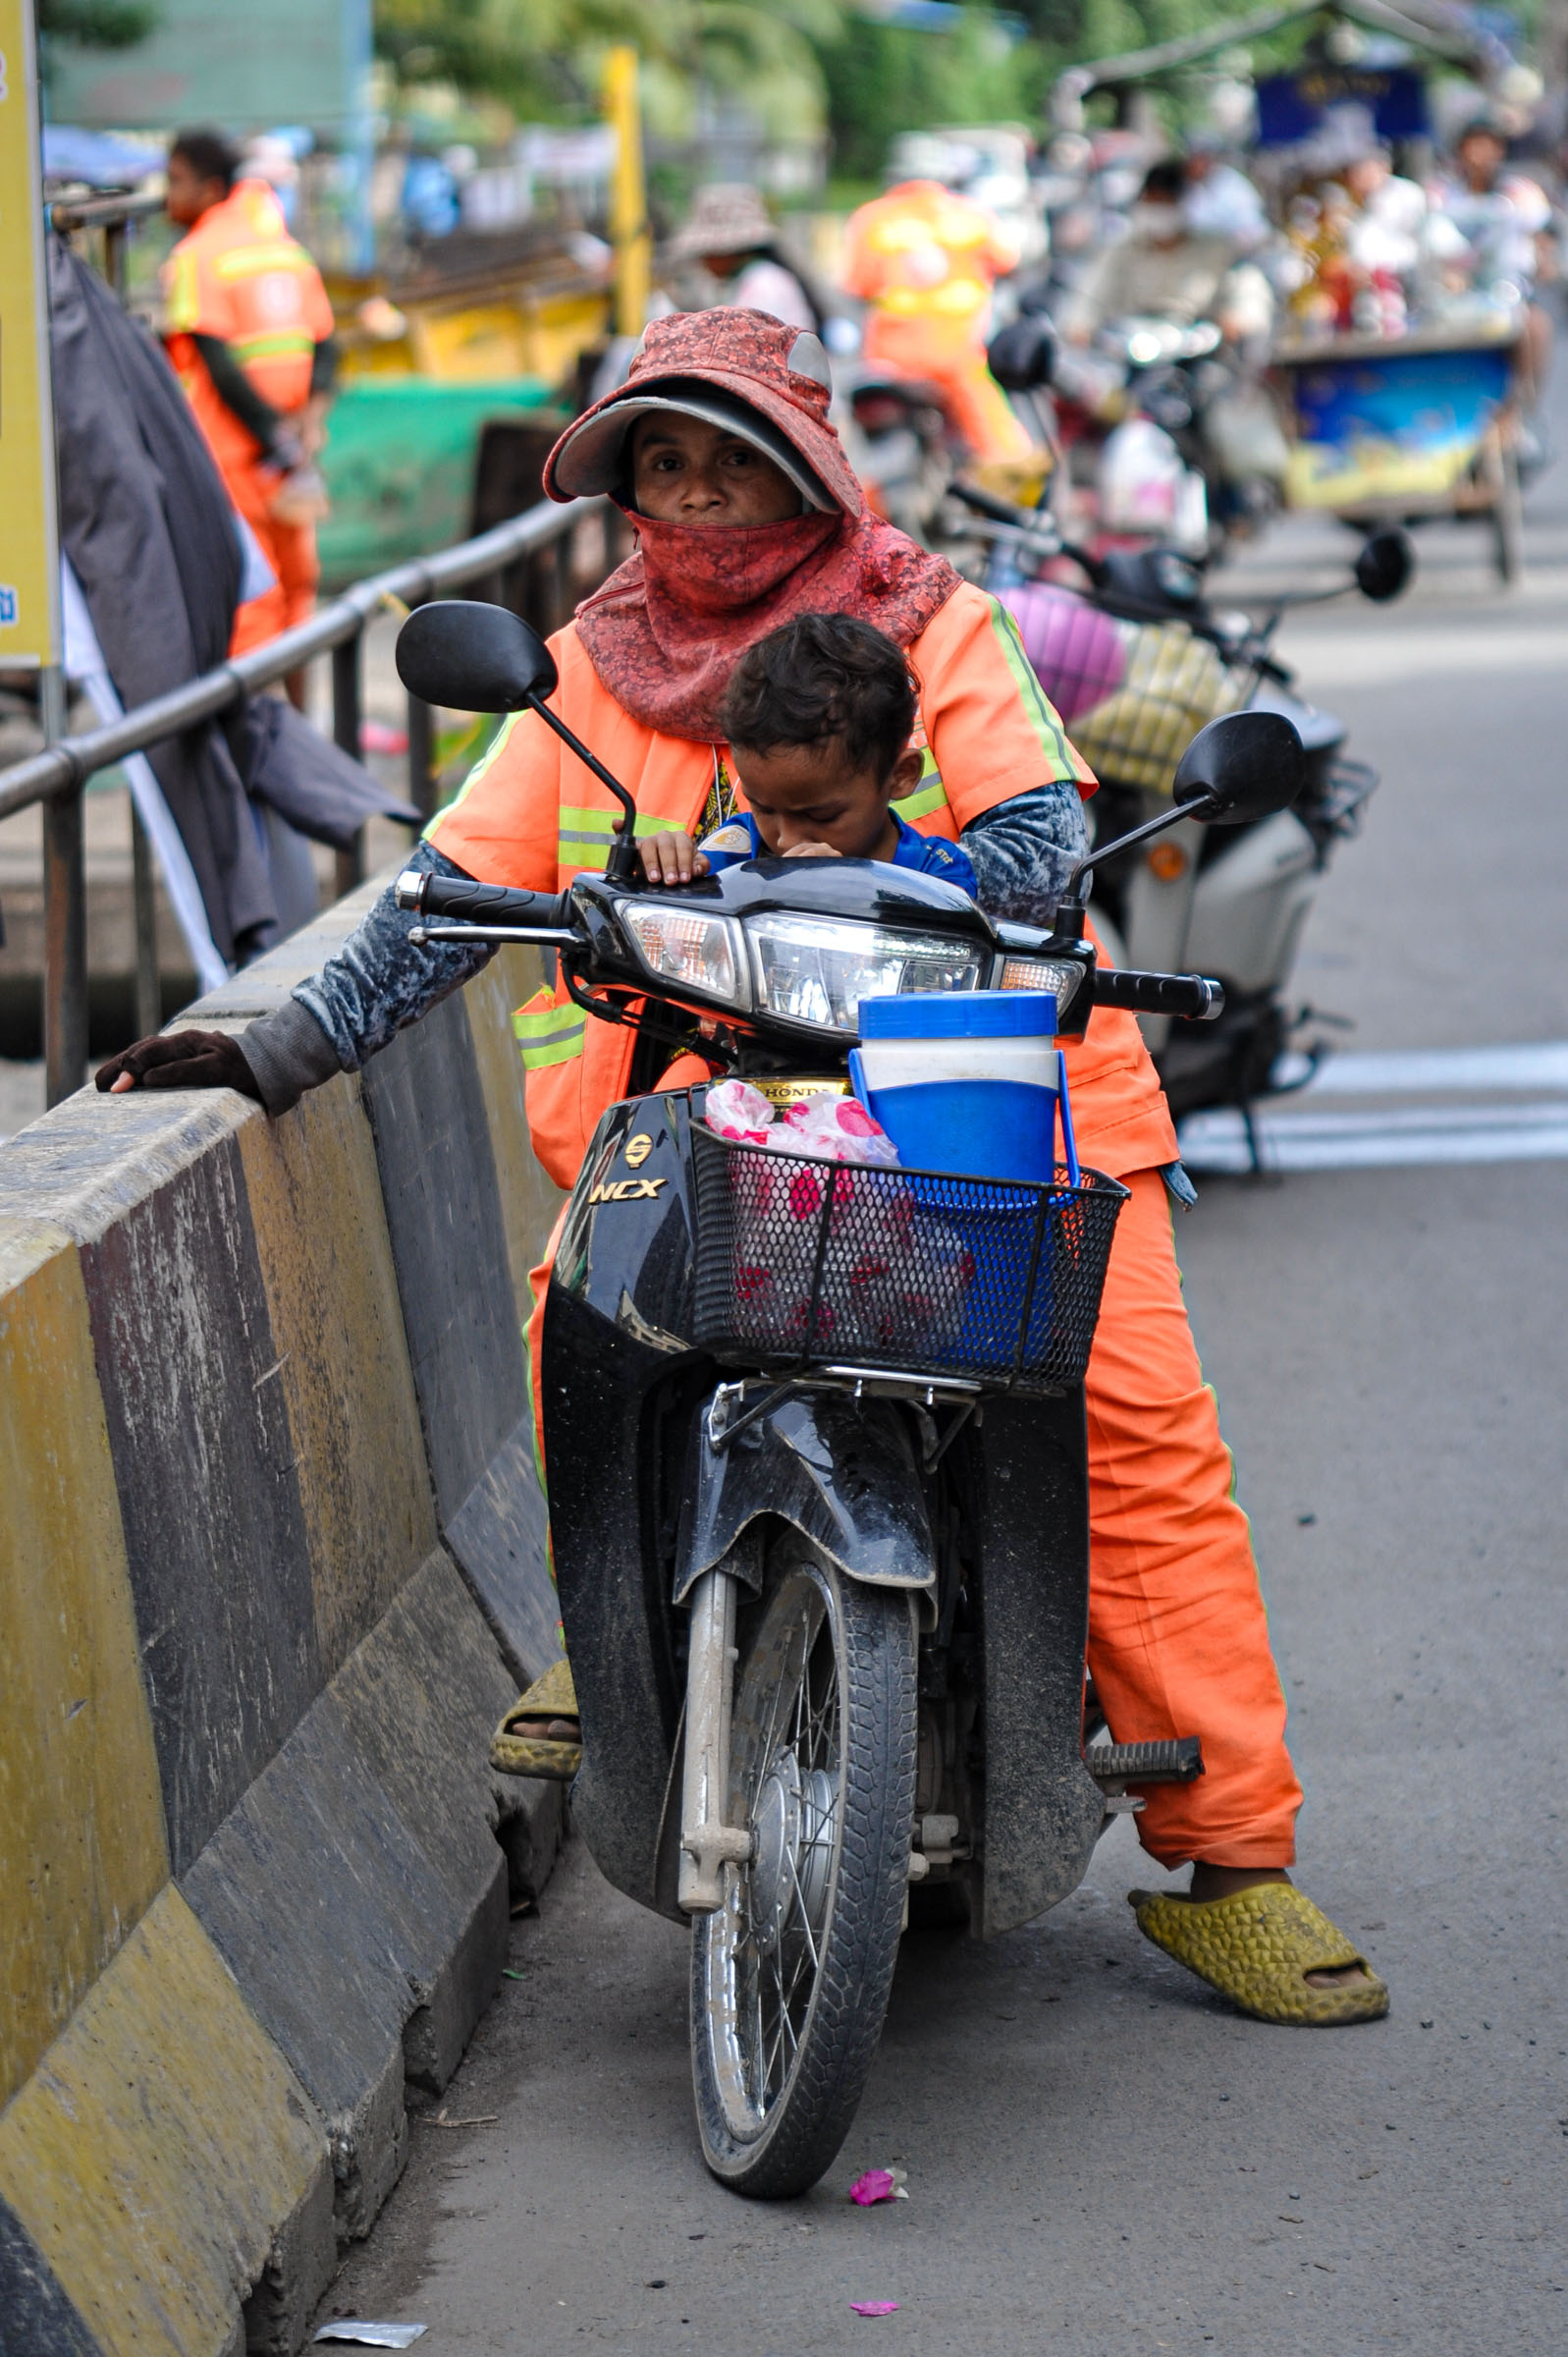
The best shots often aren’t the palace or the skyline. They’re the little moments: kids swimming from wooden boats, fishermen hauling nets, ferries crossing the orange reflection of the setting sun, and the contrast between luxury developments and riverside life.
Practical Details
Location: Riverside Path, Phnom Penh
Duration: About 2 hours
Departure times: Typically around 5 p.m. (sunset) and 7 p.m. (city lights)
Hotel pickup available on some packages
Reservations recommended during weekends and holidays
For a first-time visitor to Phnom Penh, I’d rate Cambo Cruise as one of the more enjoyable low-effort evening activities in the city. For a long-term resident, it’s worth doing at least once for the photography and the chance to see Phnom Penh from the water rather than from Street 178 or Sisowath Quay. 🌅📷
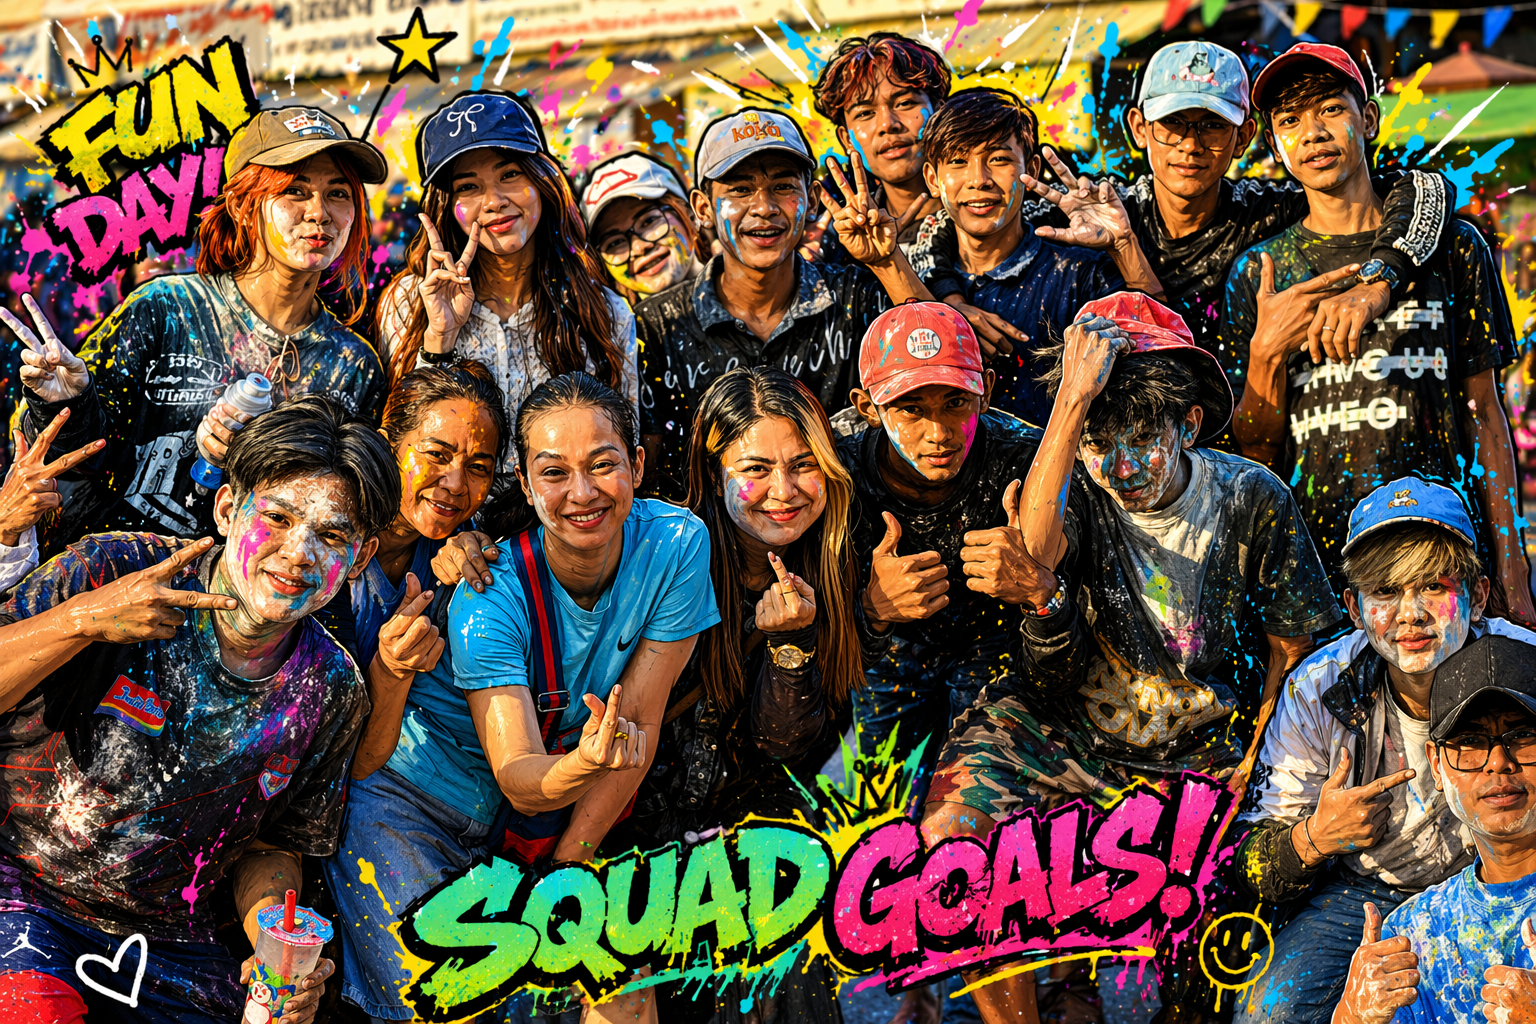
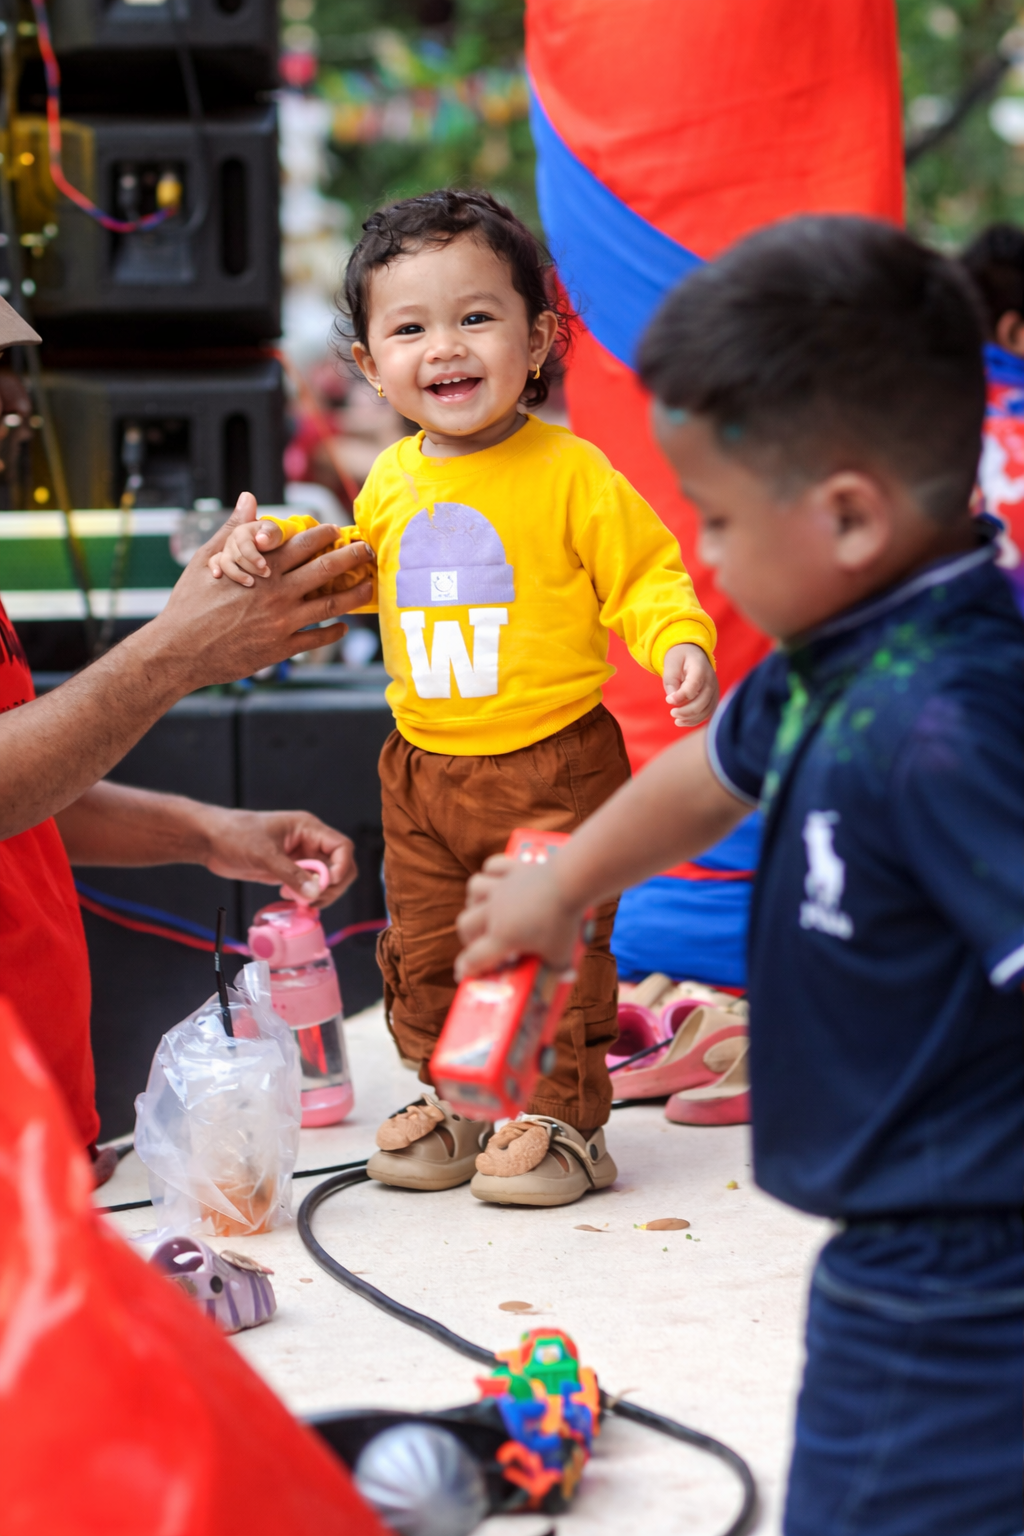
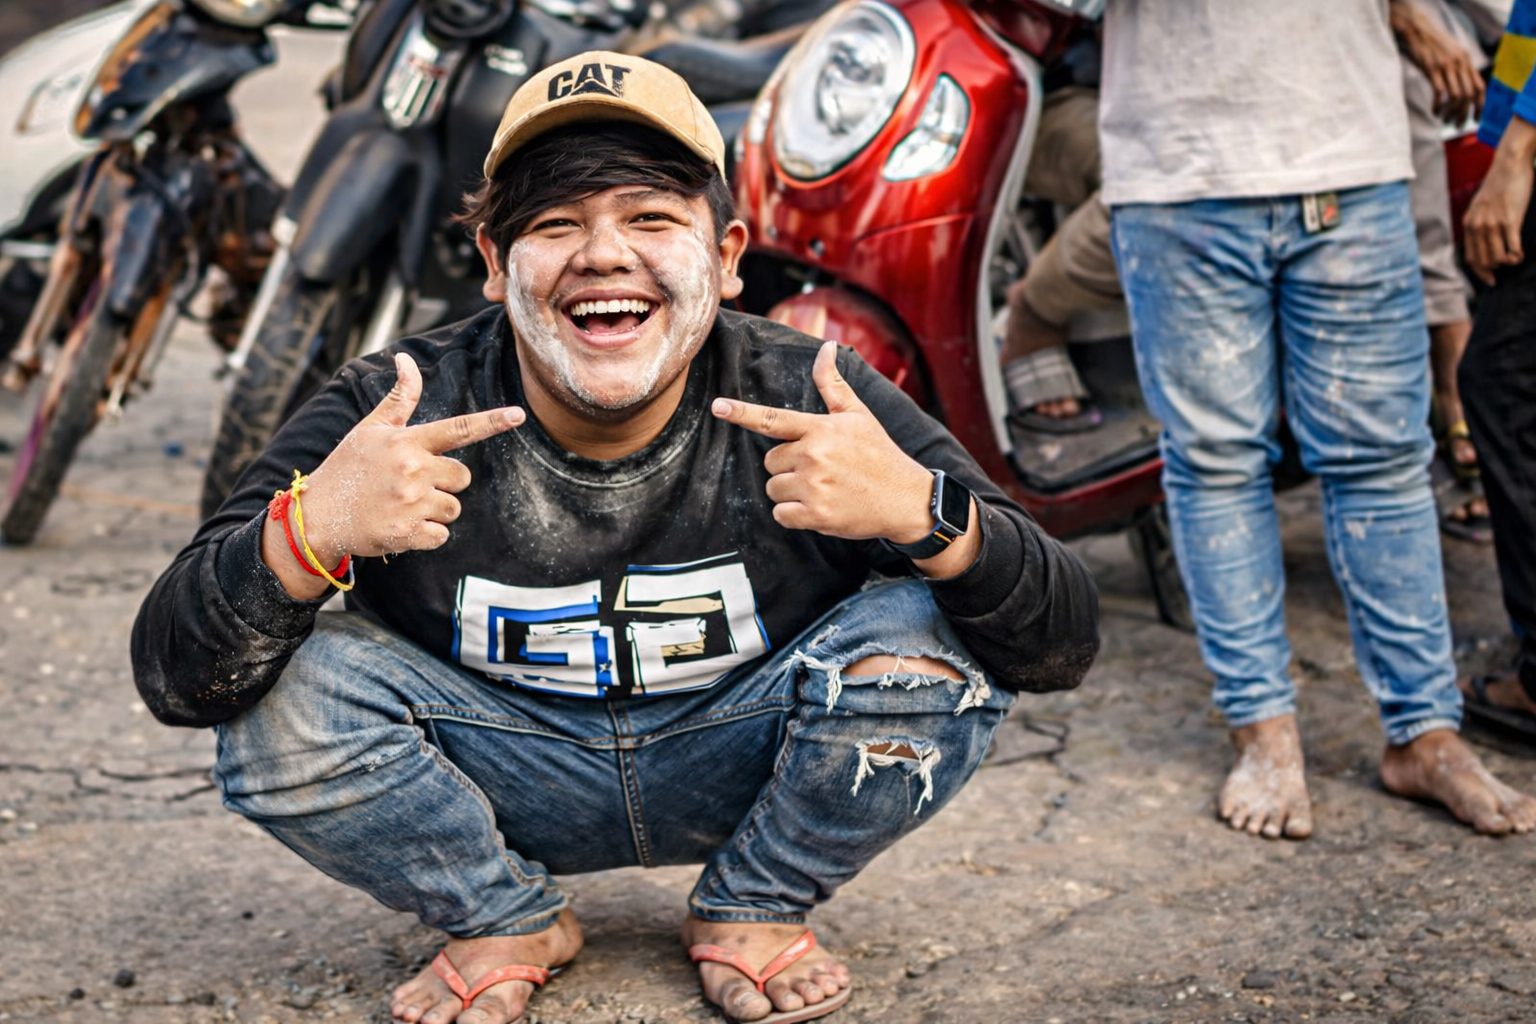
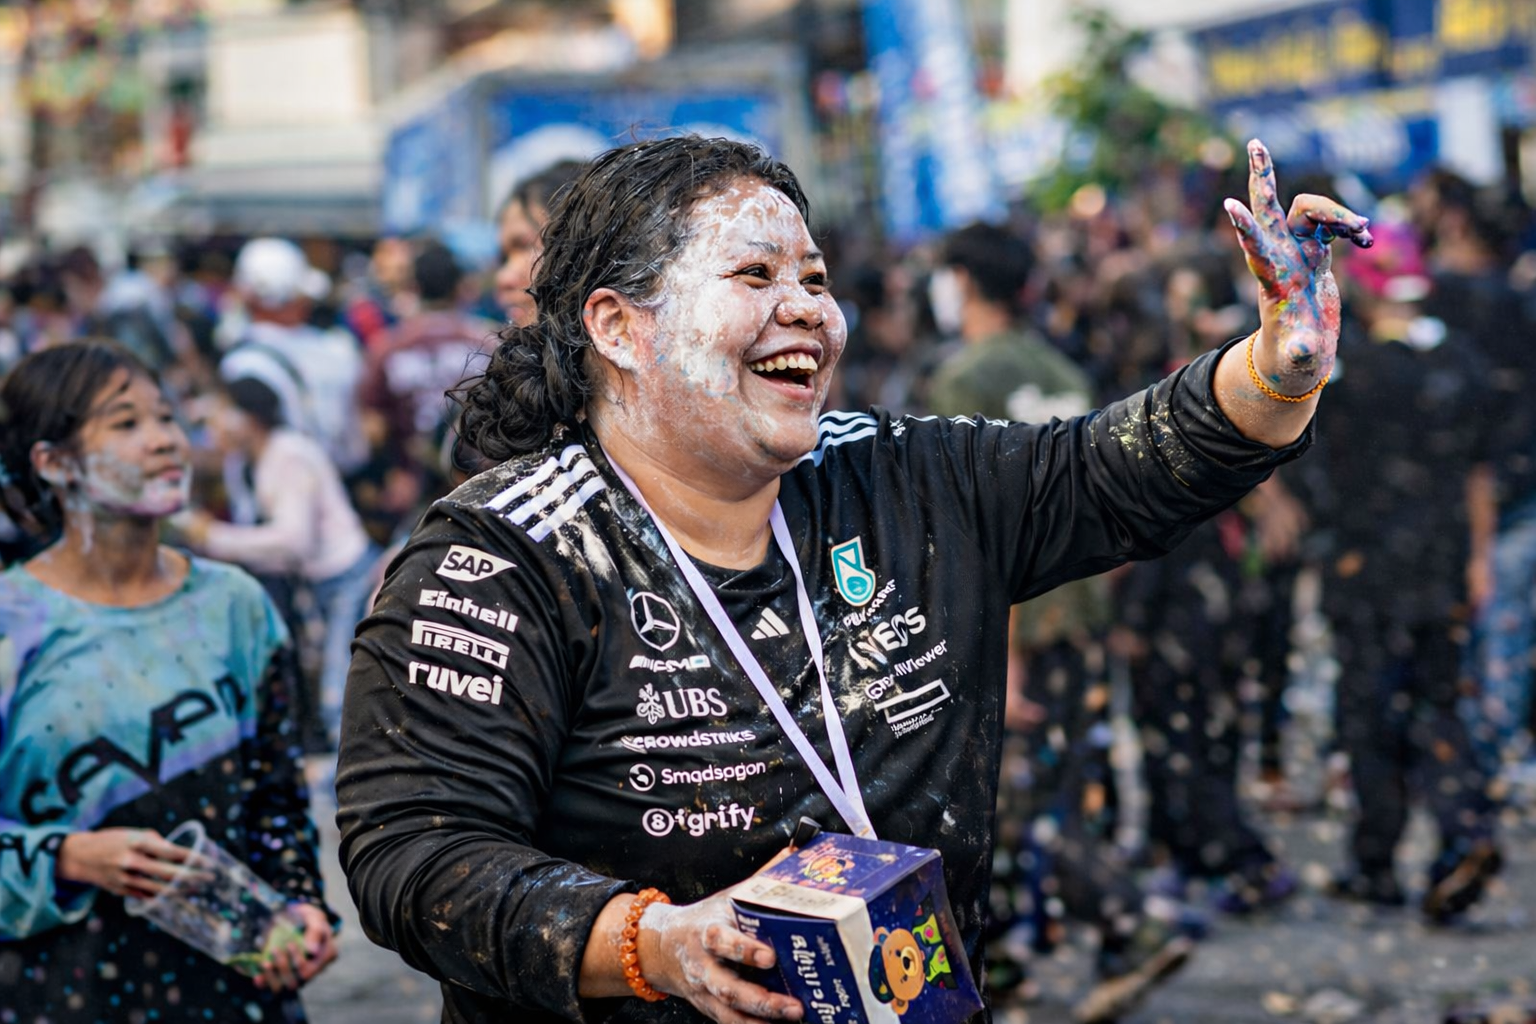
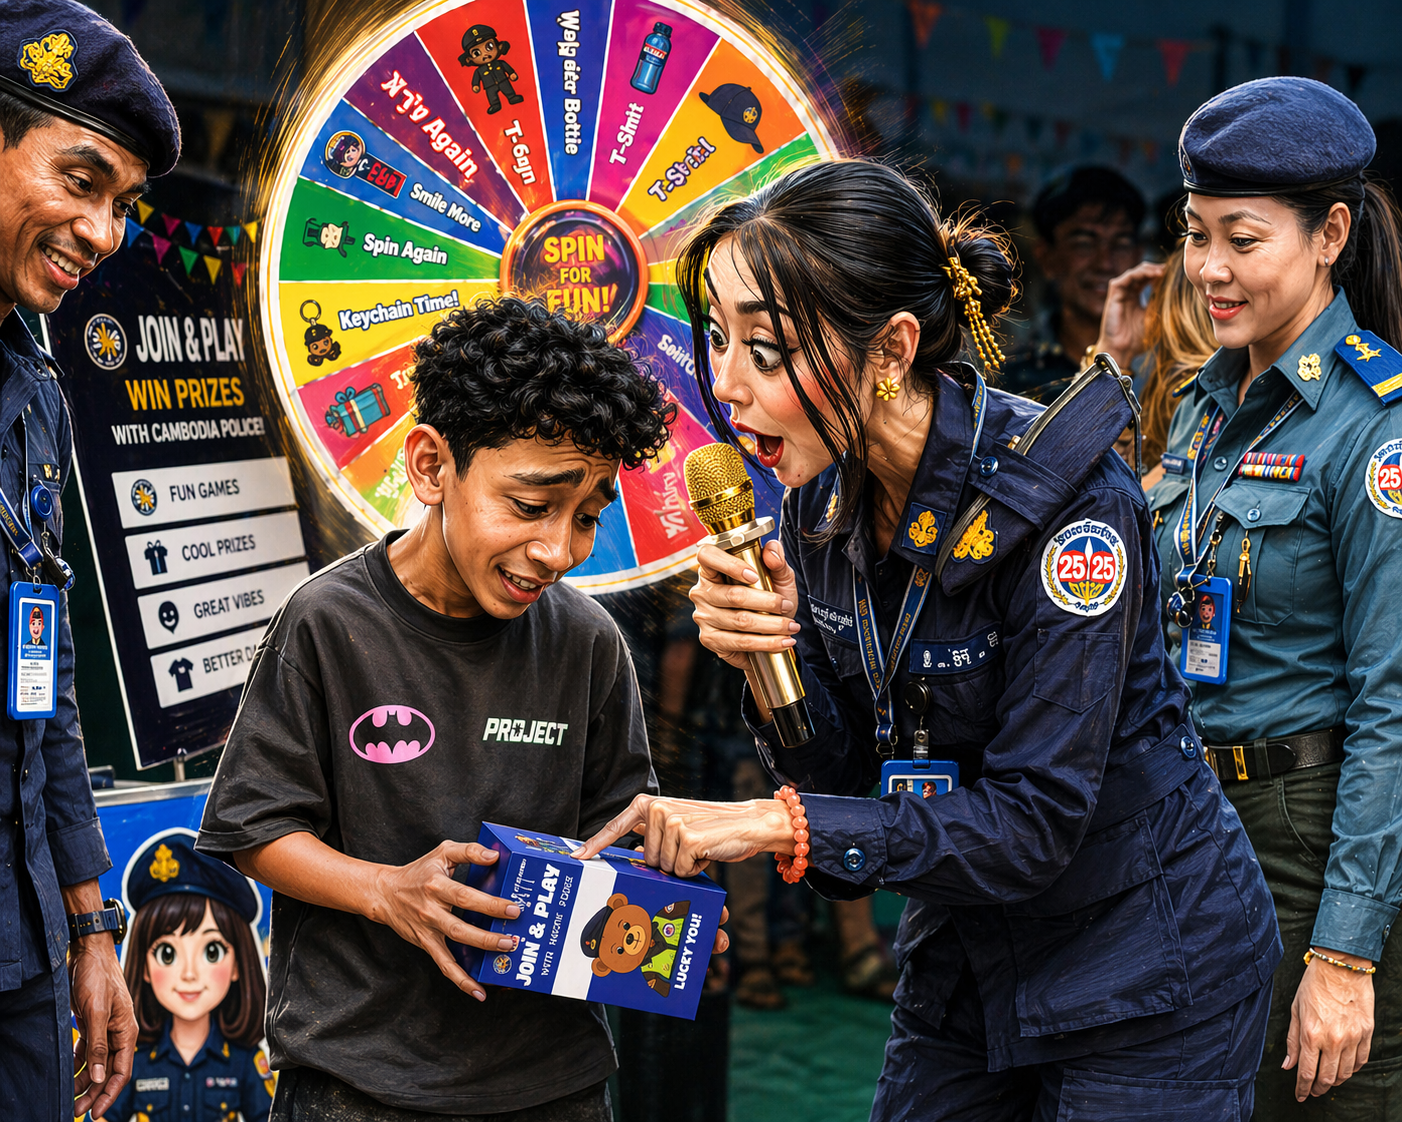
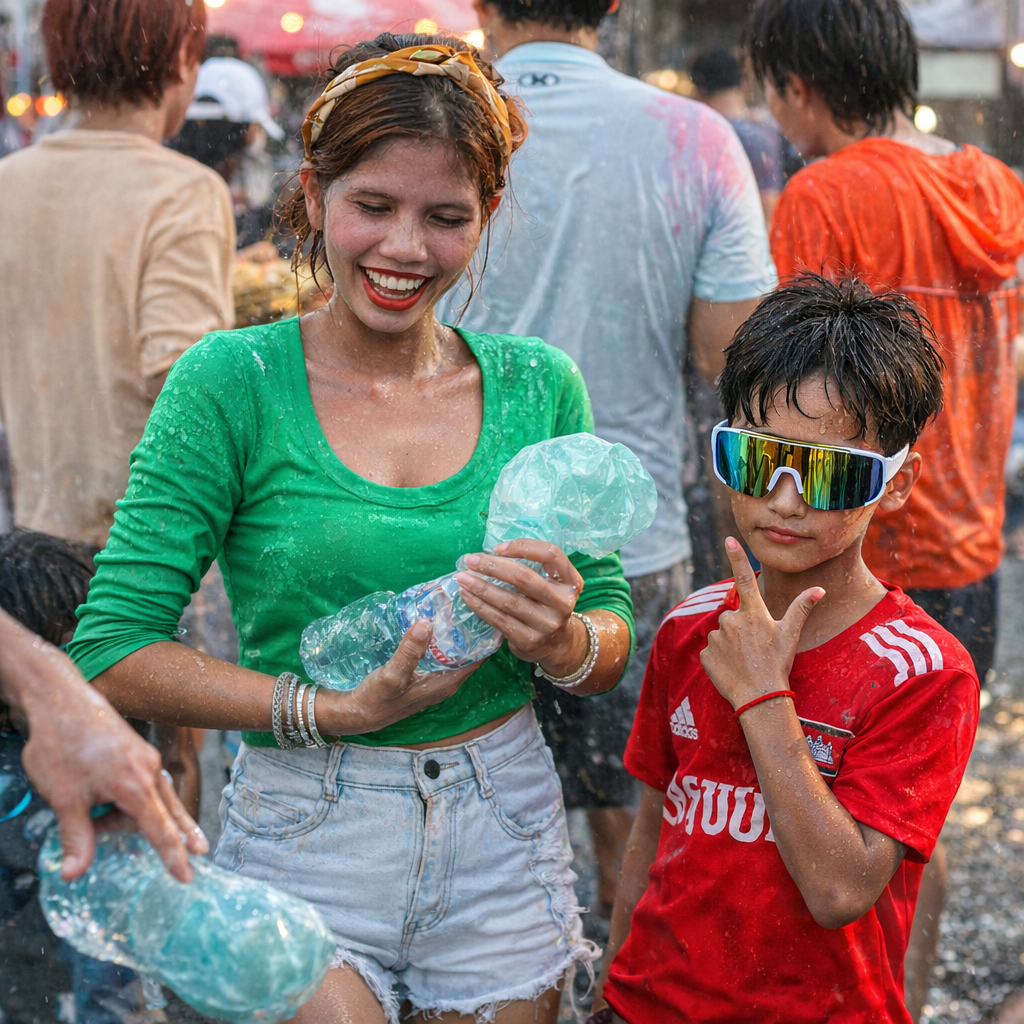
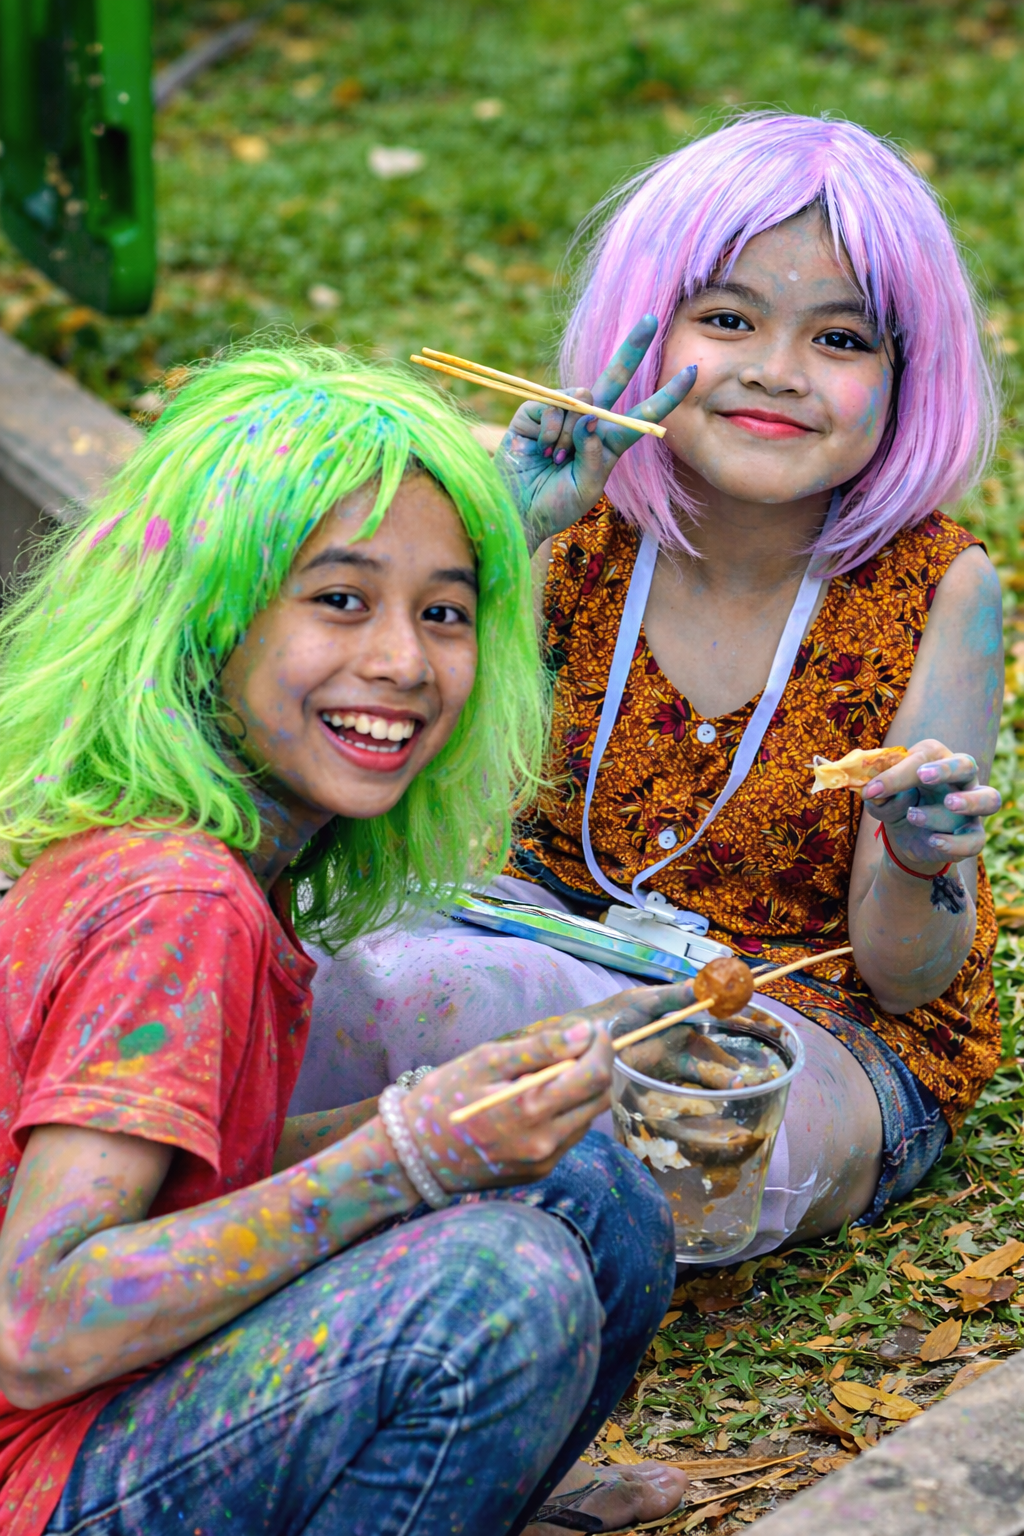
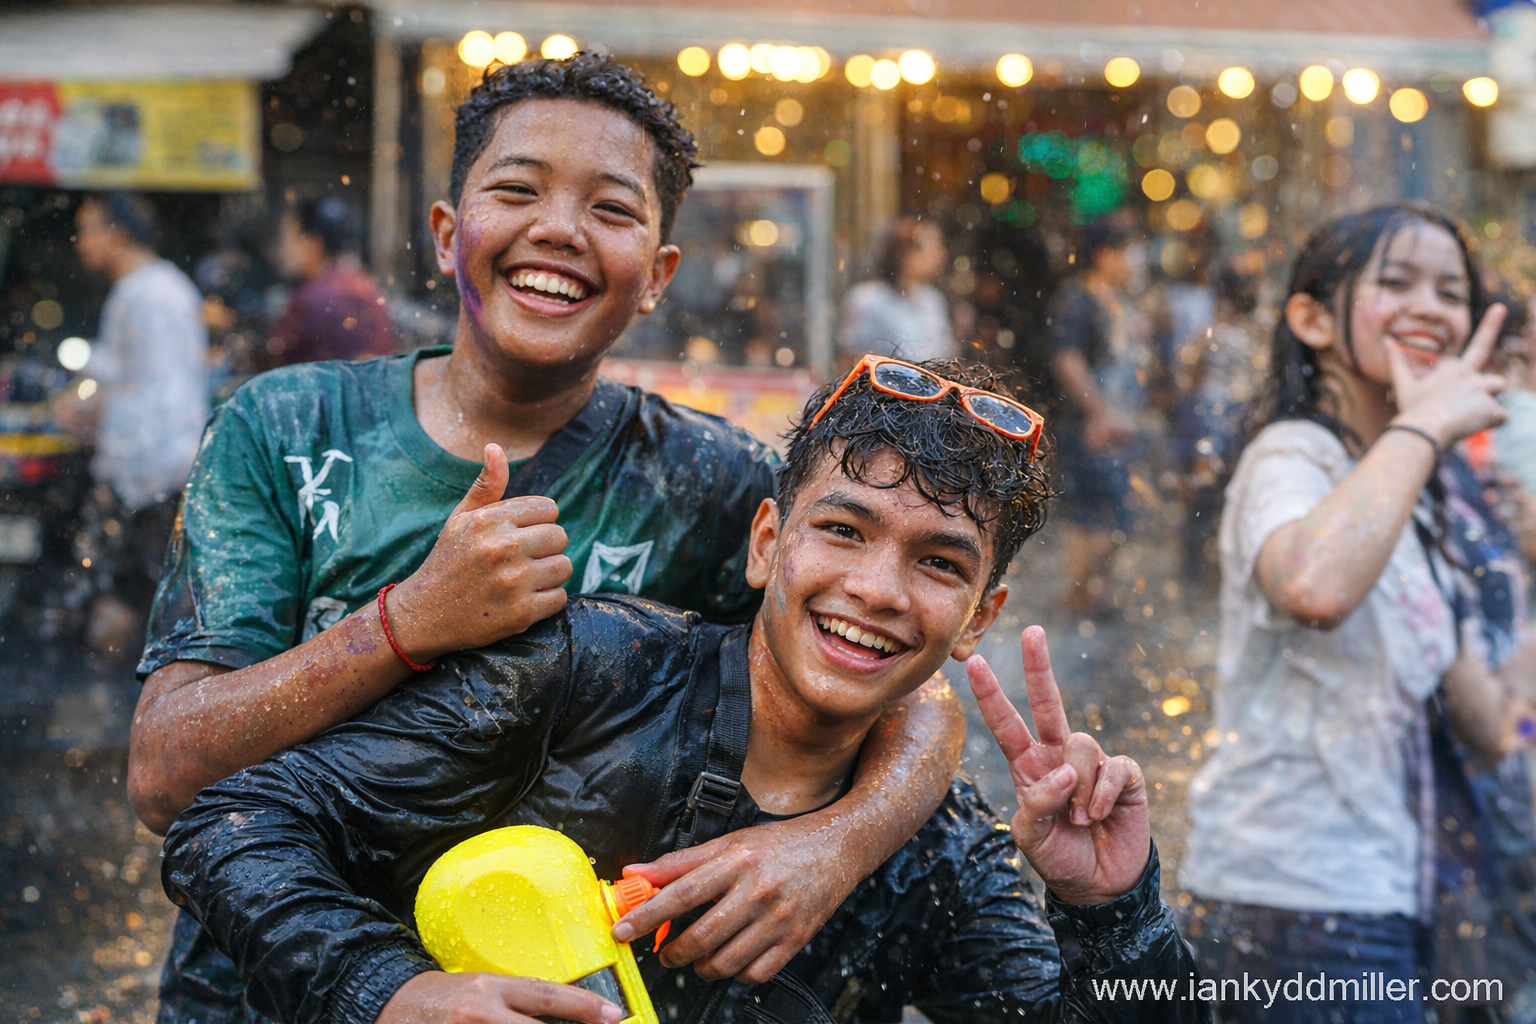
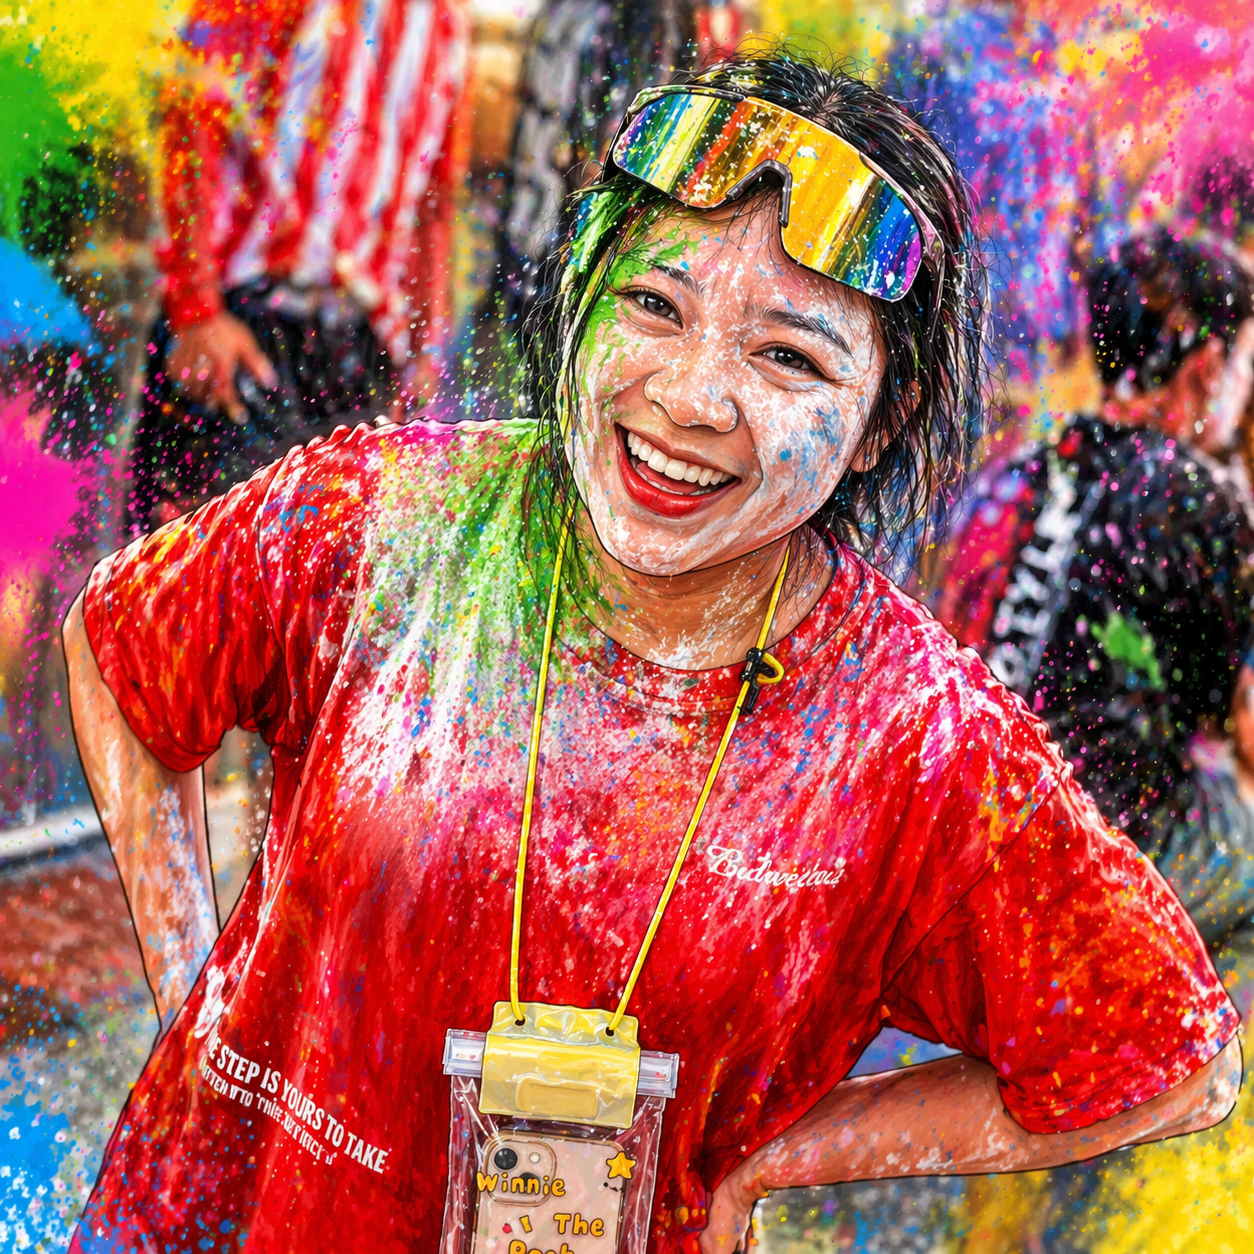
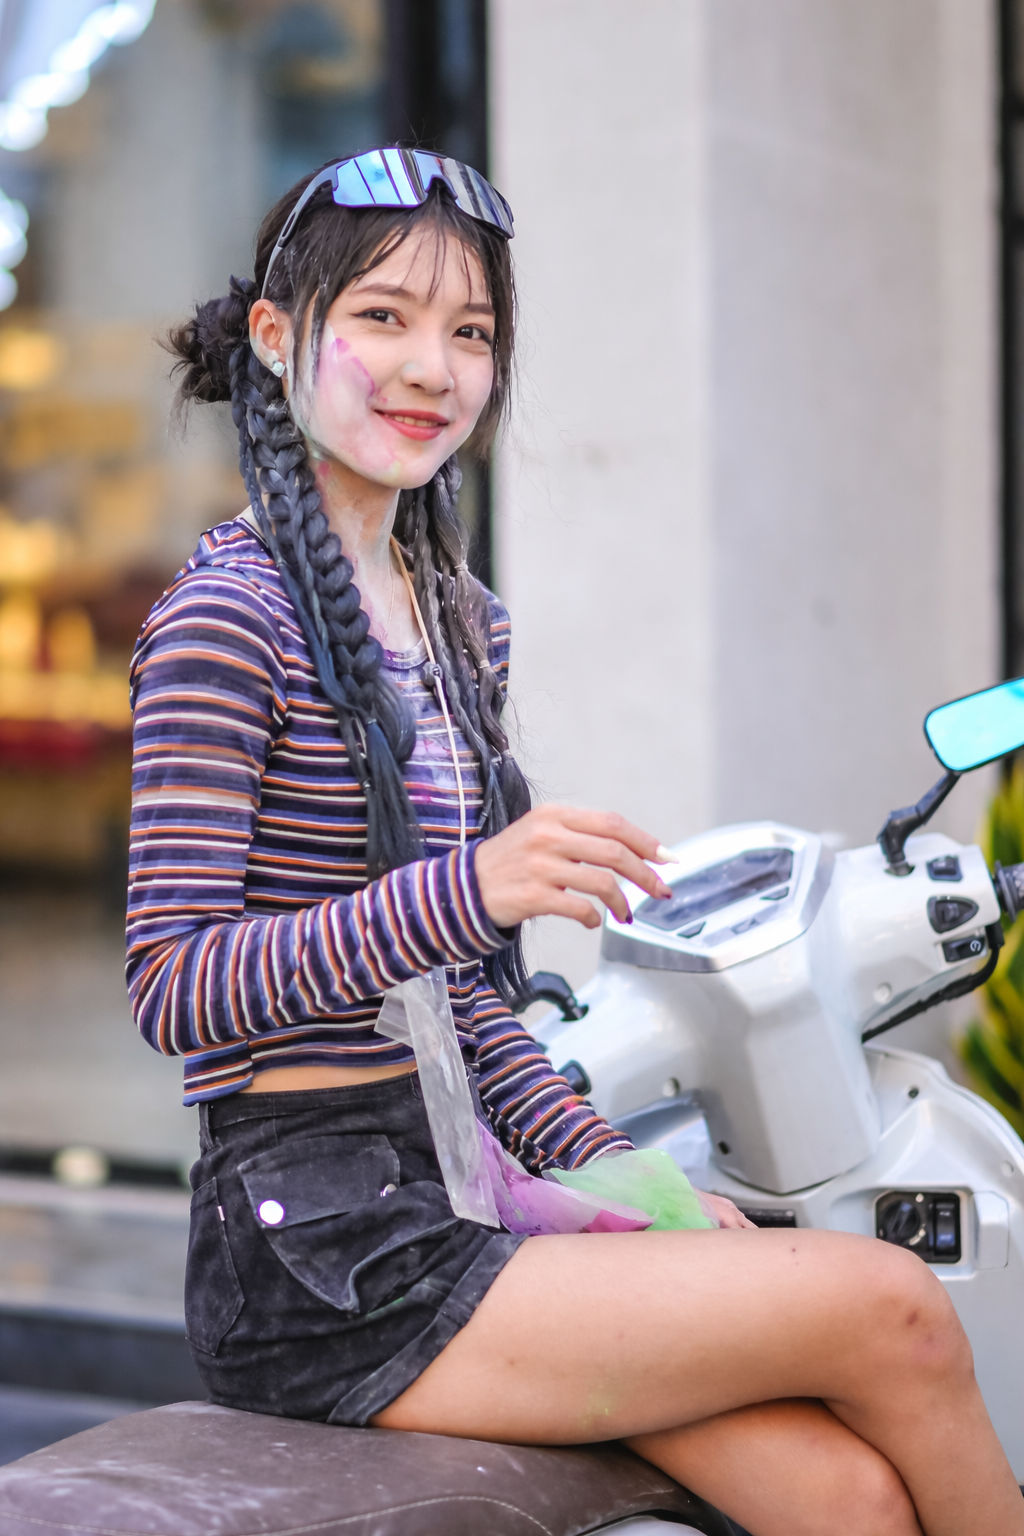
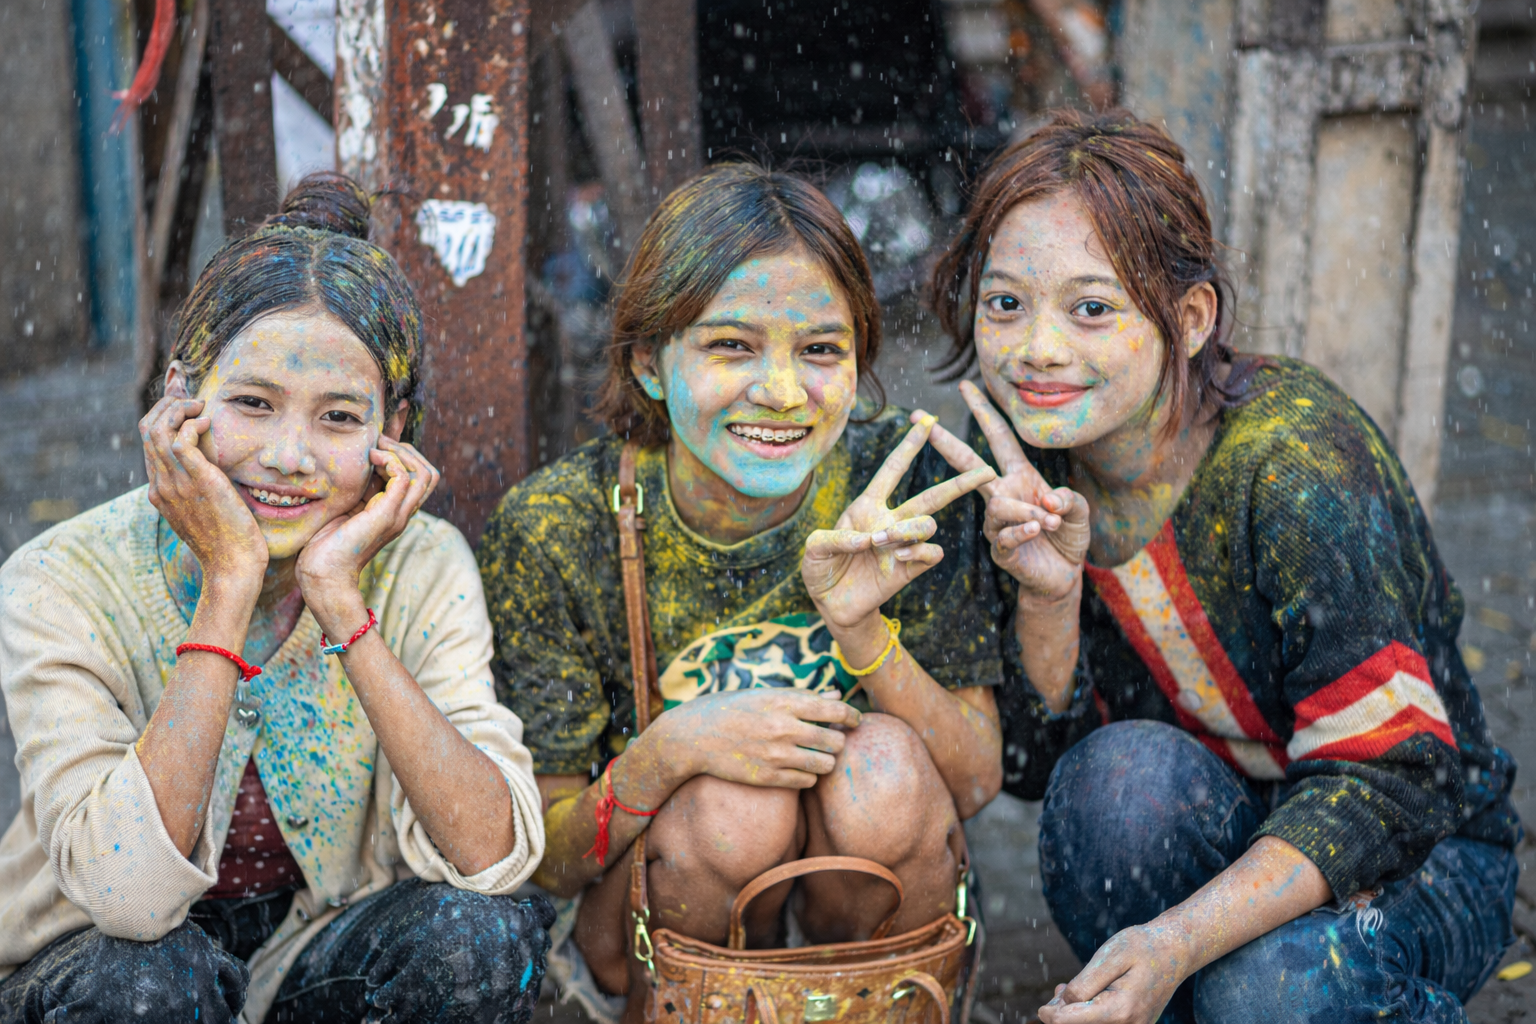
There is a point, sometime in mid-April, when the heat in Cambodia stops being something you endure and becomes something you surrender to. The air thickens, the roads empty, the city slows—then, quite suddenly, it erupts. Buckets appear. Water guns materialise. Talcum powder drifts like a soft, absurd fog. And for three days, sometimes four, the country gives itself permission to behave differently.
Khmer New Year—Chaul Chnam Thmey—is, on paper, a tidy cultural marker: the end of the harvest, the turning of the traditional solar calendar, a ritualised renewal. In practice, it is something messier, louder, and far more revealing. It is what happens when tradition and release collide in public.
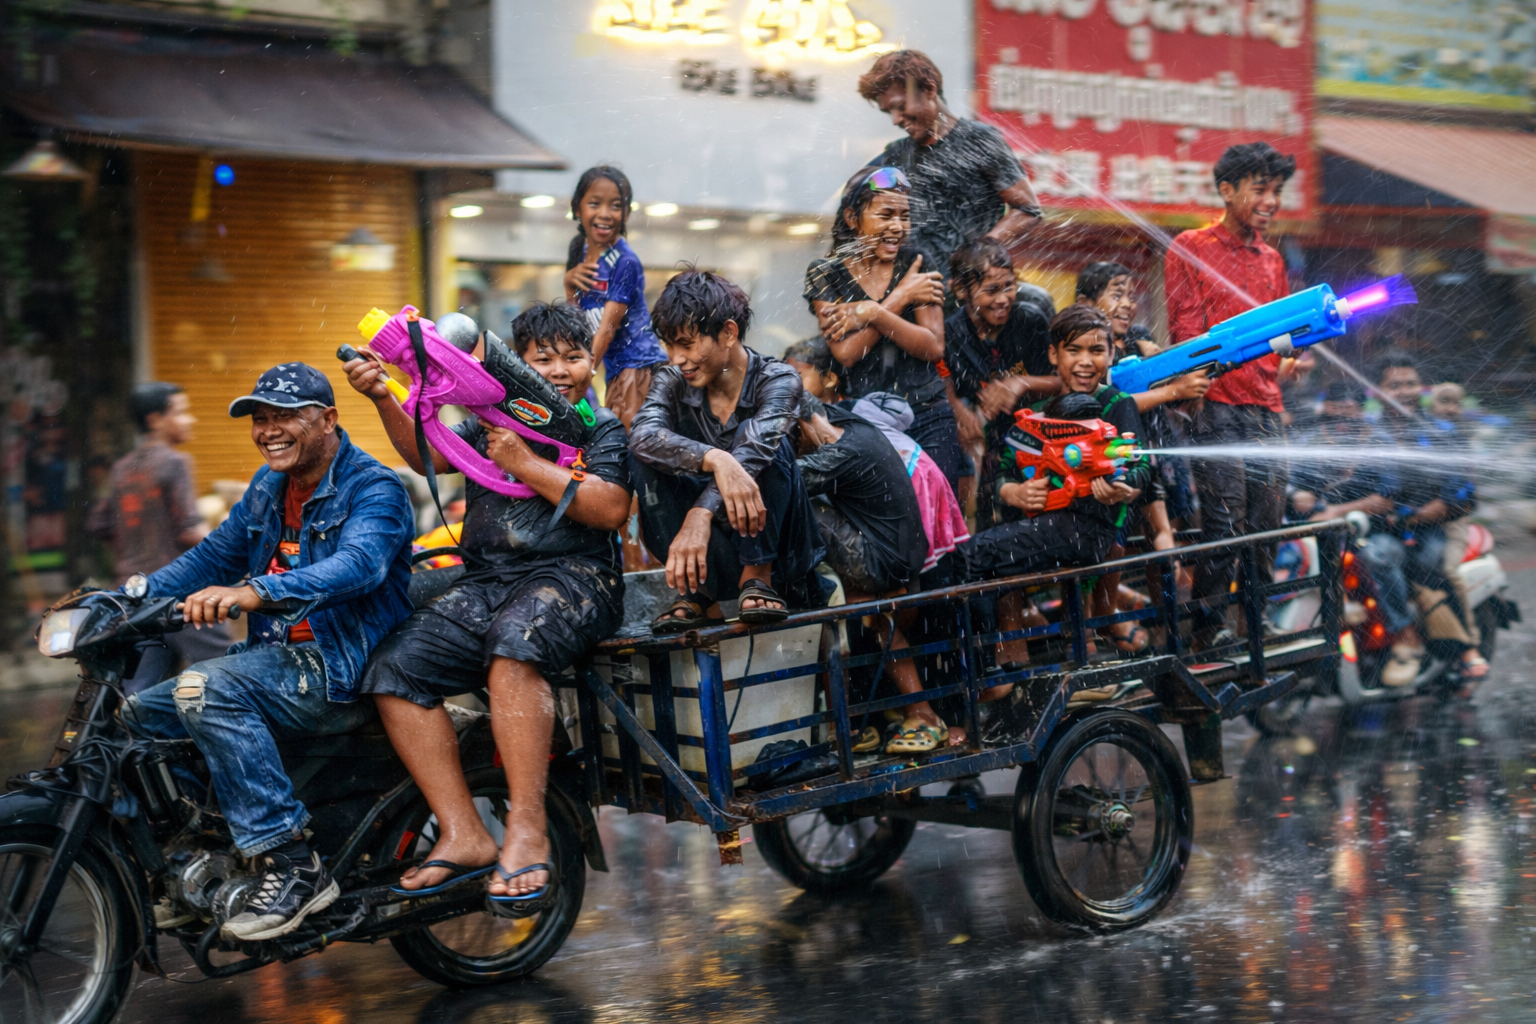
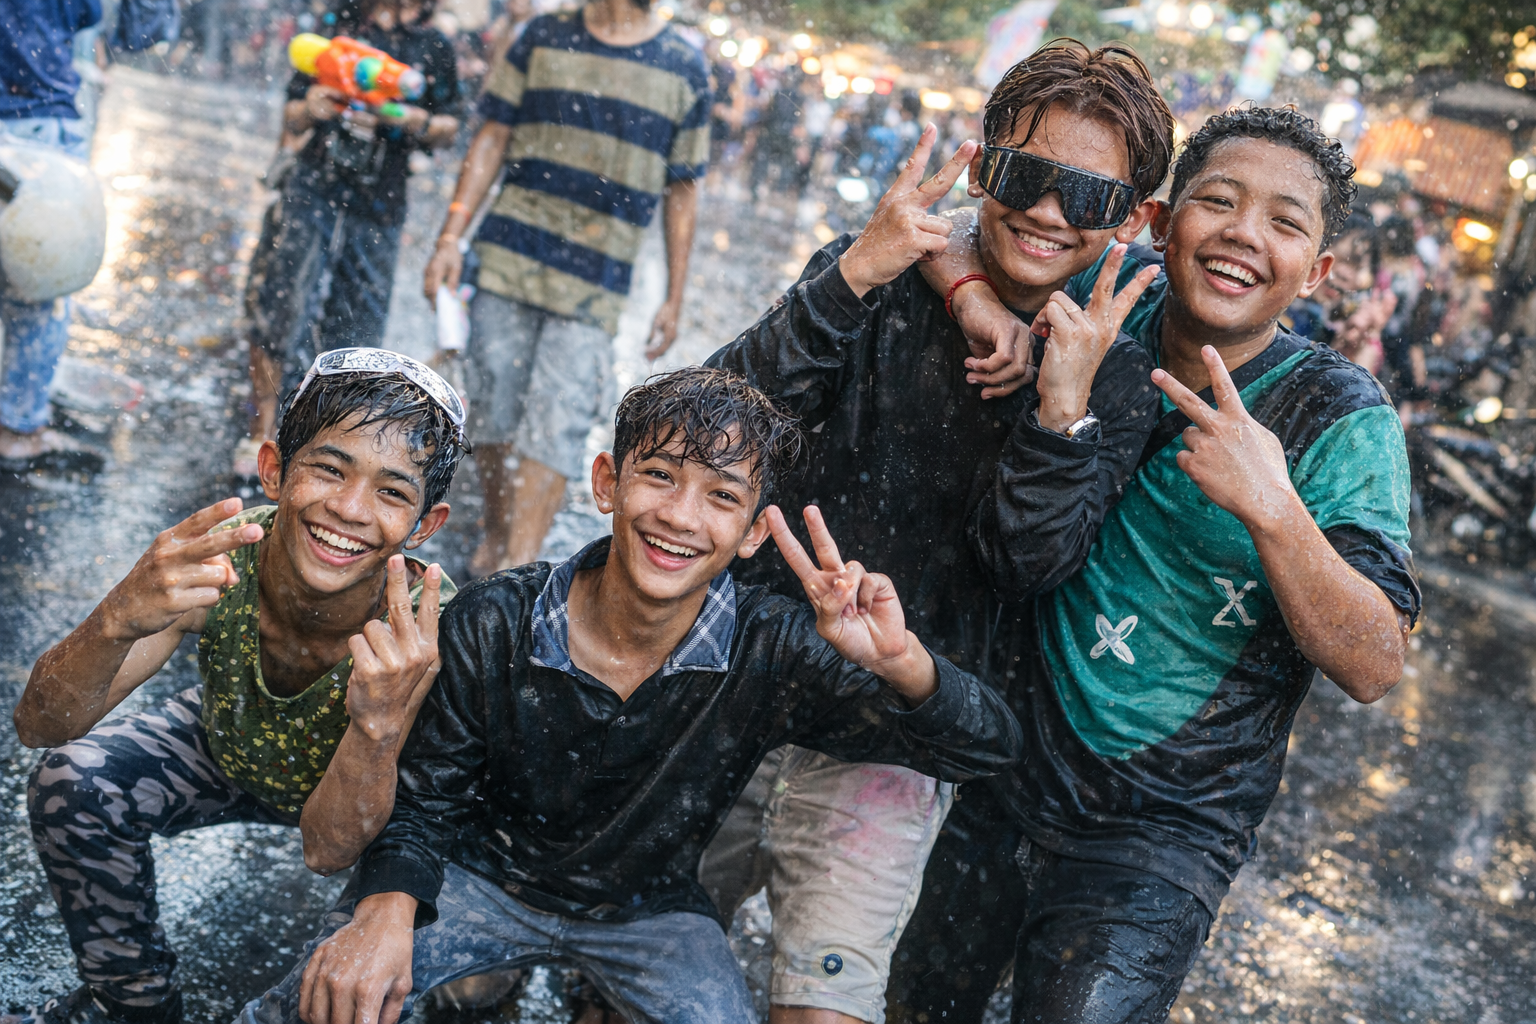
In Phnom Penh, the capital loosens its collar. Offices close. Families travel. Those who remain drift towards the streets, where pickup trucks loaded with teenagers circle like improvised carnival floats, music blaring, water sloshing dangerously close to the edge. Strangers become targets, then accomplices. No one is exempt for long. There is an egalitarianism to being soaked to the bone.
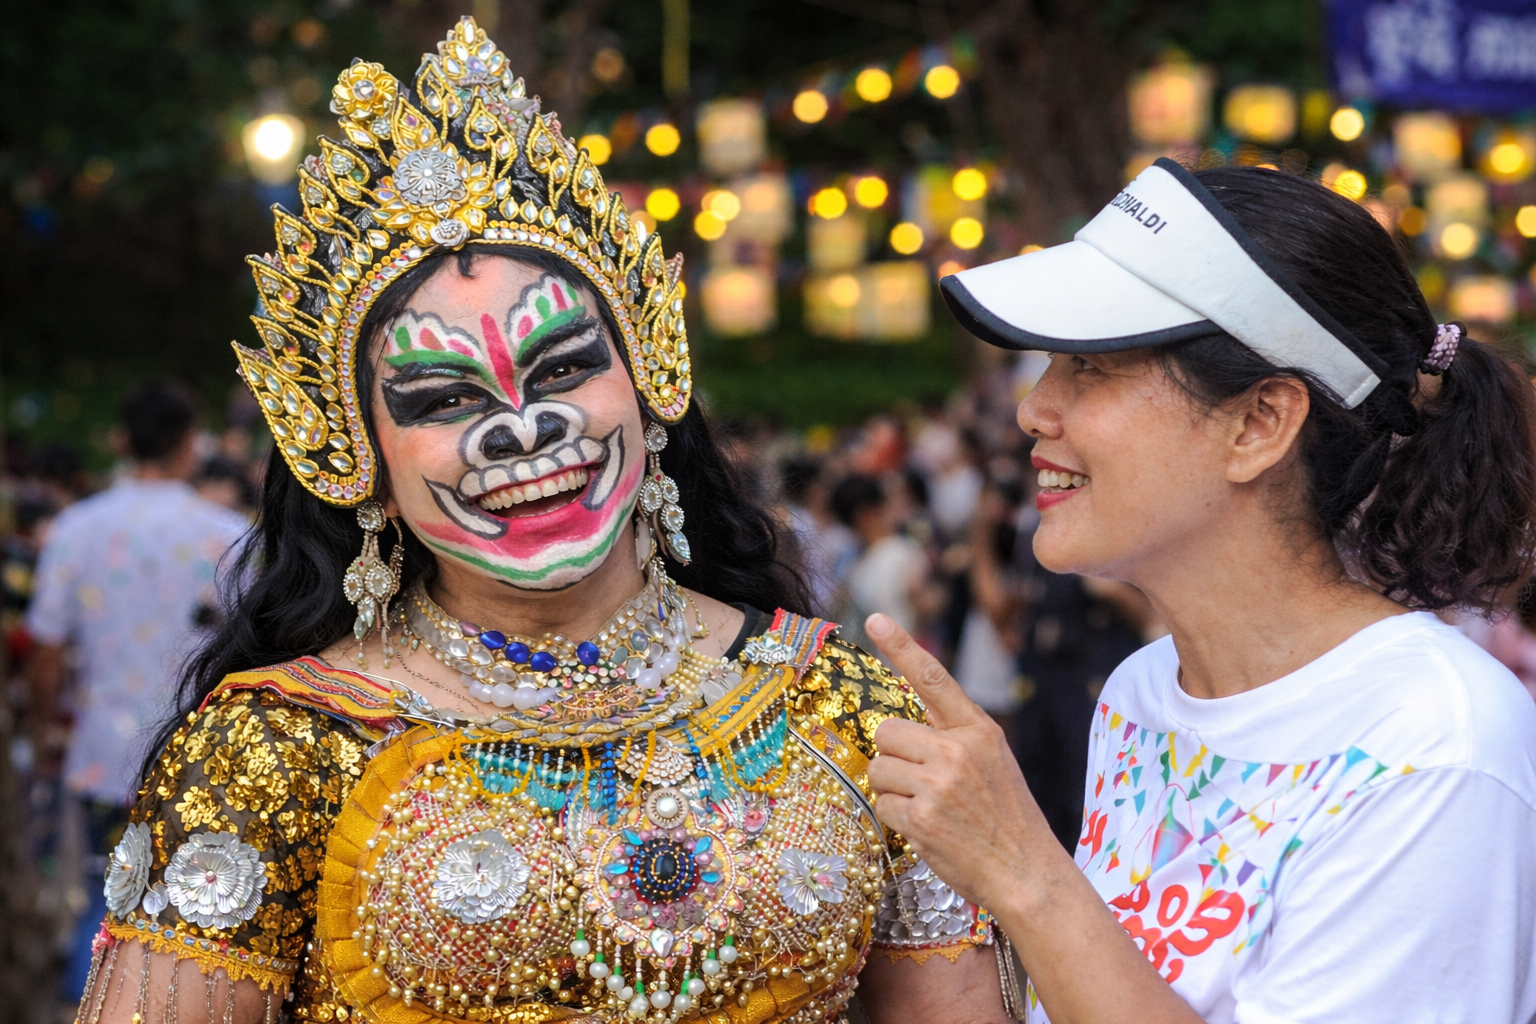
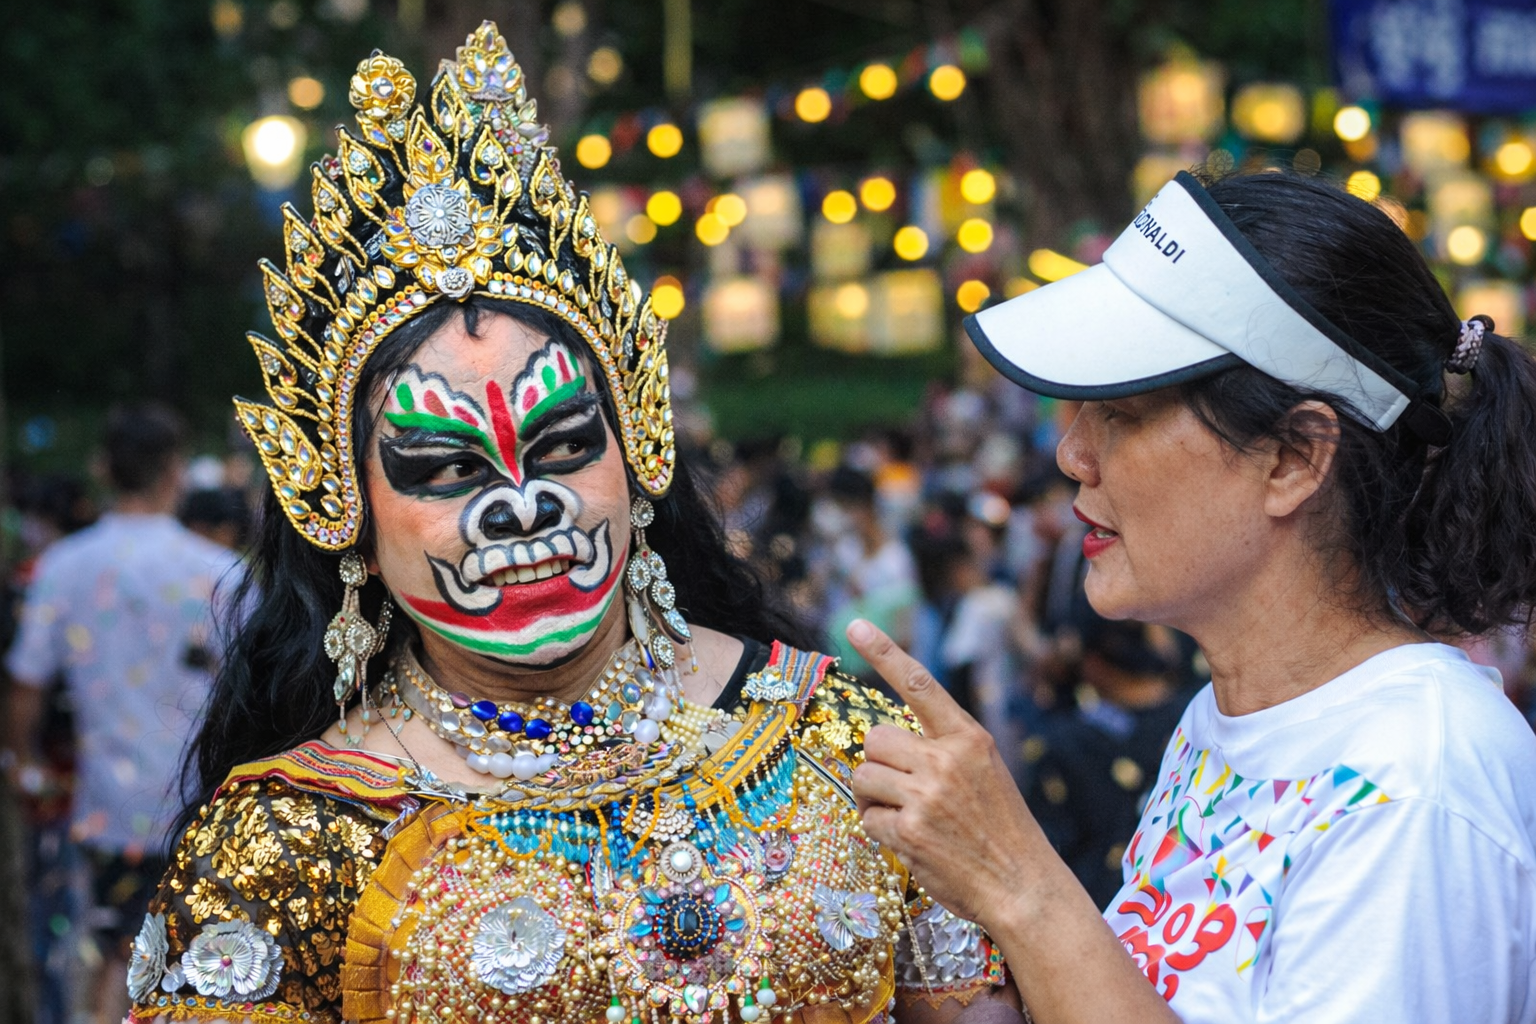
Further north, in Siem Reap, the festival takes on a more curated intensity. The Angkor Sankranta celebrations—part cultural showcase, part organised spectacle—draw crowds that swell into something approaching the uncontrollable. Traditional games are played with theatrical enthusiasm; dancers move with studied grace; and all around them, a less choreographed energy pushes in, demanding space. It is here that Cambodia performs itself, for tourists and for its own younger generation, who seem less interested in preservation than participation.
But to understand the festival solely through its public exuberance is to miss its quieter logic. Khmer New Year is, at its core, an act of recalibration. Homes are cleaned. Altars prepared. Offerings made. At pagodas across the country, sand is carried, shaped into small stupas, and left as a gesture of merit—a symbolic investment in a better future. The ritual is simple, almost austere, and it sits in deliberate contrast to the chaos outside the temple gates.
Inside those grounds, time moves differently. Elders are gently washed with perfumed water, a gesture of respect and continuity. Buddha statues are bathed in the same way, the act less about cleansing than about acknowledgement. These are not grand spectacles but small, repeated gestures, performed with an understanding that renewal is less an event than a habit.
The tension between these two worlds—the reflective and the riotous—is where the festival finds its meaning. Cambodia is a country with a long memory and a young population. Khmer New Year allows both to coexist, briefly, without friction. The past is honoured; the present is loudly, unapologetically lived.
There is also, unmistakably, a sense of release. For a few days, hierarchies soften. The office worker and the street vendor, the local and the visitor, the cautious and the reckless—all are reduced to the same soaked, powdered state. It is not quite equality, but it is close enough to feel like one. In a region where public life is often tightly structured, this temporary suspension carries weight.
Yet the festival resists easy romanticism. The same exuberance that fuels its appeal can tip into excess. Roads become hazardous, crowds unpredictable, boundaries blurred. The line between play and intrusion is not always clearly drawn. As with many large-scale celebrations, what feels liberating to some can feel overwhelming to others. The state tolerates this looseness, even encourages it, but only within an unspoken limit.
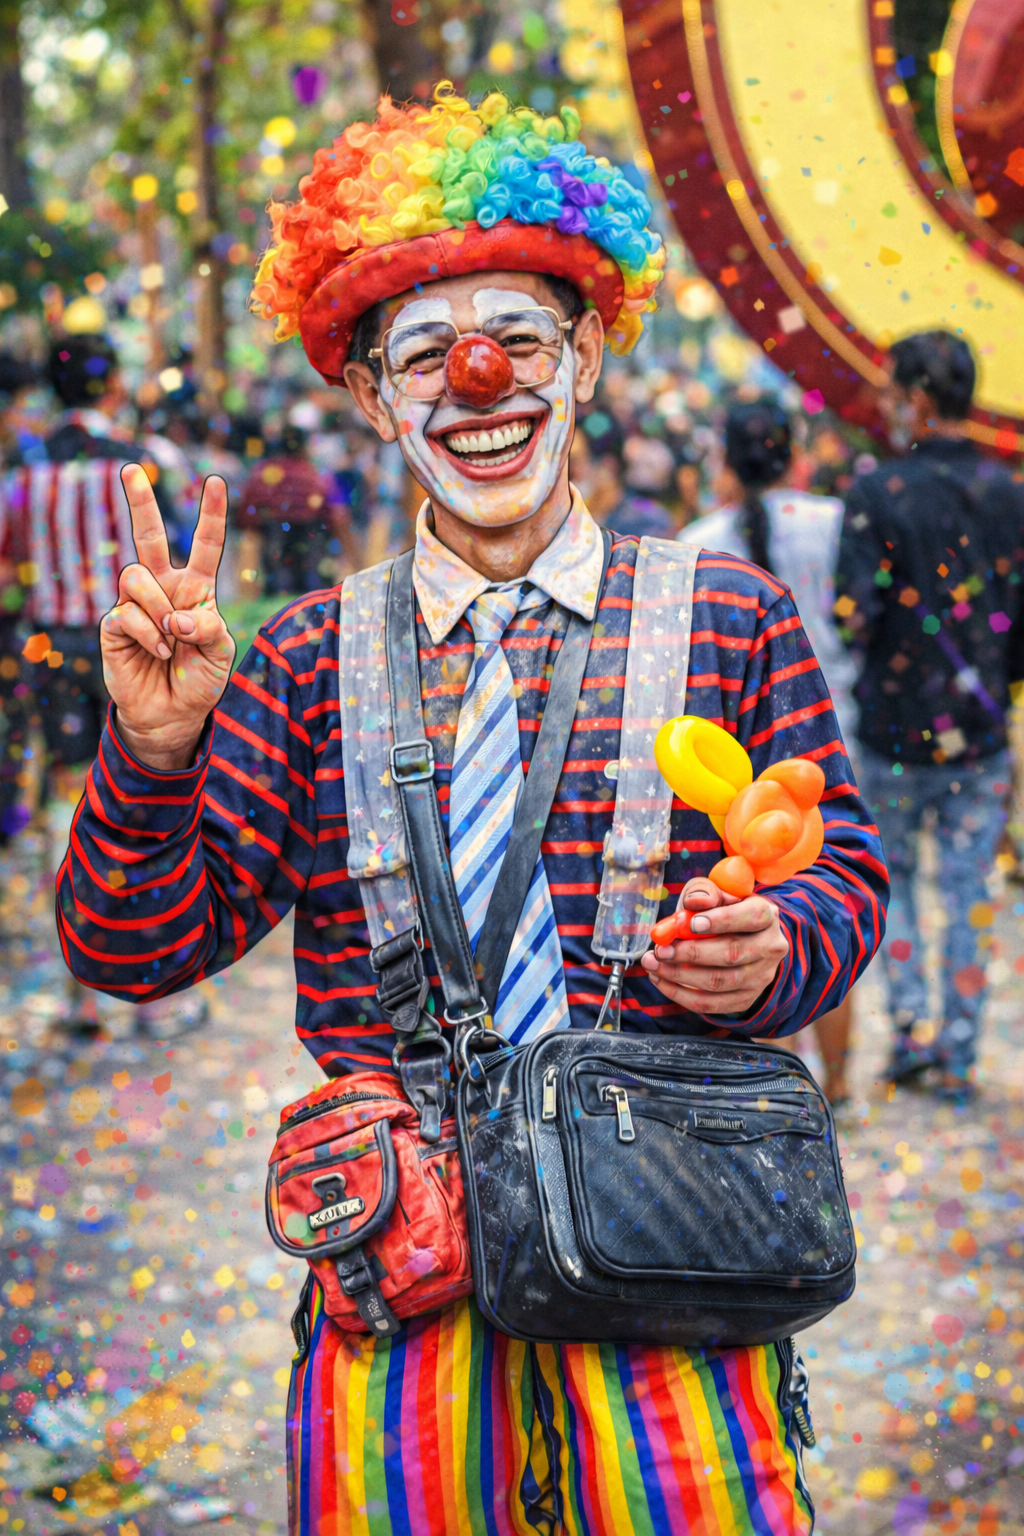
For photographers, the temptation is obvious. This is texture, movement, contradiction—everything that lends itself to an image that feels alive. The midday light is unforgiving, flattening faces, hardening shadows. And yet it works. Water catches the sun mid-air; powder softens expressions; a fleeting glance cuts through the noise. The challenge is not technical but ethical: where to stand, what to take, when to step back. In a festival built on participation, observation can feel like a form of distance.
What endures, long after the streets dry and the music fades, is not the spectacle but the shift. Khmer New Year marks a collective pause—a moment when Cambodia resets itself, not through decree or policy, but through ritual and release. It is imperfect, occasionally chaotic, sometimes contradictory. But it is also, in its own way, honest.
And perhaps that is why it matters. Not because it presents a polished image of national identity, but because it doesn’t. It shows a country as it is: rooted in tradition, restless in the present, and, for a few days each year, entirely willing to let go.
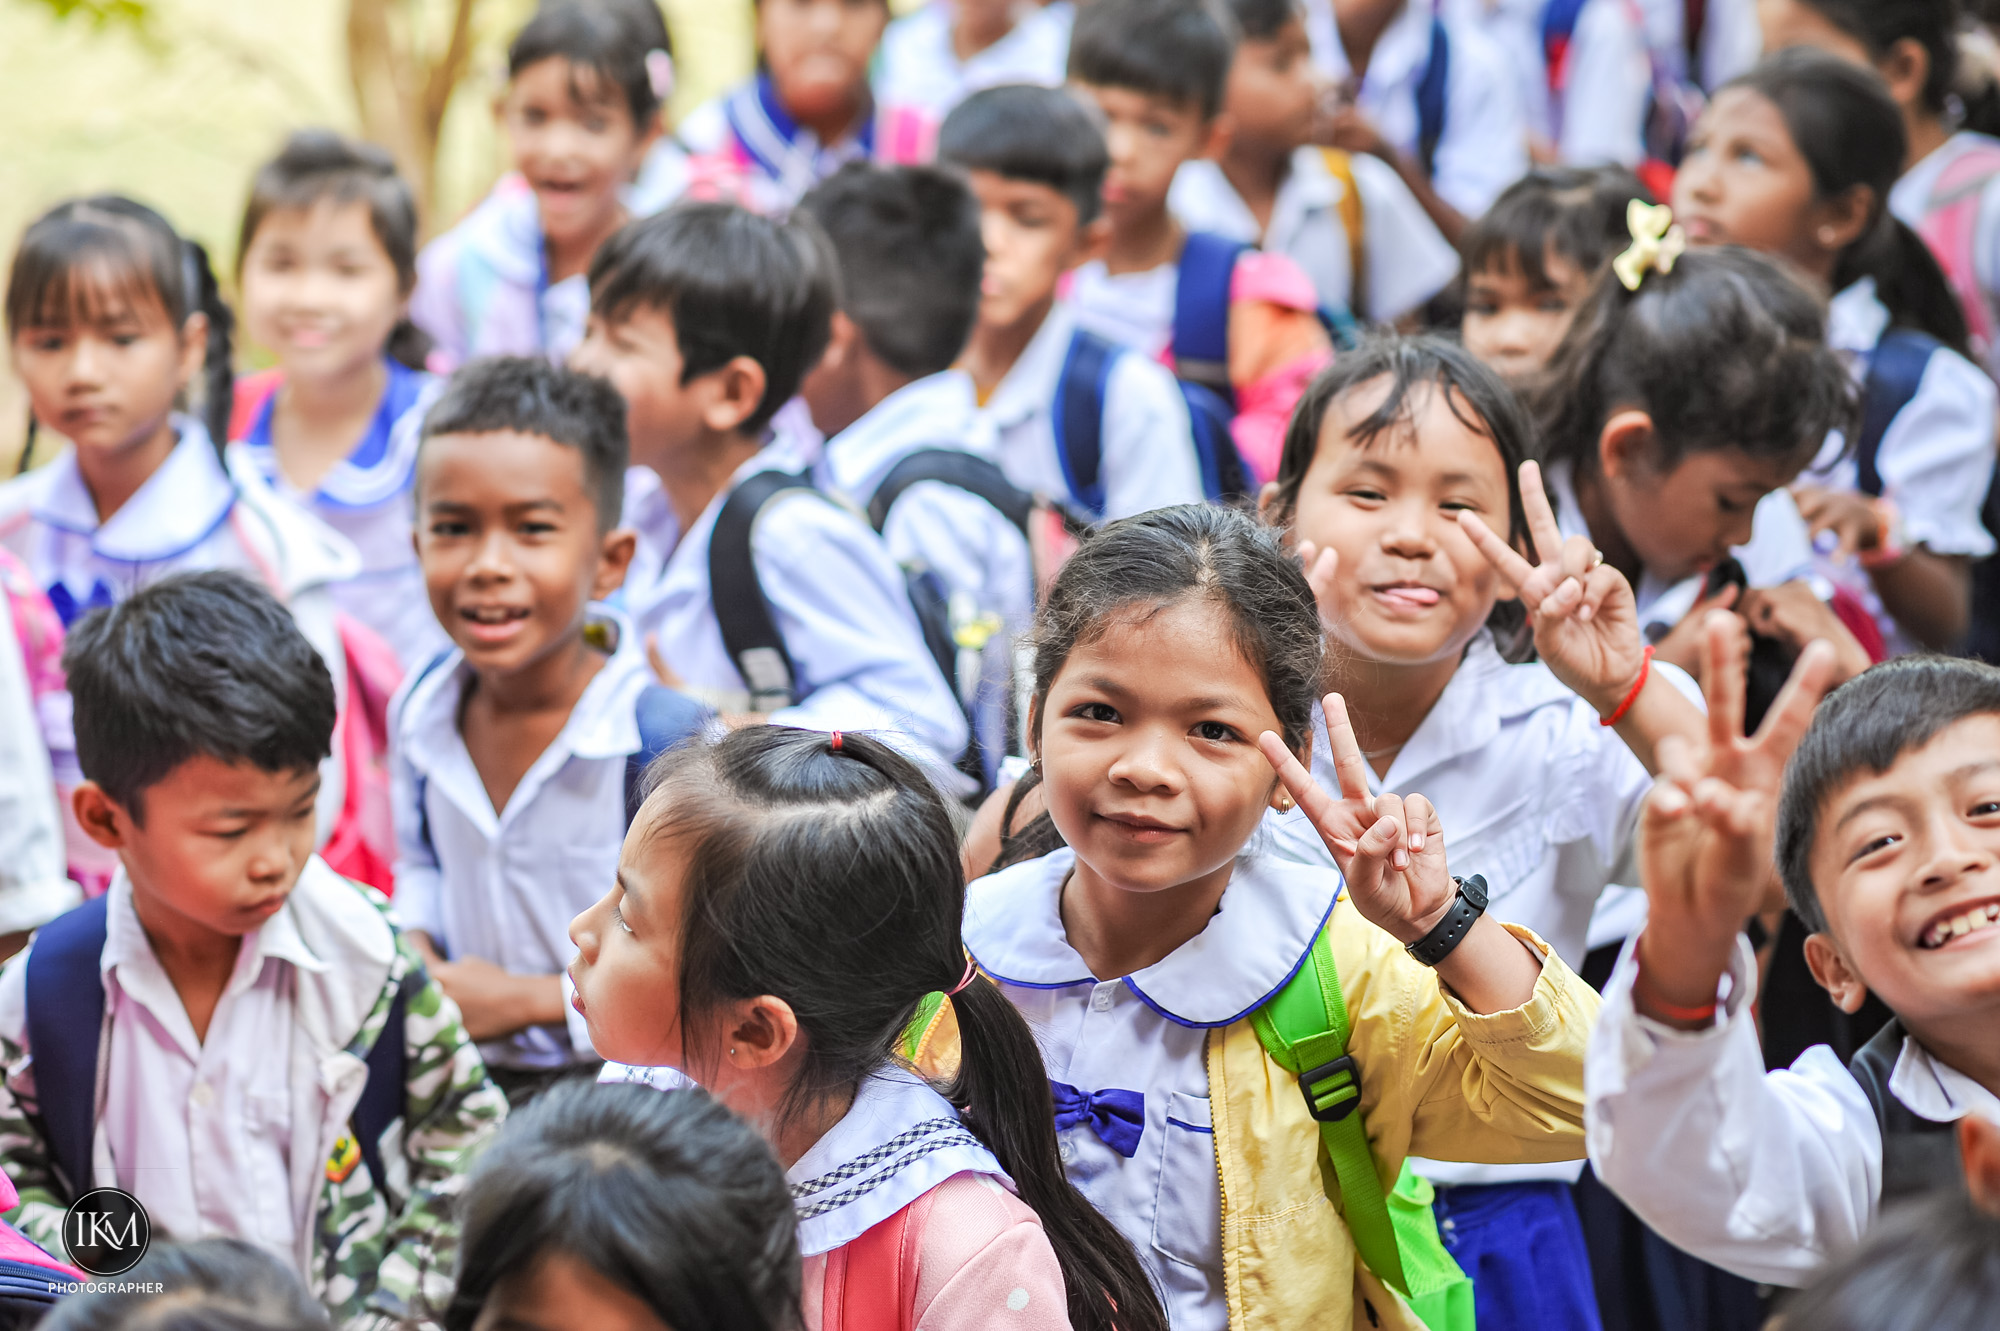
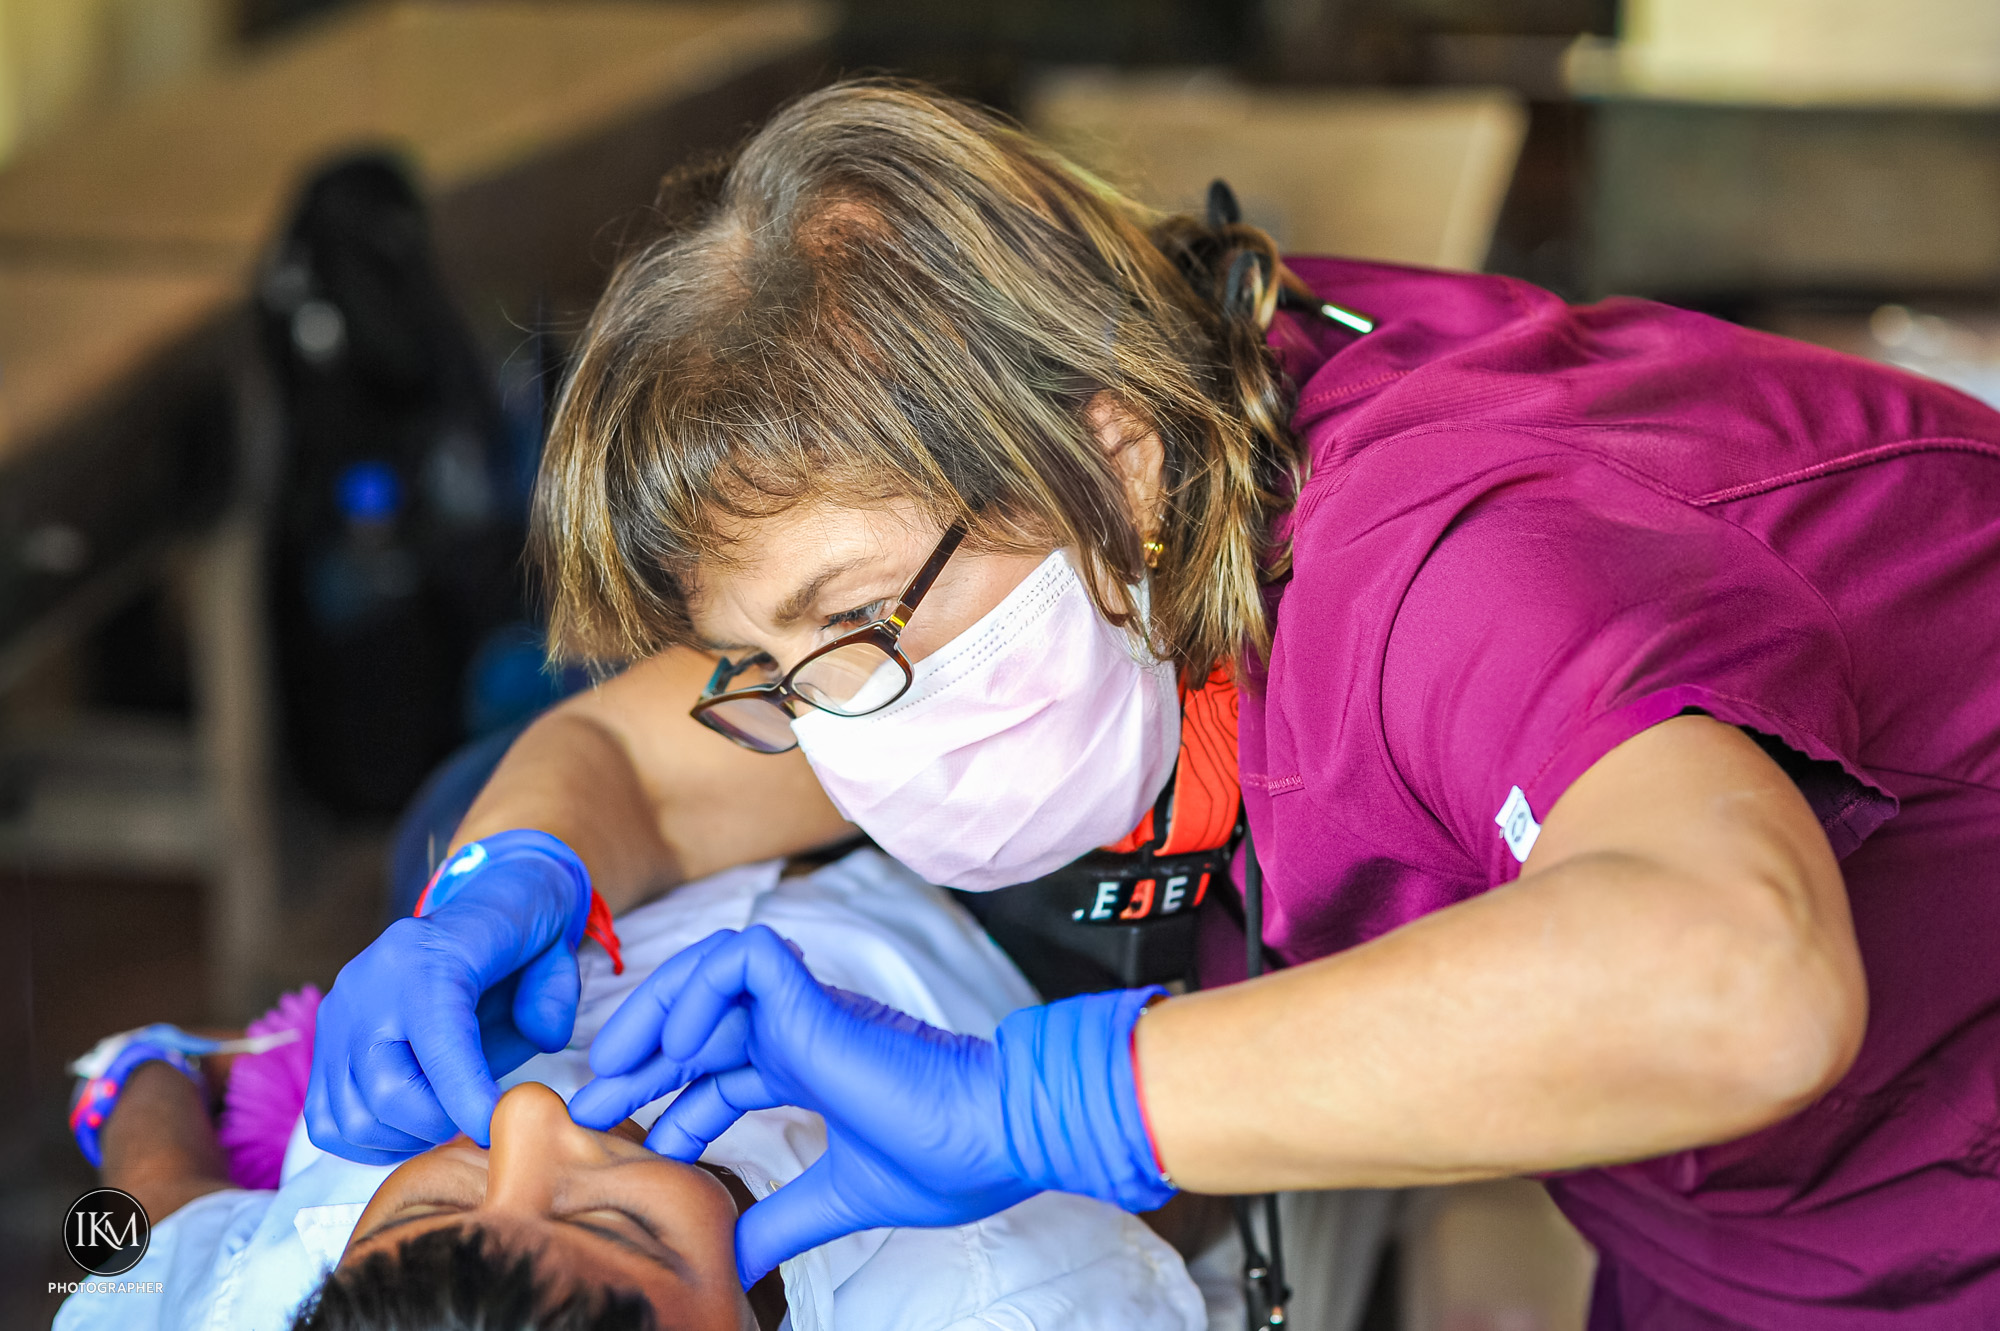
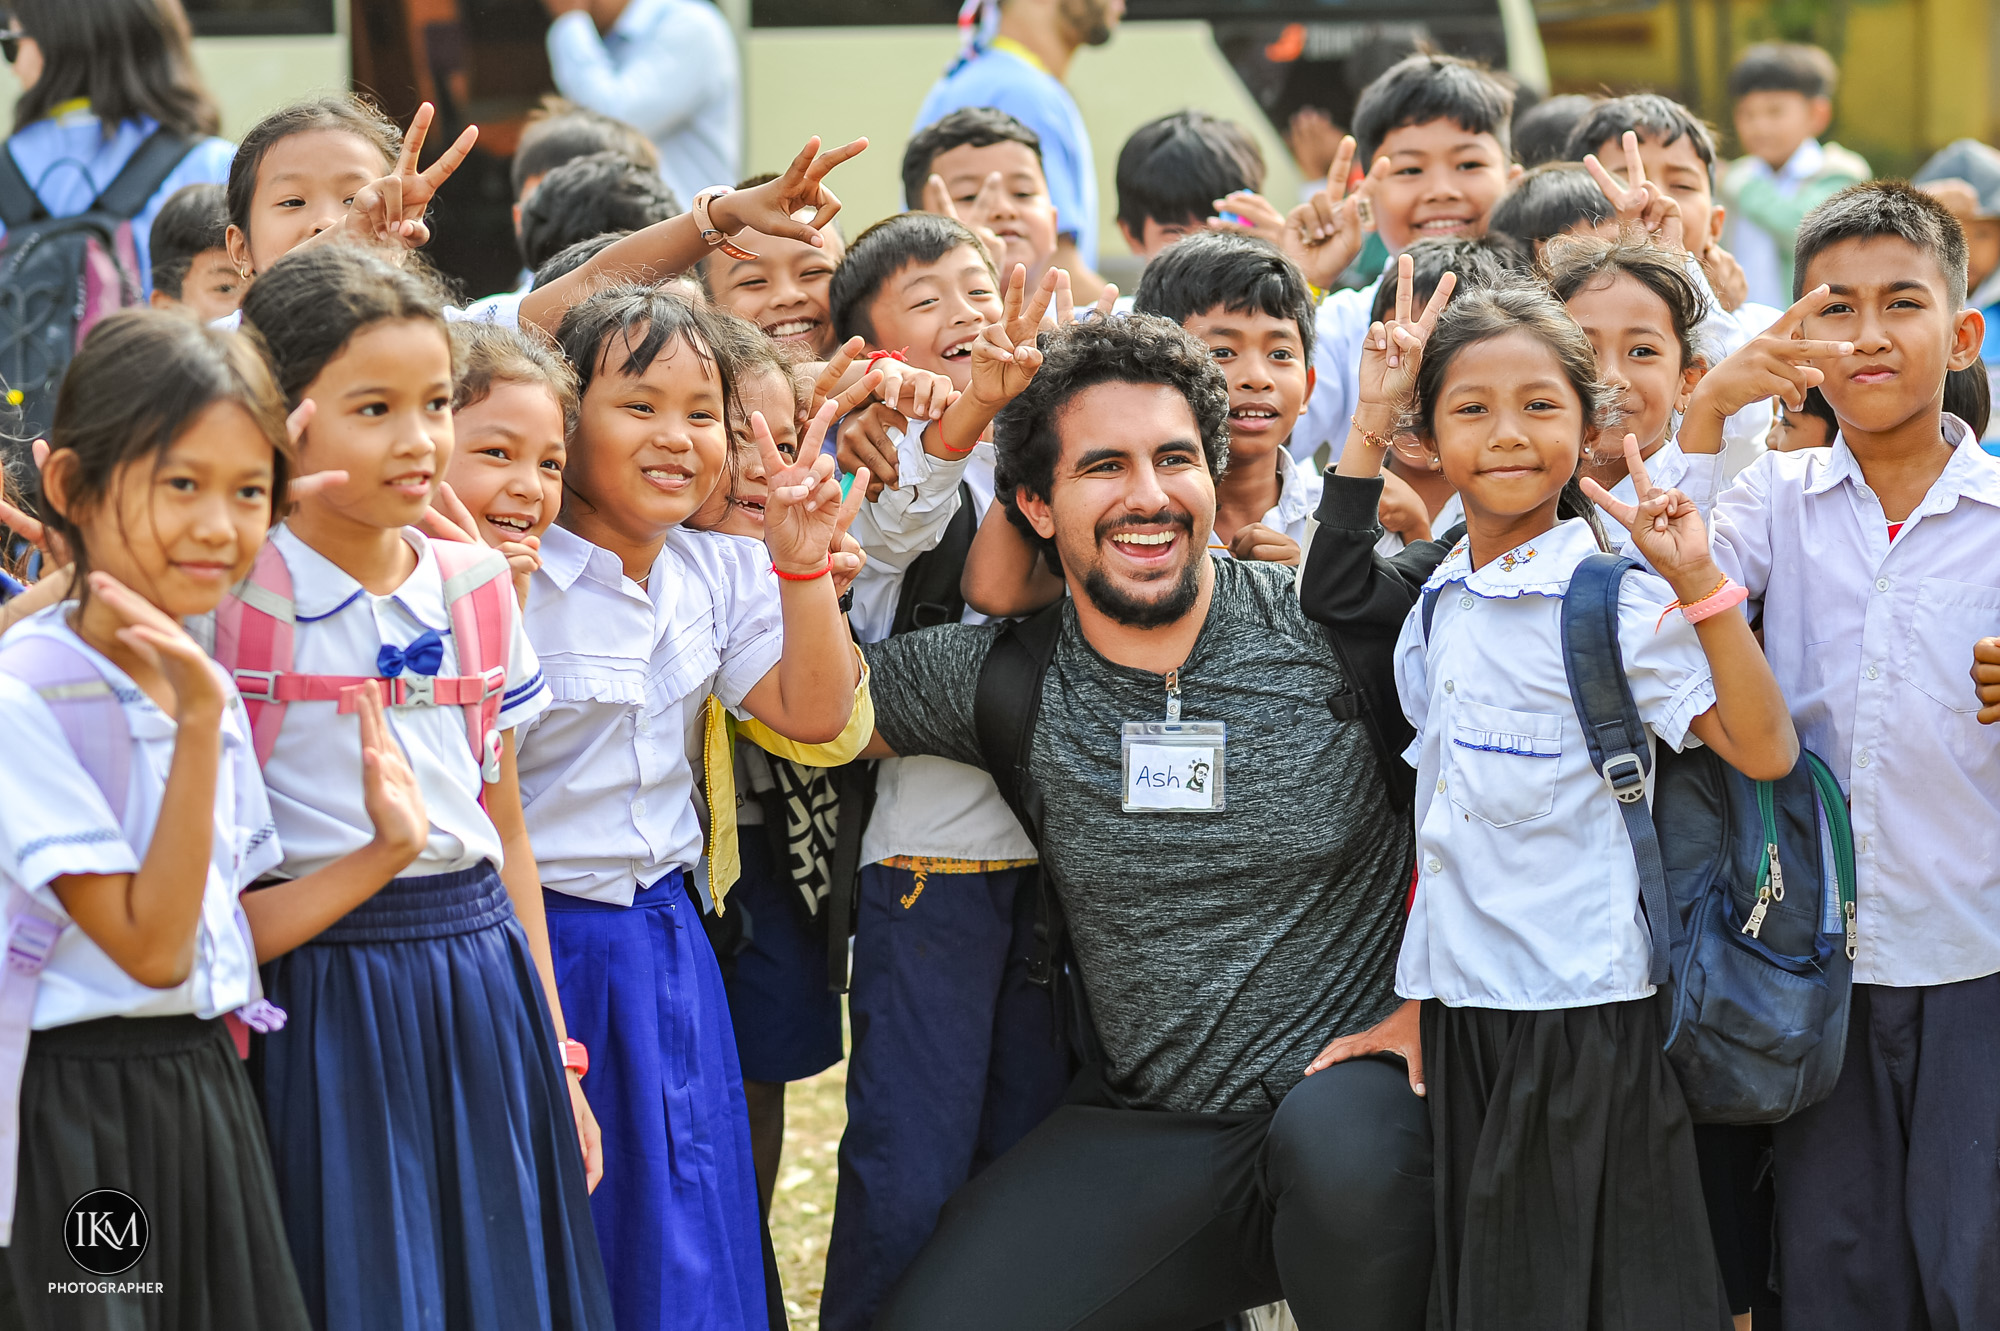
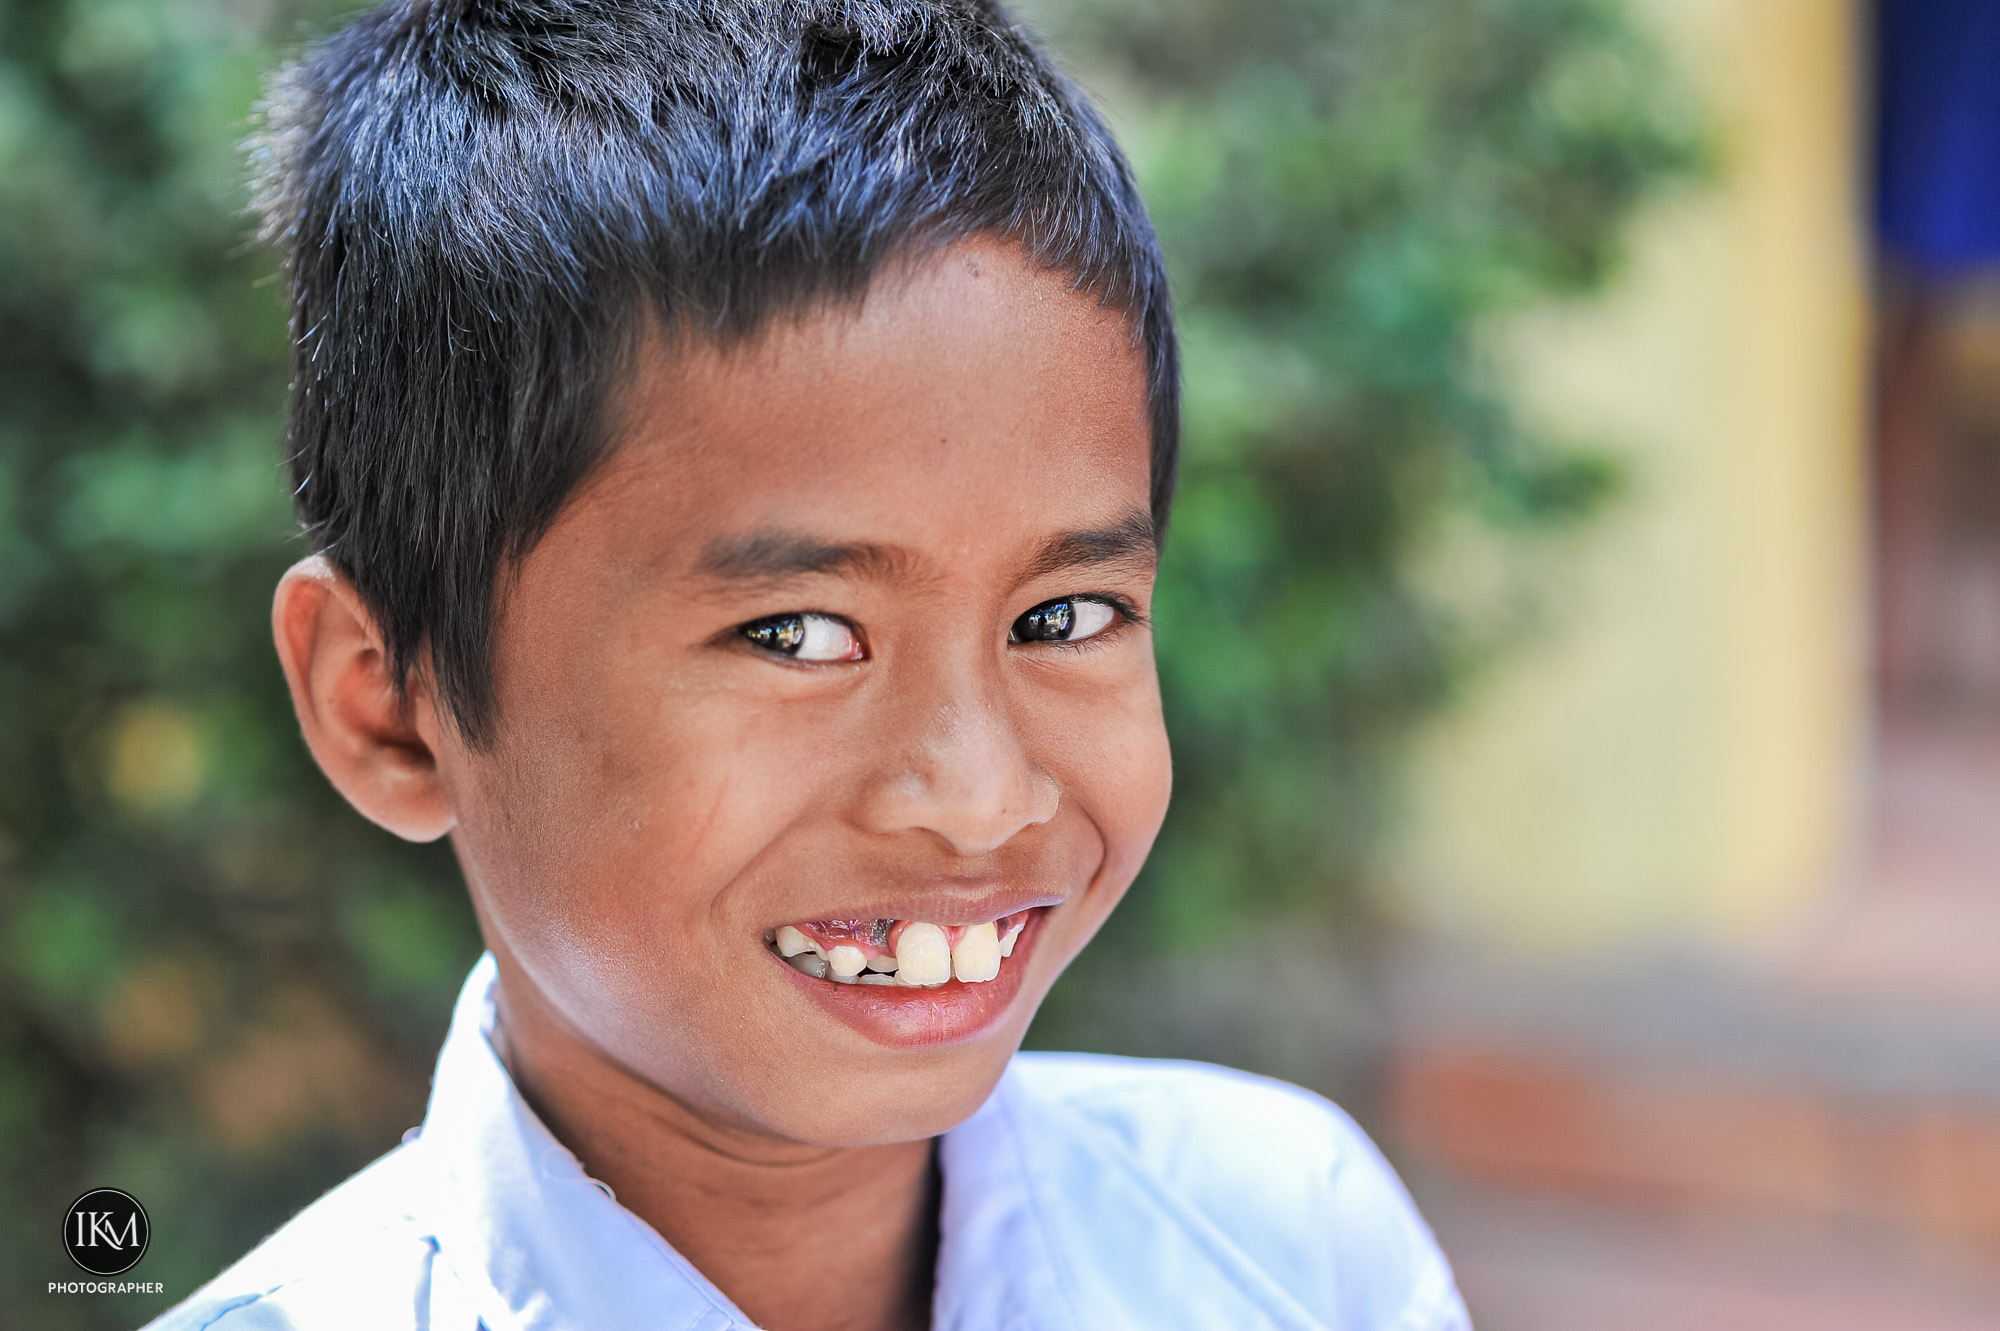
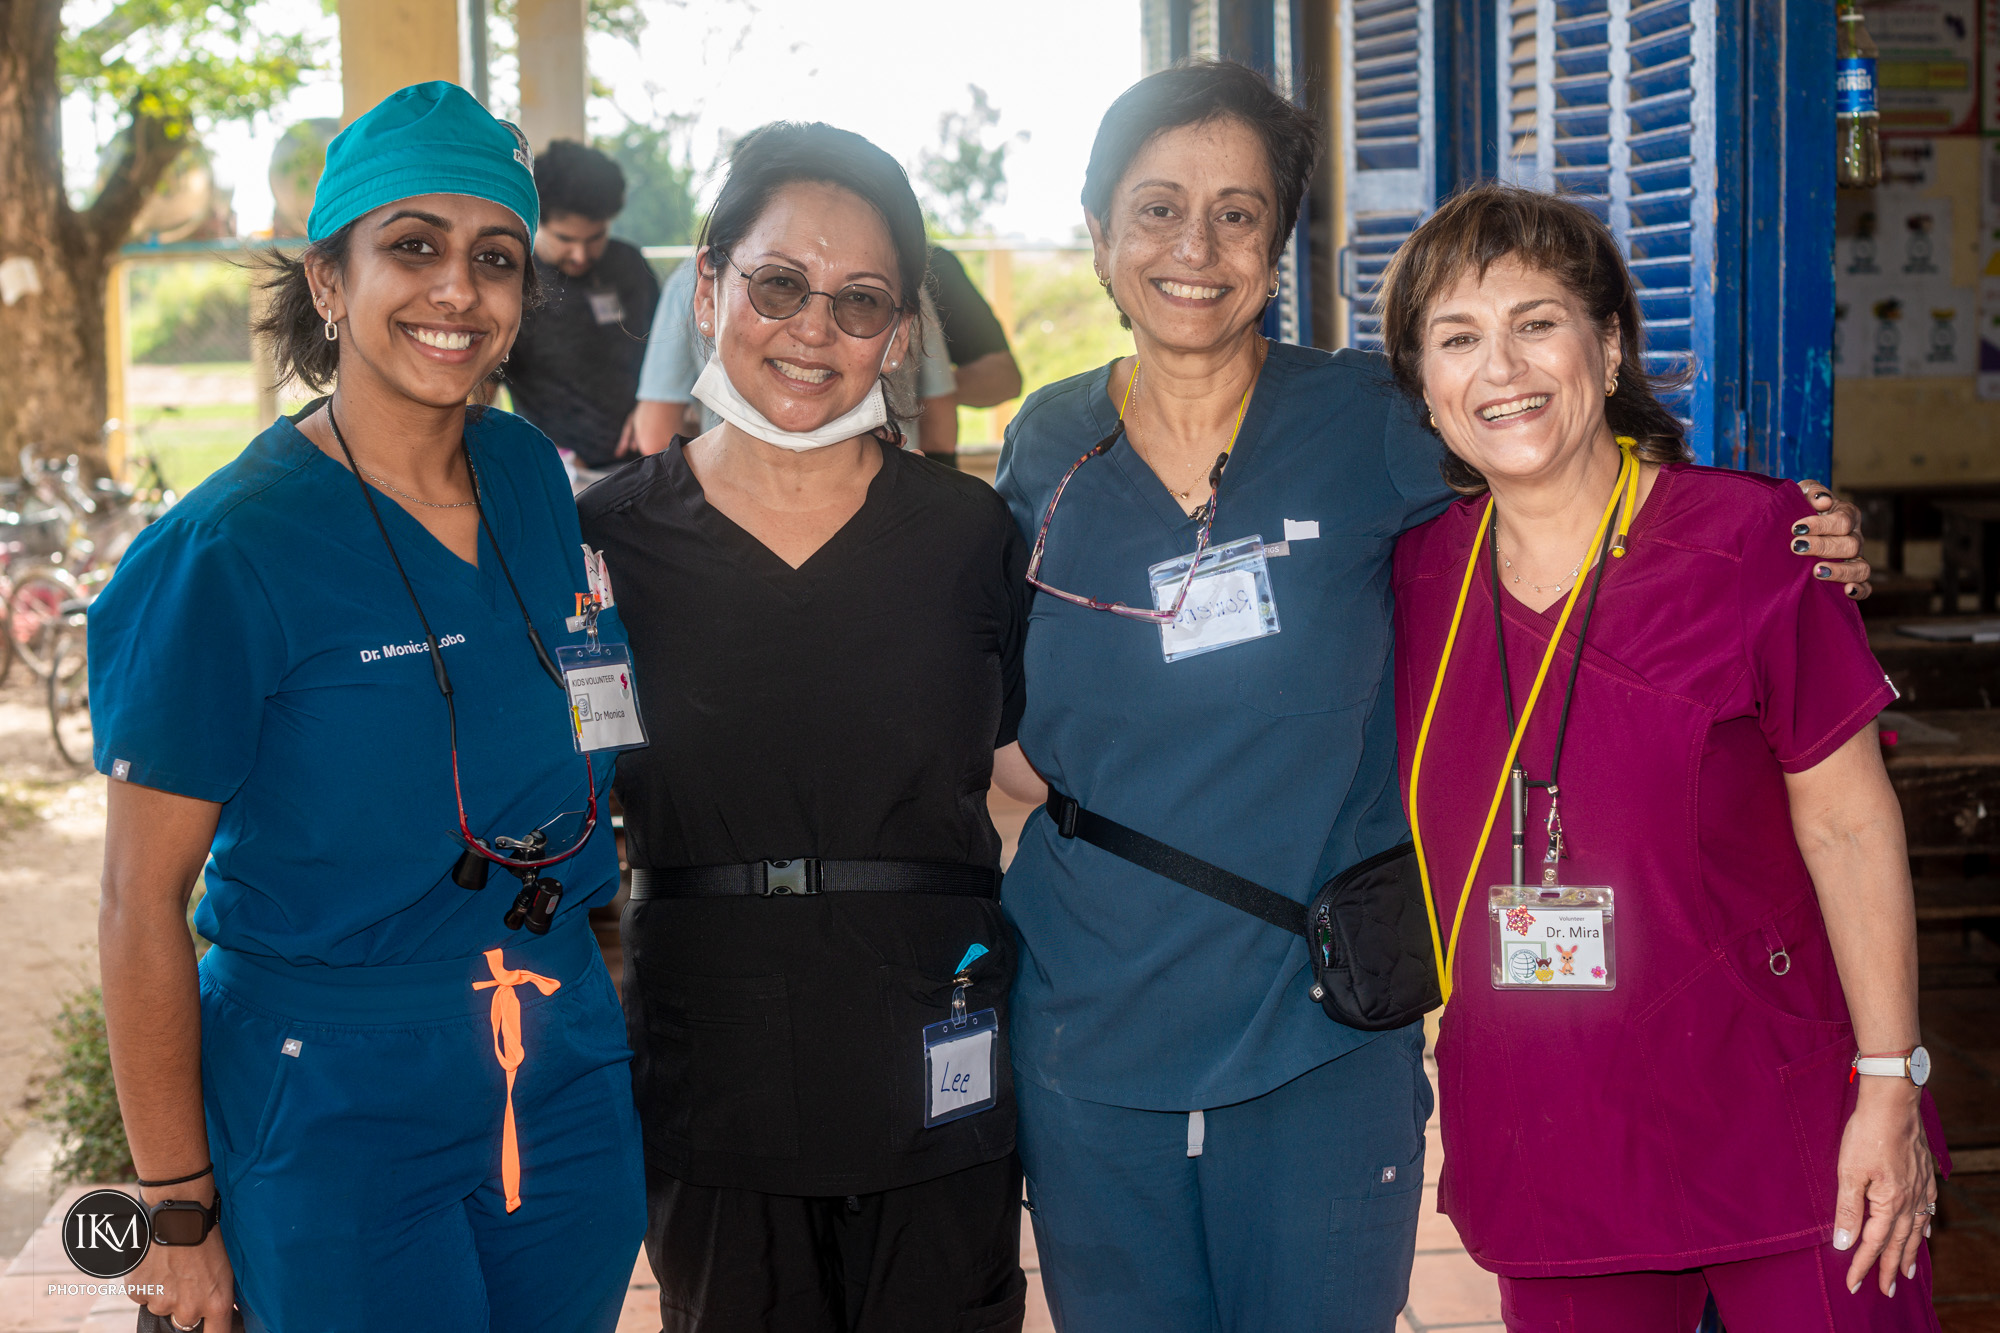
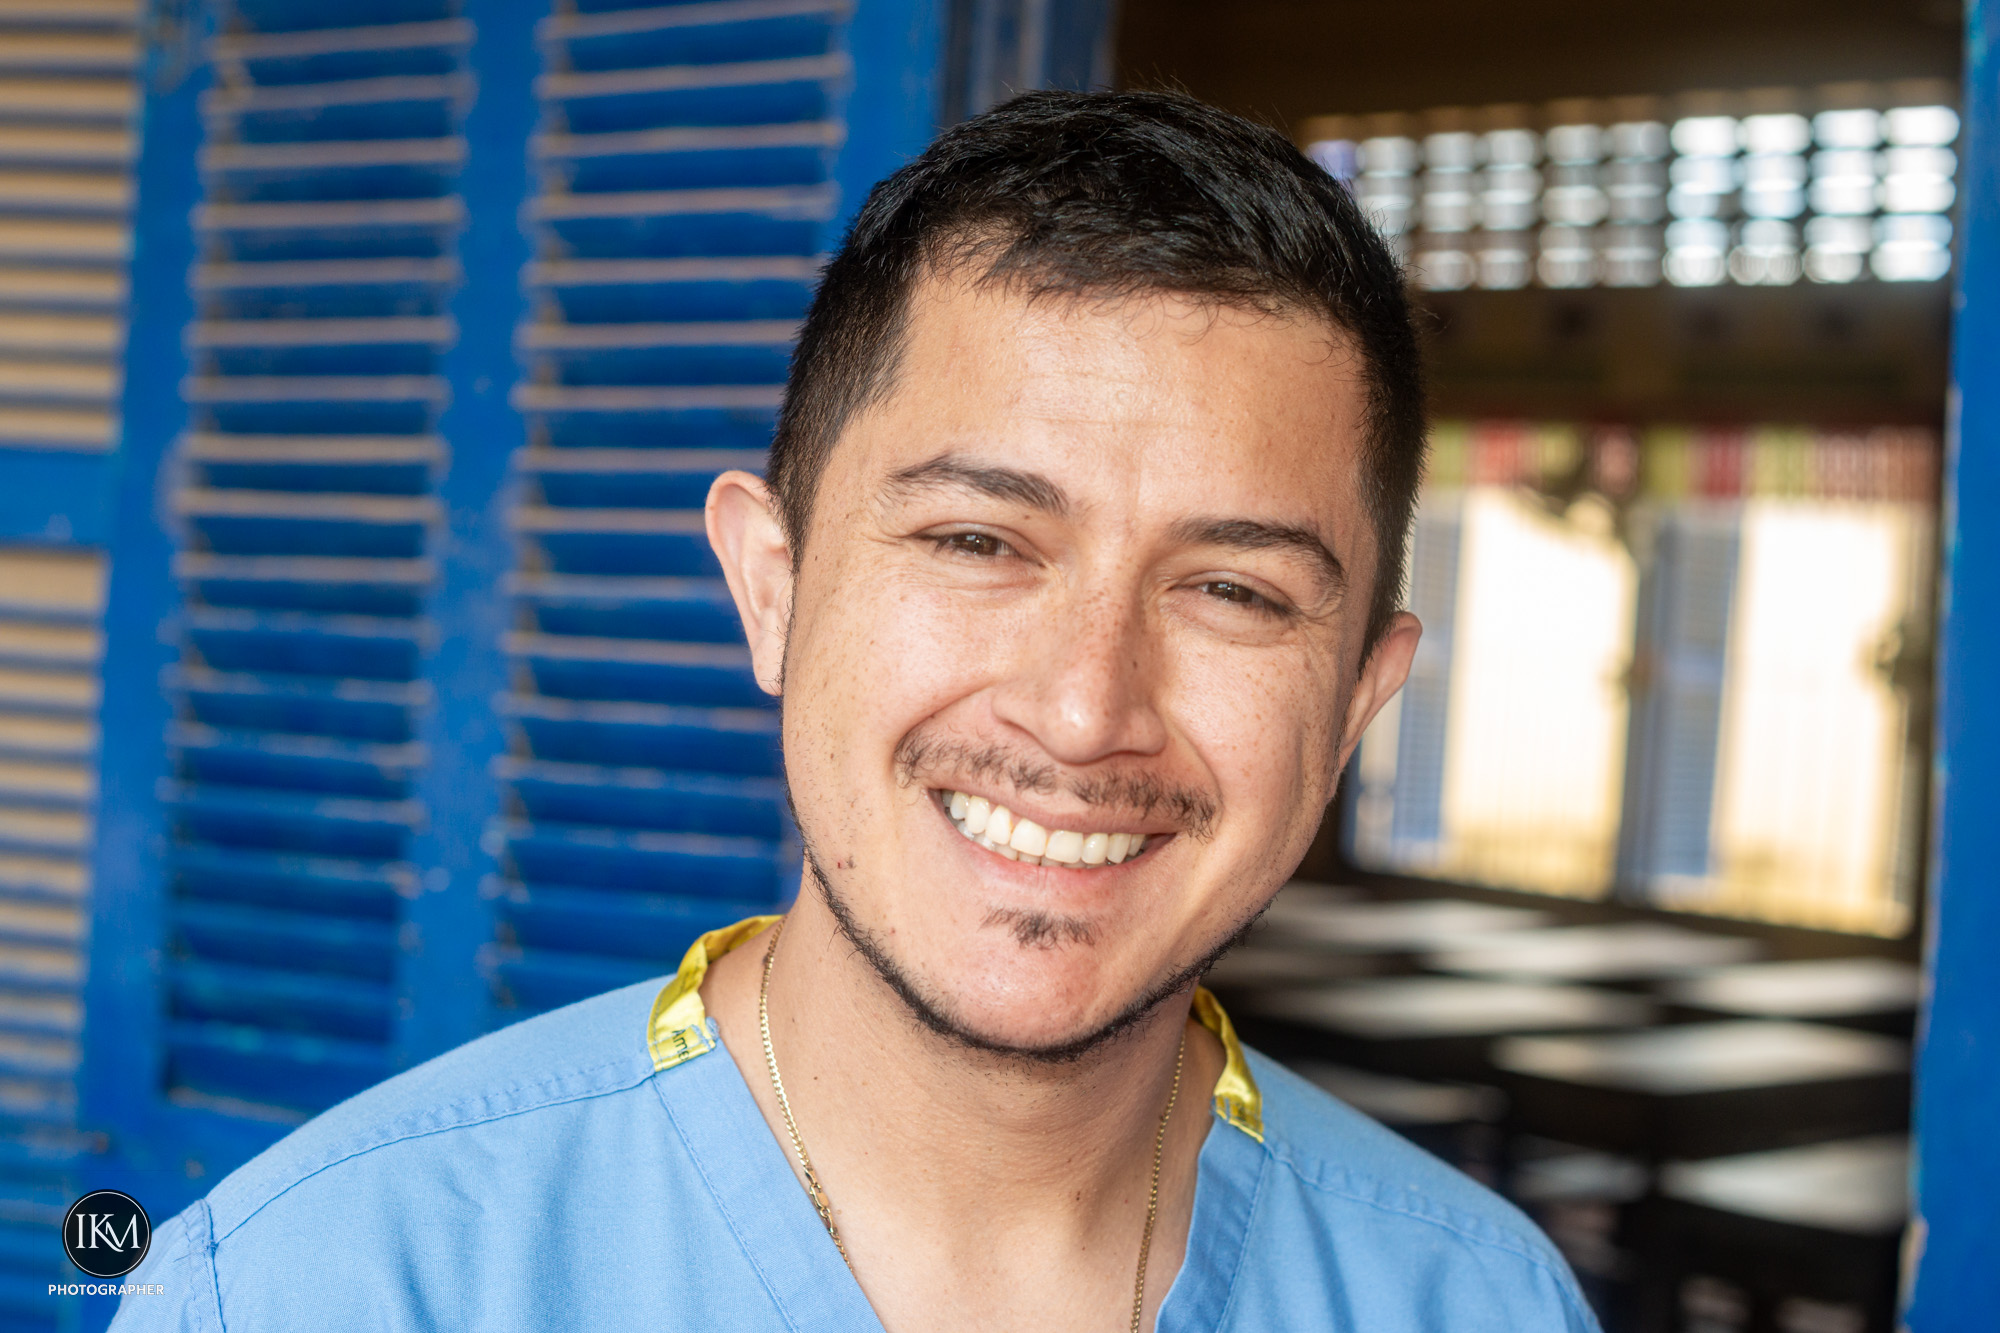
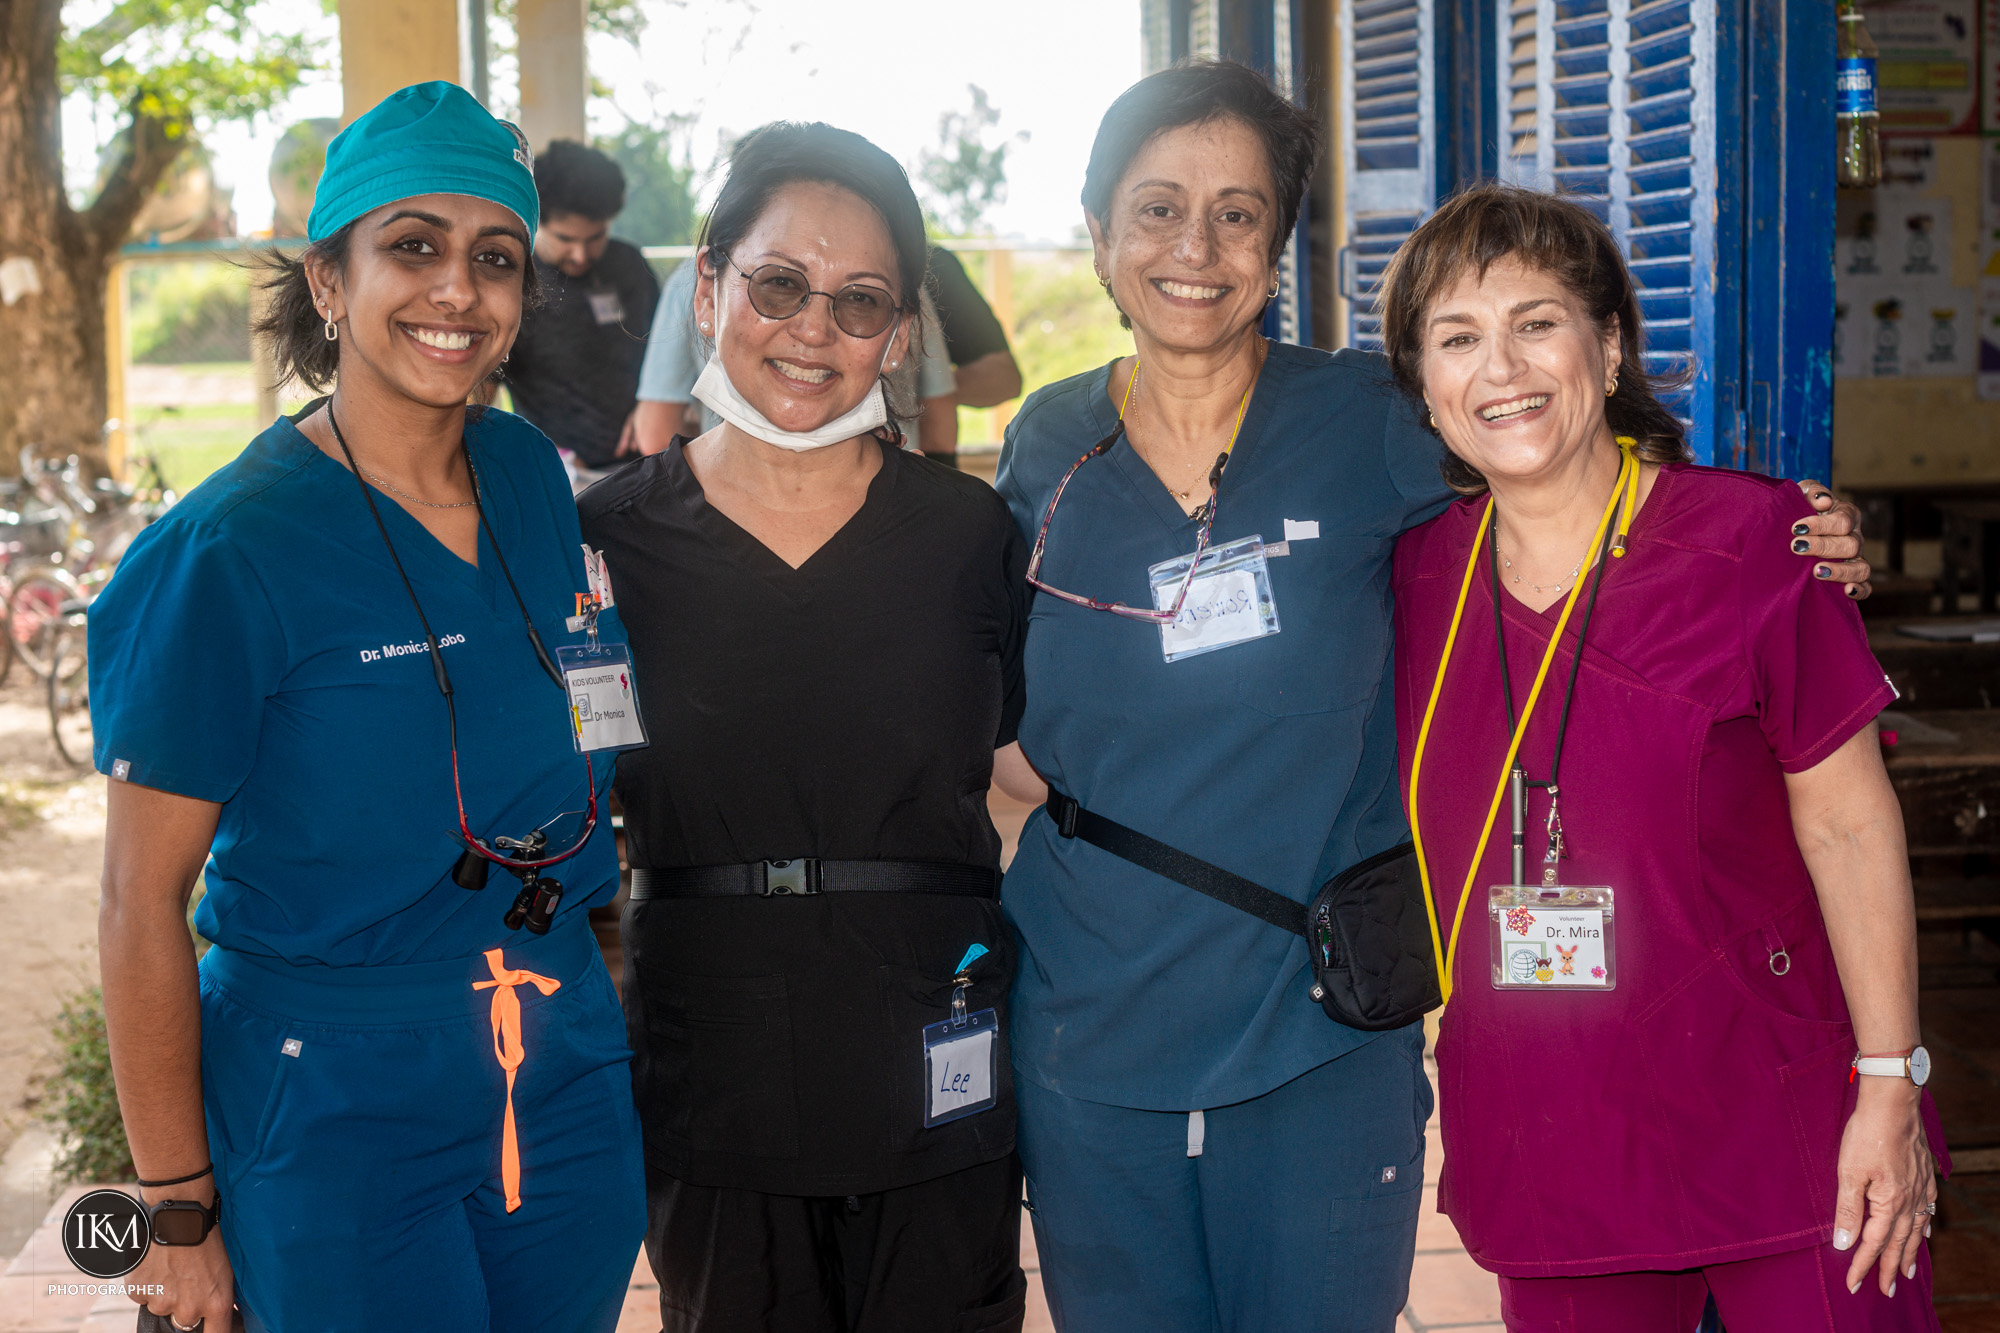
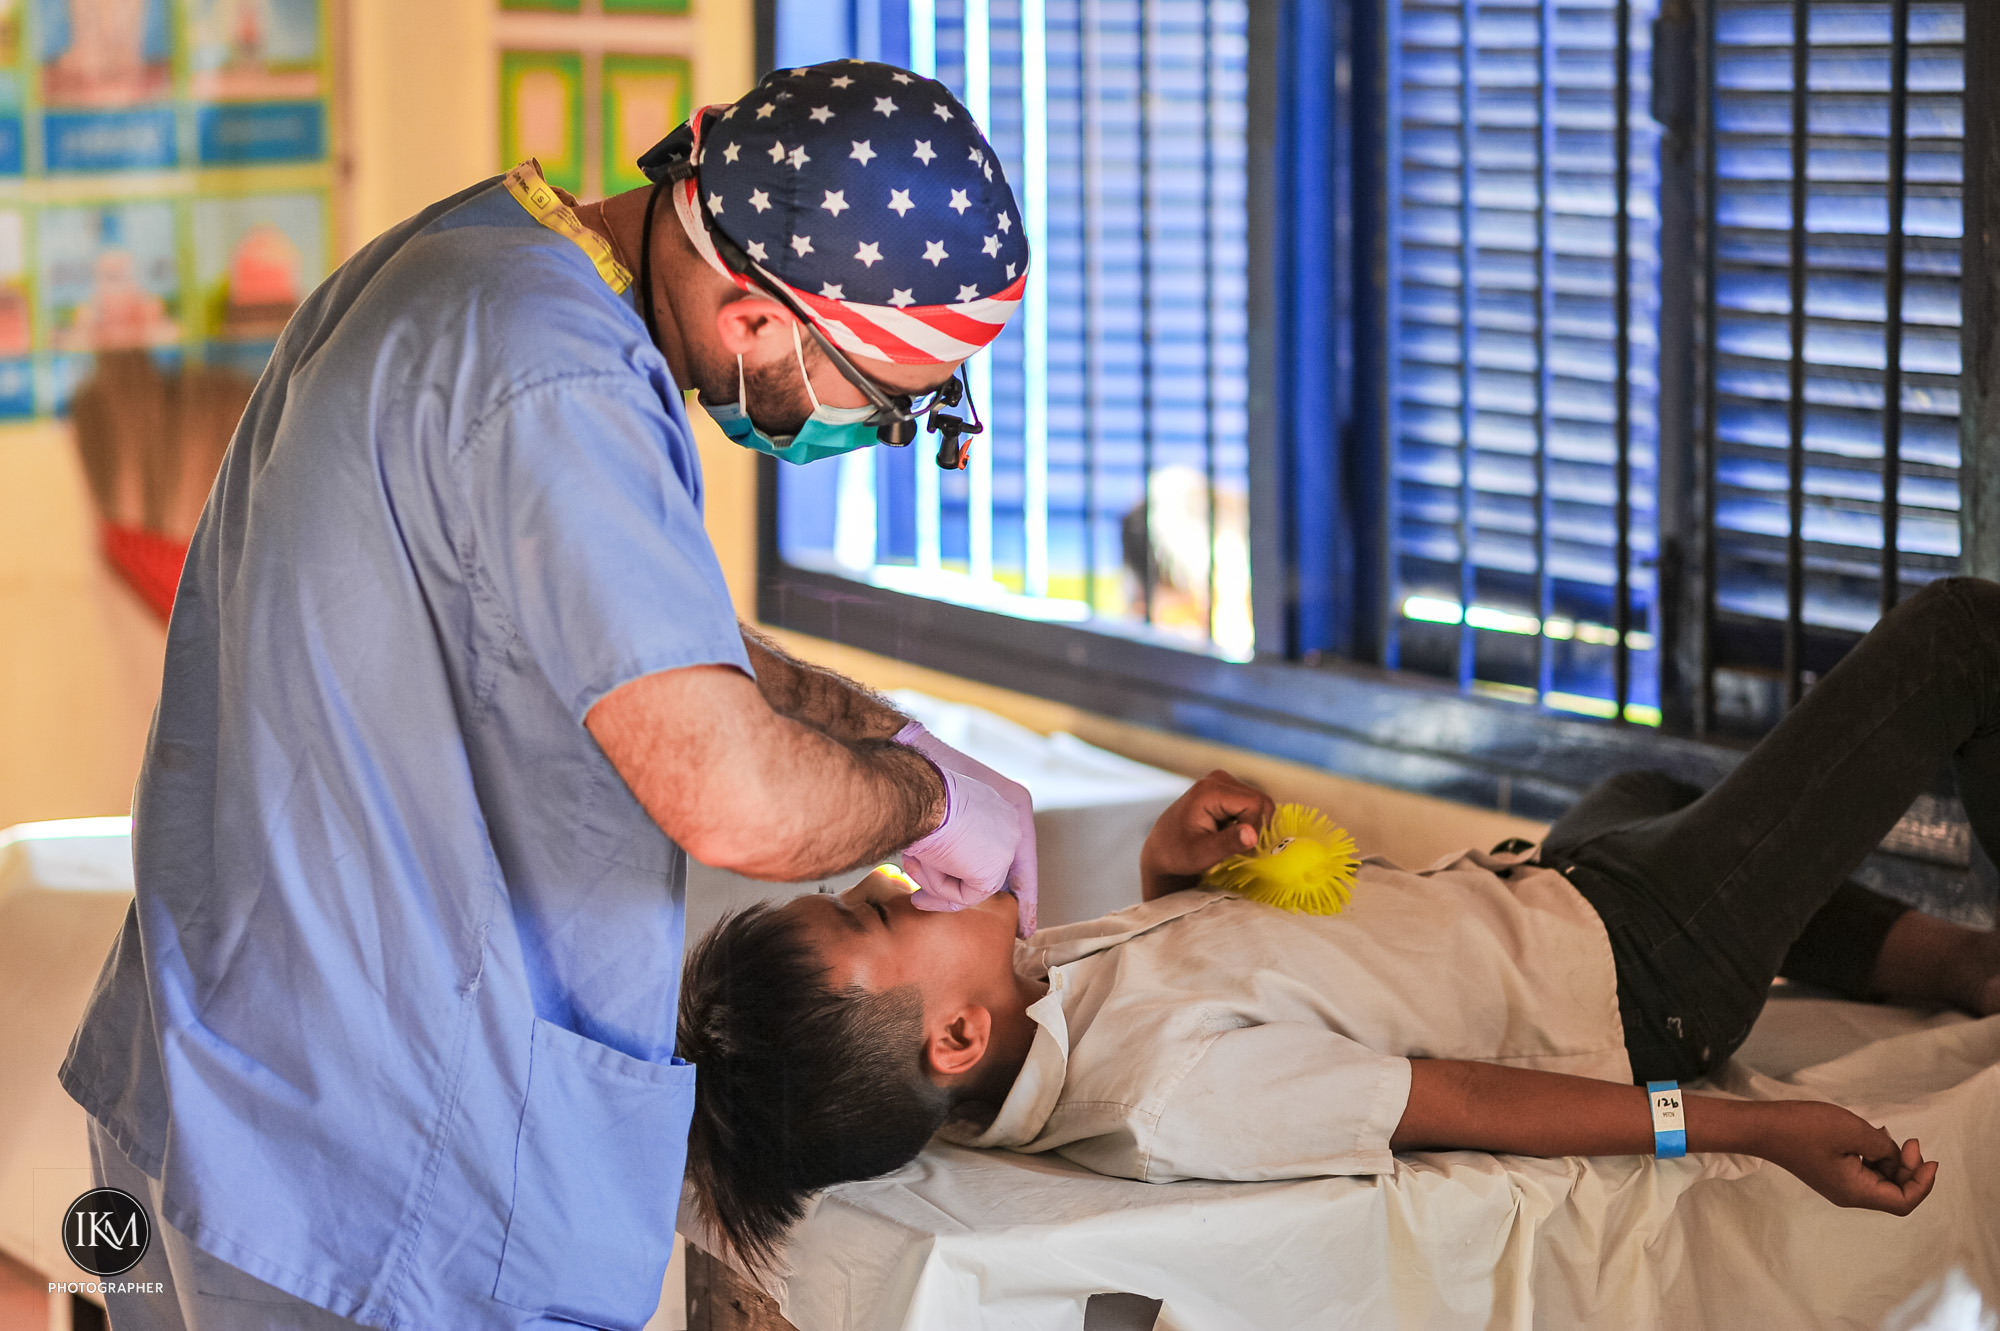
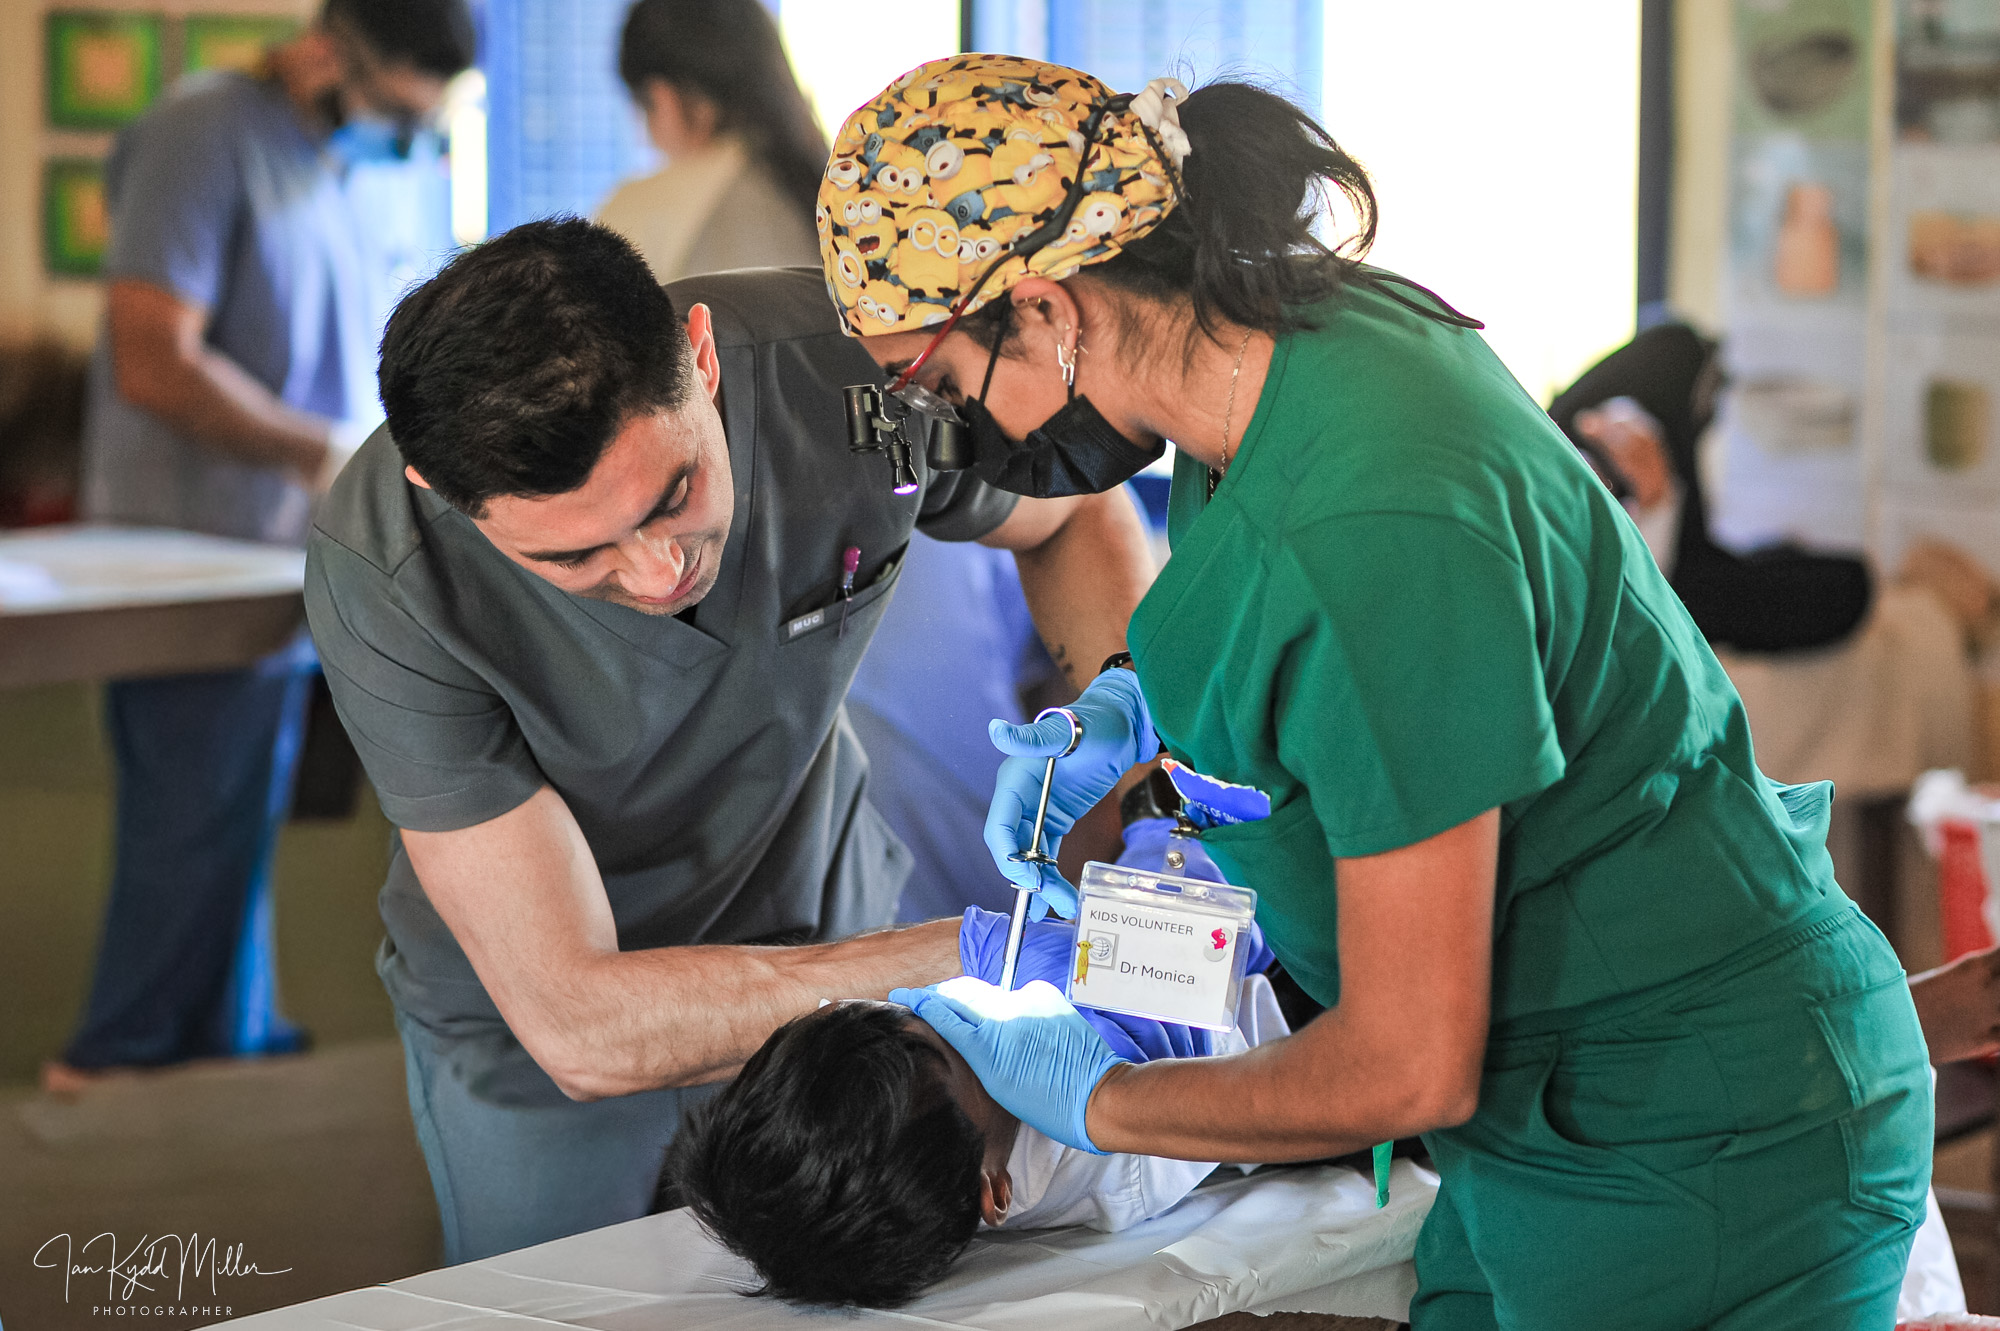
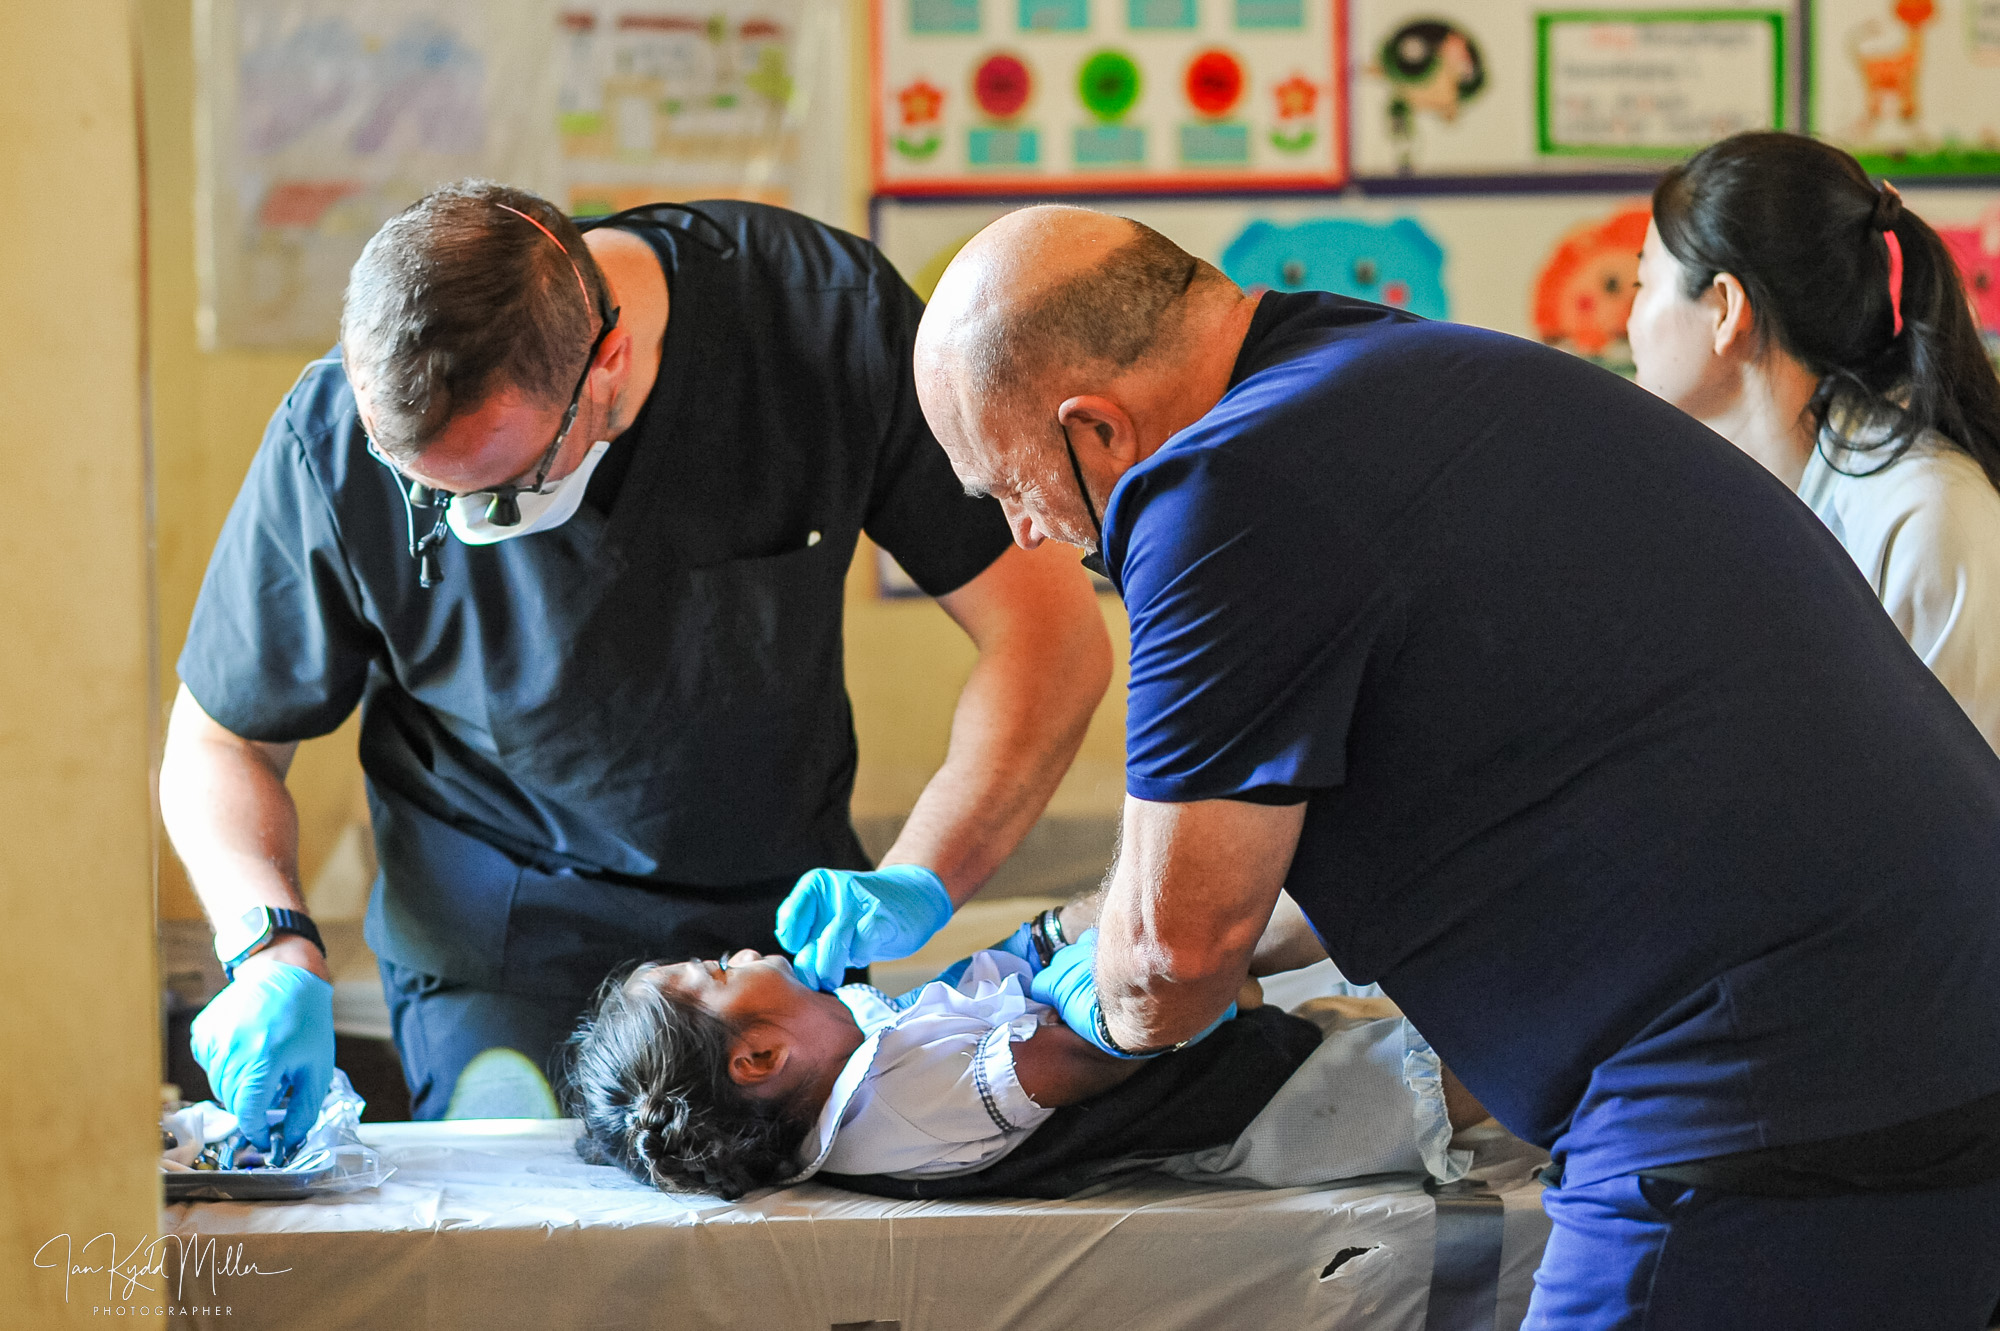
Kids International Dental Services (KIDS) is a U.S.-based 501(c)(3) nonprofit organization dedicated to providing free (pro-bono) dental care to impoverished children in developing countries. Its mission goes beyond treating teeth — it aims to educate, empower, and inspire communities and volunteers.
📍 Headquarters: 1700 California St., Suite 200, San Francisco, CA 94109, USA 🆔 EIN: 94-3477276 (donations are tax-deductible)
🎯 Mission & Goals
The core mission of KIDS is to:
✨ Provide pro-bono dental care so children can be pain-free, healthier, and more active in school and life. ✨ Educate communities about the importance of oral hygiene. ✨ Empower local communities to maintain better oral health with the tools and knowledge they have. ✨ Inspire young dental professionals and volunteers to make service a lifelong part of their careers. ✨ Repeat these efforts by returning to communities year after year to build lasting relationships.
This dual focus on immediate care and long-term impact is what makes KIDS distinctive. It’s not just temporary treatment — it’s education and empowerment too!
🌍 Where They Work
Since its founding in 2009, KIDS has conducted dental mission trips in multiple countries, including:
Cambodia
The Philippines
Guatemala
Cape Verde
Haiti
South Africa
Mongolia
Morocco
These missions are typically held annually and involve teams of volunteer dentists, dental students, and non-dental volunteers who travel to serve in community settings such as schools and clinics.
👩⚕️🧑⚕️ Who Volunteers?
Volunteers include:
Dentists
Dental students
Hygienists & other dental professionals
Non-dental helpers (interpreters, organizers, support staff)
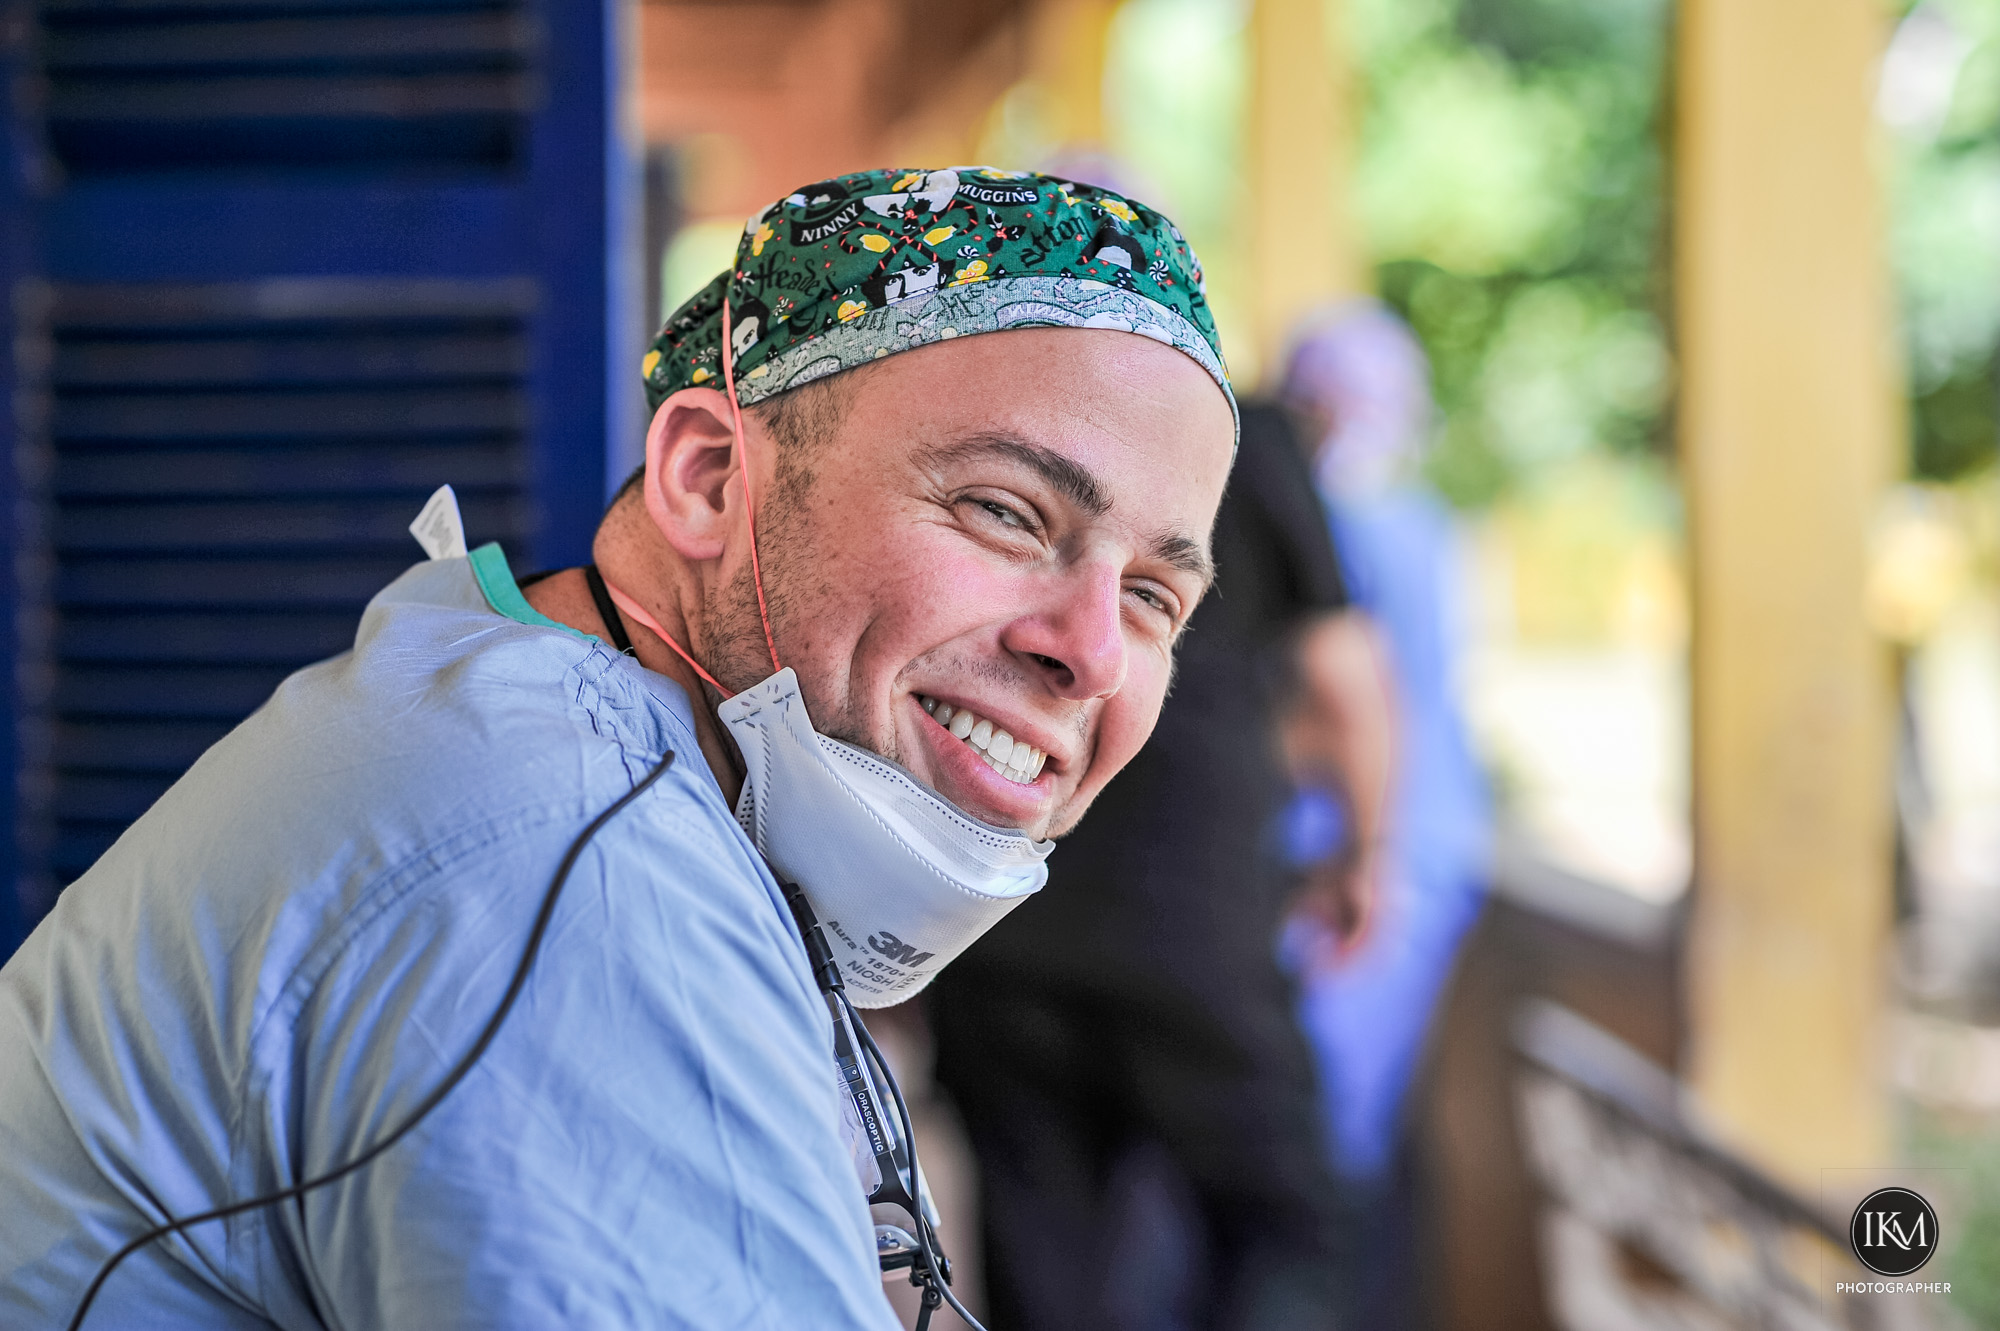
Volunteers gain invaluable hands-on experience, build cultural understanding, and often form deep personal connections with the communities they serve. Many return to future missions because of the meaningful impact they witness.
🦷 Types of Dental Work Performed
During missions, KIDS volunteers typically provide essential dental services such as:
✅ Dental exams ✅ Filling cavities ✅ Extractions ✅ Fluoride treatments & preventative care ✅ Oral hygiene education for kids and families
They often work in outdoor or temporary clinic setups — like school courtyards or community centers — bringing portable dental equipment to areas with little or no access to care.
💡 Community Focus & Education
A key component of KIDS’s approach is education:
📌 Teaching children and families why dental care matters 📌 Demonstrating how to brush/floss correctly 📌 Helping local staff understand preventive practices 📌 Building long-term oral health habits beyond immediate treatment
Some mission trips also partner with local organizations to address environmental issues (like contaminated water leading to dental problems) and look for broader, lasting solutions.
🤝 Support & How to Get Involved
Donate
Financial or supplies donations help fund travel, equipment, and free care. According to the organization, 100% of donations go directly to support their mission.
Volunteer
Interested individuals can contact KIDS to join a future mission. Volunteers are asked to complete volunteer agreements and follow safety protocols (including COVID-19 procedures).
According to publicly accessible nonprofit data, KIDS is registered and files annual IRS tax forms. Its recent financial information indicates revenue and expenses typical for a small nonprofit mission-based charity.
📌 Summary
Kids International Dental Services (KIDS) is a compassionate global nonprofit offering:
🌏 Free dental care to under served children around the world 👩⚕️ Hands-on global mission opportunities for dental professionals 📚 Education and empowerment for communities 🤝 Opportunities for donors and volunteers to make a real impact
Absolutely — here are the direct contact details, ways to donate, and how to volunteer with Kids International Dental Services (KIDS) 😊🦷🌍:
📬 Contact Information
📍 Mailing Address: Kids International Dental Services 1700 California St., Suite 200 San Francisco, CA 94109 USA
📧 Email: replytokids@gmail.com — best address to ask questions about missions, donations, or volunteering.
🆔 EIN (Tax-Deductible): 94-3477276 — donations are tax-deductible in the U.S. as KIDS is a registered 501(c)(3) nonprofit.
💖 How to Donate
Your support helps bring free dental care to children in developing countries! 🪥✨
💵 Monetary Donations: You can donate via the official site — 100% of your contribution helps provide dental care services and support mission programs.
📦 Supplies Donations: They may accept donated dental supplies and equipment — it’s best to email them first to confirm what items they can use.
👉 Since all donations go directly to supporting missions, you’re helping children get pain relief, fillings, extractions, and dental education they wouldn’t otherwise receive.
🙋♂️🙋♀️ How to Volunteer
KIDS runs dental mission trips every year where volunteers help provide essential dental care and promote oral hygiene education:
📍 Typical Mission Locations
Cambodia – usually in January
The Philippines – usually in February
Guatemala, Nepal/Bhutan, and more on other annual rotations.
👩⚕️ Who Can Volunteer
Dentists
Dental students
Dental hygienists & assistants
Non-dental volunteers for support roles (volunteer roles vary with each mission)
📝 How to Get Started
⭐ Contact KIDS at replytokids@gmail.com (ask about upcoming mission dates and requirements).
📄 Volunteer Documentation: You need to read and sign the “Volunteer Agreement” and any COVID-19 safety documents before joining a mission. These are emailed to you and then returned to them signed.
✈️ Travel & Accommodations: Volunteers typically arrange their travel to the mission location; details and logistics are coordinated with KIDS after you sign up.
🙌 Tips Before You Go
🧠 Ask about costs — many volunteer missions are supported by donations, but you may be expected to cover your travel, lodging, and basic expenses.
🤝 Reach out early — spots on missions (especially for dental professionals and students) can fill up quickly.
If you’re starting photography, focus first on mastering your camera’s basic settings (aperture, shutter speed, ISO) and composition techniques like the rule of thirds. Begin with natural light, practice often, and don’t worry about expensive gear—skill matters more than equipment.
Learning your camera and reading its manual is one of the most underrated but powerful steps in photography. Here’s how to approach it so it feels less like homework and more like unlocking a secret language:
📖 How to Learn Your Camera (Manual Included)
Treat the Manual as a Map
Don’t read it cover to cover—skim it like a guidebook.
Flag sections on exposure modes, focus systems, and custom settings.
Keep it nearby when practicing; it’s a reference, not a novel.
Break Down Features One at a Time
Day 1: Aperture controls → practice depth of field.
Day 2: Shutter speed → freeze vs blur motion.
Day 3: ISO → noise vs brightness.
Day 4: Autofocus modes → single, continuous, manual.
Day 5: Metering modes → spot, center-weighted, evaluative.
Use the Manual to Decode Symbols
Those cryptic icons (sun, mountain, flower) suddenly make sense when explained.
Learn what each button does—no more guessing mid-shoot.
Practice With Purpose
Pick one feature from the manual, then shoot only with that in mind.
Example: After reading about exposure compensation, spend an hour adjusting ±EV in different light.
Build Muscle Memory
Reading tells you what the button does.
Practice tells you where it is without looking.
The goal: operate your camera like an extension of your hand.
Keep Notes
Jot down quirks: “My camera underexposes in backlight—compensate +1 EV.”
Over time, you’ll build your own personal manual that’s more useful than the factory one.
🧭 Philosophy
Would you like me to design a step‑by‑step “manual study plan” (like a 7‑day routine) so you can systematically learn your camera without overwhelm?
Buying expensive gear too early—skills matter more than equipment.
Would you like me to create a step-by-step 30‑day beginner photography challenge so you can practice these skills systematically?
📸 30-Day Beginner Photography Challenge Week 1: Getting Comfortable with Your Camera
Day 1: Take 10 photos of everyday objects in auto mode.
Day 2: Experiment with aperture—shoot the same subject at f/2.8, f/5.6, and f/11.
Day 3: Practice shutter speed—capture a moving subject at 1/30s, 1/250s, and 1/1000s.
Day 4: Adjust ISO—shoot indoors at ISO 100, 800, and 1600.
Day 5: Learn the rule of thirds—photograph a subject off-center.
Day 6: Try symmetry—find reflections or balanced patterns.
Day 7: Review your week’s shots and note what you liked most.
Week 2: Exploring Light
Day 8: Shoot during golden hour (sunrise or sunset).
Day 9: Capture shadows at midday.
Day 10: Use window light for a portrait.
Day 11: Experiment with backlighting—subject in front of the sun or lamp.
Day 12: Try night photography—streetlights, neon signs, or stars.
Day 13: Use artificial light (lamp, flashlight) creatively.
Day 14: Compare natural vs artificial lighting in similar shots.
Week 3: Composition & Creativity
Day 15: Use leading lines (roads, fences, paths).
Day 16: Frame your subject (shoot through doors, arches, foliage).
Day 17: Capture patterns or textures.
Day 18: Shoot from a low angle.
Day 19: Shoot from a high angle.
Day 20: Try minimalism—one subject against a clean background.
Day 21: Capture candid street photography (respect privacy).
Week 4: Storytelling & Editing
Day 22: Take a series of 3 photos that tell a story.
Day 23: Capture emotion in a portrait.
Day 24: Photograph movement (sports, dancing, traffic).
Day 25: Try black-and-white photography.
Day 26: Edit your photos using free apps (Snapseed, Lightroom Mobile).
Day 27: Re-shoot one of your earlier challenges with improved technique.
Day 28: Create a photo essay of 5 images on a theme (e.g., “Morning Routine”).
Day 29: Share your best photo with friends or online for feedback.
Day 30: Reflect—compare Day 1 vs Day 30 shots and note your progress.
👉 By the end of this challenge, you’ll have practiced technical skills, creative composition, and storytelling—the three pillars of photography.
🎯 Photography Technical Drills (One Setting at a Time) Aperture (Depth of Field)
Drill 1: Place a subject (like a coffee mug) on a table.
Shoot at f/2.8 → background blurry.
Shoot at f/8 → background sharper.
Shoot at f/16 → everything sharp.
Goal: Notice how aperture changes background separation and focus.
Shutter Speed (Motion Control)
Drill 2: Photograph moving water (fountain, sink, or river).
Shoot at 1/1000s → water frozen.
Shoot at 1/60s → slight blur.
Shoot at 1/5s → silky smooth trails.
Goal: See how shutter speed controls motion blur.
ISO (Light Sensitivity)
Drill 3: Shoot indoors with steady lighting.
ISO 100 → clean, dark image.
ISO 800 → brighter, slight grain.
ISO 3200 → very bright, noticeable noise.
Goal: Understand trade-off between brightness and image quality.
Focus Modes
Drill 4: Switch between manual focus and auto focus.
Photograph a subject with cluttered background.
Try locking focus on the subject manually, then let auto focus decide.
Goal: Learn when to trust auto focus vs. manual control.
White Balance
Drill 5: Shoot the same subject under warm indoor light.
Use Auto WB → camera guesses.
Use Tungsten WB → cooler correction.
Use Daylight WB → warmer tones.
Goal: See how WB changes color temperature.
Exposure Compensation
Drill 6: In aperture priority mode, photograph a bright scene.
Set -1 EV → darker image.
Set 0 EV → normal exposure.
Set +1 EV → brighter image.
Goal: Learn how to quickly adjust exposure without full manual mode.
👉 Each drill should be repeated with the same subject and lighting so you can isolate the effect of that one setting.
Photography Technical Drills (One Setting at a Time) Aperture (Depth of Field)
Drill 1: Place a subject (like a coffee mug) on a table.
Shoot at f/2.8 → background blurry.
Shoot at f/8 → background sharper.
Shoot at f/16 → everything sharp.
Goal: Notice how aperture changes background separation and focus.
Shutter Speed (Motion Control)
Drill 2: Photograph moving water (fountain, sink, or river).
Shoot at 1/1000s → water frozen.
Shoot at 1/60s → slight blur.
Shoot at 1/5s → silky smooth trails.
Goal: See how shutter speed controls motion blur.
ISO (Light Sensitivity)
Drill 3: Shoot indoors with steady lighting.
ISO 100 → clean, dark image.
ISO 800 → brighter, slight grain.
ISO 3200 → very bright, noticeable noise.
Goal: Understand trade-off between brightness and image quality.
Focus Modes
Drill 4: Switch between manual focus and auto focus.
Photograph a subject with cluttered background.
Try locking focus on the subject manually, then let auto focus decide.
Goal: Learn when to trust auto focus vs. manual control.
White Balance
Drill 5: Shoot the same subject under warm indoor light.
Use Auto WB → camera guesses.
Use Tungsten WB → cooler correction.
Use Daylight WB → warmer tones.
Goal: See how WB changes color temperature.
Exposure Compensation
Drill 6: In aperture priority mode, photograph a bright scene.
Set -1 EV → darker image.
Set 0 EV → normal exposure.
Set +1 EV → brighter image.
Goal: Learn how to quickly adjust exposure without full manual mode.
👉 Each drill should be repeated with the same subject and lighting so you can isolate the effect of that one setting.
Photographers don’t just “look”—they see differently. Their vision is trained to notice light, shapes, and stories in everyday scenes. Here’s how they develop that way of seeing:
👁️ How Photographers See the World
Light First
They notice how light falls on a subject—soft vs harsh, warm vs cool.
Shadows, highlights, and reflections become part of the composition.
A photographer might walk into a room and immediately think: “That window light is perfect for a portrait.”
Composition Everywhere
They frame scenes instinctively—using the rule of thirds, leading lines, or symmetry.
Even without a camera, they imagine how a moment would look cropped in a rectangle.
Everyday objects (a coffee cup, a street sign) become potential subjects.
Details Others Miss
Textures, patterns, and contrasts stand out.
They notice how colors interact—like a red umbrella against a grey sky.
Small gestures or fleeting expressions become the heart of an image.
Storytelling Mindset
Photographers see beyond objects—they look for meaning.
A single image can suggest mood, emotion, or narrative.
Example: A child’s shoes by the door might tell a story of play, rest, or anticipation.
Constant Awareness
They’re always scanning—anticipating moments before they happen.
Street photographers, for instance, watch body language and predict interactions.
Nature photographers notice subtle changes in clouds, wind, or animal behavior.
🧠 Training Yourself to See Like a Photographer
Slow down: Pause before snapping—ask, “What’s the light doing here?”
Frame with your eyes: Pretend your hands are a viewfinder and crop the world.
Practice mindfulness: Notice colors, shadows, and shapes in daily life.
Shoot intentionally: Don’t just capture—decide why you’re taking the photo.
👉 In short: photographers see light, composition, and story where others just see objects.
For street photography—especially when photographing people—you want settings that balance speed, flexibility, and discretion. Here’s a street‑ready setup most photographers rely on:
🚶 Street-Ready Camera Settings for People
Mode
Aperture Priority (A/Av): Lets you control depth of field while the camera adjusts shutter speed.
Manual Mode: If you’re confident, set both aperture and shutter speed for consistency.
Aperture
f/5.6 – f/8: Keeps subjects sharp while allowing some background context.
Wide apertures (f/2.8) isolate subjects, but risk missing focus in fast-moving scenes.
Shutter Speed
1/250s or faster: Freezes walking motion.
1/500s+: Essential for cyclists, runners, or quick gestures.
ISO
Auto ISO with a cap (e.g., 3200): Keeps exposure balanced as light changes quickly on the street.
Lens Choice: 35mm or 50mm prime lenses are classics—natural perspective, fast aperture, compact size.
⚡ Quick Street Setup (Daylight)
Mode: Aperture Priority
Aperture: f/5.6
Shutter Speed: 1/250s (minimum)
ISO: Auto (cap at 1600–3200)
Focus: AF-C, zone focus
WB: Auto
👉 This setup gives you sharp subjects, contextual backgrounds, and flexibility for unpredictable street moments.
Bokeh is the aesthetic quality of the out‑of‑focus areas in a photo, usually seen as soft, creamy background blur that makes the subject stand out. It comes from the Japanese word “boke,” meaning “blur,” and depends on lens design, aperture, and distance.
🌌 What Bokeh Really Is
Definition: Bokeh refers to how the lens renders out‑of‑focus points of light, not just blur itself.
Origin: From Japanese “boke” (ボケ), meaning “blur” or “haze.”
Appearance: Often seen as round or hexagonal highlights in the background, especially when shooting wide open.
Focal Length: Longer lenses (85mm, 135mm) produce more pronounced bokeh.
✨ Good vs. Bad Bokeh
Good Bokeh: Smooth, creamy, pleasing blur that isolates the subject.
Bad Bokeh: Harsh, distracting shapes or nervous edges that compete with the subject.
Example: A portrait with soft circular highlights behind the subject = good bokeh. Jagged or polygonal highlights = less pleasing.
📷 How to Achieve Bokeh
Use a fast lens (e.g., 50mm f/1.8 or 85mm f/1.4).
Shoot wide open (lowest f‑stop).
Get close to your subject while keeping the background far away.
Include point light sources (fairy lights, street lamps) for visible bokeh balls.
🎨 Creative Uses
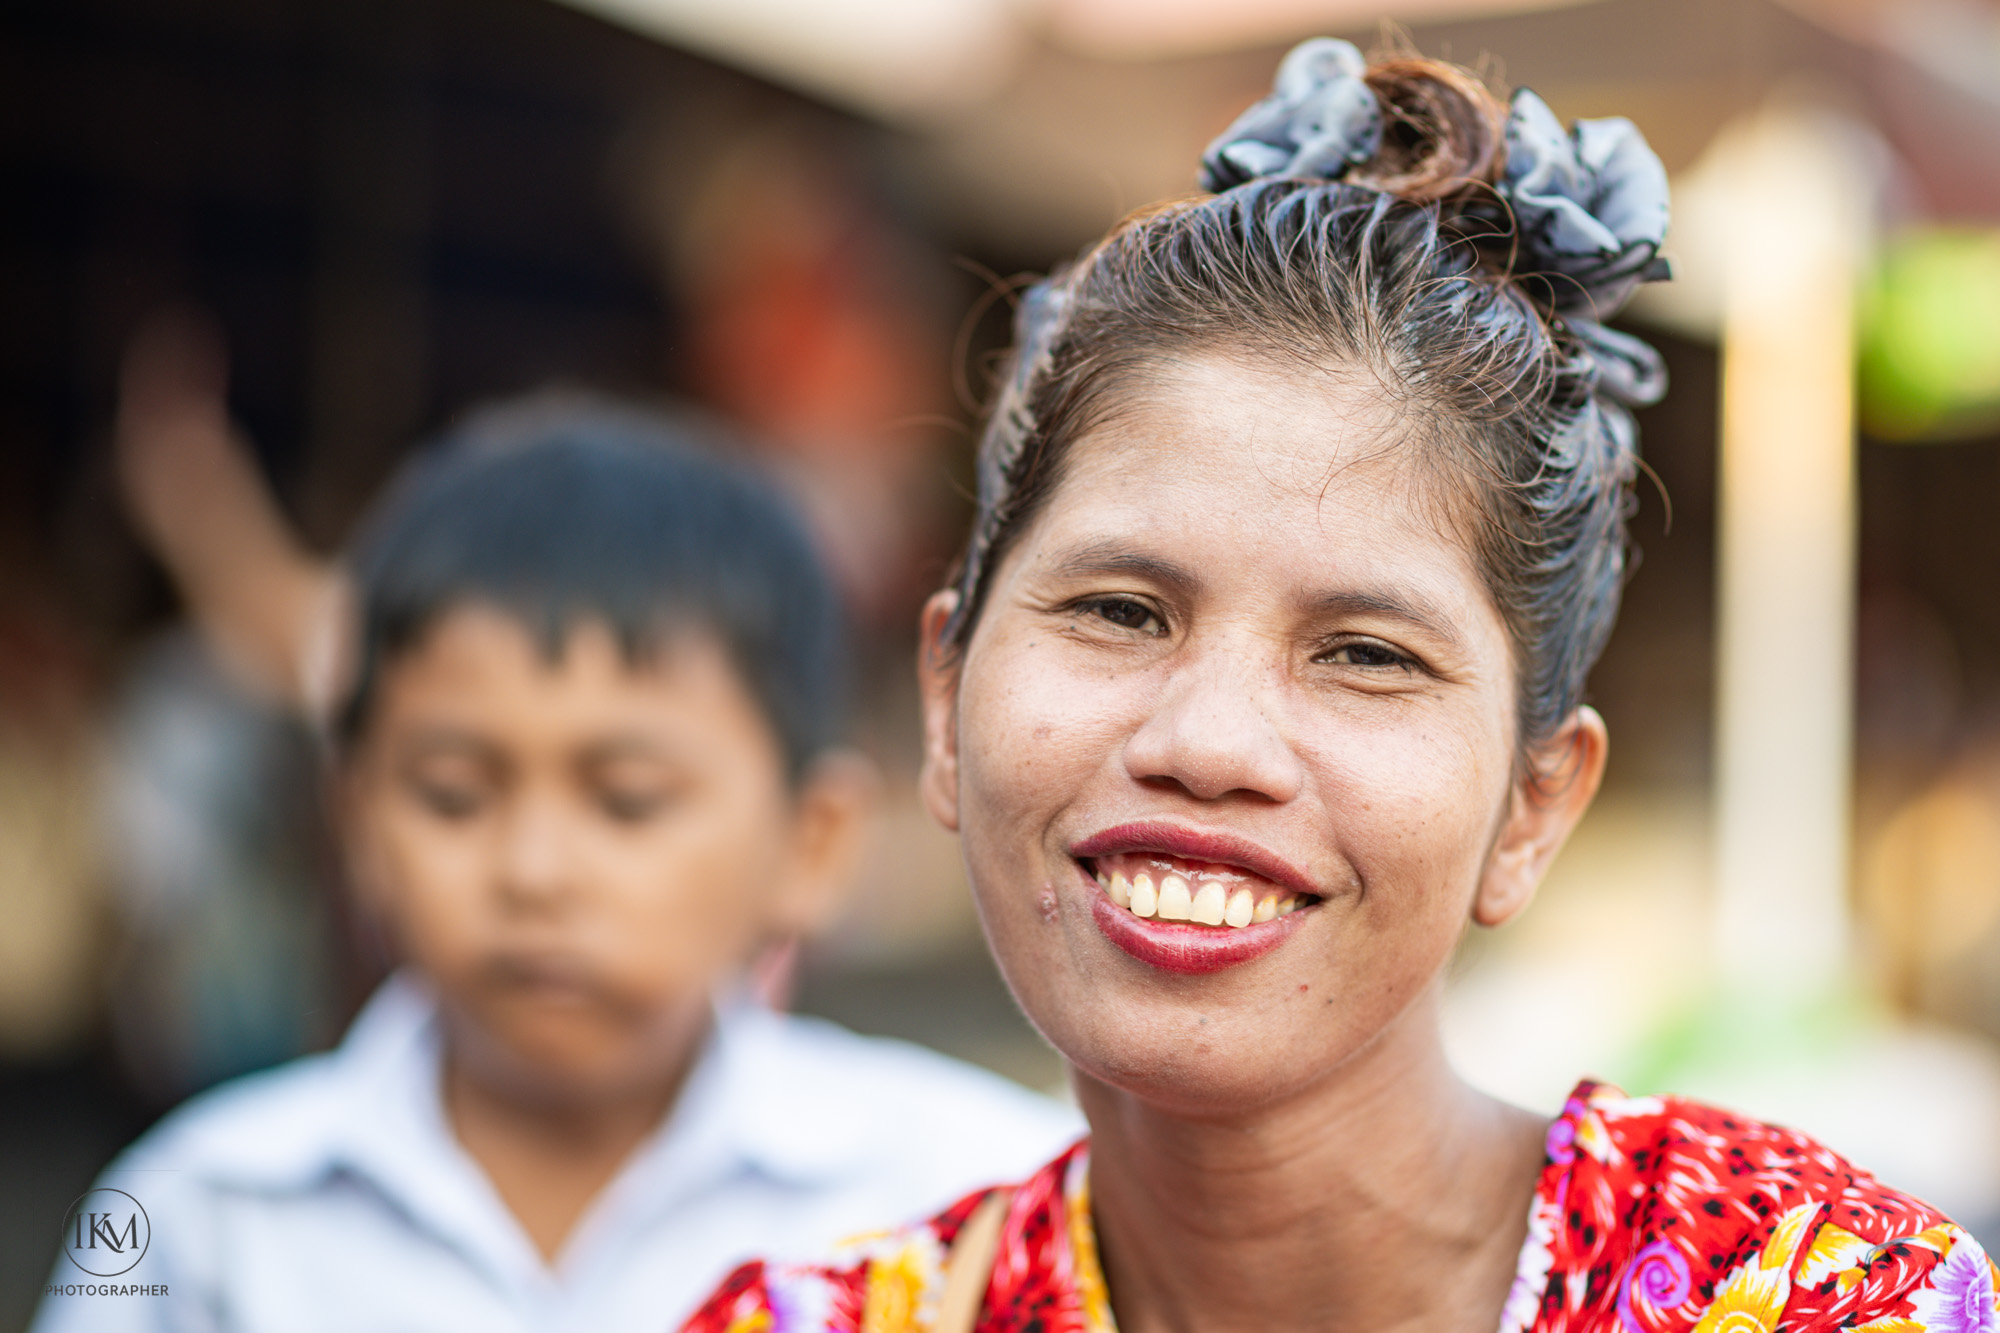
Portraits: Isolate faces against dreamy backgrounds.
Street Photography: Neon signs and traffic lights become artistic bokeh.
Nature: Flowers or leaves blurred into soft color washes.
⚠️ Things to Watch Out For
Overdoing bokeh can make images look gimmicky.
Cheap lenses may produce “busy” or distracting bokeh.
Not all situations benefit—sometimes context in the background is important.
👉 In short: bokeh is about the quality of blur, not just the amount. It’s a creative tool to direct attention and add atmosphere.
Exposure mistakes are some of the most common frustrations for beginners—and the good news is, your camera tells you when you’ve made them if you know how to read the signs. Let’s break it down:
❌ Common Exposure Mistakes (and How to Read Them)
Overexposure (Too Bright)
Symptoms in the photo: Washed‑out highlights, white skies with no detail, pale skin tones.
Histogram clue: Graph bunched up on the right side.
Fix: Lower ISO, use faster shutter speed, or stop down aperture (higher f‑number).
Underexposure (Too Dark)
Symptoms in the photo: Loss of shadow detail, muddy blacks, subjects hard to see.
Histogram clue: Graph bunched up on the left side.
Fix: Raise ISO, slow down shutter speed, or open aperture (lower f‑number).
Blown Highlights
Symptoms: Bright areas (like clouds or reflections) turn pure white with no texture.
Histogram clue: Spike at the far right edge.
Fix: Use exposure compensation (-EV), or meter for the highlights.
Crushed Shadows
Symptoms: Dark areas lose detail, becoming solid black.
Histogram clue: Spike at the far left edge.
Fix: Increase exposure slightly (+EV), or use fill light/reflectors.
Mixed Lighting Confusion
Symptoms: Correct exposure in one part, but another part is too bright/dark.
Histogram clue: Spread across both ends, with gaps in the middle.
Fix: Spot meter on your subject, or bracket exposures.
Relying Only on the LCD
Mistake: Judging exposure by how the photo looks on the screen (which can be misleading in bright sunlight).
Better: Always check the histogram—it’s the most reliable exposure reading.
🔎 Quick Reading Drill
Take a photo in bright daylight → check histogram (likely right‑heavy).
Take a photo indoors with no flash → check histogram (likely left‑heavy).
Adjust one setting at a time until the histogram is balanced (spread across the middle without clipping at edges).
👉 Exposure isn’t about “perfect brightness”—it’s about controlling detail in highlights and shadows. Once you learn to read the histogram, you’ll stop guessing and start shooting with confidence.
Exposure mistakes happen when one part of the exposure triangle (aperture, shutter speed, ISO) is set without balancing the others—or when the camera’s meter is misled by tricky lighting. Let’s break down the most common errors and why they occur:
🧪 Exposure Mistakes and Why They Happen
Overexposure (Too Bright)
Why it happens:
Aperture too wide (f/1.8 in bright daylight).
Shutter speed too slow (1/30s outdoors).
ISO too high (ISO 1600 in sunlight).
Meter fooled by dark subjects (camera brightens too much).
Result: Washed‑out highlights, white skies, pale skin tones.
Underexposure (Too Dark)
Why it happens:
Aperture too narrow (f/16 indoors).
Shutter speed too fast (1/1000s at night).
ISO too low (ISO 100 in dim light).
Meter fooled by bright subjects (camera darkens too much).
Result: Muddy shadows, loss of detail, subjects hard to see.
Blown Highlights
Why it happens:
Bright areas (clouds, reflections, neon lights) exceed sensor’s dynamic range.
Camera exposes for shadows, sacrificing highlight detail.
Result: Pure white patches with no texture.
Crushed Shadows
Why it happens:
Dark areas fall below sensor’s dynamic range.
Camera exposes for highlights, sacrificing shadow detail.
Result: Solid black areas with no recoverable detail.
Mixed Lighting Errors
Why it happens:
Scene has extreme contrast (bright window + dark room).
Meter averages exposure, leaving both highlights and shadows compromised.
Result: One part of the image looks fine, the other is unusable.
Trusting the LCD Instead of the Histogram
Why it happens:
LCD brightness varies depending on environment.
In sunlight, photos look darker than they are; indoors, brighter.
Result: Misjudged exposure decisions.
🔎 How to Read Exposure Mistakes
Histogram:
Bunched left = underexposed.
Bunched right = overexposed.
Spikes at edges = clipping (lost detail).
Light Meter:
Needle left = too dark.
Needle right = too bright.
Centered = balanced exposure (though not always “perfect” artistically).
👉 In short: exposure mistakes happen when light, subject, and settings aren’t balanced. The histogram is your best truth‑teller—it shows whether you’re losing detail in highlights or shadows.
The Tokina AT‑X 24–70mm f/2.8 PRO FX is a lens built for real work: fast aperture, pro‑grade construction, and optical performance designed to compete with Nikon’s own 24–70mm f/2.8 offerings. Reviews describe it as a “top performer” with solid build quality, ultrasonic autofocus, and a design aimed squarely at professional photographers.
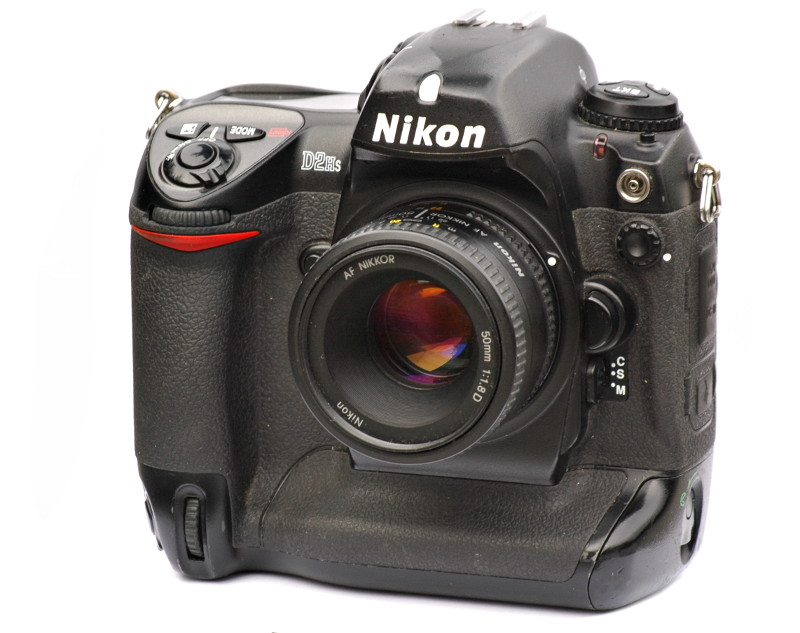
Pairing this modern, heavy‑duty zoom with the Nikon D2Hs — a rugged 2004 flagship with a 4.1‑megapixel APS‑H sensor — creates a fascinating hybrid: old‑school speed and ergonomics combined with contemporary optical muscle.
This article explores how the two work together, what to expect, and why this pairing still makes sense today.
🔍 1. The Lens: Tokina AT‑X 24–70mm f/2.8 PRO FX
A Pro‑Grade Workhorse
Tokina designed this lens to compete directly with Nikon’s 24–70mm f/2.8. According to DXOMARK, it offers:
Fast f/2.8 constant aperture
Ultrasonic autofocus motor
Solid, pro‑level build quality
A versatile focal range ideal for weddings, events, portraits, and press work
This is not a budget lens pretending to be pro. It’s a serious optic built for demanding shooters.
Optical Performance
Reviews highlight:
Excellent sharpness across the zoom range
Strong contrast
Good control of chromatic aberration
A rendering style similar to older Nikon pro zooms
The Tokina has a slightly punchy, high‑contrast look that pairs well with Nikon’s colour science.
🔍 2. The Camera: Nikon D2Hs
The D2Hs is a camera built for speed and reliability:
4.1 MP APS‑H (1.5× crop) sensor
8 fps continuous shooting
Pro‑grade AF module
Legendary Nikon ergonomics
Tank‑like build
While the resolution is low by modern standards, the files are clean, fast, and have a distinctive “Nikon pro DSLR” look — crisp, film‑like, and extremely responsive.
The D2Hs was designed for photojournalists who needed speed and accuracy above all else.
🔍 3. How the Tokina 24–70mm Performs on the D2Hs
Field of View
Because the D2Hs uses a 1.5× crop sensor:
24mm → ~36mm
70mm → ~105mm
This turns the Tokina into a 36–105mm equivalent, which is a superb range for:
Street
Portraits
Events
Documentary work
You lose some width, but gain a tighter, more intimate mid‑telephoto end.
Autofocus
The Tokina’s ultrasonic motor pairs well with the D2Hs’s pro AF module:
Fast acquisition
Confident tracking
Good low‑light performance
The D2Hs was built for speed, and the Tokina keeps up.
Sharpness & Rendering
The Tokina’s modern optics help the D2Hs punch above its resolution:
Images look crisp and clean
Strong contrast complements the D2Hs’s colour output
The f/2.8 aperture helps isolate subjects even on a 4MP sensor
The combination produces files with a classic, photojournalistic feel — sharp where it counts, with smooth tonal transitions.
Low‑Light Performance
The D2Hs is not a high‑ISO monster, but the Tokina’s f/2.8 aperture helps keep ISO down. Expect:
ISO 800: clean
ISO 1600: usable
ISO 3200: gritty but atmospheric
The lens helps the camera stay in its comfort zone.
🔍 4. Practical Use Cases
Street Photography
The 36–105mm equivalent range is perfect for:
Candid portraits
Environmental scenes
Urban details
The D2Hs’s fast AF and responsive shutter make it ideal for decisive‑moment shooting.
Portraits
At the long end, the Tokina behaves like a 105mm lens:
Flattering compression
Smooth background blur
Strong subject separation
The D2Hs’s colour and tonal rendering give portraits a timeless look.
Events & Documentary
This is where the combo shines:
Fast AF
Rugged build
Reliable exposure
Clean files at low ISO
The Tokina’s versatility matches the D2Hs’s speed.
🔍 5. Strengths & Limitations of the Combo
Strengths
Pro‑grade build on both lens and body
Fast, reliable autofocus
Excellent contrast and sharpness from the Tokina
Classic Nikon colour from the D2Hs
Great handling balance
Affordable used prices
Limitations
D2Hs resolution limits cropping
High‑ISO performance is dated
Tokina is heavy — the combo is substantial
No VR (but the D2Hs shutter is very stable)
📝 Conclusion: Old‑School Speed Meets Modern Optics
The Tokina 24–70mm f/2.8 PRO FX on the Nikon D2Hs is a pairing that defies expectations. On paper, it’s a modern pro zoom mounted to a 2004 flagship with a 4MP sensor. In practice, it’s a fast, responsive, character‑rich setup that feels built for real‑world photography.
The Tokina brings:
modern sharpness
strong contrast
fast AF
pro‑grade construction
The D2Hs brings:
unmatched handling
a beautiful, film‑like sensor
speed and reliability
a shooting experience that feels alive
Together, they create images with a look that’s both classic and contemporary — crisp, clean, and full of presence.
If you enjoy the tactile, intentional feel of older Nikon pro bodies but want the optical performance of a modern f/2.8 zoom, this combination is not just usable — it’s inspiring.
It’s a combination that rewards intentional shooting. You can’t rely on cropping or high‑ISO rescue; you have to frame carefully, expose thoughtfully, and embrace the distinctive look that results. That’s why it demands thought — and why it can be so satisfying.
Street photography is a documentary‑driven, observational form of photography that focuses on capturing unposed, unscripted moments in public spaces. At its core, it is about human presence, urban atmosphere, and the poetry of everyday life — even when no people appear in the frame.
It is not defined by streets. It is not defined by cities. It is defined by the act of noticing.
Street photography is the art of paying attention.
🧱 Core Characteristics
1. Unposed, unstaged moments
Street photography is rooted in authenticity. The photographer does not arrange subjects or direct scenes. Instead, they respond to what unfolds naturally.
2. Public or semi‑public spaces
This includes:
streets
markets
parks
cafés
public transport
communal spaces
Anywhere life happens without orchestration.
3. The decisive moment
Coined by Henri Cartier‑Bresson, this refers to the instant when composition, gesture, light, and meaning align. Street photography is built on this instinctive timing.
4. Human presence — literal or implied
A person may be in the frame, or their presence may be suggested through:
objects
shadows
traces
atmosphere
architecture
Street photography often reveals the relationship between people and their environment.
5. Observation over perfection
It values:
spontaneity
imperfection
ambiguity
mood
timing
It is not about technical perfection. It is about emotional truth.
🧠 The Philosophy Behind Street Photography
1. Seeing the extraordinary in the ordinary
Street photographers elevate everyday moments — a gesture, a glance, a shadow — into something meaningful.
2. Bearing witness
It is a form of visual anthropology. A way of documenting culture, behaviour, and the rhythms of life.
3. Presence and awareness
Street photography is as much about how you move through the world as it is about the images you make. It trains perception, patience, and sensitivity.
4. Respect for the unscripted
The photographer does not impose meaning. They discover it.
🎨 Styles Within Street Photography
1. Humanistic street photography
Warm, empathetic, focused on people and gestures. (Think: Cartier‑Bresson, Helen Levitt)
2. Gritty, urban realism
Raw, unfiltered depictions of city life. (Think: Daido Moriyama)
3. Graphic and geometric
Strong lines, shadows, and architectural forms. (Think: Fan Ho)
4. Colour‑driven street photography
Using colour as the primary expressive element. (Think: Saul Leiter)
Though it overlaps, street photography is more intuitive and less project‑driven.
Not staged or directed
If you ask someone to pose, it becomes portraiture or fashion.
Not dependent on crowds
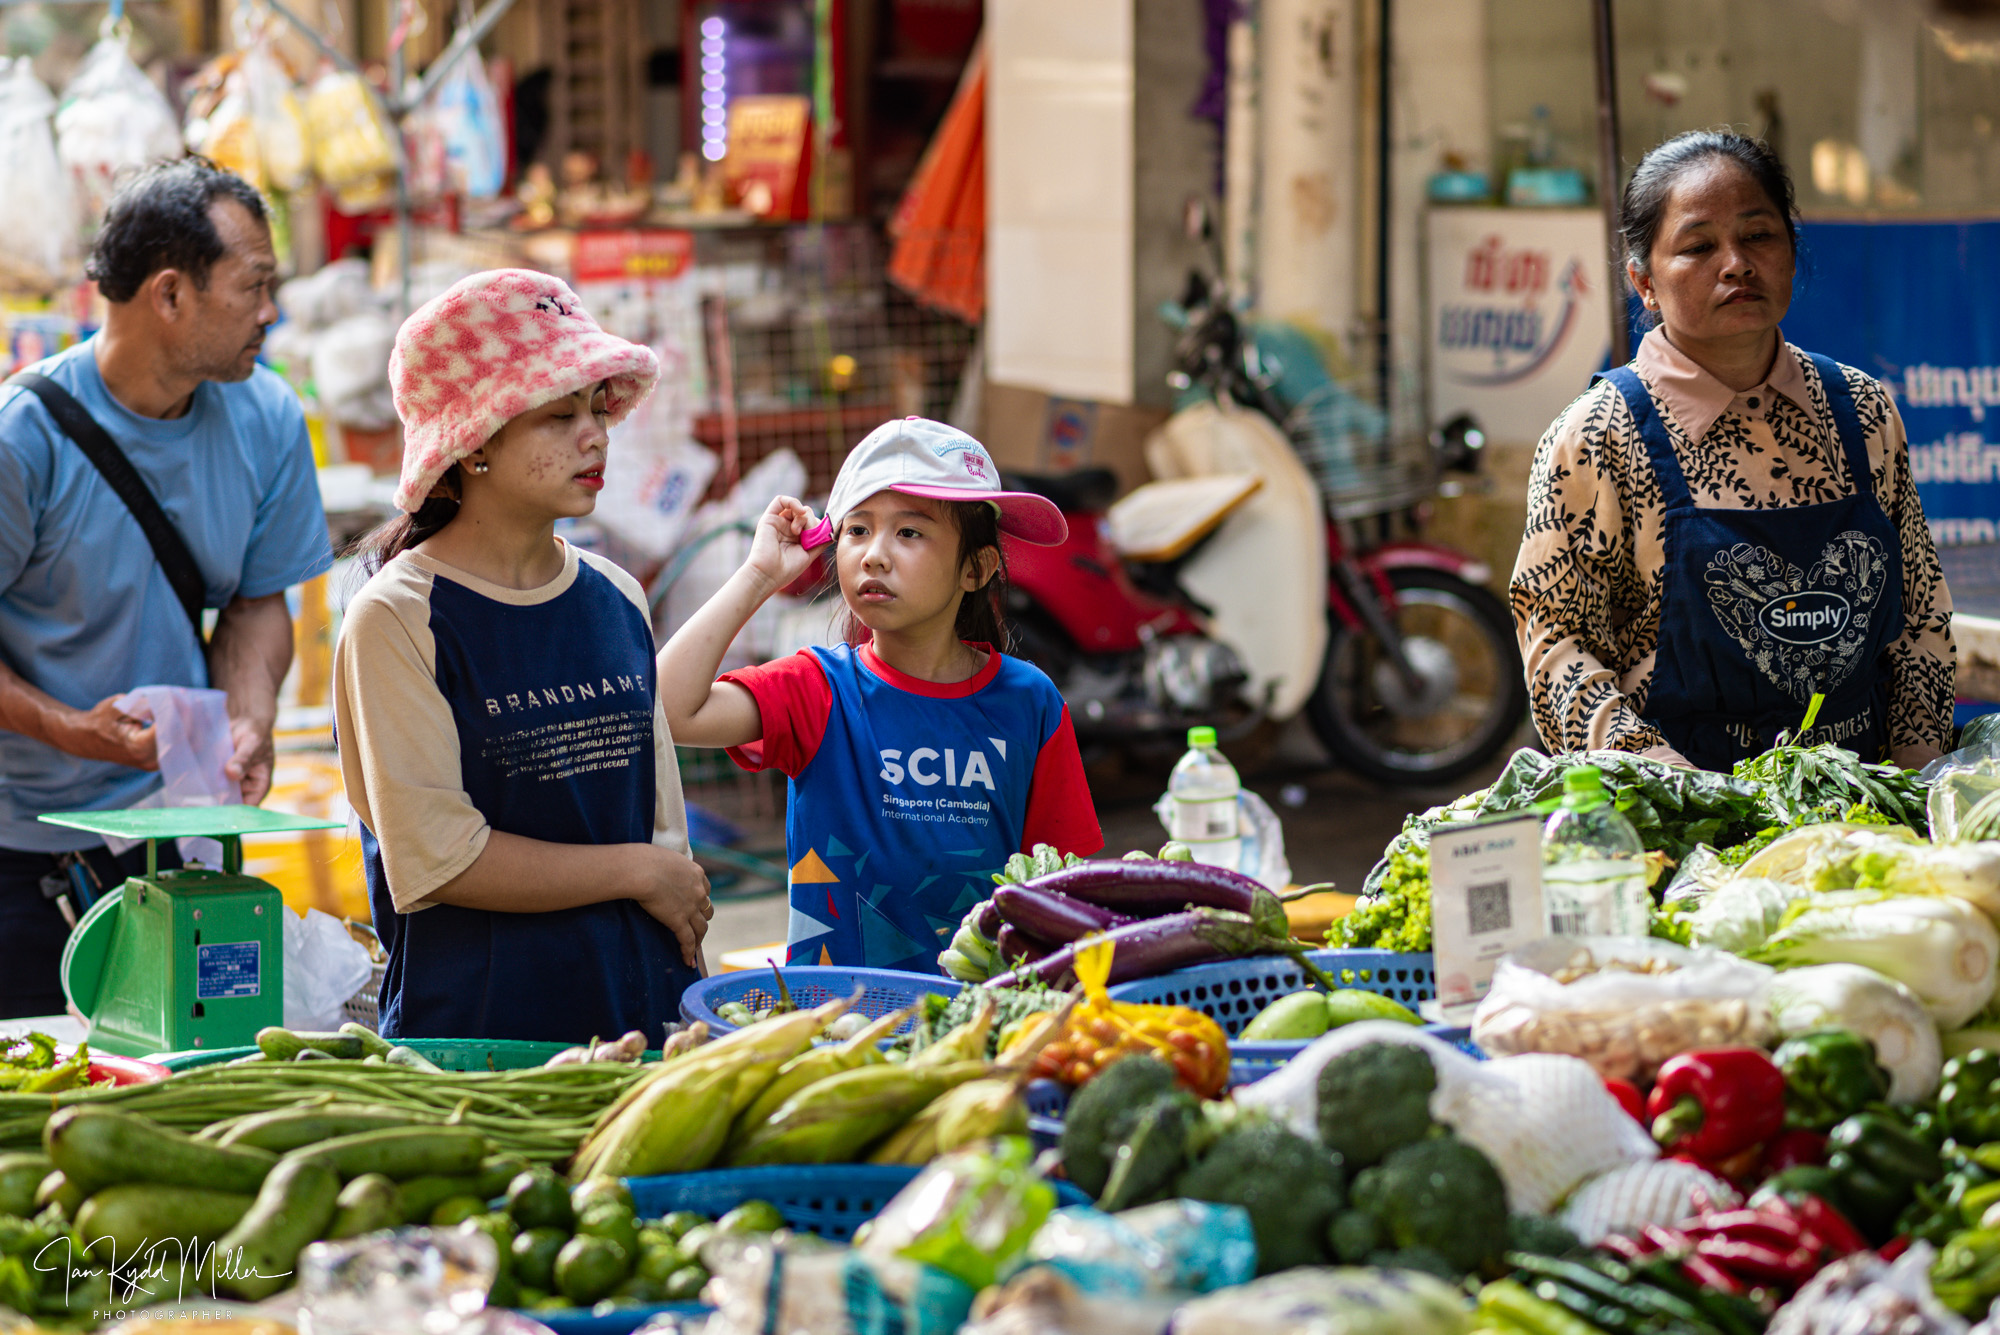
A single object in a quiet alley can be street photography if it reflects human presence or urban atmosphere.
⚖️ Why Street Photography Matters
It preserves the texture of everyday life.
It reveals cultural patterns and social behaviour.
It trains the photographer to see deeply.
It creates visual poetry from the mundane.
It democratizes photography — anyone can do it, anywhere.
Street photography is one of the few genres where your way of seeing matters more than your gear.
✨ Final Definition
Street photography is the art of capturing unposed, unscripted moments in public spaces, revealing the relationship between people and their environment through observation, timing, and sensitivity. It transforms ordinary life into visual storytelling.
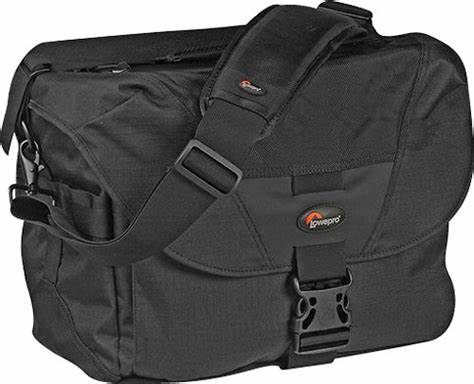
The Lowepro Stealth Reporter 200 AW is a shoulder‑style camera bag originally designed for photojournalists and news photographers, with an emphasis on speed, durability, and weather protection. It remains a strong option for DSLR shooters who need fast access and rugged reliability.
🧱 Build Quality & Design
According to Lowepro’s own description, the Stealth Reporter series was “created for photojournalists and news photographers” and built to withstand harsh field conditions while remaining lightweight and durable.
Key design elements include:
Magnesium‑reinforced structure (internal frame)
Heavy‑duty materials and reinforced stitching
All Weather (AW) cover for rain, dust, and sand protection
Highly water‑resistant top zipper for fast access without opening the flap
This makes it particularly suitable for urban, documentary, and editorial DSLR work, where speed and protection matter more than hiking comfort.
📸 Capacity & DSLR Compatibility
The bag is sized for one DSLR body plus 3–4 lenses, a flash, and accessories. This aligns well with typical DSLR kits such as:
A DSLR body (D700, D300S, D810, etc.)
A trio of primes (e.g., 35/50/85)
Or a zoom kit (24–70 + 70–200)
Flashgun + batteries
Memory cards (dedicated wallet holds up to 12 cards)
User feedback confirms it “easily takes a DSLR camera + a couple of lenses” and is “well padded” and “sturdy”.
⚙️ Organization & Workflow
The Stealth Reporter 200 AW includes:
Removable cable management pouch
Memory card wallet (attaches to strap)
Multiple pockets for batteries, notebooks, filters, and personal items
Adjustable padded dividers for customizing DSLR layouts
This makes it ideal for fast-paced DSLR workflows, especially in news, street, and event environments.
🚀 Strengths for DSLR Use
1. Fast Access
The top zipper allows you to grab your DSLR without opening the flap, a major advantage for street and press shooters.
2. Weather Protection
The AW cover provides full rain and dust protection, essential for field work in unpredictable conditions.
3. Professional Layout
Designed for working photographers, the internal layout supports efficient DSLR operation and quick lens changes.
4. Discreet Appearance
The bag looks like a messenger bag rather than a camera bag, reducing unwanted attention — useful in sensitive environments.
5. Durability
User reviews highlight that it is “better made than newer models” and extremely sturdy.
⚠️ Limitations for DSLR Use
1. Shoulder Fatigue
As a shoulder bag, it places all weight on one side. With a DSLR + lenses, this can become tiring during long assignments.
2. Limited Dual‑Body Support
While it can fit one DSLR comfortably, dual‑body shooters may find it cramped.
3. Bulk When Loaded
The bag becomes heavy and boxy when filled with DSLR gear.
4. No Dedicated Laptop Sleeve
Some versions lack a padded laptop compartment, limiting its use for hybrid photo‑editing workflows.
⚖️ Summary Table
Category
Strengths
Weaknesses
Access
Fast top‑zip access
Full flap still slows deep access
Weather
AW cover, rugged build
Adds bulk when deployed
Capacity
DSLR + 3–4 lenses
Not ideal for dual‑body setups
Comfort
Padded strap
Shoulder fatigue over time
Durability
Very sturdy, pro‑grade
Heavier than modern bags
Discretion
Looks like a messenger bag
Still bulky when full
✨ Verdict
The Lowepro Stealth Reporter 200 AW is an excellent DSLR bag for photojournalists, street photographers, and documentary shooters who prioritize:
Fast access
Weather protection
Professional organization
Durability
It is less ideal for long hikes, dual‑body setups, or photographers who need backpack‑level comfort.
Final assessment:One of the best classic shoulder bags for DSLR field work — rugged, fast, and intelligently designed, though heavy and less comfortable for all‑day carry.
📖 Lowepro Stealth Reporter 200 AW — Evaluation for Fujifilm XE2 & X‑Pro3 Kits
🎒 Why This Bag Works Even Better for Mirrorless
The Stealth Reporter 200 AW was originally designed for bulky DSLR bodies, so when you load it with smaller, lighter Fujifilm cameras, you get:
More space than you need (excellent for flexibility)
Better weight distribution
Faster access because the bodies don’t snag on dividers
Room for accessories like chargers, batteries, filters, and notebooks
In other words, the bag becomes over‑engineered for the Fuji kit — which is a good thing.
🧱 How Your Fuji Kit Fits Inside
📸 Your loadout:
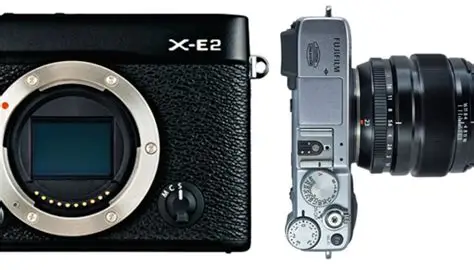
Fujifilm XE2
Fujifilm X‑Pro3
Three lenses (likely primes or compact zooms)
Typical layout inside the 200 AW:
Centre compartment: X‑Pro3 with lens mounted
Side compartment 1: XE2 body
Side compartment 2: Two primes stacked or one zoom
Front pocket: Batteries, cards, cleaning cloth
Side pocket: Filters, small notebook
Rear pocket: Passport, phone, flat items
Top zip access: Grab the X‑Pro3 instantly without opening the flap
This is exactly the kind of workflow the bag was designed for — fast, quiet, efficient.
✅ Strengths for Fuji XE2 + X‑Pro3 Users
1. Perfect size for a two‑body mirrorless kit
You’re not fighting the bag’s dimensions. Everything fits with breathing room.
2. Fast access for street and documentary work
The top zipper is ideal for the X‑Pro3 — a camera built for decisive‑moment shooting.
3. Discreet appearance
The bag looks like a messenger bag, not a camera bag. This pairs beautifully with Fuji’s rangefinder‑style bodies, keeping you low‑profile.
4. Weather protection
The AW cover is a huge advantage in Phnom Penh’s sudden rainstorms or dusty dry season.
5. Quiet operation
The flap and zippers are relatively quiet — important for street and candid work.
6. Room for extras
Because Fuji gear is compact, you can carry:
A small LED light
A power bank
A mini tripod
A notebook
Snacks or water
Without overloading the bag.
❌ Weaknesses (Specific to Fuji Use)
1. Overkill for minimalists
If you ever go out with just one Fuji body and one lens, the bag feels too big.
2. Shoulder fatigue
Even with lighter mirrorless gear, a shoulder bag can strain over long days.
3. Not ideal for long hikes
Urban, editorial, and street? Perfect. Travel trekking? Less so.
4. Dividers designed for DSLR depth
Fuji bodies are slimmer, so you may need to reposition or double‑fold dividers to avoid empty space.
⚖️ Summary Table for Fuji Use
Category
Strengths
Limitations
Fit
Perfect for 2 bodies + 3 lenses
Slightly oversized for minimal kits
Access
Top‑zip is ideal for X‑Pro3
Full flap slows deep access
Comfort
Lighter load than DSLR
Shoulder fatigue on long days
Discretion
Looks like a messenger bag
Still bulky when full
Weather
AW cover excellent for SE Asia
Adds bulk when deployed
✨ Verdict
For a two‑body Fujifilm kit, the Lowepro Stealth Reporter 200 AW is almost the perfect shoulder bag:
Fast access, discreet design, weather protection, and enough space for a full working kit without feeling cramped.
It’s especially strong for:
Street photography
Documentary work
Editorial assignments
Urban travel
Fast‑moving environments
Its only real drawback is the inherent limitation of shoulder bags: long‑term comfort.
Nikon D2Hs (2005): A professional DX DSLR with a 4.1MP sensor, designed for speed, durability, and press work. It was the successor to the D2H, optimized for sports and photojournalism.
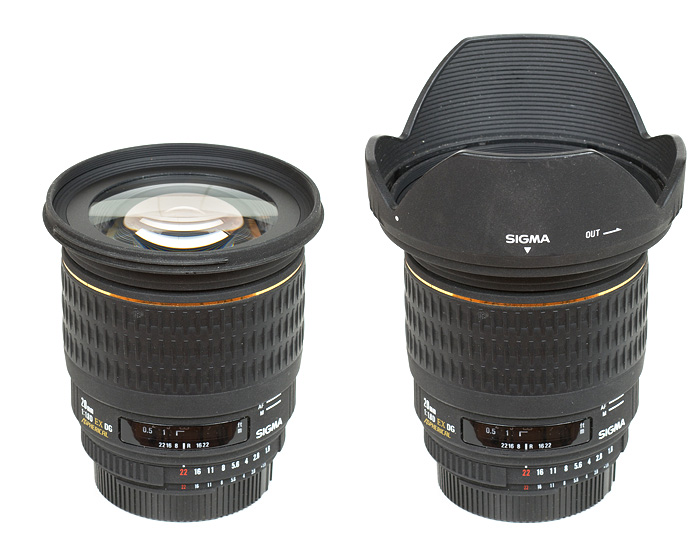
Sigma 20mm f/1.8 EX DG: One of the fastest wide‑angle primes available, offering shallow depth of field and strong low‑light performance at a dramatic focal length.
✅ Strengths
📸 Nikon D2Hs Body
Speed: 8 frames per second continuous shooting — excellent for action and reportage.
Autofocus: 11‑point Multi‑CAM 2000 AF system, fast and reliable for its era.
Build quality: Magnesium alloy, weather‑sealed, designed for professional abuse.
Ergonomics: Pro‑style controls, dual command dials, and a large optical viewfinder.
Battery life: EN‑EL4 battery delivers thousands of shots per charge.
⚙️ Sigma 20mm f/1.8 Lens
Wide aperture: f/1.8 is unusually fast for a wide‑angle, enabling shallow depth of field and low‑light shooting.
Perspective: On DX (D2Hs crop factor 1.5x), it becomes ~30mm equivalent — versatile for street, documentary, and environmental portraiture.
Creative rendering: Strong subject isolation at close distances, with dramatic wide‑angle compression.
Value: Affordable compared to Nikon’s own fast wide primes.
❌ Weaknesses
⚠️ Nikon D2Hs Body
Resolution: 4.1MP is limiting for cropping and large prints. Files are clean but small.
ISO performance: Usable up to ISO 800–1600, but noisy compared to modern sensors.
Weight: At ~1.2kg with battery, it’s heavy for long shoots.
LCD: Small, low‑resolution rear screen makes reviewing images difficult.
Legacy limitations: No video, no modern connectivity (Wi‑Fi, GPS).
🧠 Sigma 20mm f/1.8 Lens
Size & weight: Large and heavy for a prime, not discreet.
AF performance: Slower and noisier than Nikon AF‑S lenses.
Optical flaws: Wide open, prone to softness, vignetting, and chromatic aberration.
Flare resistance: Weak coatings — struggles with strong backlight.
⚖️ Combined Use Case
Context
Strengths
Weaknesses
Street
Fast AF, rugged body, versatile 30mm equivalent
Heavy combo, limited resolution
Documentary
Wide perspective, shallow DOF at f/1.8
Noisy AF, flare issues
Action
8 fps burst, pro handling
4.1MP limits cropping flexibility
Low‑light
f/1.8 aperture helps
Sensor noise above ISO 800
✨ Conclusion
The Nikon D2Hs + Sigma 20mm f/1.8 is a pairing full of character. The D2Hs delivers speed, durability, and reliability — perfect for photojournalists of its era — while the Sigma 20mm adds creative flexibility with its unusually fast aperture. Together, they excel in street, documentary, and action work, though they are limited by low resolution, heavy weight, and optical quirks.
Verdict:A rugged pro body and a quirky wide prime — imperfect by modern standards, but capable of distinctive, characterful images when used deliberately.
Contemplative photography is a mindful approach to image‑making. Instead of rushing to capture the “perfect shot,” it invites you to pause, observe, and connect with the world as it is. The practice is rooted in mindfulness and awareness, encouraging photographers to see beyond surface appearances and engage with the essence of what’s before them.
🎯 Core Principles
Slowing Down
Pause before lifting the camera.
Allow the scene to unfold naturally, without forcing composition.
Seeing, Not Looking
Move beyond habitual scanning.
Notice textures, colours, shadows, and small details that often go unseen.
Presence Over Perfection
The goal isn’t technical mastery or dramatic impact.
It’s about capturing authenticity — the quiet beauty of the ordinary.
Letting the Scene Come to You
Instead of hunting for subjects, remain open.
Trust that meaningful images emerge when you’re receptive.
📸 Benefits of the Practice
Mindfulness: Strengthens awareness of the present moment, reducing distraction.
Creativity: Opens new ways of seeing, beyond conventional rules of composition.
Emotional depth: Builds appreciation for subtle beauty, fostering peace and self‑awareness.
Sustainable practice: Less pressure to “perform” technically, more joy in the act of seeing.
⚖️ Practical Applications
Context
How Contemplative Photography Helps
Example
Street
Encourages patience and observation
Waiting for light to fall across a wall
Landscape
Deepens connection with environment
Capturing textures of rocks or ripples in water
Portrait
Builds empathy and presence
Photographing someone as they naturally are
Daily life
Finds beauty in the ordinary
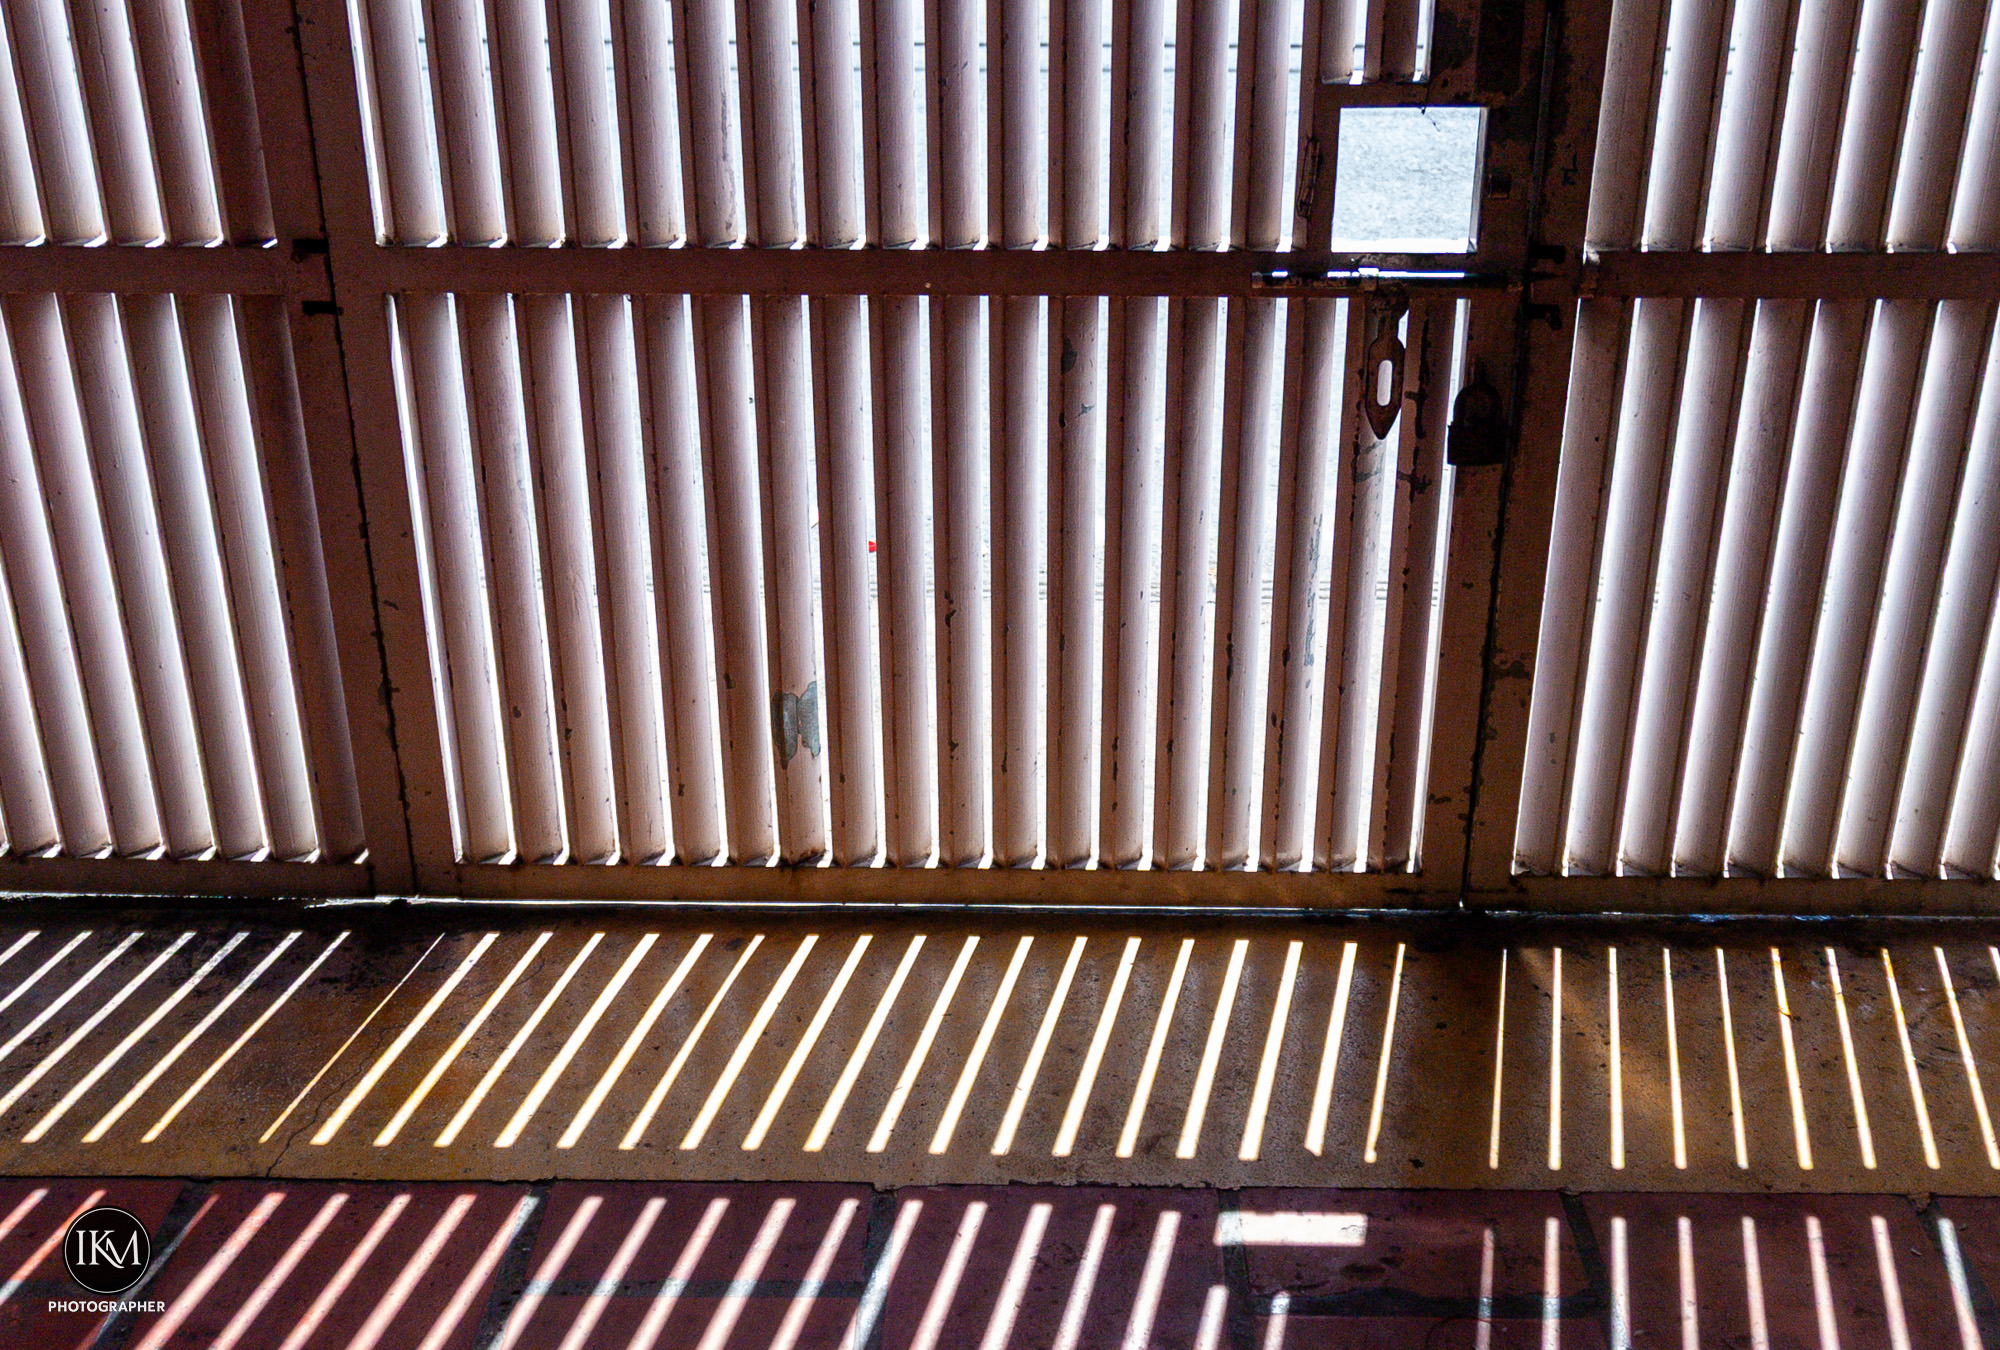
A shadow on the floor, a reflection in glass
⚠️ Challenges & Trade‑offs
Not results‑driven: May feel slow or unproductive compared to conventional shooting.
Requires discipline: Easy to slip back into “chasing” images.
Less technical focus: Those seeking sharpness or dramatic impact may find it unsatisfying.
✨ Conclusion
Contemplative photography is less about what you shoot and more about how you see. By slowing down, being present, and letting the scene reveal itself, you cultivate both stronger images and deeper awareness.
Verdict:It’s photography as meditation — a practice of seeing, not just capturing.
Nikon D700 (2008): A 12MP full‑frame DSLR known for its tonal depth, rugged build, and film‑like rendering. Beloved for its character and efficiency.
Nikon D810 (2014): A 36MP full‑frame powerhouse designed for detail, dynamic range, and professional workflows. Celebrated for precision and versatility.
📸 Street Photography
D700 (12MP):
Smaller files, faster workflow.
Atmospheric rendering — shadows and tones feel organic, almost cinematic.
Forces discipline: you must frame carefully, as cropping options are limited.
Discreet enough for candid shooting.
D810 (36MP):
Extreme detail, but heavier files slow down workflow.
Less discreet — bulkier presence on the street.
Cropping flexibility allows you to reframe after the fact.
Can feel clinical compared to the D700’s mood.
Verdict:D700 excels in character‑driven street work; D810 offers precision but less immediacy.
🎭 Portrait Photography
D700 (12MP):
Softer detail can flatter skin tones.
Files have a natural, film‑like quality.
Works beautifully with classic primes (e.g., 85mm f/1.8D).
D810 (36MP):
Extreme detail — every pore and texture is visible.
Ideal for commercial retouching and high‑end portraiture.
Demands sharp lenses; reveals flaws in older optics.
Verdict:D700 gives character and mood; D810 delivers precision and retouching flexibility.
📰 Editorial & Commercial Work
D700 (12MP):
Perfect for web, magazines, and prints up to A3.
Efficient workflow — smaller files mean faster editing and delivery.
Less suited for billboard or fine art reproduction.
D810 (36MP):
Designed for commercial output — large prints, cropping, and archival quality.
Demands more storage and computing power.
Provides future‑proof resolution for agencies and galleries.
Verdict:D700 is efficient for editorial; D810 is indispensable for commercial and fine art projects.
⚖️ Comparative Snapshot
Context
D700 (12MP)
D810 (36MP)
Street
Atmospheric, discreet, efficient
Detailed, flexible cropping, heavier workflow
Portrait
Flattering softness, film‑like
Extreme detail, retouching power
Editorial
Fast turnaround, A3 prints
Large prints, archival detail
Workflow
Light files, quick edits
Heavy files, demanding post‑production
✨ Conclusion
The Nikon D700 proves that 12MP is enough for most real‑world applications — especially street and editorial work where atmosphere and efficiency matter. The D810, with its 36MP sensor, shines when detail, cropping, and large‑scale output are essential.
Verdict:Choose the D700 for character and speed; choose the D810 for precision and scale.